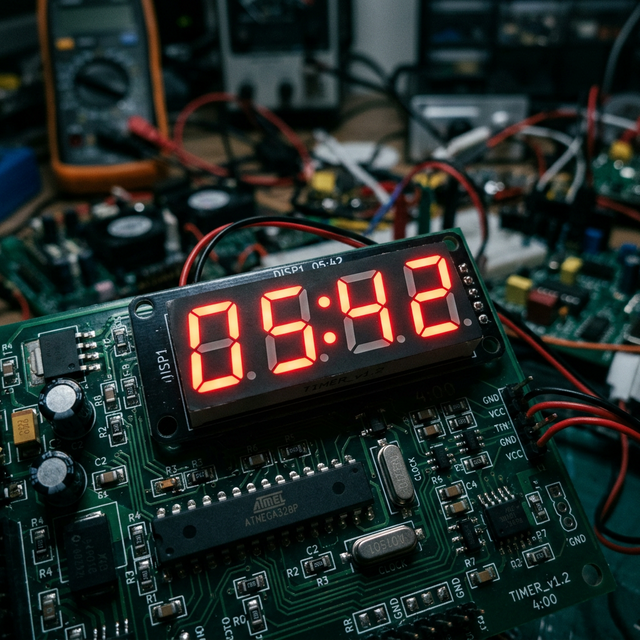
Digital Numbers: The 7-Segment Display
The 7-Segment Display is the building block of digital clocks, fuel pumps, and calculators. It looks like a single component, but it's actually seven individual LEDs arranged in a specific pattern.
How It Works
Each segment is labeled with a letter from A to G.
- The Connection: By turning on specific combinations of pins, the Arduino "draws" numbers. For example, to show the number "1," you light up segments B and C.
- Common Pin: These displays are either Common Anode (all LEDs share a + pin) or Common Cathode (all share a - pin).
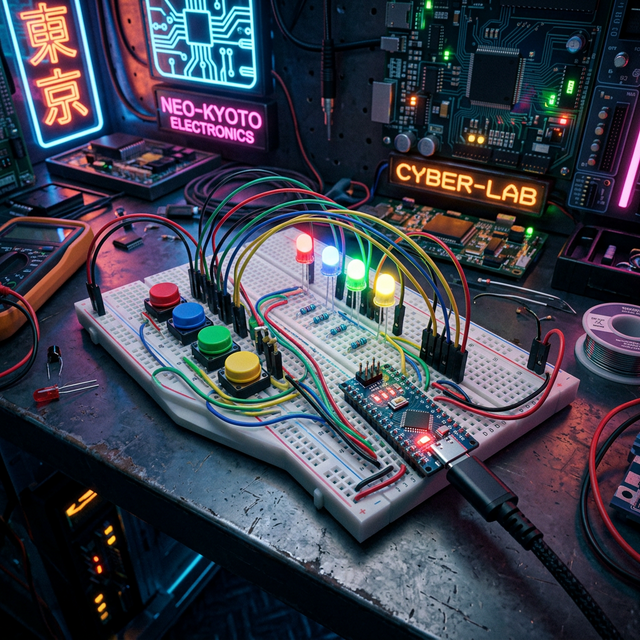
Hardware List
- Arduino (any model): To toggle the segments.
- 7-Segment Display (Single Digit): Your numerical output.
- 220-ohm Resistors (x7): It is vital to use a resistor on every segment to prevent burning out the display.
- Breadboard and Jumper Wires.
Software Logic
In the code, you'll learn about Arrays or Switch Statements. Instead of writing 7 lines of code for every number, you can create a single function that knows which pins to turn on for any digit from 0 to 9, making your code clean and efficient.