
WHAT IS IT?
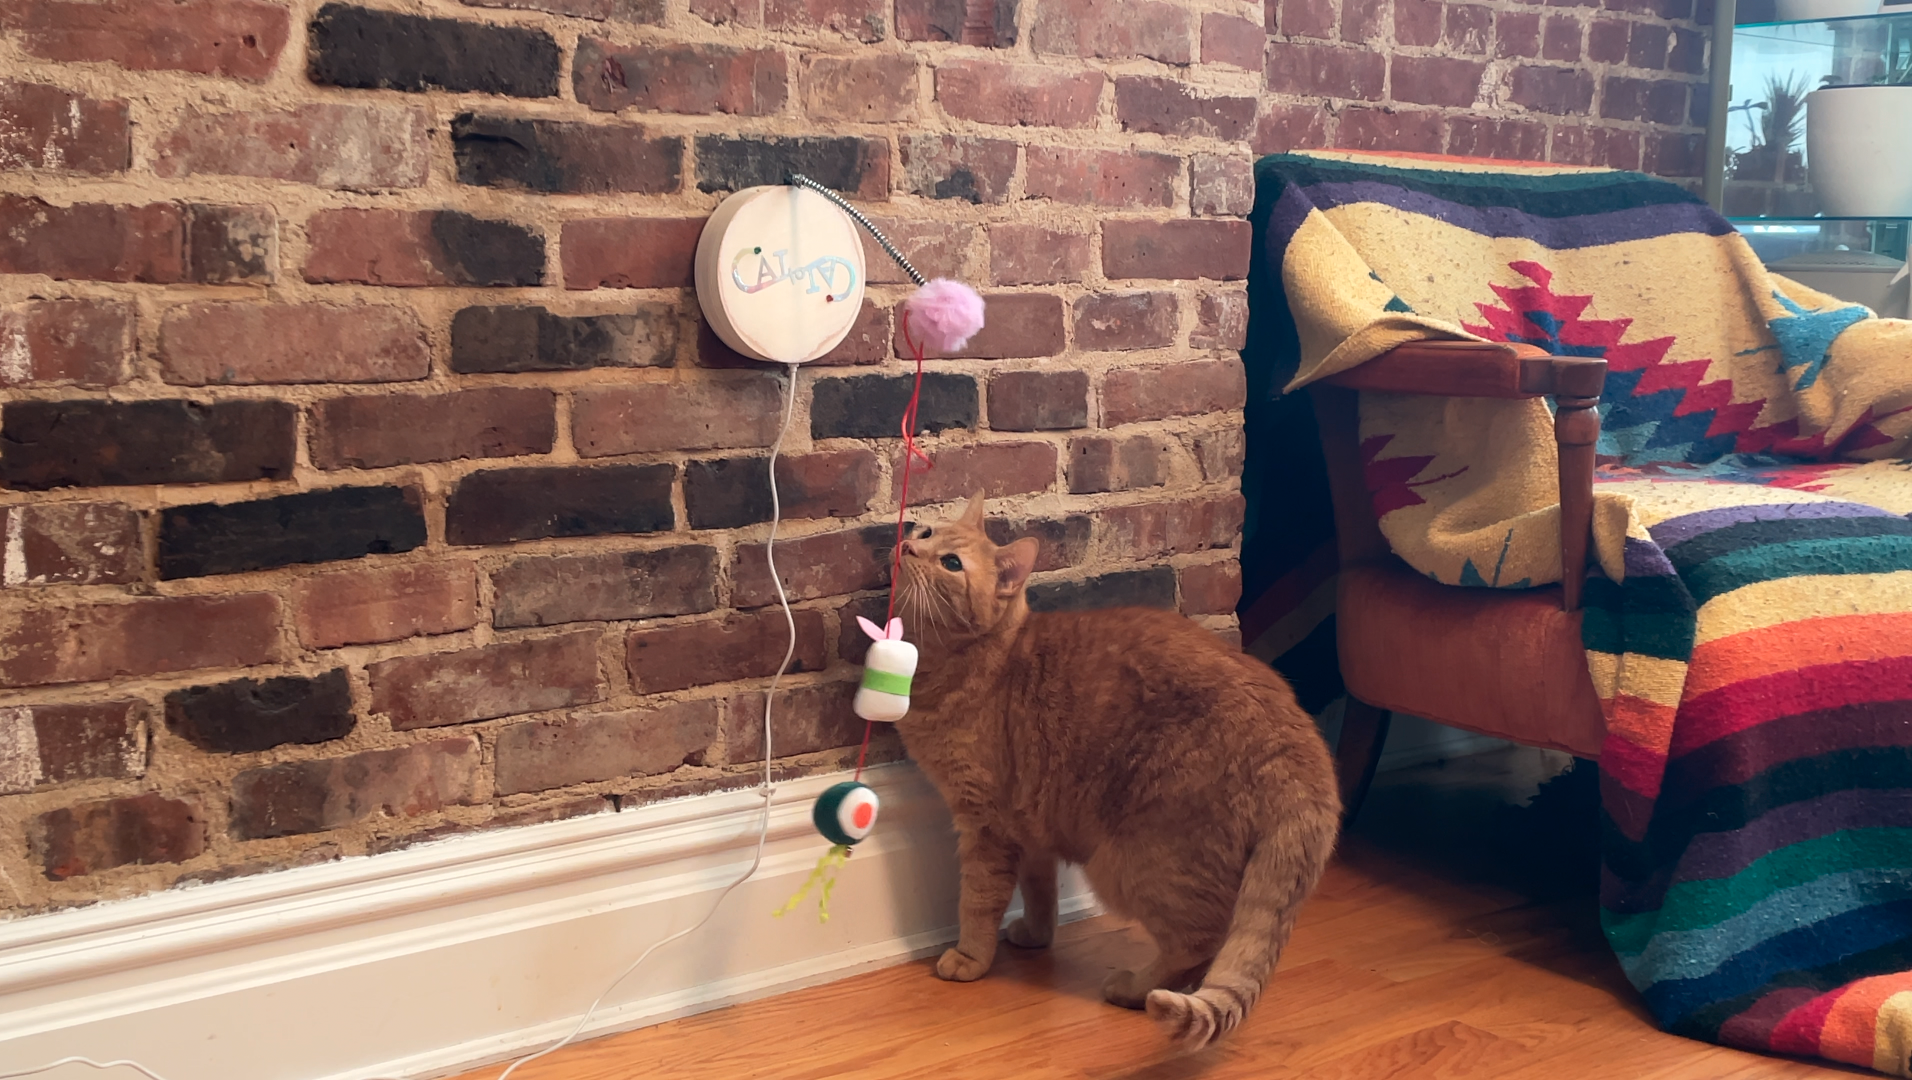
Cat-to-Cat is a paired set of two cat toys for long distance friends and their felines. Either toy is activated whenever the other cat has started to play! If toy A is rattled with by a cat in Argentina.... toy B's wand will begin to move by a motor and catch the attention of its owner's cat in Norway! The action bounces back and forth between cats as they play. You and your long distance BFF will delight as your cats both share in each other’s fun throughout the day.
THE CIRCUIT AND CODE
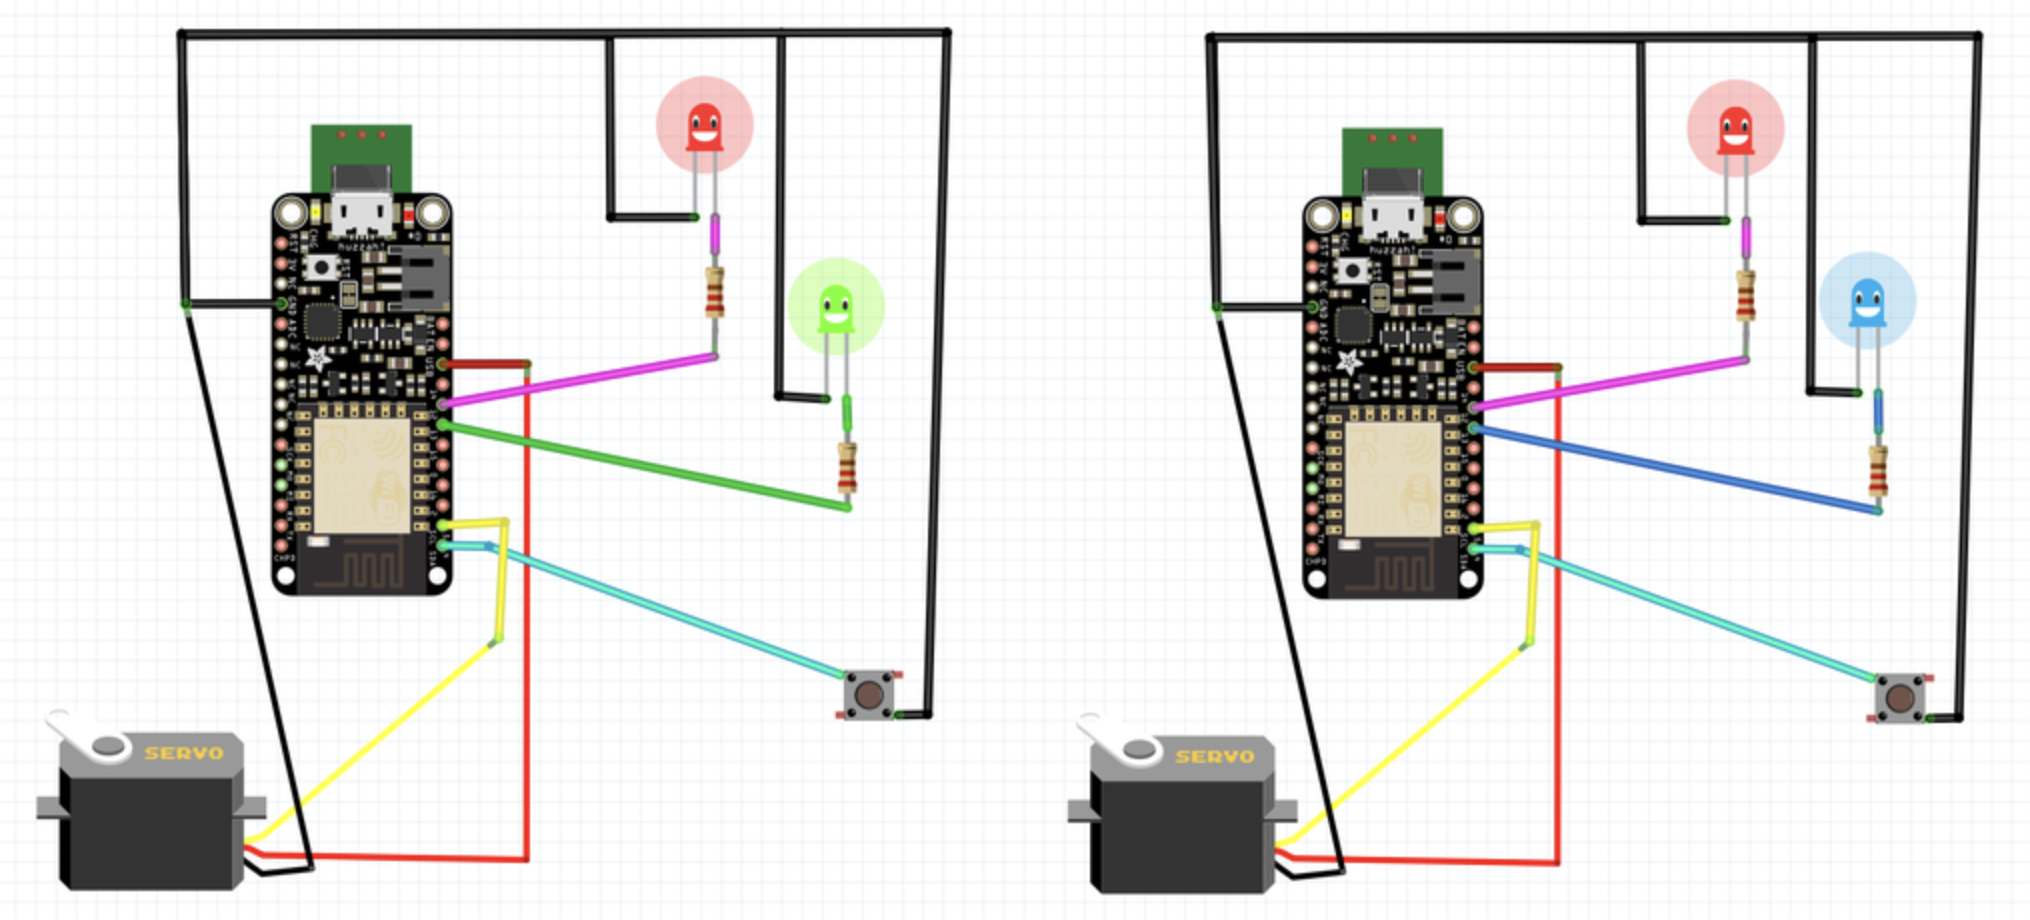
Find the circuit diagrams above and the code attached!
Test your circuit, code, and the interactivity between your toy circuits before soldering. Change the interval in the code to a few seconds (versus 20 minutes) to be able to easily test.
EXPANDED TECHNICAL DETAILS
This project is a brilliant application of the Pan/Tilt camera mechanism, repurposed for entertainment. It uses an internet-connected microcontroller to aim a laser pointer across the floor rapidly, all controllable from your browser while you are at work.
Two Modes of Play
- Autonomous Mode (The
random()function): When turned on locally, the Arduino generates random numbers between 45 and 135 degrees. It writes those angles to the Pan and Tilt servos with random delays between movements, causing the laser dot to dart erratically across the living room floor. - IoT Remote Control: An ESP8266 hosts a simple web page on your local Wi-Fi. It displays a digital webpage Joystick or a grid. When you tap the webpage, it sends an AJAX request to the ESP8266, instantly moving the laser to that exact spot!
Assembly Details
- ESP8266 NodeMCU or ESP32: Handles the web server and the logic.
- Standard Pan/Tilt Bracket: The mechanical neck.
- Micro Servos (SG90 x2): Fast and quiet movement.
- 5V KY-008 Laser Diode Module: Eye-safe, low-power red laser.
- 3D Printed Base: To weigh the device down so the cat doesn't knock it over.
This project introduces you to WebSockets and asynchronous server programming, which is crucial for building lag-free IoT remote controls.
FORM & MATERIAL
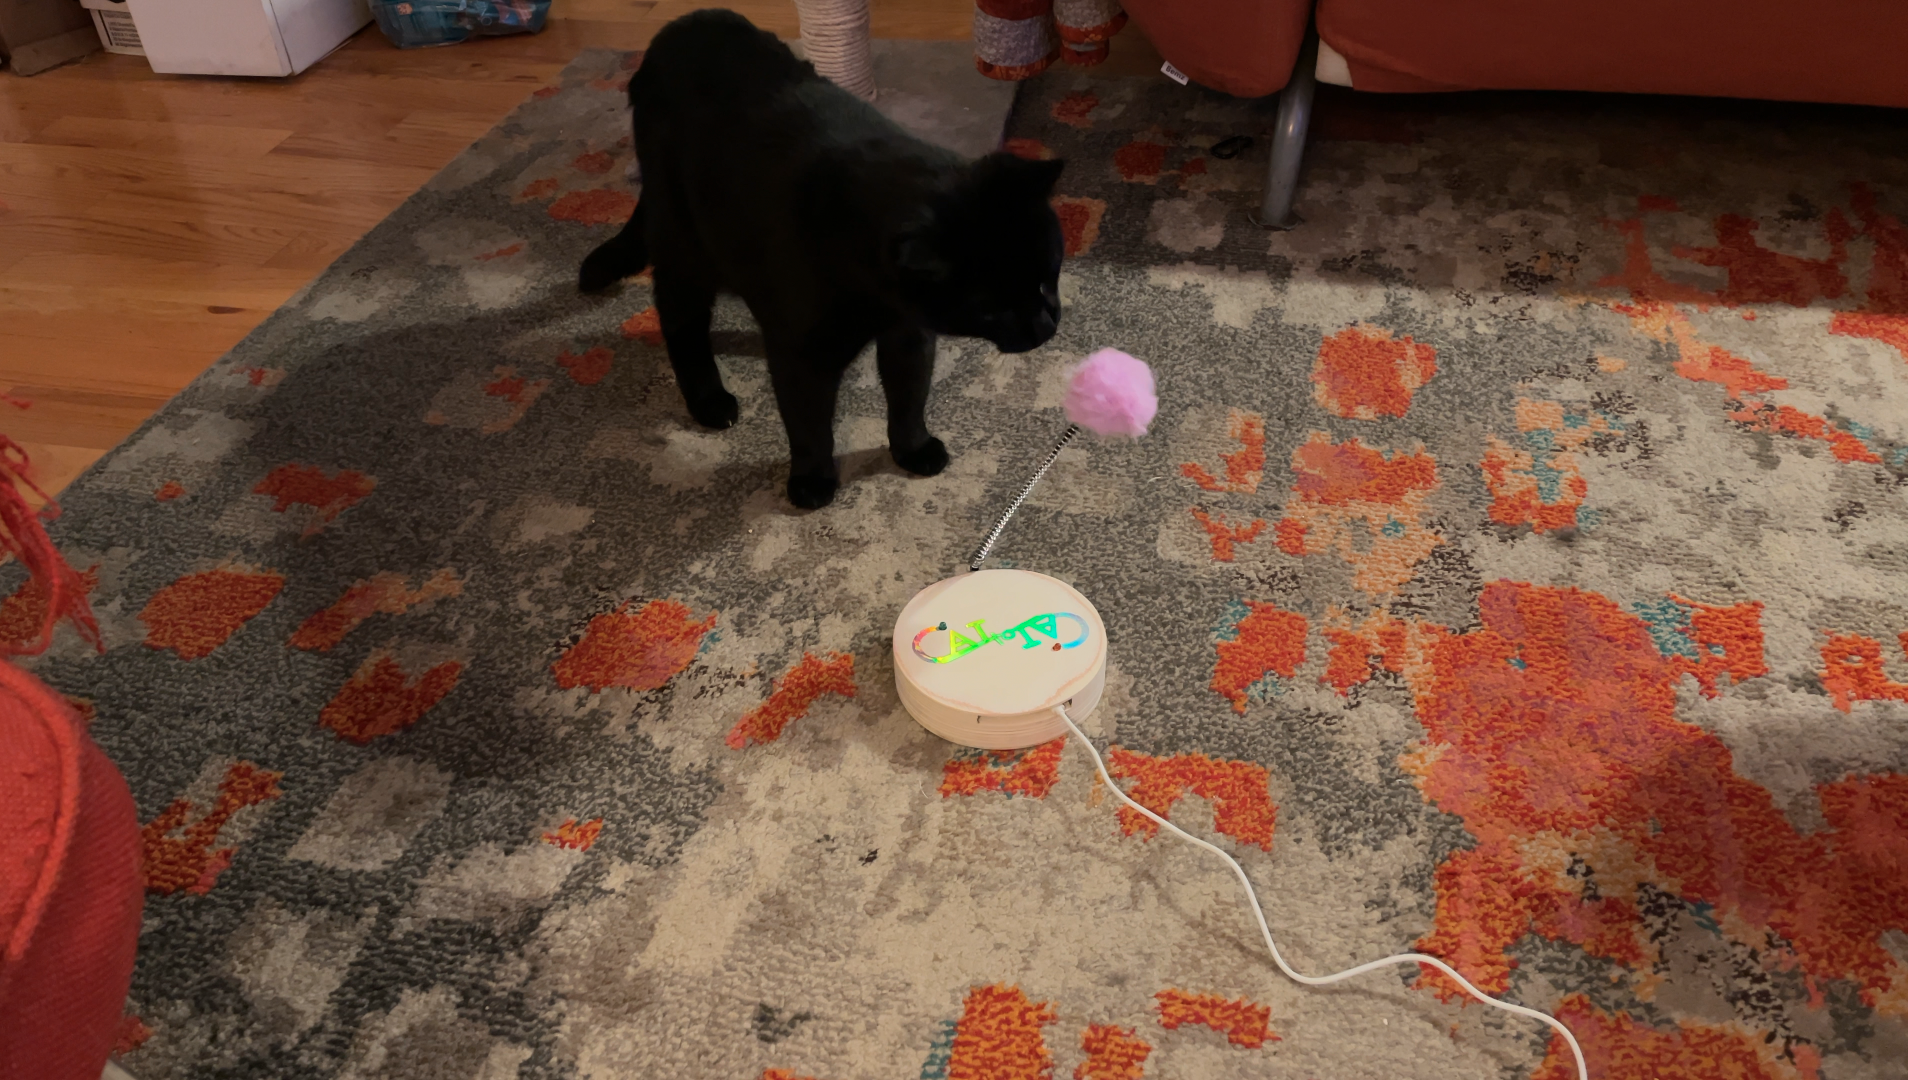
Create a container per toy that will house your circuit, attach to the wall or sit on the floor, hold your cat toy wand - allowing for its mobility from the motor - and display the LED lights.
I did so by laser cutting 6 layers of 1/4 in basswood (using the attached illustrator file) and wood gluing them together. The main things to consider are:
- A hole at the bottom for your USB cable
- A hole at the top (or elsewhere on the toy) for the wand to extend out
- Divots that will allow you to place the motor into the toy even while soldered to your circuit and to pull it out of the toy for any repairs.
- A back opening to hold your circuit and holes for wall nails
The motor can either be super glued to the back of the top layer or screwed into the top divot section.
Tidy up your design by sanding the edges (before adding your circuit and wand), painting, and adding a logo or front graphic (I used iron-on vinyl).
CAT TIME!
Time to test it out with some cats! Share in the comments any customizations you make:
- What type of cat wand attachment best engages your cat?
- Did you adjust the servo motor's code for different motion and duration?
- Does it work best on the floor or attached to the wall?
- How long do you prefer the "sleep" interval to be?
I'll be dreaming up ways to make this more fun for the human users too... maybe an app that allows you to pair with multiple cat-to-cats and to capture your cats pseudo play dates in delightful ways. Let me know if this sparks any ideas for you, I'd love your feedback.