A laser is useful for many things: to play with the cat, security systems and so on, but do we know how to build one? This time I will teach you how to build a simple and very easy to make laser.
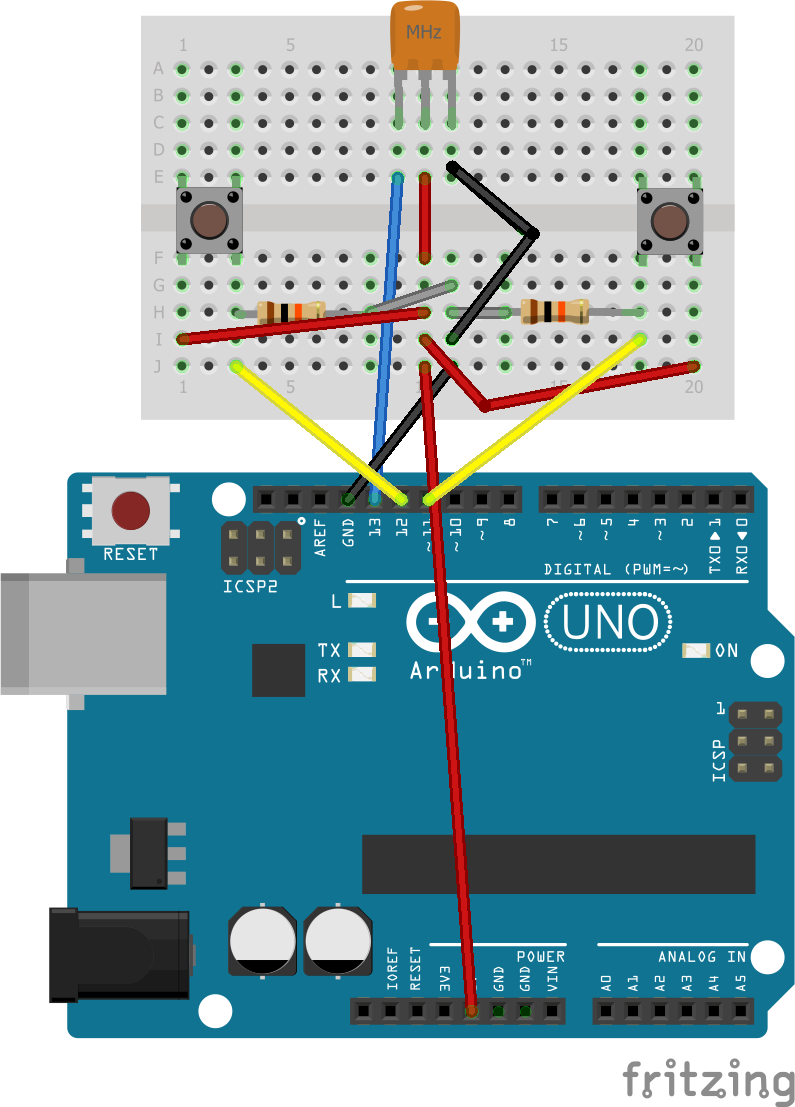
Assembled
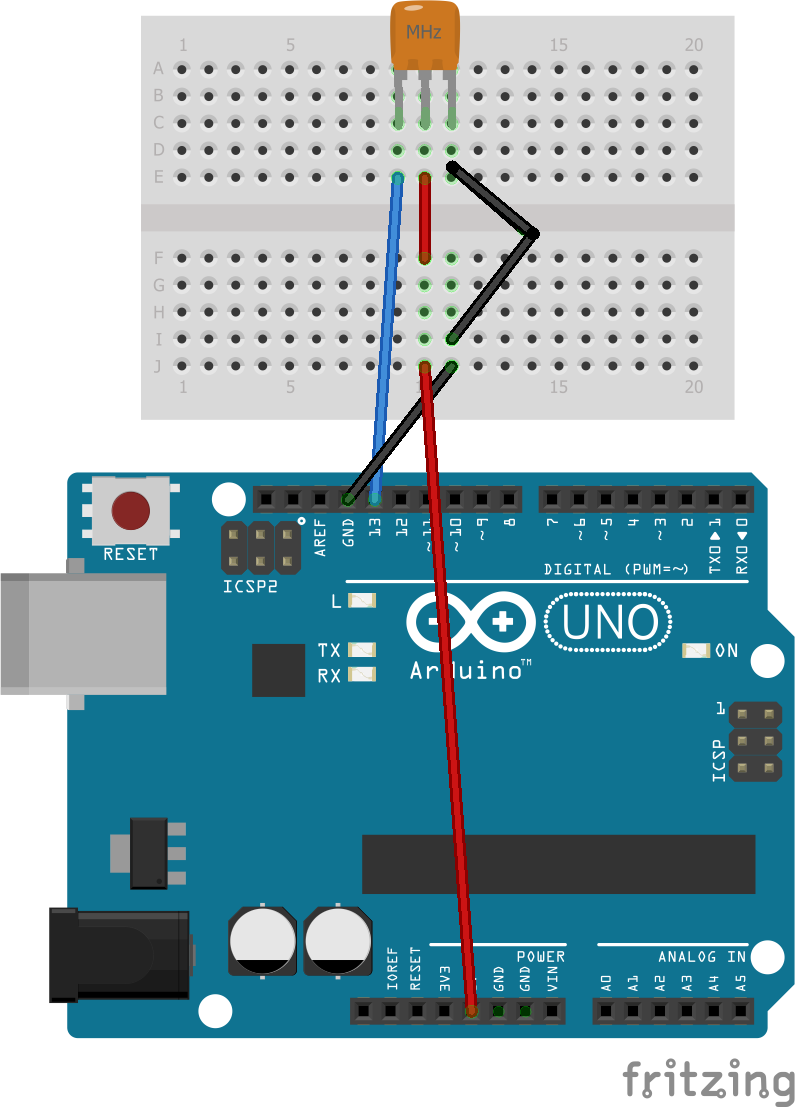
The assembly consists of two parts, the first is the installation of the laser that we will connect it to 5v (one cable to a row and the other in the same) and gnd we connect it in the same way and signal to pin 13
and the second part is to install the buttons to row 5v, to row gnd with a resistance of 10 kΩ and to signal the left to pin 12 and the right to pin 11.
The code
We will now move to the programming phase in which we will start with the variables that I show below:
int offbtn = 11;
//the off button
int onbtn = 12;
//the on button
int laser = 13;
//the laser pin
in the void setup we define inputs and outputs
void setup() {
 // inputs
 pinMode(offbtn, INPUT);
 pinMode(onbtn, INPUT);
// and outputs
 pinMode(laser, OUTPUT);
}
and in the void loop we write what we want to do
void loop() {
 // The first part is for you to turn on and the second for you to turn off.
 if (digitalRead(onbtn)==HIGH){
   digitalWrite(laser, HIGH);
   }
   if (digitalRead(offbtn)==HIGH){
      digitalWrite(laser, LOW);
    }
}
so it works:
https://media.giphy.com/media/mNNJfIT5oePcuazCh8/giphy.gif
see you on another project.
EXPANDED TECHNICAL DETAILS
Precision Optical Modulation
This project explores the use of industrial laser modules for communication, security, or creative lighting effects.
- High-Speed Digital Switching: The Arduino manages a 5V laser diode via a MOSFET or transistor. The firmware can modulate the laser beam at high frequencies to transmit digital data or create a "Pulse" effect.
- Optical Security Trip-Wire: (Advanced version) Aligns the laser with a photoresistor or photodiode. When the beam is broken, the Arduino instantly triggers a security chime, providing a high-speed, invisible perimeter alert.
Safety
- Beam-Duration Failsafe: Includes a firmware lock that only activates the laser for a set duration, preventing accidental continuous exposure and extending the diode's lifespan.