In this project you will learn how to use a shift register and the serial monitor by controlling the brightness of the LEDs and converting from decimal to binary with the LEDs
STEP 1: what you'll need

For this tutorial you will need:
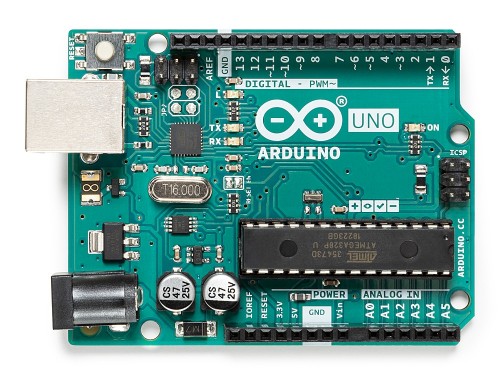
- Arduino uno
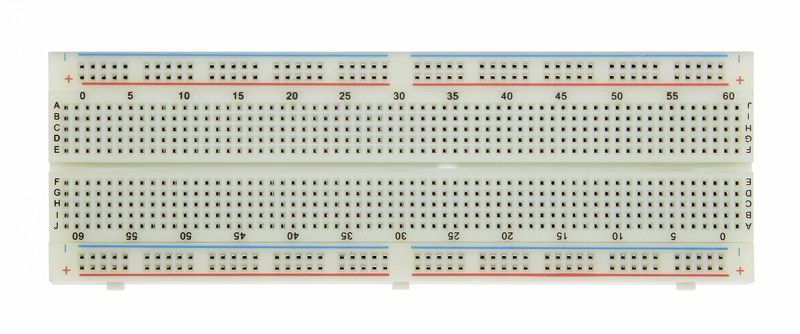
- Breadboard
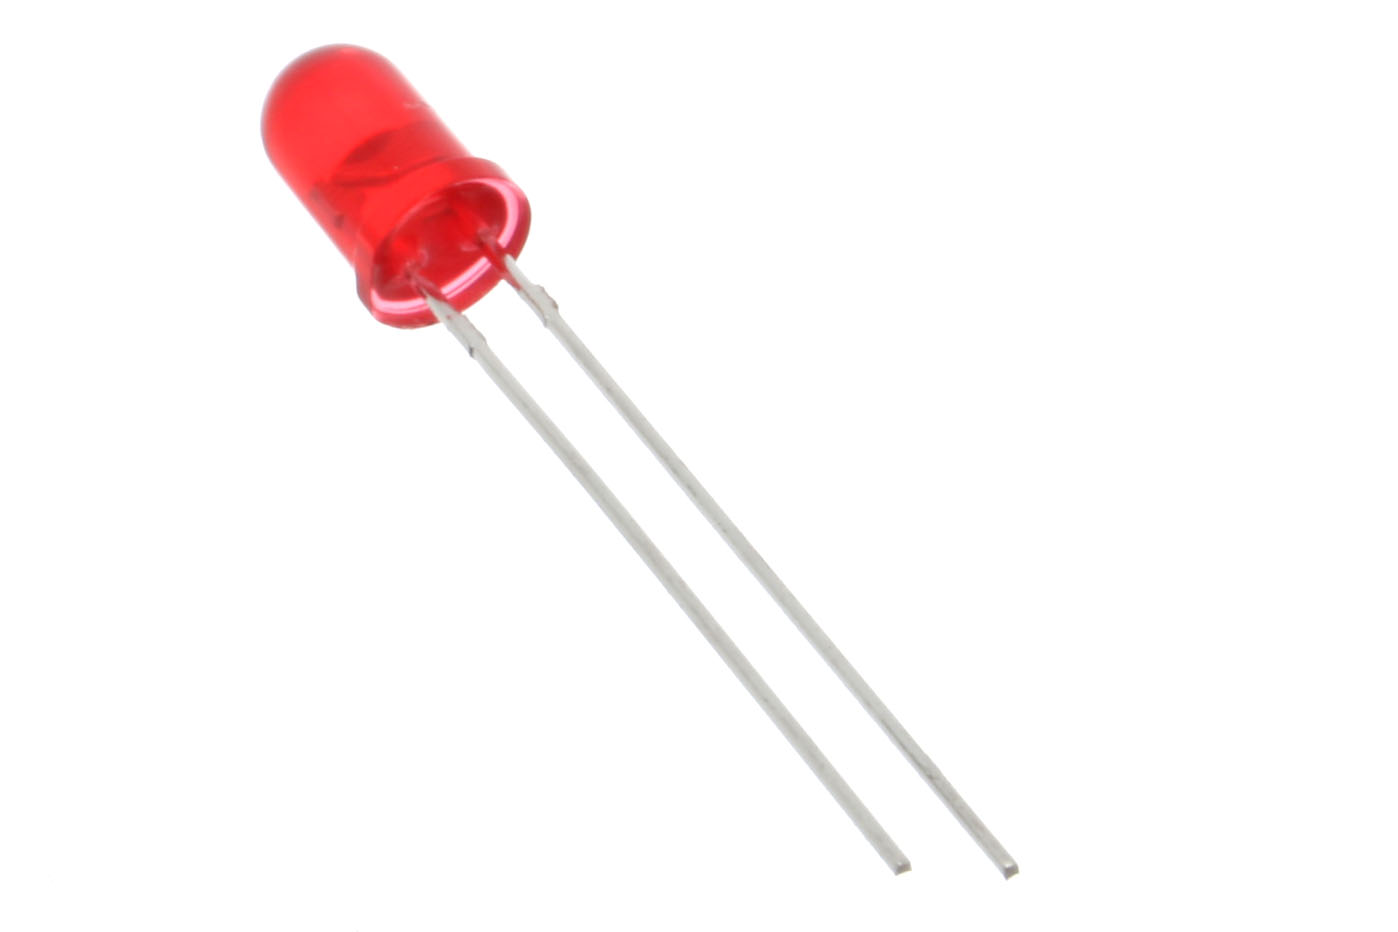
- LEDs
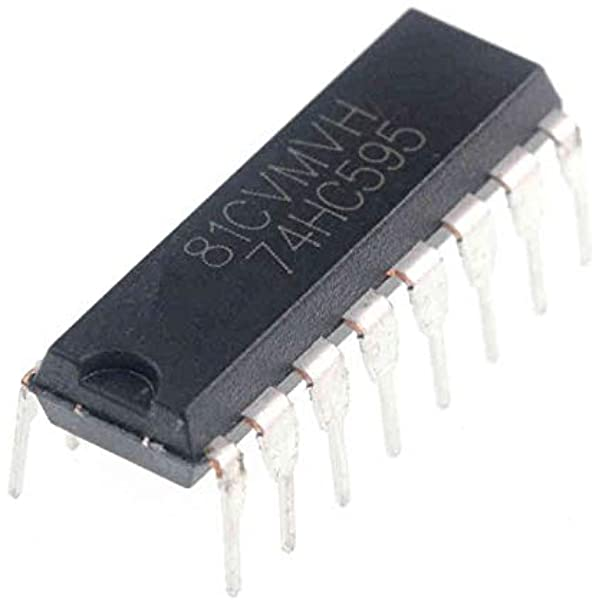
- 74HC595 Shift Register
- 221 Ohm Resistors
STEP 2: The Circuit
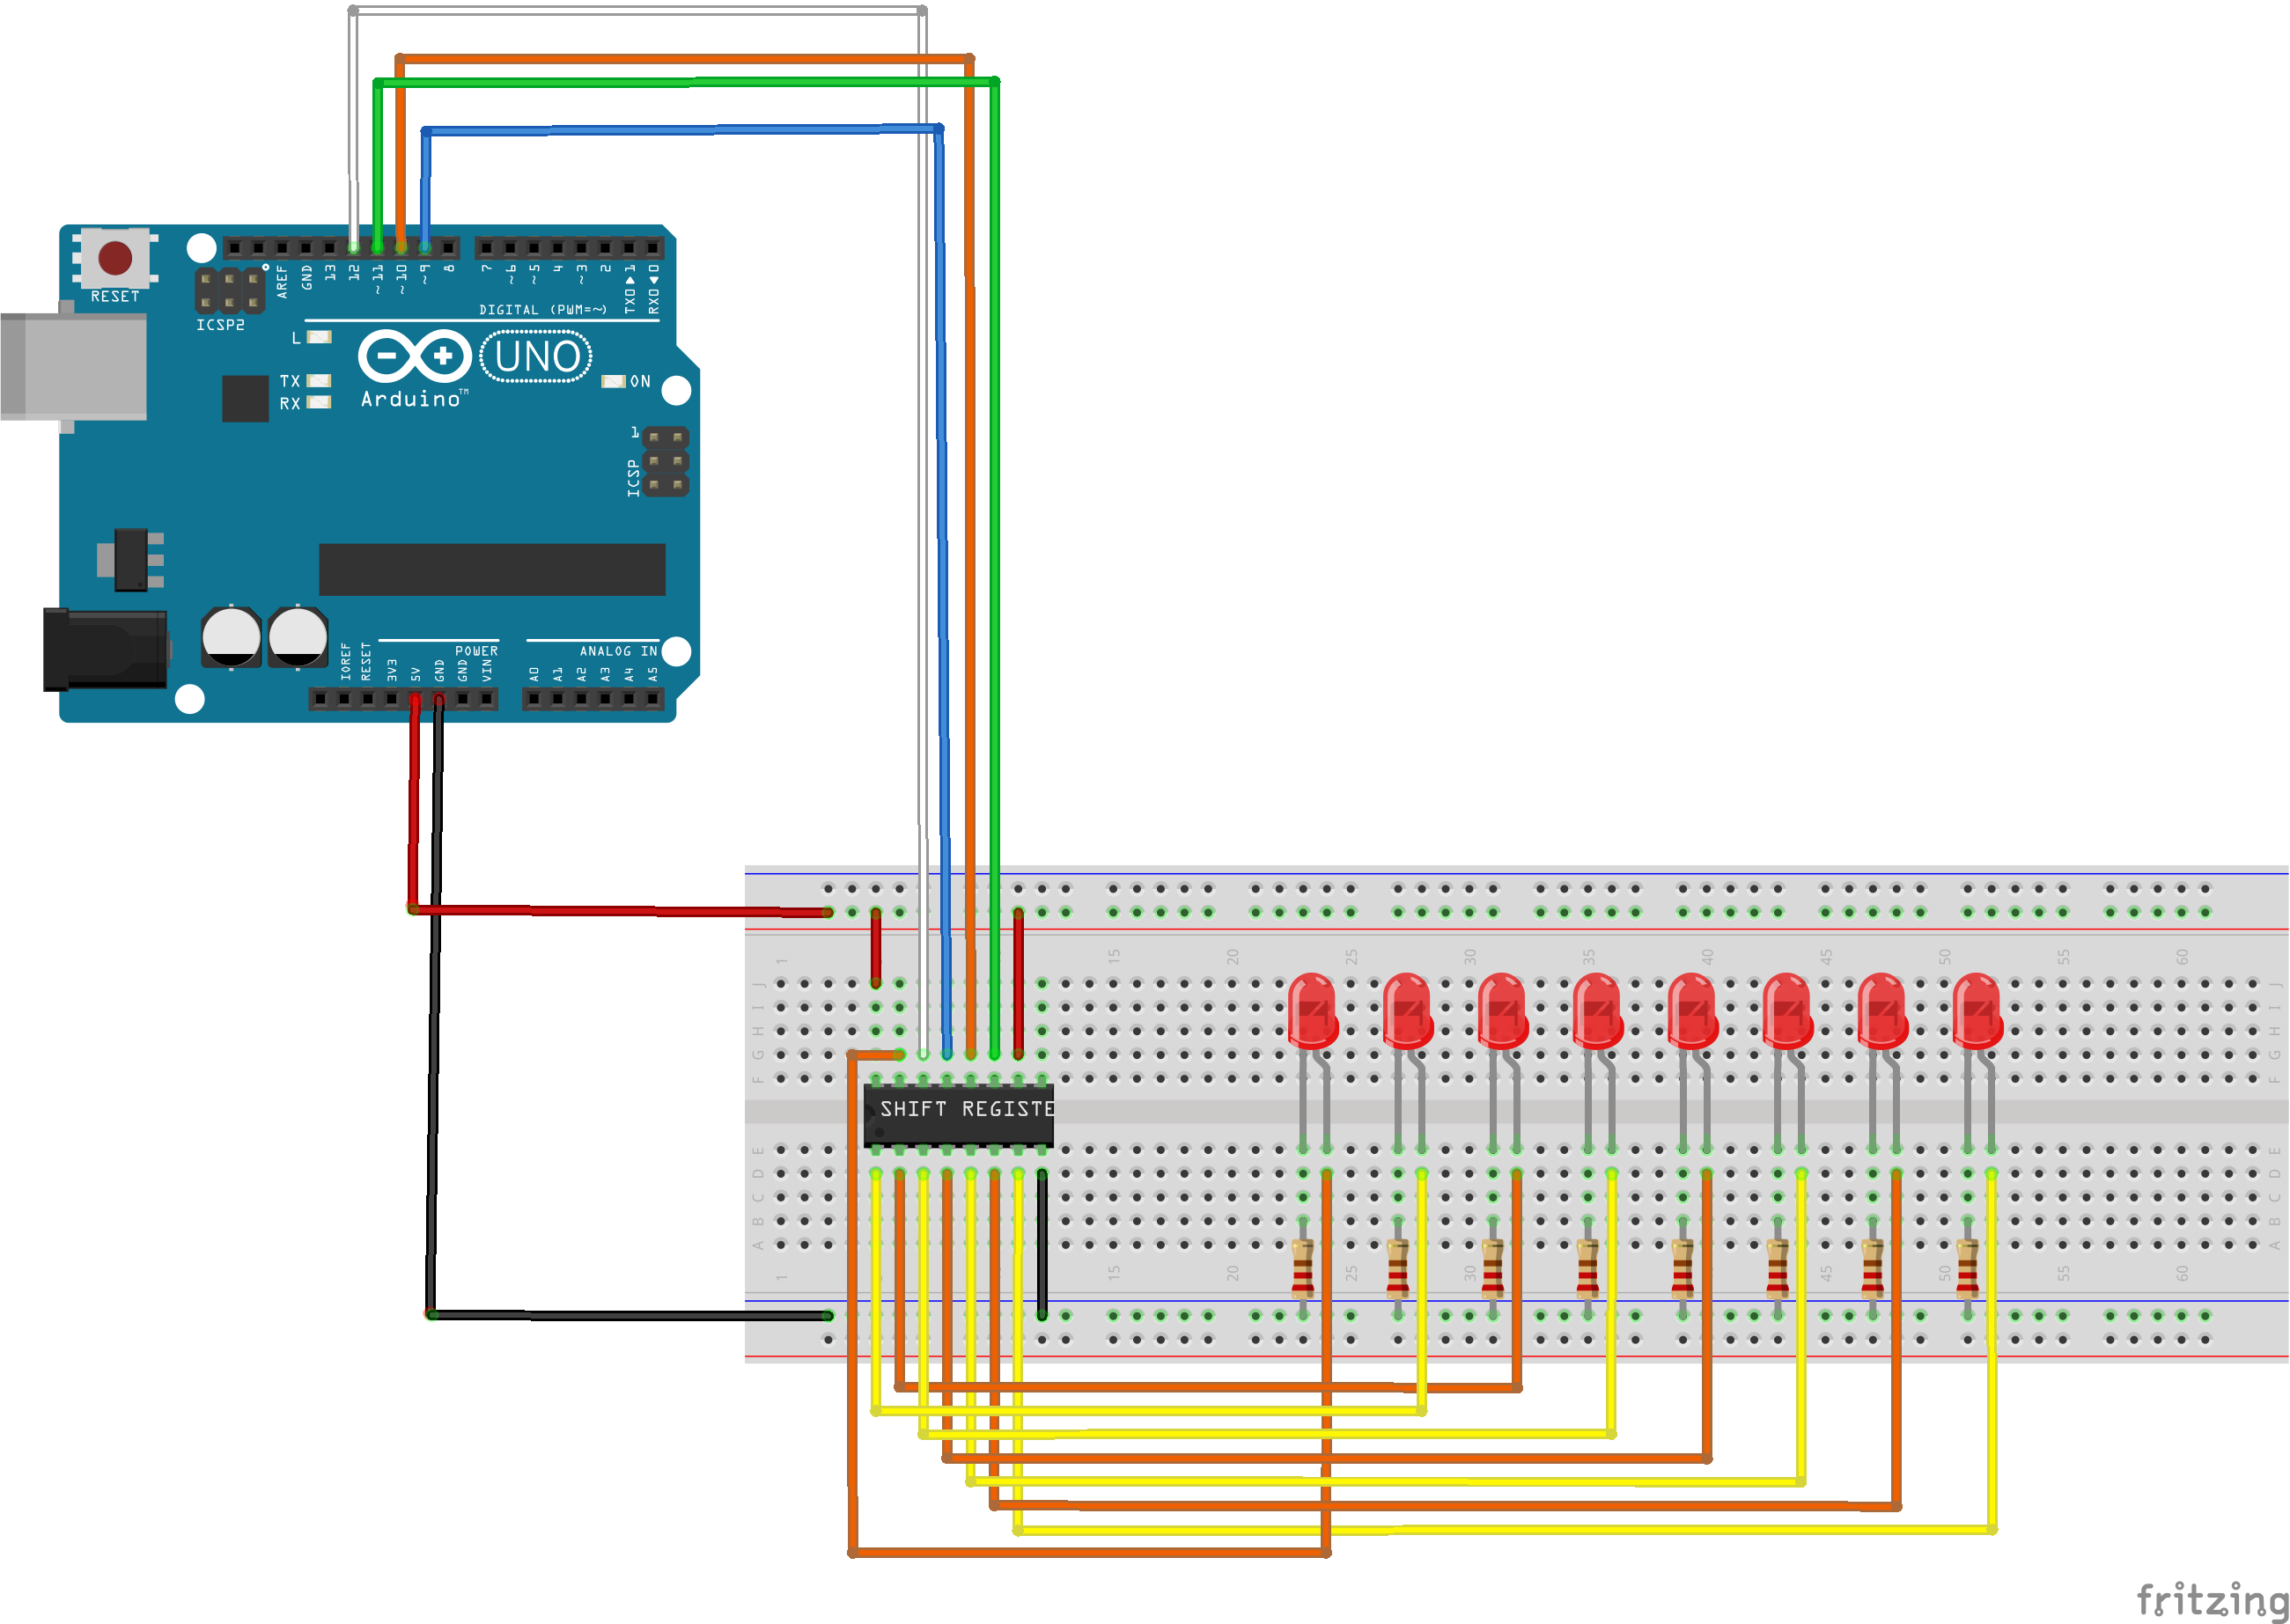
If you don't know what a shift register is or how it works I suggest reading this post by last minute engineers before continuing with this project.
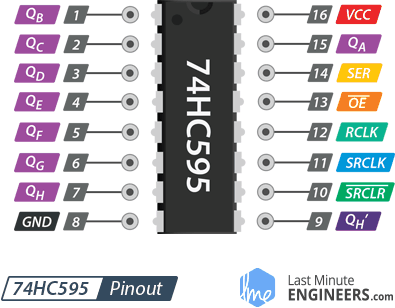
As shown in the schematic all the LEDs should be individually connected to pins Qa-h on the shift register. SER should be connected to pin 12 on the arduino, OE should be connected to pin 9, RCLK should be connected to pin 10, SRCLK should be connected to pin 11, SRCLR should be connected to the 5v pin, Vcc should be connected to the 5v pin and GND should be grounded. Qh' should be left empty.
STEP 3: The Code
How it works.
Lets look at the code bit by bit
if (Serial.available() > 0) {
   int index=0;
   delay(100); // let the buffer fill up
   int numChar = Serial.available();
The Serial.available() checks if data is being sent to the arduino. If data is being received then the condition is met. The purpose of the delay is to let the buffer fill up. numChar is going to hold the length of the data sent+1 (this is because of the NULL character)
if (numChar>11) {
   numChar=11;
 }
This line limits the value of numChar to 11. This is to prevent buffer overflow errors.
while (numChar--) {
   buffer[index++] = Serial.read();
  }
  splitString(buffer);
This fills our buffer variable up and sends it into a function called splitString.
void splitString(char* data){
 Serial.print("Data entered: ");
 Serial.println(data);
 char* parameter;
 parameter = strtok (data, " ,");
 while (parameter != NULL) {
   setLED(parameter);
   parameter = strtok (NULL, " ,");
   }
   // Clear the text and serial buffers
 for (int x=0; x<11; x++) {
    buffer[x]='\\0';
  }
 }
In C/C++ we can't pass character arrays as an argument to a function so we use a pointer named data (click here to watch a video explaining what pointers are or read this article). We pass the ʻdataʼ array to the strtok command as the first argument and the tokens (enclosed within quotes) as the second argument. Hence parameter = strtok (data, ", "); And it splits the string at that point. So we are using it to set ʻparameterʼ to be the part of the string up to a space or a comma. (For more explanation on how strtok() works click here or here).
The next line checks if the variable parameter is empty if not it sends the data parameter it's holding to the function setLed() then the process is repeated until the loop breaks. The for loop clears the buffer.
void setLED(char* data) {
 if ((data[0] == 'b') || (data[0] == 'B')) {
   int Ans = strtol(data+1, NULL, 10);
   Ans = constrain(Ans,0,255);
   analogWrite(OE, 255-Ans);
   Serial.print("Brightness is set to: ");
   Serial.println(Ans);
   }
  else{
    int num = strtol(data, NULL, 10);
    num = constrain(Ans,0,255);
    digitalWrite(latch, LOW);
    shiftOut(dataPin, clockPin, LSBFIRST, num);
    digitalWrite(latch, HIGH);
    Serial.print("number is set to: ");
    Serial.println(num);
   }
  }
The "If" statement checks if the first character is B or b then the function strtol() converts the number after b to an integer between 0 and 255, the answer is then passed into the analogWrite() function. This changes the brightness with PWM. (Click here for info on PWM or here for explanation). If data[0] is a number the else block runs. The number is constrained between 0 and 255 and then is passed to the shiftOut() function (click here for info on shiftOut())
STEP 4: CONGRATULATIONS!!!!
You've successfully finished this project. Well done!
I hope you liked this, If you have any suggestions on how to make my code, let me know in the comments.
THANK YOU
EXPANDED TECHNICAL DETAILS
Logic Gate Simulation
This educational project serves as a physical representation of how computers translate base-10 numbers into binary (base-2) machine language.
- Bit-Manipulation Engine: The Arduino presents a random Decimal number on a Serial monitor. The user inputs their guess via buttons, and the Arduino uses the
bitRead()function to illuminate a row of 4 or 8 LEDs representing the binary bits. - Iterative Division Logic: Demonstrates the mathematical "Divide by 2" algorithm in the firmware, updating the LED states from LSB (Least Significant Bit) to MSB in real-time.
Visual Interface
- High-Contrast Readout: Uses bright blue or green LEDs for a modern look, with a dedicated "Status LED" that flashes when the player's translation is correct.