Description
A Lego Arduino Tutorial for kids - the Blink sketch. A Lego animated tutorial given by a Lego. Both kids and adults might enjoy this beginner Arduino lesson. The basic blink sketch presented in what I hope is, an engaging and entertaining way for kids big and small.
Project Perspective
This Lego Arduino Tutorial for Kids-Blink Sketch is a fundamental and innovative "Maker Bridge" for modern young inventors. By focusing on the essential building blocks—the Lego bricks and a single LED—you'll learn how to orient yourself and build your first tech-toy using specialized software logic and a robust creative setup.
A PROTOTYPE IN AND OF ITSELF
After I realized that Legos and Arduinos work well together I got inspired to make a pixilation Lego tutorial. This was a lot of fun and I hope to continue this series. As I continue to learn physical computing I hope to create tutorials that are more engaging. Just like the projects I find here on Arduino Project Hub, every video I create as a tutorial is a prototype for a better build/video.
This tutorial was shot on a 2013 Galaxy Samsung Note 3.
Technical Implementation: Bricks and Blinks
The project reveals the hidden layers of simple toy-to-digital interaction:
- Identification layer: The Arduino Uno acts as your electronic engine room, sending "Electric Energy" to your digital Pin 13 each code loop.
- Visual Interface layer: A single 5mm LED provides high-definition visual feedback for every code loop check.
- Construction Strategy layer: The Lego Bricks act as your tactile physical housing, providing a bright and colorful mechanical seat for your electronic parts.
- Conversion layer: The Arduino uses its digital output pins to coordinate your LED "ON" and "OFF" timing.
- Processing Logic layer: The Arduino code follows a "sequential decoding" strategy: it only displays the next blink after the delay is ready.
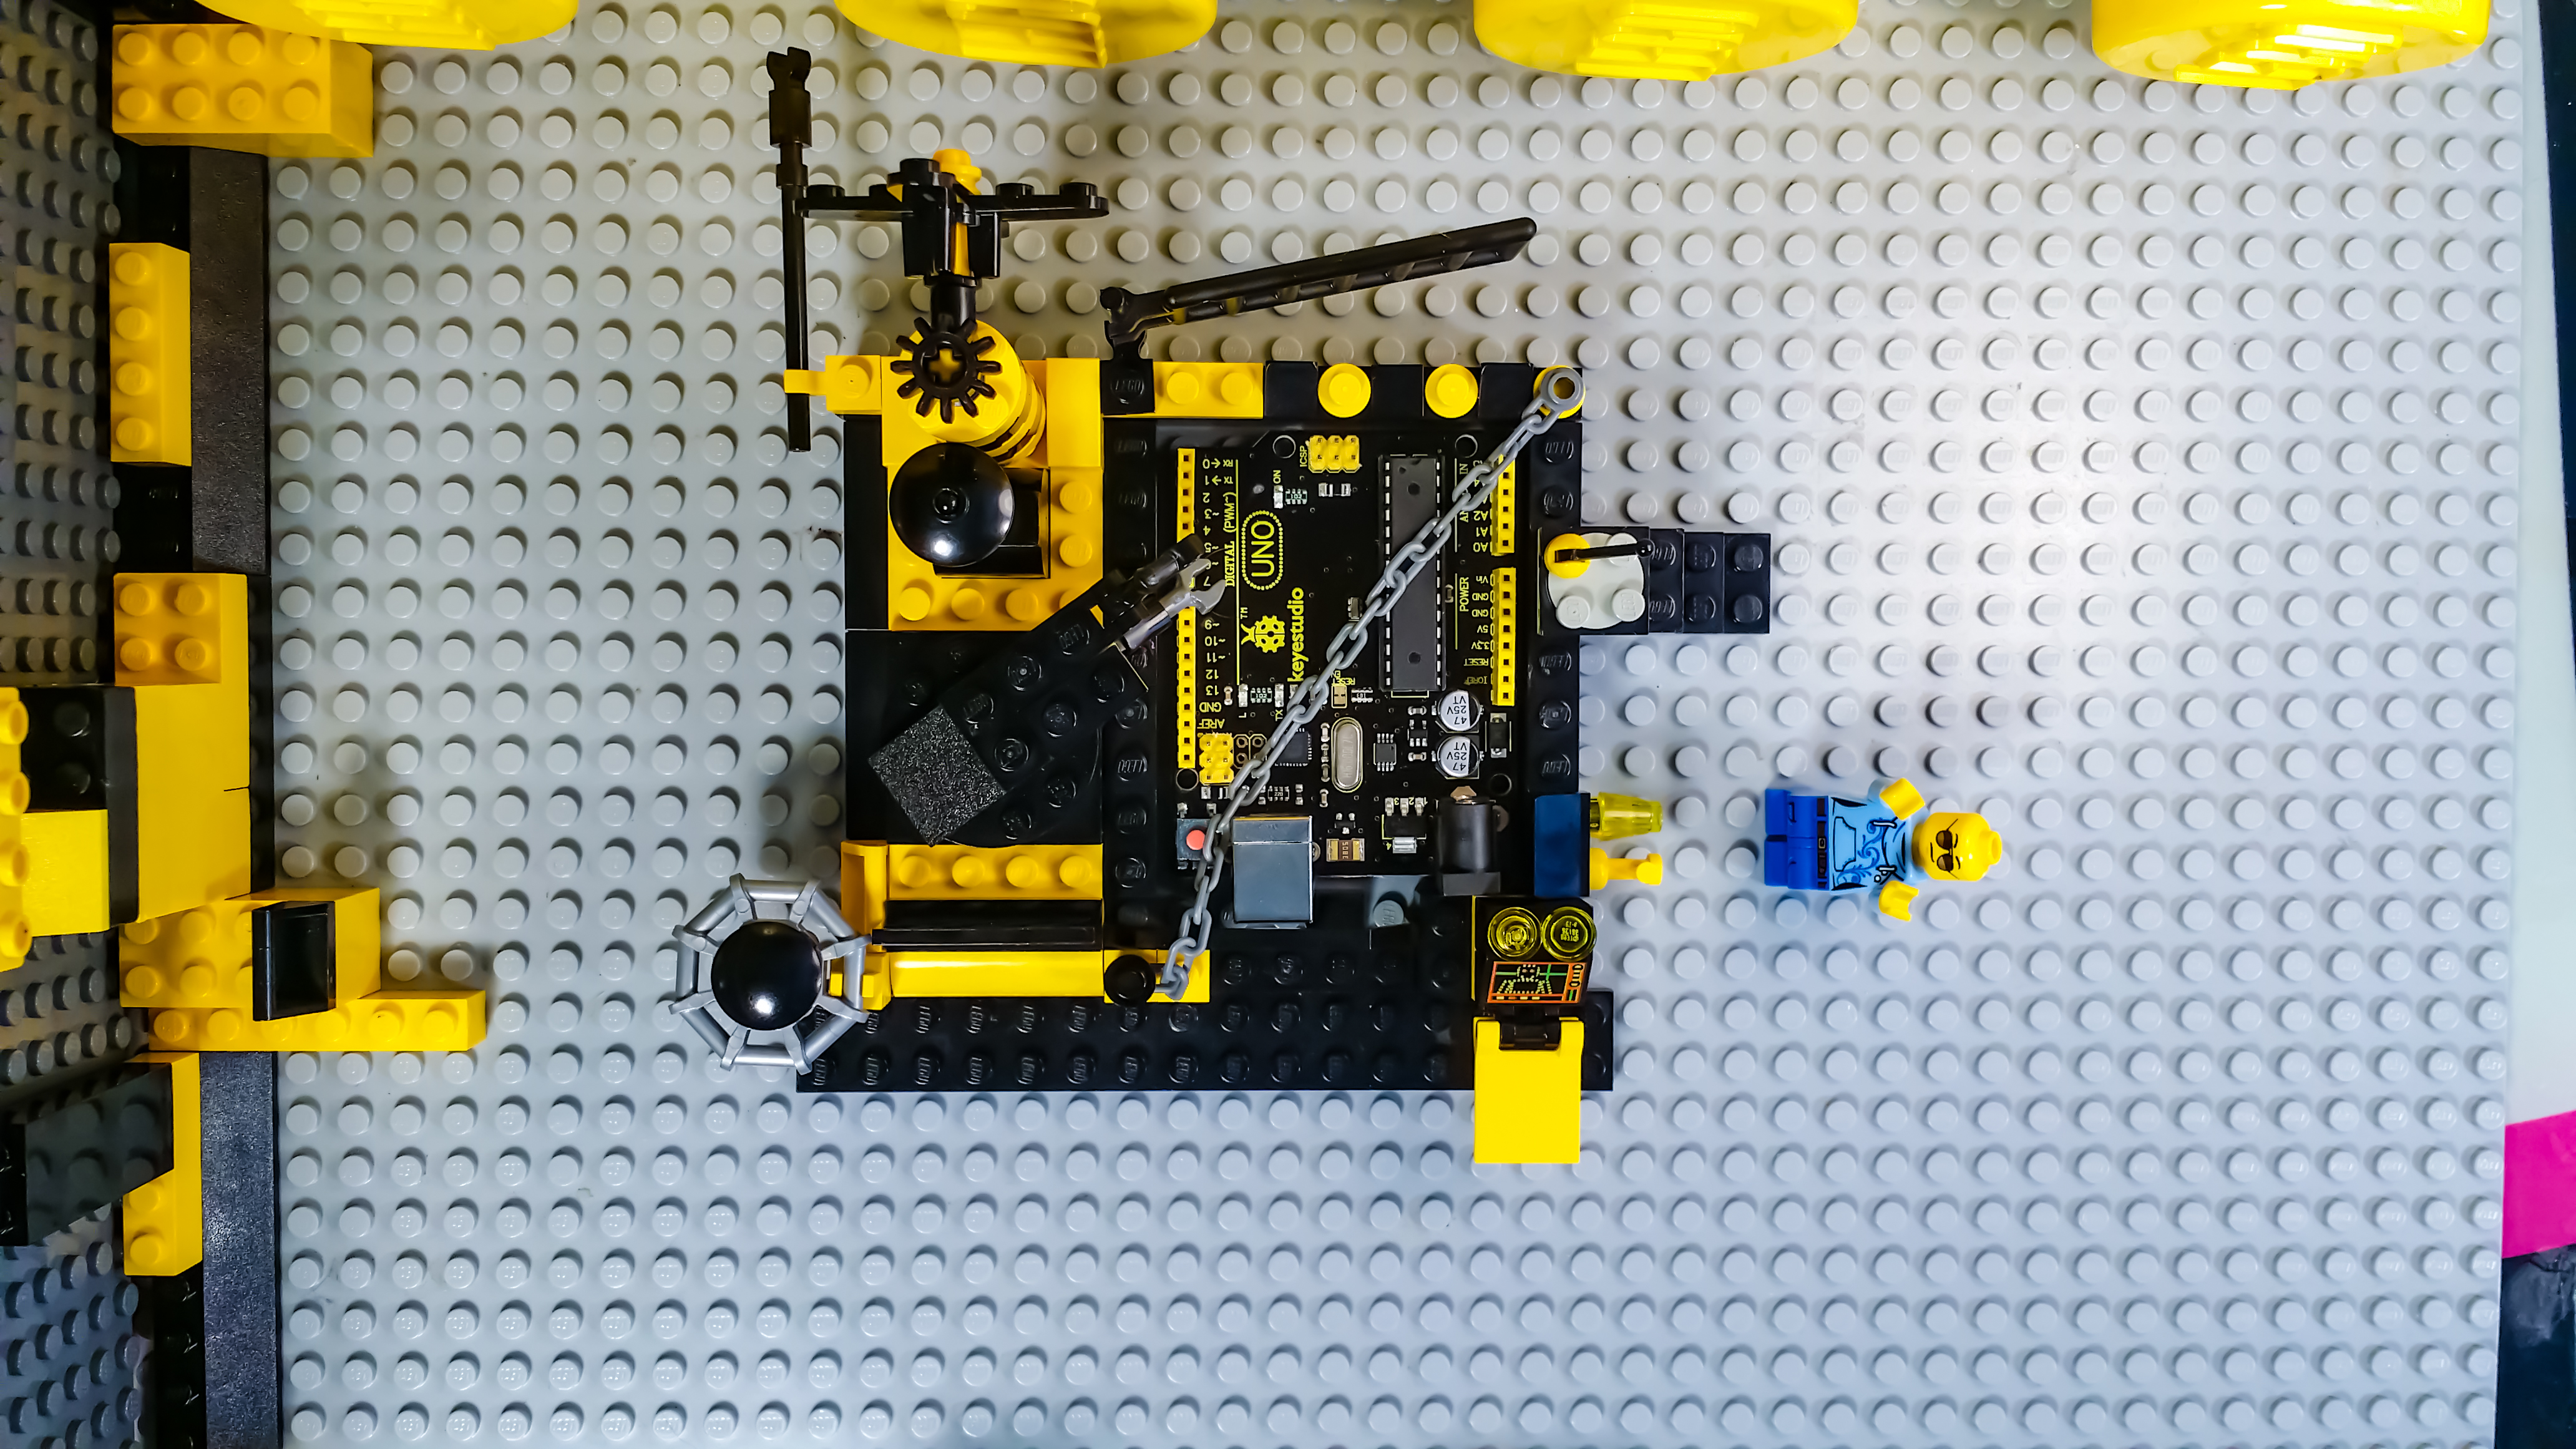
- Information Logic Loop: Watch the Lego Minifigure "Teacher" coordinate the status in the animated video while the LED blinks in real-time.
Hardware Infrastructure
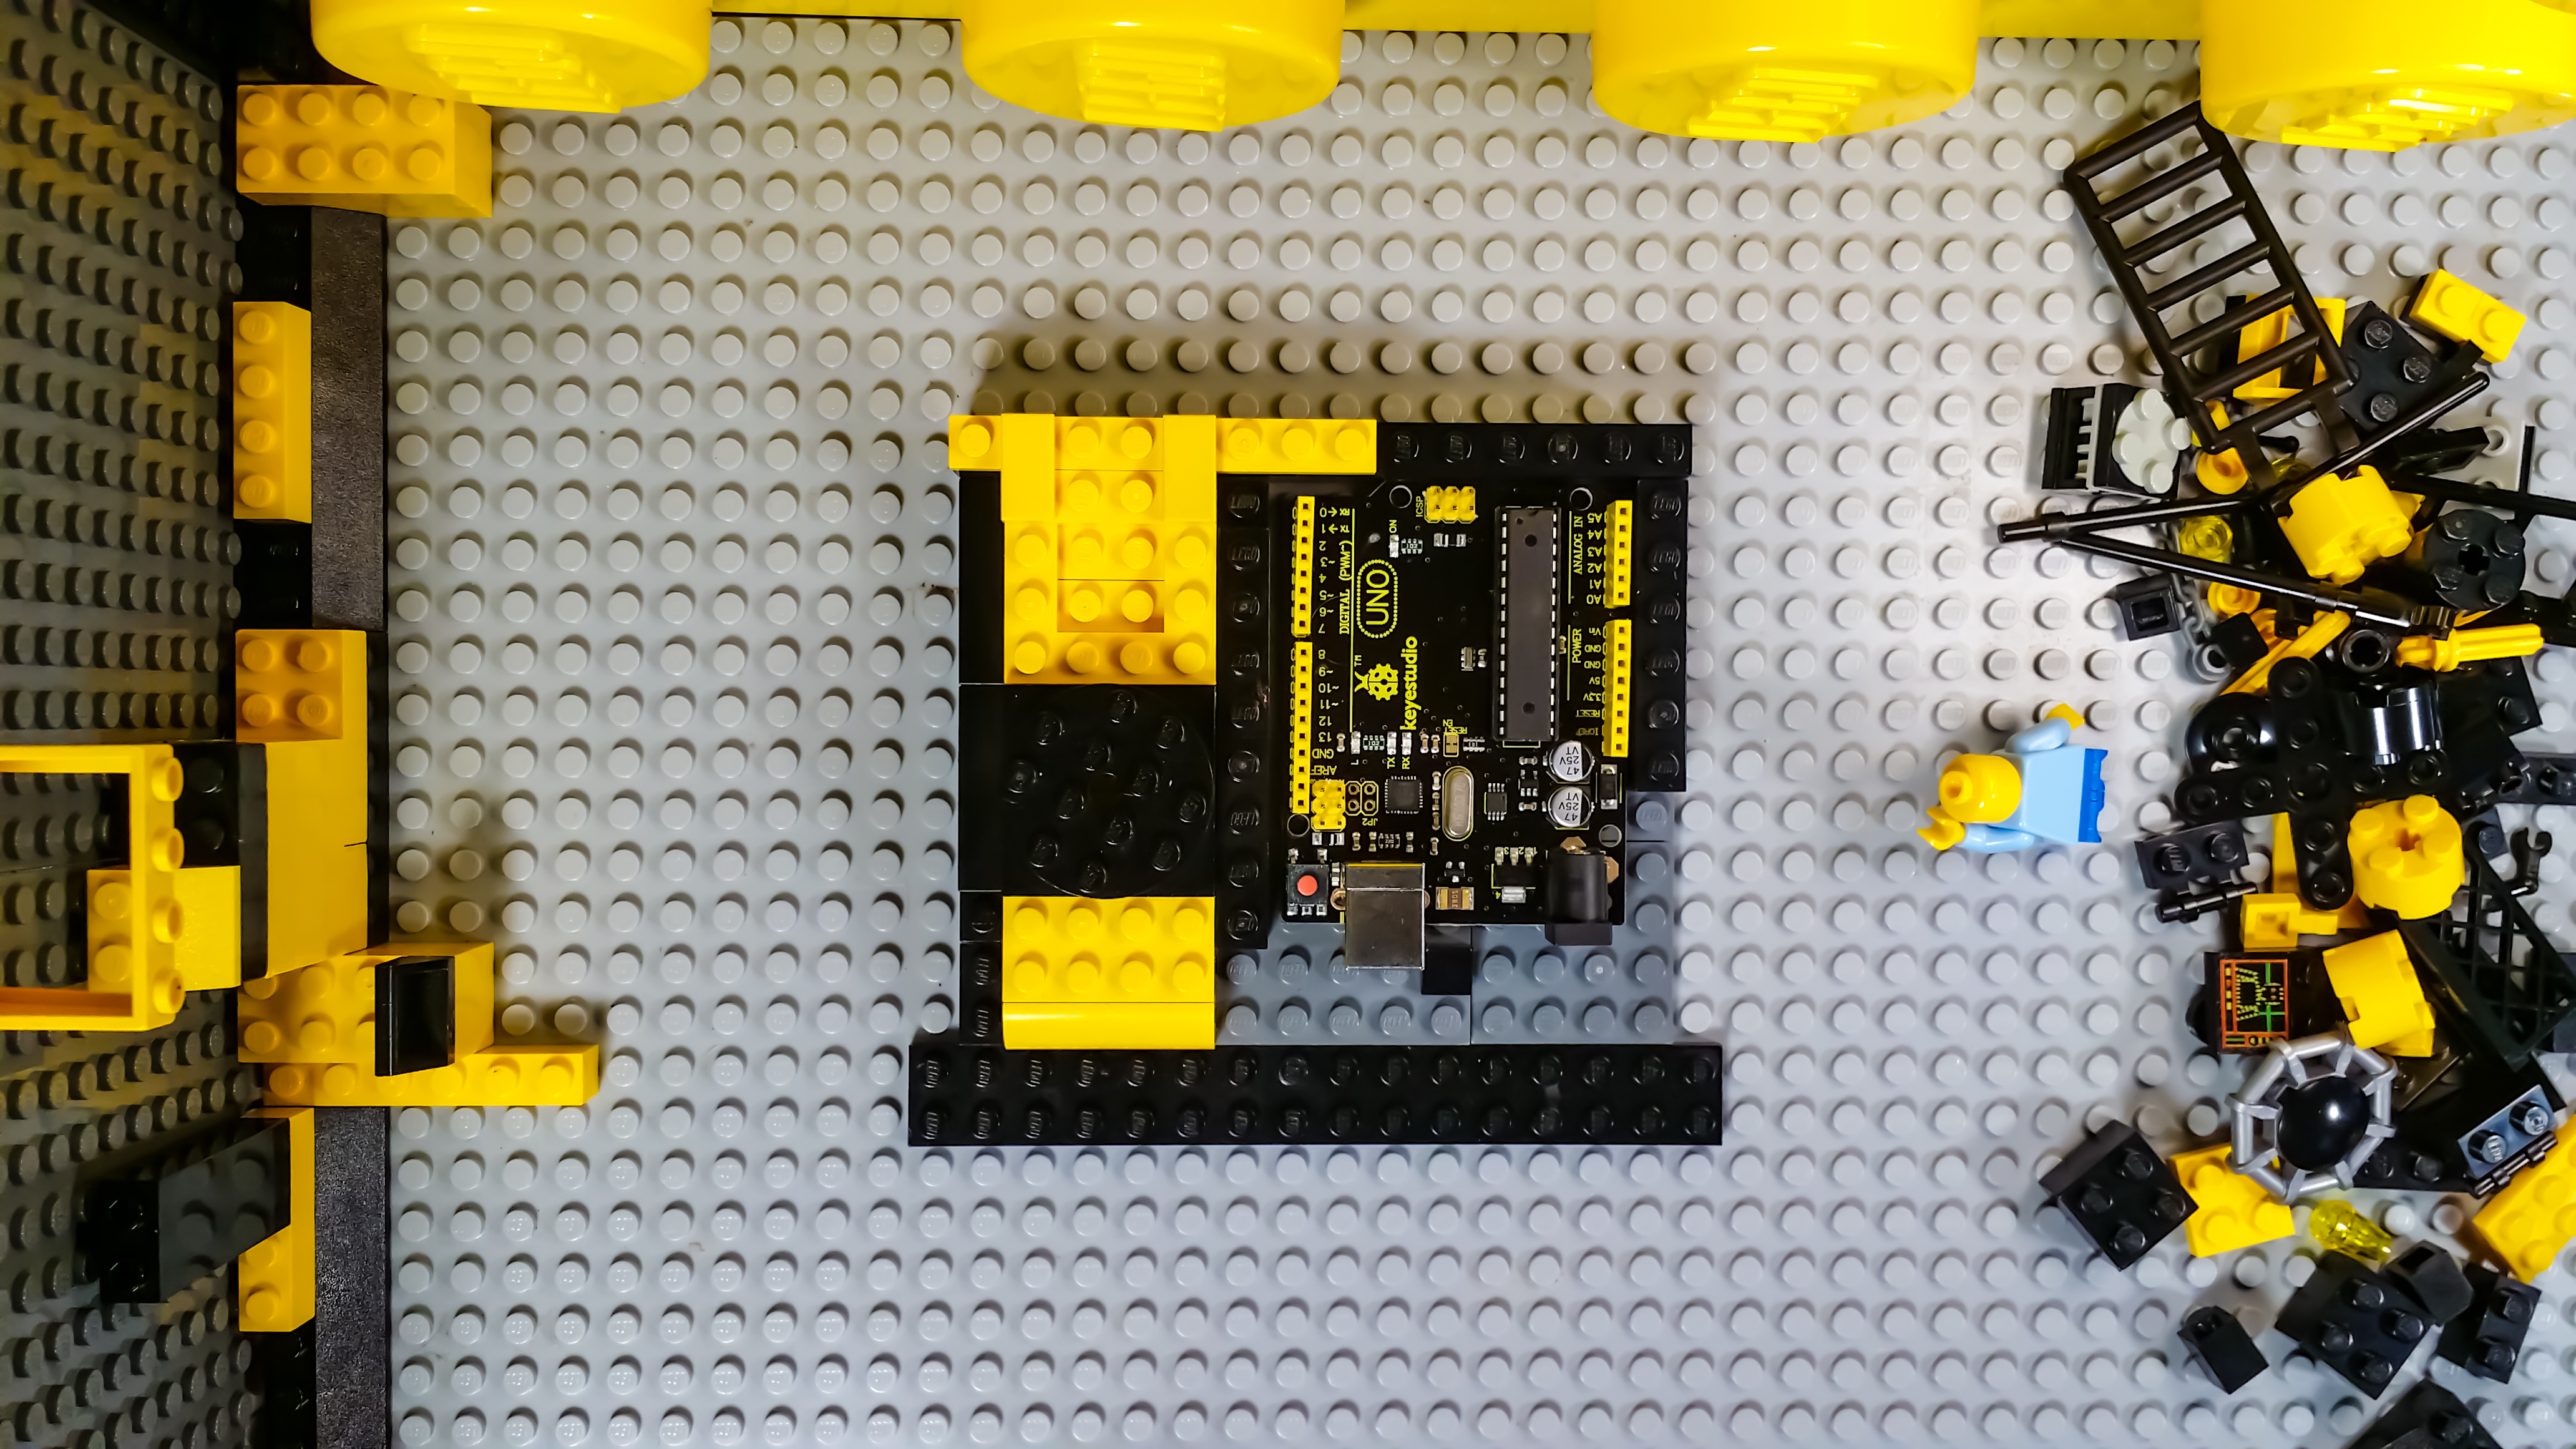
- Arduino Uno: The "brain" of the project, managing high-speed timing and coordinating the LED output.
- Lego Bricks & Base: Providing a clear and playful workspace for your first successful coding mission.
- Lego Minifigure: Acts as a high-performance project "Professor" for your beginner lesson.
- 5mm LED & Resistor: Providing clear and playful visual feedback for your first successful code upload.
- Micro-USB Cable: Used to program the Arduino and provide the primary power source for your Lego controller.
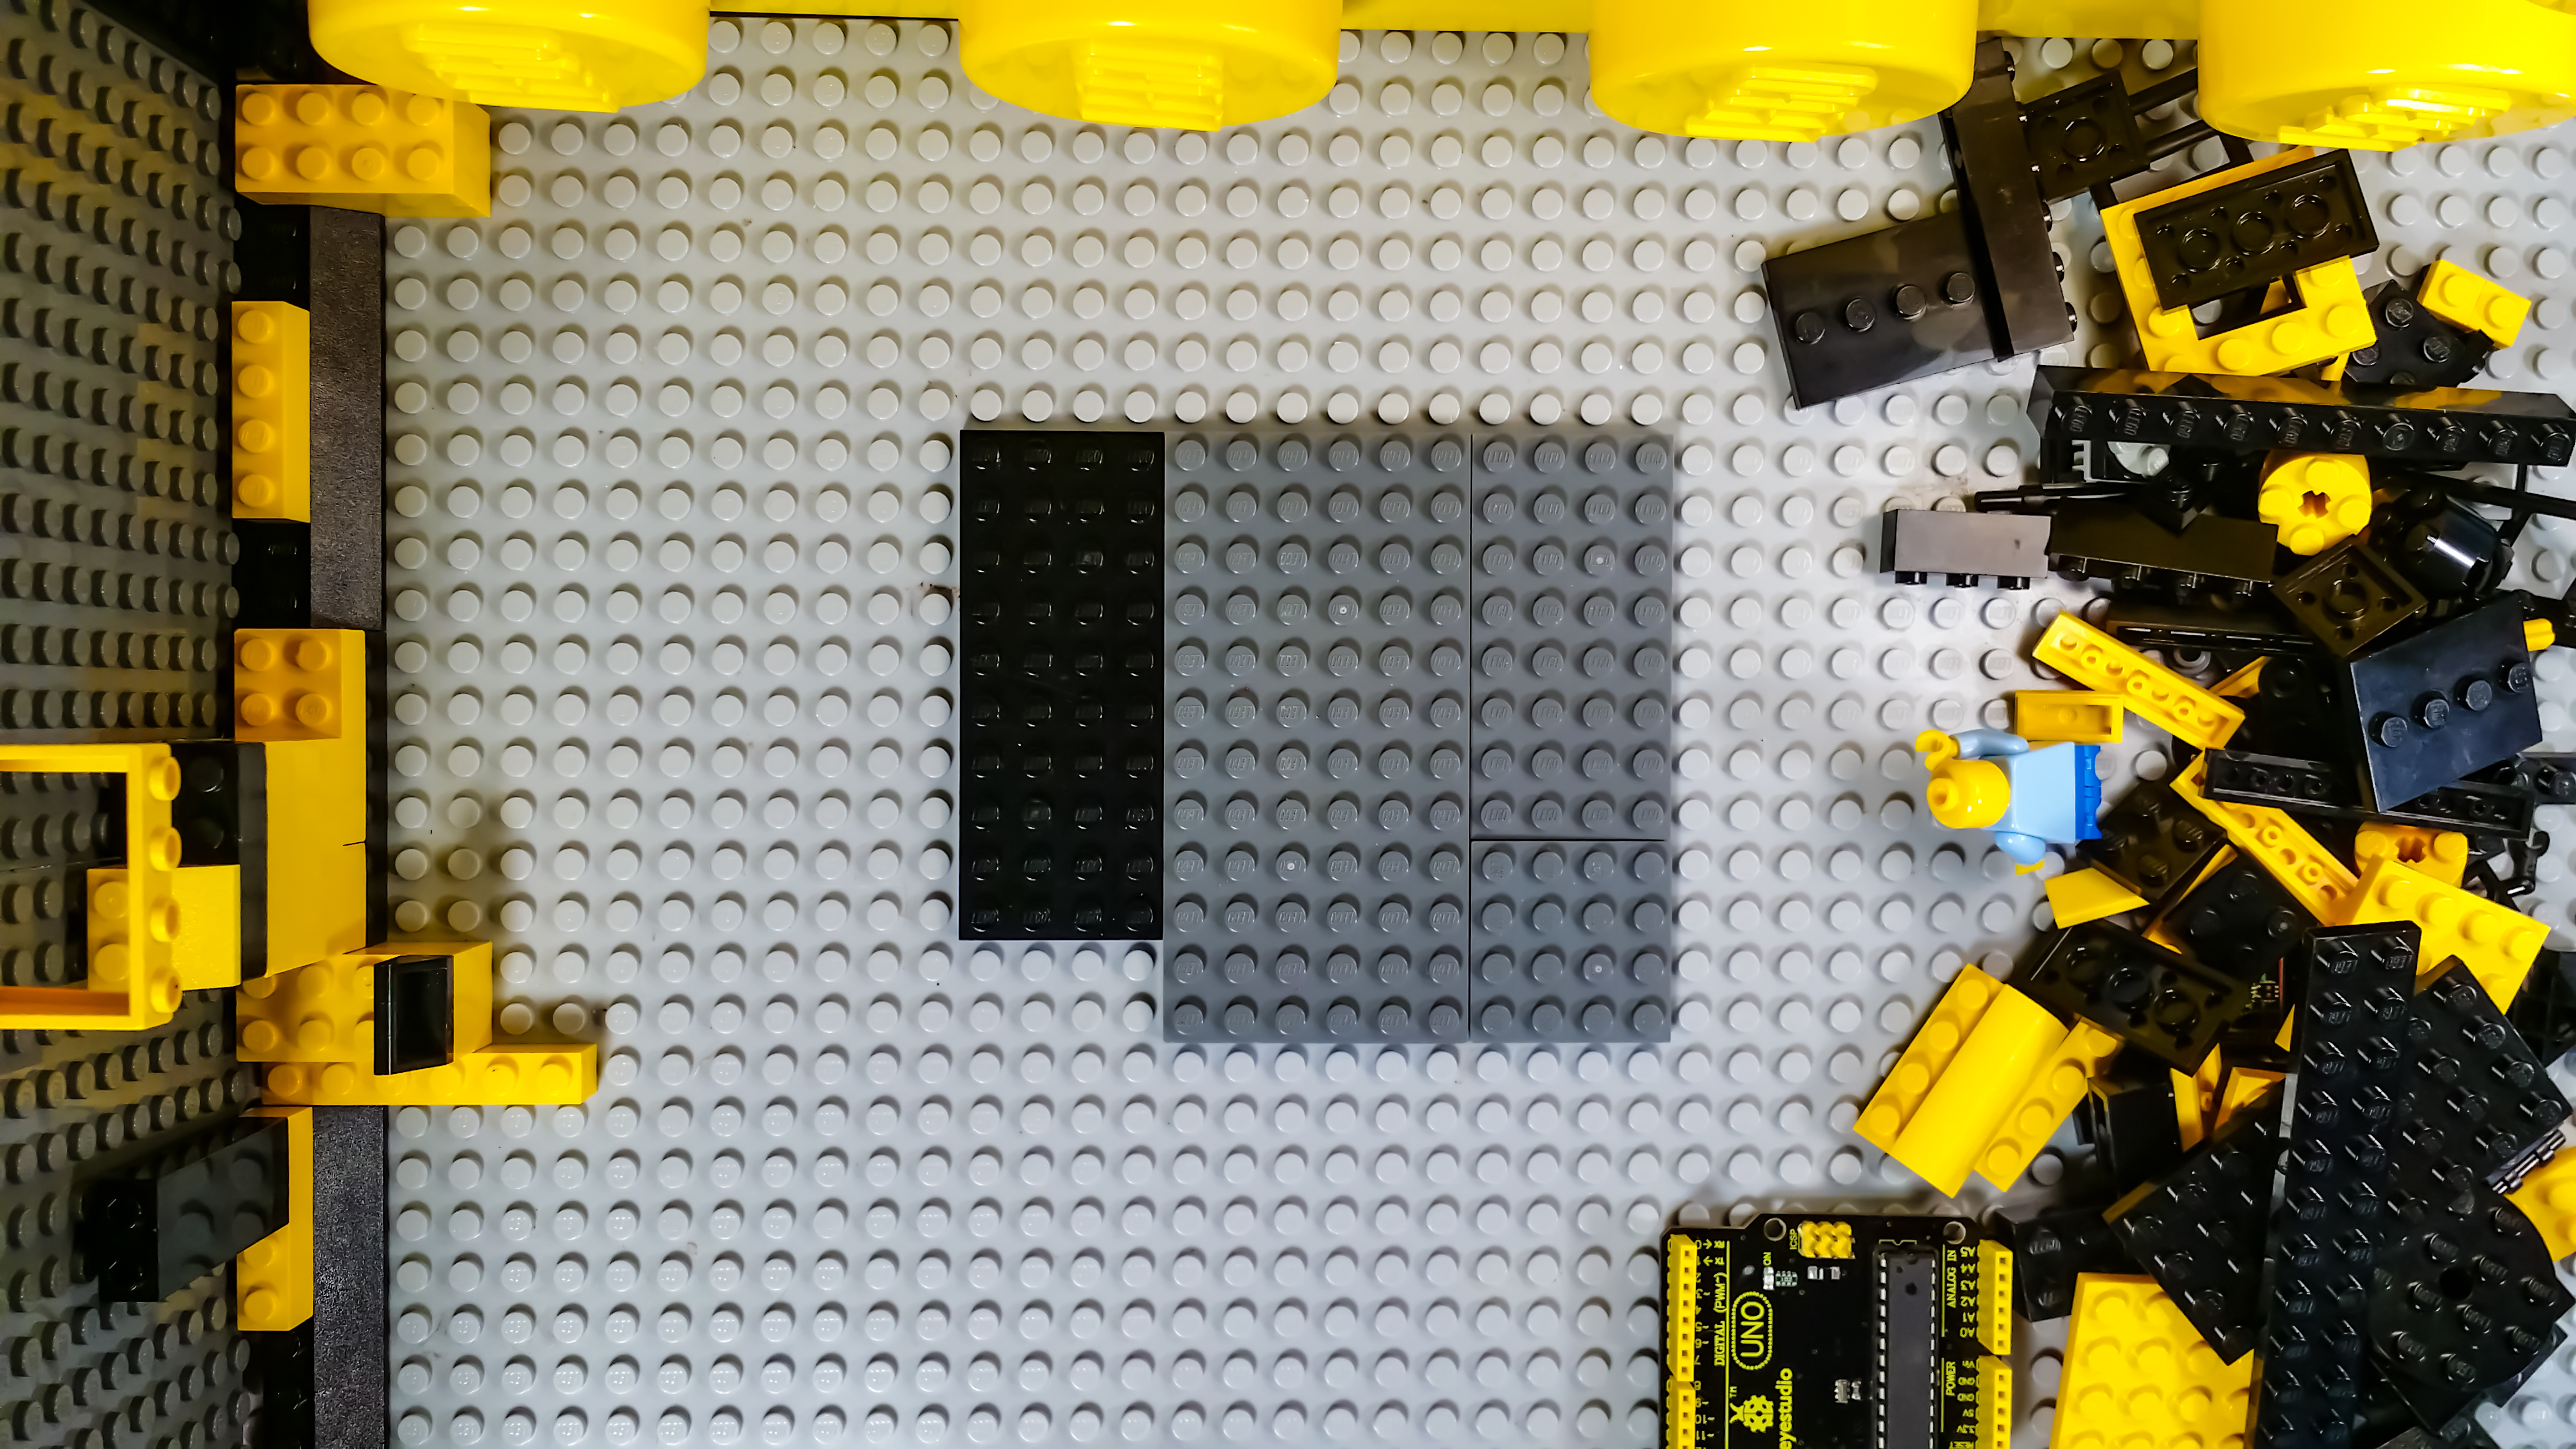
THE CASE
Making a case for your Arduino is fun and easy. I decided to add additional Legos parts so that the figure could work on the Arduino.
Coding and Interaction Step-by-Step
The Lego blink process is designed to be very user-friendly:
- Initialize Hardware: Build your "Robot Lab" using the Lego bricks around the Arduino and seat the LED logic on the breadboard.
- Setup Output Sync: In the
setup()function, define your LED pin as anOUTPUT. - Internal Dialogue Loop: The Arduino constantly performs high-performance loop checks and updates the LED status in real-time.
- Visual Feedback Integration: Watch your LED automatically become a rhythmic visual signal, pulsing and following your code settings alongside your Lego teacher.
THE HEART OF IT
At the foundation of the Arduino and Maker community is the open source philosophy. Along with that comes the natural instinct to create tutorials and videos with others so that everyone can learn. That is what I discovered when I first came to this hub (Arduino and Hackster.) That is the idea behind the videos I have been making. I learn from other's videos and then I share what I learn in my own way.
Future Expansion
- OLED Identity Dashboard Integration: Add a small OLED display inside the Lego lab to show your "Blink Counter" and "Lego Score."
- Multi-sensor Climate Sync Synchronization: Connect a Piezo Buzzer to sound a "Beep" each time the LED blinks for a sound effect.
- Cloud Interface Registration Support Synchronization: Add a WiFi module (ESP8266/ESP32) and link to a specialized web-dashboard to monitor your Lego lab from your smartphone.
- Advanced Velocity Profile Customization Support: Add a specialized "Lego Motor" to your code to move a Lego gear whenever the LED blinks.
Lego Arduino Tutorial for Kids-Blink Sketch is a perfect project for any science enthusiast looking for a more interactive and engaging entry into electronics and coding!
[!NOTE] Combining Legos and Arduinos is a great way to make electronics projects more durable and portable for kids!