Project Perspective
Lil' Rover is a fundamental and innovative 4WD planetary rover project. By utilizing the essential building blocks—the high-torque motors and an Arduino—you'll learn how to navigate and explore any terrain using a specialized software logic and a robust hardware setup.
Technical Implementation: Motility and Driving
The project reveals the hidden layers of simple robotics:
- Mobility layer: Using Four High-Torque DC Motors, the rover can move across rough terrain by varying the speed of each motor pair.
- Actuation layer: An L298N Motor Driver Module provides the high current needed to drive all four motors from a low-voltage Arduino signal.
- Sequential Motion Loop: The Arduino code uses two
digitalWrite()oranalogWrite()signals to drive either the "Right" or "Left" motors at different speeds. - Sensing Interface layer: An optional Ultrasonic Sensor (HC-SR04) acts as the rover's "eyes," detecting obstacles and triggering an automatic steering response.
Hardware Infrastructure
- Arduino Uno: The "brain" of the project, managing the motor driver signals and coordinating the locomotion and steering tasks.
- L298N Motor Driver: Effectively handles the high-voltage power required to drive all four motor coils while protecting the Arduino.
- DC High-Torque Motors: Providing the physical movement and orientation for each of your rover's travels.
- 4WD Robot Chassis: The physical frame that houses the Arduino, motor driver, and battery pack.
- 7.4V Li-Po Battery: Essential for providing the high current needed to drive all four motors simultaneously.
- Micro-USB Cable: Use to program the Arduino directly from your computer for power and code.
Locomotion and Feedback Loop
The planetary rover is designed to be very efficient:
- Initialize Hardware: Correctly seat the motor driver and motors on your 4WD chassis.
- Setup Outputs: In the Arduino
setup()function, configure the motor driver's control pins asOUTPUT. - Driving Execution: Use a simple sequence of commands (e.g.,
forward(),stop(),left()) to navigate across the floor. - Visual and Audio Feedback: Watch the movement update on the floor in real-time while a small buzzer or LED can be used to indicate "Path Found."
Build Process
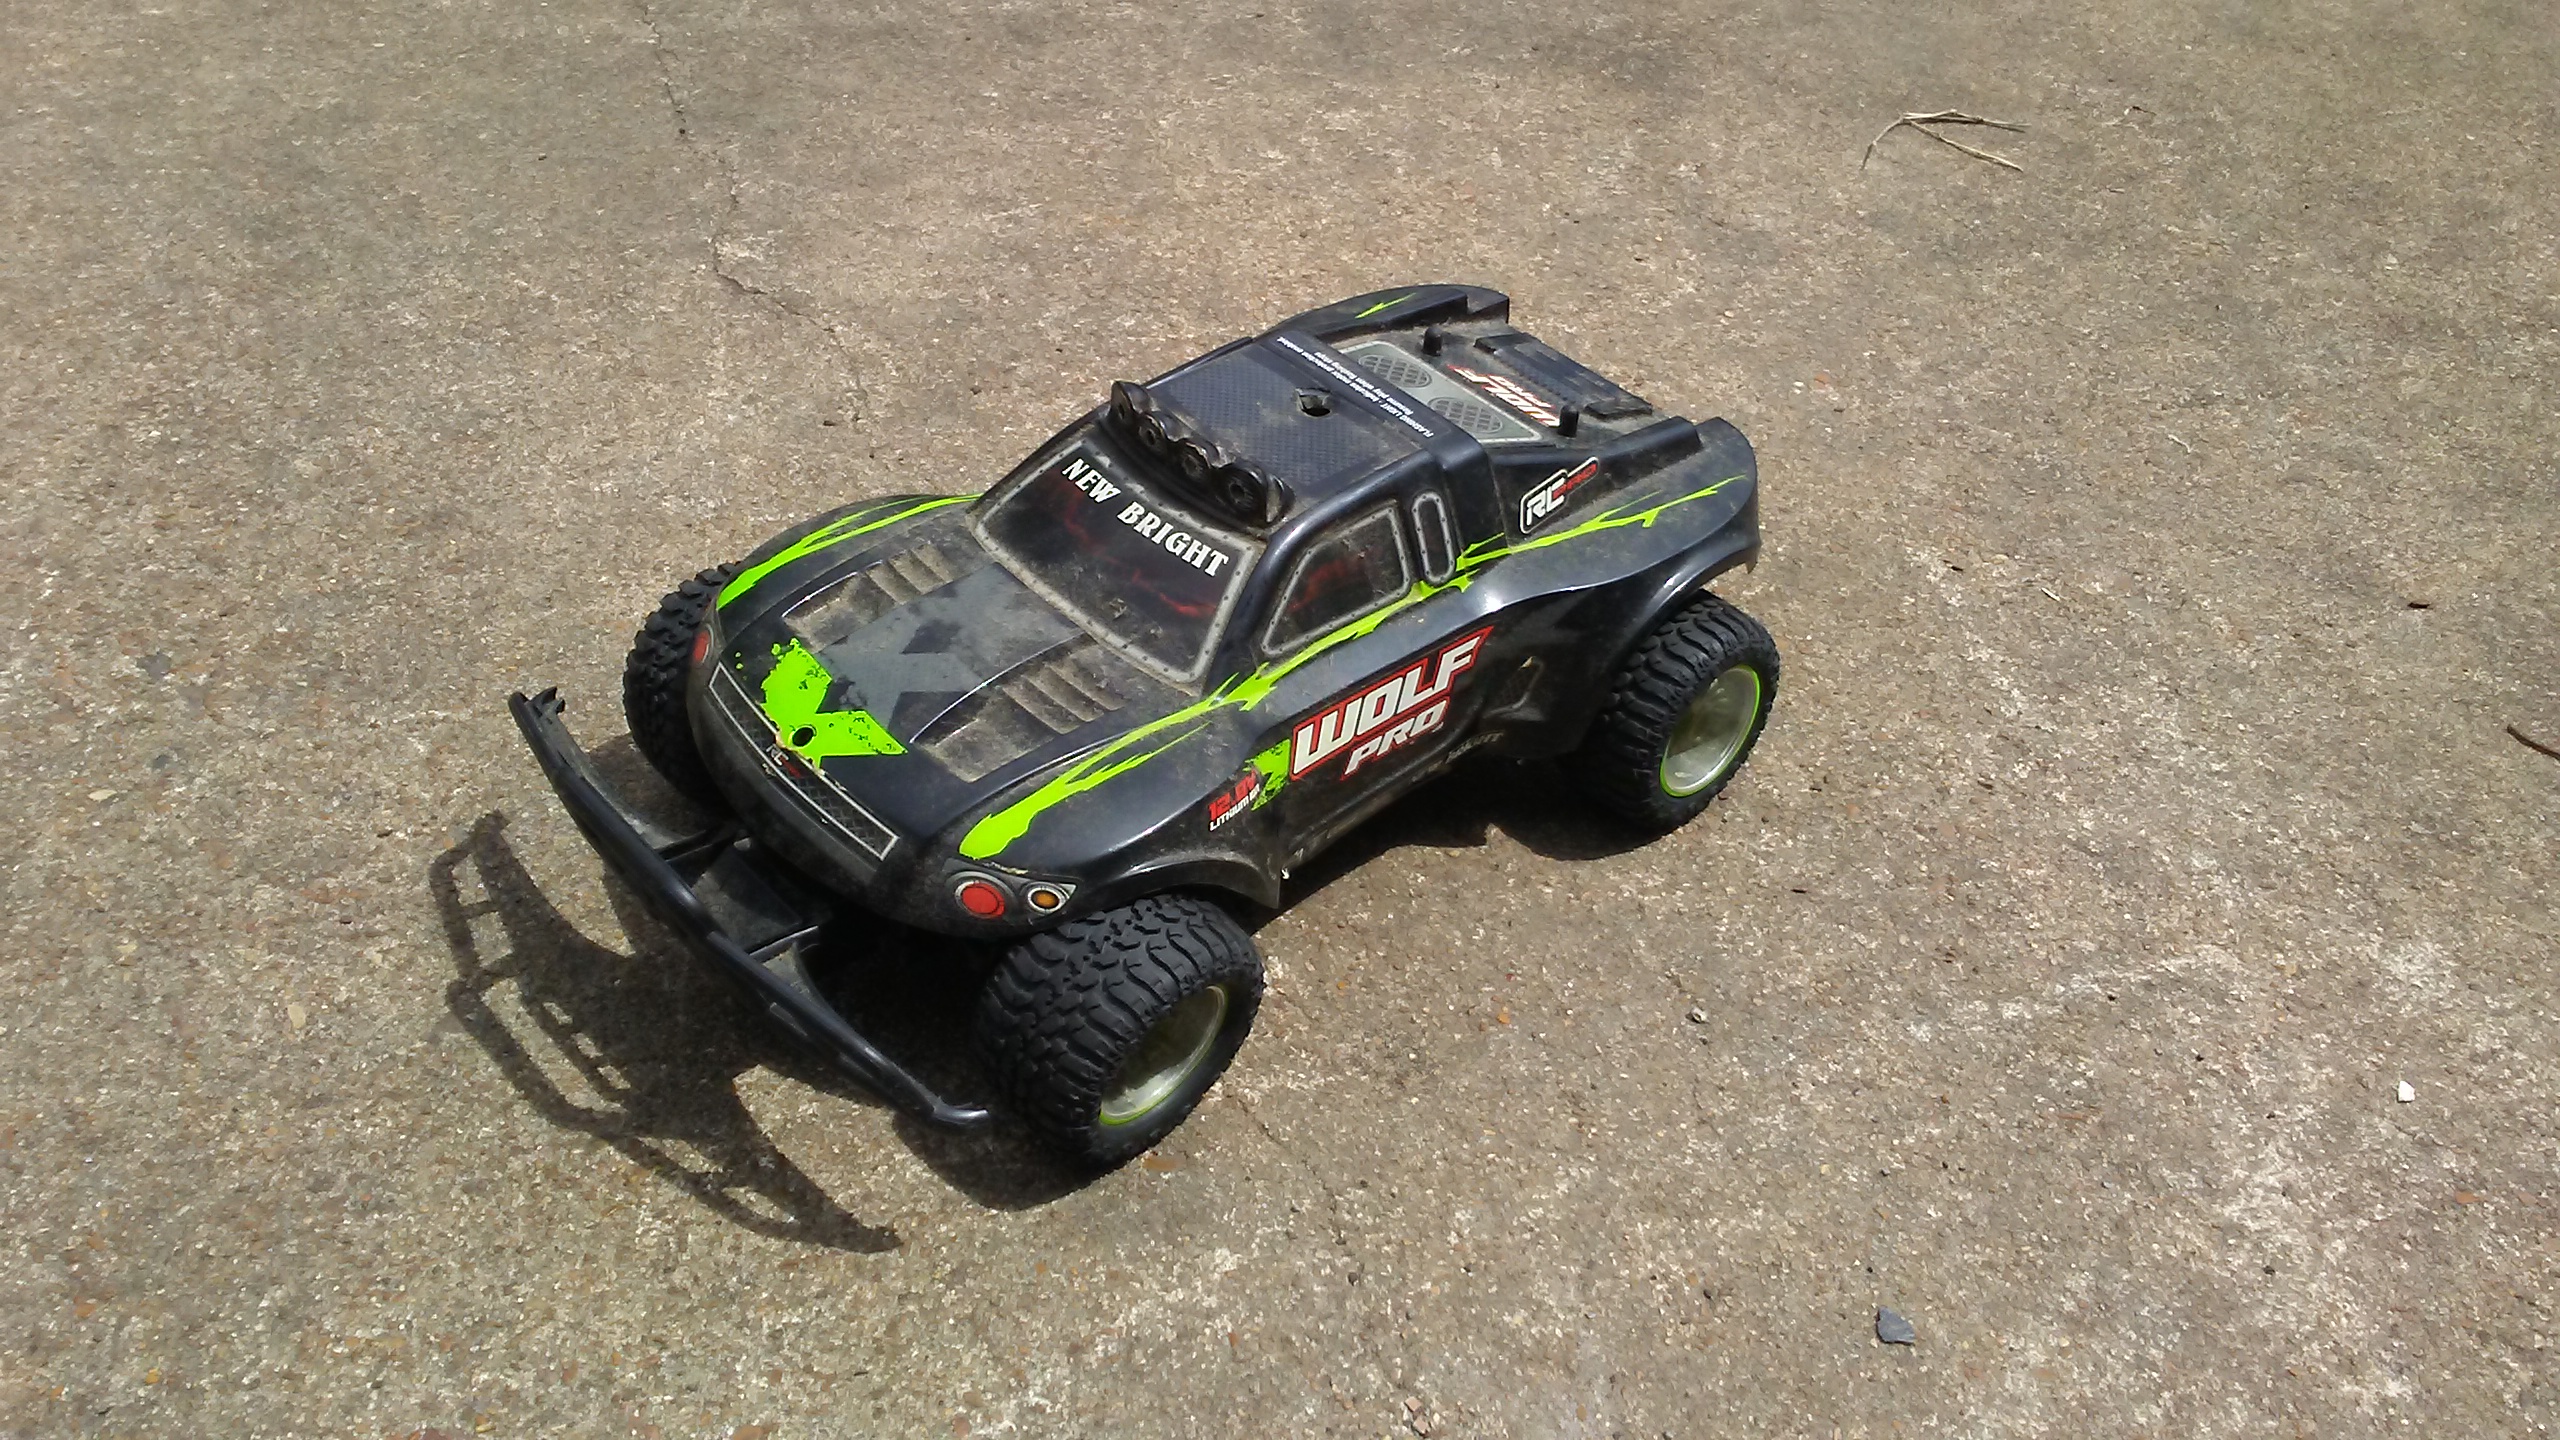
To start off the project we used an old RC car from New Bright. We removed the cover and control board. We then secured a sheet of ABS plastic and mounted the battery holder and L298N motor driver. Using PVC pipe as stand-offs we mounted the top platform where the arduino board, esp32 cam and buck converter will be placed. We also placed a 3D printed camera holder on top of a servo motor to allow the camera to look around.


Future Expansion
- OLED Identity Dashboard Integration: Add a small OLED display to show a larger life bar and the "Reality Index" for your rover's path.
- Cloud Interface Registration Support: Add a WiFi module (ESP8266/ESP32) and link to a cloud dashboard to precisely control and track your rover from your smartphone.
- Advanced Velocity Profile Customization Support: Add an IR receiver and a remote control as a backup manual control system.
- Multi-Sensor Bio-Security Integration Support: Connect several sensors (like an ultrasonic) to help the rover navigate through a more complex "Reality" or maze.
Lil' Rover is a perfect project for any electronics enthusiast looking for a more interactive and engaging robotics tool!