Hello World: The Simple LED Circuit
Before you can build robots or smart homes, you must master the fundamental building block of electronics: the LED Circuit. This project teaches you how to control a digital output and protect your components from damage.
Why use a Resistor?
The most important lesson in this project is Current Limiting. An LED is a diode with very little internal resistance. If you connect it directly to the Arduino's 5V pin, it will draw too much current and burn out instantly.
- The Solution: We place a 220-ohm resistor in series with the LED to limit the current to a safe level (around 20mA).
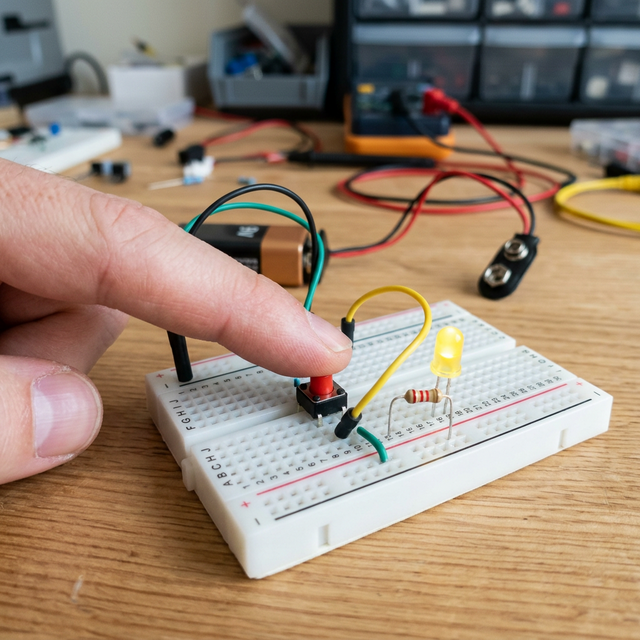
The Hardware
- Arduino Uno: Used here as a 5V power source.
- LED (any color): The output device.
- 220-ohm Resistor: The protector.
- Breadboard and Jumper Wires: For clean, solderless connections.

What You'll Learn
By building this, you'll understand polarities (the Anode + and Cathode - of an LED) and the basic layout of a breadboard. It's the simplest project there is, but it's the foundation for every blinking light, indicator, and screen in the world.