Project Perspective
Make Your OWN Arduino is the fundamental and innovative "Silicon Bridge" for modern electronics developers. By focusing on the essential building blocks—the ATmega328P processing core and your external clock-stability logic—you'll learn how to orient yourself and automate your bare-metal circuits using a specialized software logic and robust manual setup.
Technical Implementation: Clock Oscillations and Voltage Regulation
The project reveals the hidden layers of simple chip-to-logic interaction:
- Identification layer: The ATmega328P Chip acts as your high-resolution digital eye, measuring every point of the clock-cycles via the 16MHz crystal.
- Conversion layer: The system uses high-speed digital Pins to receive high-speed binary instructions to coordinate mission-critical sensing tasks.
- Power Interface layer: A 7805 Voltage Regulator provides a high-precision 5V rail feedback for your circuit check (e.g., Input 7-12V).
- Programming Interface layer: An FTDI Adapter provides a manual code-override or serial status check during initial calibration to coordinate status.
- Processing Logic layer: The Arduino code follows a "bootloader-dispatch" (or instruction-cycle) strategy: it interprets the hex files and matches the register states to provide safe and rhythmic logic execution.
- Communication Dialogue Loop: Pulse bits are sent rhythmically to the Serial Monitor during initial calibration to coordinate status.
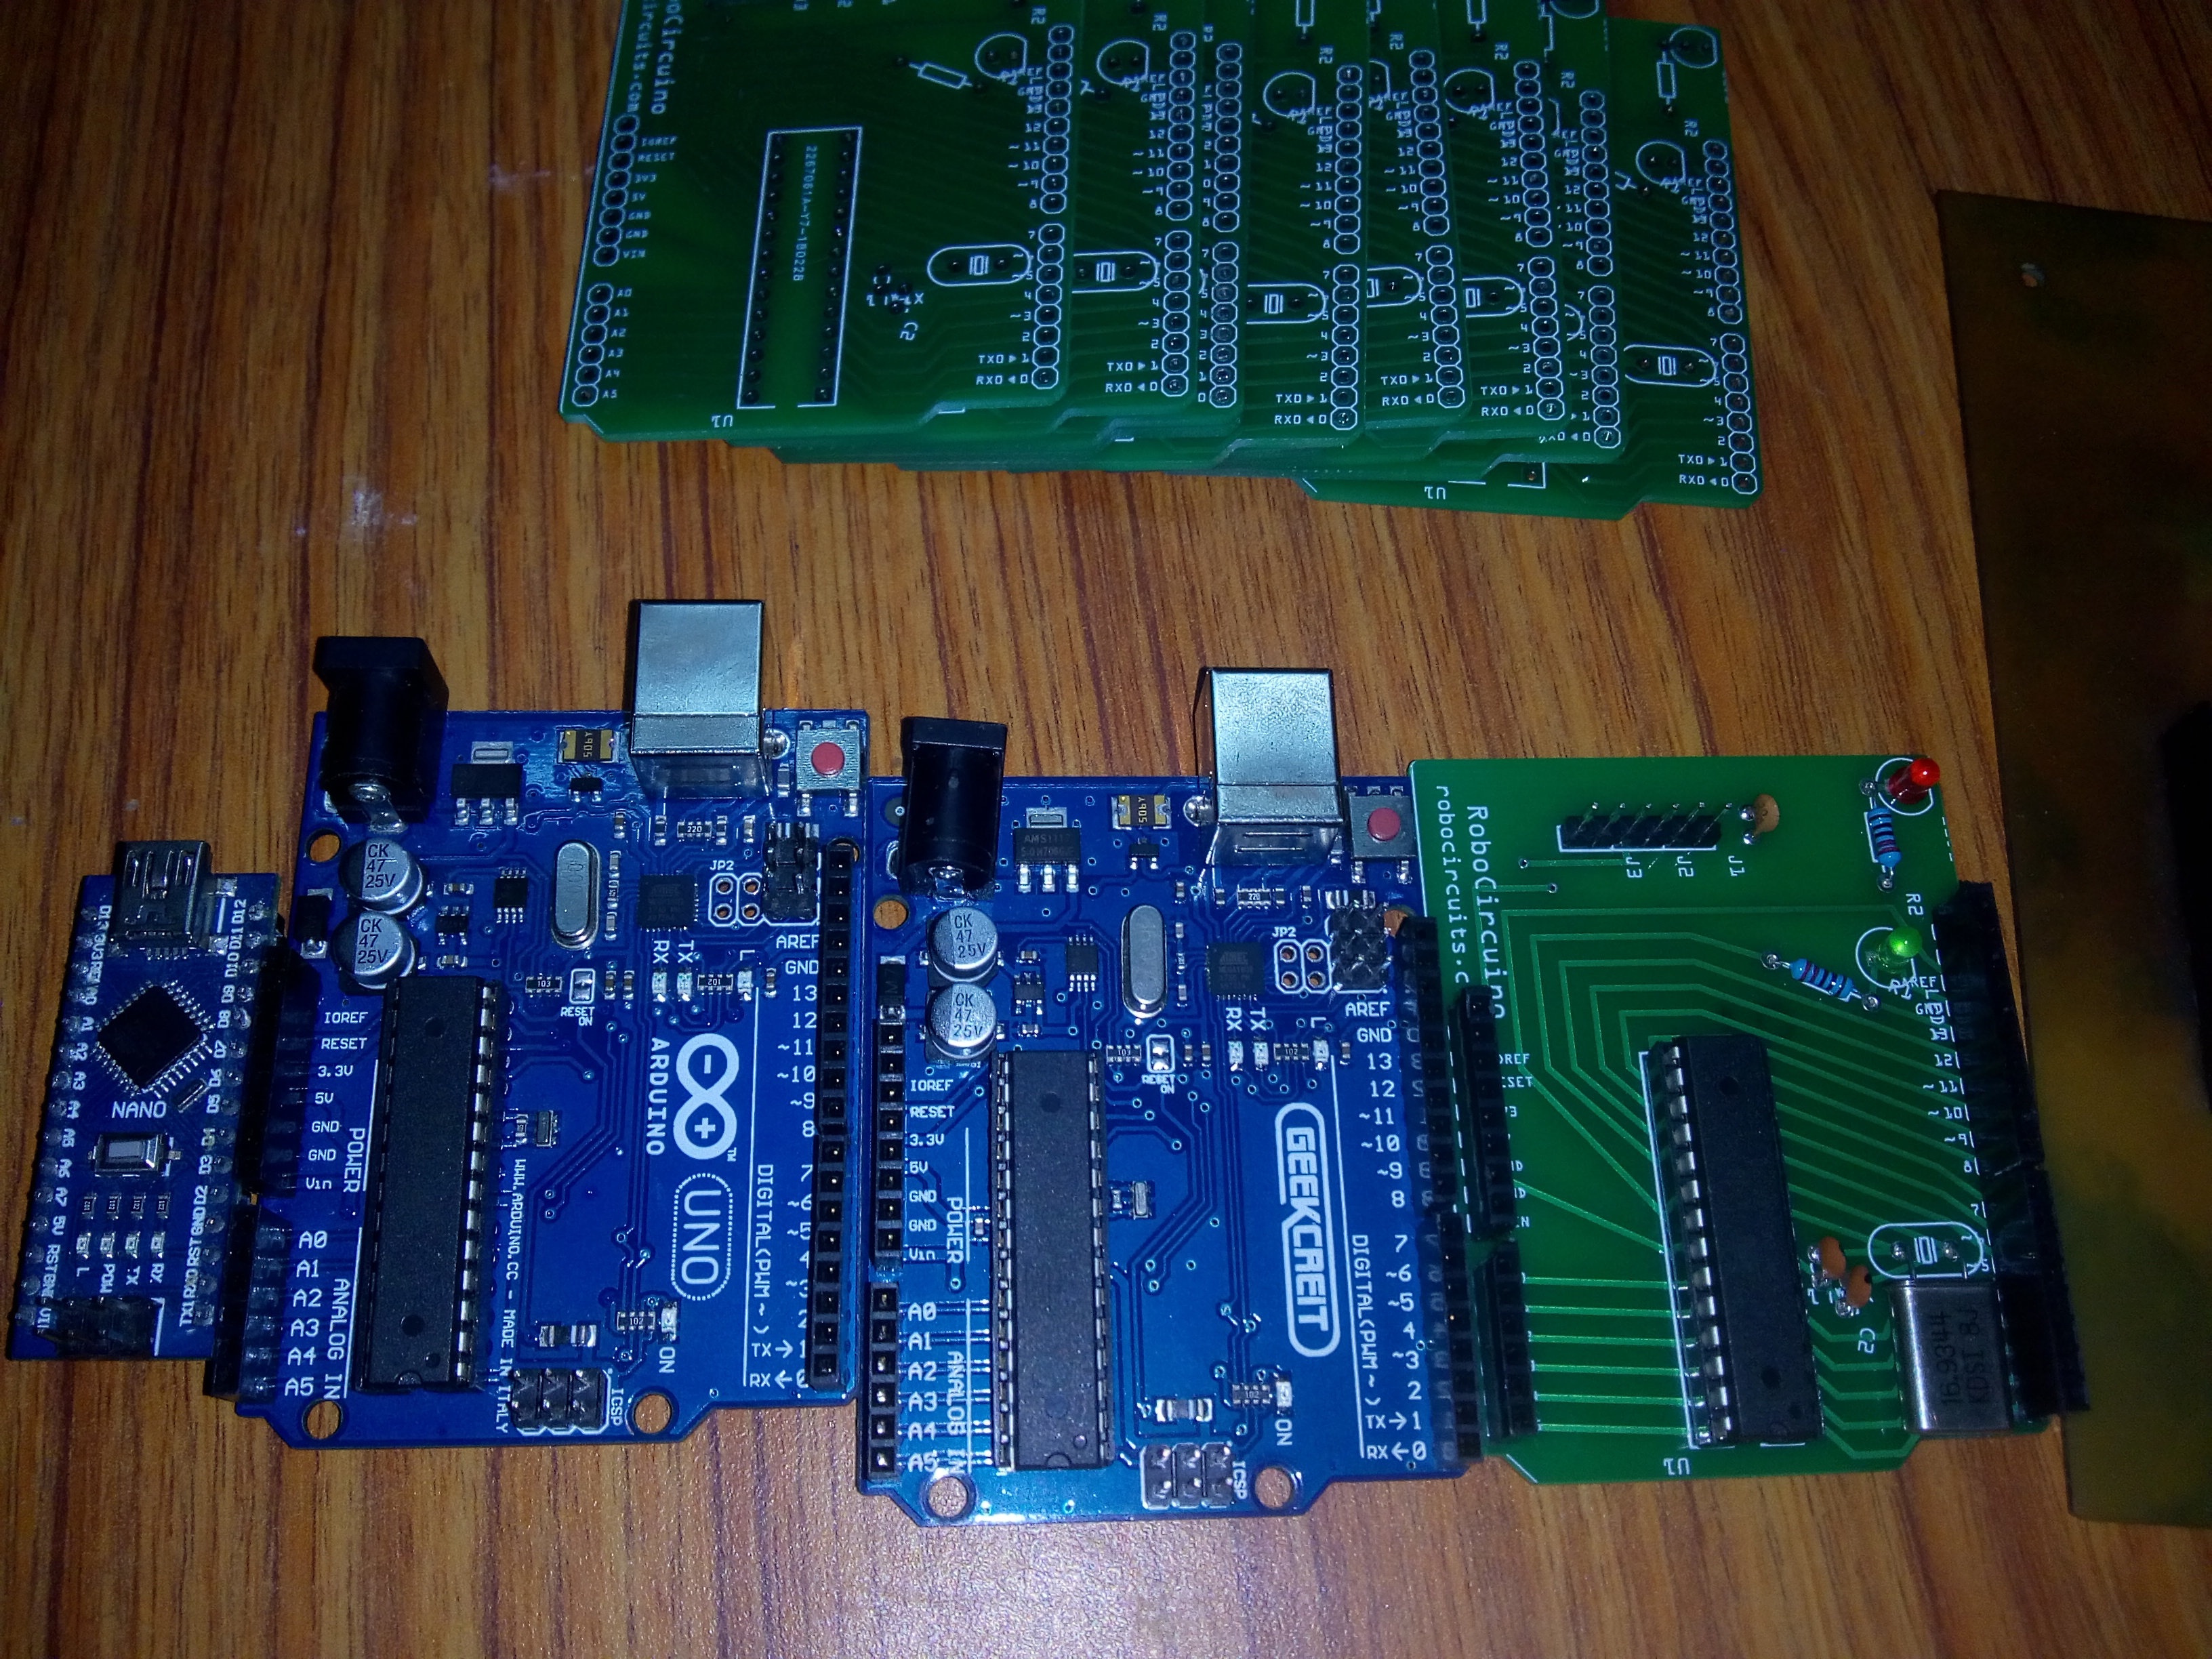
Hardware-Lab Infrastructure
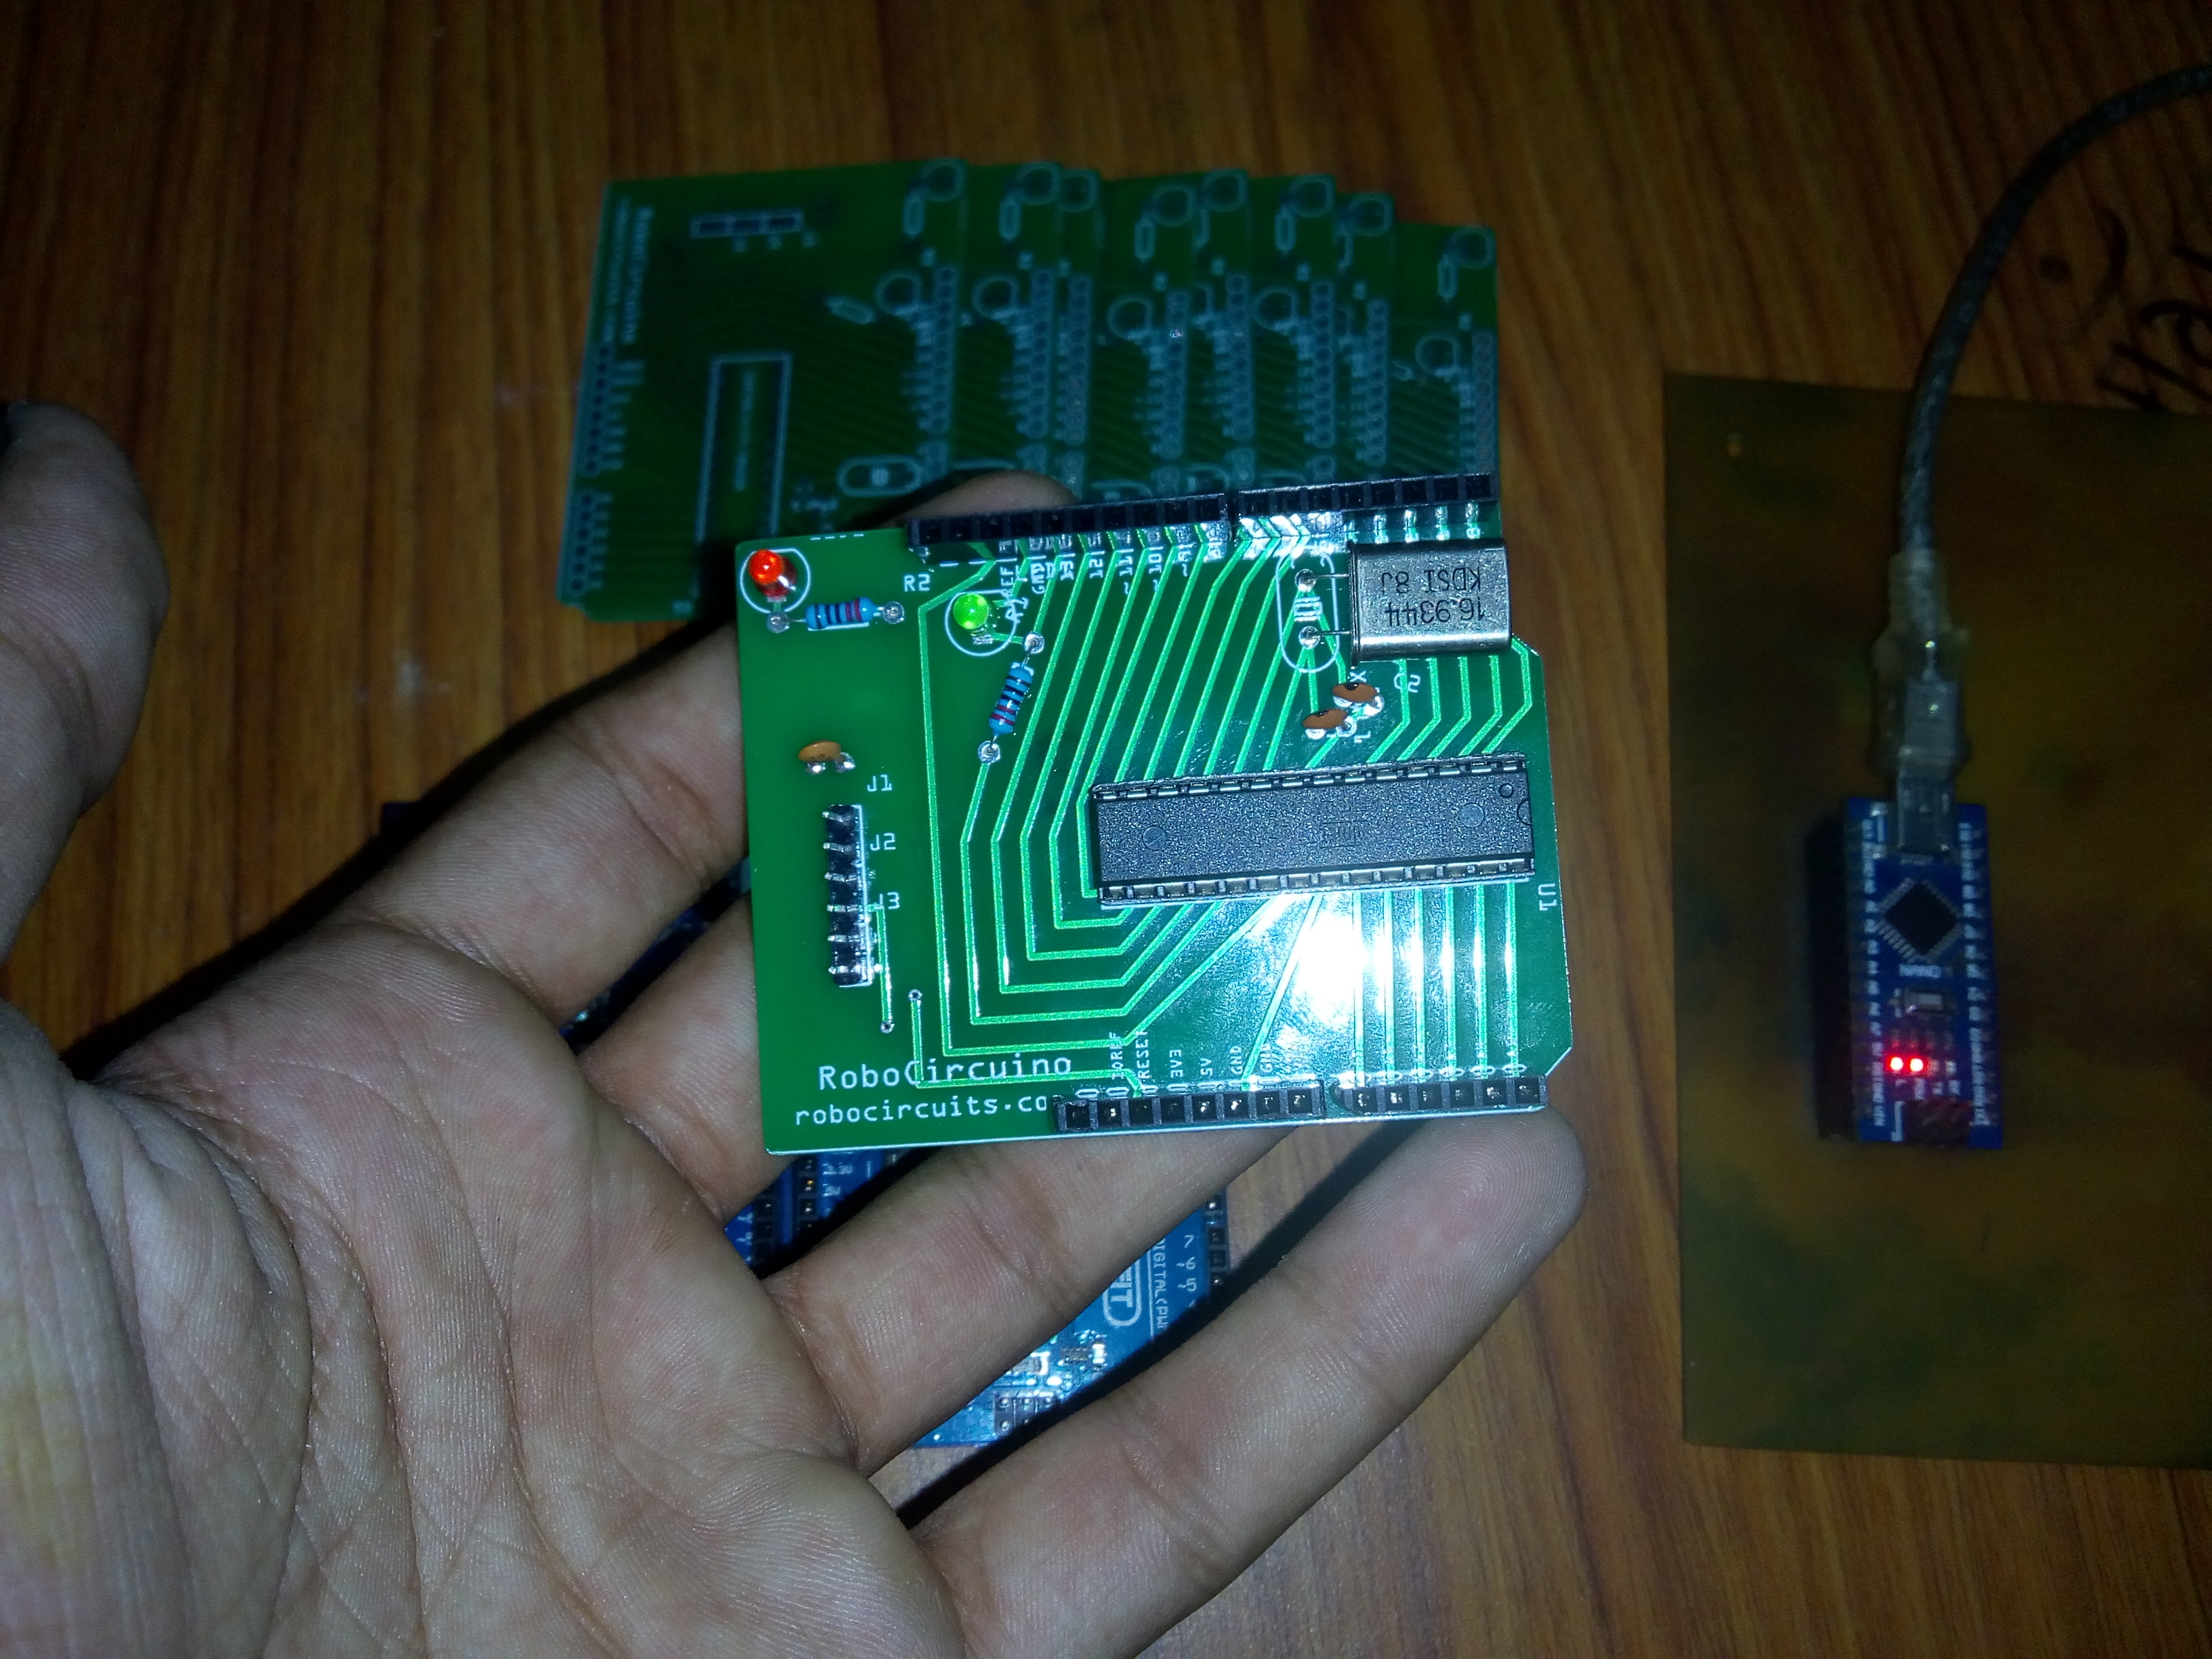
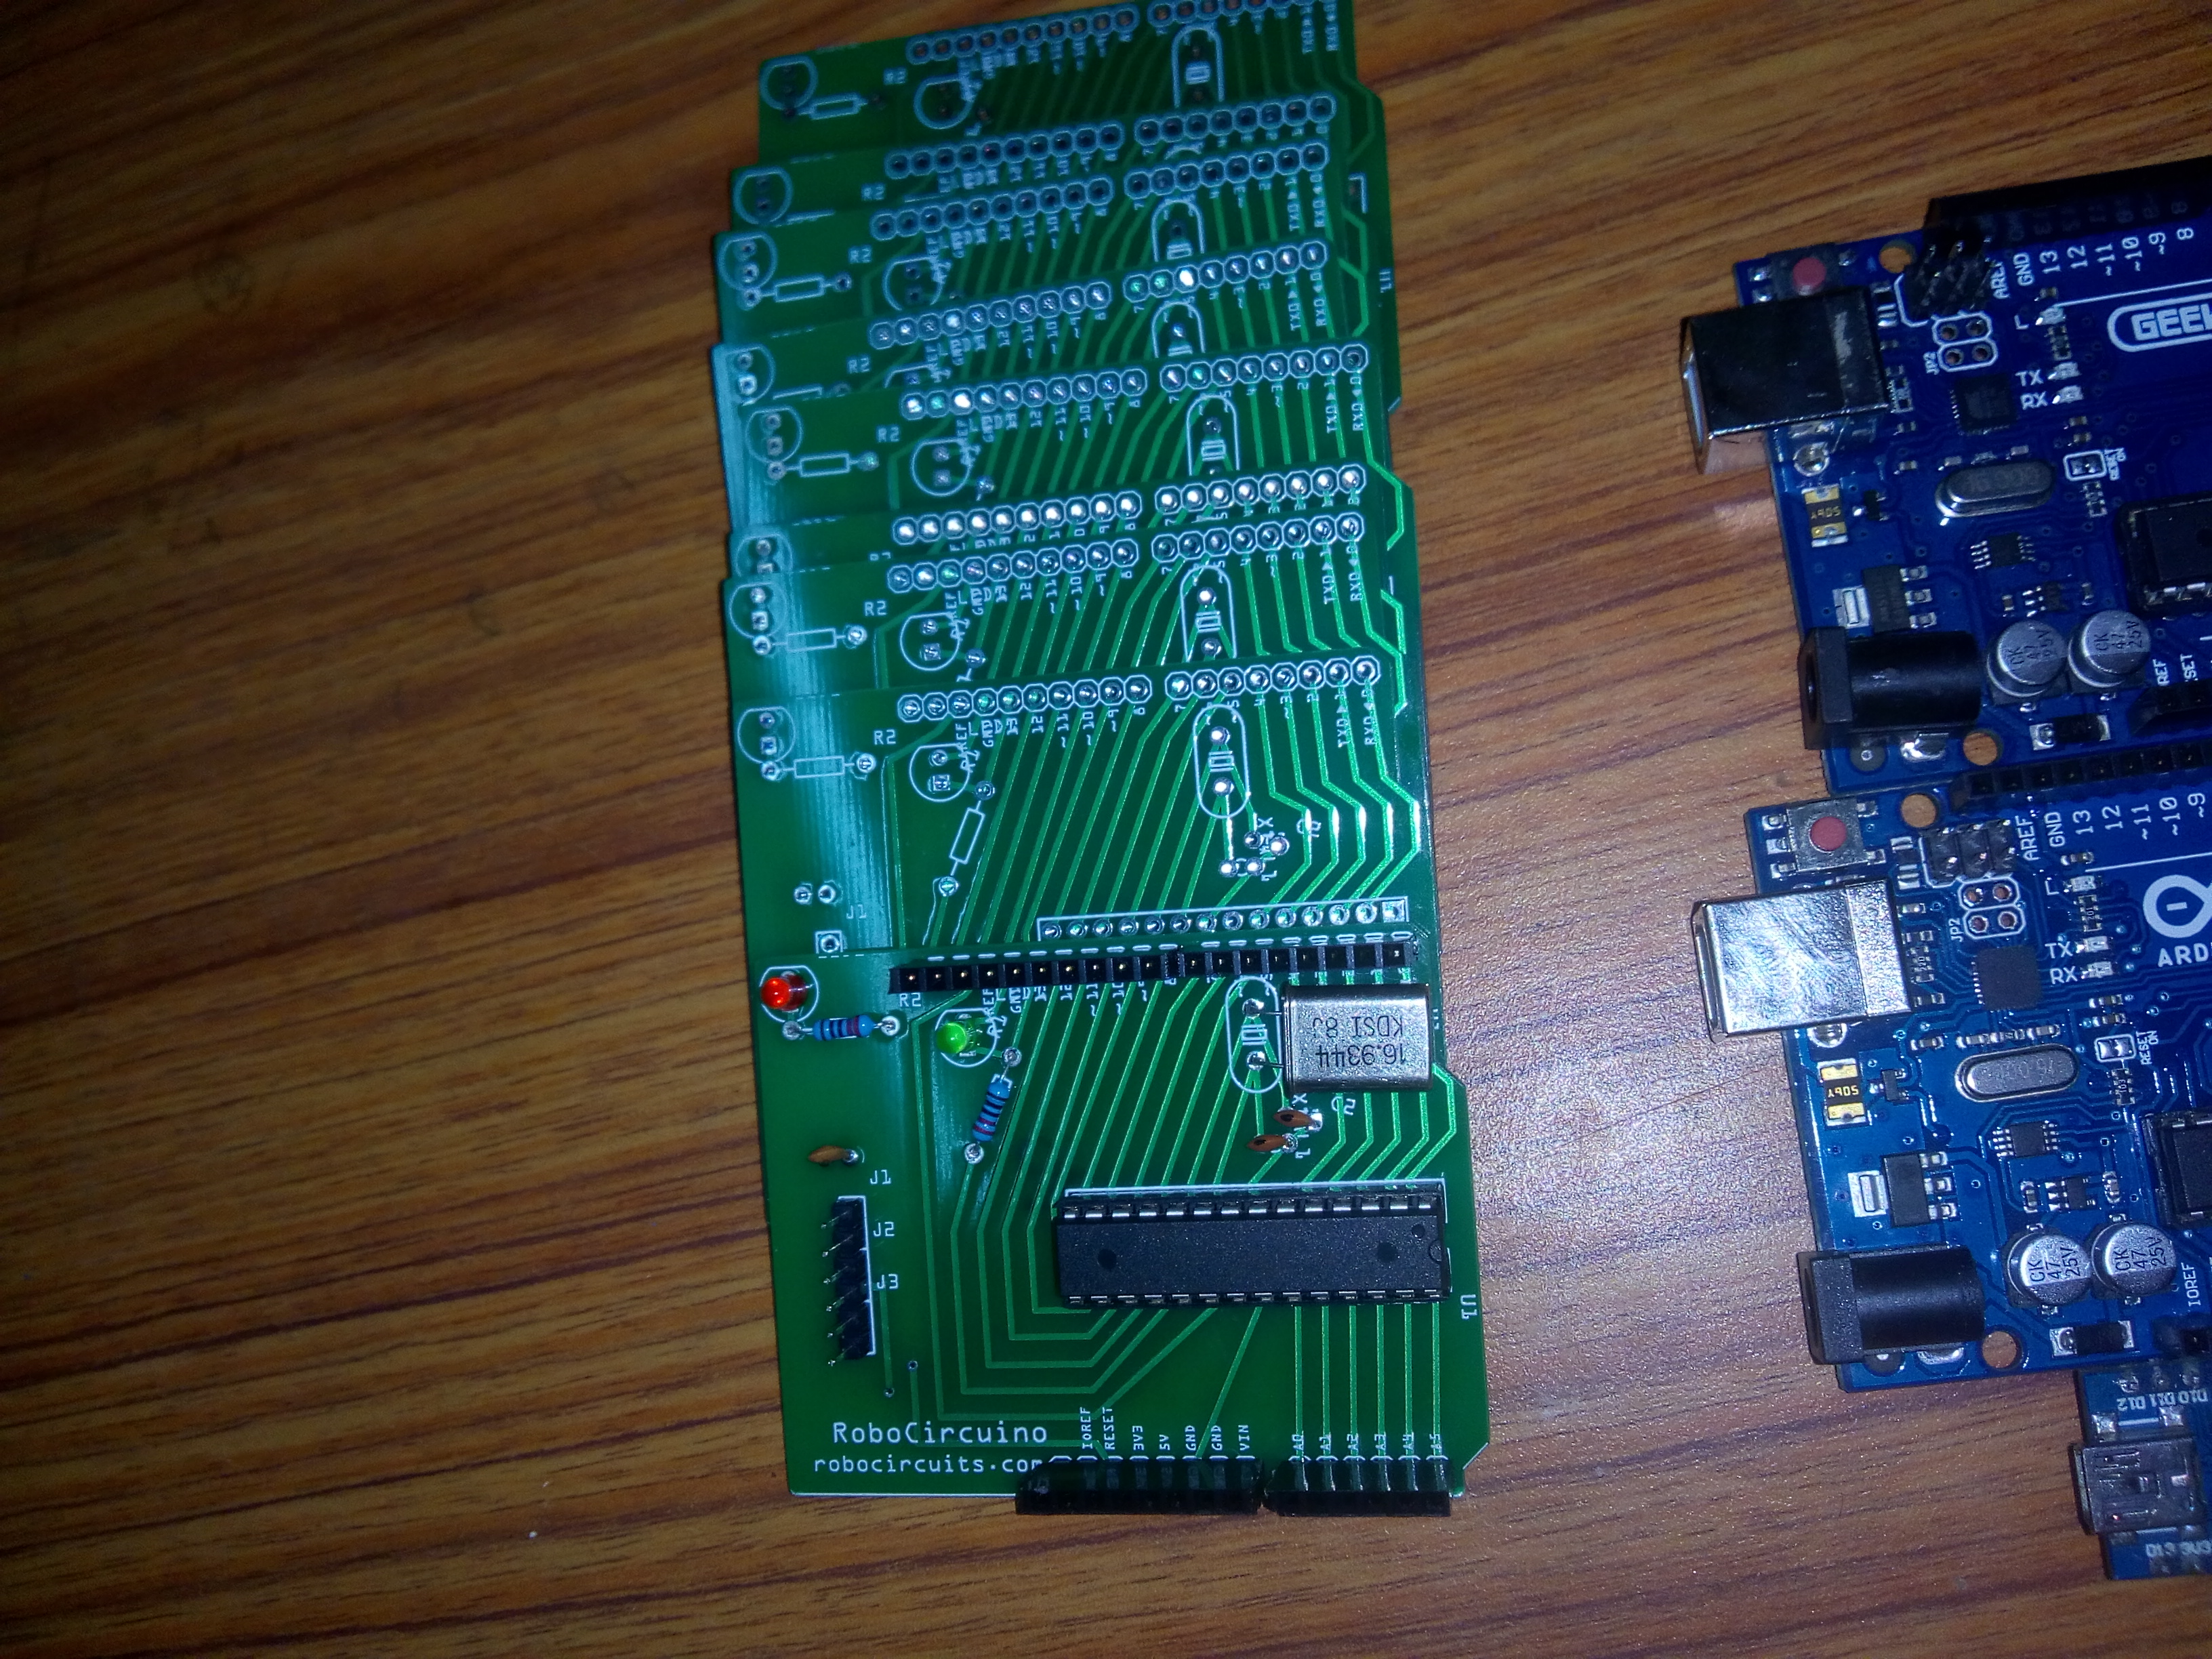
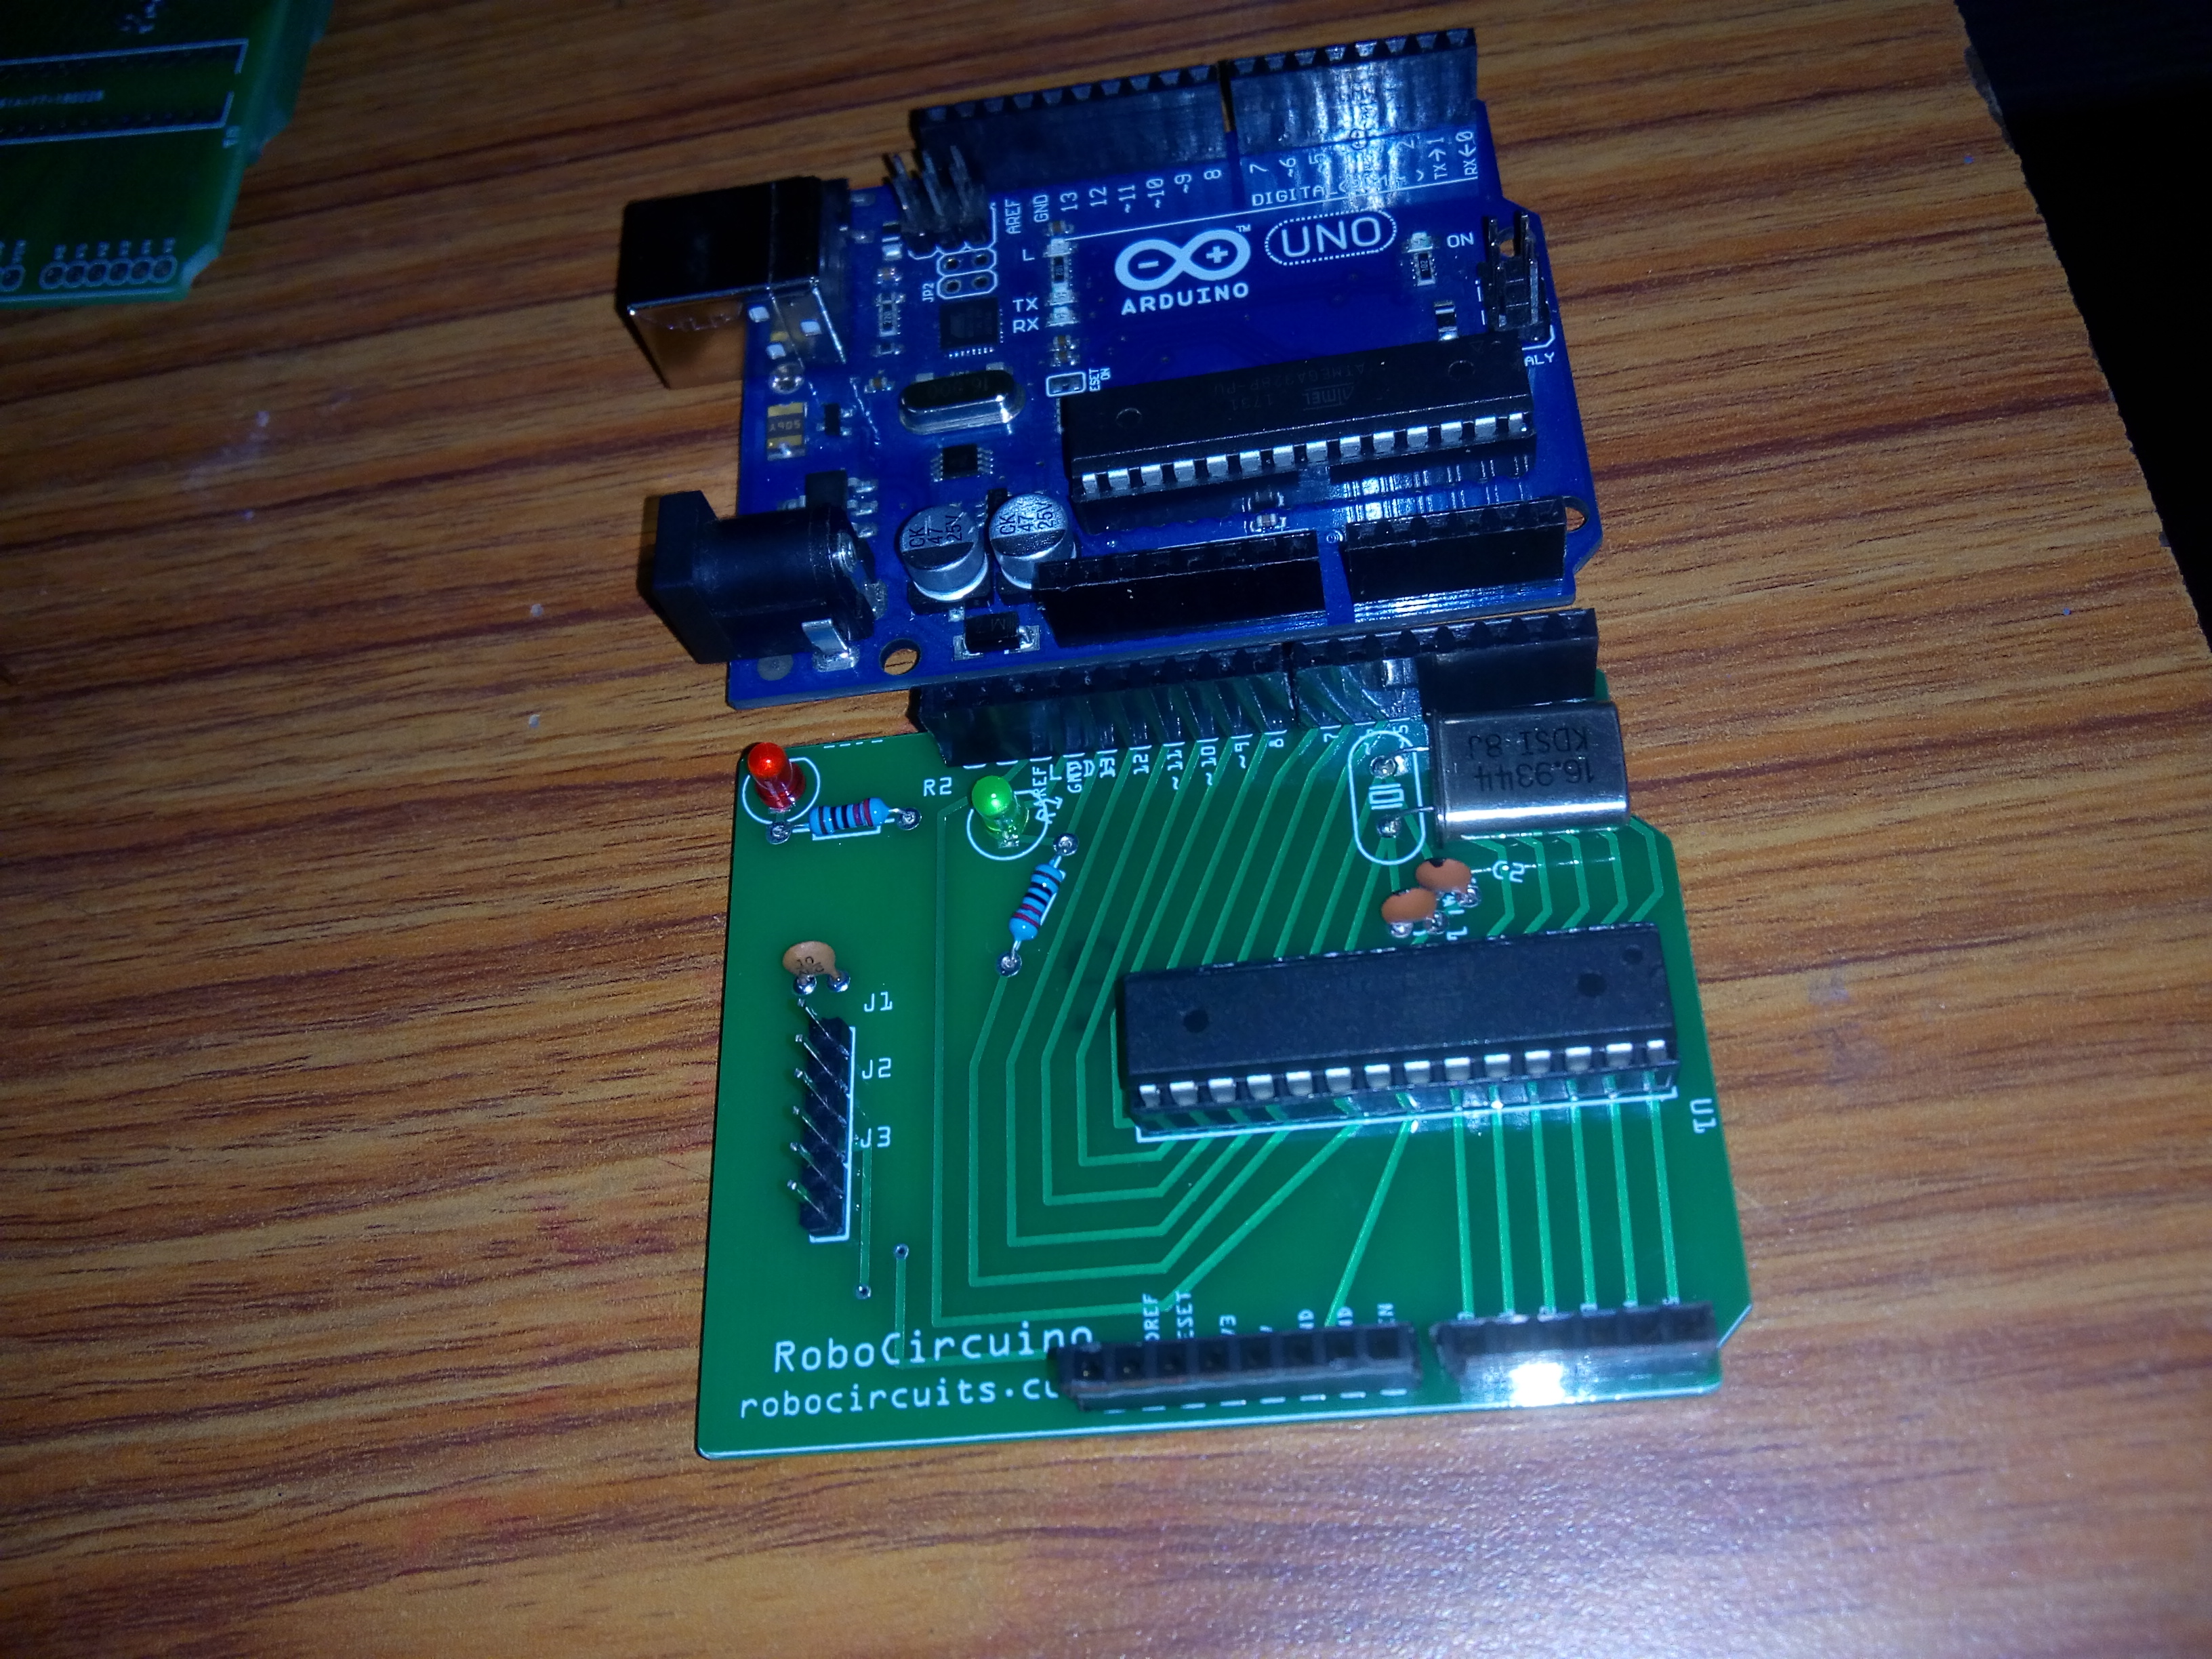
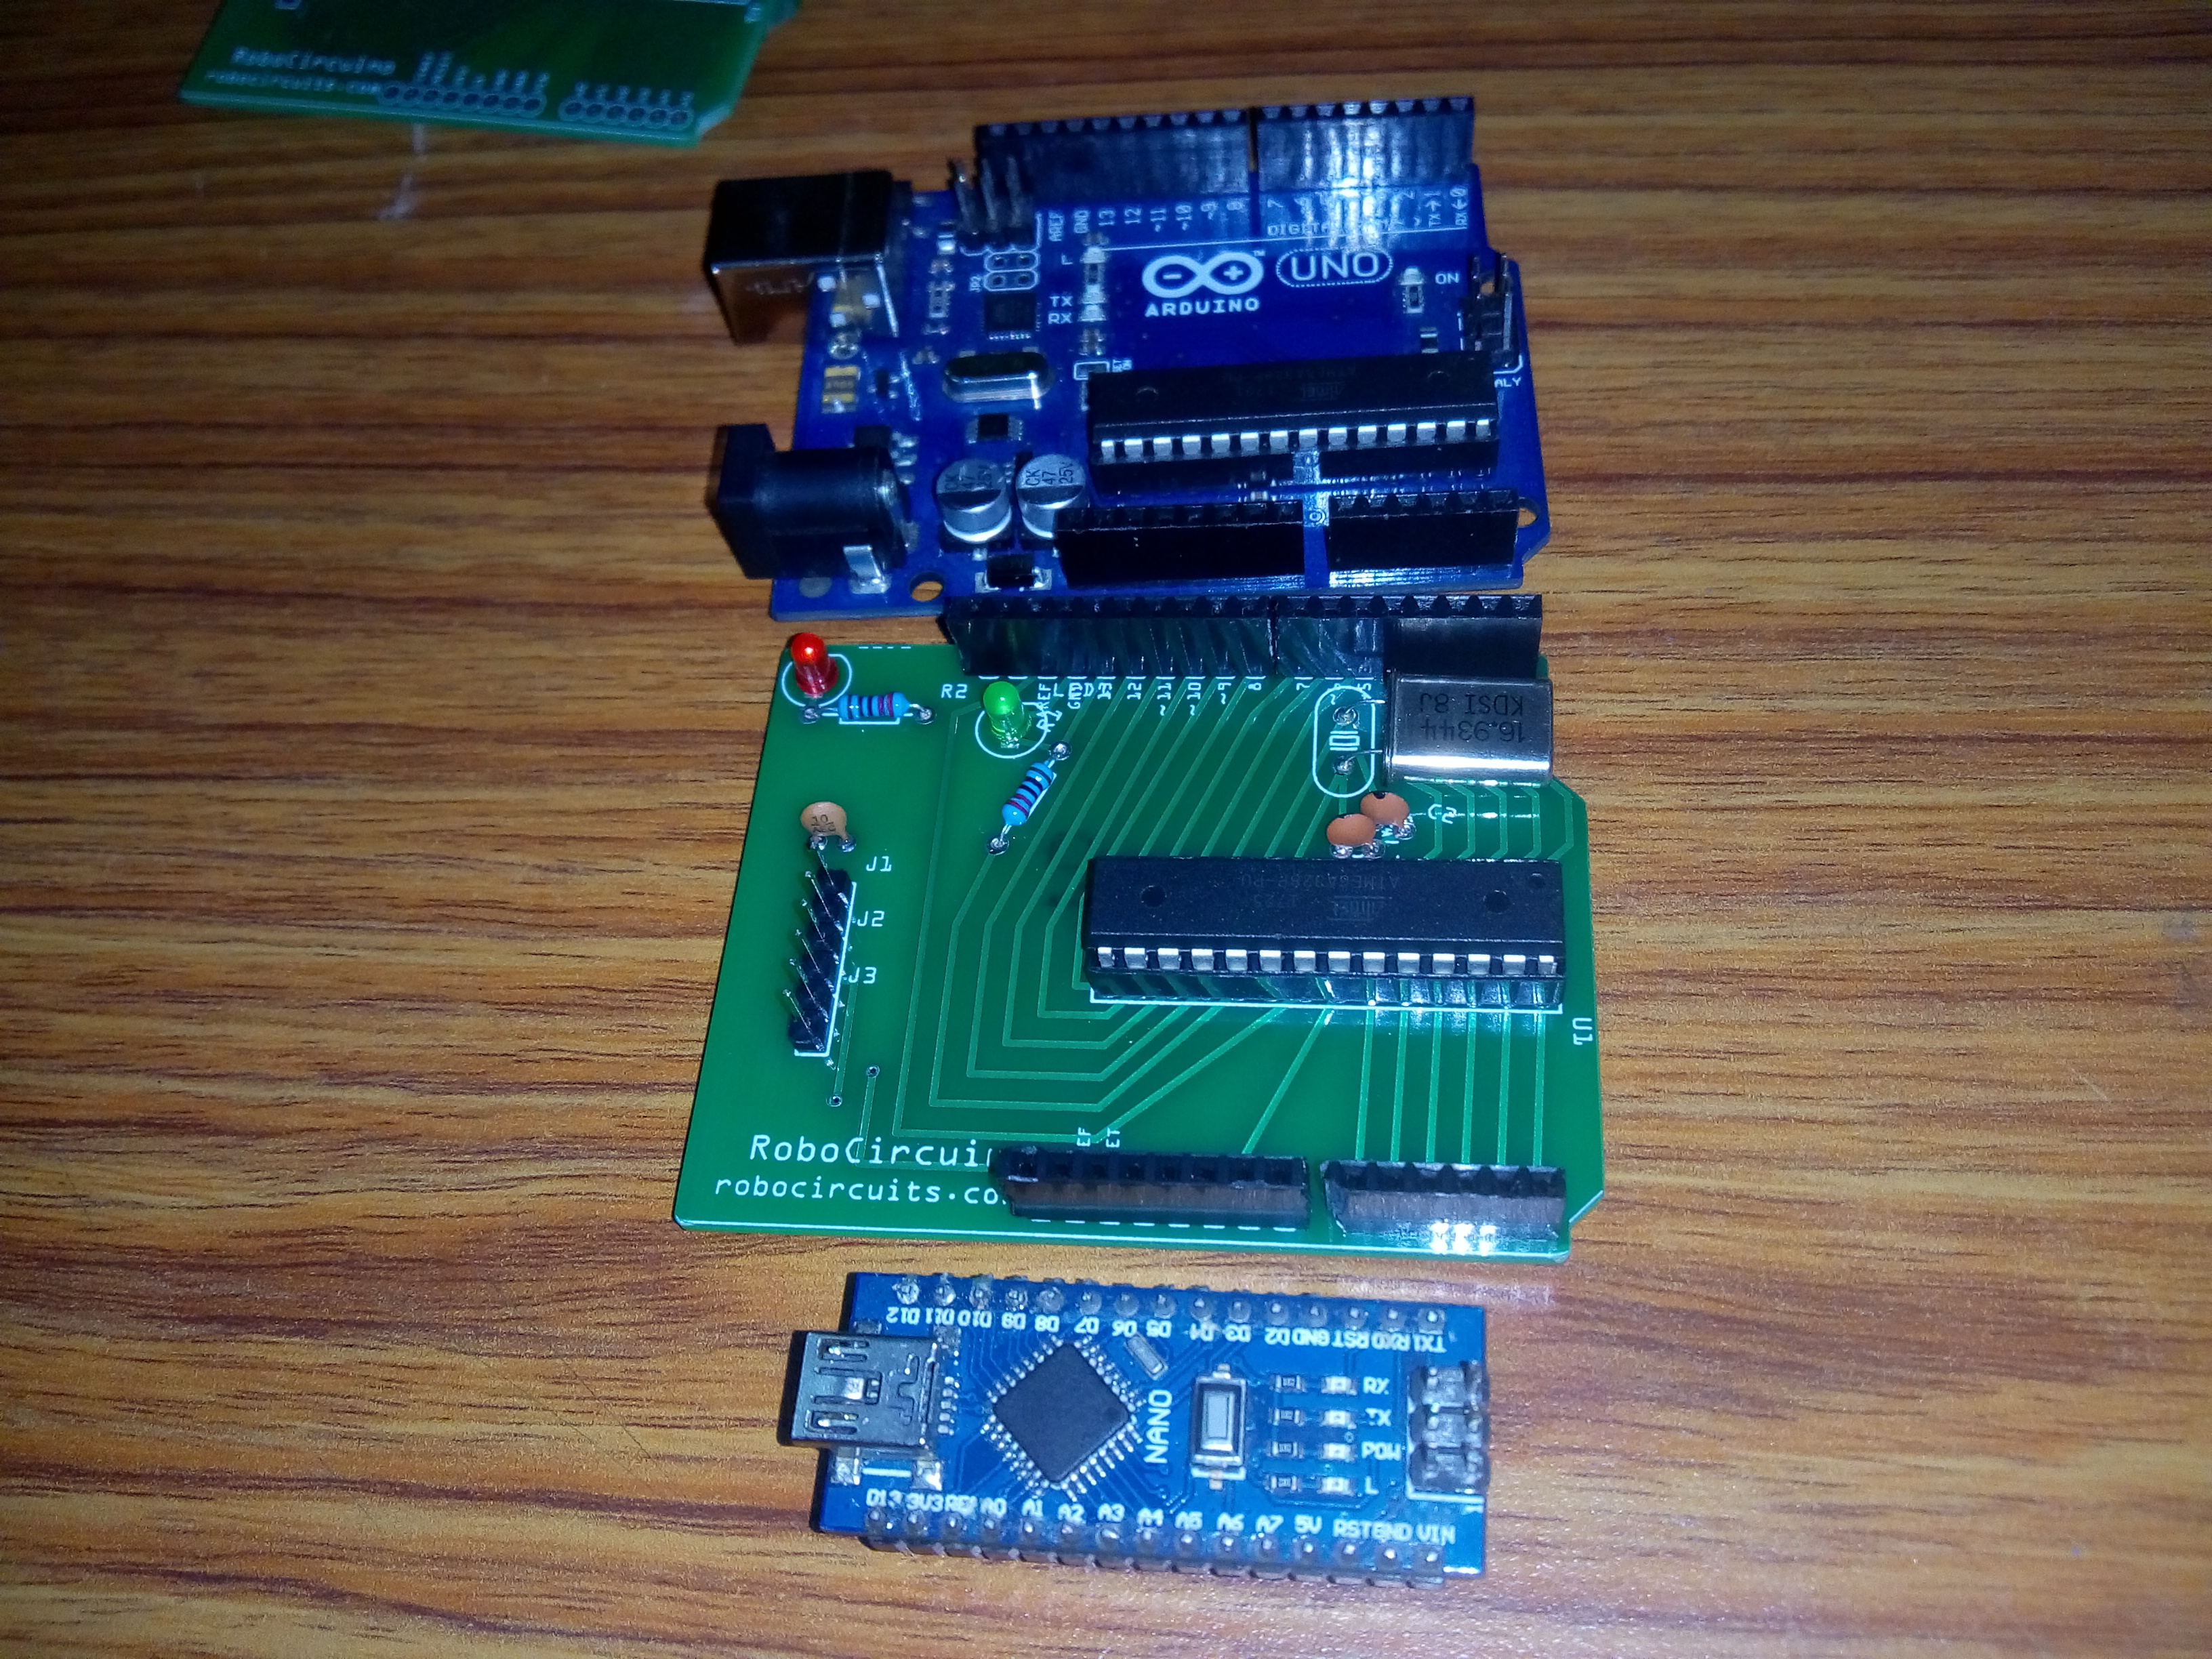
- ATmega328P: The "brain" of the project, managing multi-directional timing pulses and coordinating internal logic sync.
- 16MHz Crystal: Providing a clear and reliable "Measuring Link" for every point of your processing tasks.
- FTDI Serial Adapter: Providing a high-capacity and reliable physical interface for your first successful "Upload Mission."
- Breadboard: A convenient way to prototype your first logic-electronics circuit and connect all components without soldering.
- 7805 Regulator: Essential for providing a clear and energy-efficient 5V platform for every point of the silicon.
- Micro-USB Cable: Used to program your Arduino via the FTDI adapter and provides the primary interface for the system controller.
DIY-Arduino Automation and Interaction Step-by-Step
The standalone Arduino build process is designed to be very user-friendly:
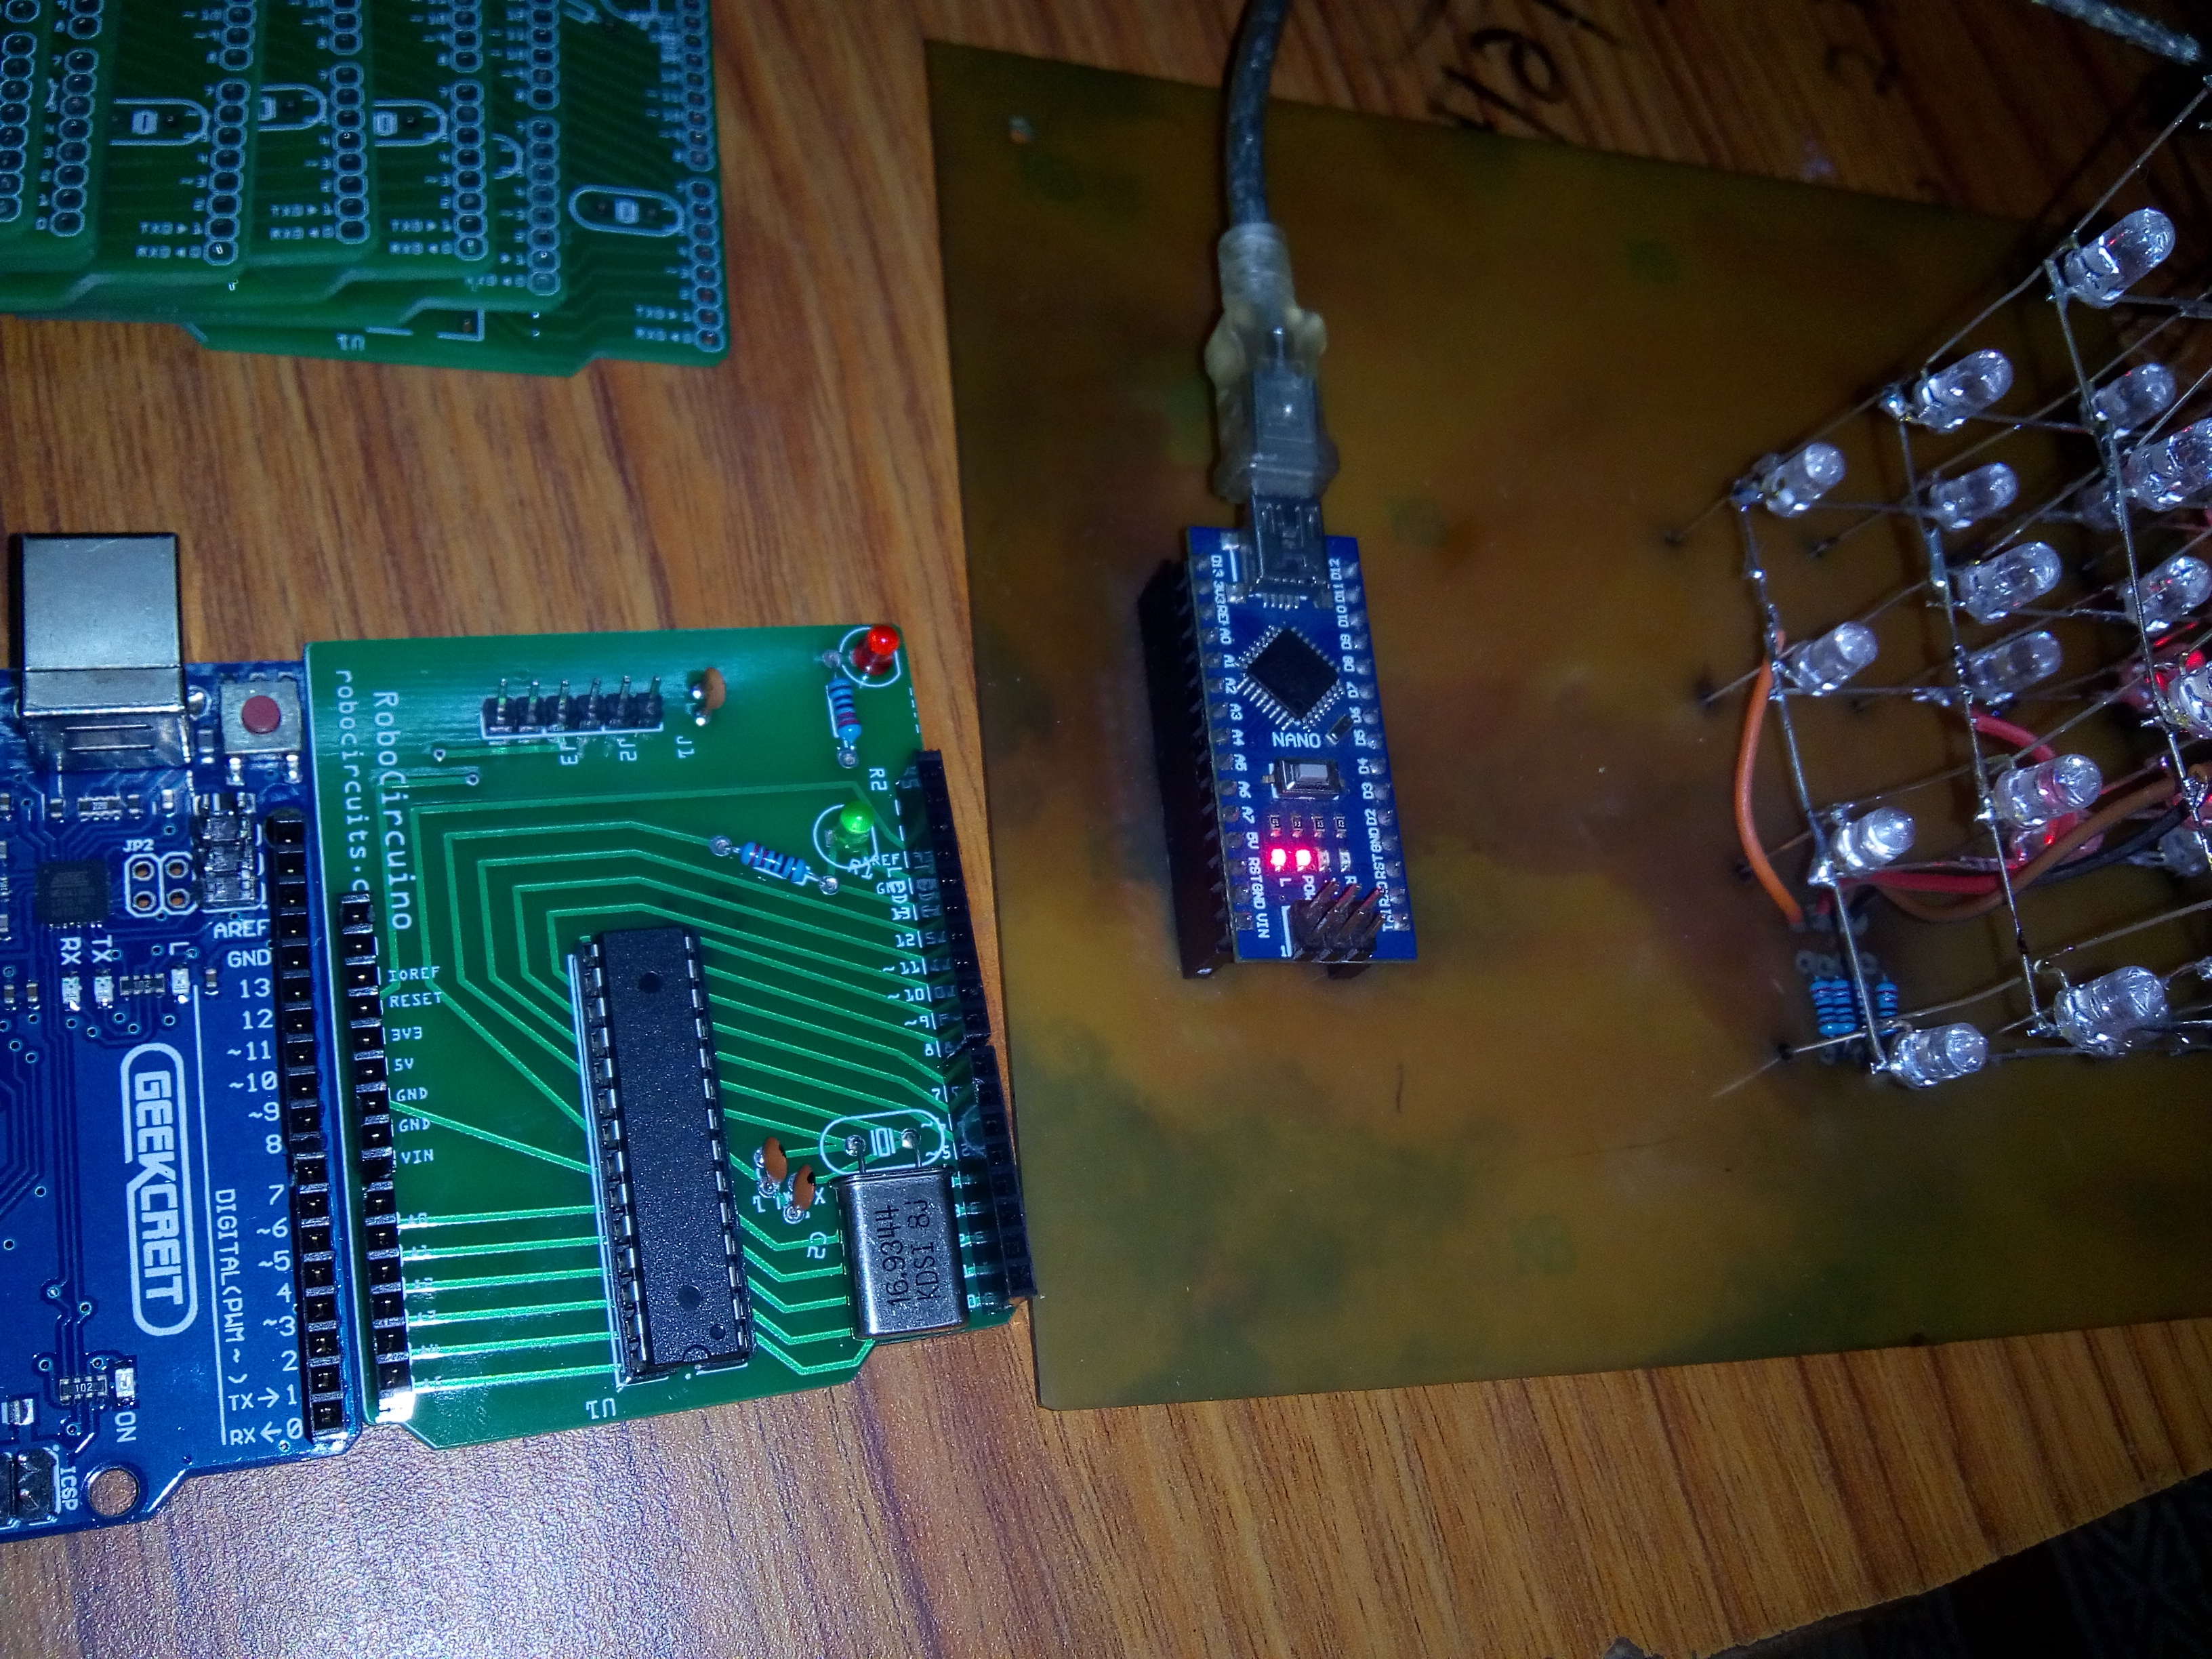
- Initialize Workspace: Correctly set your ATmega328P and crystal on your breadboard and connect them properly to the 5V/GND rails.
- Setup Output Sync: In the Arduino IDE, initialize
Serial.begin()and define theBlinktest pins (Pin 13) to coordinate the sensing. - Internal Dialogue Loop: The station constantly performs high-performance temporal checks and updates the chip status in real-time based on your programmed settings.
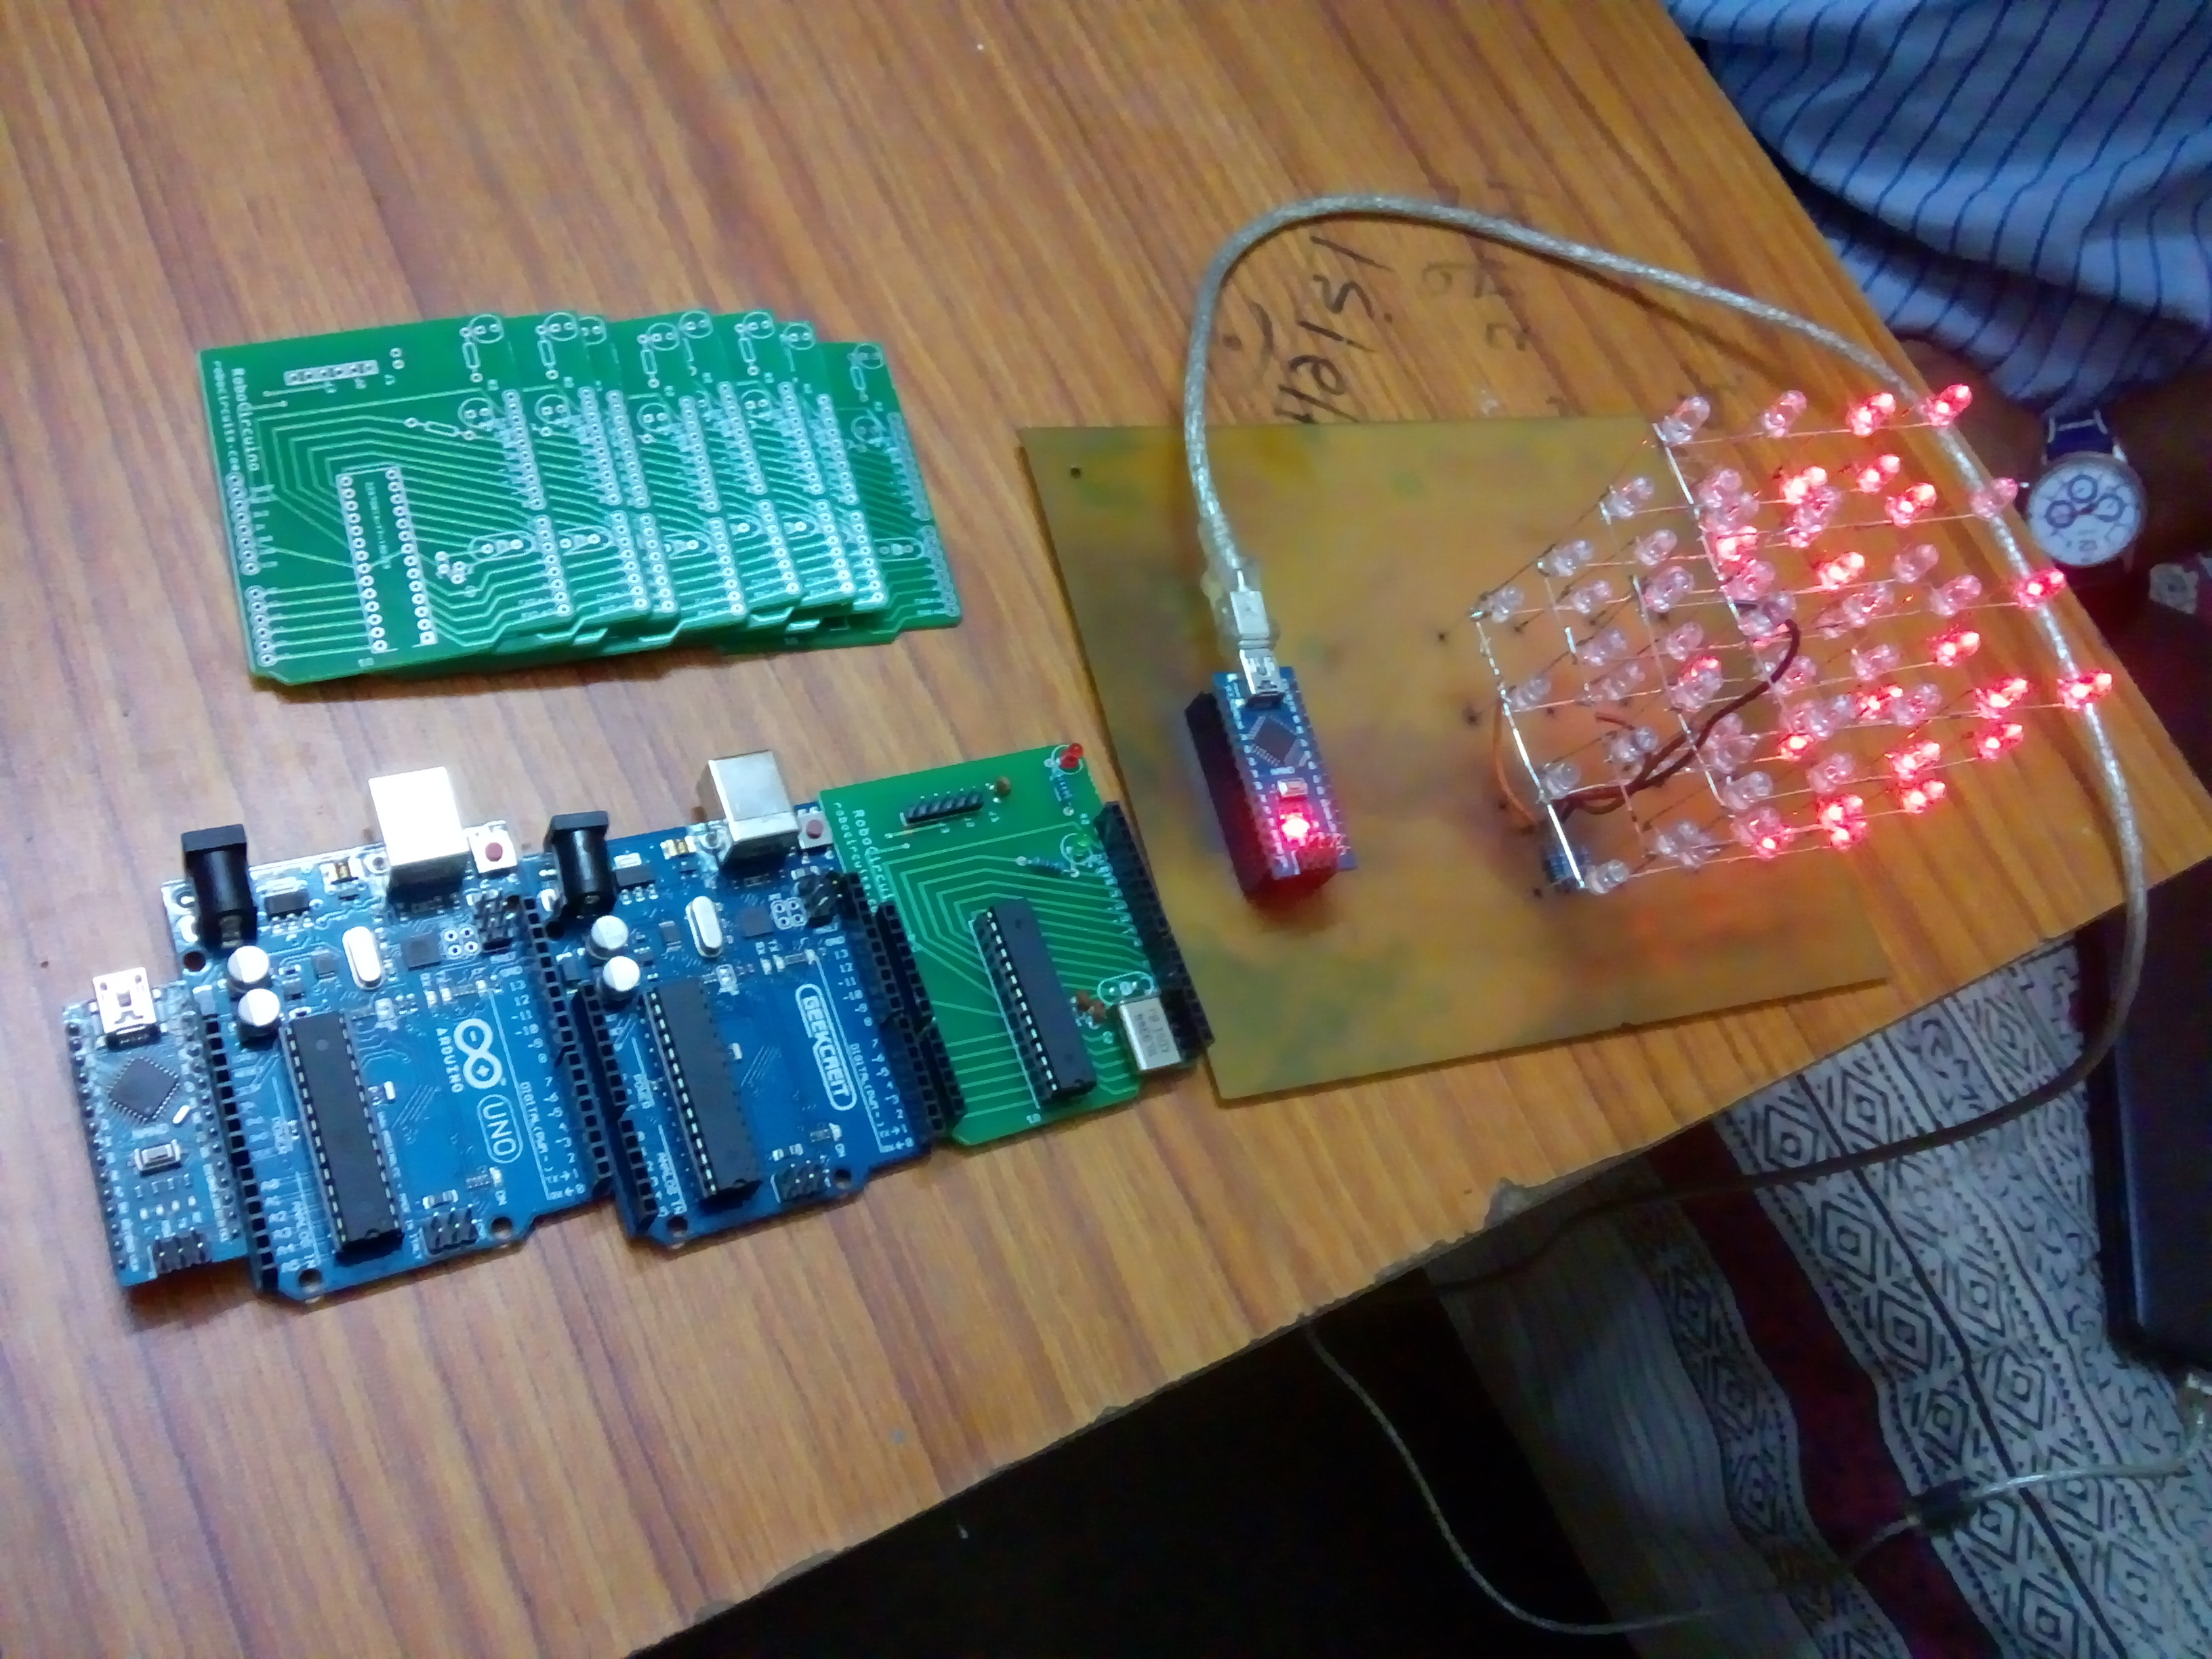
- Visual and Data Feedback Integration: Watch your LED dashboard automatically become a rhythmic status signal, pulsing and following your logic settings in the room.
Future Expansion
- OLED Identity Dashboard Integration: Add a small OLED display on the side to show "Current Register State" or "Internal Vcc (V)."
- Multi-sensor Climate Sync Synchronization: Connect a specialized "SPI SD Card Module" to perform higher-precision "Data Logging" wirelessly via the cloud.
- Cloud Interface Registration Support Synchronization: Add a specialized web-dashboard on a smartphone over WiFi/BT to precisely track and log the total logic operations history.
- Advanced Velocity Profile Customization Support: Add a specialized "PCB Version vCore" to the code to allow triggers to be changed automatically based on the user layout!
Make Your OWN Arduino is a perfect project for any science enthusiast looking for a more interactive and engaging engineering tool!
[!IMPORTANT] The ATmega328P chip requires a Bootloader pre-installed to allow the Arduino IDE interface; always ensure you have an appropriate AVR-ISP programmer if you are flashing a blank chip!