Continuing the Mega Bread story, Part 2.
I needed to show my son that making it do what you want is relatively easy, once you get the basics down. After he read the screen, he was all in.
Project Perspective
Mega Bread - Hello World is the fundamental and innovative "Prototyping Interaction" bridge for modern electronics developers. By focusing on the essential building blocks—the breadboard-bus mapping and high-speed serial and LED-logic synchronization—you'll learn how to orient yourself and automate your first circuit session using a specialized software logic and robust basic setup.
Technical Implementation: Bus Rails and Serial Data Frames
The project reveals the hidden layers of simple sensing-to-serial interaction:
- Identification layer: The Arduino Serial Port acts as a high-resolution chronological eye, measuring every point of the clock cycles to coordinate the "Hello World" message-dispatch.
- Conversion layer: The system uses high-speed digital Pins to receive high-speed bit-states to coordinate mission-critical sensing tasks.
- Visual Interface layer: A High-Brightness LED provides a high-definition visual data dashboard for your circuit status check (e.g., Alive/Idle).
- Processing Logic: The Arduino code follows a "serial-hello" (or basics-dispatch) strategy: it interprets software instructions and matches Serial and LED states to provide safe and rhythmic introductory feedback.
- Communication Dialogue Loop: Status bits are sent rhythmically to the Serial Monitor during the initial calibration to coordinate status.
Hardware-Software Infrastructure
- Arduino Uno: The "brain" of the project, managing multi-directional serial sampling and coordinating LED sync.
- Full-Size Breadboard: Providing a clear and reliable "Structural Link" for every point of your prototype.
- LED Component: Providing a high-capacity and reliable physical interface for your first successful "Blink Mission."
- Breadboard Jumper Wires: Essential for providing a clear and energy-efficient electrical path for your data sensing.
- Resistor (220 Ohm): Essential for providing clear and energy-efficient digital signal protection for your LED.
- Micro-USB Cable: Used to program your Arduino and provides the primary interface for the system controller.
Prototype Automation and Interaction Step-by-Step
The introductory breadboarding process is designed to be very user-friendly:
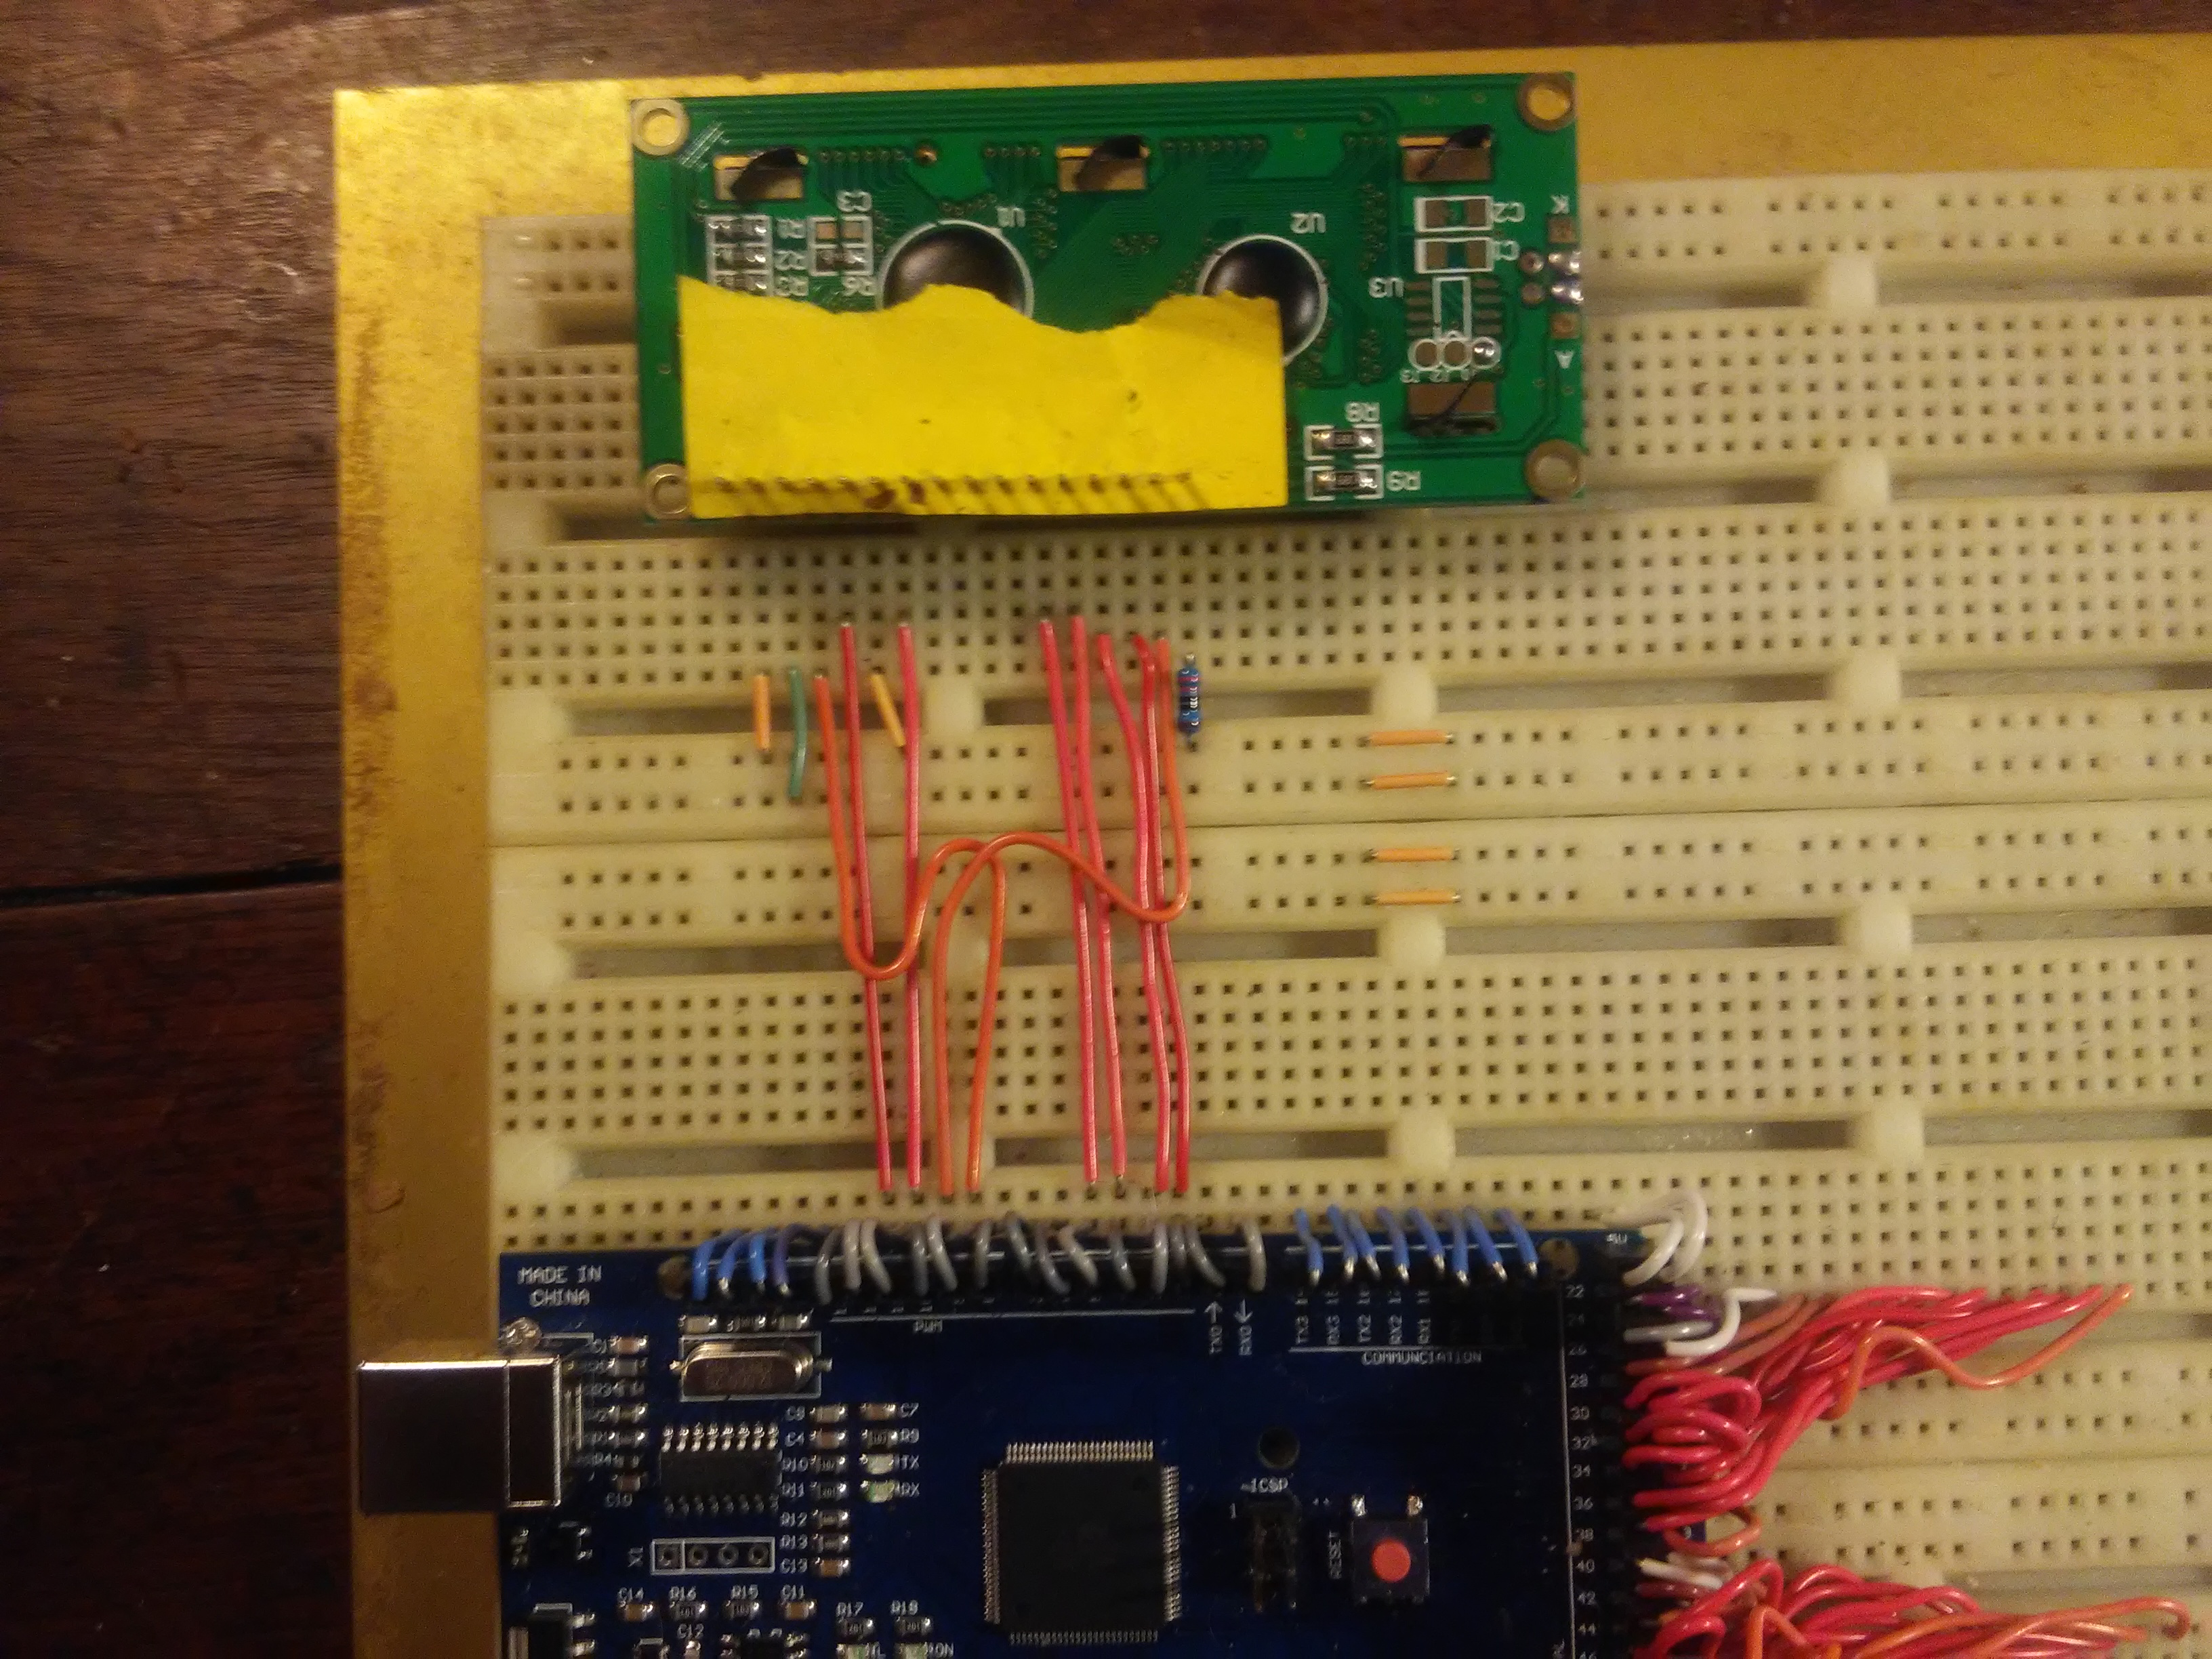
- Initialize Workspace: Correctly set your LED and resistor inside your Mega Bread, as shown in the image above, and connect them properly to the Arduino pins.
- Setup High-Speed Sync: In the Arduino sketch, initialize
Serial.begin(9600)and define the LED pin inside thesetup()function. - Internal Dialogue Loop: The station constantly performs high-performance periodic data checks and updates the serial status in real-time based on your location and settings.
- Visual and Data Feedback Integration: Watch your serial monitor automatically become a rhythmic status signal, pulsing and following your location settings.
Future Expansion
- OLED Identity Dashboard Integration: Add a small OLED display on the side to show "Boot Time" or "Battery (%)".
- Multi-sensor Climate Sync Synchronization: Connect a specialized "Bluetooth Module" to perform higher-precision "Wireless Hello World" wirelessly via the cloud.
- Cloud Interface Registration Support Synchronization: Add a specialized web-dashboard on a smartphone over WiFi/BT to precisely track and log the total social history.
- Advanced Velocity Profile Customization Support: Add specialized "Deep Learning (vCore)" to the code to allow triggers to be changed automatically based on the user height!
Mega Bread Hello World is a perfect project for any science enthusiast looking for a more interactive and engaging prototyping tool!
[!IMPORTANT] The Breadboard interface requires an accurate bus-rail mapping (e.g., Power vs Ground rails) in the physical setup; always ensure you have an appropriate Fail-Safe flag in the loop if the serial bus overloads!