This game is based on the Cyclone arcade game, where the player tries to stop an led scrolling around a circle at a specific spot.
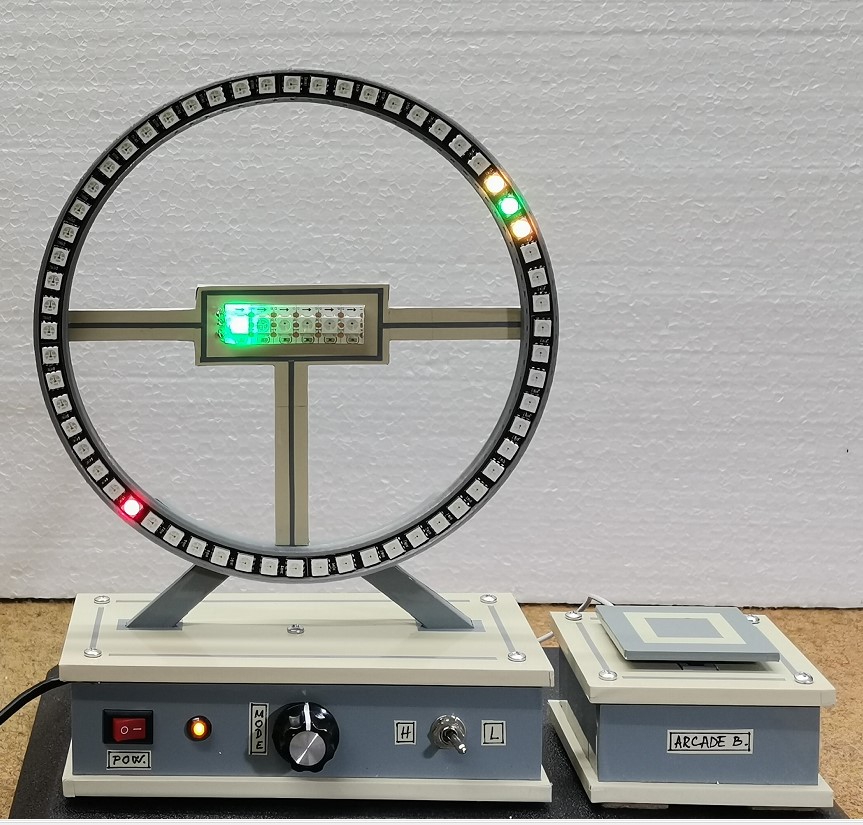
In one of my previous videos(https://youtu.be/1K0vr-hrh0k), I presented you the same game, but on a large ring consisting of 60 Leds, which contained several levels.
This time I use a small ring with 12 Leds and the game does not contain levels but is a continuous game until once the target marker is not hit.
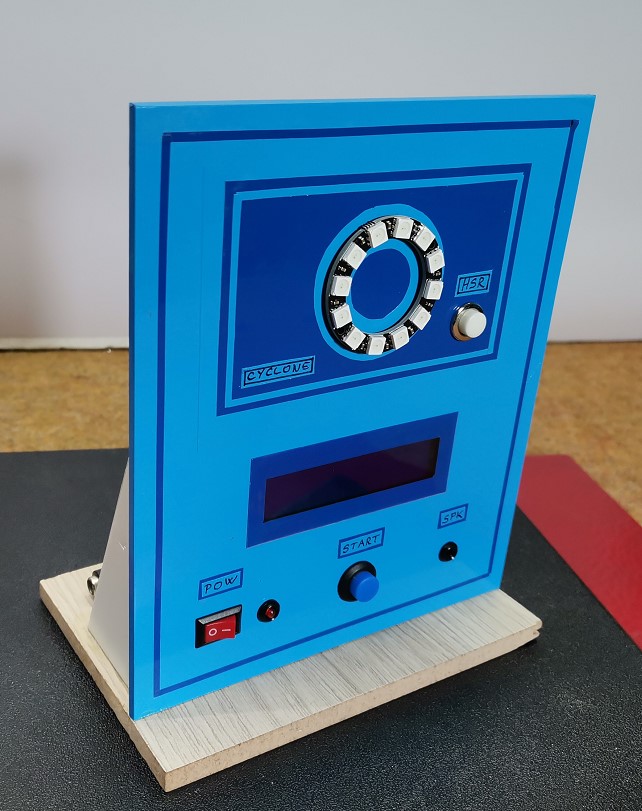
In addition, there is an LCD display that shows highscore and current round.
The code was taken from Joern Weise's GitHub page (https://github.com/M3taKn1ght/Blog-Repo/tree/master/Cyclone), and I made some modifications.
First I shortened the way of testing the LEDs, and then added different sounds for each segment of the game so that it is now much more interesting.
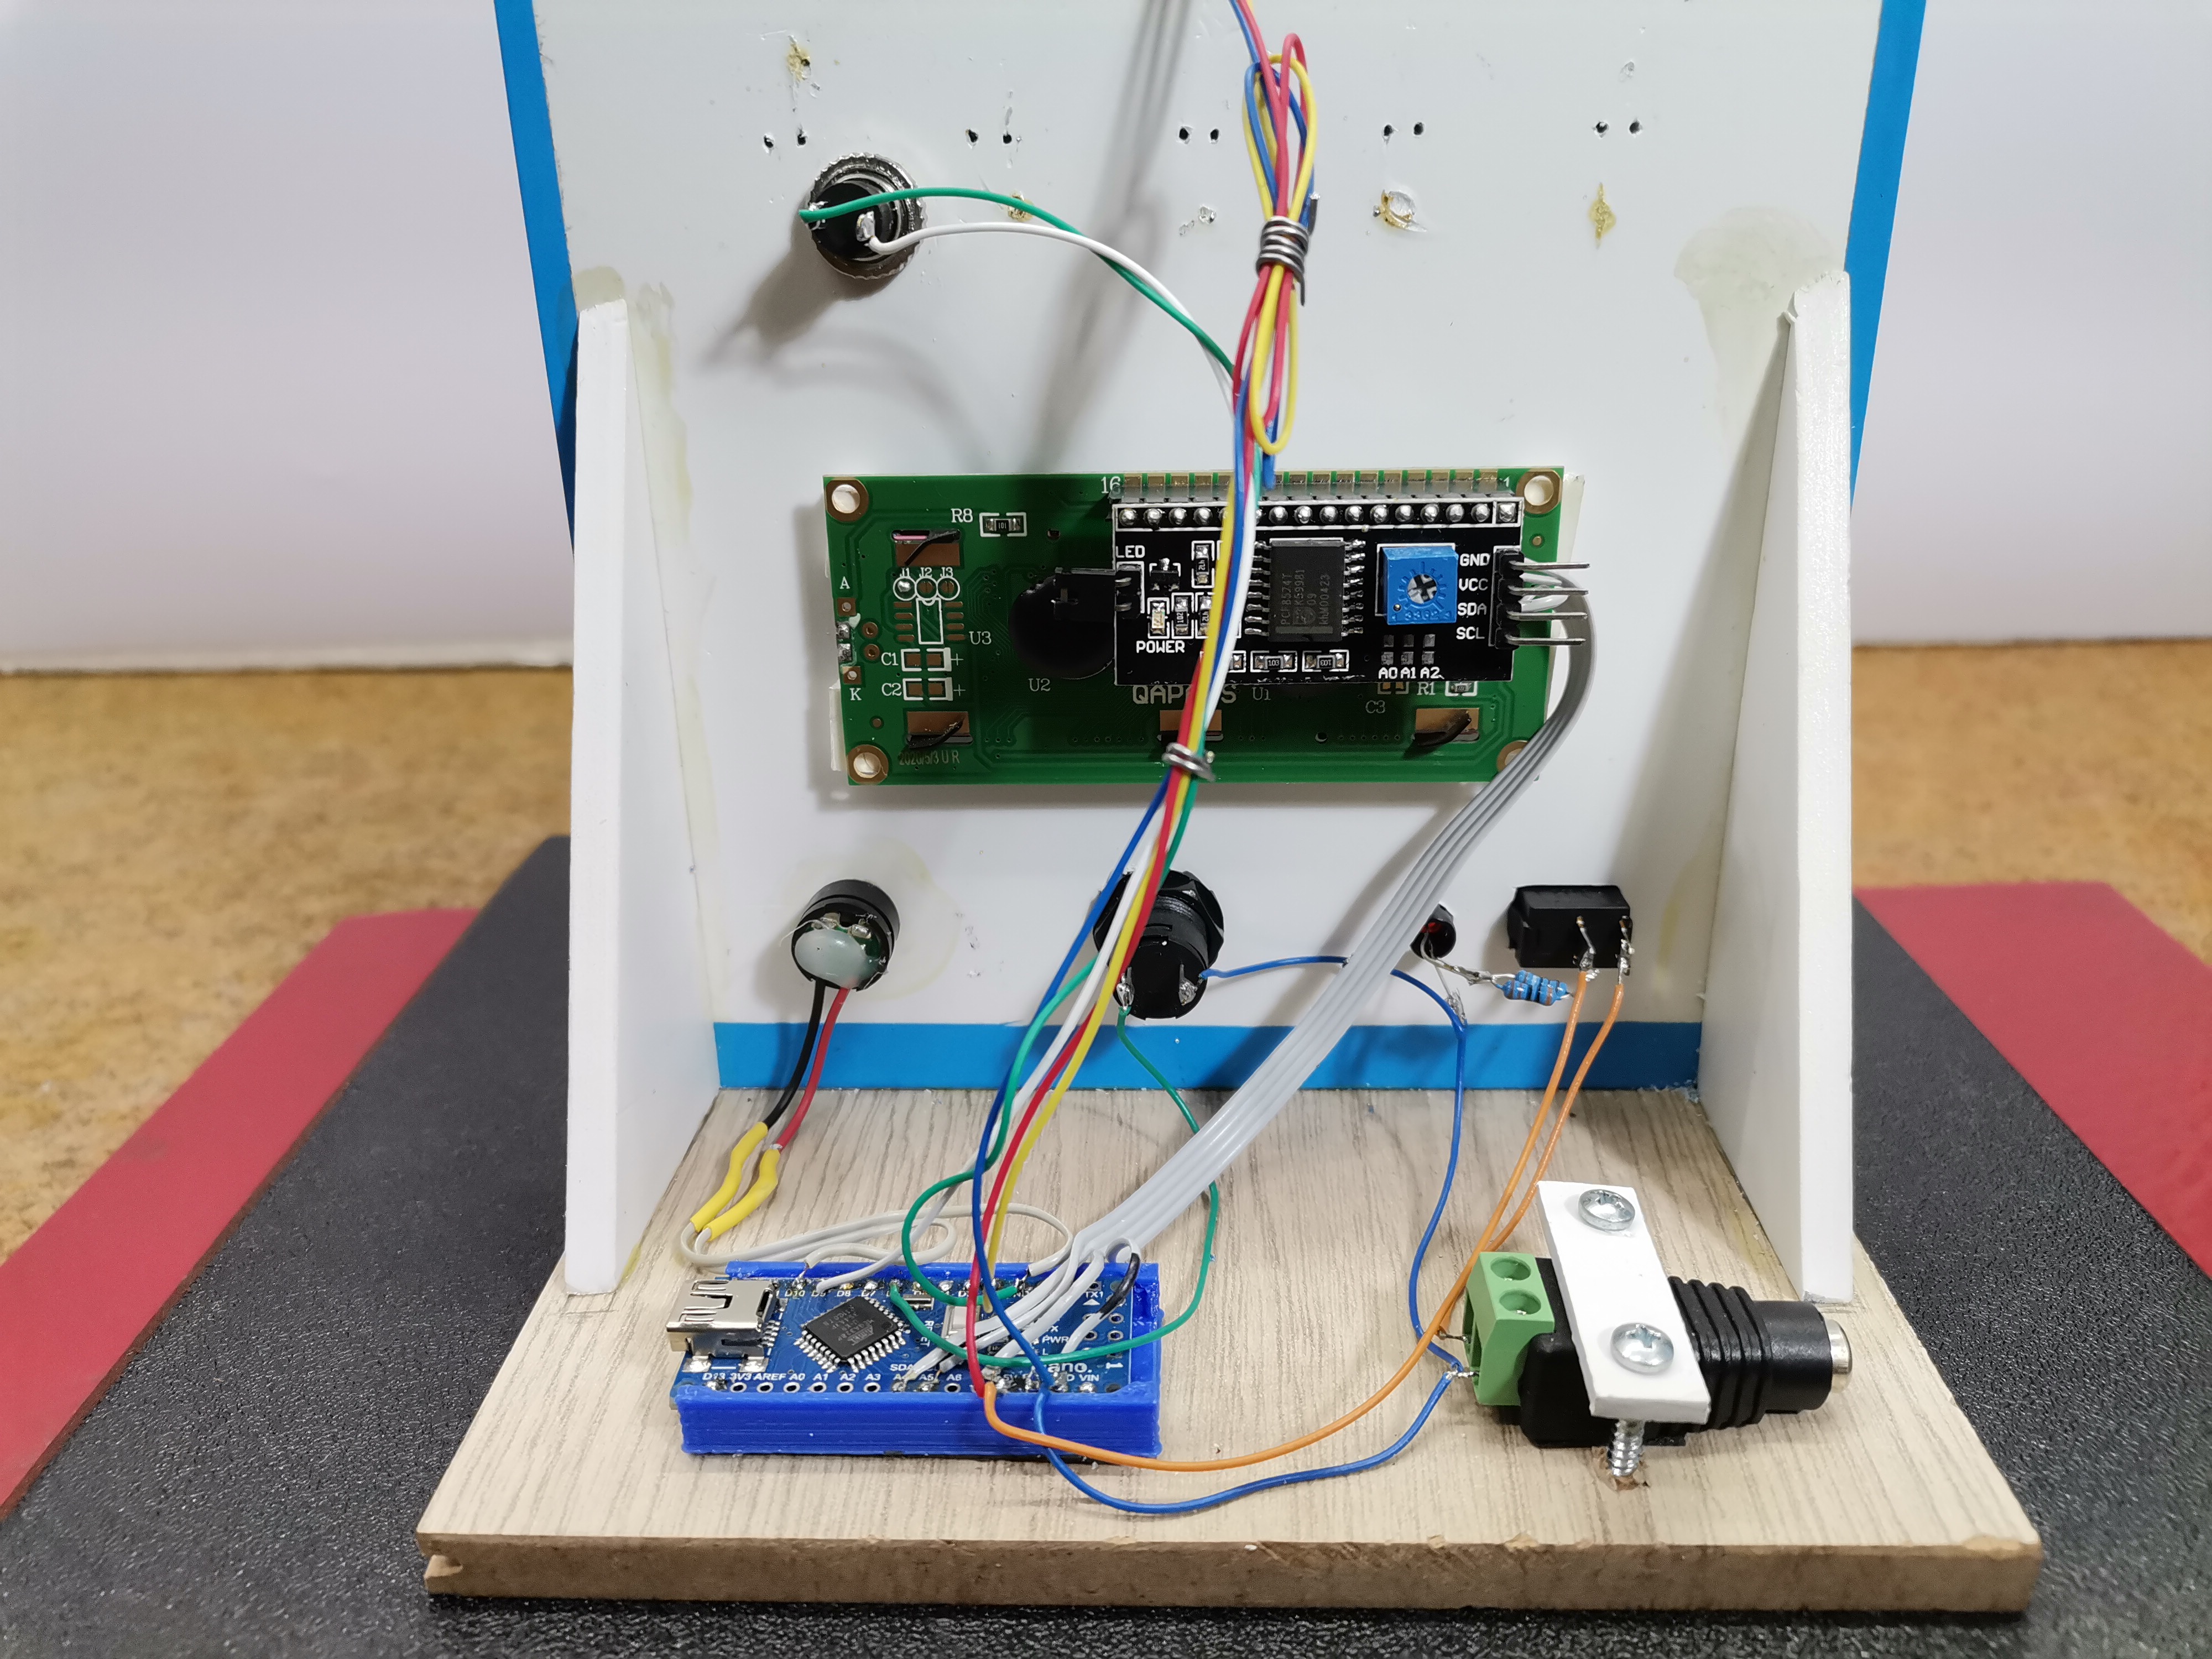
The device is very simple to build and consists of only a few components:
- Arduino nano microcontroller
- 12 Leds ring with WS2812 Led chip
- 16x2 LCD display with I2C communication protocol
- two buttons
- and Buzzer

The FastLED Array Engine
A NeoPixel Ring (e.g., 12 LEDs) is simply a circular array.
- The
<FastLED.h>library creates an array:CRGB leds[12];. - The Spinning Logic: The C++ code uses a rapid
forloop to advance the "dot".
for (int i = 0; i < 12; i++) {
  leds[i] = CRGB::Red;       // Turn on current
  leds[(i-1+12)%12] = CRGB::Black; // Turn off previous
  FastLED.show();
  delay(gameSpeed);
}
- The
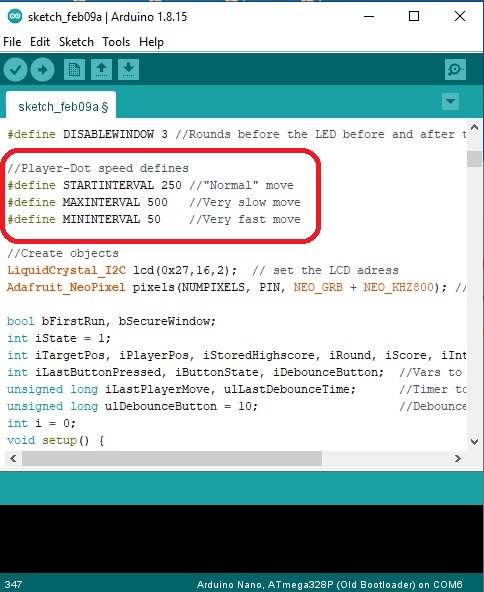
gameSpeedinteger is randomized each round. It can be easily changed in the code in the lines:#define STARTINTERVAL 250 //"Normal" move#define MAXINTERVAL 500 //Very slow move#define MININTERVAL 50 //Very fast move
Hardware Interrupts (AttachInterrupt)
If a red status dot is spinning at 50 milliseconds per pixel, human reaction time is pushed to the absolute limit.
- The Polling Flaw: If you use
digitalRead(buttonPin)inside theloop(), the Arduino might accidentally miss the button press entirely while it is busy executing theFastLED.show()math. - The Hardware Solution: You wire the arcade button specifically to an interrupt-capable pin.
attachInterrupt(digitalPinToInterrupt(pin), buttonPressed, FALLING);- When you slam the arcade button, the pin drops to ground. This violently pauses the Arduino's processor mid-calculation. The CPU immediately halts the red LED exactly where it was, checks if it landed on the target pixel, and flashes the Ring green (Victory) or red (Defeat)!
If you want to make a PCB for this project, or for any other electronic project, PCBway (www.pcbway.com) is a great choice for you. PCBway is one of the most experienced PCB manufacturing company in China in field of PCB prototype and fabrication. They provide completed PCB assembly service with worldwide free shipping , and ISO9001 quality control system. Also, on their site there is an online gerber viewer where you can upload your gerber and drill files to render your board.
As for the gameplay, as I mentioned before, in this case there are no levels with increasing speed, but each successive round starts with a randomized speed, and generally the speeds can be easily changed in the code in the lines: #define STARTINTERVAL 250 //"Normal" move #define MAXINTERVAL 500 //Very slow move #define MININTERVAL 50 //Very fast move
Now let's see how the device works in reality.
When turning on the game, all LEDs light up sequentially accompanied by an appropriate sound effect, and a corresponding message about the test on the LCD display.

Next, by pressing the button the game starts The goal is to press the button at the moment when the rotating diode is located exactly on the static diodes. In the first two levels, three diodes are static, and in the next levels only one. The number of laps completed and the score are shown on the display.
If we fail to hit the red Led, the game ends, and High Score appears on the display.

The number of laps completed and the score are shown on the display. Otherwise, the high score is recorded in the eprom of the microcontroller so that it is saved even after the reset.

If we want to delete the high score, when turning on, we hold down the HSR button. And finally, the game is mounted on a PVC board with a thickness of 3 mm and covered with self-adhesive colored wallpaper.