First of all, I'm not a native English speaker, so sorry for possible spelling and grammar errors.
How it started
I thought that it would be cool to have a robot that could mimic my movementes, like the robot arm from Youbionic. The thing is that I didn´t have a 3d printer and can't spend 400 bucks in buying just one arm or buying smaller unstable humanoids robots with legs. It was then when I started to think of making a miniature robot with a similar controll sistem, chaper and easy to boild.
The goal
The principal objectives are:
- Make a mini arduino-powered humanoid robot.
- Make it as cheap as possible, using cheap buildig materials and micro servos to controll it.
- Make an exoskeleton to make it mimic movements.
- Make it as easy to build.
The final robot will have:
- An autonomus mode, in wich it will be able to navigate, speak and follow and recognize objects and faces
- A remote controll mode, in wich it will be controlled with a cellphone or joystick via bluetooth
- An exoskeleton mode, in wich it will be able to mimic de movements from an exoskeleton, transmitted via internet.
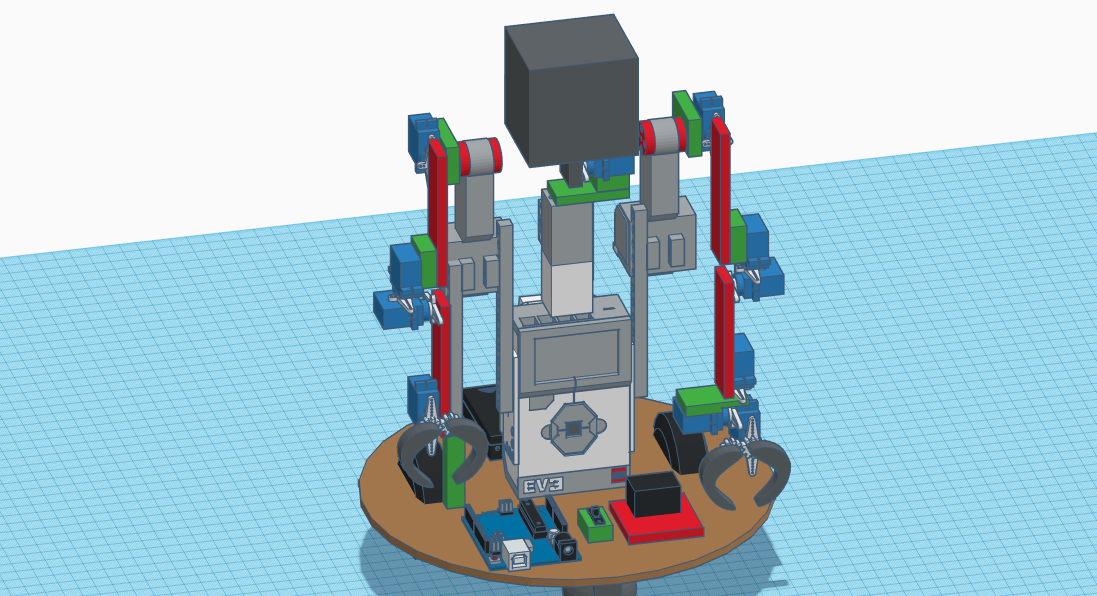
The first prototype
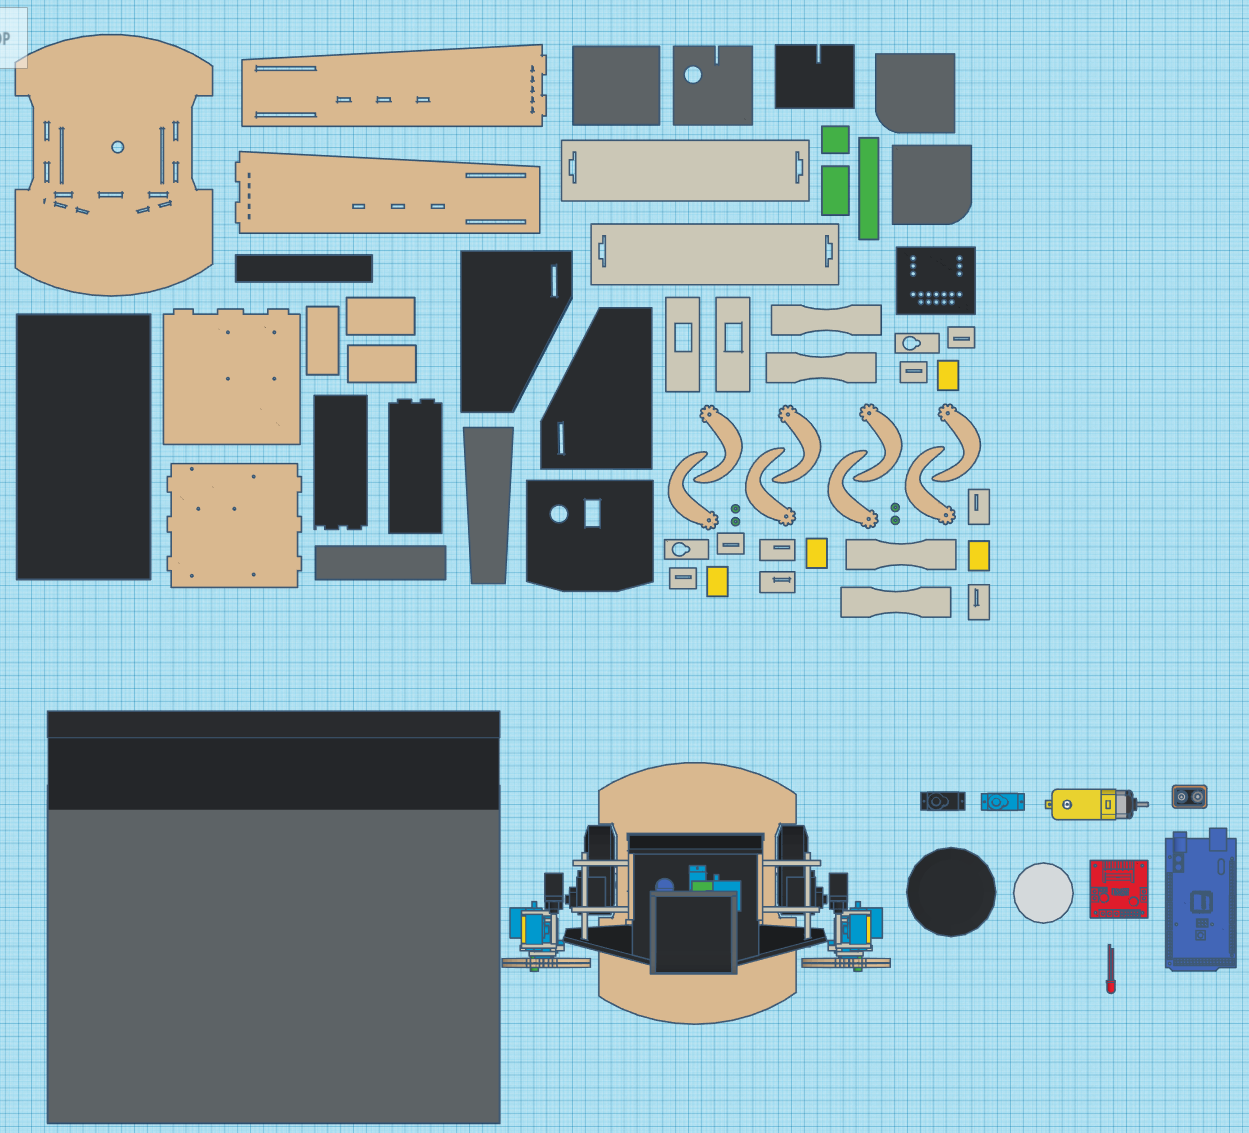
For prototyping and testing the strenght of the micro servos I used the Lego Mindstorms EV3 kit for some parts, but ended up removing it for the complexity envolved in controlling it from the arduino. You can see all the 3d models in my tinkercad: https://www.tinkercad.com/things/7larzkg22ko-mini-me-v1

The first design
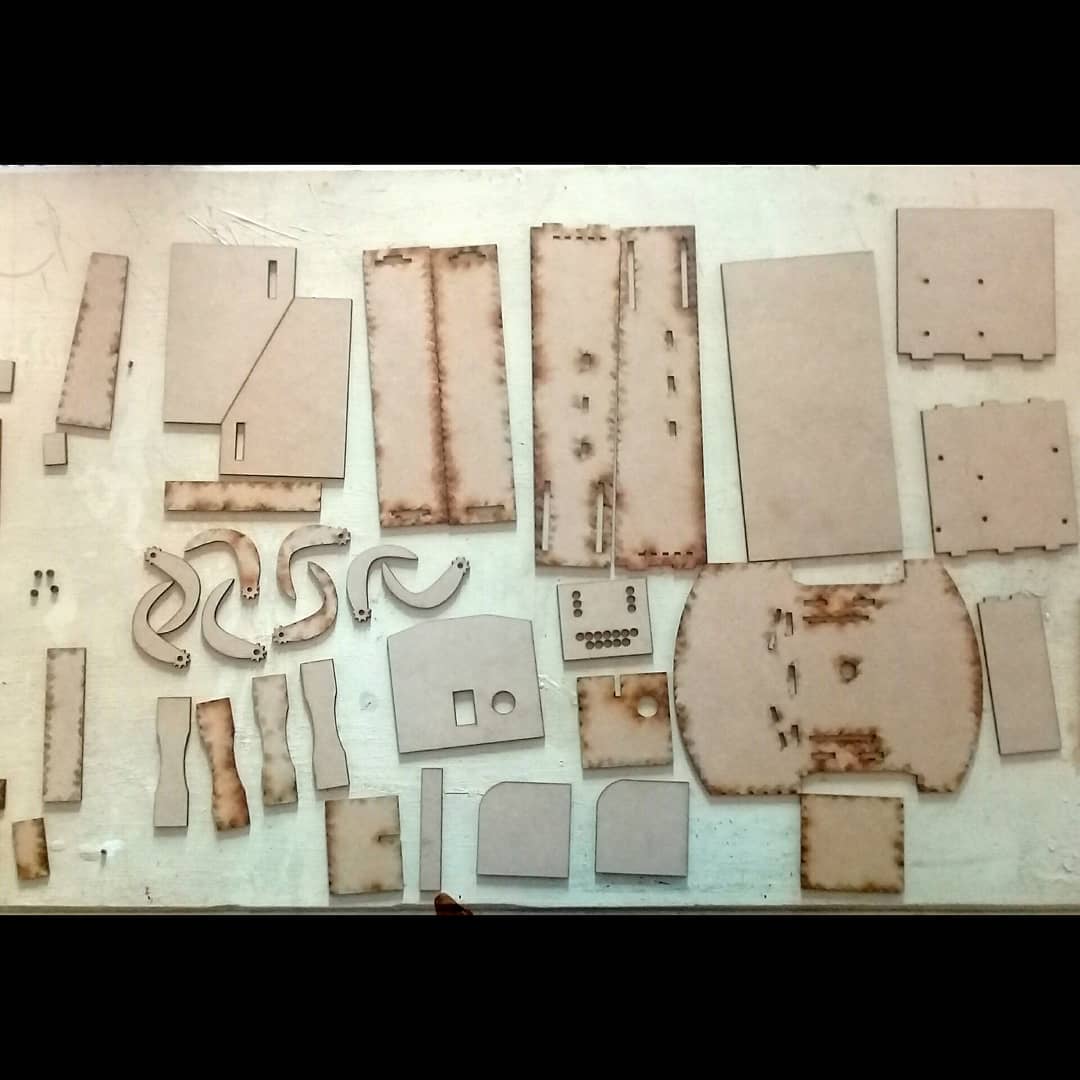
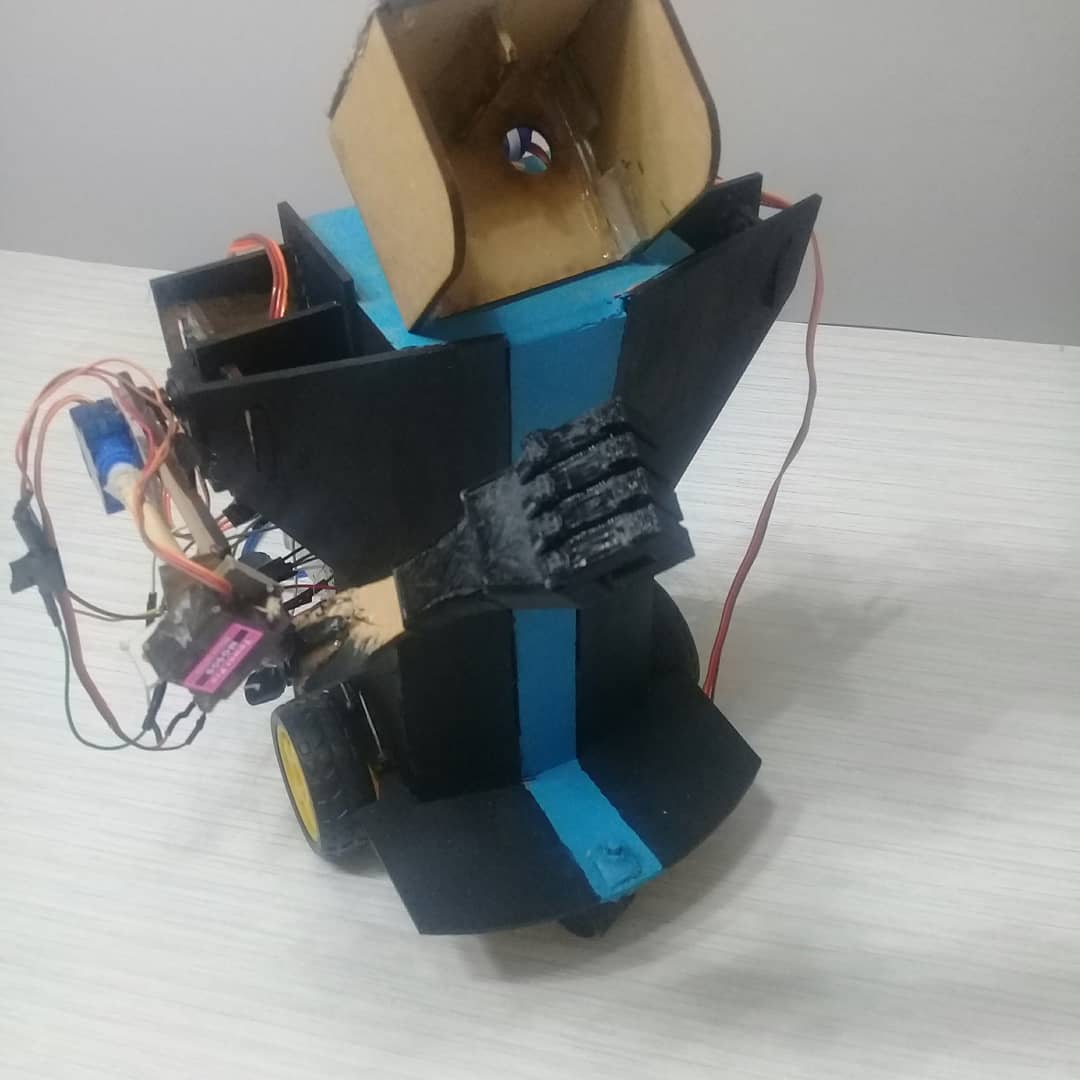
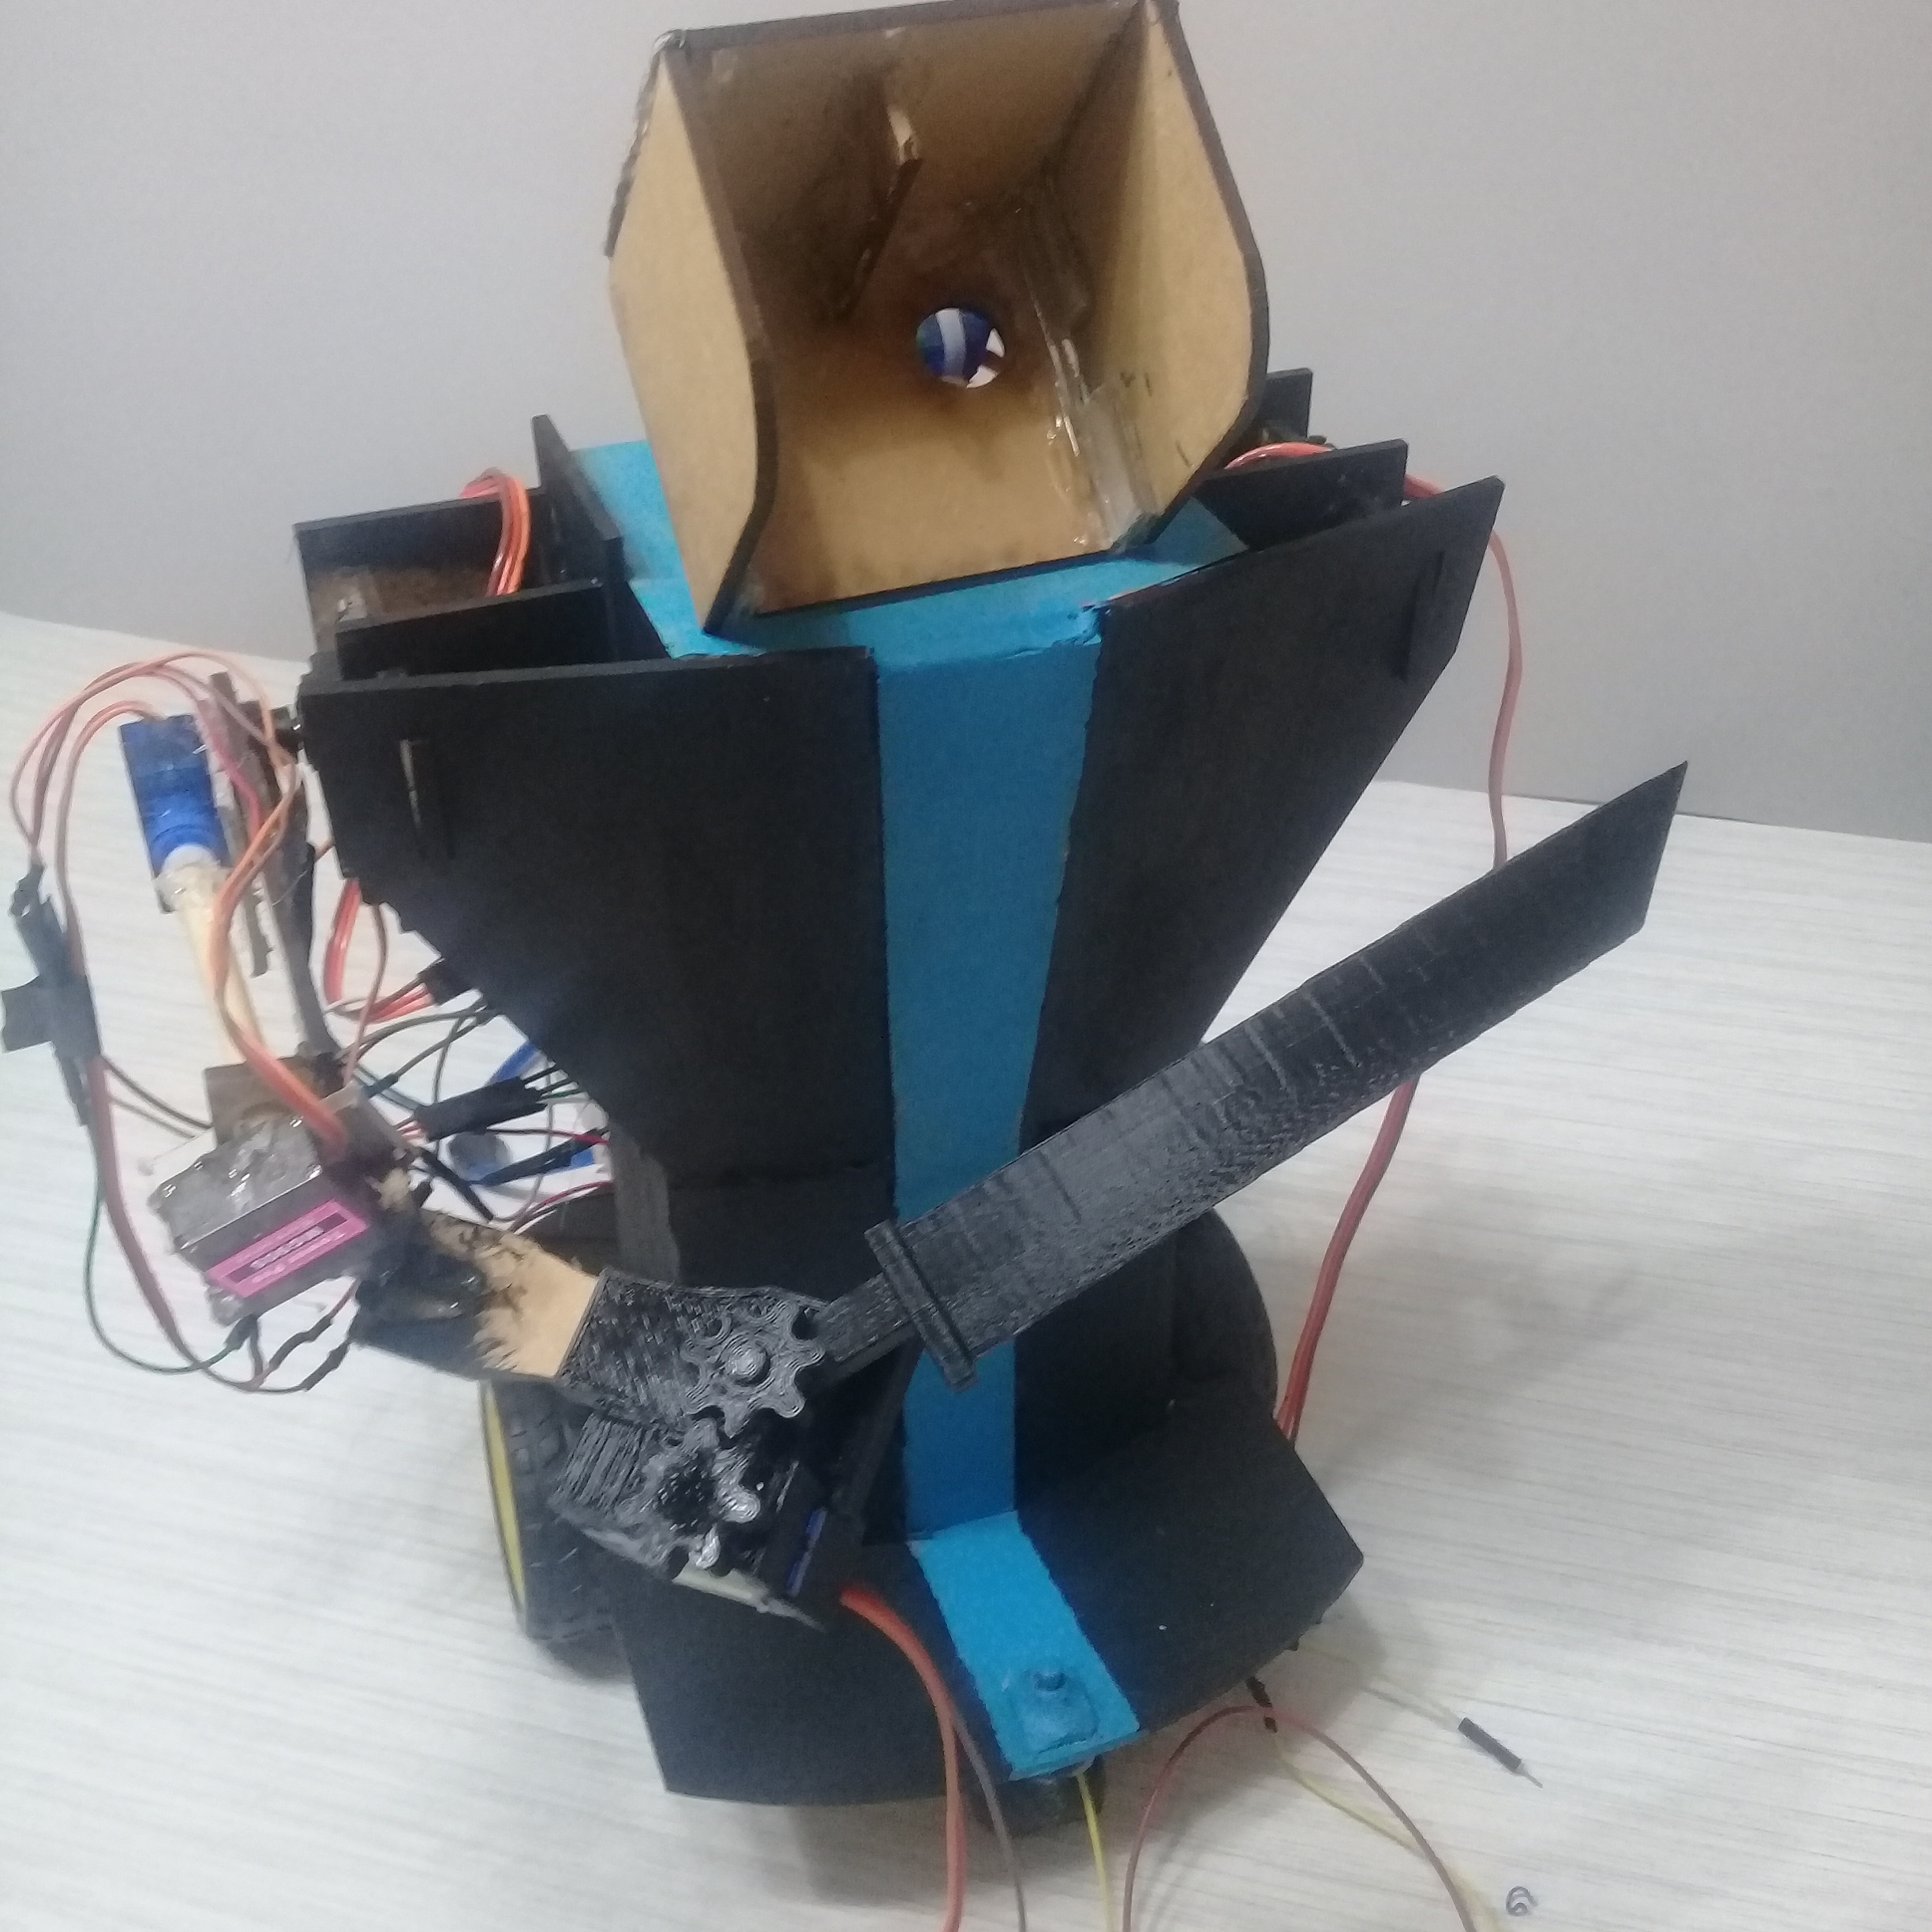
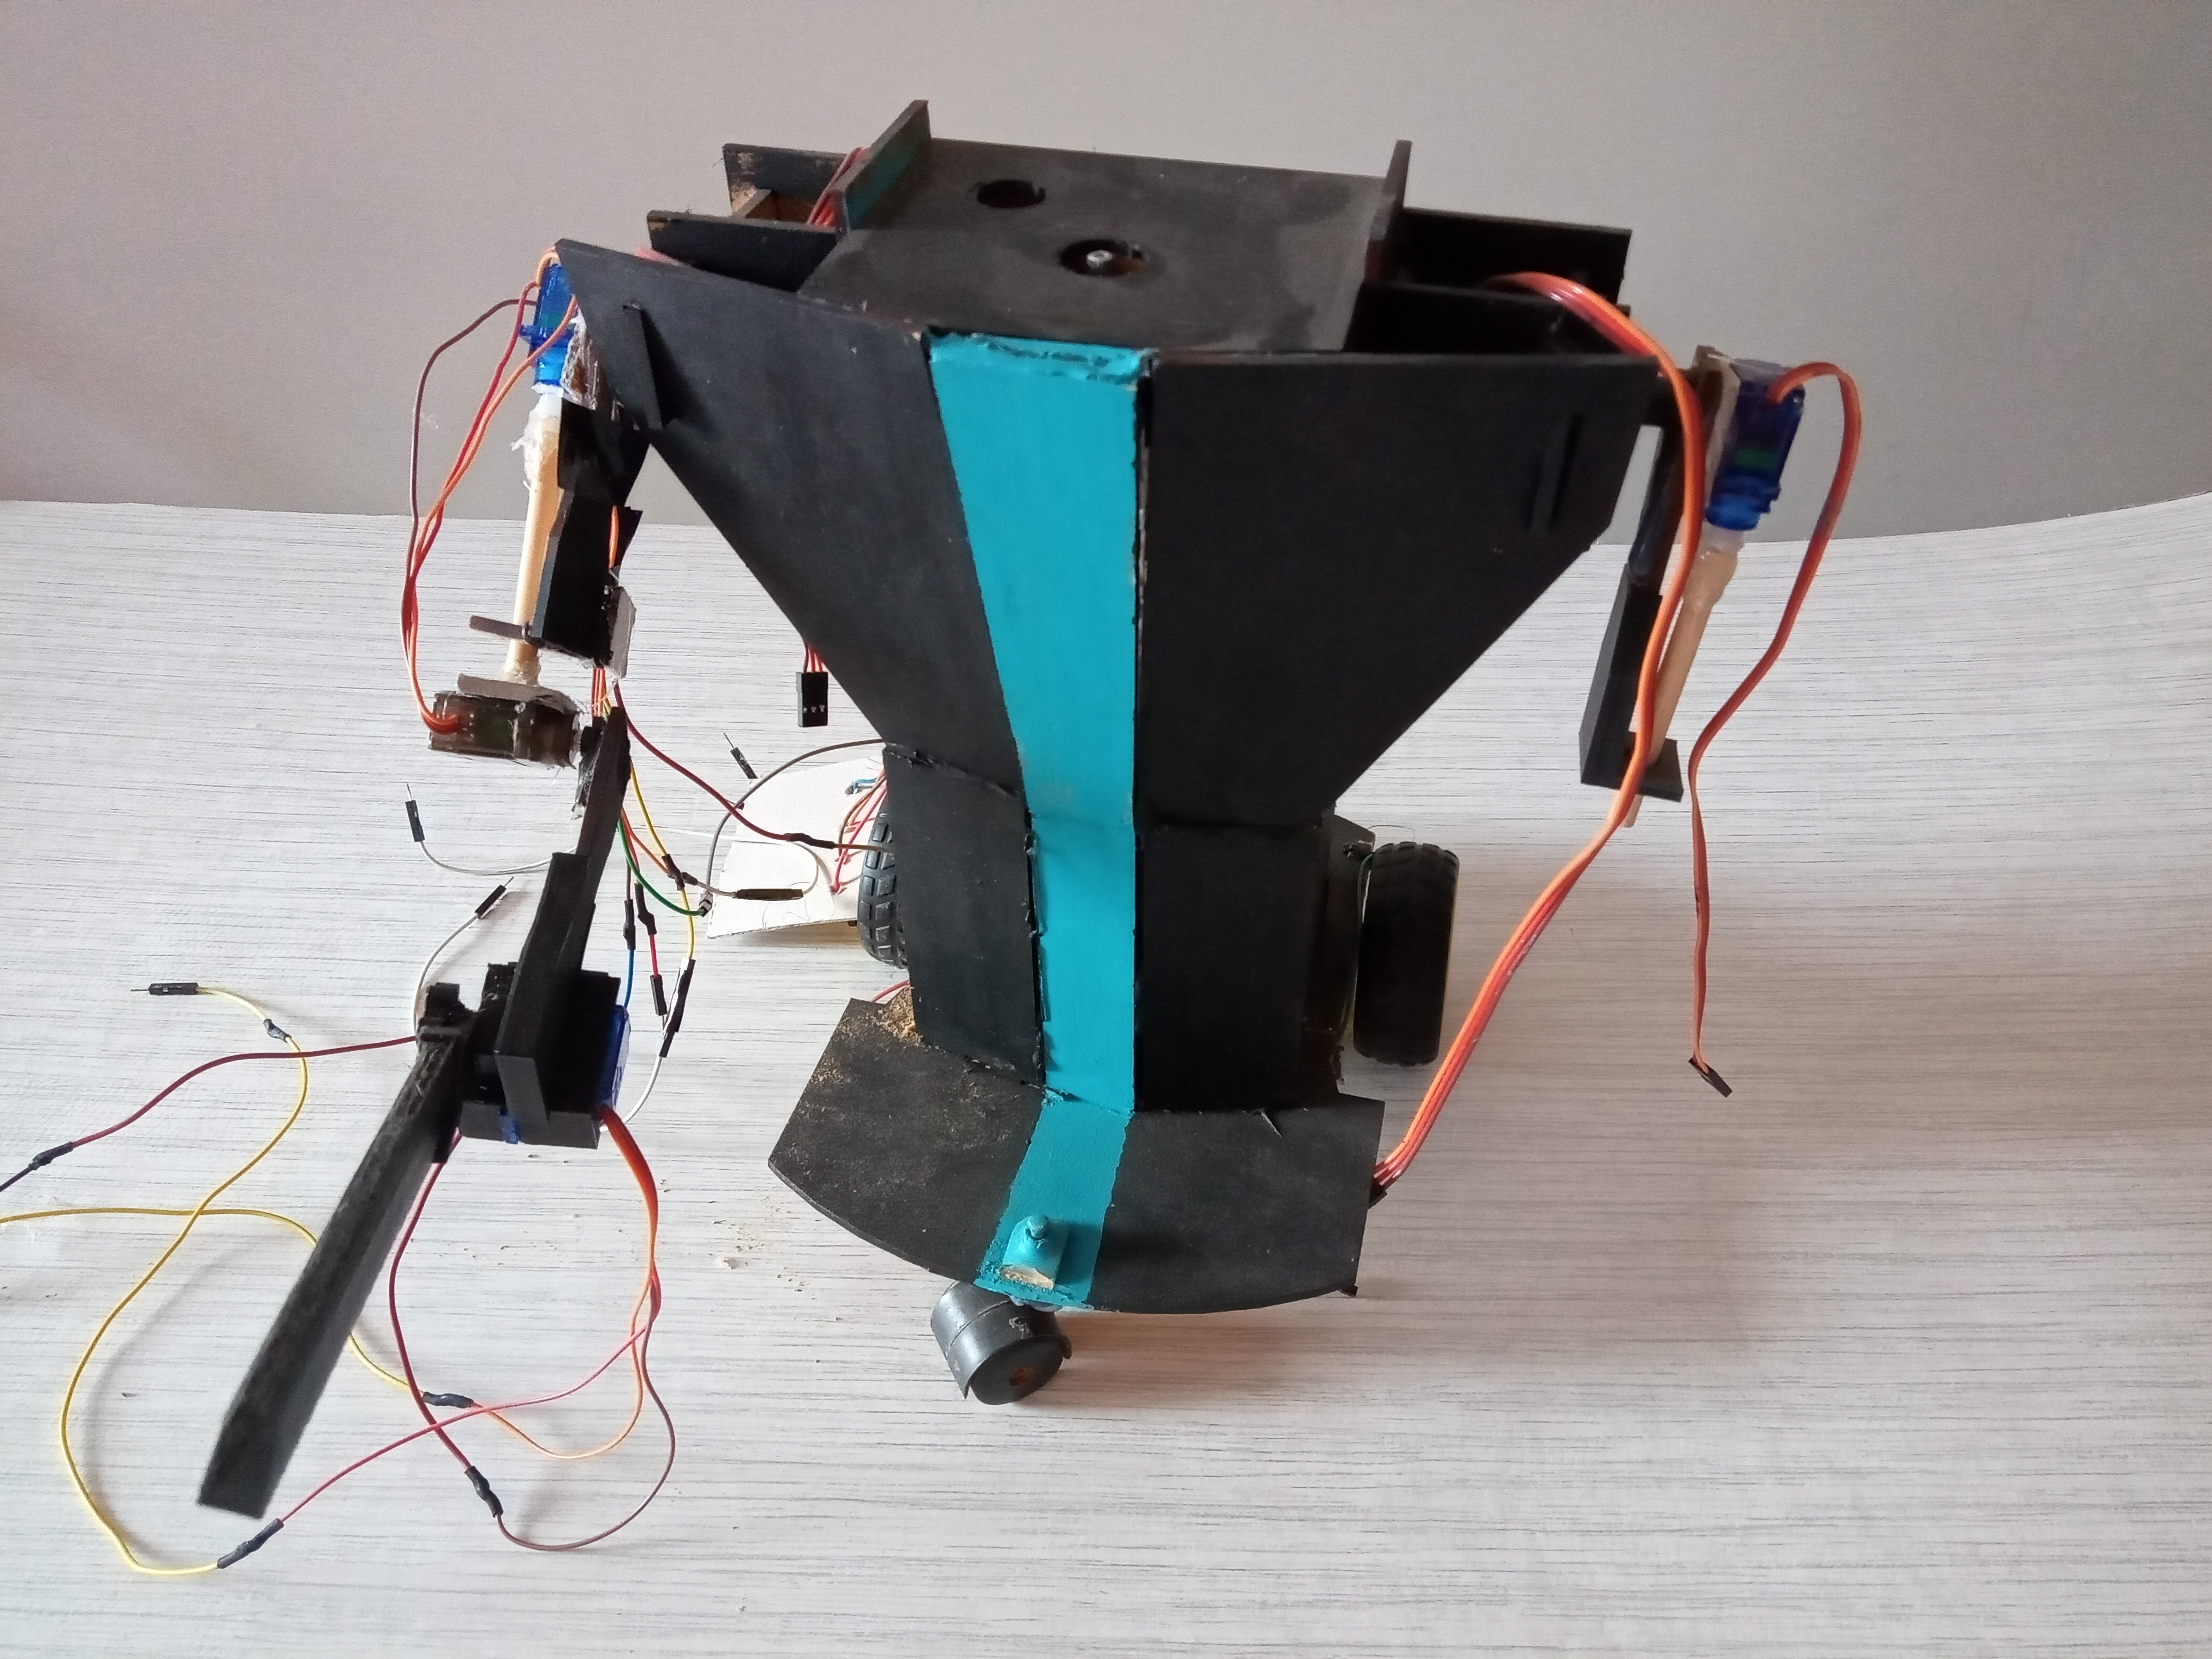
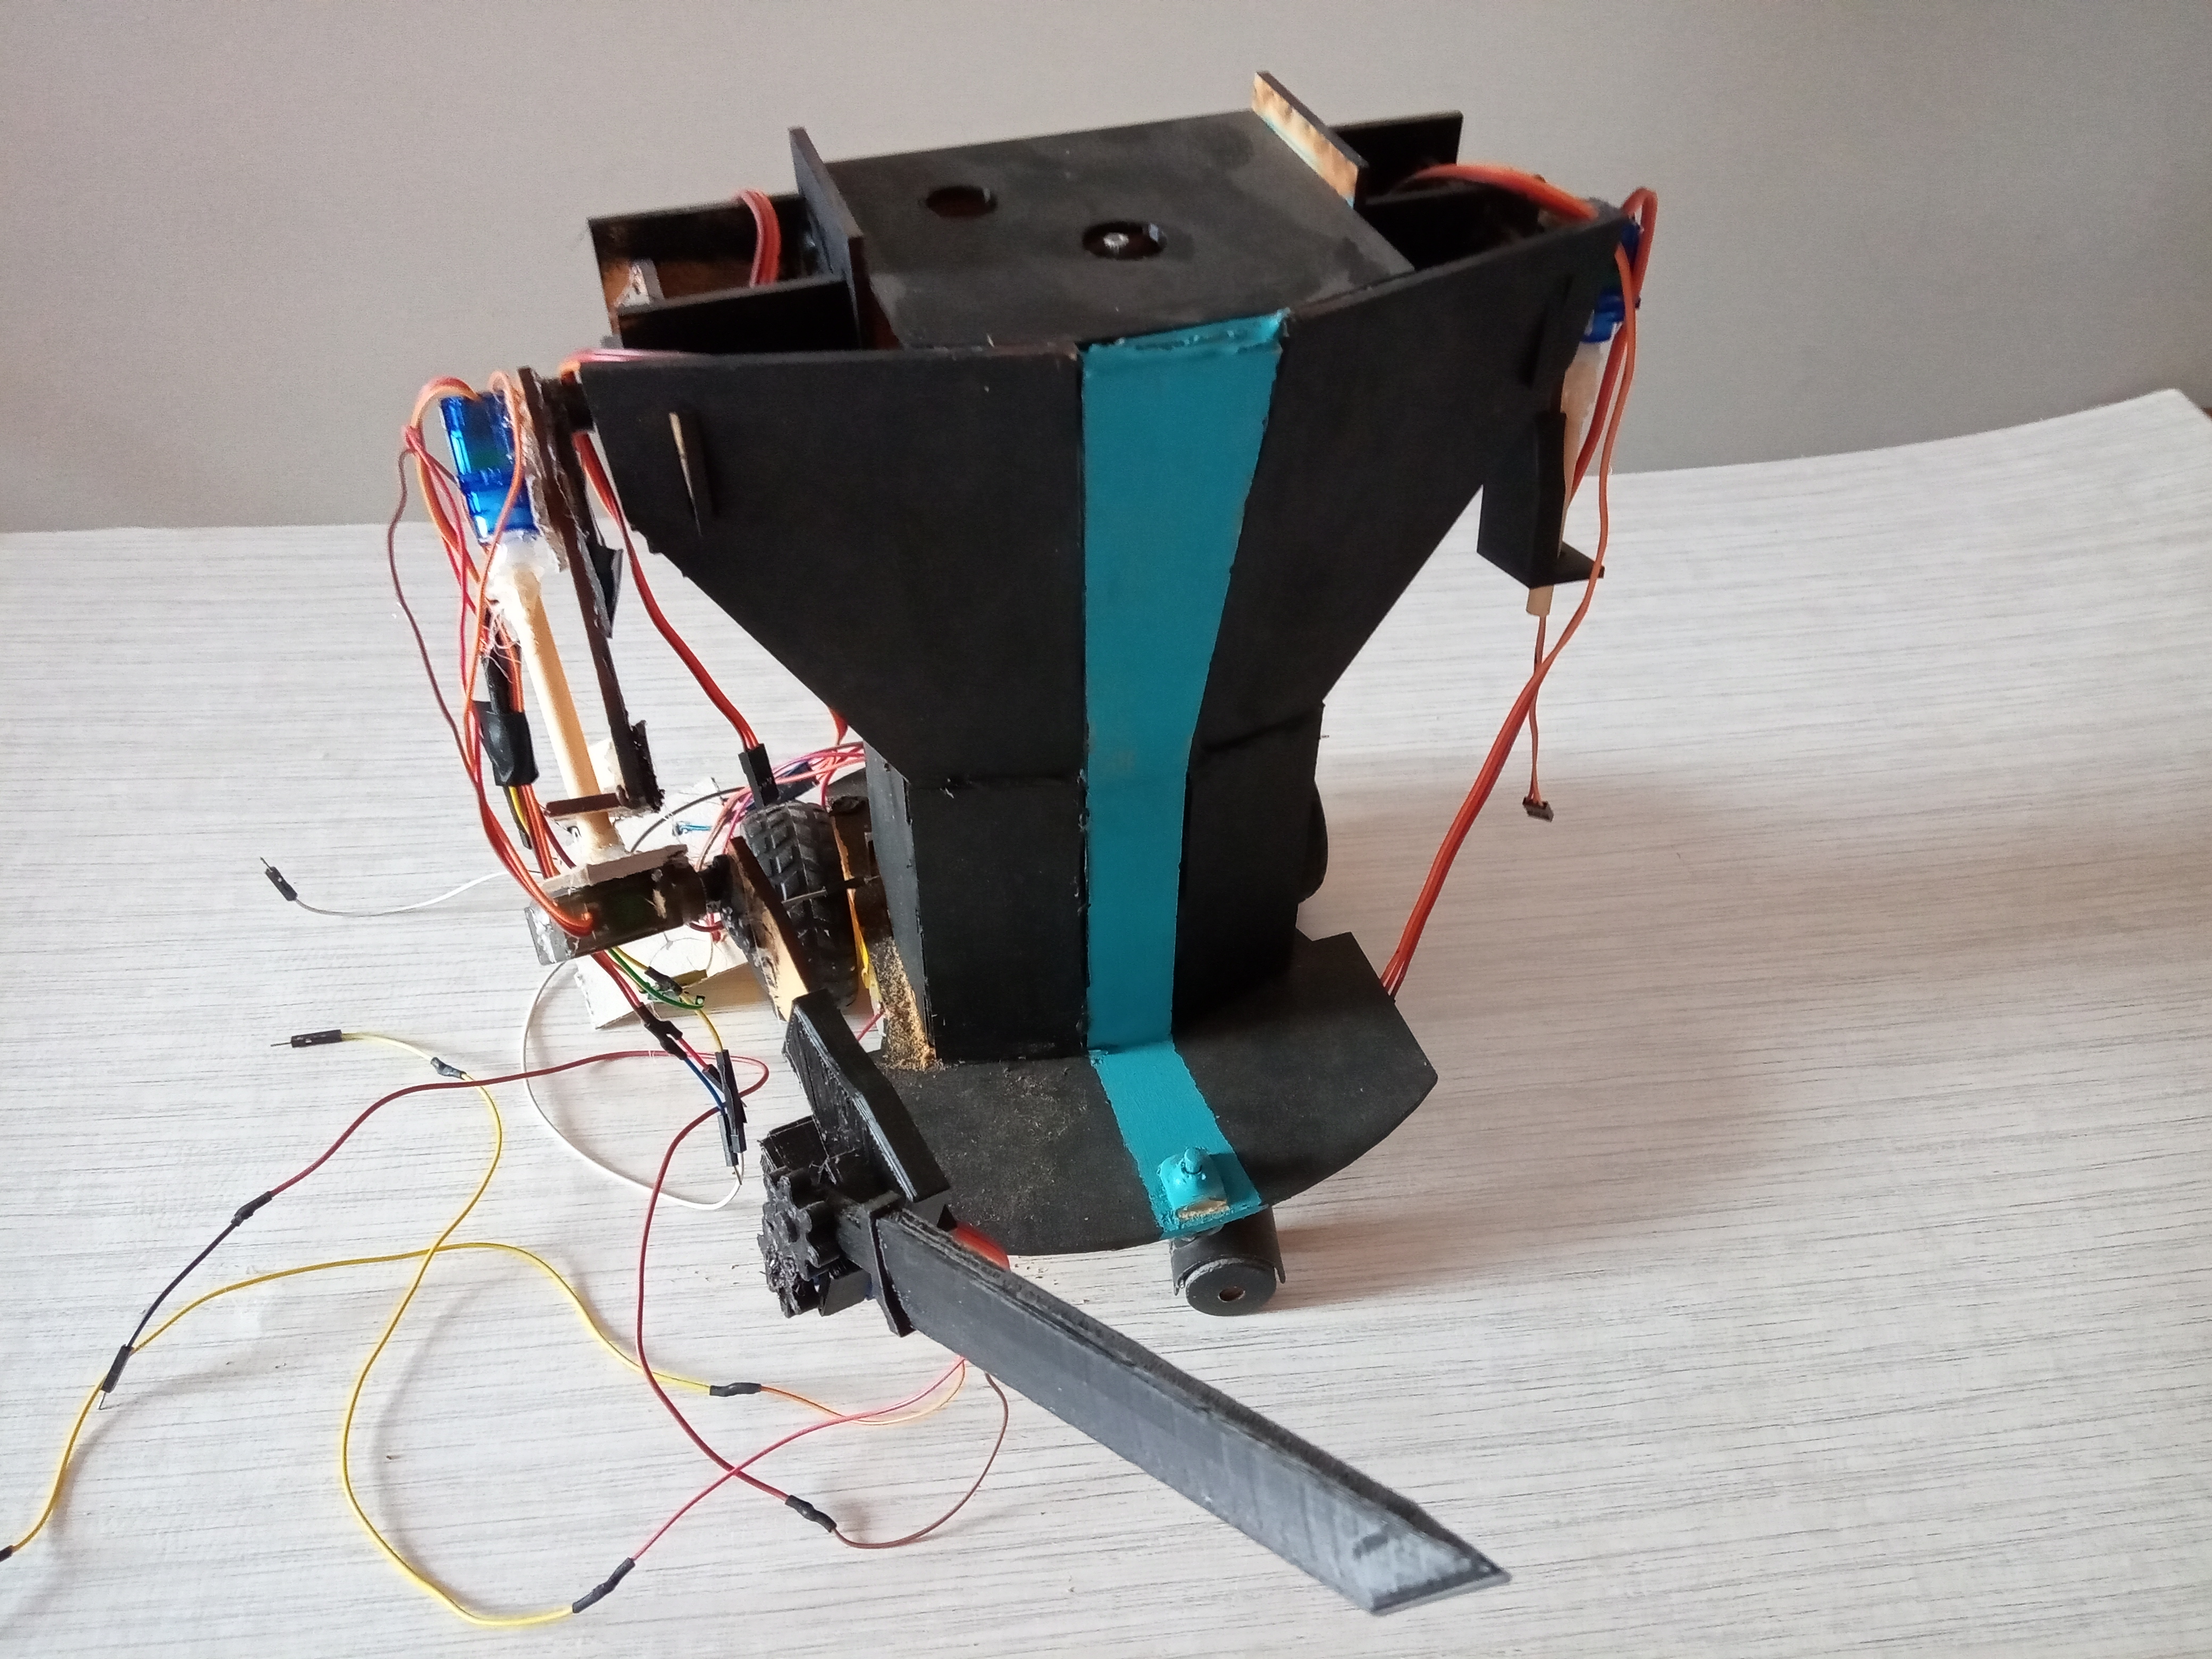
After the first prototype and testing various materials (such as strong cardboard and plastic) I started designing another version, using purely arduino components and 3 mm wooden plates as the principal building material. I chose this material for its strength, weight and rigidity. It also can be cutted with a laser cutter, a hand held power tool or even (with a huge effort) with a handsaw.
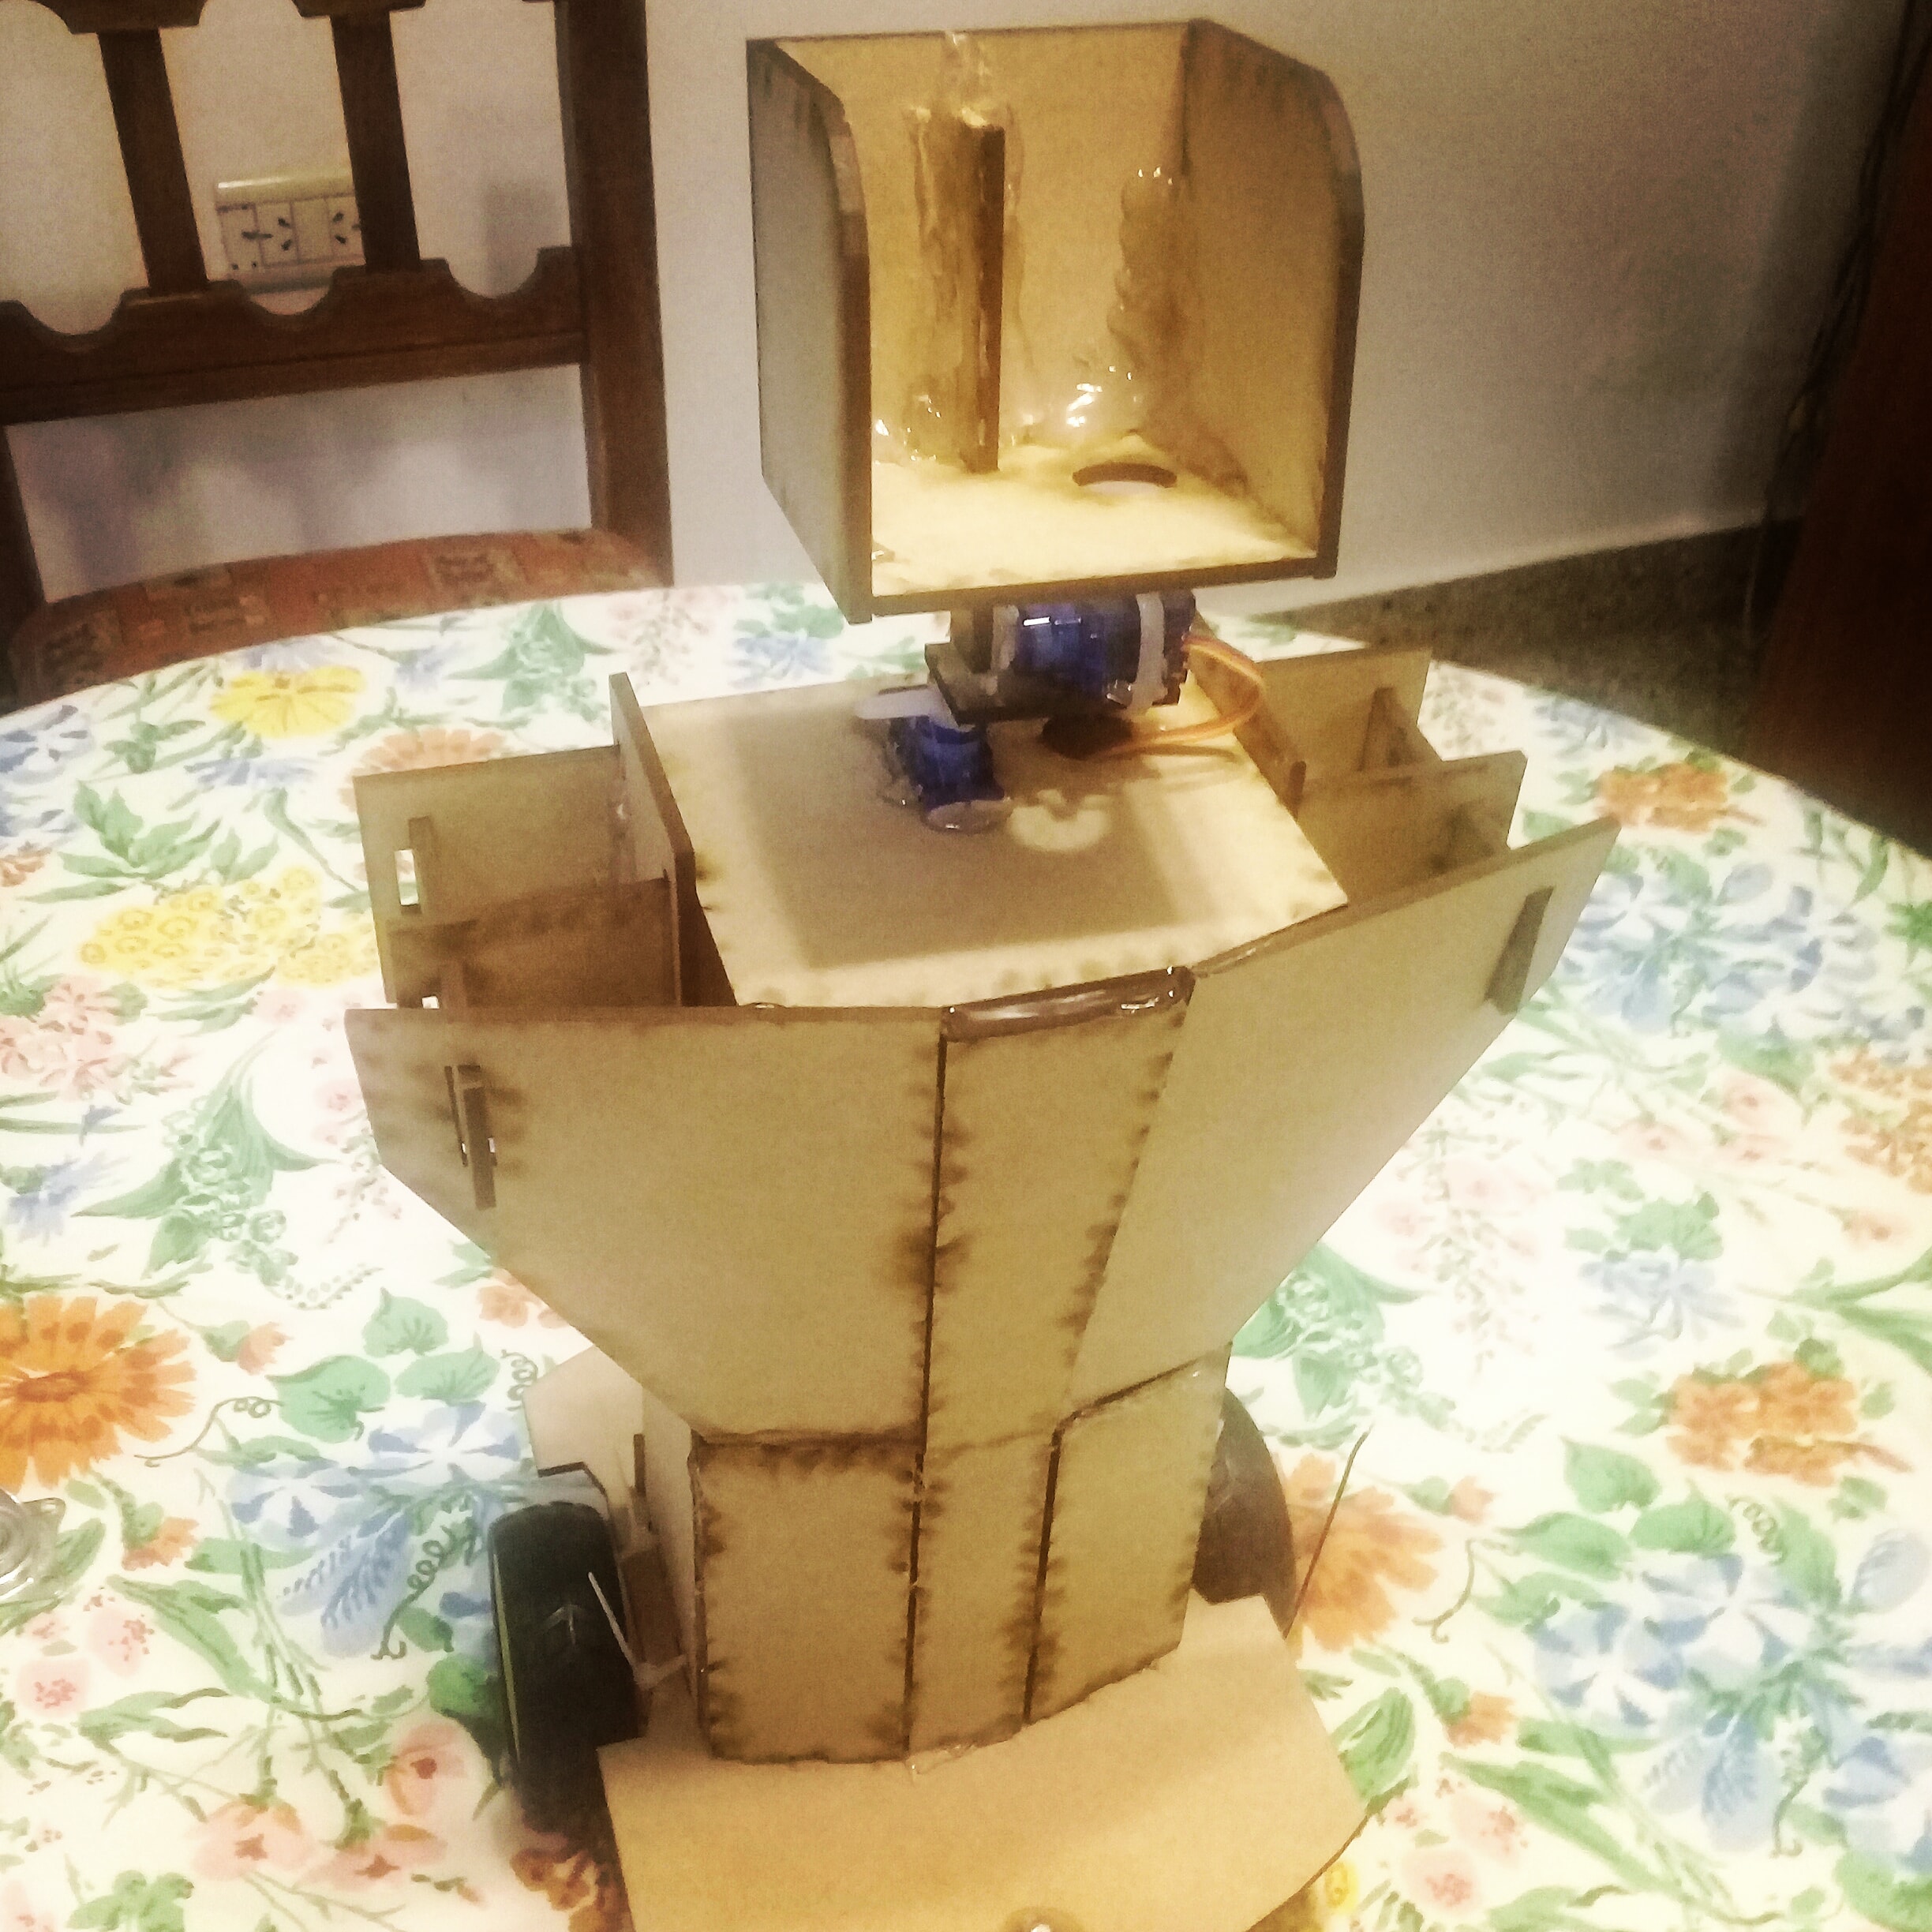
When assembled, this design proved to be etremely flawed, as the servos didn´t have enough force to move the arms. Not only that, but in some cases the servos had to take all the weight on their axels, an the robot was overall too big and heavy for them.
Despite all of that I did some progress in the code: I managed to make a simple servo controller that allows me to controll mutliple servos at the time at different speeds, but it defenetly needs more refining thus I wont be publishing it yet.
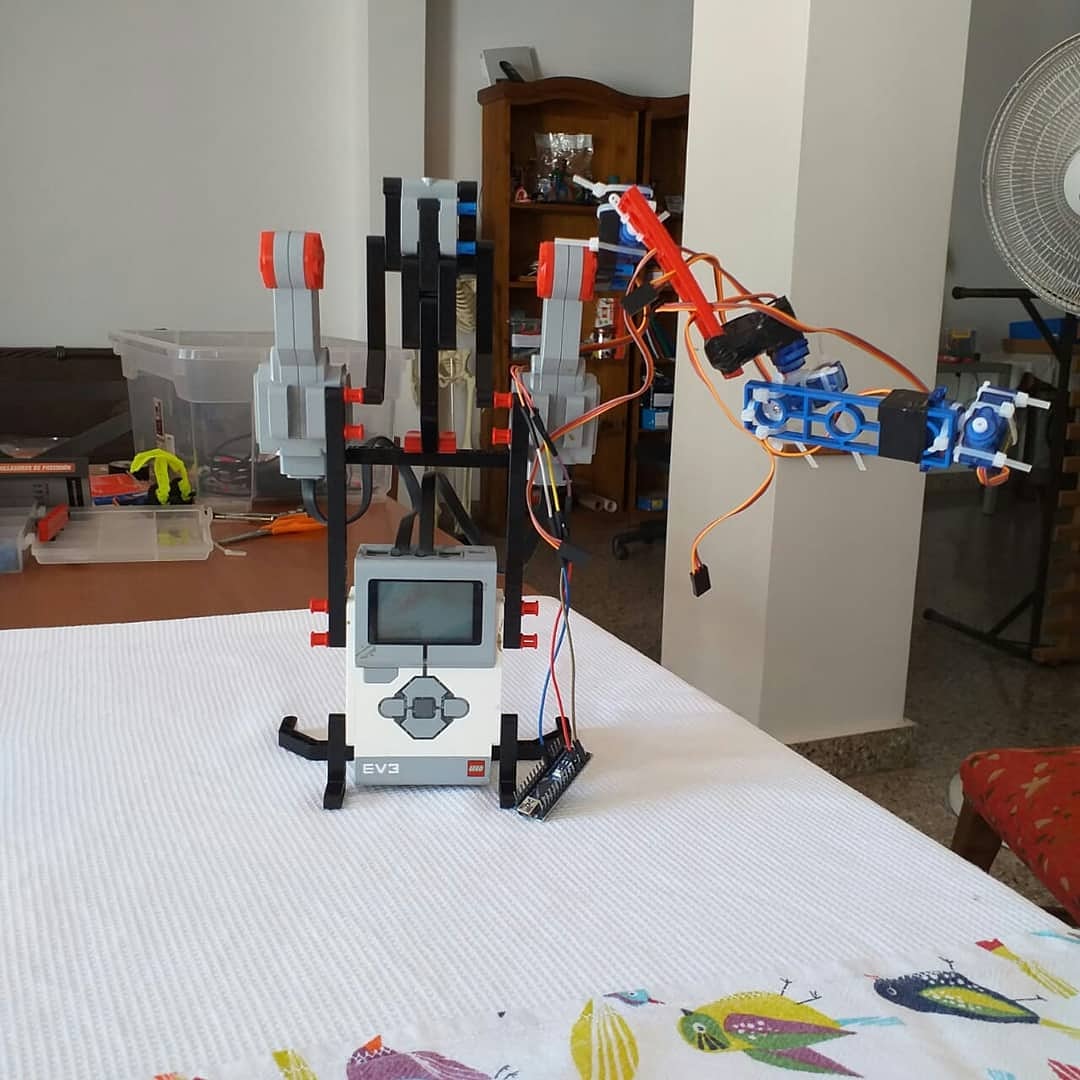
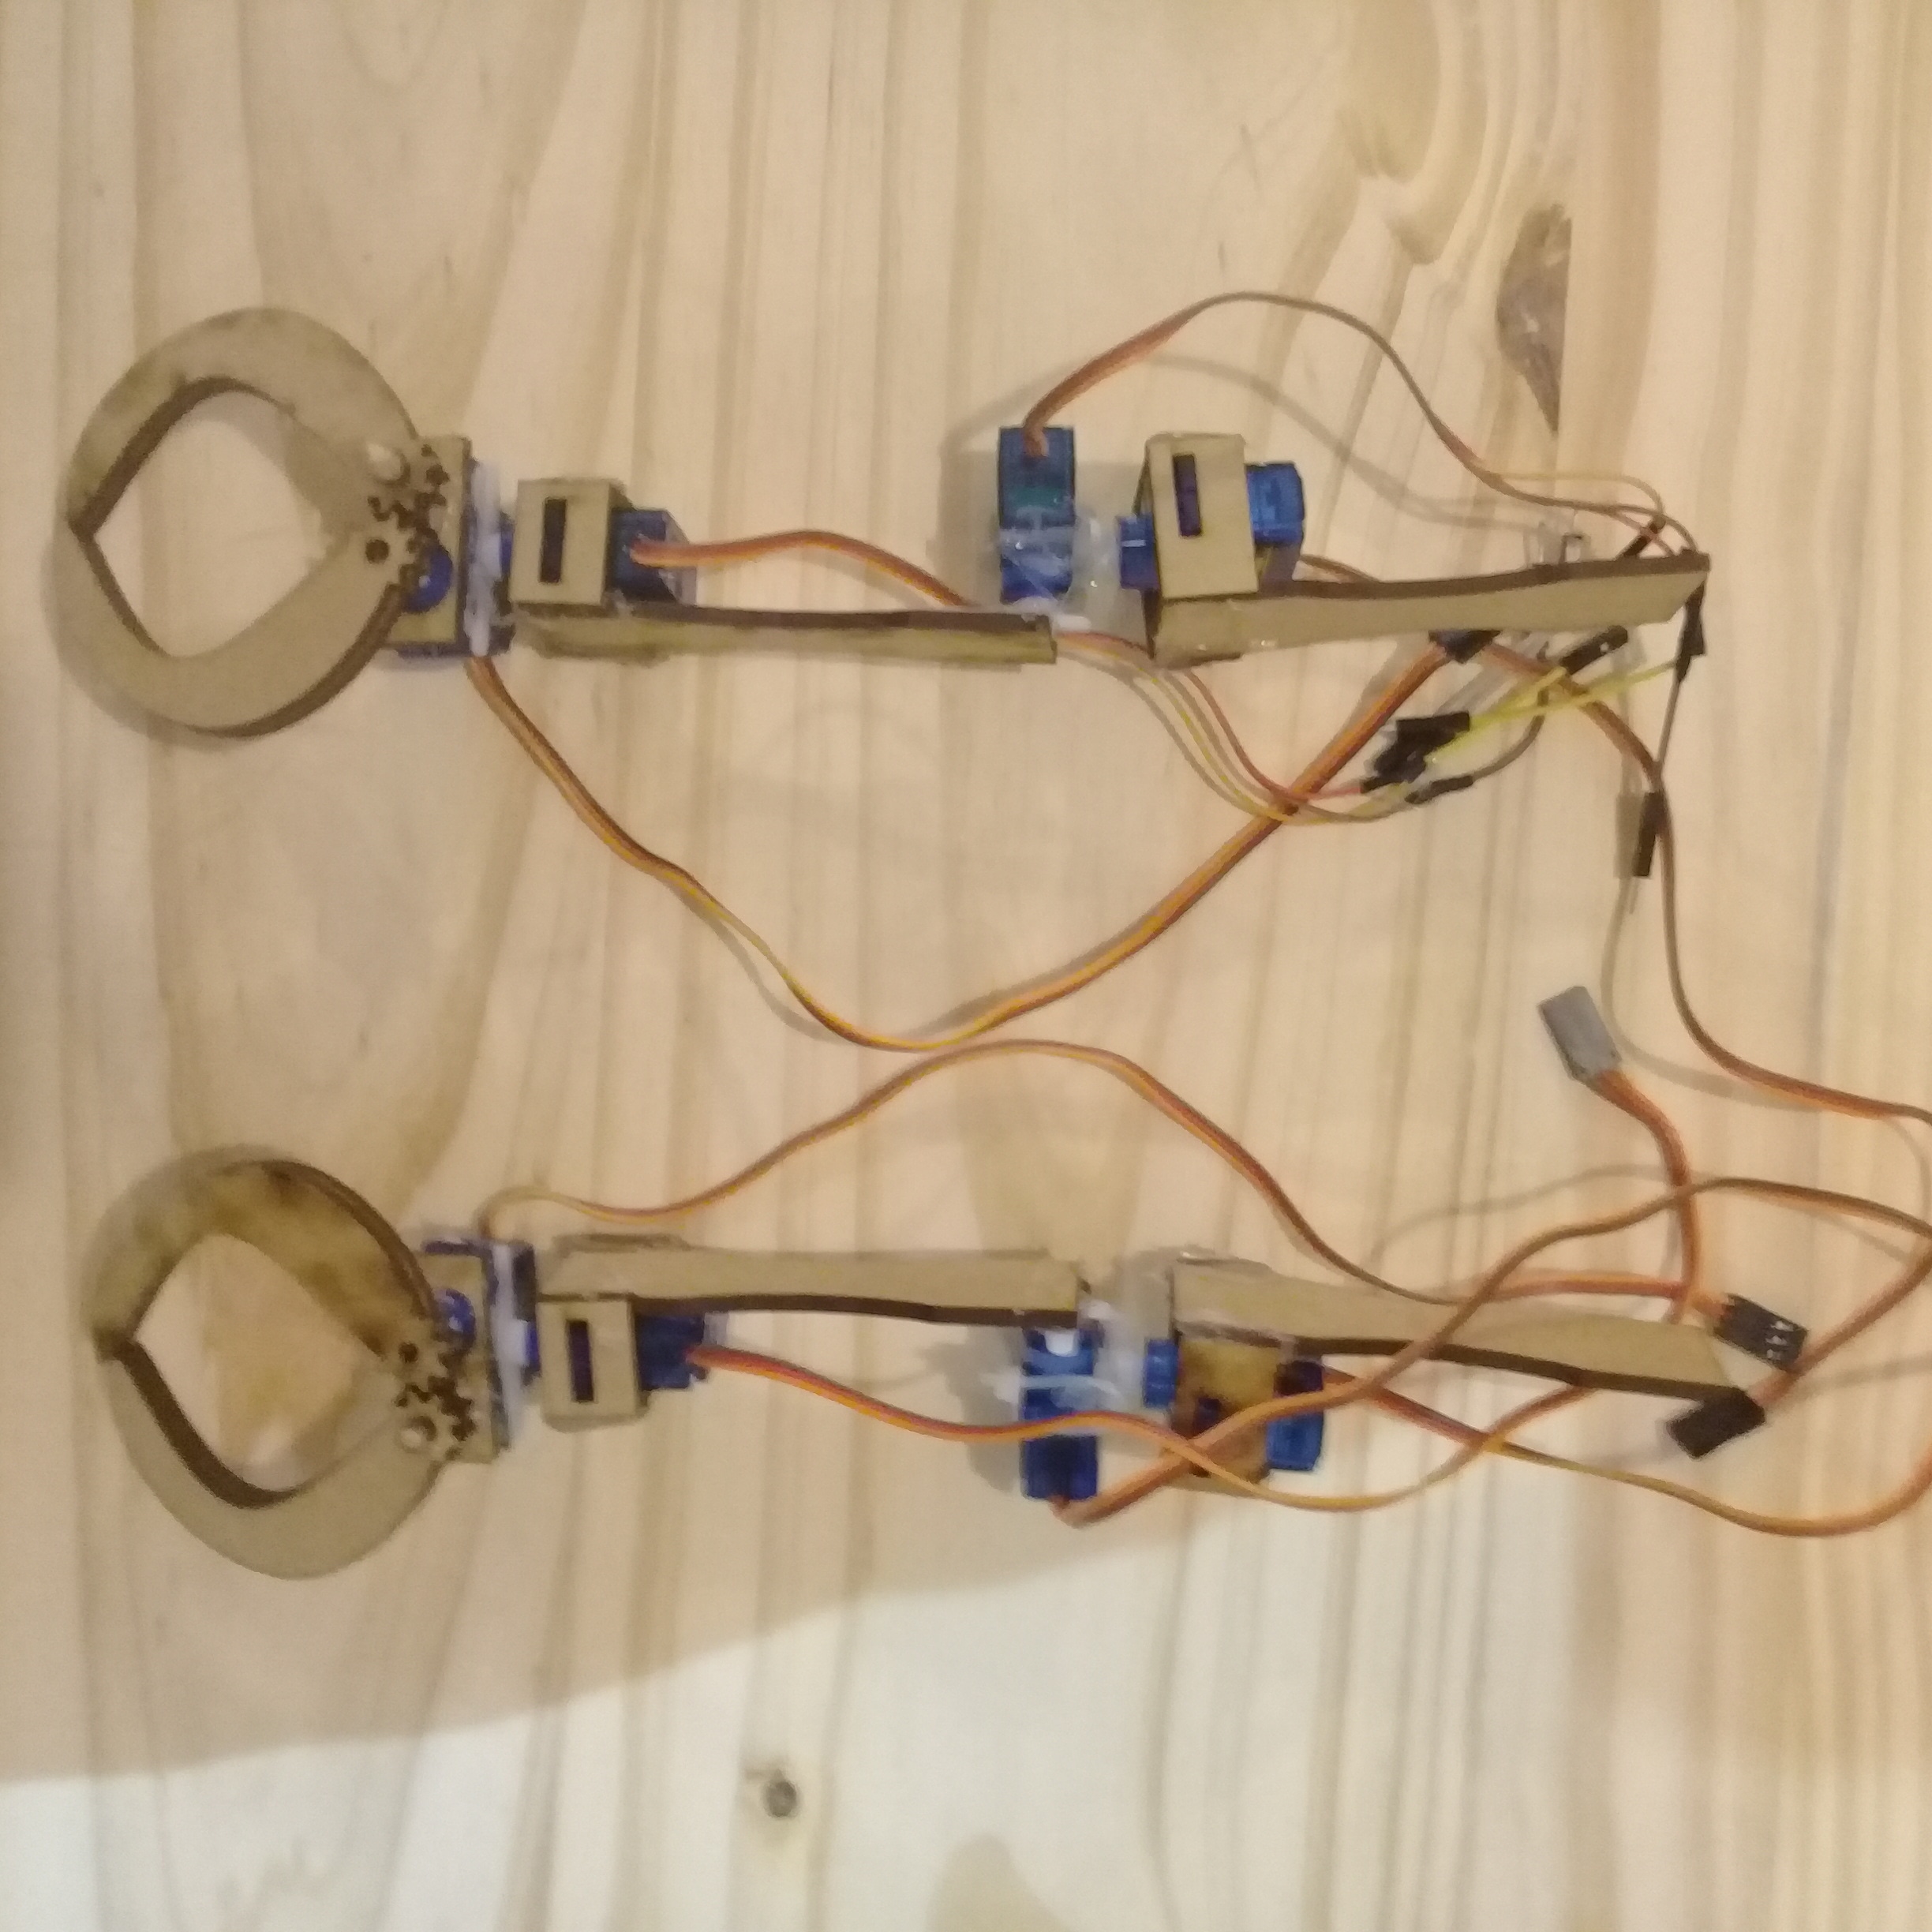
The robotic test arm
After those problems, I´ve decided to make a robotic arm with the servos to test different methods of movement. I think the next logical step will be to redesign the entire robot quite a bit smaller and with better ways of attaching the servos learned from the arm.
It works!
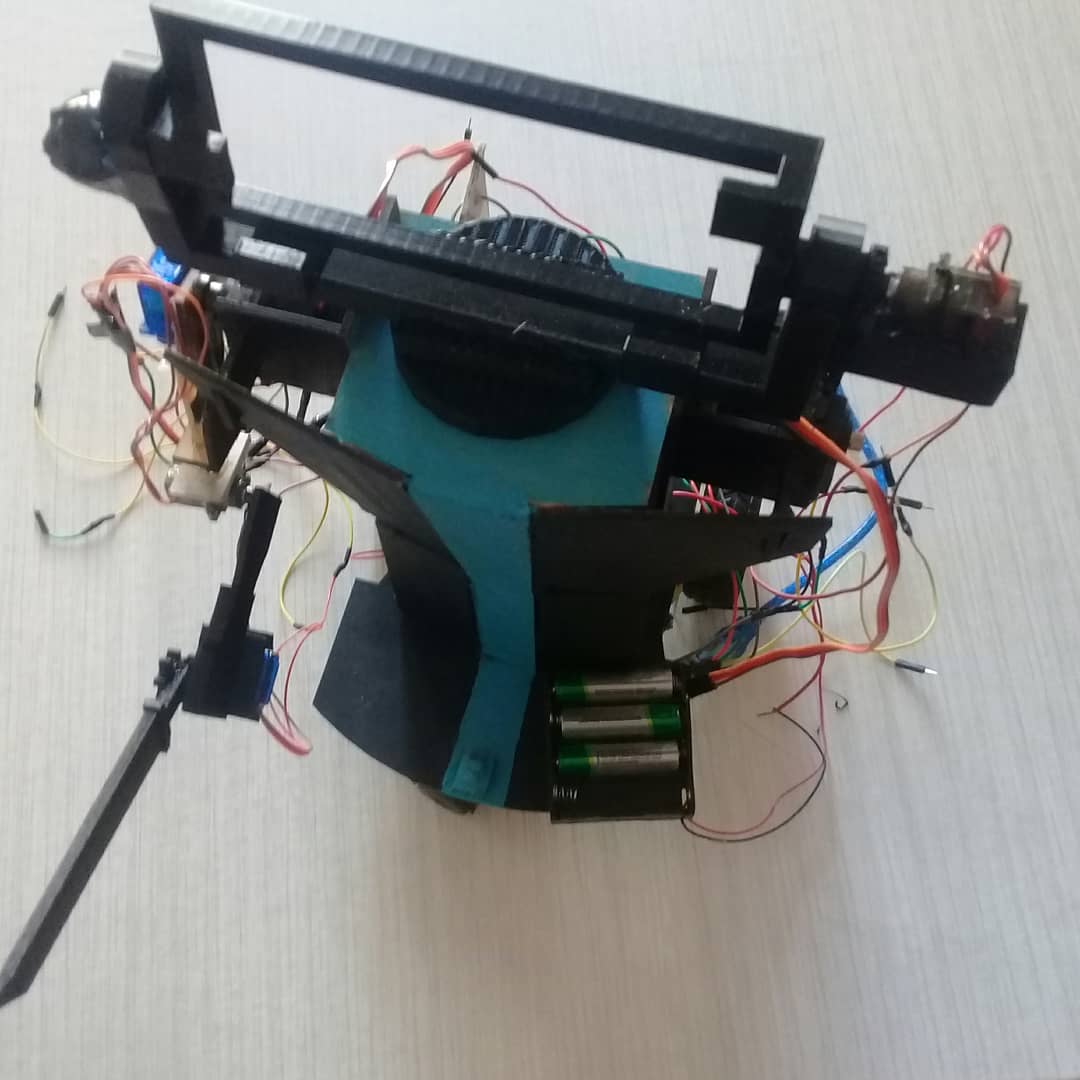
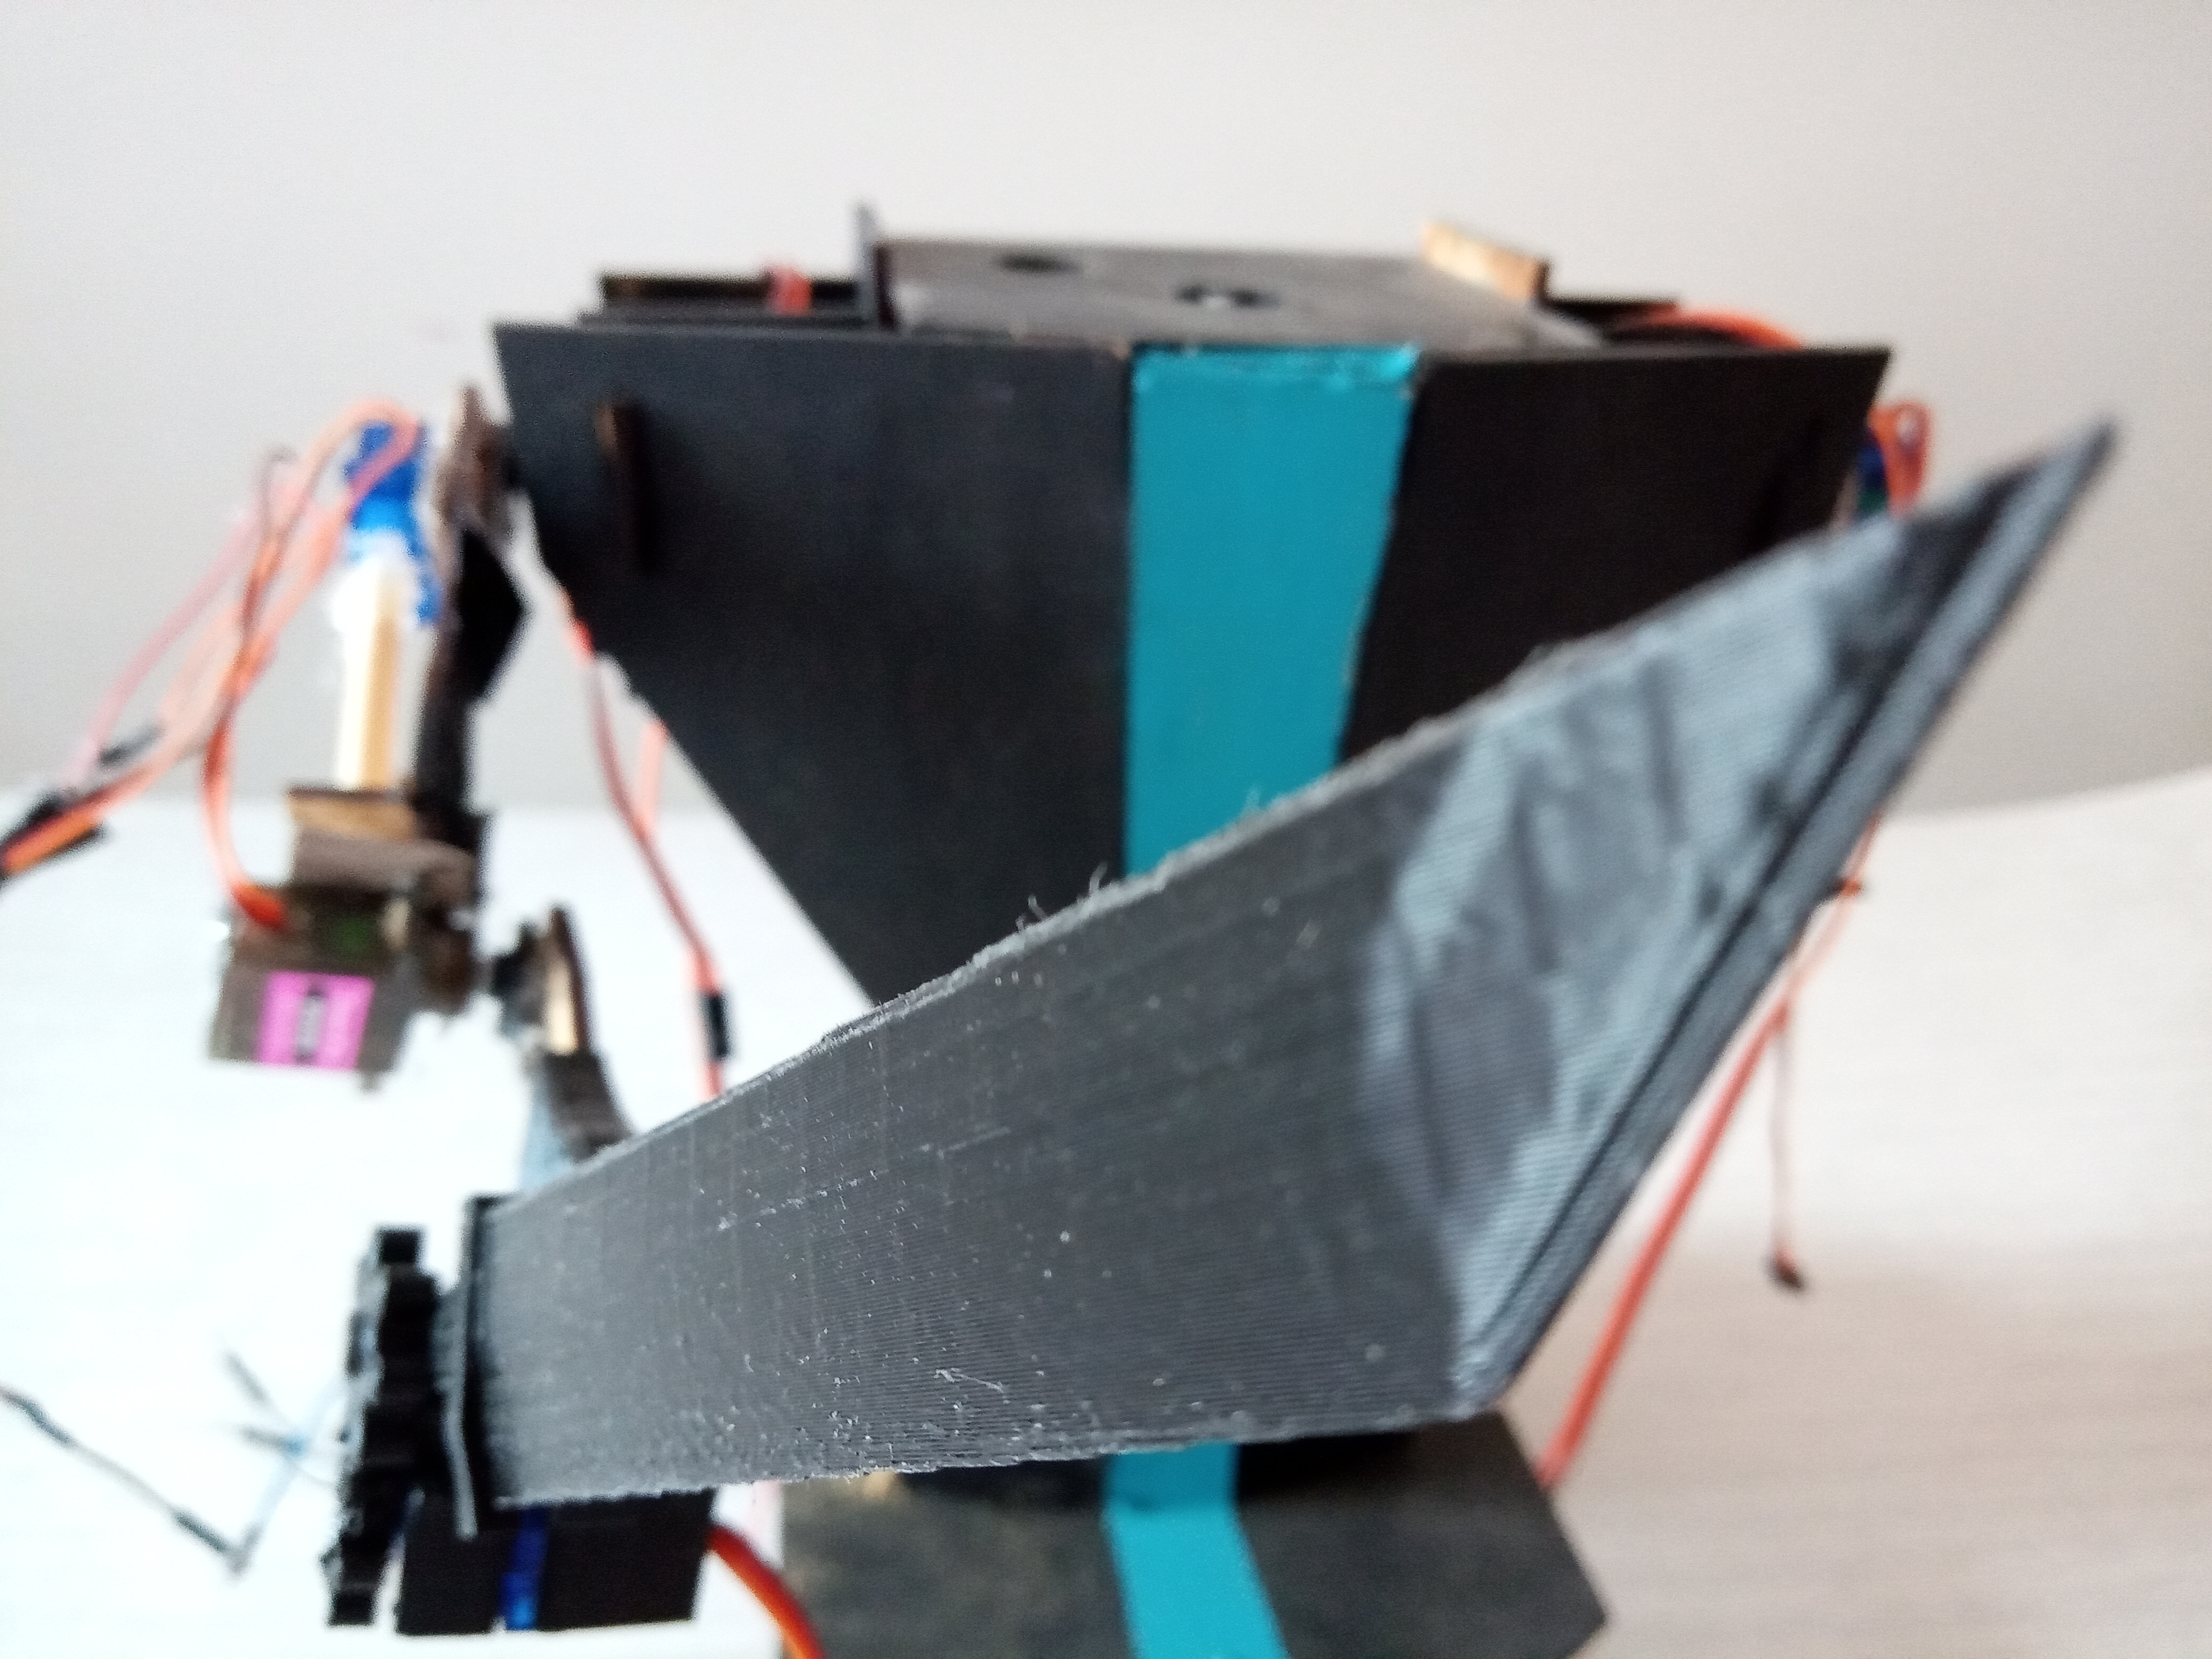
At this point I was a bit disappointed in having to redisign it, so instead I reduced the amount of servos for one arm from 6 to only 3 and rebuilt it out of balsa wood. After those changes I managed to finally make it work! It can´t lift much weight at all, but at least I was able to save the rest of the body.
The puppeteering rigg
After this success I decided to make a puppeteering rigg to be able to controll the robot in a similar way to an exoskeleton, it was made of balsa wood and some cheap pots as I´m trying to make it as inexpensive as posible.
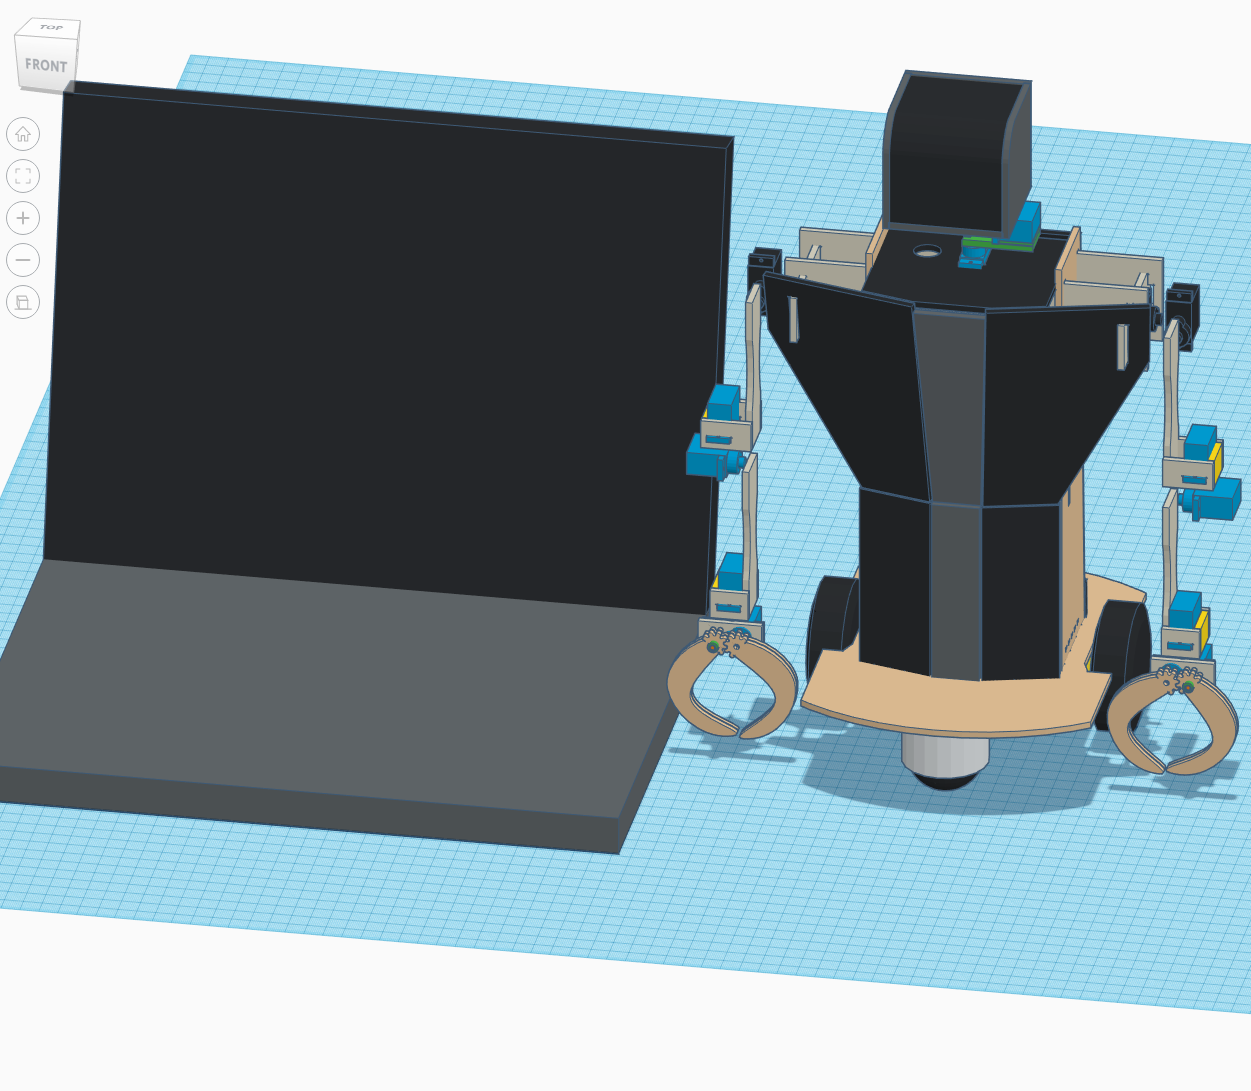
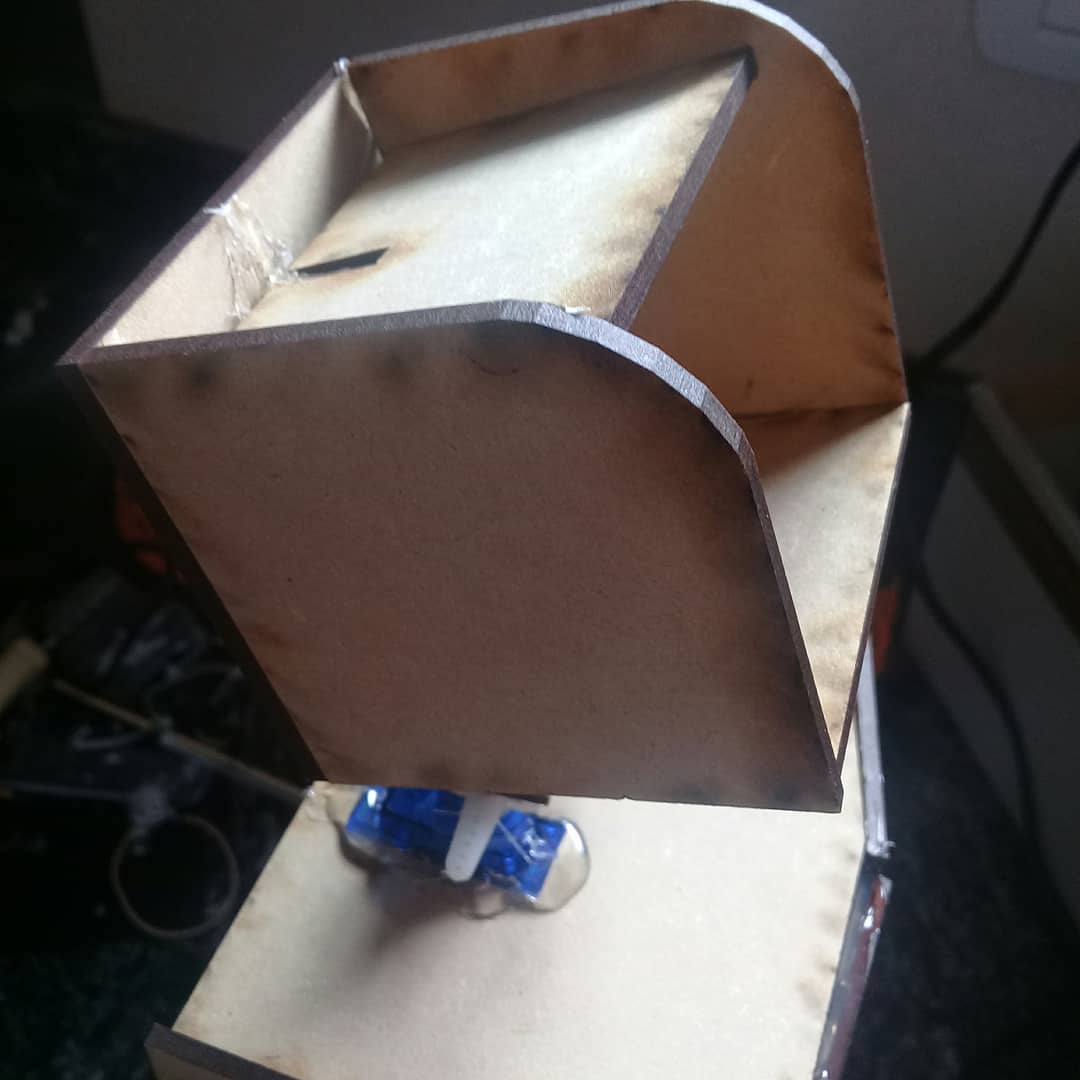
The exoskeleton
After the rigg I felt ready to start building the exoskeleton, that turned out easier to build than what I spected. After some prototyping, I landed on the final version. It´s made completly of cardboard, hot silicone and reciclable materials, exept for a belt to strap it on to your body. This can always be replaced with any kind of rope.
I used the same cheap pots for this too, obviously not directly; the axels were made of old marker shells, and then I just siliconed the pots in. The good thing about this design is that if you need your hand free, you just let go the handle and don't need to unstrapp anything.
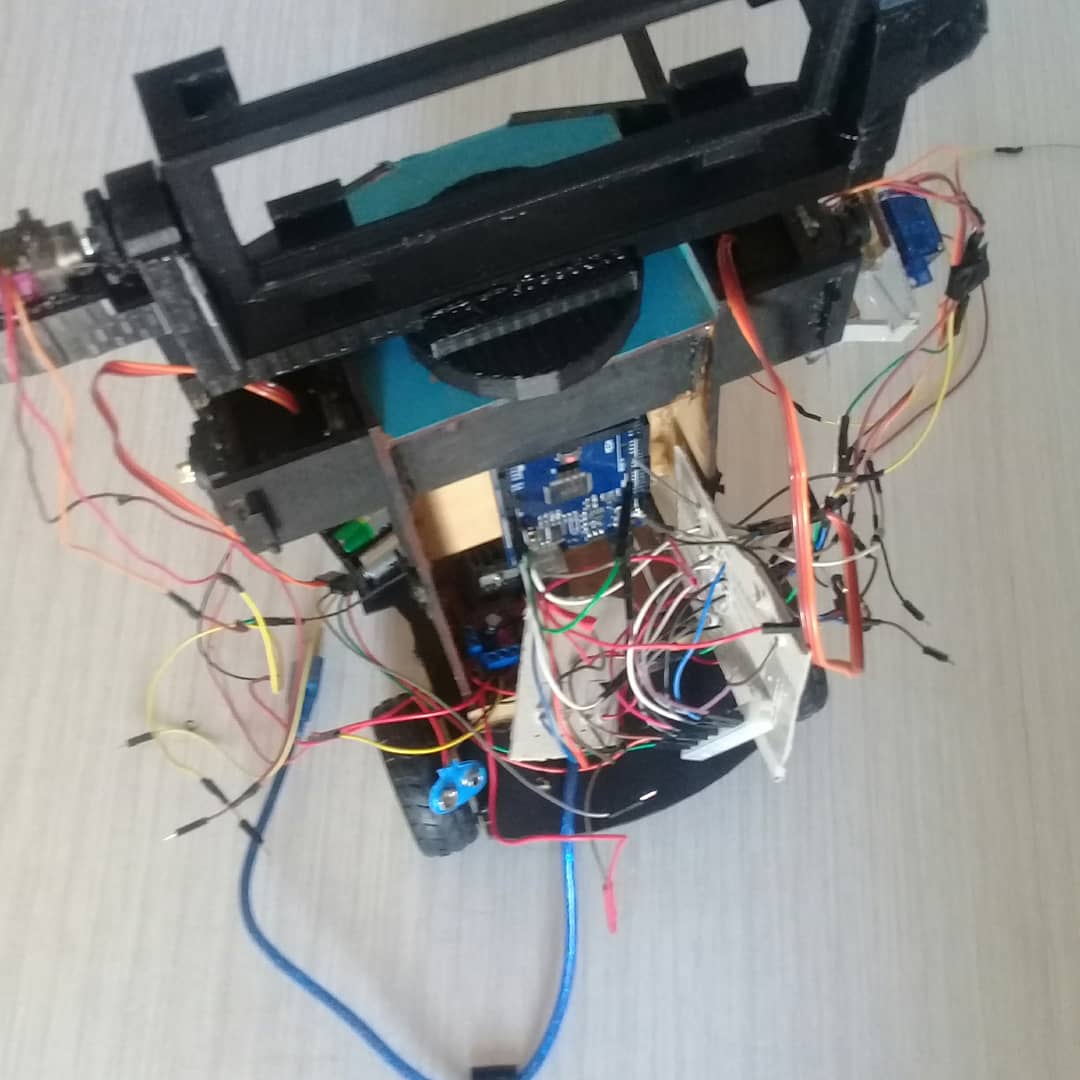
As programming goes, It just maps the values from the pots to 0 - 180 for the servos. I separated the exoskeleton and the robot on to different arduinos: a nano for the exoskeleton and a mega for the robot and used the EasyTransfer library for serial comunication between the two. For now I used a long cable to connect the two serial ports, later on I´ll replace it with bluethooth modules.
Technical Deep-Dive:
- Exoskeleton Joint Mapping: The exoskeleton utilizes high-linearity potentiometers at each human joint (elbow, shoulder, wrist). The Arduino Nano samples these analog values, filters the noise, and maps the 0-1023 ADC range to the 0-180 degree pulse-width modulation (PWM) range required by the robot's servos using the
map()andconstrain()functions. This ensures that human over-extension does not result in robotic joint collision, protecting the micro-servos from mechanical stall. - Servo Multiplexing & Power Management: Driving multiple servos simultaneously creates significant current spikes. The project utilizes an Arduino Mega for its high GPIO count and a dedicated External Power Rail, ensuring the logic side does not brown out during rapid movement. The initial failure with SG90 servos led to an upgrade to a 13kg-cm MG996R servo for the shoulder joint, providing the necessary mechanical leverage.
- Serial Communication Bridge: To maintain a responsive control loop, the project implements a master-slave serial link between the Nano (exoskeleton) and the Mega (robot). Using the
EasyTransferlibrary, data structures containing all joint angles are transmitted in a single packet, minimizing communication latency for smooth, real-time movement.
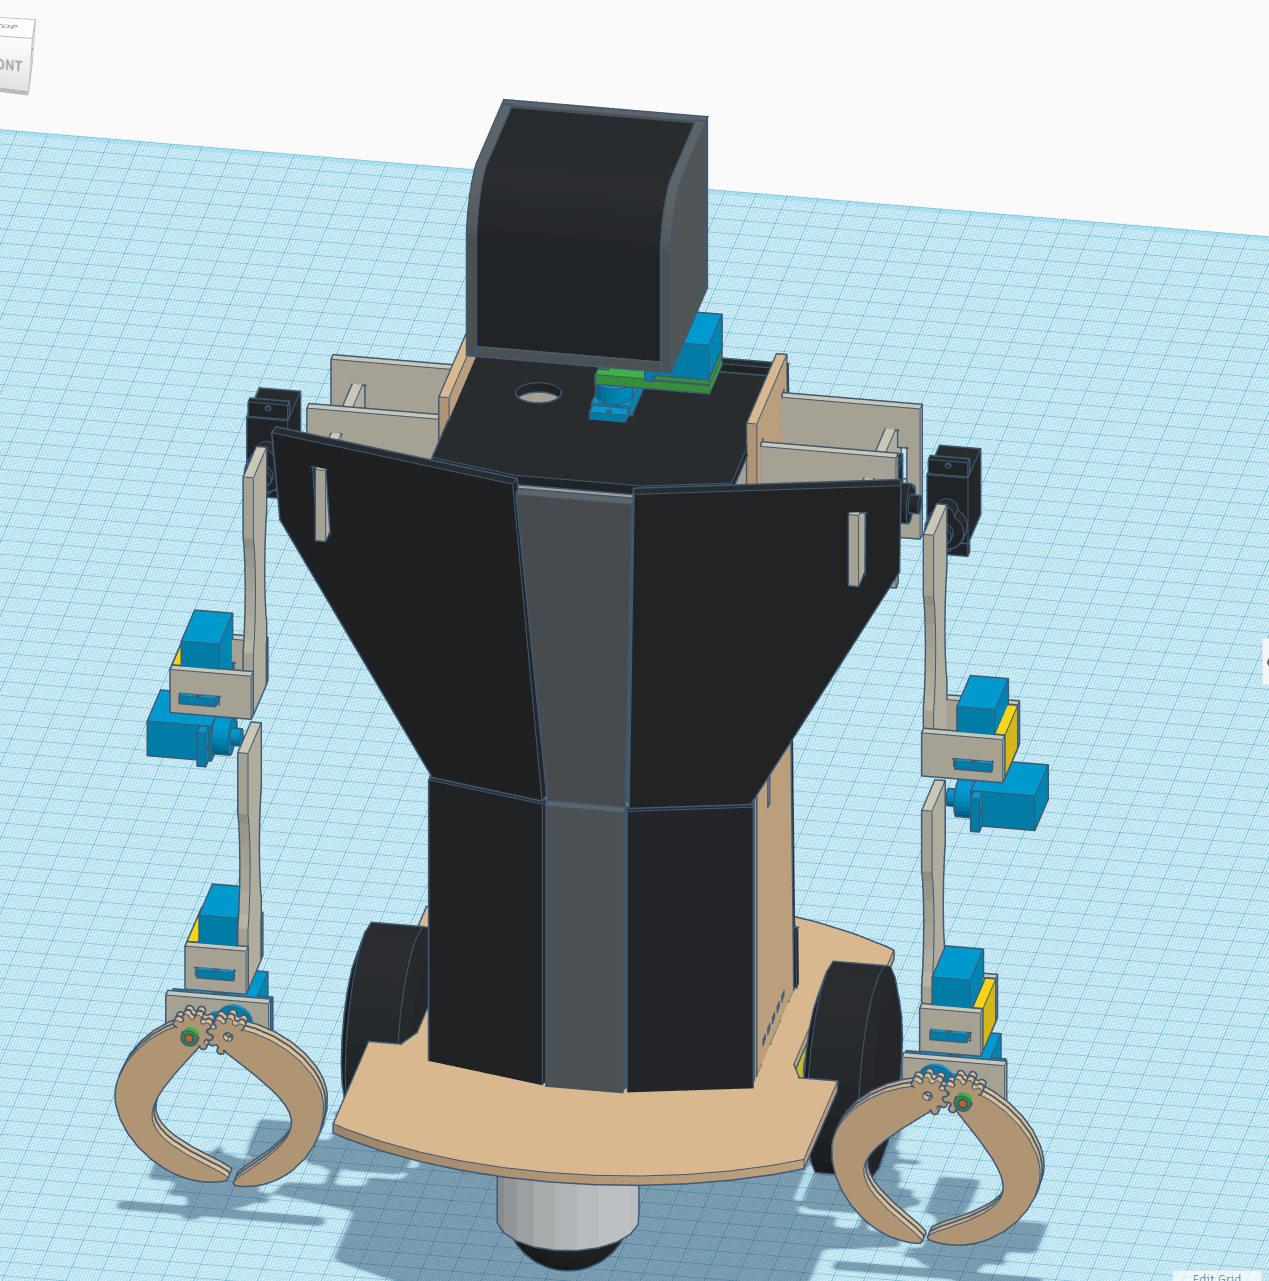
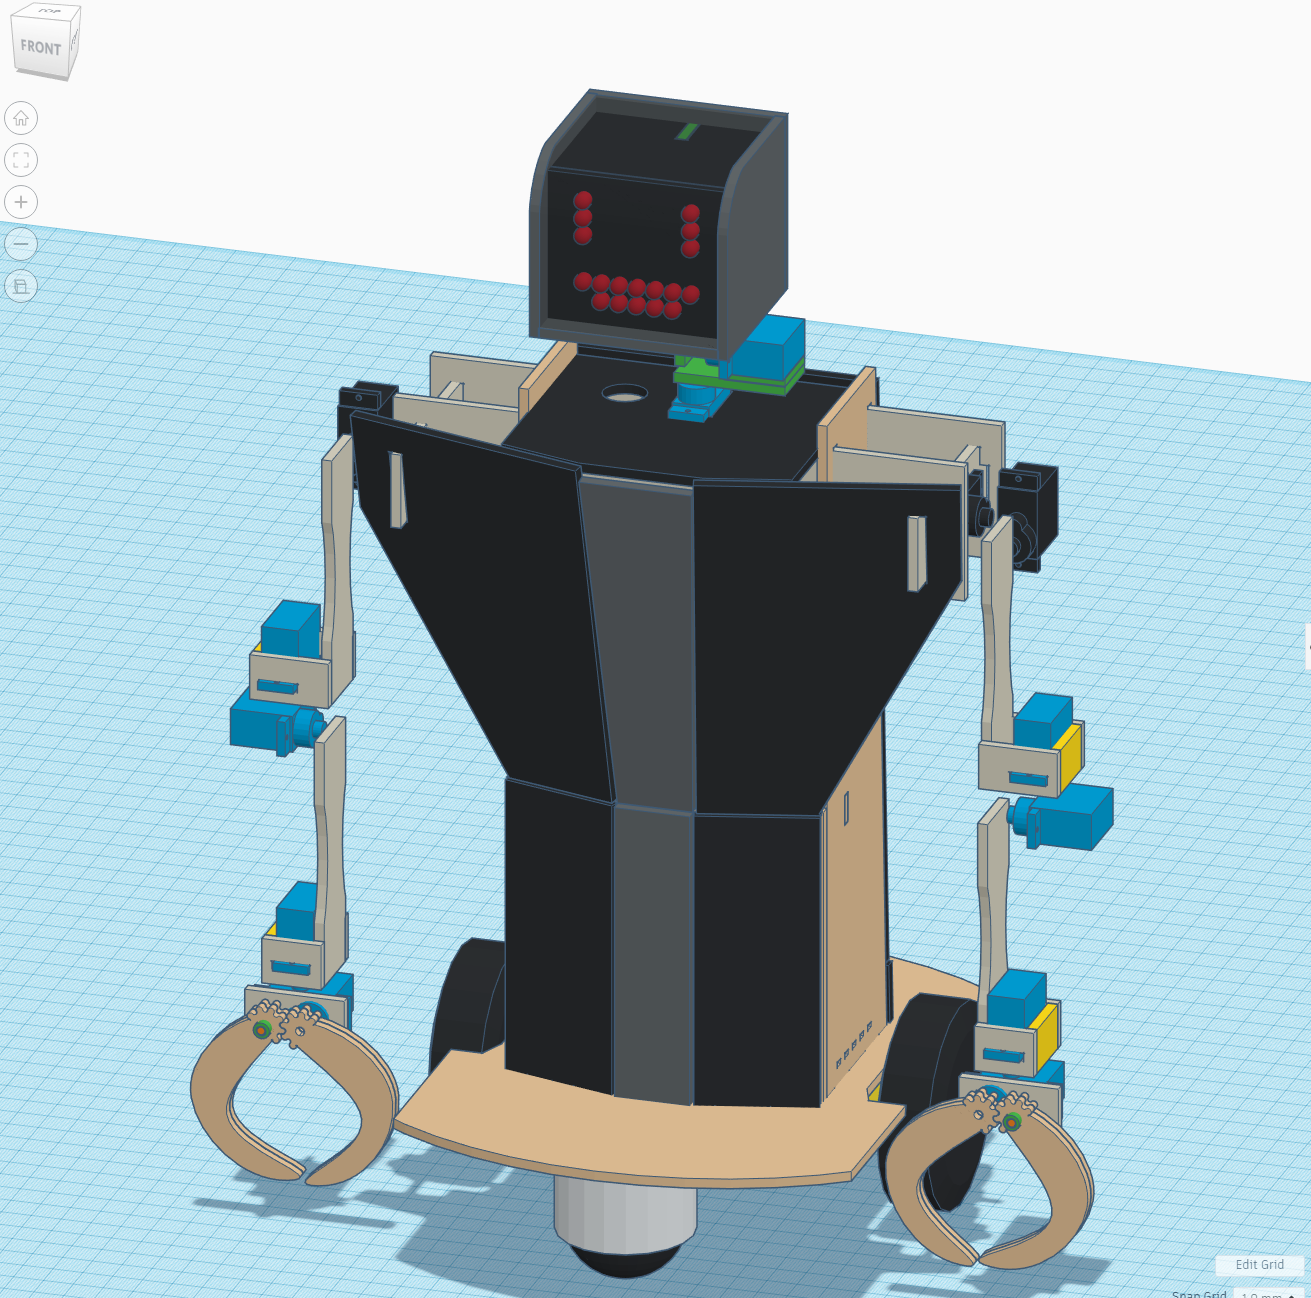
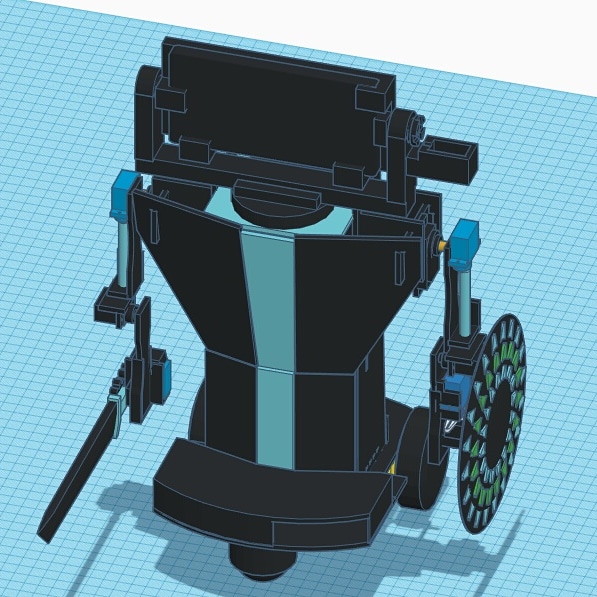
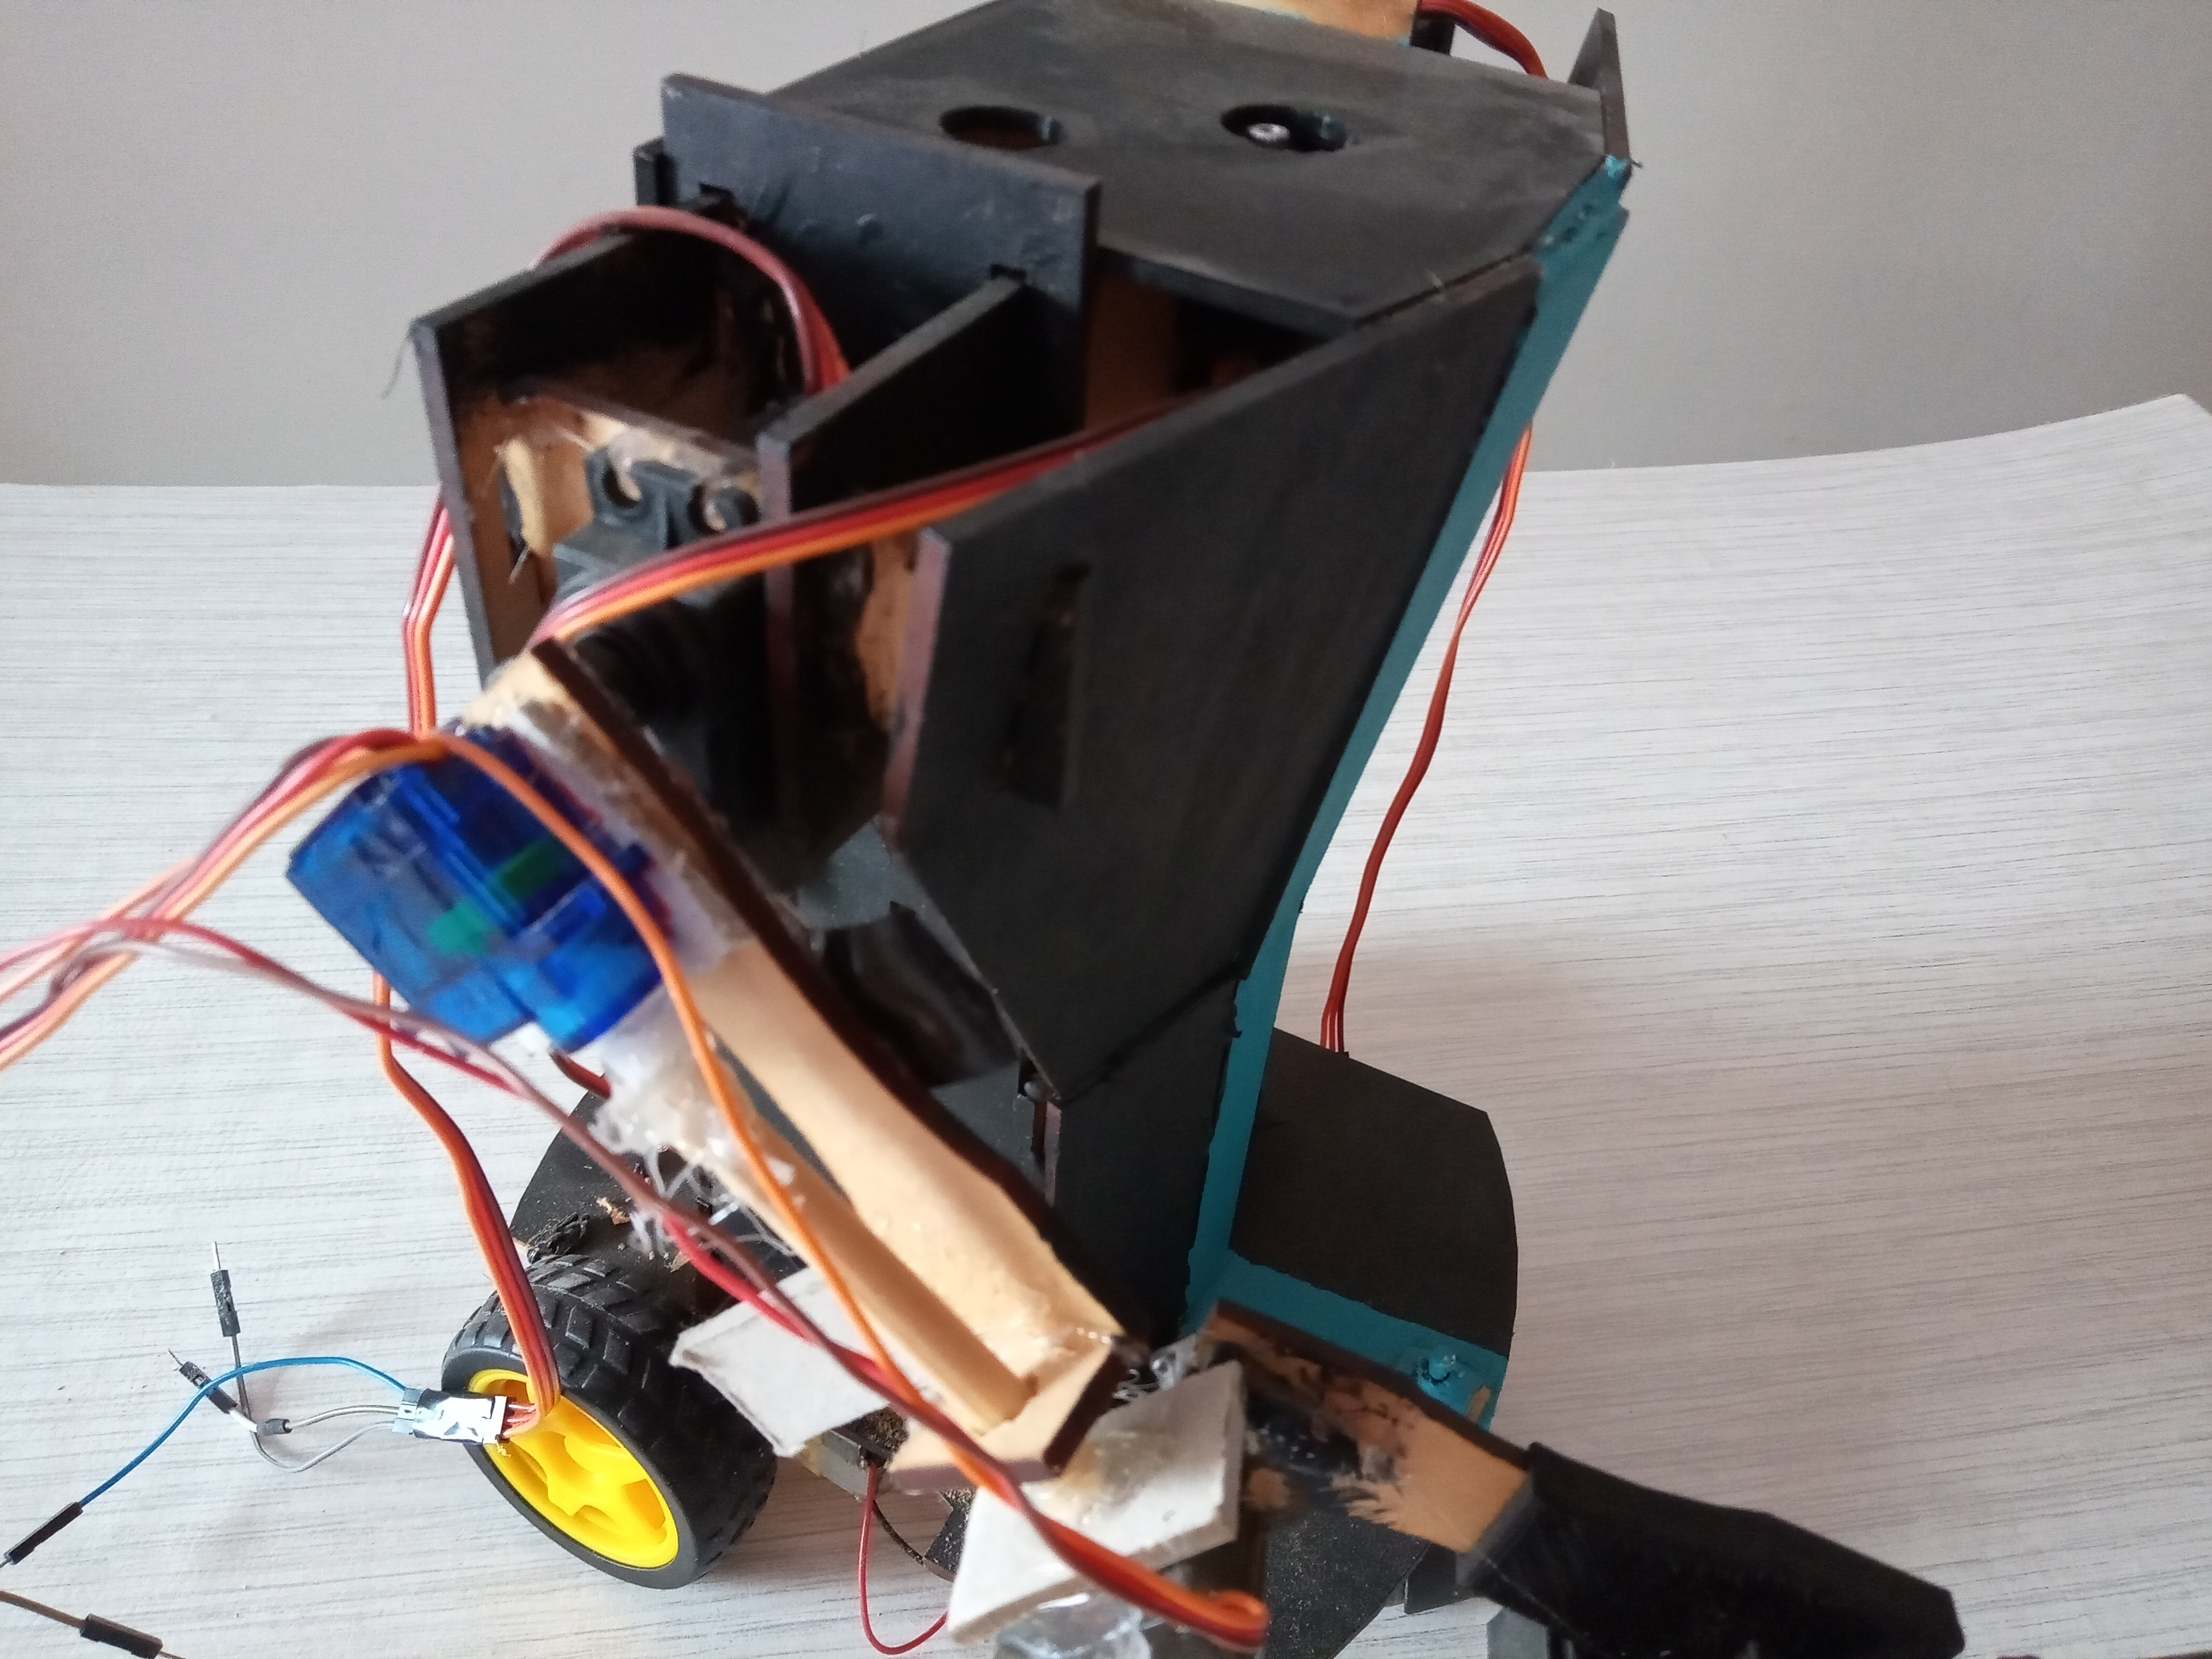
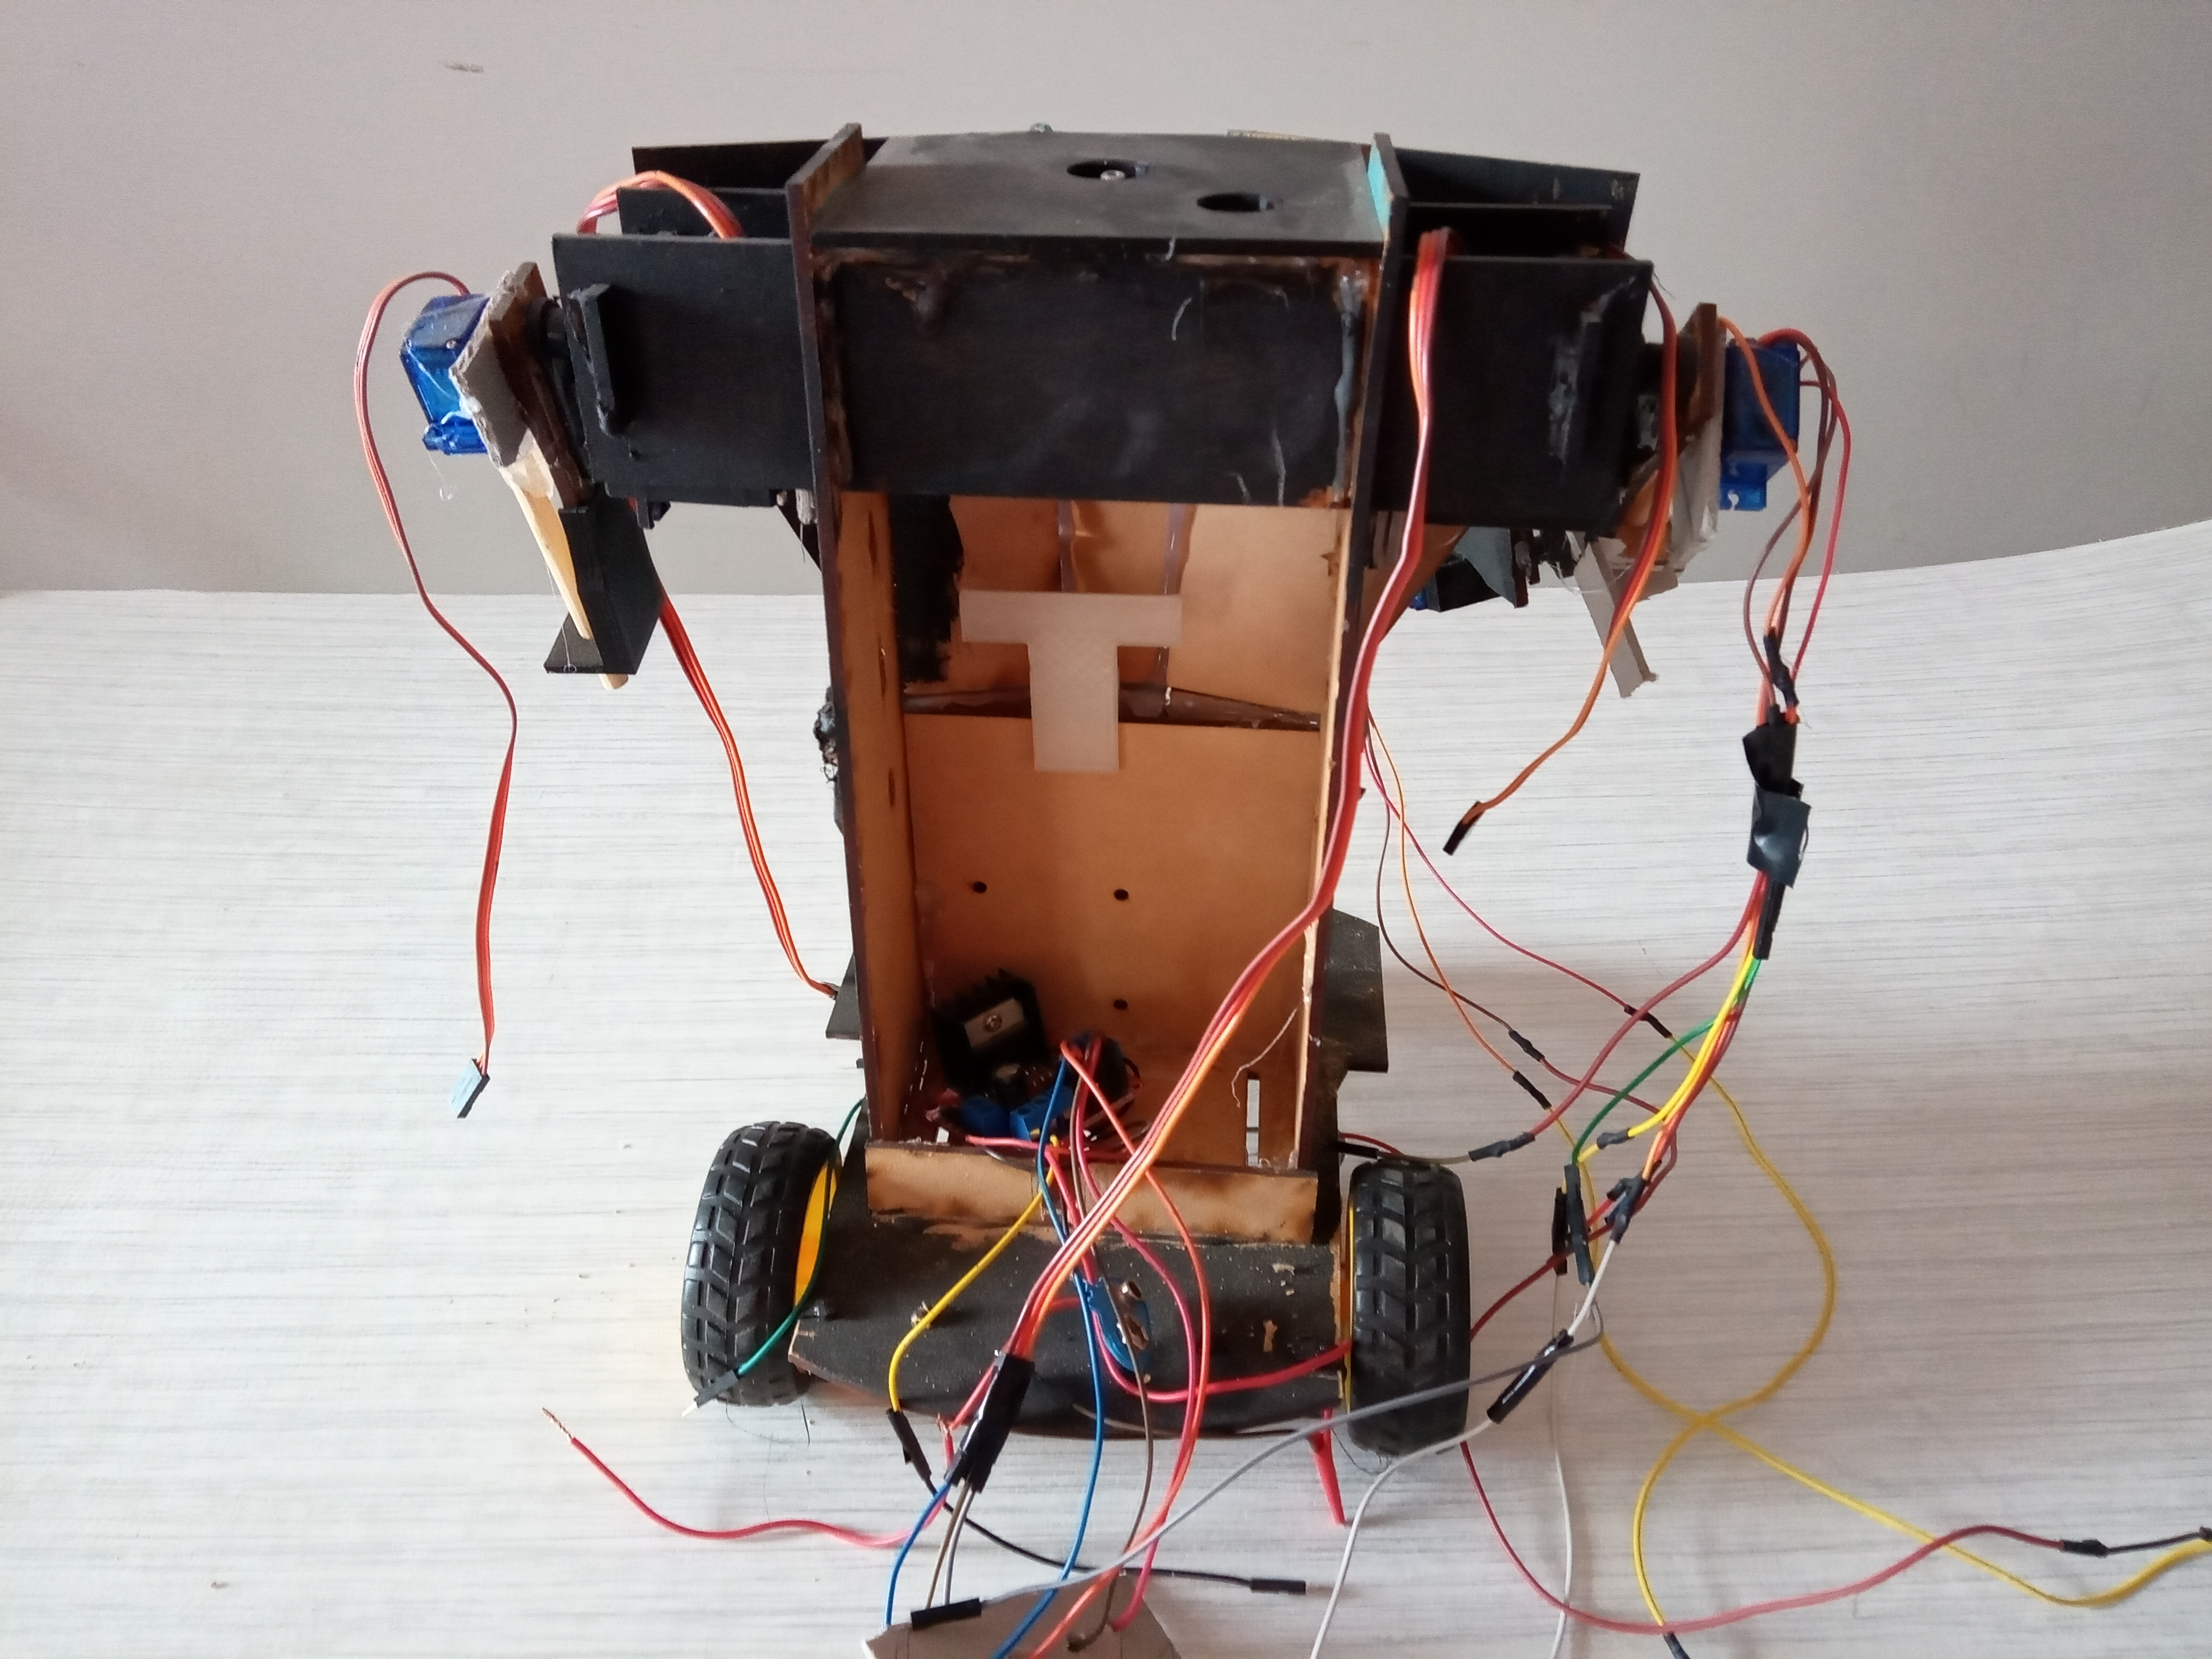
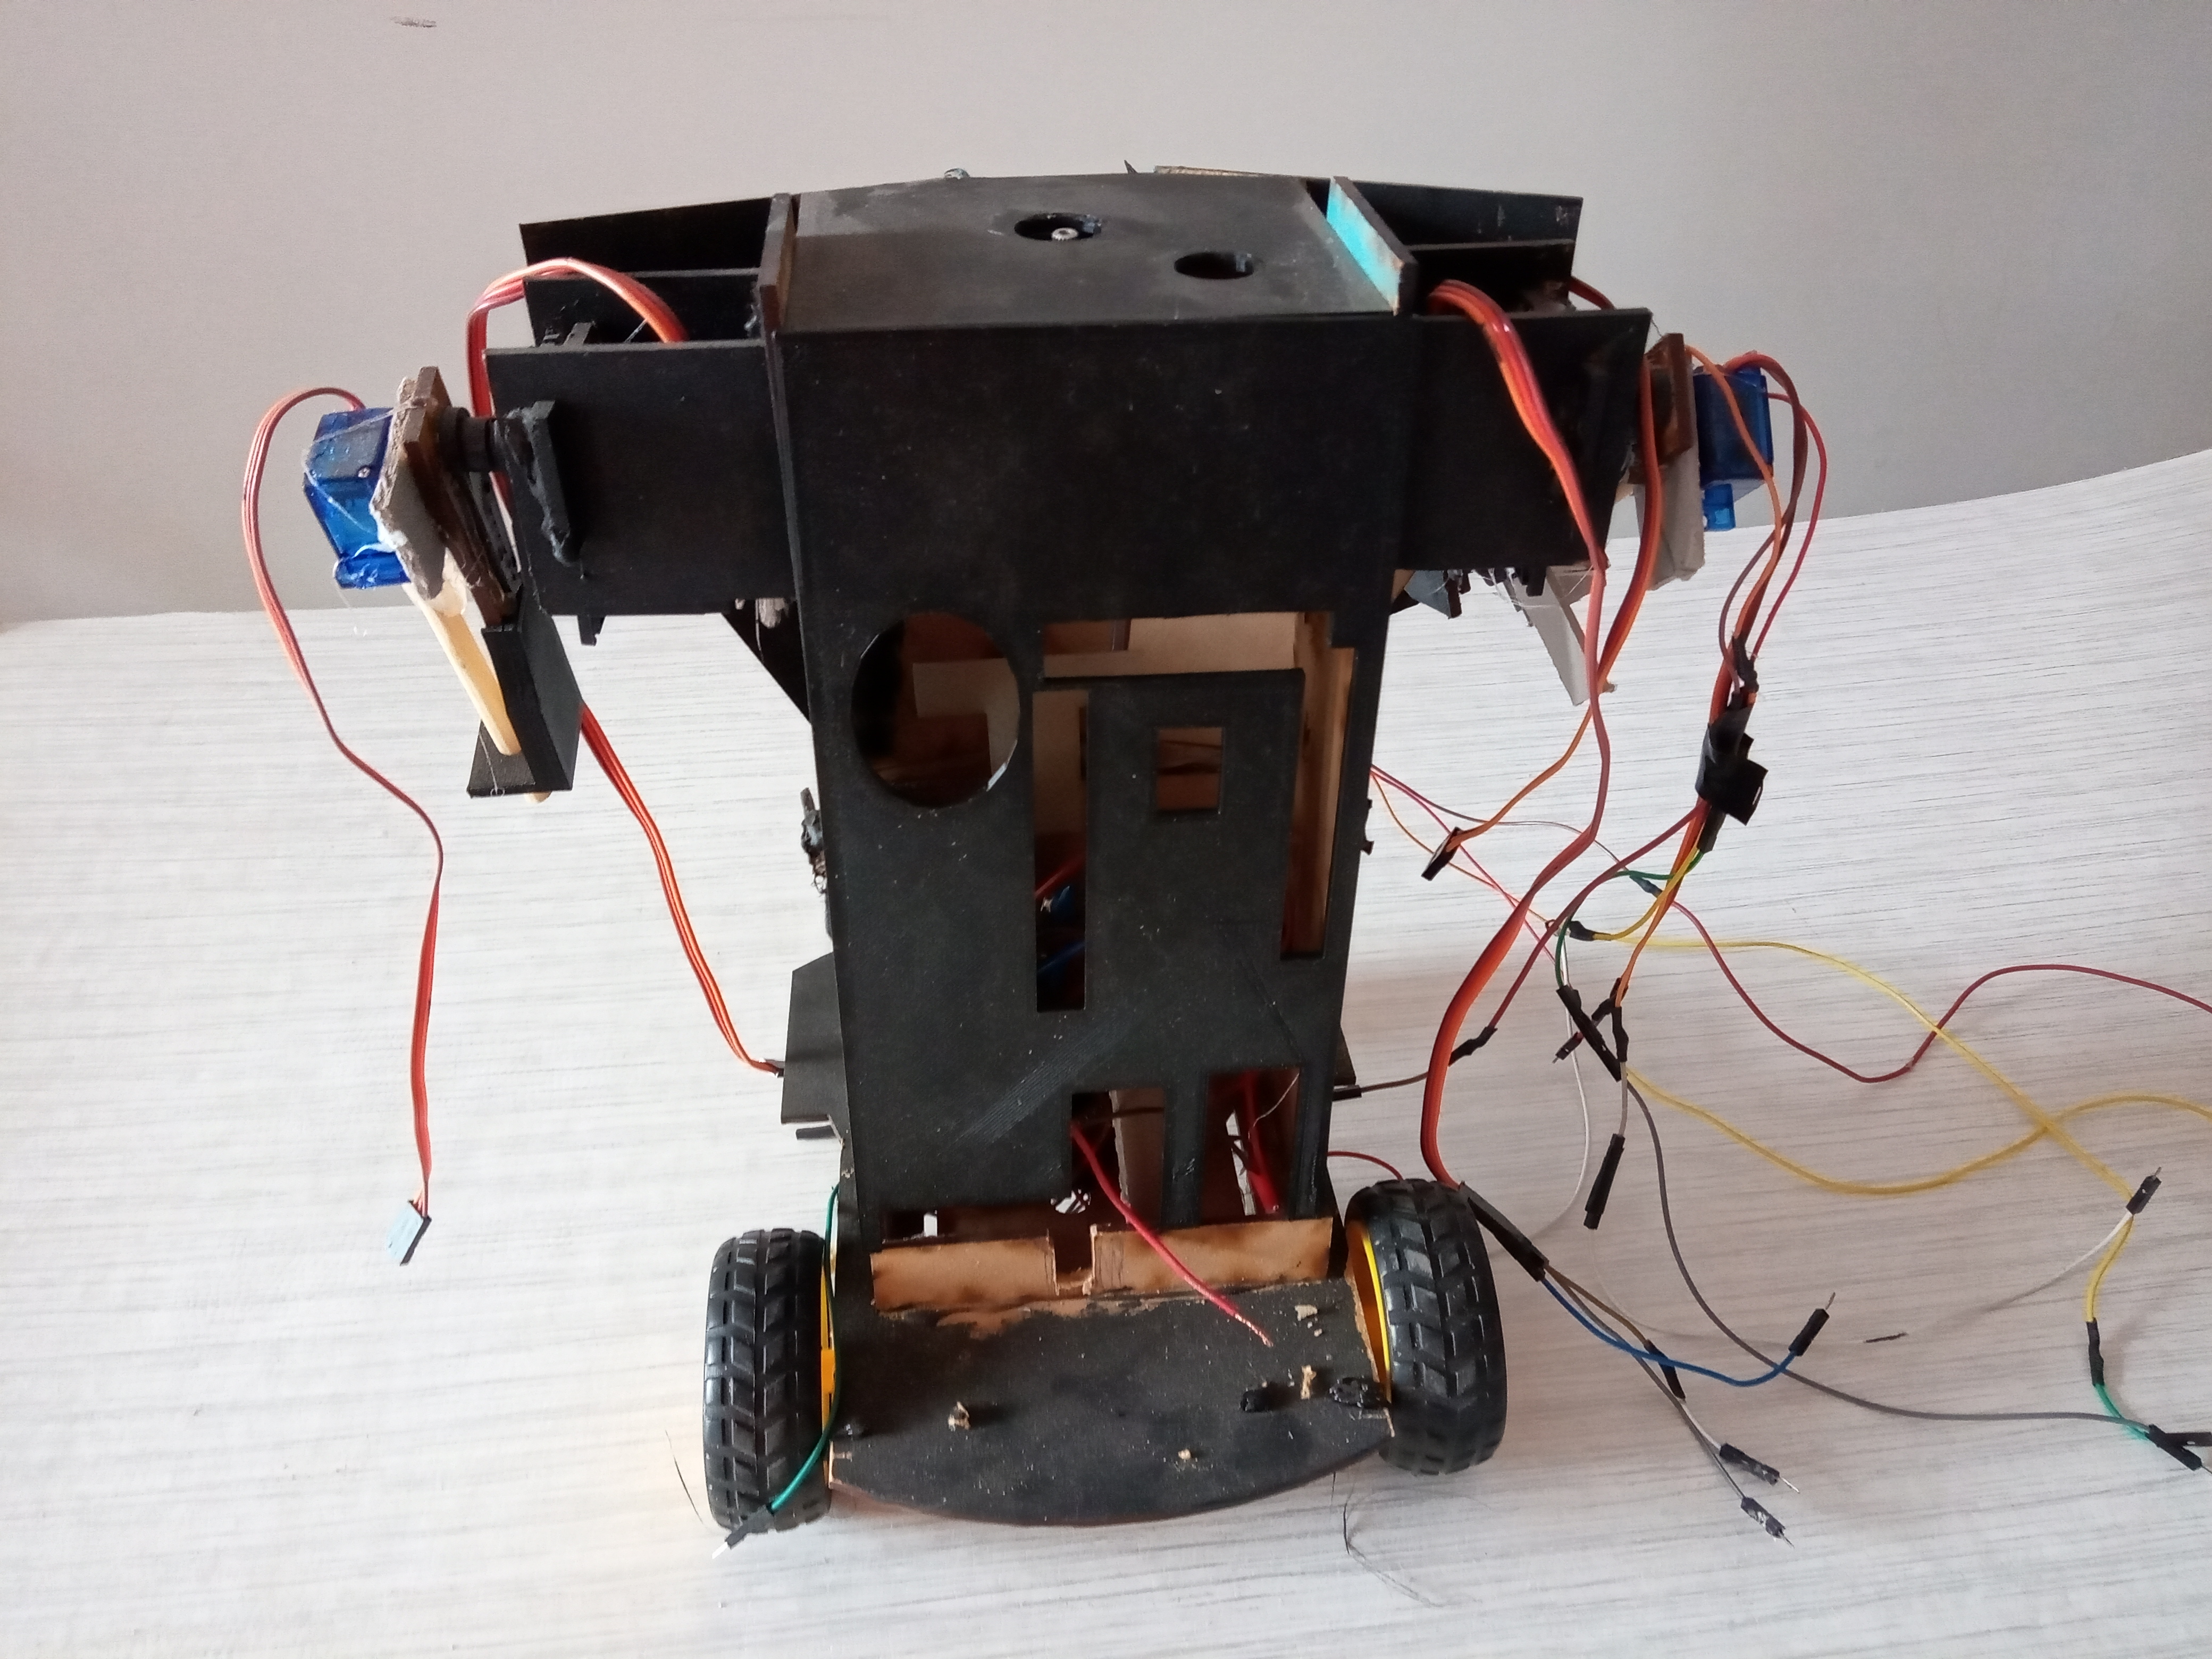
Upgrading the servos and new 3D printer
With a new 3D printer things changed very drastically. Now I´m able to make precise parts fro my home, and I´m planning on gradually replacing the lasercut mdf with 3D prints. I also got a 13 kg Servo for the shoulder, that improved the arm movement considerably.
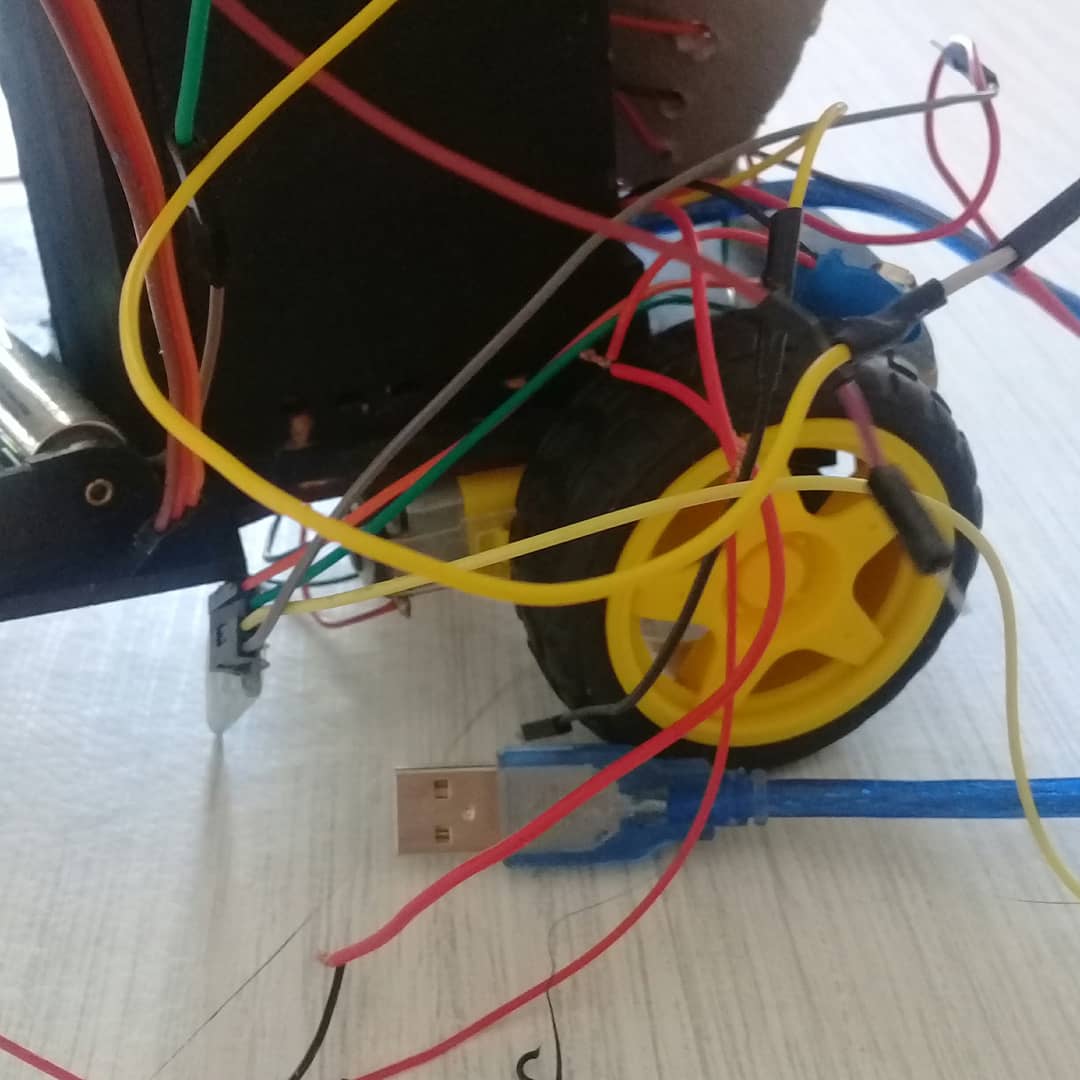
The wires are getting messy, but I have a solution in mind for that. In regards to the exoskeleton, I´ve made a better balsa wood mechanical assembly but I´ve also been having problems with the potentiometers.
Engineering & Implementation:
- Material Science Evolution: The project documents a transition from MDF Wood to 3D Printed PLA. This shift significantly reduced the robot's weight and "Center of Mass" (CoM) issues, allowing for custom-engineered joint mounts that better support the axial load on the servo horns.
- Cable Management Strategy: With many PWM wires and power leads, the project addresses cable management by designing custom 3D printed cable conduits, ensuring the robot's movement is not hindered by tangled wires.
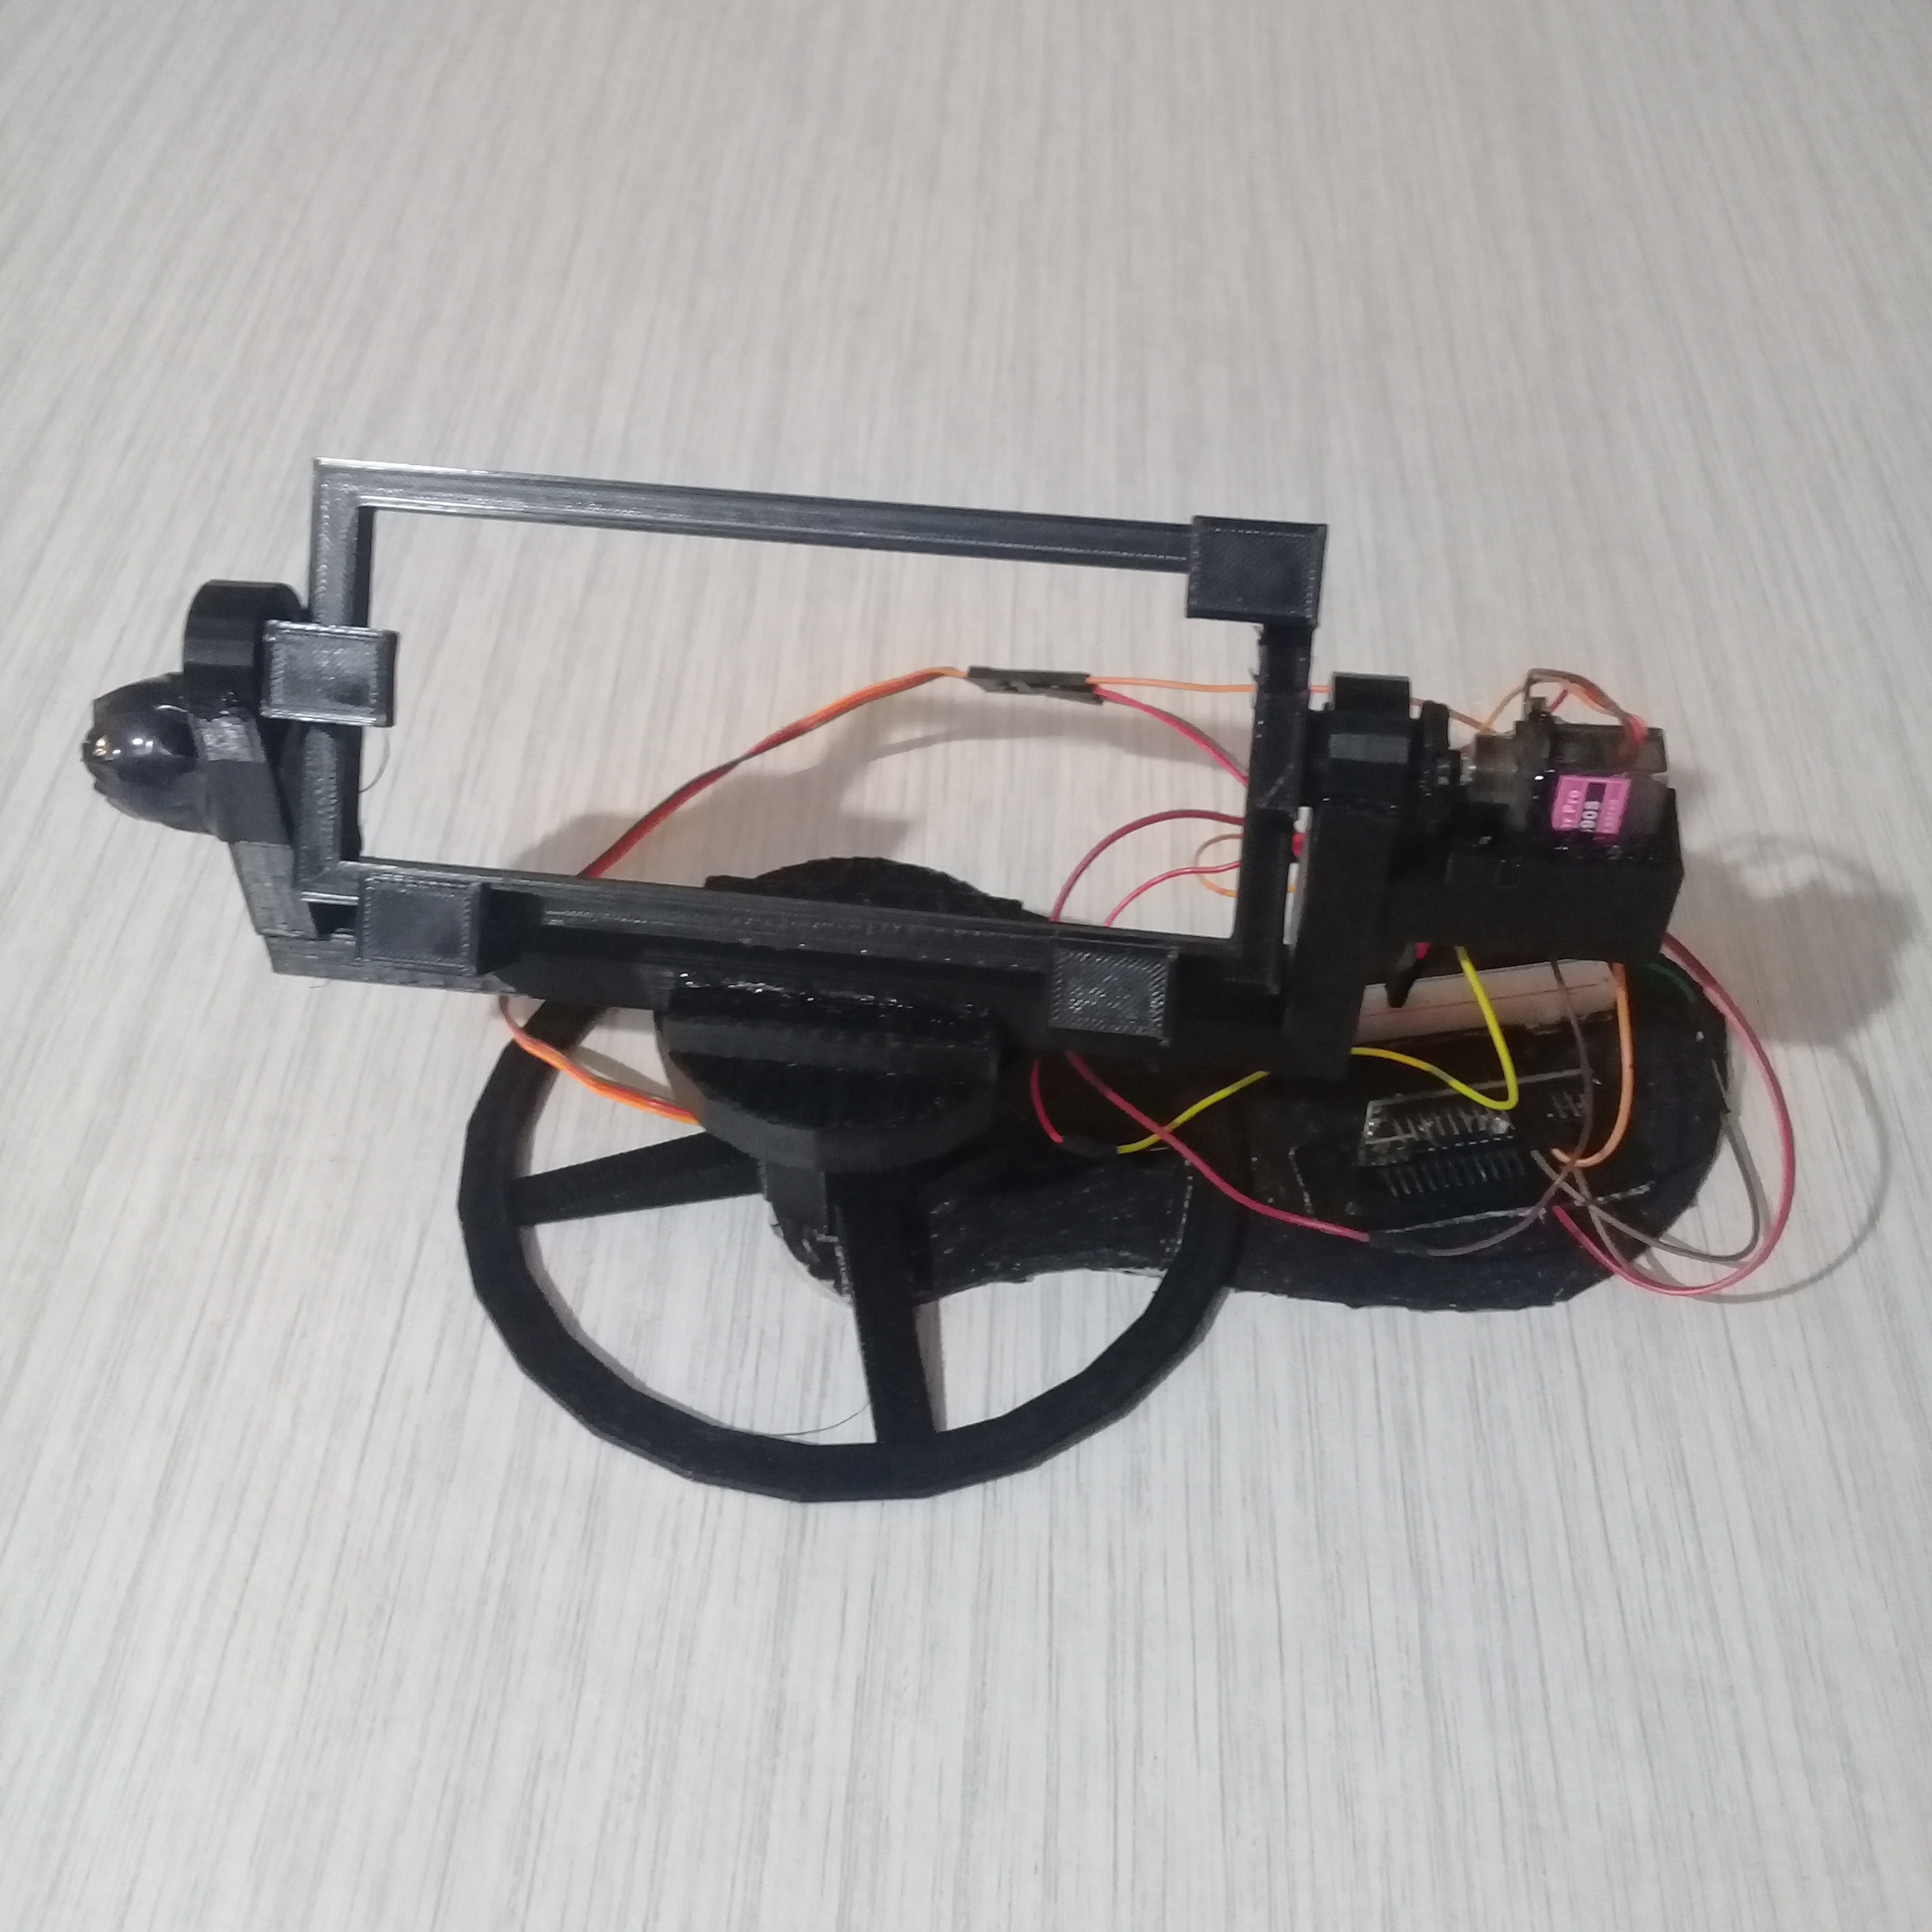
Object tracking and new paintjob
With the new paintjob and 3D printed gear, this little guy is looking even cooler. I´ve made a device to track objects using the camera from my cellphone, and I´m planning to use it as the head for the autonomus mode. This demonstrates a fusion of Computer Vision and Embedded Motion Control.
Some more pictues:
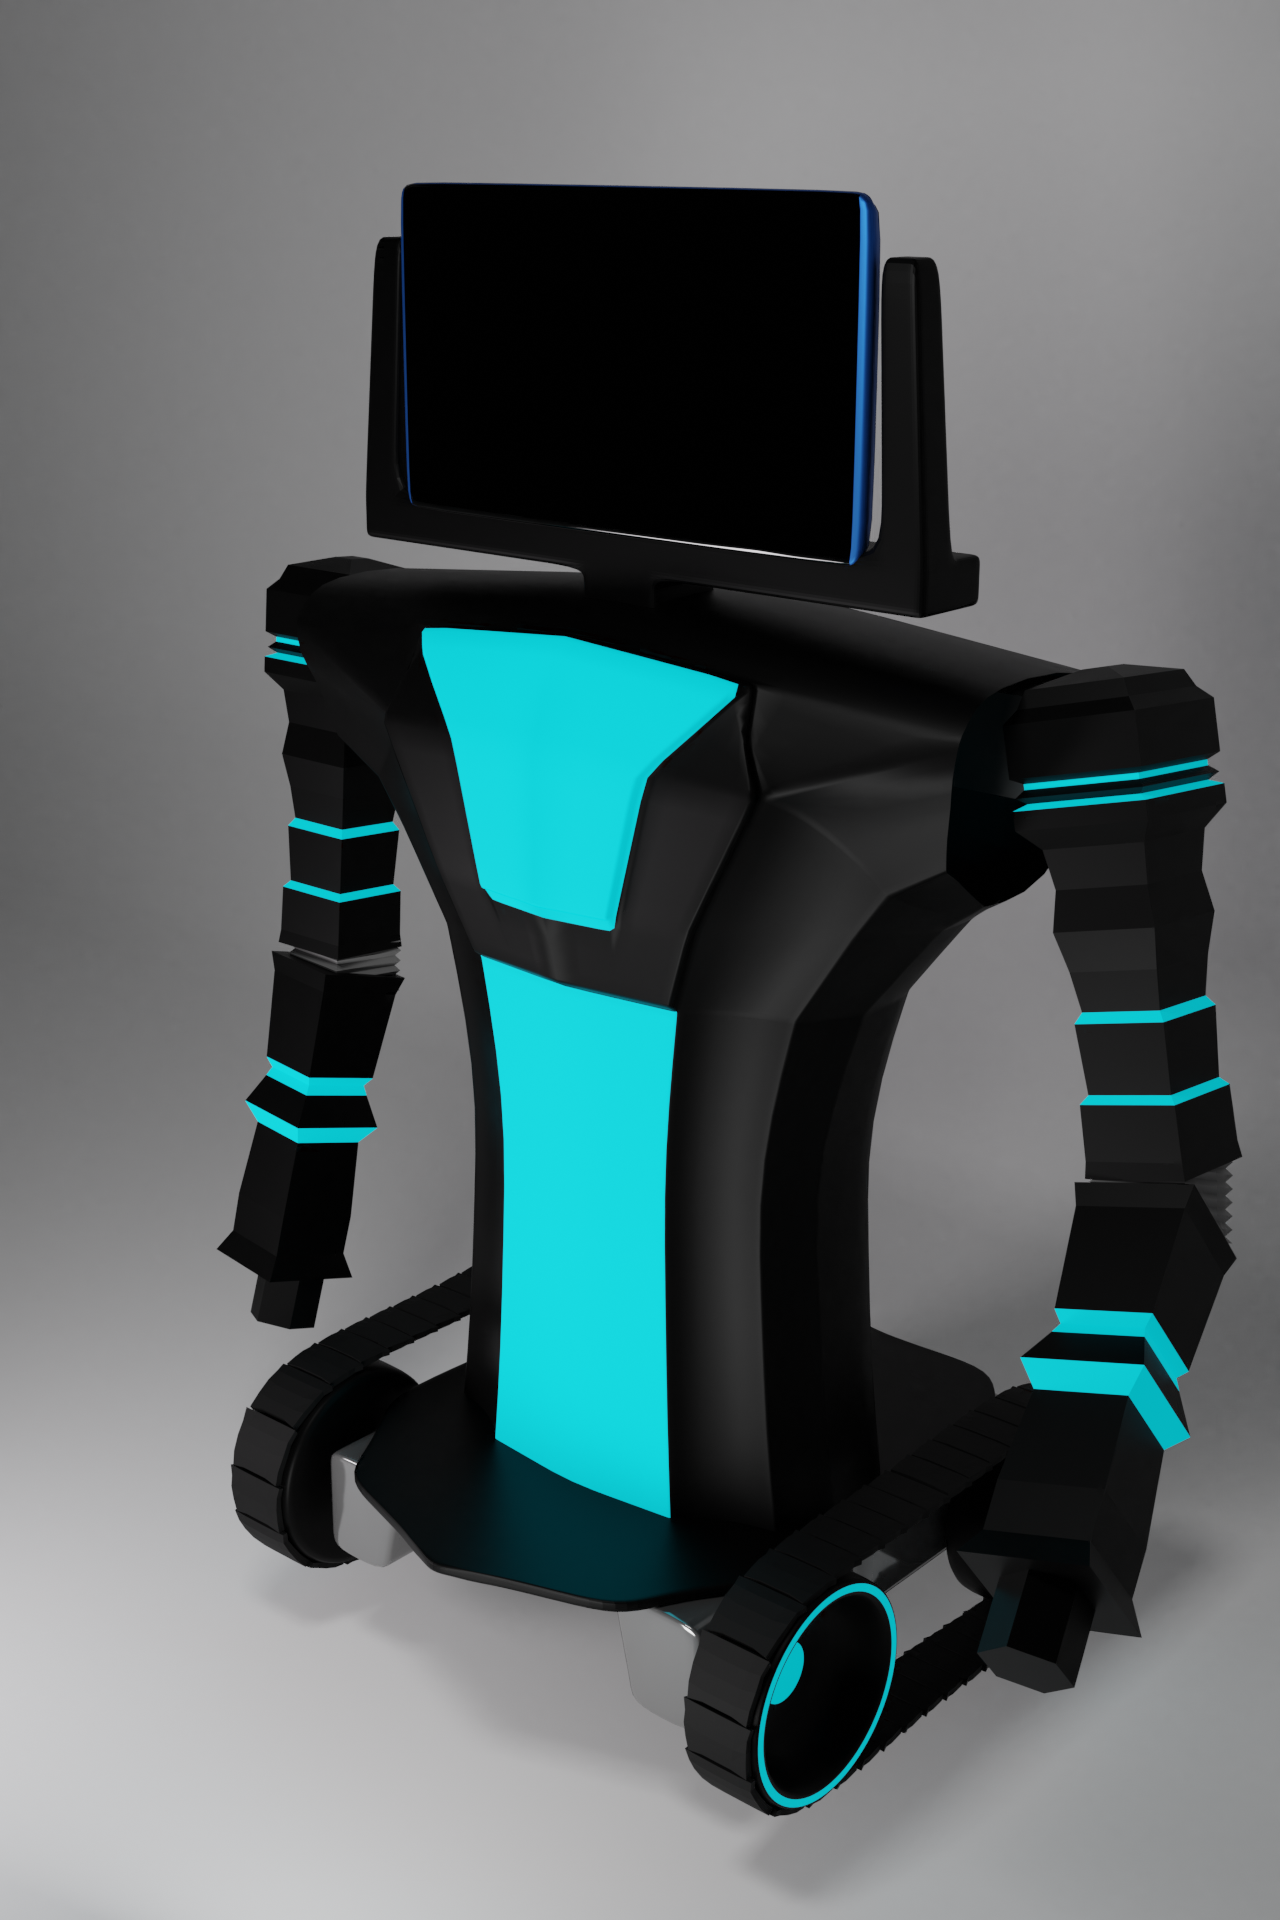
New concept and cable management
Imade a concept for a future version of Mini Me using blender, I also made ahandle for the exoskeleton, and some power and cable management parts.
Plans for the future
I´ll try to get the right arm moving, that according to my calculations should be ableto lift around ½ Kg. then I´ll connect it with my computer to be able to usepython to program it. After that I´ll connect the arduino to a cellphone via serial, and then connect thecellphone to the computer. That way I can read the phone sensor data and thatopens a way to connect to the robot with the computer through the internet.
For more frequent updates check out my intagram: https://www.instagram.com/alguienmuyrobotico/
This is all I managed to do for this project so far. Thanks for reading, hope you found it intresting. I'll be adding more updates on this project so, if you are intrested, make sure to follow me and check those out.
Kinematic Mirror: Mastering humanoid motion through copycat forensics.