This project aimed at designing and fabricating a highly reliable, user-friendly device to enable the user to perform the task needed effectively and efficiently. An Arduino UNO is used to control all the sensors and indicators in the arm effector and a wifi module to monitor the temperature of the 3D printed parts and monitor the location on the X, Y, Z-axis of the Omron collaborative robot arm effector through an application using a mobile phone.
Industrial Grade Monitoring for Robotic Automation
This Monitoring Device is a bridge between 3D printing precision and robotic automation. Specifically developed for the Omron TM5 collaborative robot arm, it provides real-time telemetry from the tool effector, ensuring that long 3D printing tasks are handled with zero manual intervention.
Multi-Sensor Data Hub
To achieve high reliability, the device integrates several professional-grade sensors:
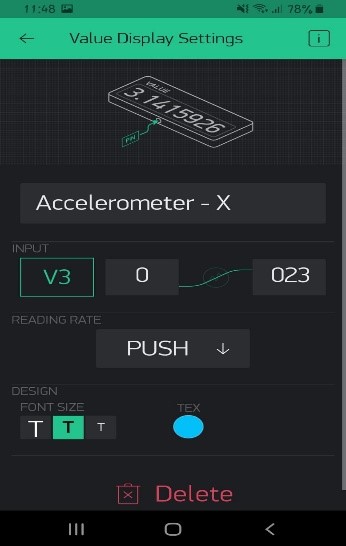
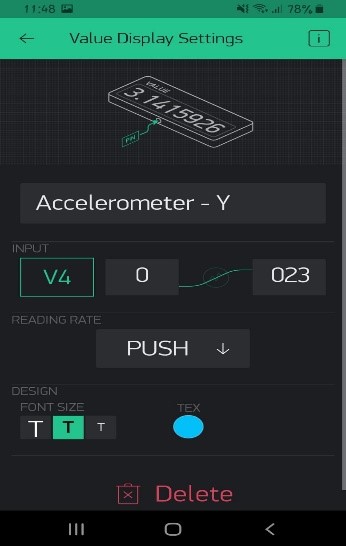
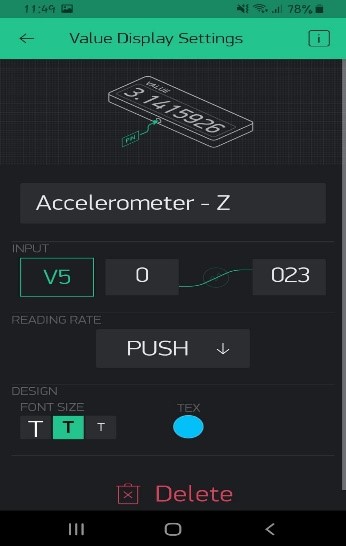
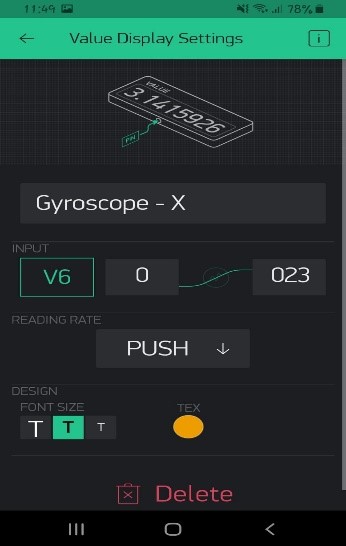
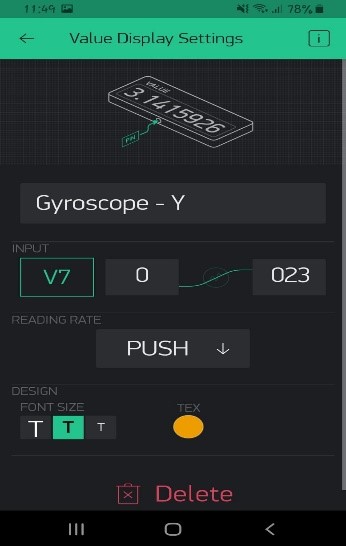
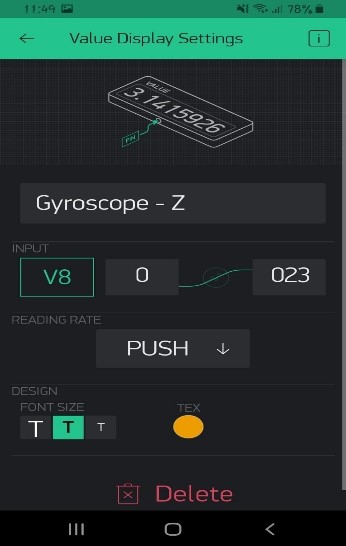
- MPU-6050 Accelerometer & Gyro: Tracks the orientation and movement of the effector in 3D space. This data helps in calibrating the X, Y, and Z-axis movements of the robotic arm.
- FSR402 Force Sensor: A thin-film sensor that increases resistance as force is applied. It is used to sense the grip strength of the effector when picking up 3D printed parts.
- Infrared Obstacle Sensor: Provides immediate feedback on whether a part is present in the effector's workspace, preventing collision or failed grip attempts.
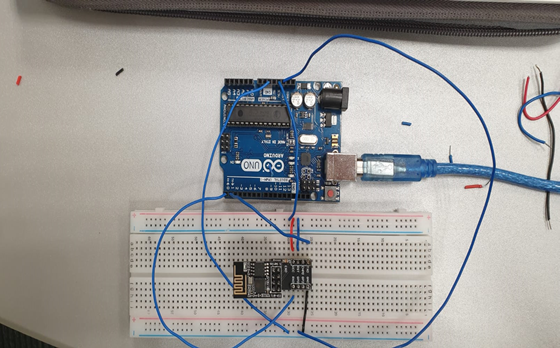
- ESP-01 (WiFi Module): This compact Wi-Fi chip acts as the wireless bridge, sending sensor data to the cloud. A Logic Level Converter is used between the Arduino (5V) and ESP-01 (3.3V) to ensure safe communication.
Implementation Workflow
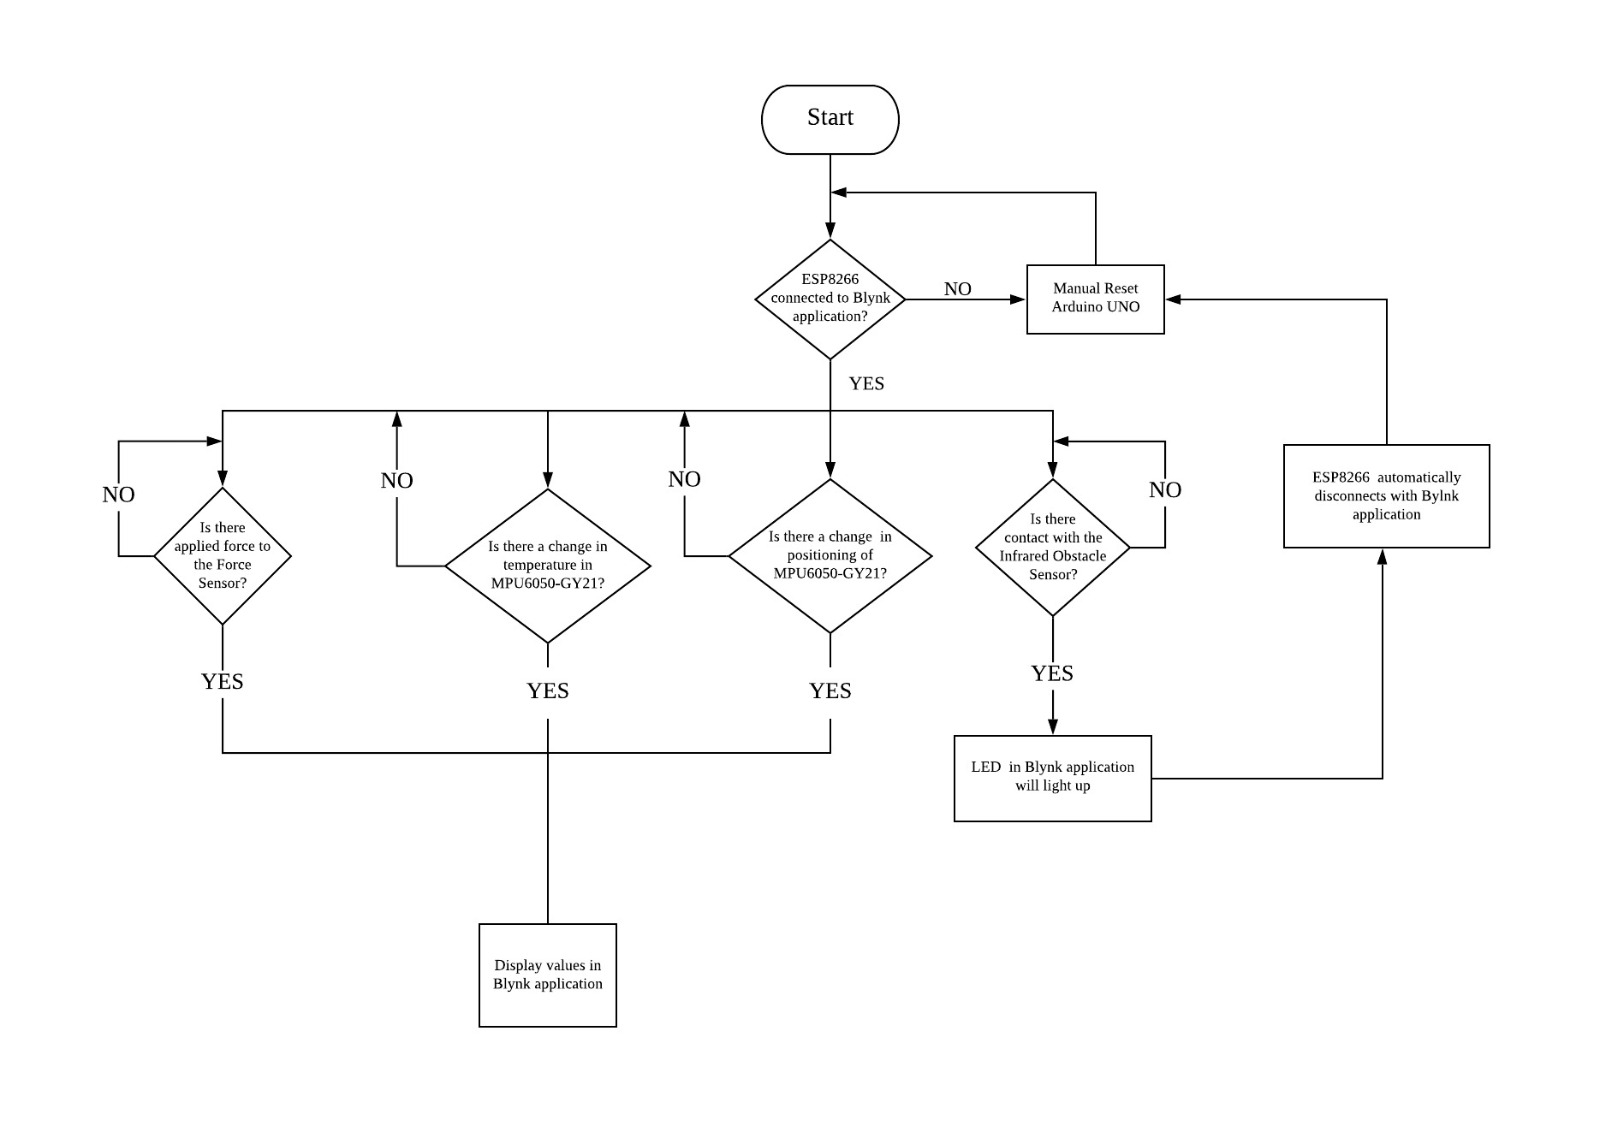
The system logic is built around the Blynk IoT framework.
- Calibration: Initial values from the MPU-6050 and FSR402 are calibrated to set a baseline for "empty" and "holding" states.
- Wi-Fi Handshake: The ESP-01 connects to the local network and authenticates with the Blynk server using a unique token.
- Continuous Monitoring: The Arduino Uno polls all 4 sensors. If the IR sensor detects a finished print, it triggers the arm to move. The arm's grip is then verified by the force sensor.
- Mobile Feedback: 9 individual widgets on the Blynk app provide a live dashboard showing current g-forces, rotation angles, and contact force.
It is observed that during the time taken for a 3D printed object to be fully printed takes many hours or even days. Hence, it is very difficult to hold the object in place while it is being printed and remove it exactly when printing is completely through manual labor. In this project, the students will develop a completely automated holding and placement of a 3D printed object, using a series of sensors and indicators at the rotational joint of the TM5 Series Robotic Arm with 6 rotational axes.
How it works
The simulator has its own different components monitoring different things around its surroundings.
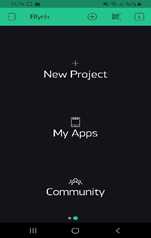
Setting up Blynk
Install Blynk in your smartphone. Create an account and create a “New Project”.Enter your “Project name” (up to you), choose Arduino UNO in the “ChooseDevice” section. “Connection Type” select Wi-Fi.
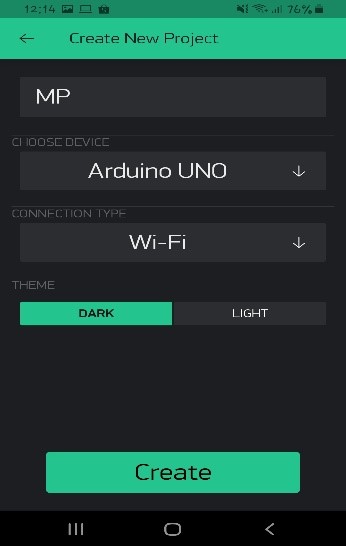
An Authentication Token will be emailed to you once that done and that Authentication Token will be used at the later part of the project.
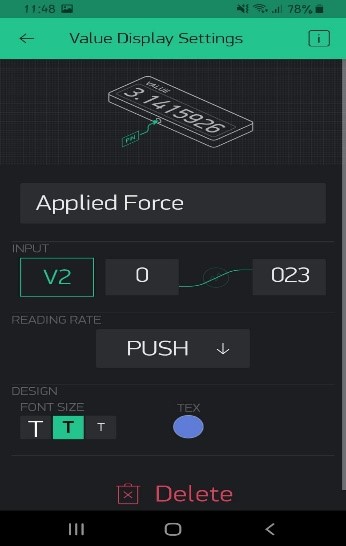
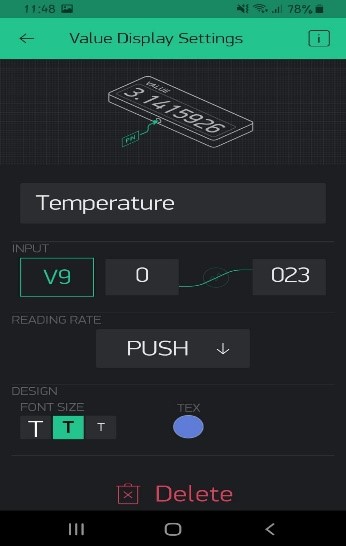
In your Blynk project window, add all the widgets shown in the gallery below by clicking the “+”sign at the top right of your smartphone. Altogether you should have 9 widgets.You can edit the layout of your project window by holding the widget and dragging it around.
Once everything is done your project window should look like this.
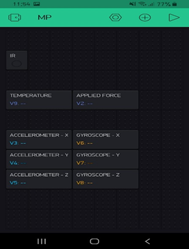
And then that’s it for the Blynk application in your smartphone for now.
Configuring the ESP8266
Right out of the box the ESP8266 can be used right away but before that, we must change a few things.
Connect the ESP8266 accordingly to the picture to configure it.
NOTE
This is the way I connected it and it works for me. There are other ways to configure the ESP8266 safely. So, do it at your own risk.
END NOTE
Installing Blynk Library
Before you can program it. You need to have a Blynk Libraryadded to the program. This allows for communication between your Blynk in your smartphone, ESP8266, and the Arduino itself.
Download the zip file using this here
https://github.com/blynkkk/blynk-library/releases
Unzip it into your Arduino folder
Results
If you have followed the steps correctly. In the Blynk app on your smartphone, you should start to receive some values.
If you cover the Infrared Obstacle Sensor with your hand.You should be able to see an LED light-up
If you squeeze your thumb onto the Force Sensor, You should see that the values will keep increasing
If you cover the MPU 6050 with your finger, the temperature will rise slowly.
And lastly, if you move the breadboard slowly, you can seethe Acceleration and Gyroscope change its values.
(Include demo video here)
Try playing around with it! 😊