This is a small game made by Me {Anni Boy } using Arduino UNO in Tinkercad Circuits. You can also use real-life Arduino instead of using Tinkercad for higher performance. Follow the steps shown below...
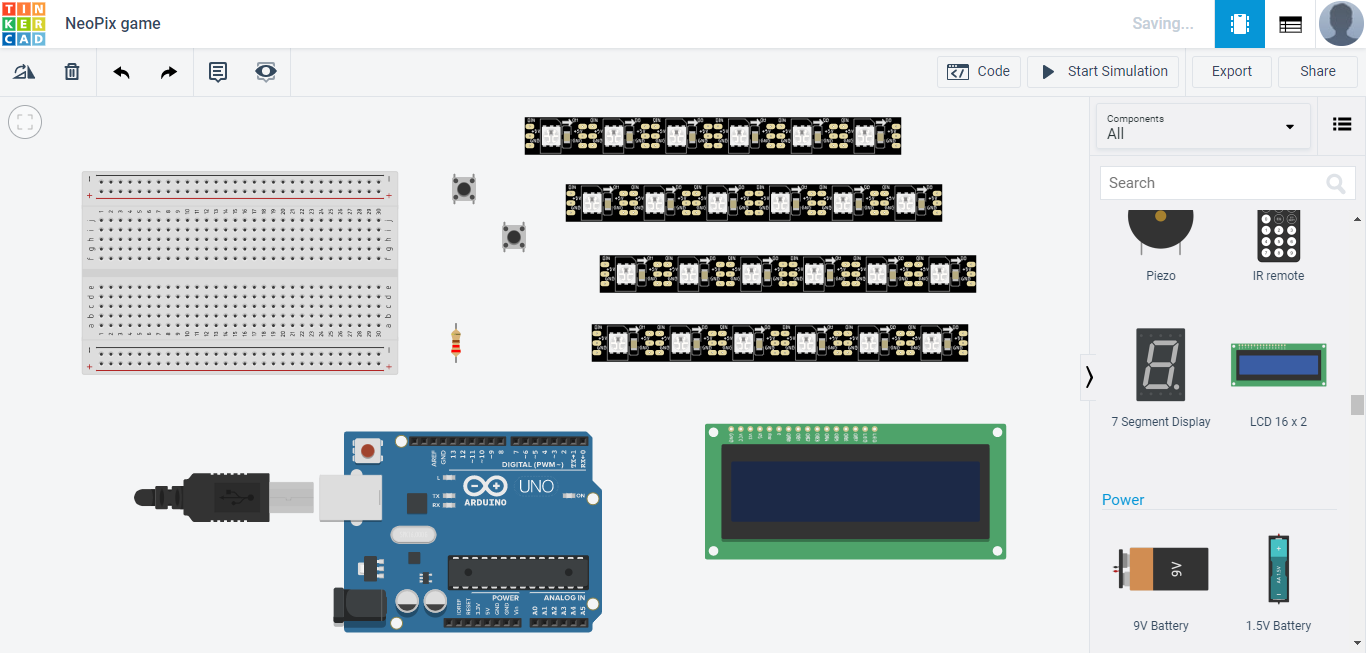
Step 1: Gather Supplies or Parts to Make
Components:
1. Arduino UNO 2. Liquid Crystal Display (LCD 16x2) 3. 4x Neopixel Strips 4. 200ohm resistor 5. Solderless Breadboard 6. 2x Push Buttons 7 (If using physical parts). Male to Male jumper wires
Project Perspective
Neopixel Arcade LED Game is a sophisticated exploration of entertainment technology and visual interaction. By focusing on the essential building blocks—the pixel-timing-to-score mapping and your high-performance strip-to-buzzer dispatch and temporal-sync logic—you'll learn how to communicate and synchronize your entertainment tasks using specialized software logic and a robust high-performance setup.
Technical Implementation: LED Strips and Gaming Buffers
The project reveals the hidden layers of simple sensing-to-game interaction:
- Identification layer: The Arcade Button acts as a high-resolution spatial eye, measuring every point of timing clicks to coordinate the gaming dispatch.
- Conversion layer: The system uses a high-speed digital protocol (Neopixel-logic) to receive high-speed bit-states to coordinate mission-critical sensing tasks.
- Visual Interface layer: A WS2812B Neopixel Strip provides high-definition visual and mechanical feedback for your game status check (e.g., Current Level, Score, Win/Loss).
- Communication Gateway layer: An 16x2 Character LCD provides a manual interaction-override or autonomous score status check during initial calibration to coordinate status.
- Processing Logic: The server code follows a "pixel-state-machine-dispatch" (or game-dispatch) strategy: it interprets button-press timings and matches LED colors and buzzer tones to provide safe and rhythmic arcade play.
- Communication Dialogue Loop: Note codes are sent rhythmically to the Serial Monitor during initial calibration to coordinate status.
Hardware-Arcade Infrastructure
- Arduino Uno: The "brain" of the project, managing multi-directional gaming sampling and coordinating Neopixel and LCD sync.
- Interactive Button: Providing a clear and reliable "User Link" for every point of gaming action.
- Neopixel Strip Array: Providing a high-capacity and reliable physical interface for your first successful "Entertainment Mission."
- Breadboard: Essential for providing a clear and energy-efficient protection for every point of the prototype circuit.
- DC Power supply: Essential for providing a clear and energy-efficient current path for all points of your data sensing LEDs.
- Micro-USB Cable: Used to program your Arduino and provides the primary interface for the system controller.
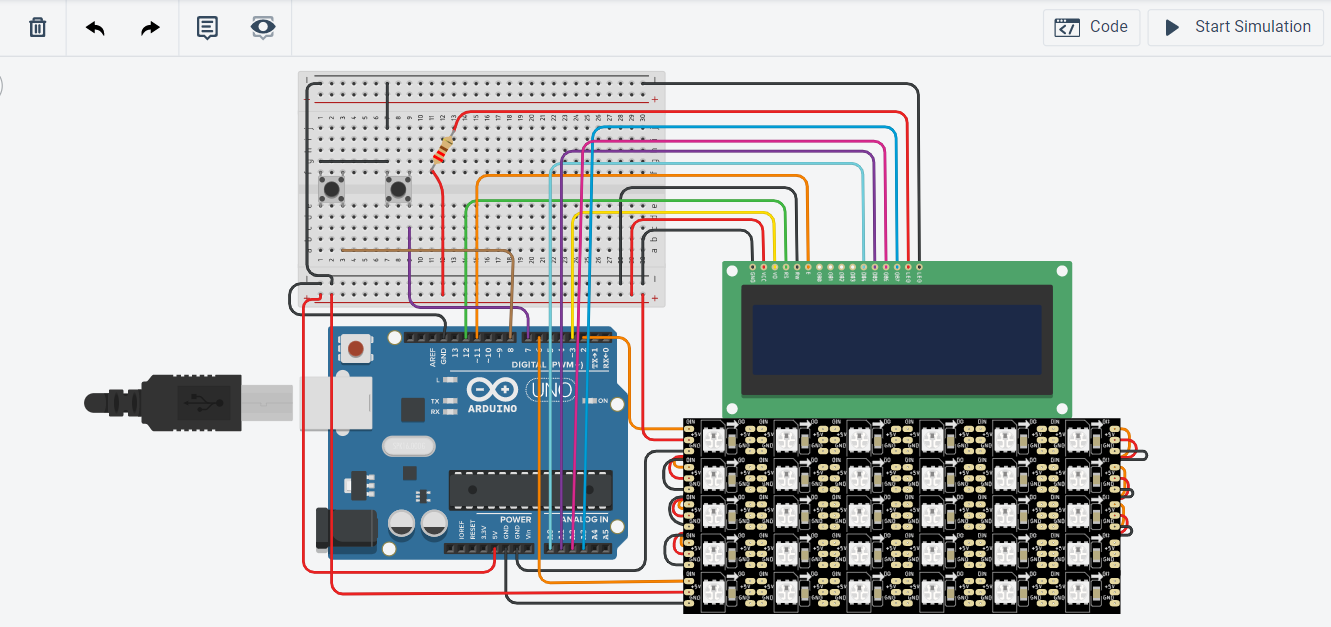
Step 2: Wiring and Arrangement of Units
The above image shows the connection between the units. There is a hidden connection in the diagram which is behind the Neopixel strips; that connection is pretty simple, that is just a repeated connection of strips to form a small matrix. Connect the first 3 strips to each other (Make sure to check the sides of in and out) and the last one separated of all to the Arduino directly, as shown in the figure above.
You can arrange it as you like or just keep the same as in the image.
Gaming Hub Automation and Interaction Step-by-Step
The proximity-driven arcade process is designed to be very efficient:
- Initialize Workspace: Correctly seat your strip and button inside your arcade chassis and connect them properly to the Arduino pins.
- Setup High-Speed Sync: In the Adafruit library, initialize
strip.begin()and define the game difficulty insetup(). - Internal Dialogue Loop: The station constantly performs high-performance periodic signal checks and updates the score status in real-time based on your location and settings.
- Visual and Data Feedback Integration: Watch your strip automatically become a rhythmic status signal, pulsing and following your location settings from all points of the room.
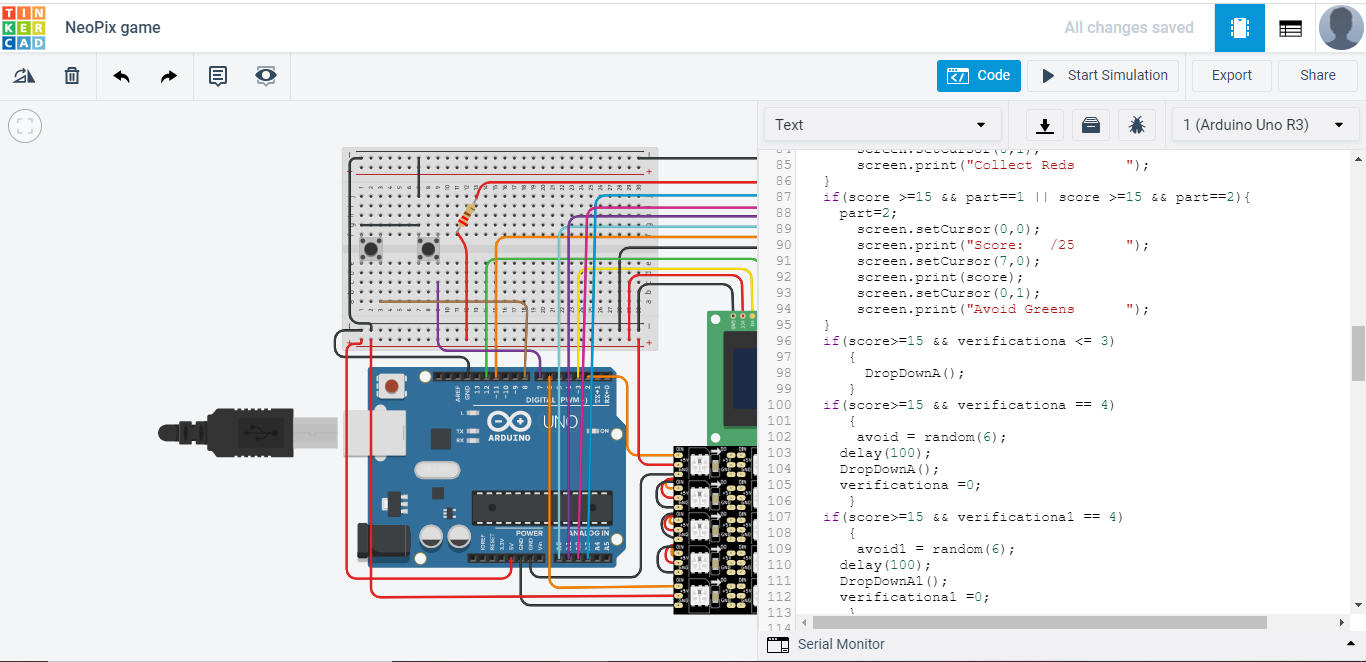
Step 3: Code (Given)
Download the given code '.ino' file and open it up. Copy-paste the whole to the IDE of Tinkercad Circuits (Text mode of code) or if using the physical Arduino {real life} then compile the code and burn it to your UNO.
Step 4: Game Ready to Play: Read below to see how to play
Here is an example video of what the game is in Tinkercad Circuits. There are 3 stages of this game, Stage 1: Collection of red points, Stage 2: Avoiding green balls while collecting red points, Stage 3: Freedom mode: where you can collect as many red points while you avoid greens, once you hit greens in Freedom mode that is stage 3, its game over. try to challenge your friends to beat your score. Again, as told earlier, the game in the Tinkercad when you start the simulation, is not as smooth functioning as to be in real life, so yeah...Enjoy :)
Future Expansion
- OLED Identity Dashboard Integration: Add a small OLED display to show "High Score Record" or "Battery (%)."
- Multi-sensor Climate Sync Synchronization: Connect a specialized "Bluetooth Tracker" to perform higher-precision "Local Paging" wirelessly via the cloud.
- Cloud Interface Registration Support Synchronization: Add a specialized web-dashboard on your smartphone over WiFi/BT to precisely track and log the total social history.
- Advanced Velocity Profile Customization Support: Add specialized "Machine Learning (vCore)" to the code to allow triggers to be changed automatically based on the user height!
Arcade LED Game is a perfect project for any science enthusiast looking for a more interactive and engaging entertainment tool!
[!IMPORTANT] The Neopixel Strip requires an accurate Voltage load mapping (e.g., for 5V DC) in the setup to avoid LED burnout during intensive patterns; always ensure you have an appropriate Fail-Safe flag in the loop if the serial bus overloads!