Overview:
This Arduino project features an interactive display that shows real-time currency exchange rates using a Wi-Fi connection and an OLED screen. The exchange rates are updated every 24 hours, and users can scroll through the data and interact with the display using physical buttons.
The "Cloud-Synced FX Monitor" is a sleek, IoT-enabled financial dashboard that brings global currency markets to your desk. By leveraging the ESP32-C3's integrated Wi-Fi stack, this project connects to a RESTful API to fetch live exchange rates and renders them on a high-contrast 128x64 OLED display. It demonstrates fundamental IoT engineering principles: HTTP client-server interaction, Asynchronous JSON parsing, and intelligent power management via a timeout-based display "sleep" mode.
Features:
- Daily Updates: The system retrieves the latest currency exchange rates from an online API every 24 hours, ensuring that the display is refreshed with the most current information.
- OLED Screen: The data is presented on a 128x64 OLED display, which offers a clear and readable view of the exchange rates.
- Button Controls: Users can scroll through the displayed data using two physical buttons, making it easy to navigate through the information.
- Automatic Display Management: To conserve power, the display turns off after 5 minutes of inactivity and automatically turns back on when a button is pressed.
- Wi-Fi Connectivity: The project uses Wi-Fi to connect to the internet and fetch exchange rate data, ensuring that the display is always up-to-date.
Technical Deep-Dive
- RESTful API Integration: The system initiates an HTTP GET request to `exchangerate-api.com`. Unlike simple web page loading, the ESP32 requests a JSON (JavaScript Object Notation) payload. This structured data format allows the microcontroller to selectively "pluck" specific currency values from a larger list without wasting memory on unnecessary HTML tags.
- Memory-Efficient JSON Parsing: Processing a large currency list can exceed the RAM limits of smaller microcontrollers. This project utilizes a "Stream-based" parsing approach (often via `ArduinoJson`). The ESP32 acts as a State Machine, scanning the incoming characters and updating its internal float variables only when a matching currency key (e.g., "EUR", "JPY") is detected.
- I2C Bus & SSD1306 Protocol: The OLED communicates via the I2C (Inter-Integrated Circuit) protocol on pins SDA and SCL. The `Adafruit_SSD1306` library manages the frame buffer—a slice of RAM where the layout is "drawn" before being clocked out to the display. This allows for smooth scrolling text and custom font rendering without visible screen tearing.
- Interrupt-Driven Interaction: The buttons are configured with Internal Pull-Up Resistors. The firmware monitors the GPIO state for a "Falling Edge" trigger. Upon detection, it resets a `lastActivityTime` variable, which prevents the auto-sleep logic from engaging while the user is actively browsing rates.
- Synchronous Time Management: While the API is polled every 24 hours, the ESP32 uses an internal `millis()` counter or an NTP (Network Time Protocol) sync to ensure the update occurs at precisely the right interval, even if the Wi-Fi connection temporarily drops.
How to Set Up and Operate Your Exchange Rate Display with Arduino:
Material Needed:
- Microcontroller Board: We used the XIAO ESP32-C3 for this project due to its compact size, which fits well in our setup. However, any ESP32 board equipped with Wi-Fi (note: not ESP8266) will work for this project.
- OLED Display: 128x64 OLED display (compatible with Adafruit SSD1306).
- Push Buttons: Two push buttons for user interaction.
- Jumper Wires: For connecting the components.
- Breadboard: Optional, for easier connections.
- Power Supply: Suitable for powering your microcontroller and OLED display.
Assembly and Configuration:
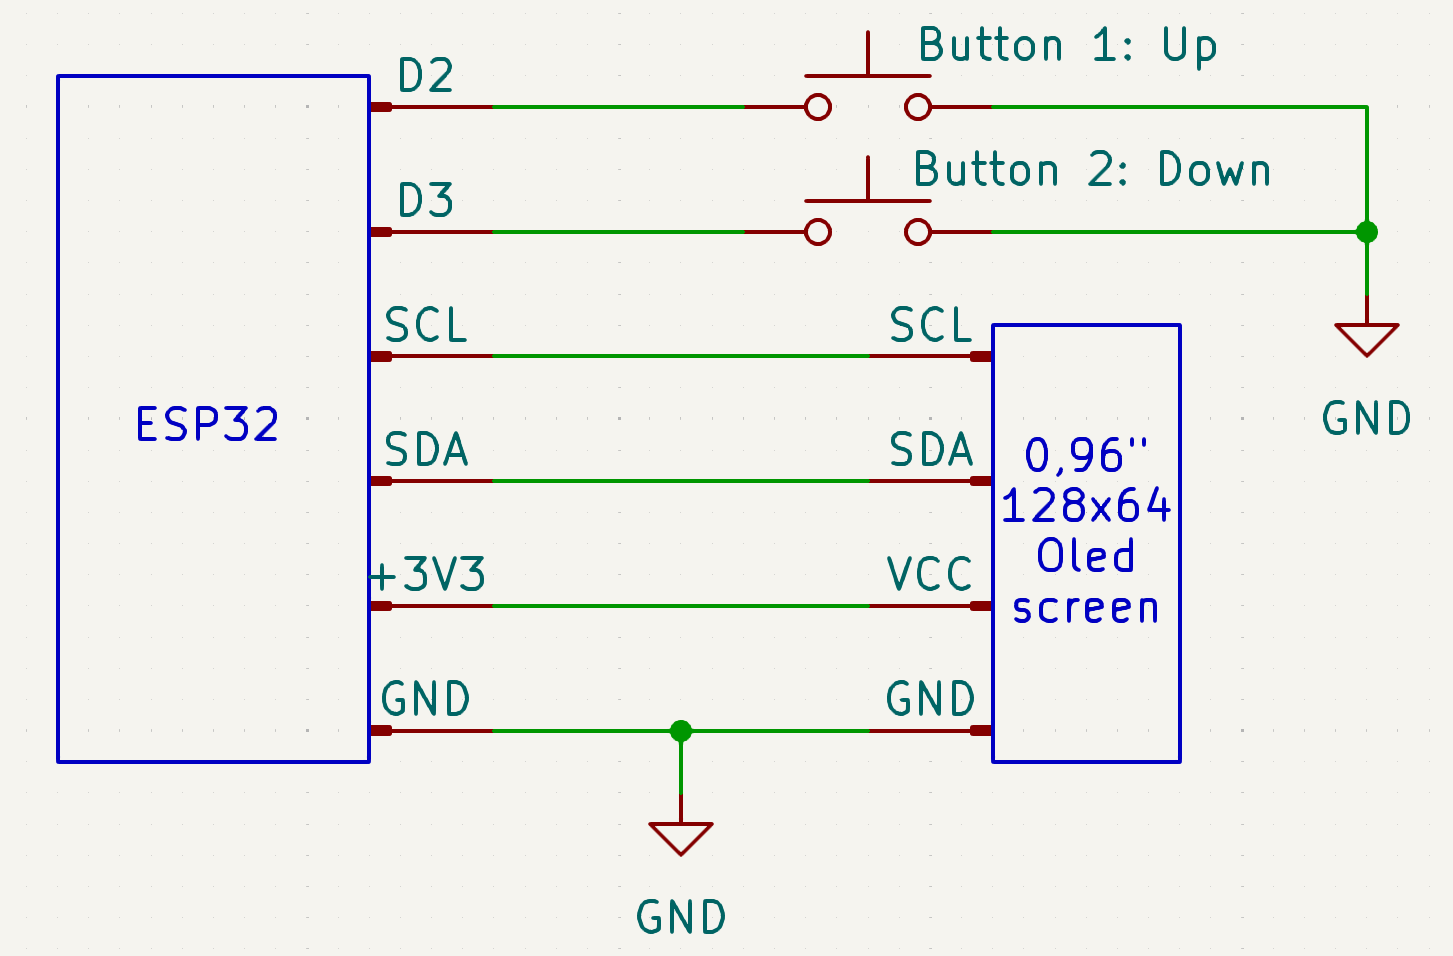
- Connect the Hardware:
OLED Display: Connect the OLED display to the ESP32 using the I2C interface. Ensure you connect the power (VCC and GND) and data lines (SDA and SCL) correctly.
Push Buttons: Connect the push buttons to two GPIO pins on the ESP32, respectively Digital Pin 2 to the scroll up button and Digital Pin 3 to the scroll down button and to GND.
- Library Compatibility:
Install the Required Libraries: Ensure the following libraries are installed in the Arduino IDE for the project to work properly:Adafruit SSD1306
Adafruit GFX
WiFi
HTTPClient
- Configuring the API:
- Obtain an API Key:
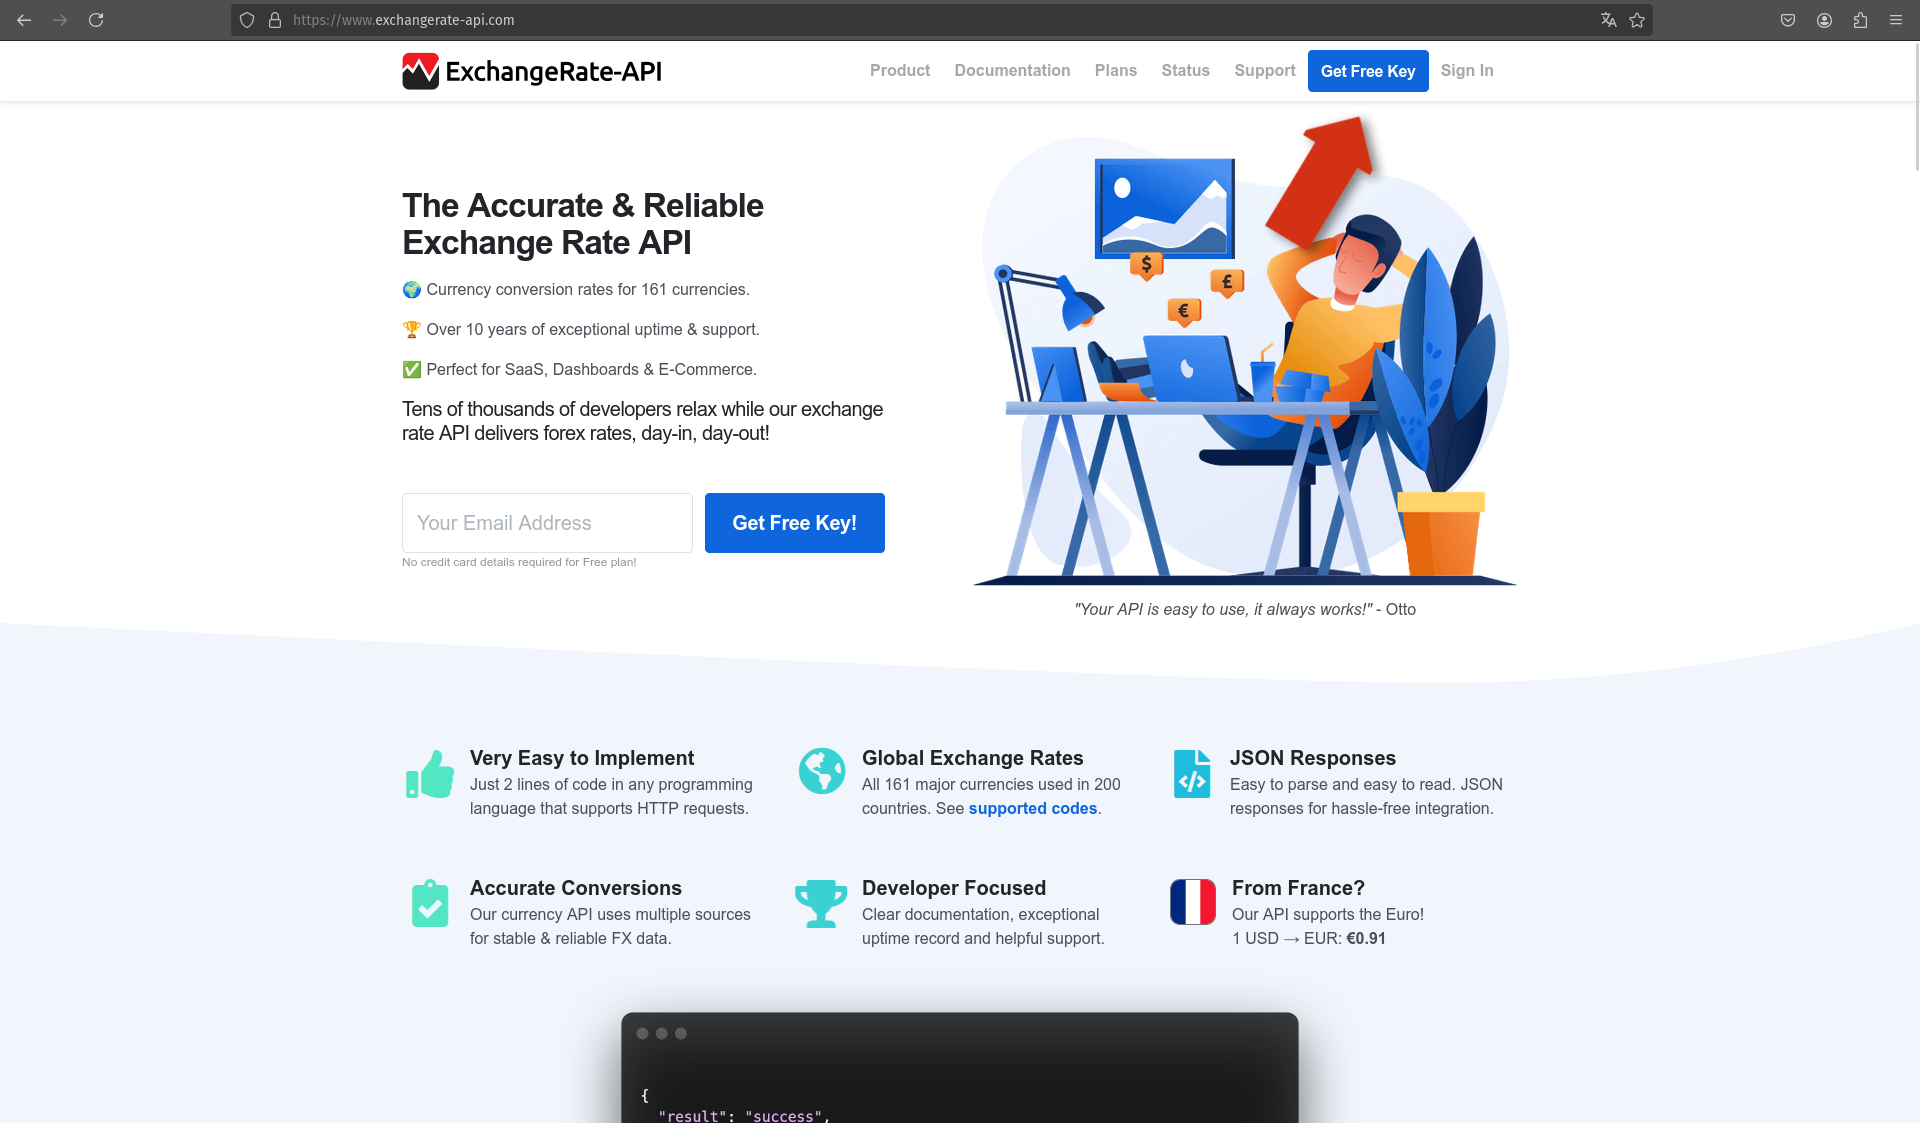
We use ExchangeRate-API for this project, the basic version is entirely free and more than sufficient for our needs, offering 1500 requests per month.You can use another website for exchange rates as long as it provides compatible data. If you choose a different site, you will need to adjust the code accordingly.
Go to https://www.exchangerate-api.com/
Click on "Get Free Key."
- Obtain an API Key:
Enter your email address and create a password.
Check your email for a verification link to activate your account.
Once activated, log in to the dashboard.
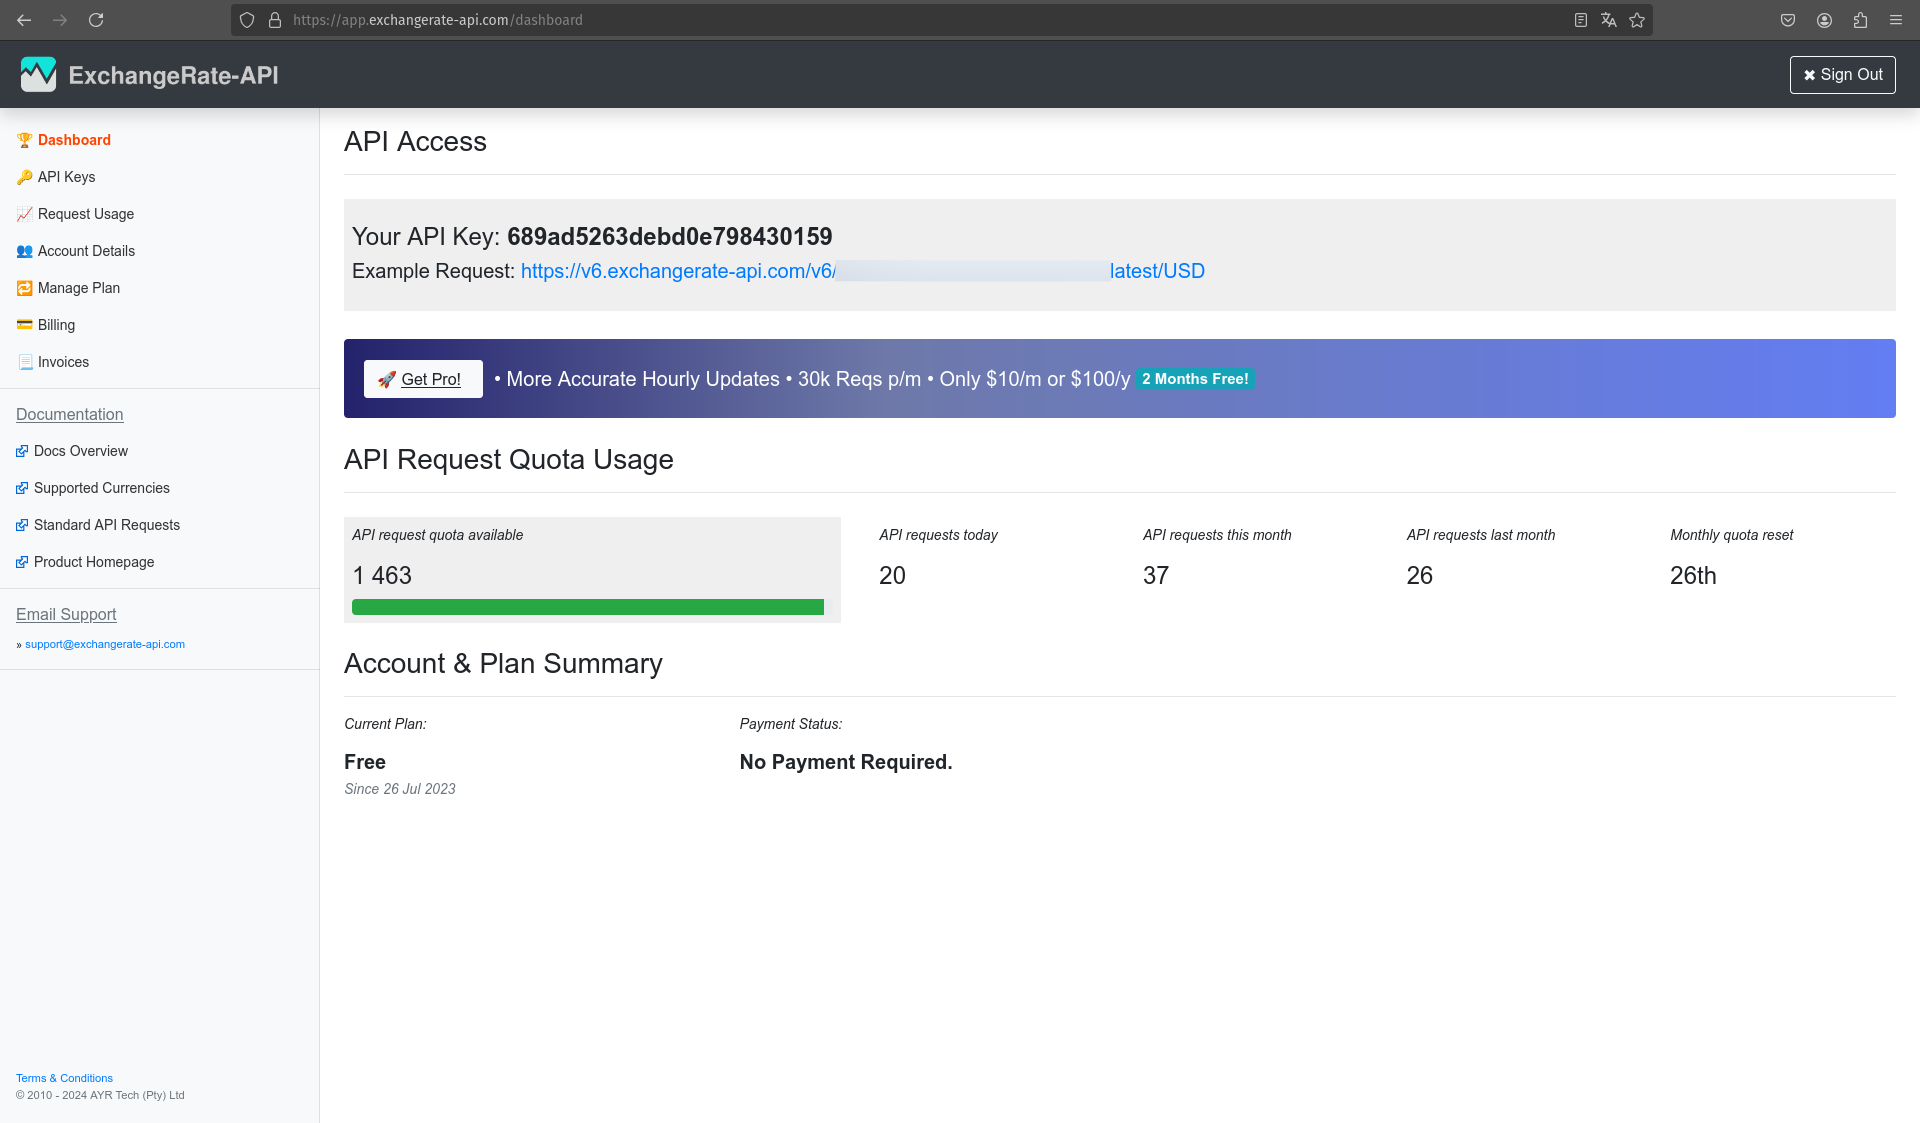
- Get the API URL:
In the dashboard, click on the example link to see a sample JSON response or go to the Example Request section.
Copy the URL from the example page or from your dashboard.
Replace the last three letters (USD) with your desired base currency (e.g., EUR for Euro) to match the currency you want to reference.
Find the following line in the provided sketch:String url = "https://v6.exchangerate-api.com/v6/YOUR-API-KEY/latest/EUR";
Replace `YOUR-API-KEY` with your actual key and `EUR` with your desired base currency.
- Final Steps:
- Update Wi-Fi Credentials:
Find the following lines in the sketch:#define WIFI_SSID "YOUR-SSID" #define WIFI_PASS "YOUR-PASSWORD"
Replace `YOUR-SSID` with the name of your Wi-Fi network.
Replace `YOUR-PASSWORD` with your Wi-Fi password. - Upload the Sketch:
Connect your ESP32 to your computer via USB, select the appropriate board and port in the Arduino IDE, and upload the sketch. - Run the Project:
Once the sketch is uploaded, the ESP32 will connect to your Wi-Fi network, fetch the exchange rates from the API, and display the information on the OLED screen.
Use the buttons to scroll through the displayed data.
- Update Wi-Fi Credentials:
By following these steps, you will have your Wi-Fi connected currency exchange rate display up and running, providing you with real-time exchange rate information updated daily.
Engineering & Prototyping Insights
- XIAO ESP32-C3 Form Factor: The choice of the Seeed Studio XIAO highlights a move toward ultra-compact IoT design. Despite its thumb-sized footprint, it provides a 32-bit RISC-V processor and built-in battery charging circuitry, making it ideal for a portable pocket-sized exchange monitor.
- Display Longevity (Burn-in Prevention): OLED pixels can degrade if left static for thousands of hours. The 5-minute auto-off timer implemented in this code is a professional engineering choice that extends the hardware's lifespan significantly while reducing current consumption from ~20mA to less than 500µA in idle.
- Error Resiliency: The code includes "fail-soft" logic. If the Wi-Fi fails to connect or the API returns an error, the OLED displays a clear troubleshooting message rather than hanging the processor, allowing the user to simply restart or check their credentials.
- Scalability: The architecture is designed to be base-currency agnostic. By changing a single string in the URL, the entire dashboard recalibrates to reference the Euro, Yen, or Bitcoin, demonstrating the power of software-driven financial instruments.
How It Works:
- Setup and Initialization: When the project starts, the Arduino sets up serial communication and initializes the OLED display. It also configures the buttons for user interaction and checks that the display is correctly set up.
- Data Retrieval: The Arduino connects to the Wi-Fi network and sends an HTTP GET request to retrieve exchange rate data from an online API. This request is scheduled to occur every 24 hours to ensure the data is updated regularly.
- Data Processing: Once the data is retrieved, the Arduino processes and formats the JSON response. This involves extracting relevant information and preparing it for display on the OLED screen.
- Display Management: The OLED screen shows the exchange rates and allows users to scroll through the data using the buttons. If no buttons are pressed for 5 minutes, the display automatically turns off to save power. The screen turns back on when a button is pressed.
- Error Handling: The system includes error handling for network issues and data retrieval problems. If an error occurs, appropriate messages are displayed on the OLED screen, and the Arduino prints error details to the serial monitor.
Applications:
This project is ideal for learning about real-time data display, network connections, and user interface design with Arduino. It is suitable for educational purposes, hobbyist projects, or as a practical tool for monitoring daily updated currency exchange rates.
This is open source, feel free to modify this code and this hardware to fit your specific implementation!