Little background story
I like motorbikes, but I'm not old enough for supersport bikes, yet. Thing that fascinate me about bikes is taillight and rear end in general. One day I decided to do a little DIY project. The project was about making a circuit that behaves as bike's taillight. The idea for the project was taken from TSTIndustries' 2013+ Kawasaki Ninja ZX6R Programmable Integrated Tail Light. Project was too complicated for me, because my knowledge in electrical engineering was poor, so I gave up from idea.
A few months later professor in high school was talking about some microcontroller, that microcontroller was Arduino. That moment woke up this project. I have googled about Arduino, how-to, examples etc. I have learned a lot about electrical engineering, programming while I work on this project.
I did the first few schematics for the project. At the beginning project was very simple, few push buttons, Arduino, blue LED as an indicator for lights, hall sensors for brake levers and that is it. But, as a young DIY lover, I felt into a trap - adding new stuff to the project!
I said to myself once "I have more Resources to use, why I don't build onboard computer with display?". I decided to do more on the project. I added OLED display, RTC, turn signals, tachometer, and speedometer, etc... So the project has become complicated. Later I swapped Arduino Nano with STM32F103C8 board. Also, I didn't like the look of the project on perfboard, I decided to learn how to use EAGLE and design nice looking PCBs.

Features
- Total distance, daily, monthly, trip A, B, C
- Top & Max speed
- Average Speed
- Total trip time and resettable trip time
- Speedometer
- Tachometer
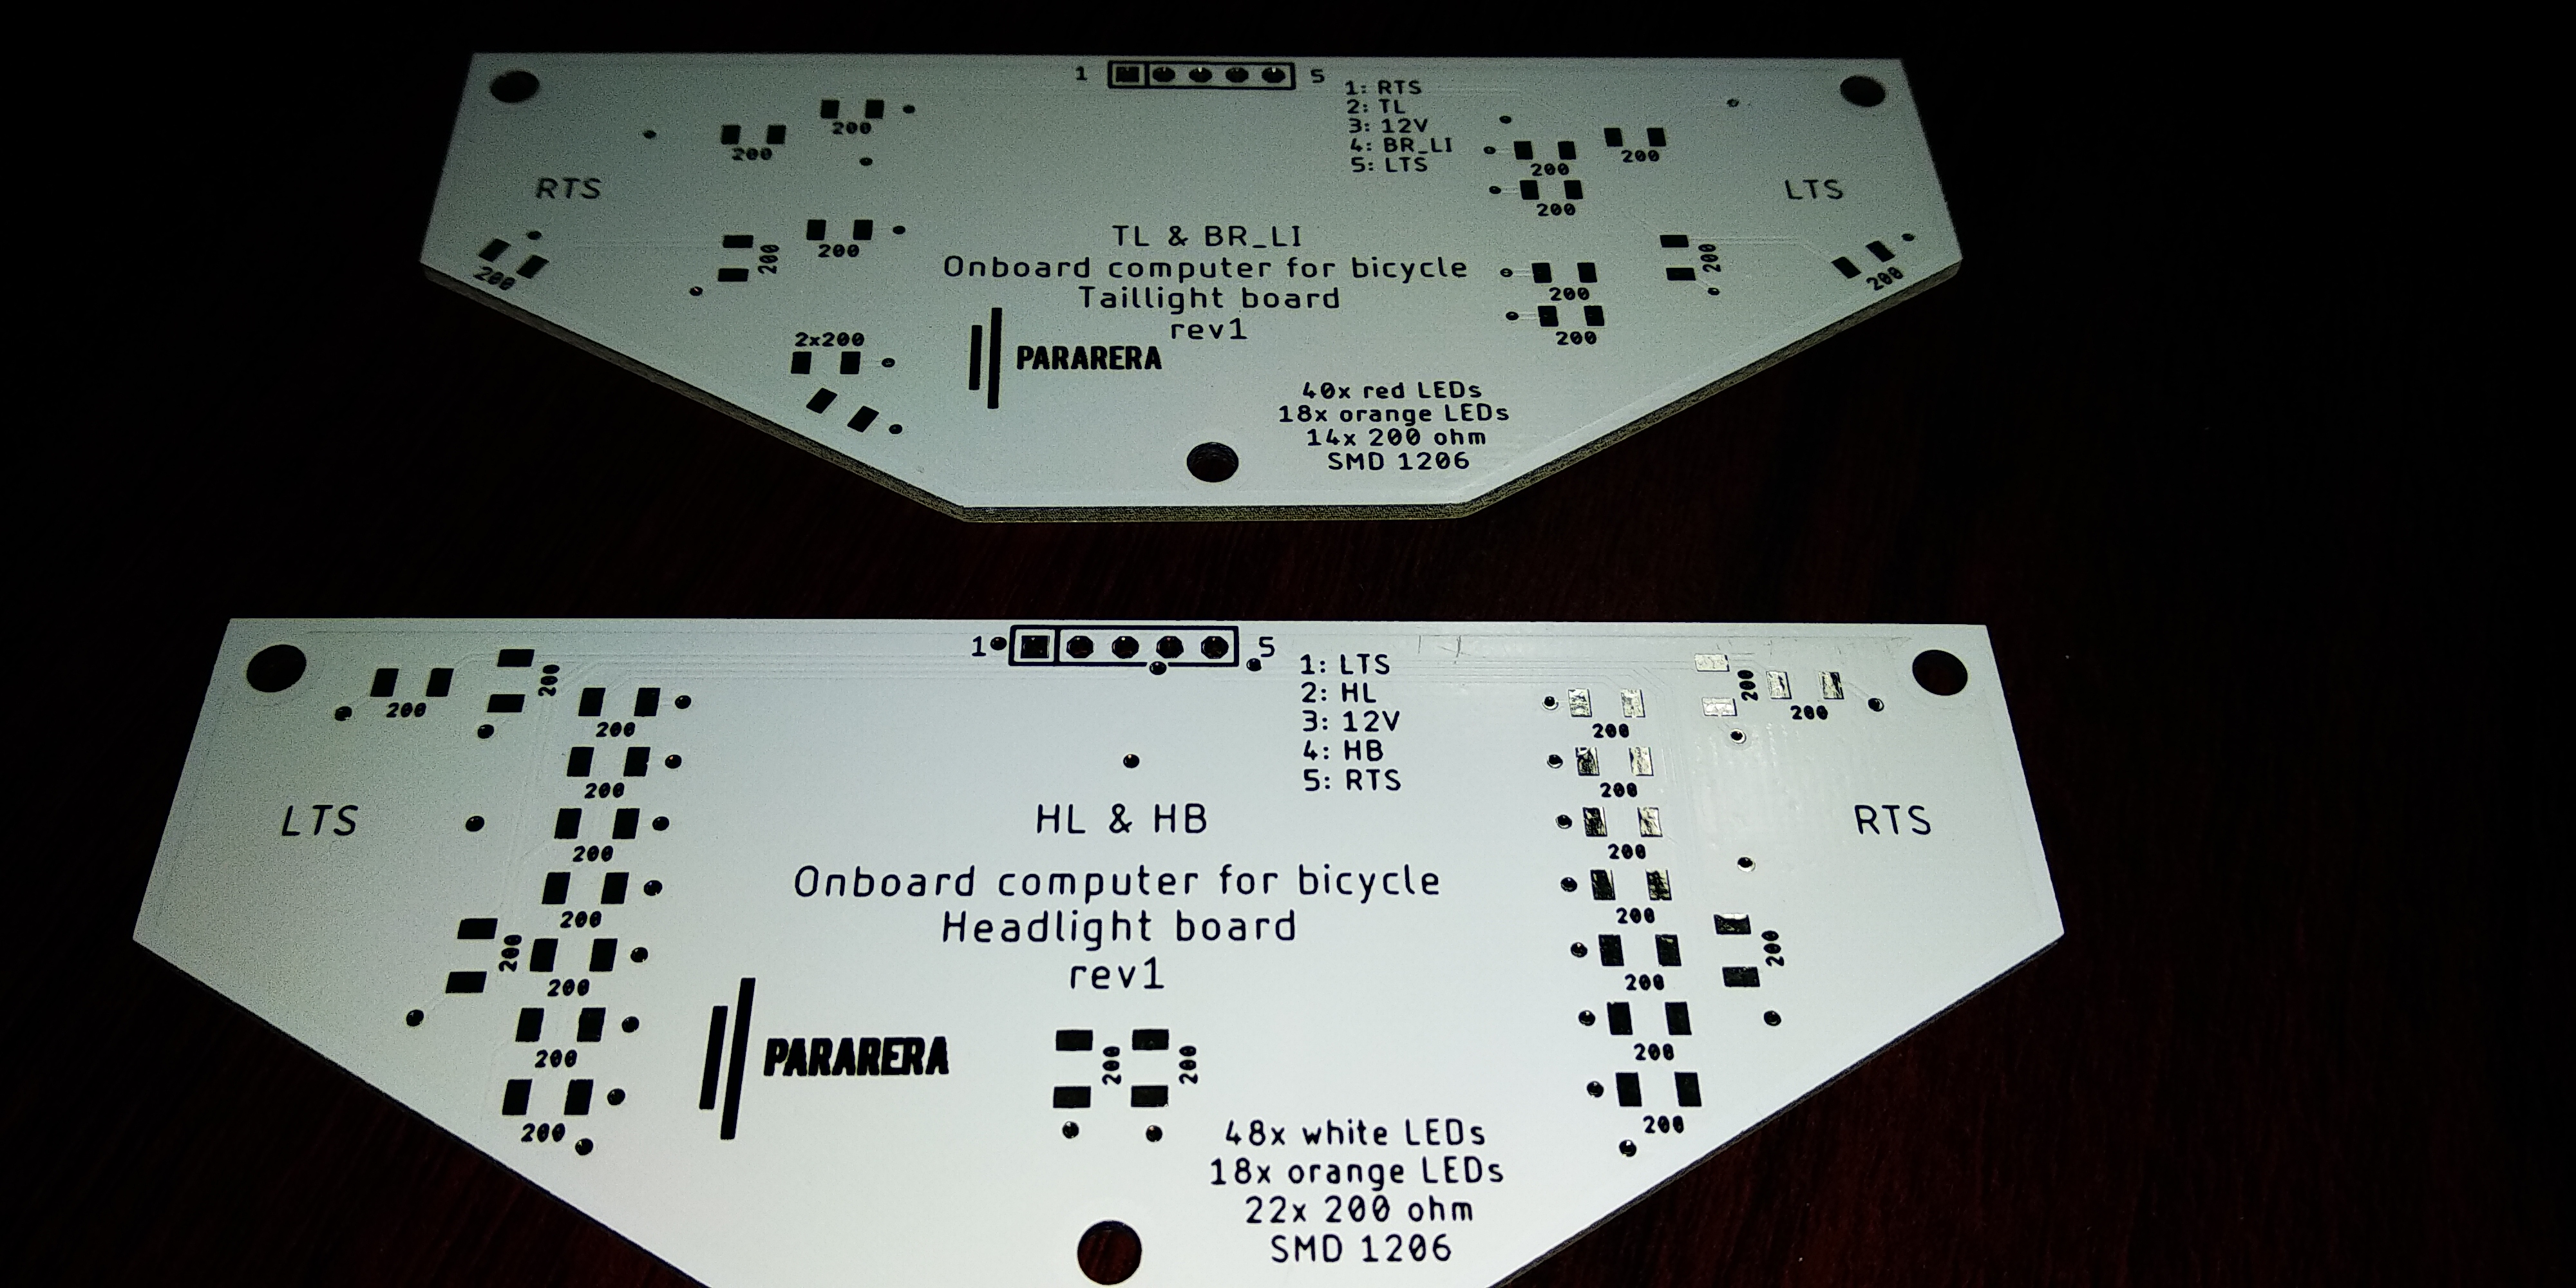
- Front light - Daily light ; Normal light ; High beam. Auto turn on/off
- Rear light - Daily light ; Normal light ; Fog light ; Brake light. Auto turn on/off
- Turn signals & hazard light
- Handlebar light
- Time, date & ambient temperature info
- Screen saver
- Dimmable screen (manully/auto)
- Customizable tyre size
- Supports metric and imperial units
- USB charging port
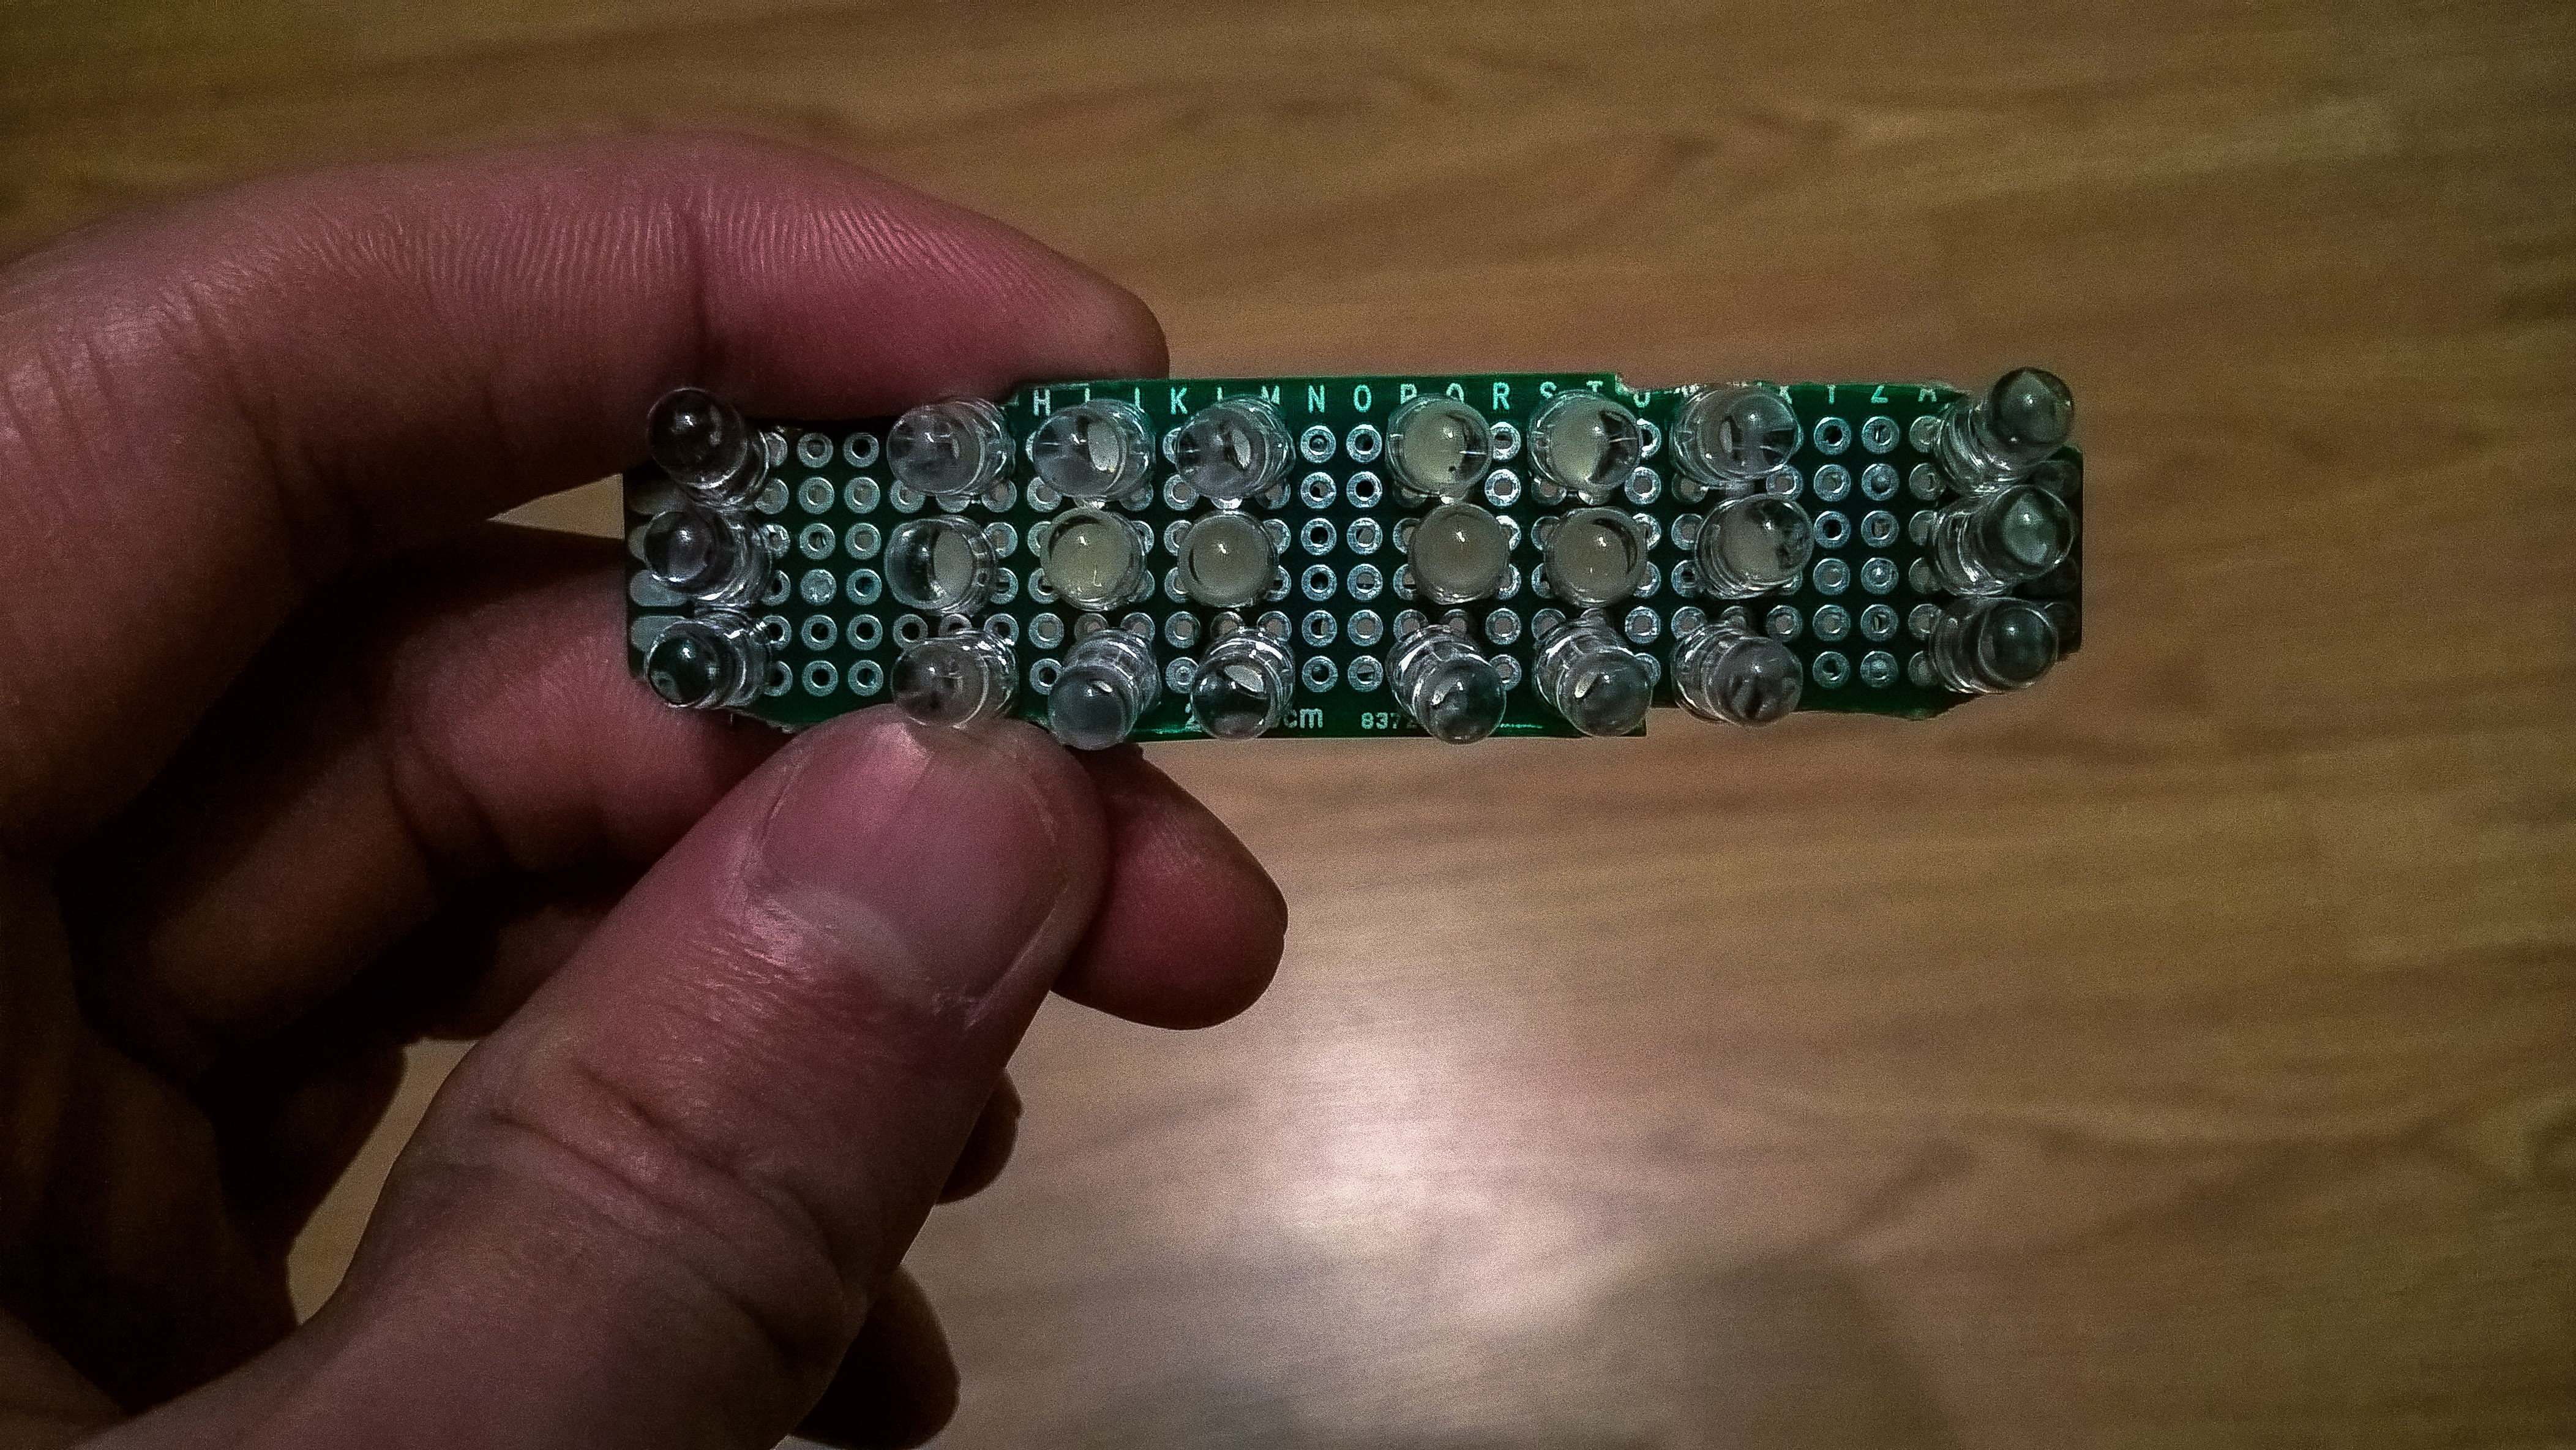
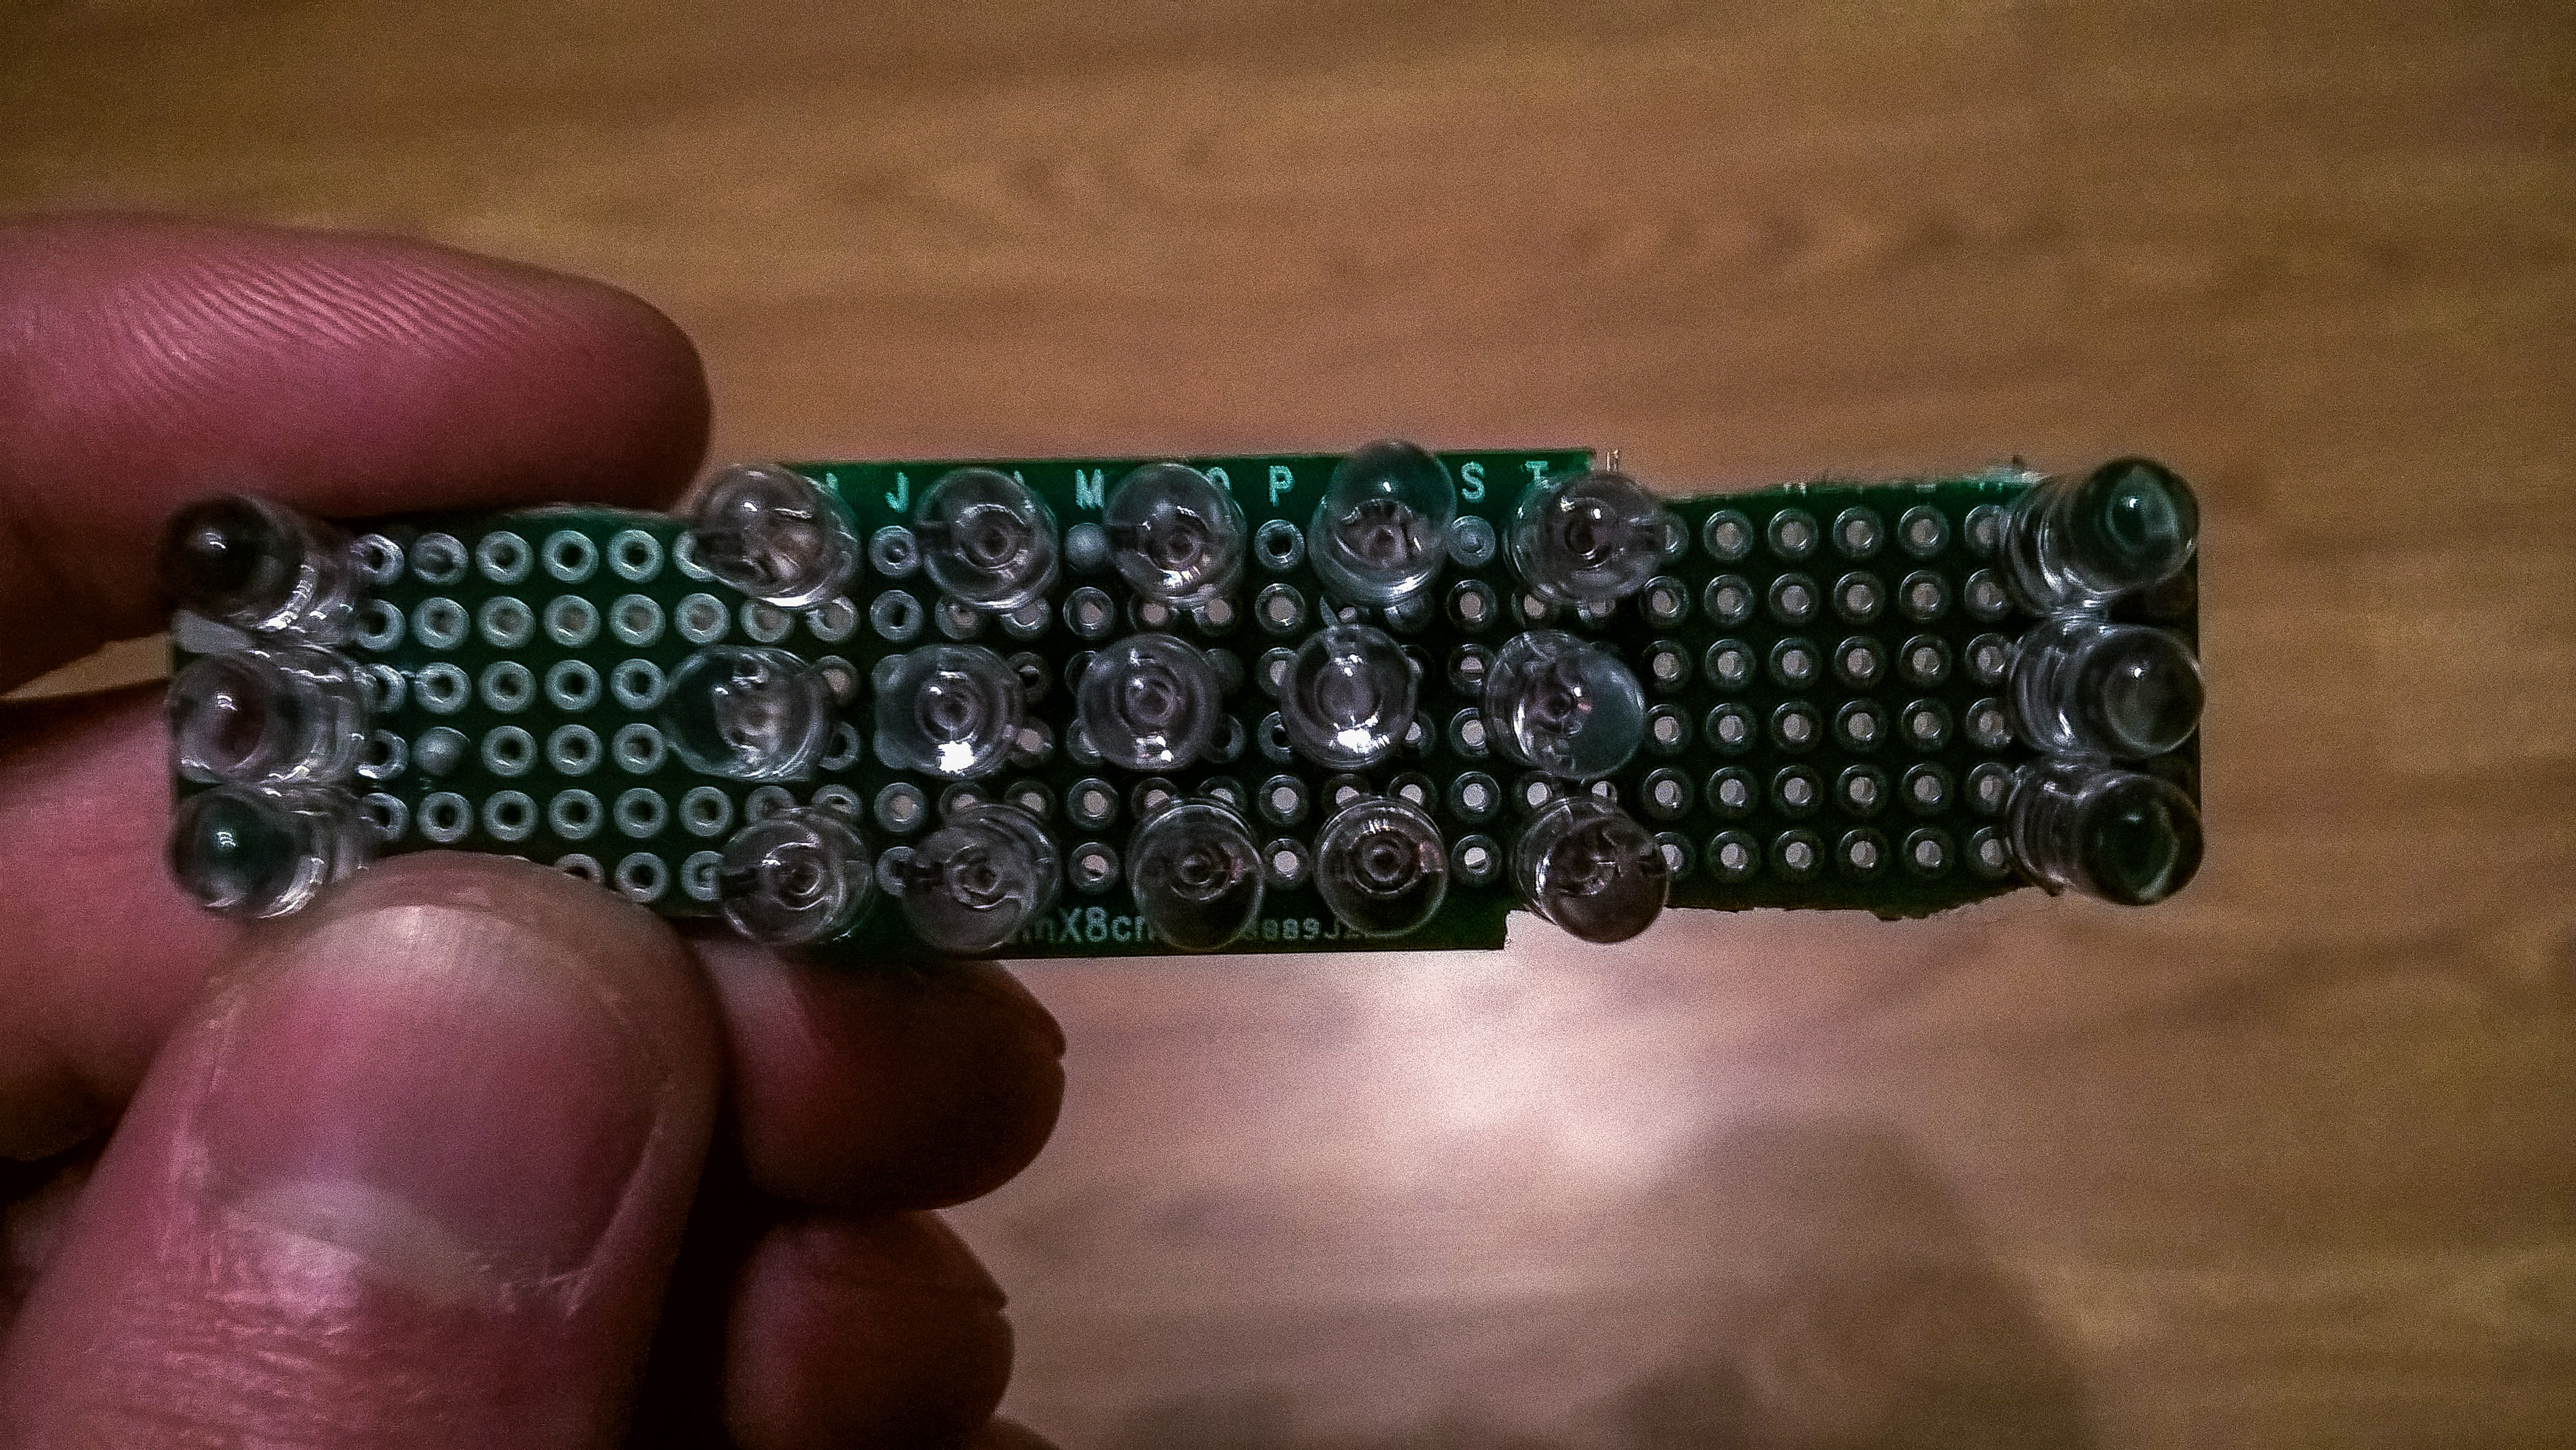
First version
The first version was built on the Arduino Nano R3 board and plan for the project was much much simpler than it is today. Below you can see how it looked back then.
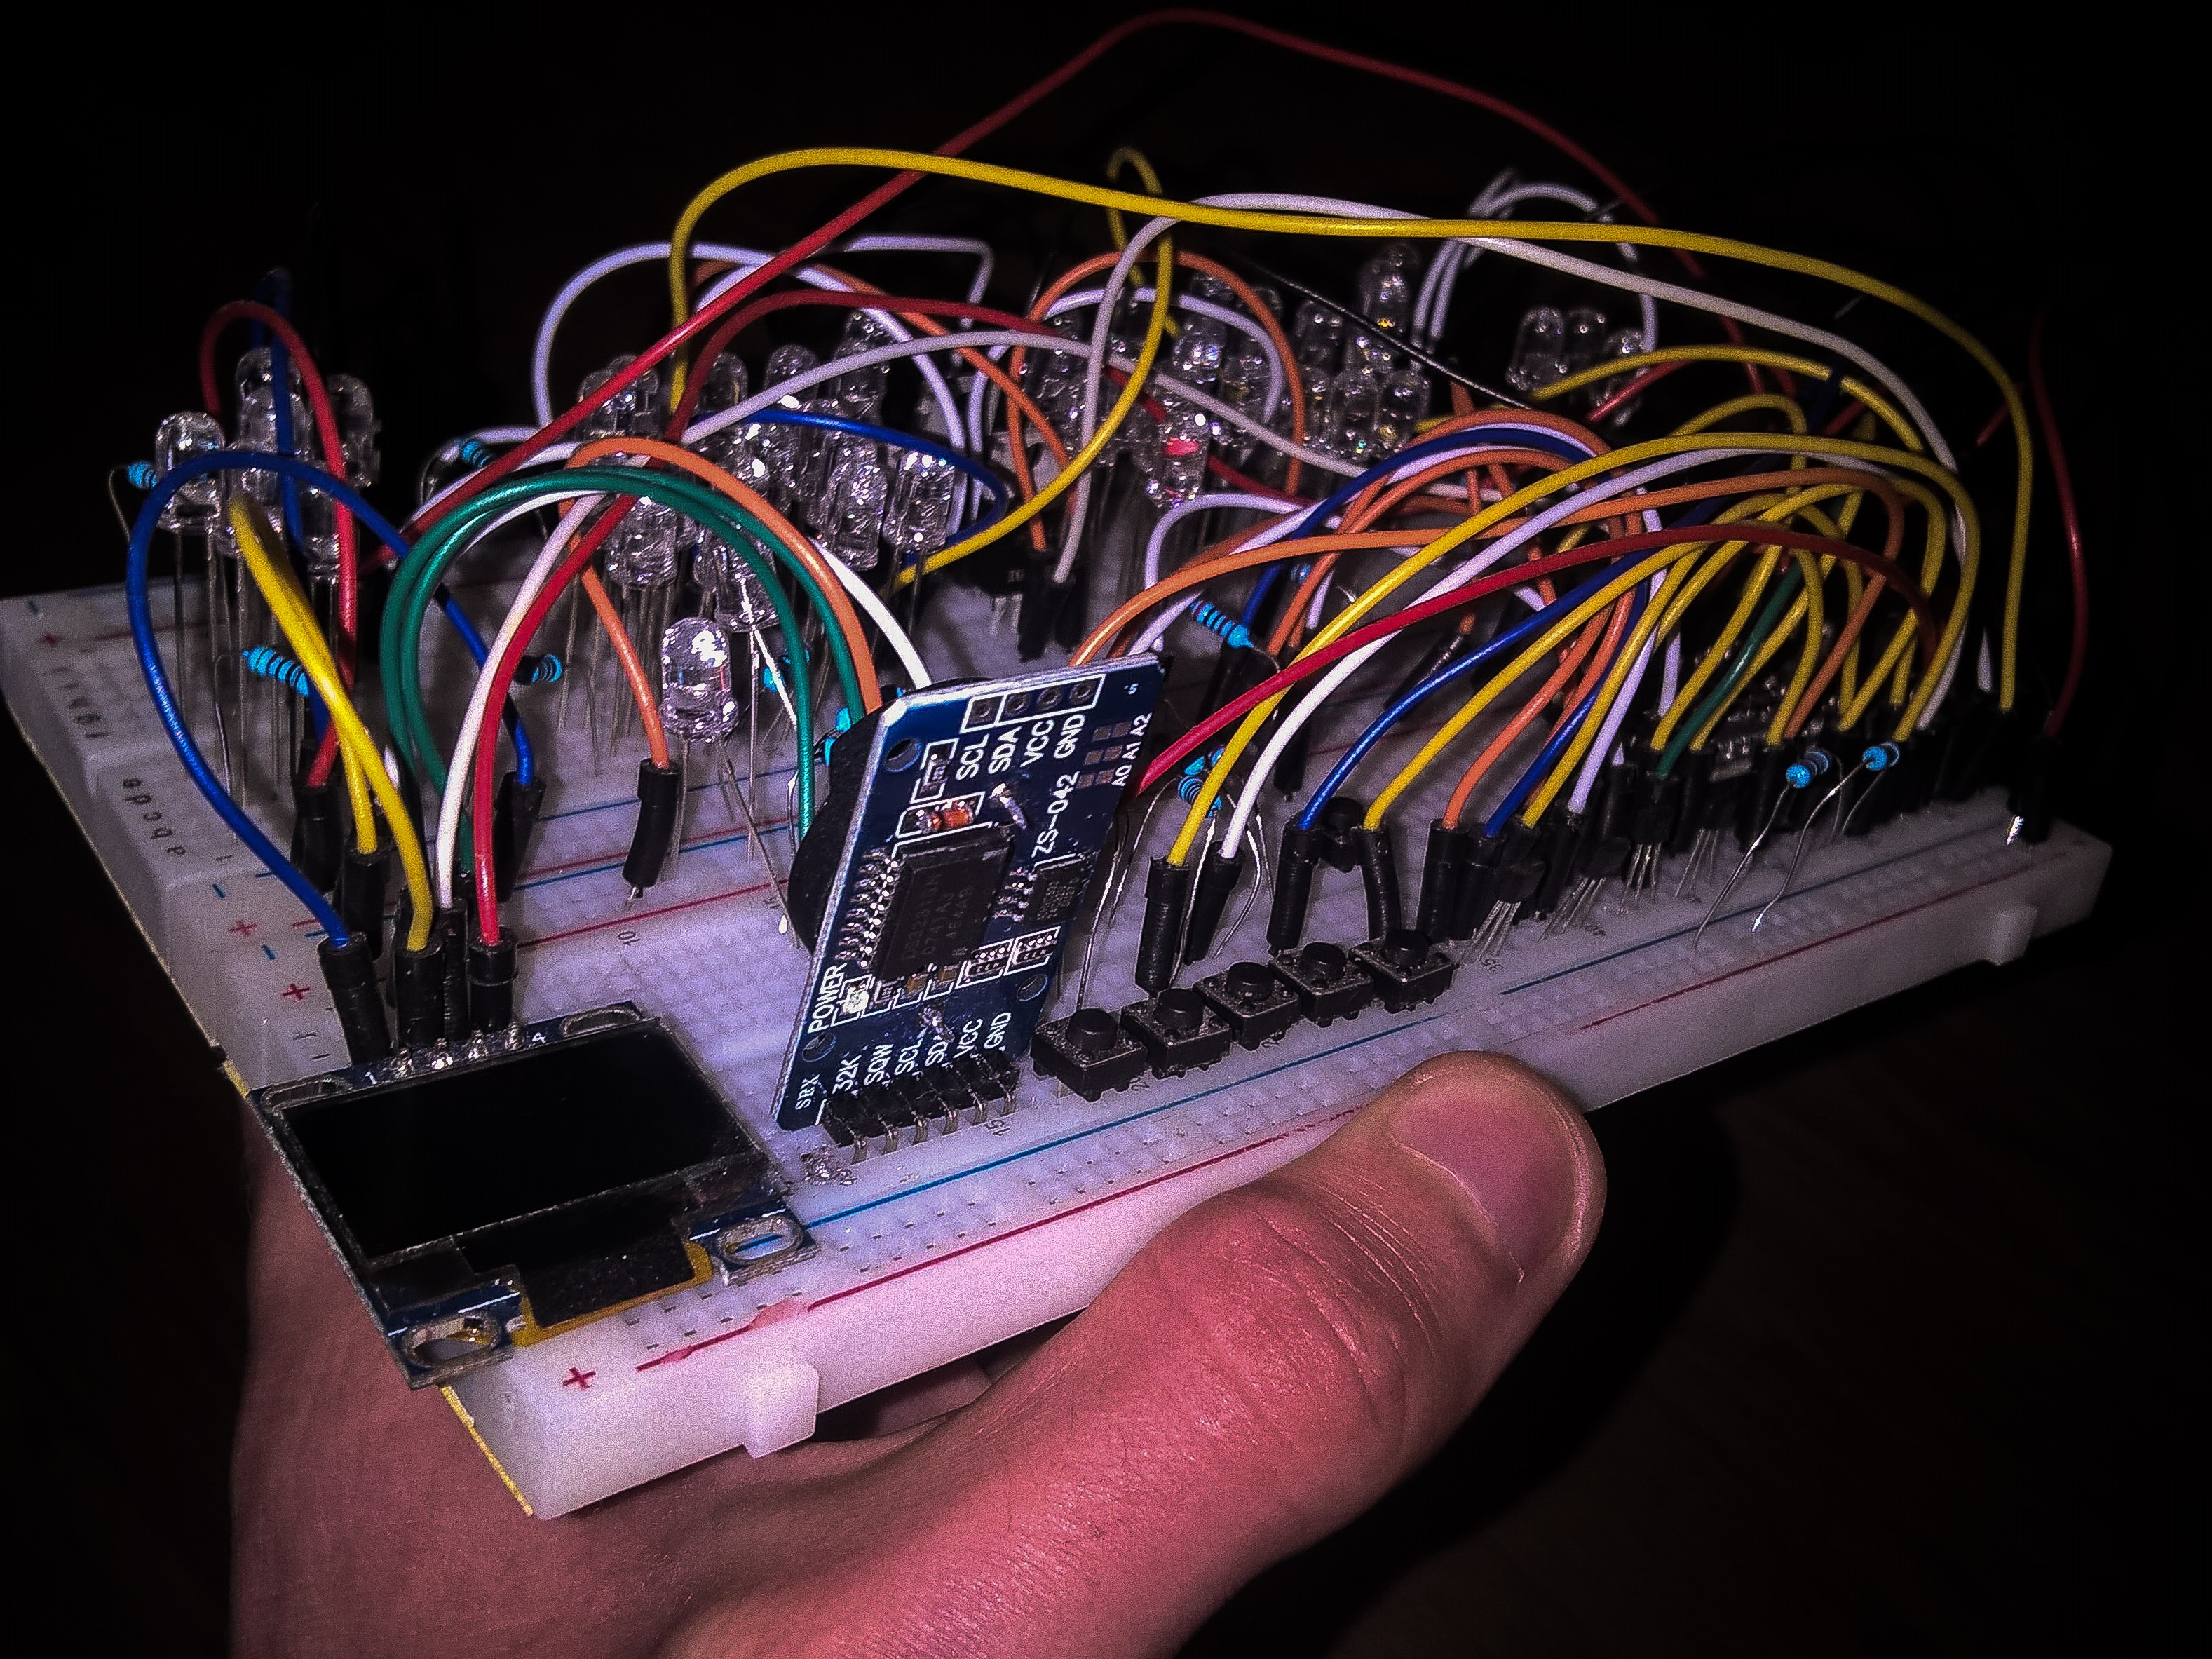
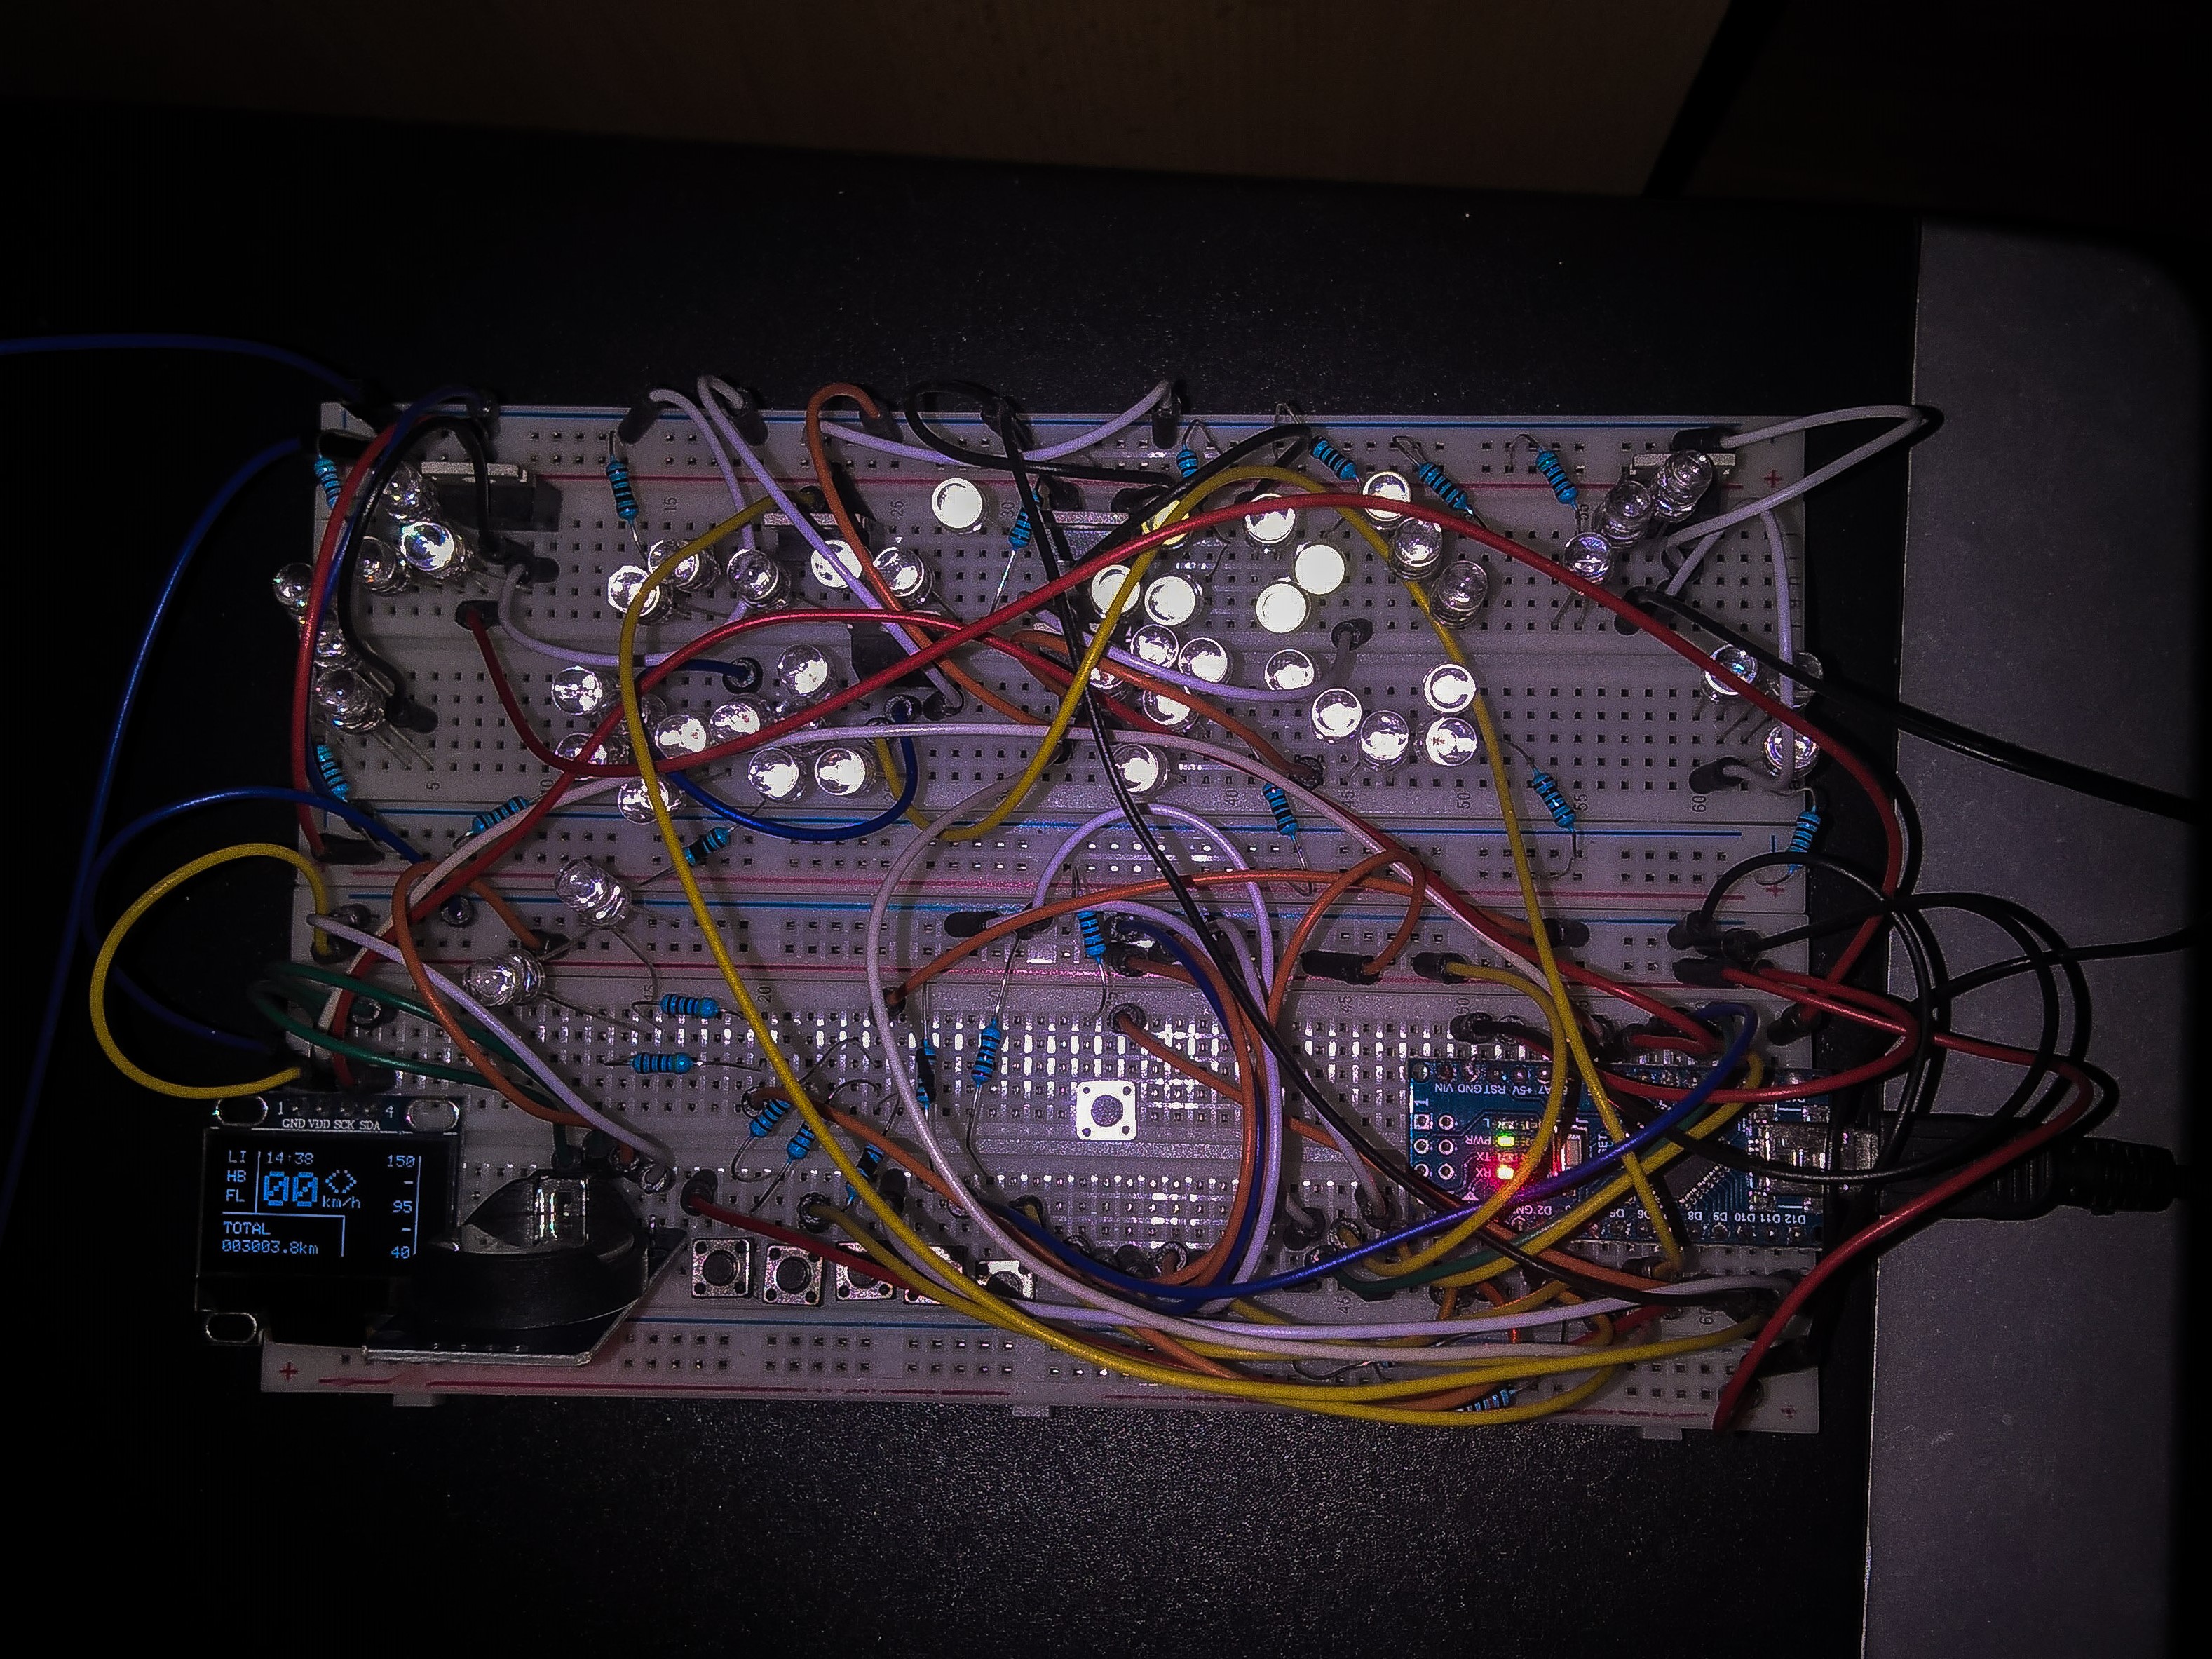
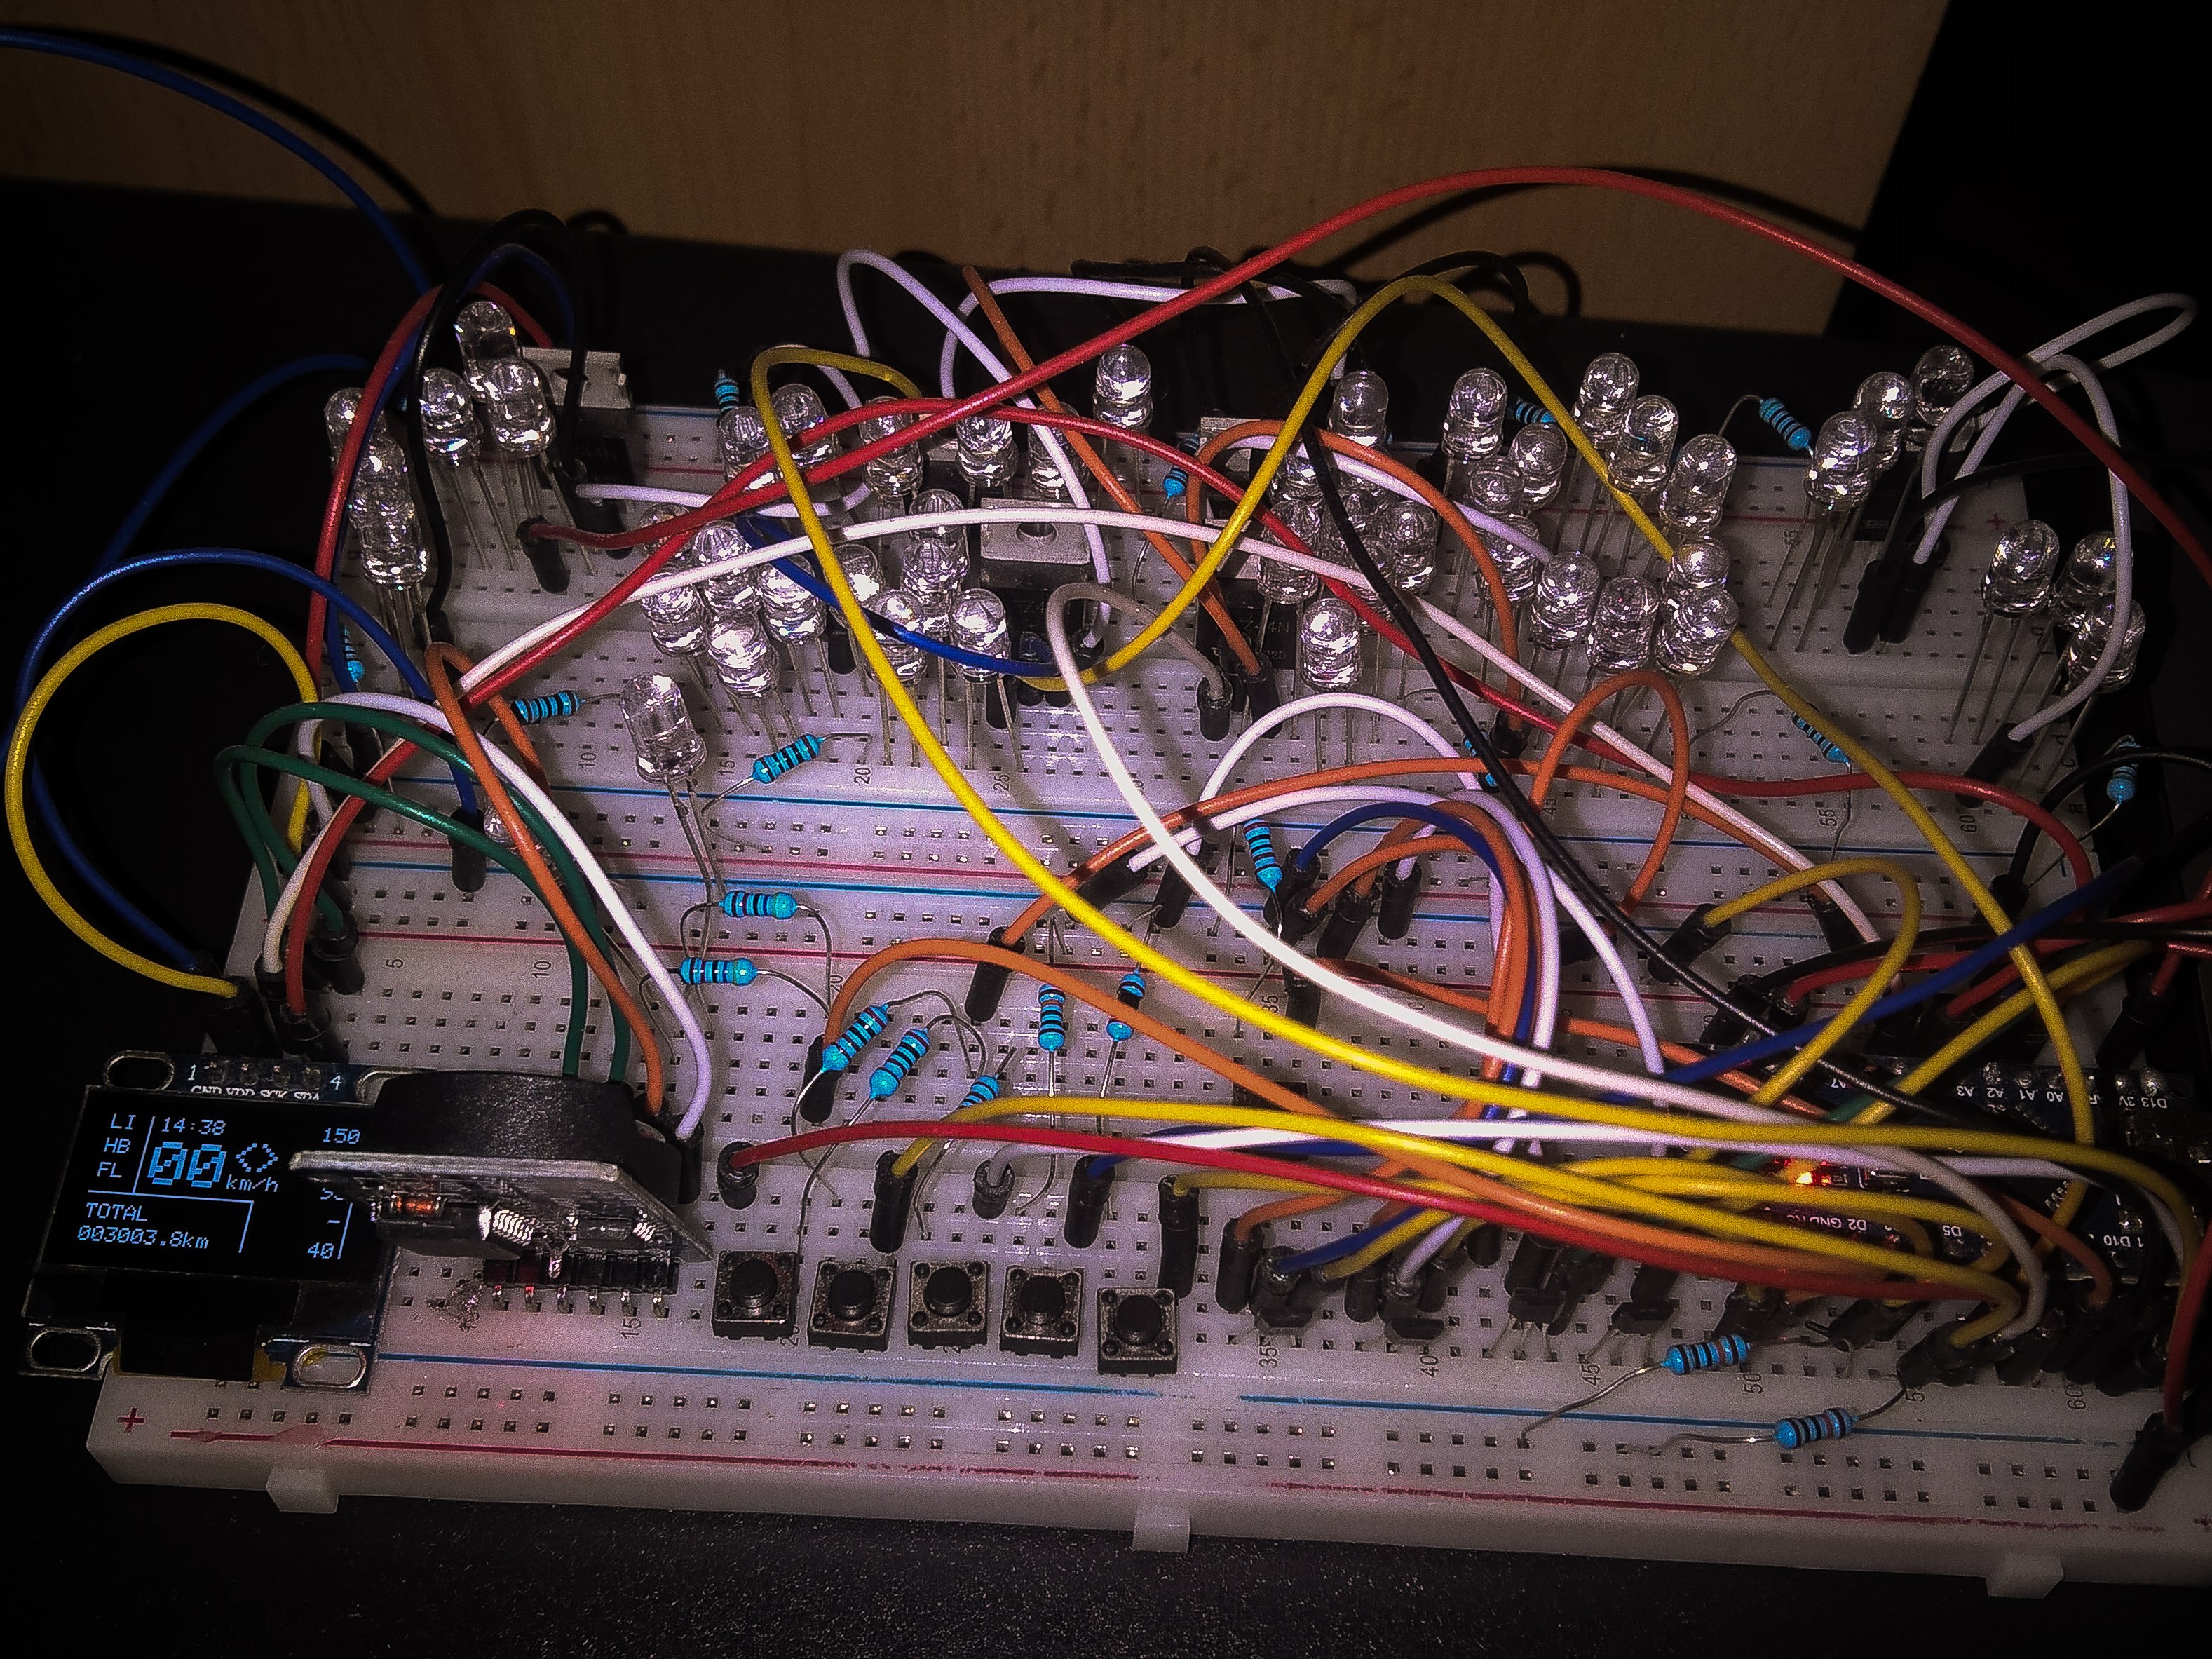
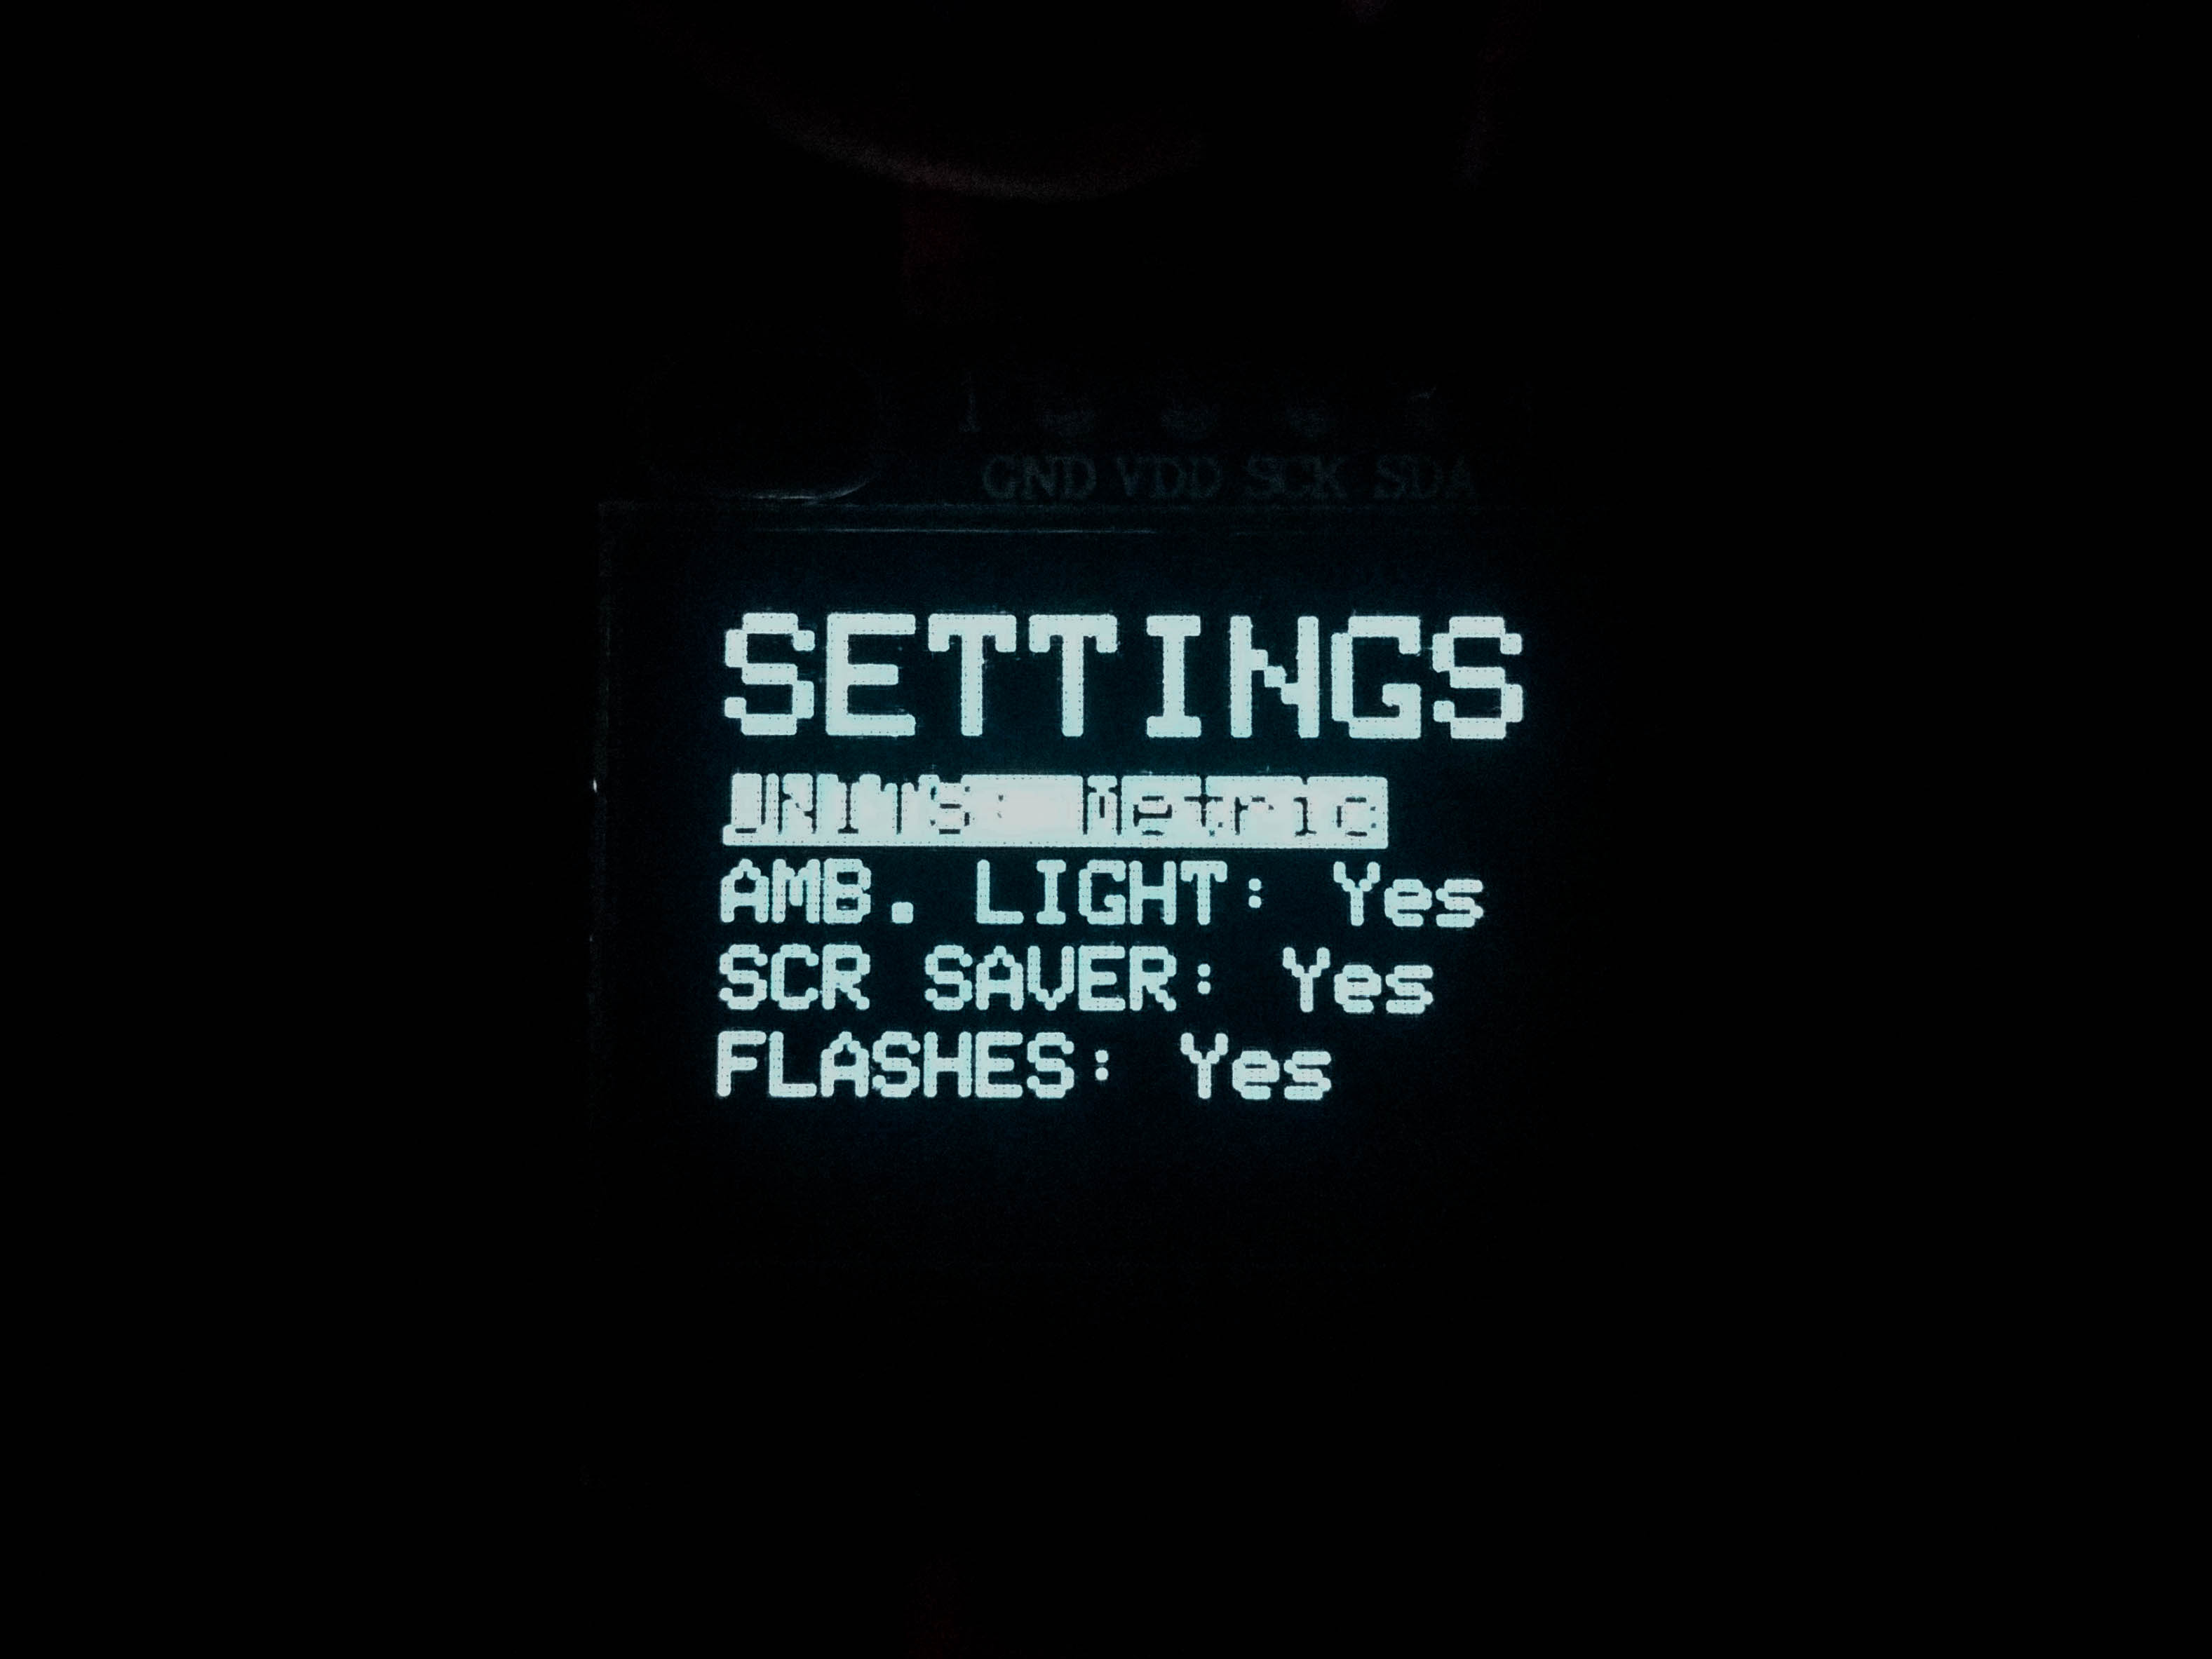
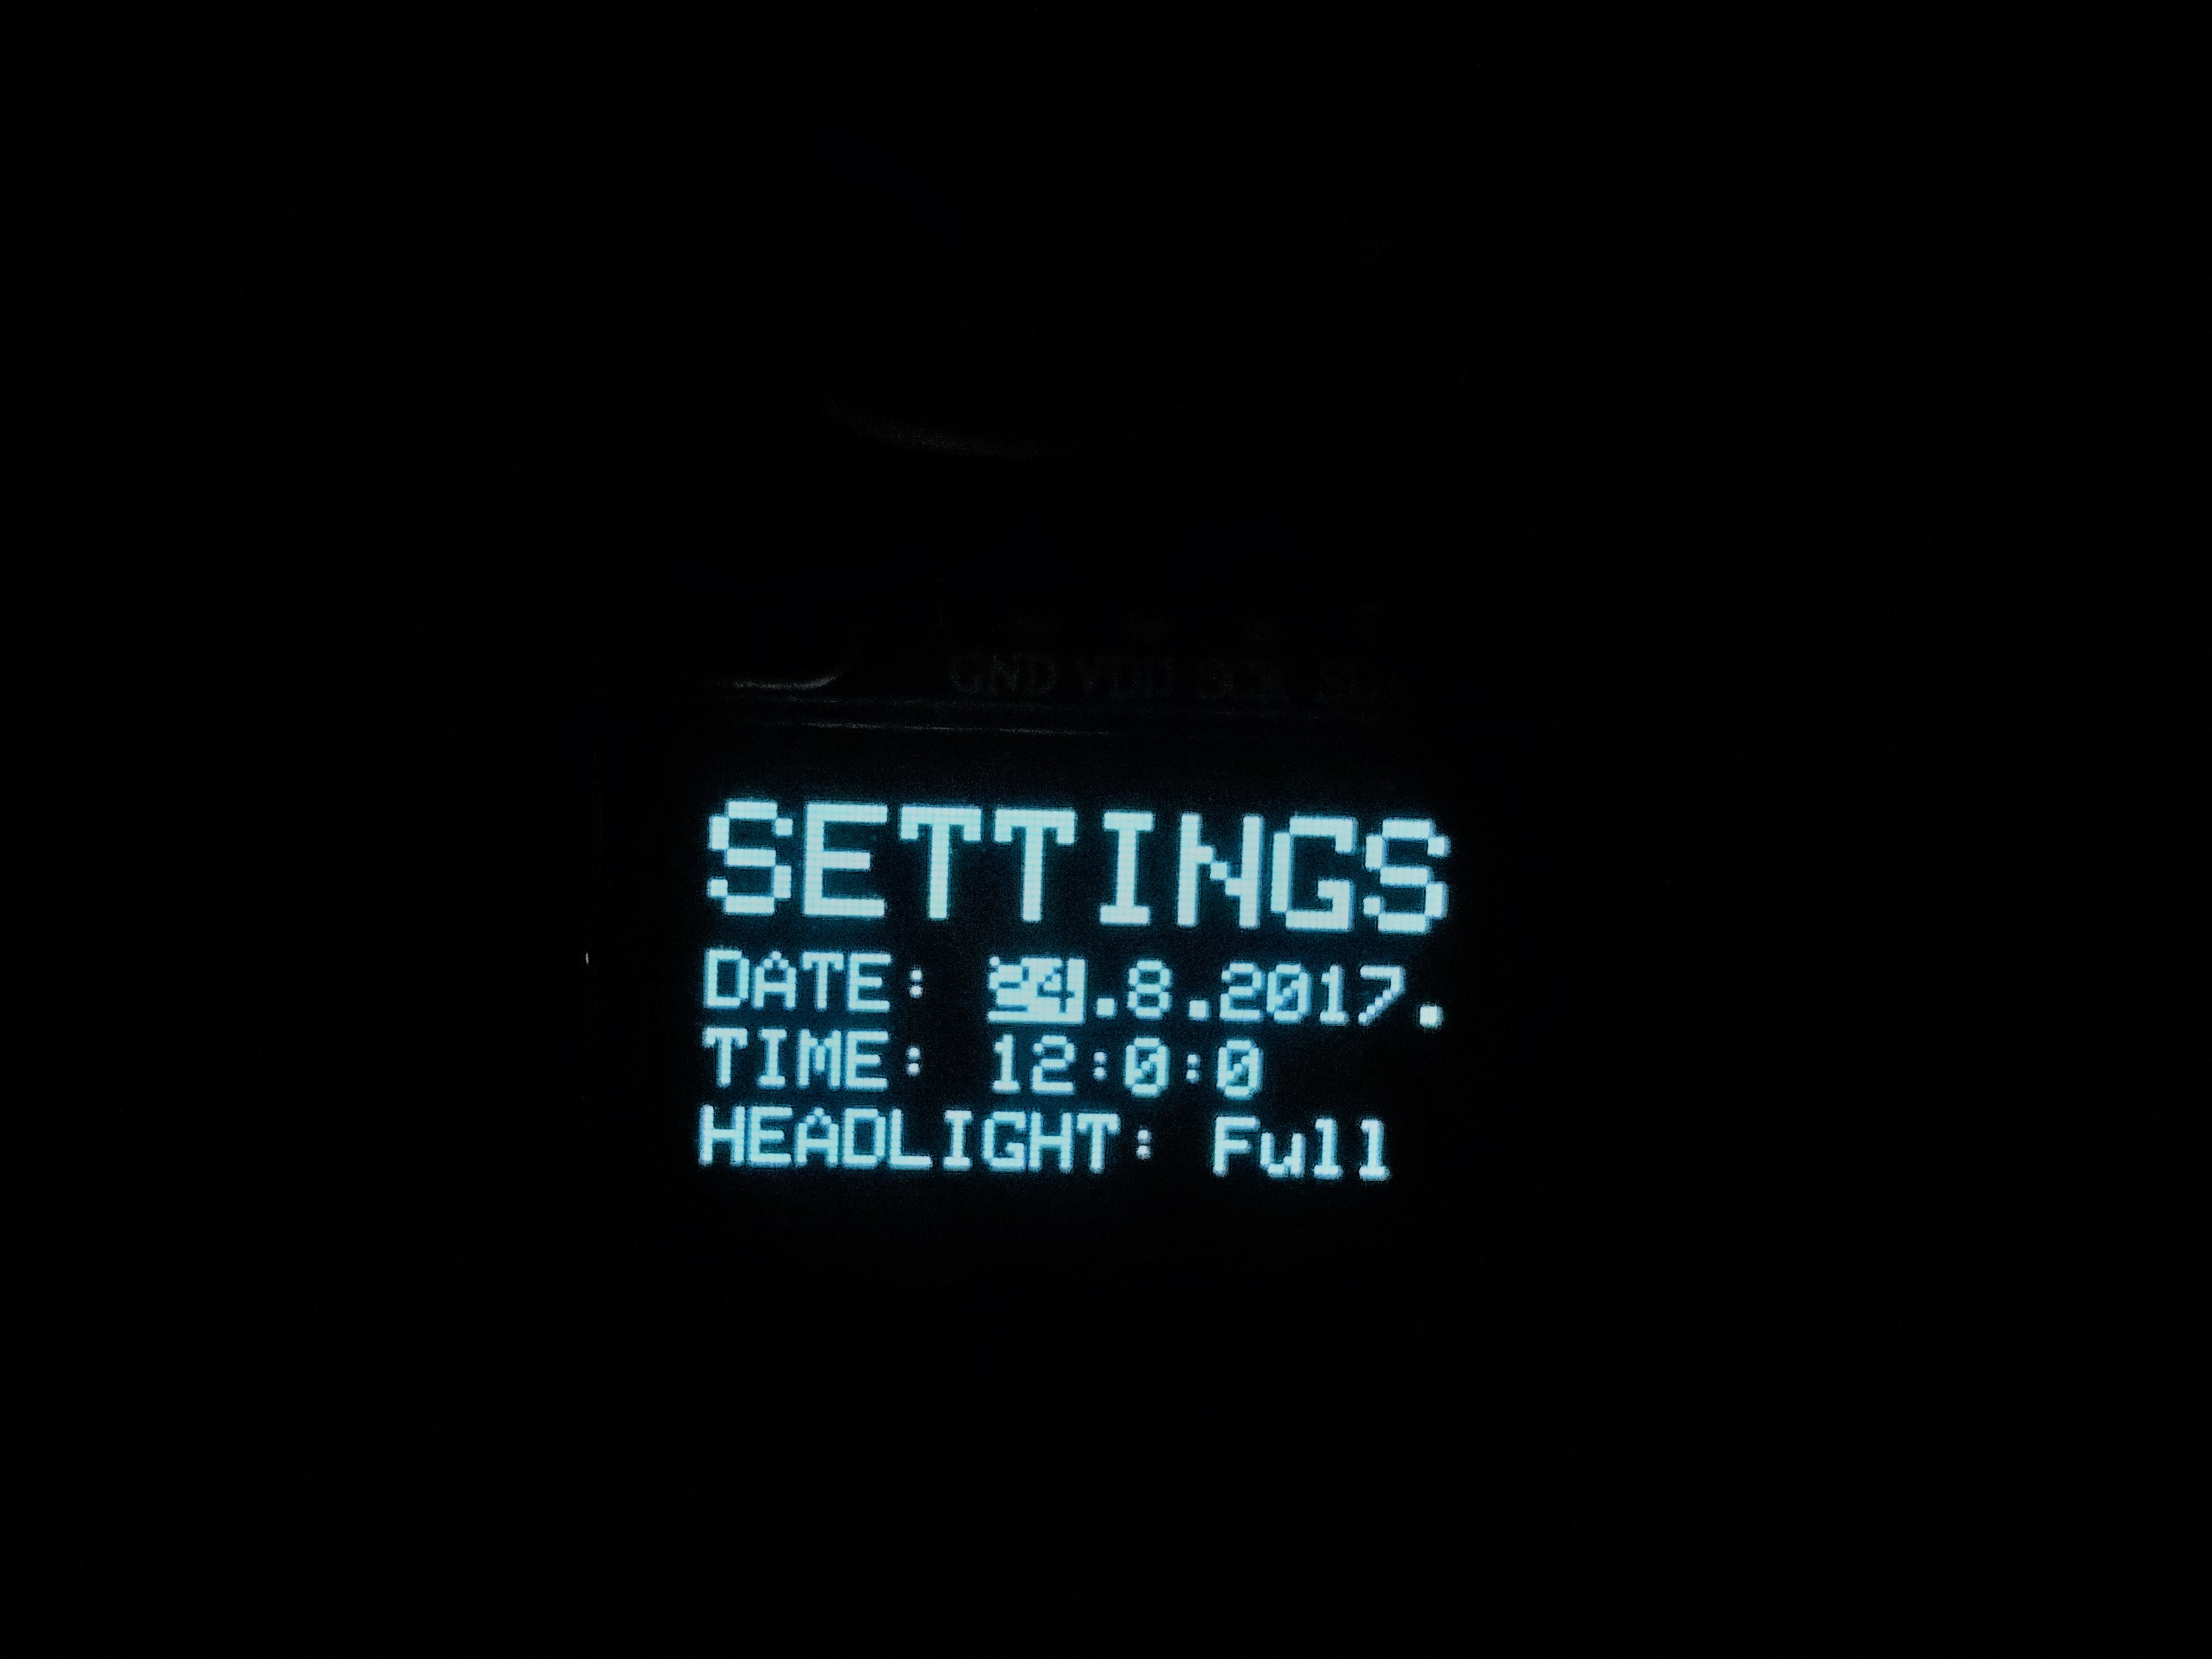
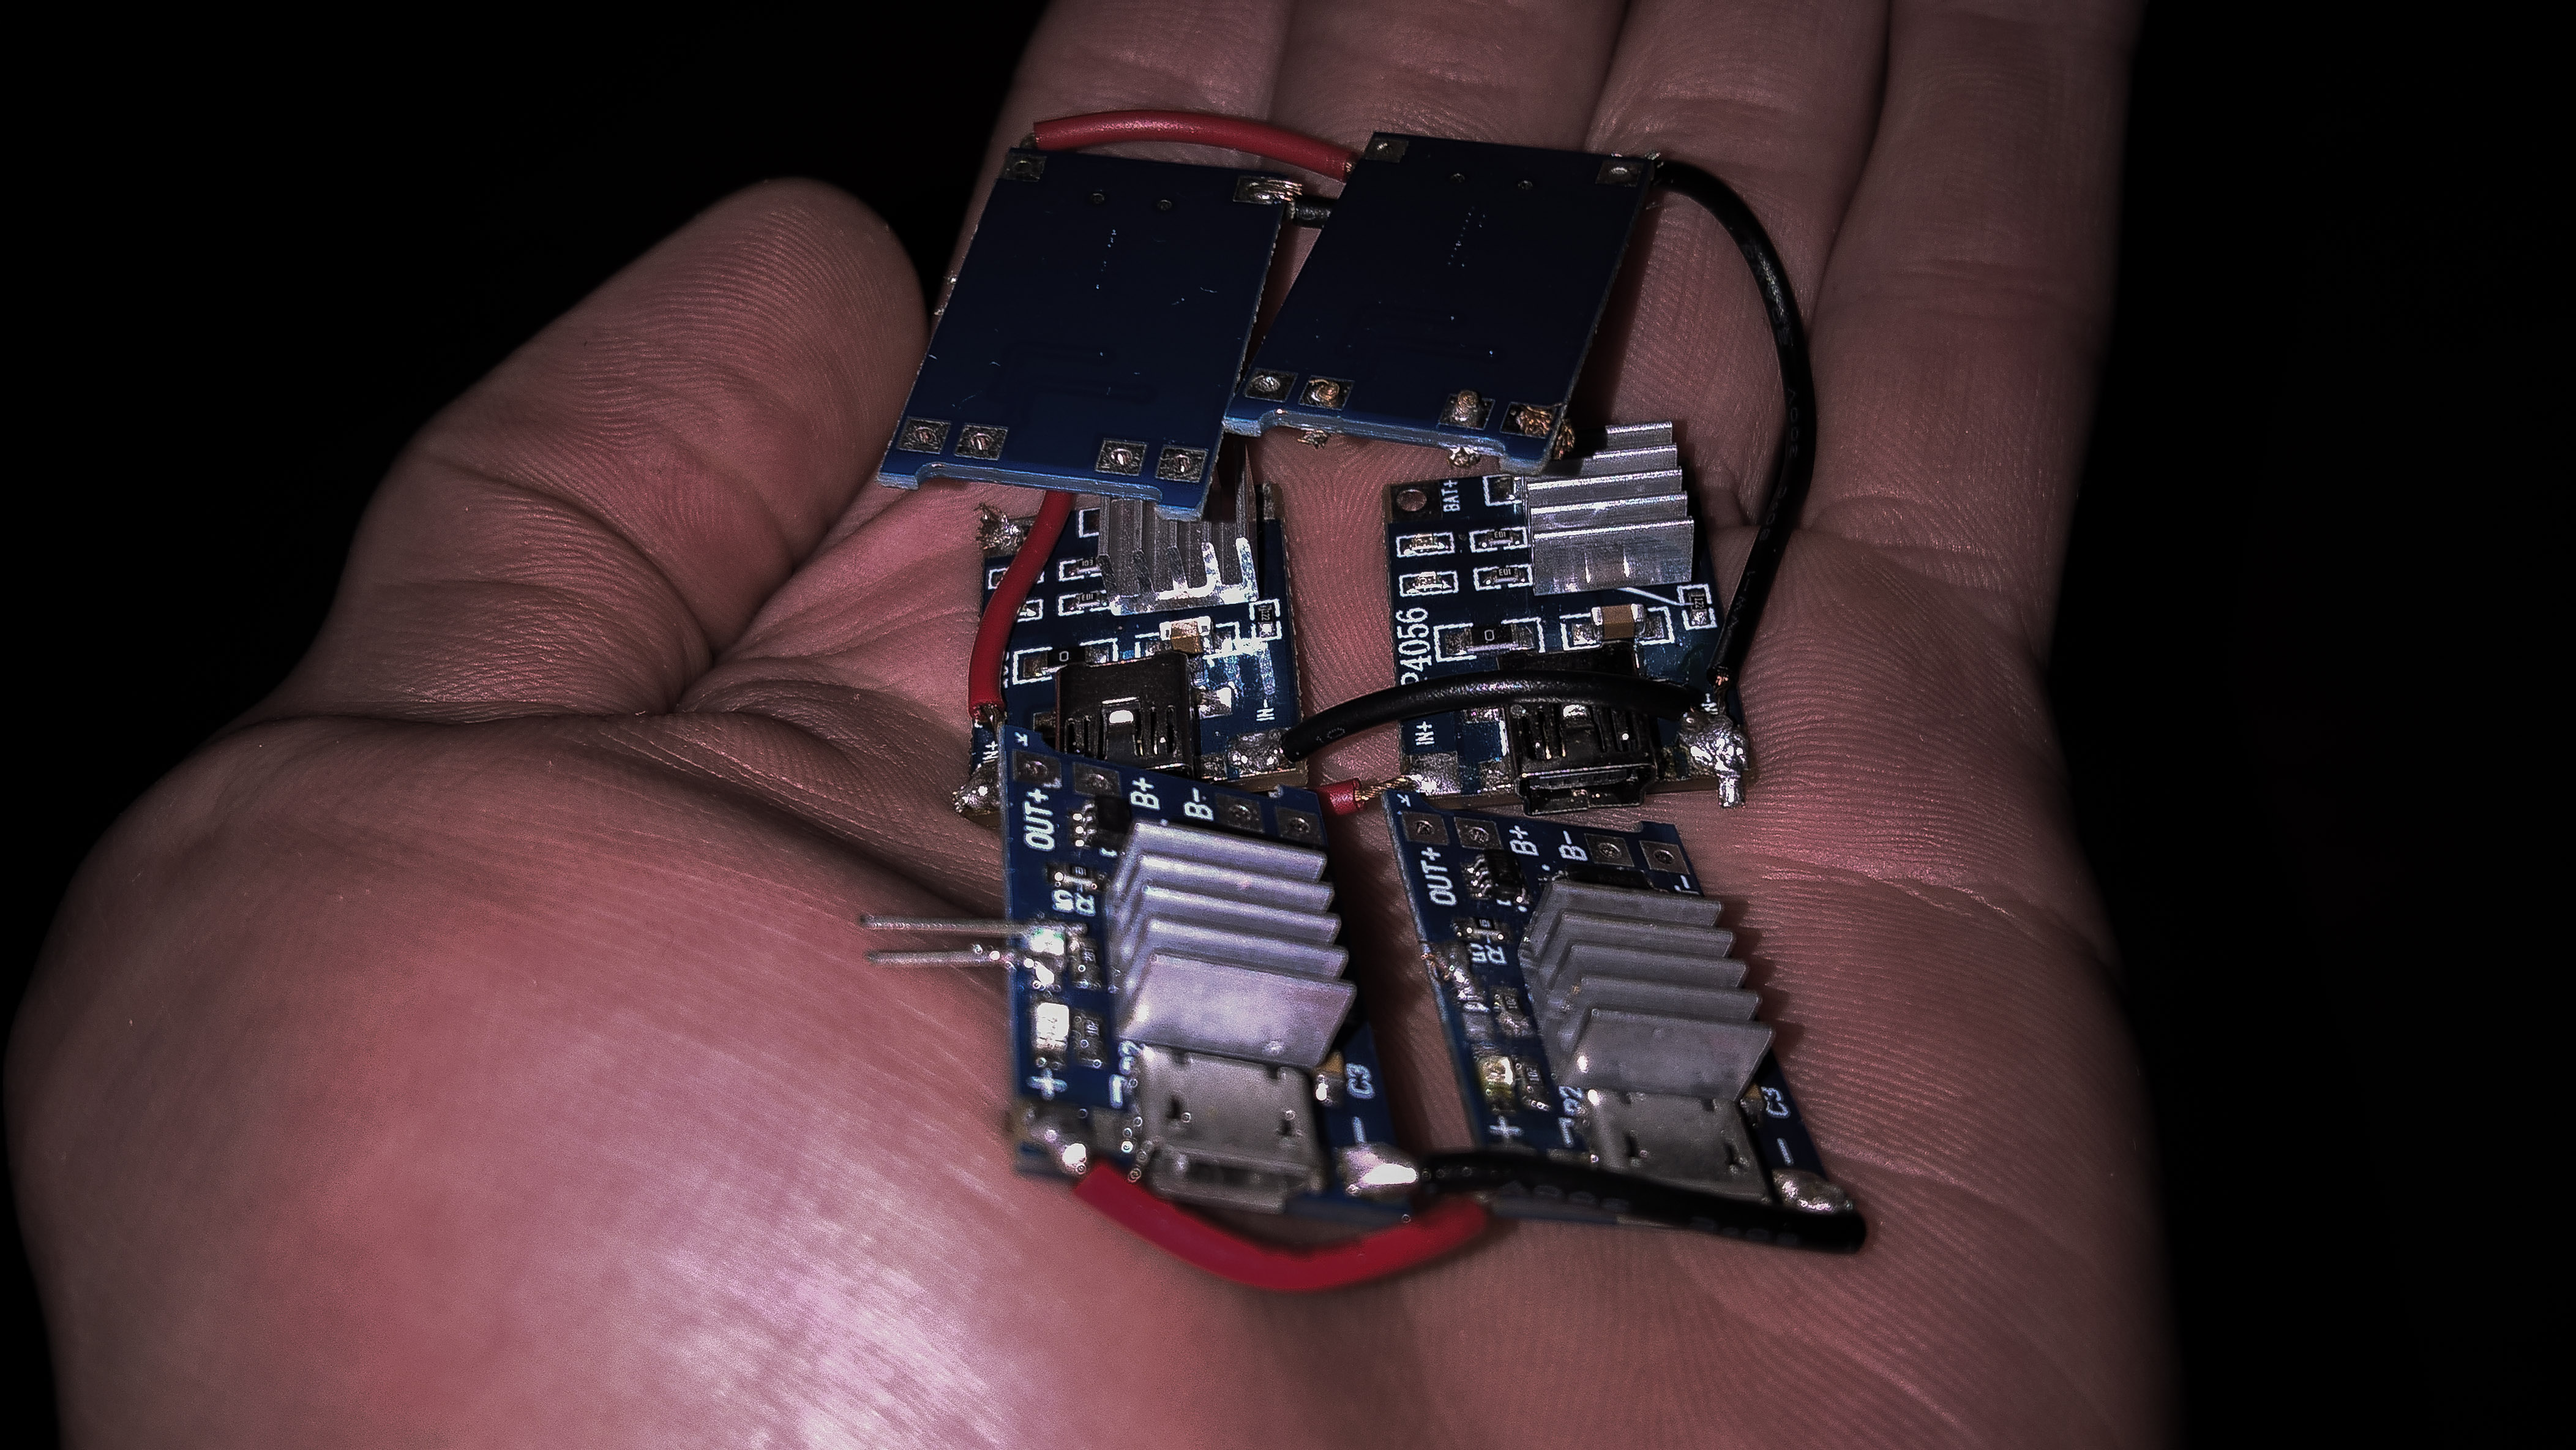
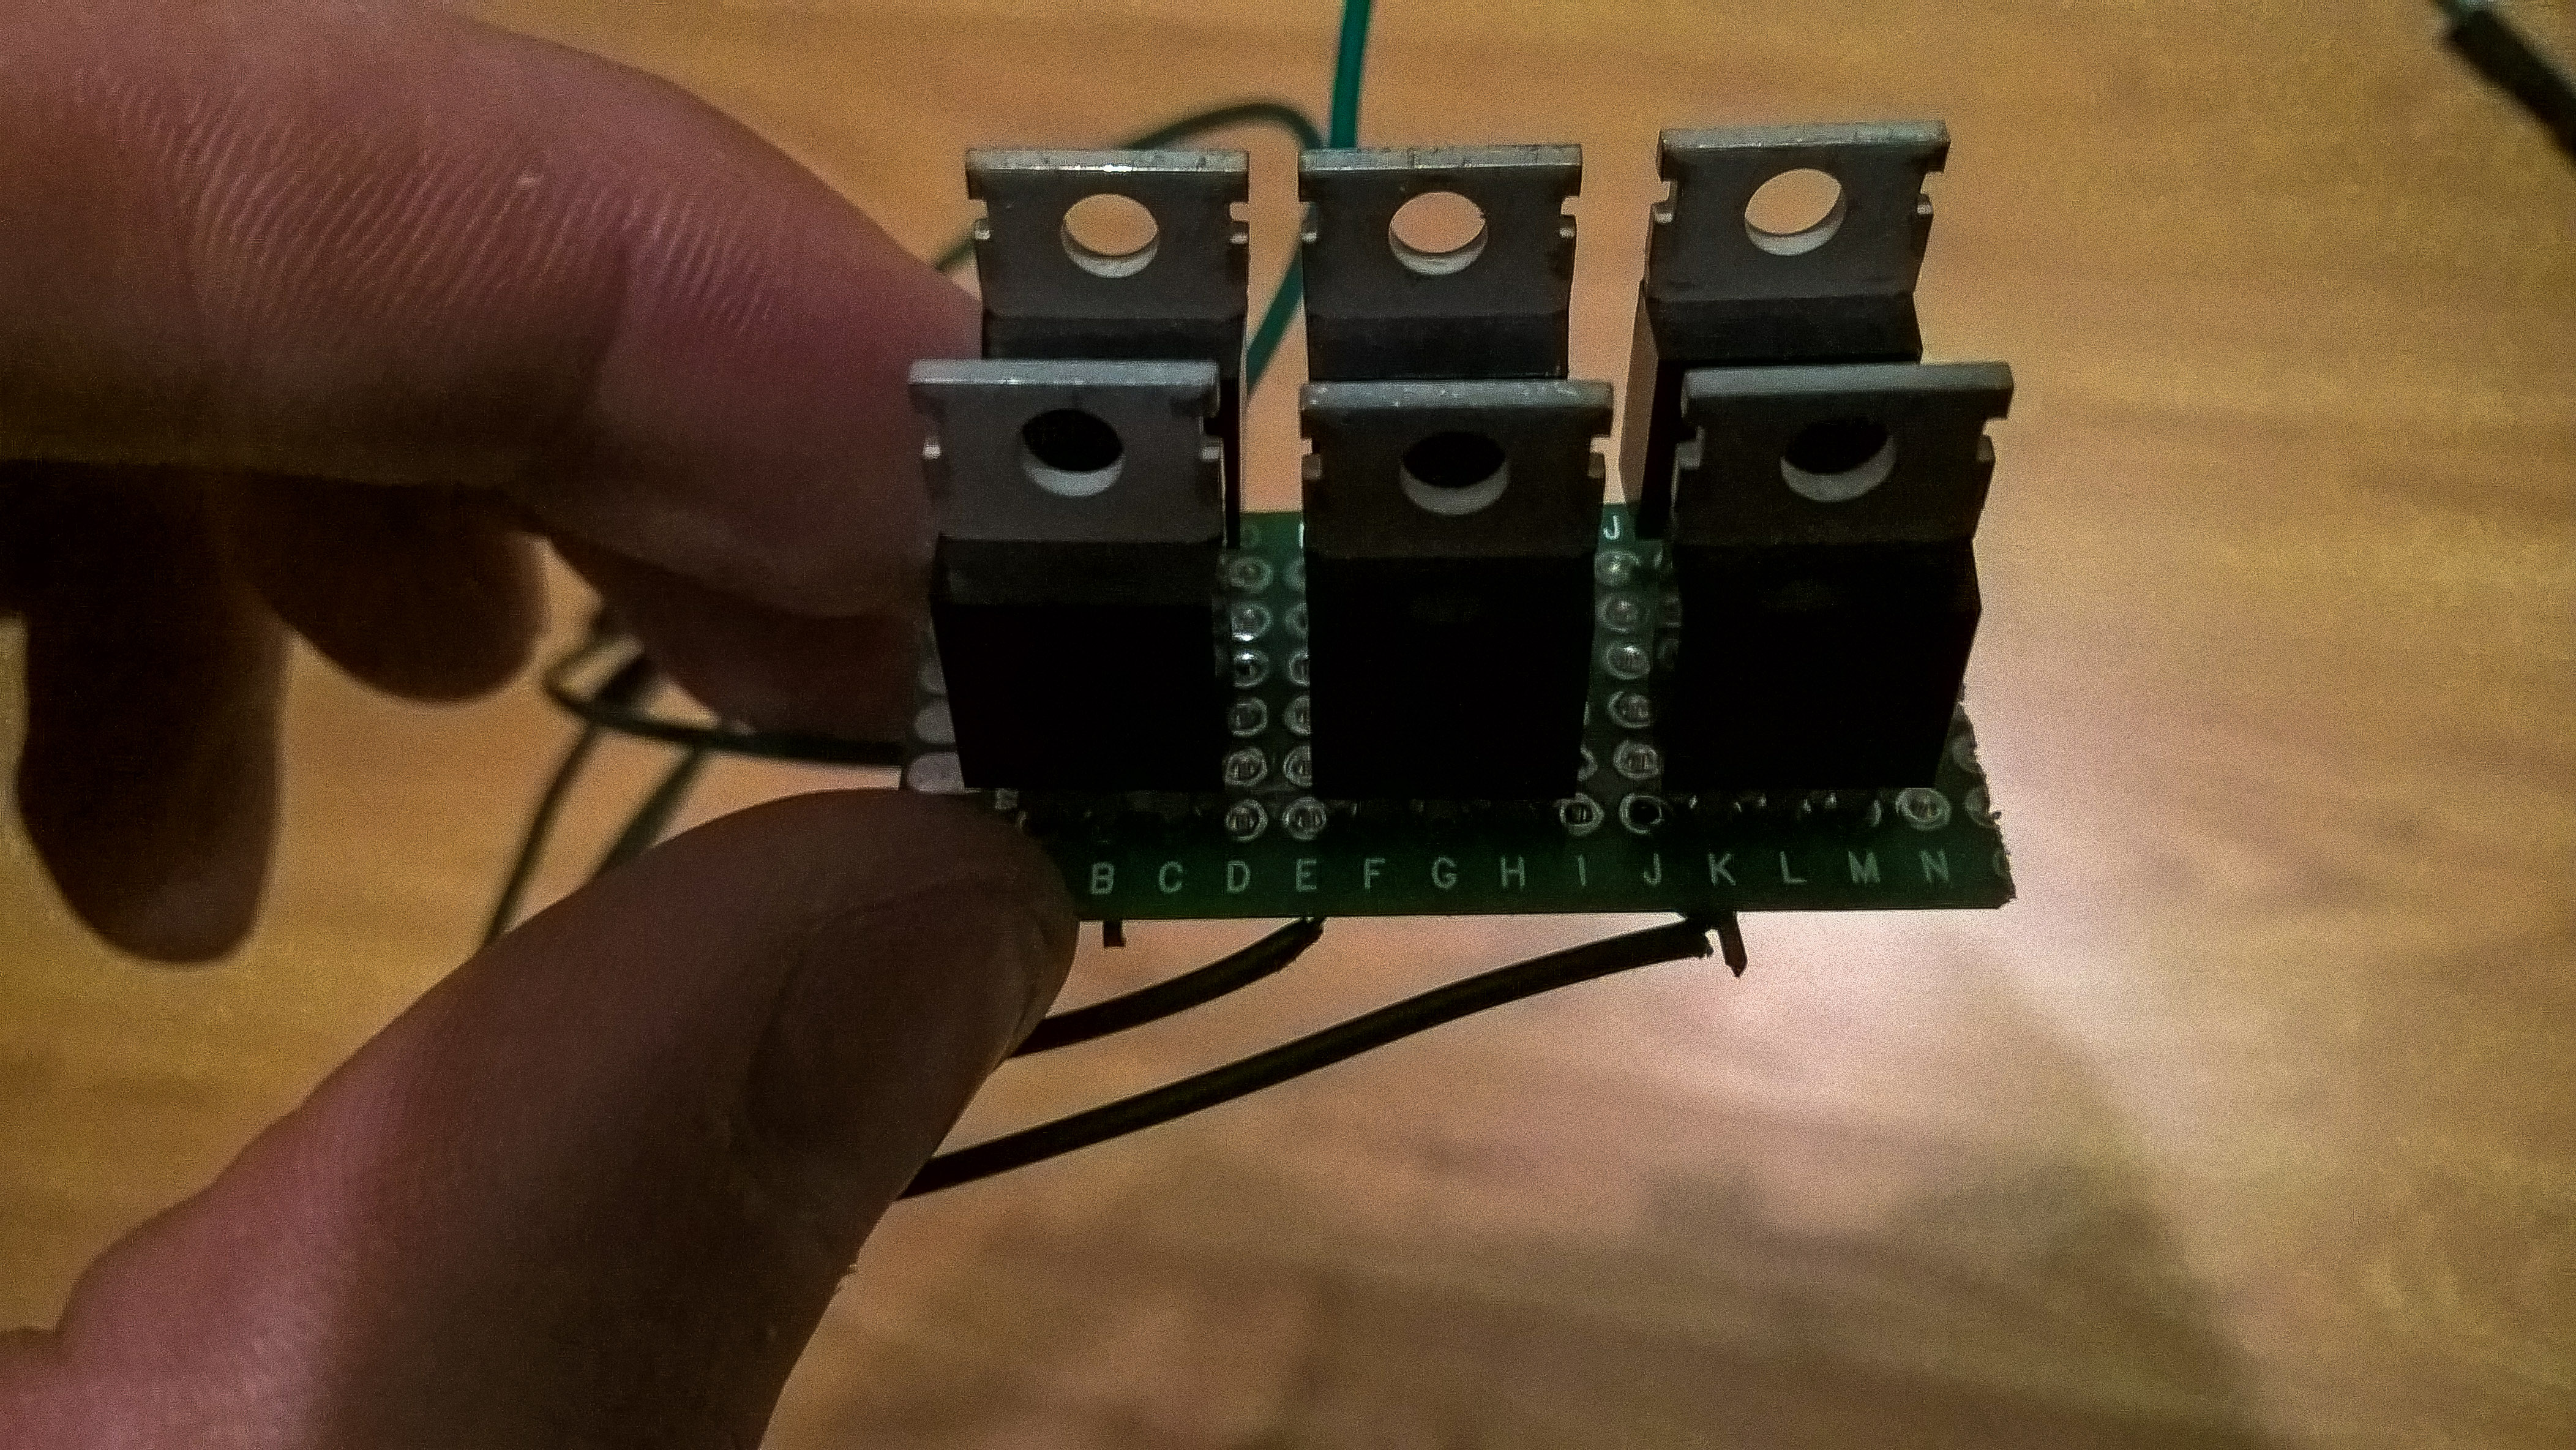
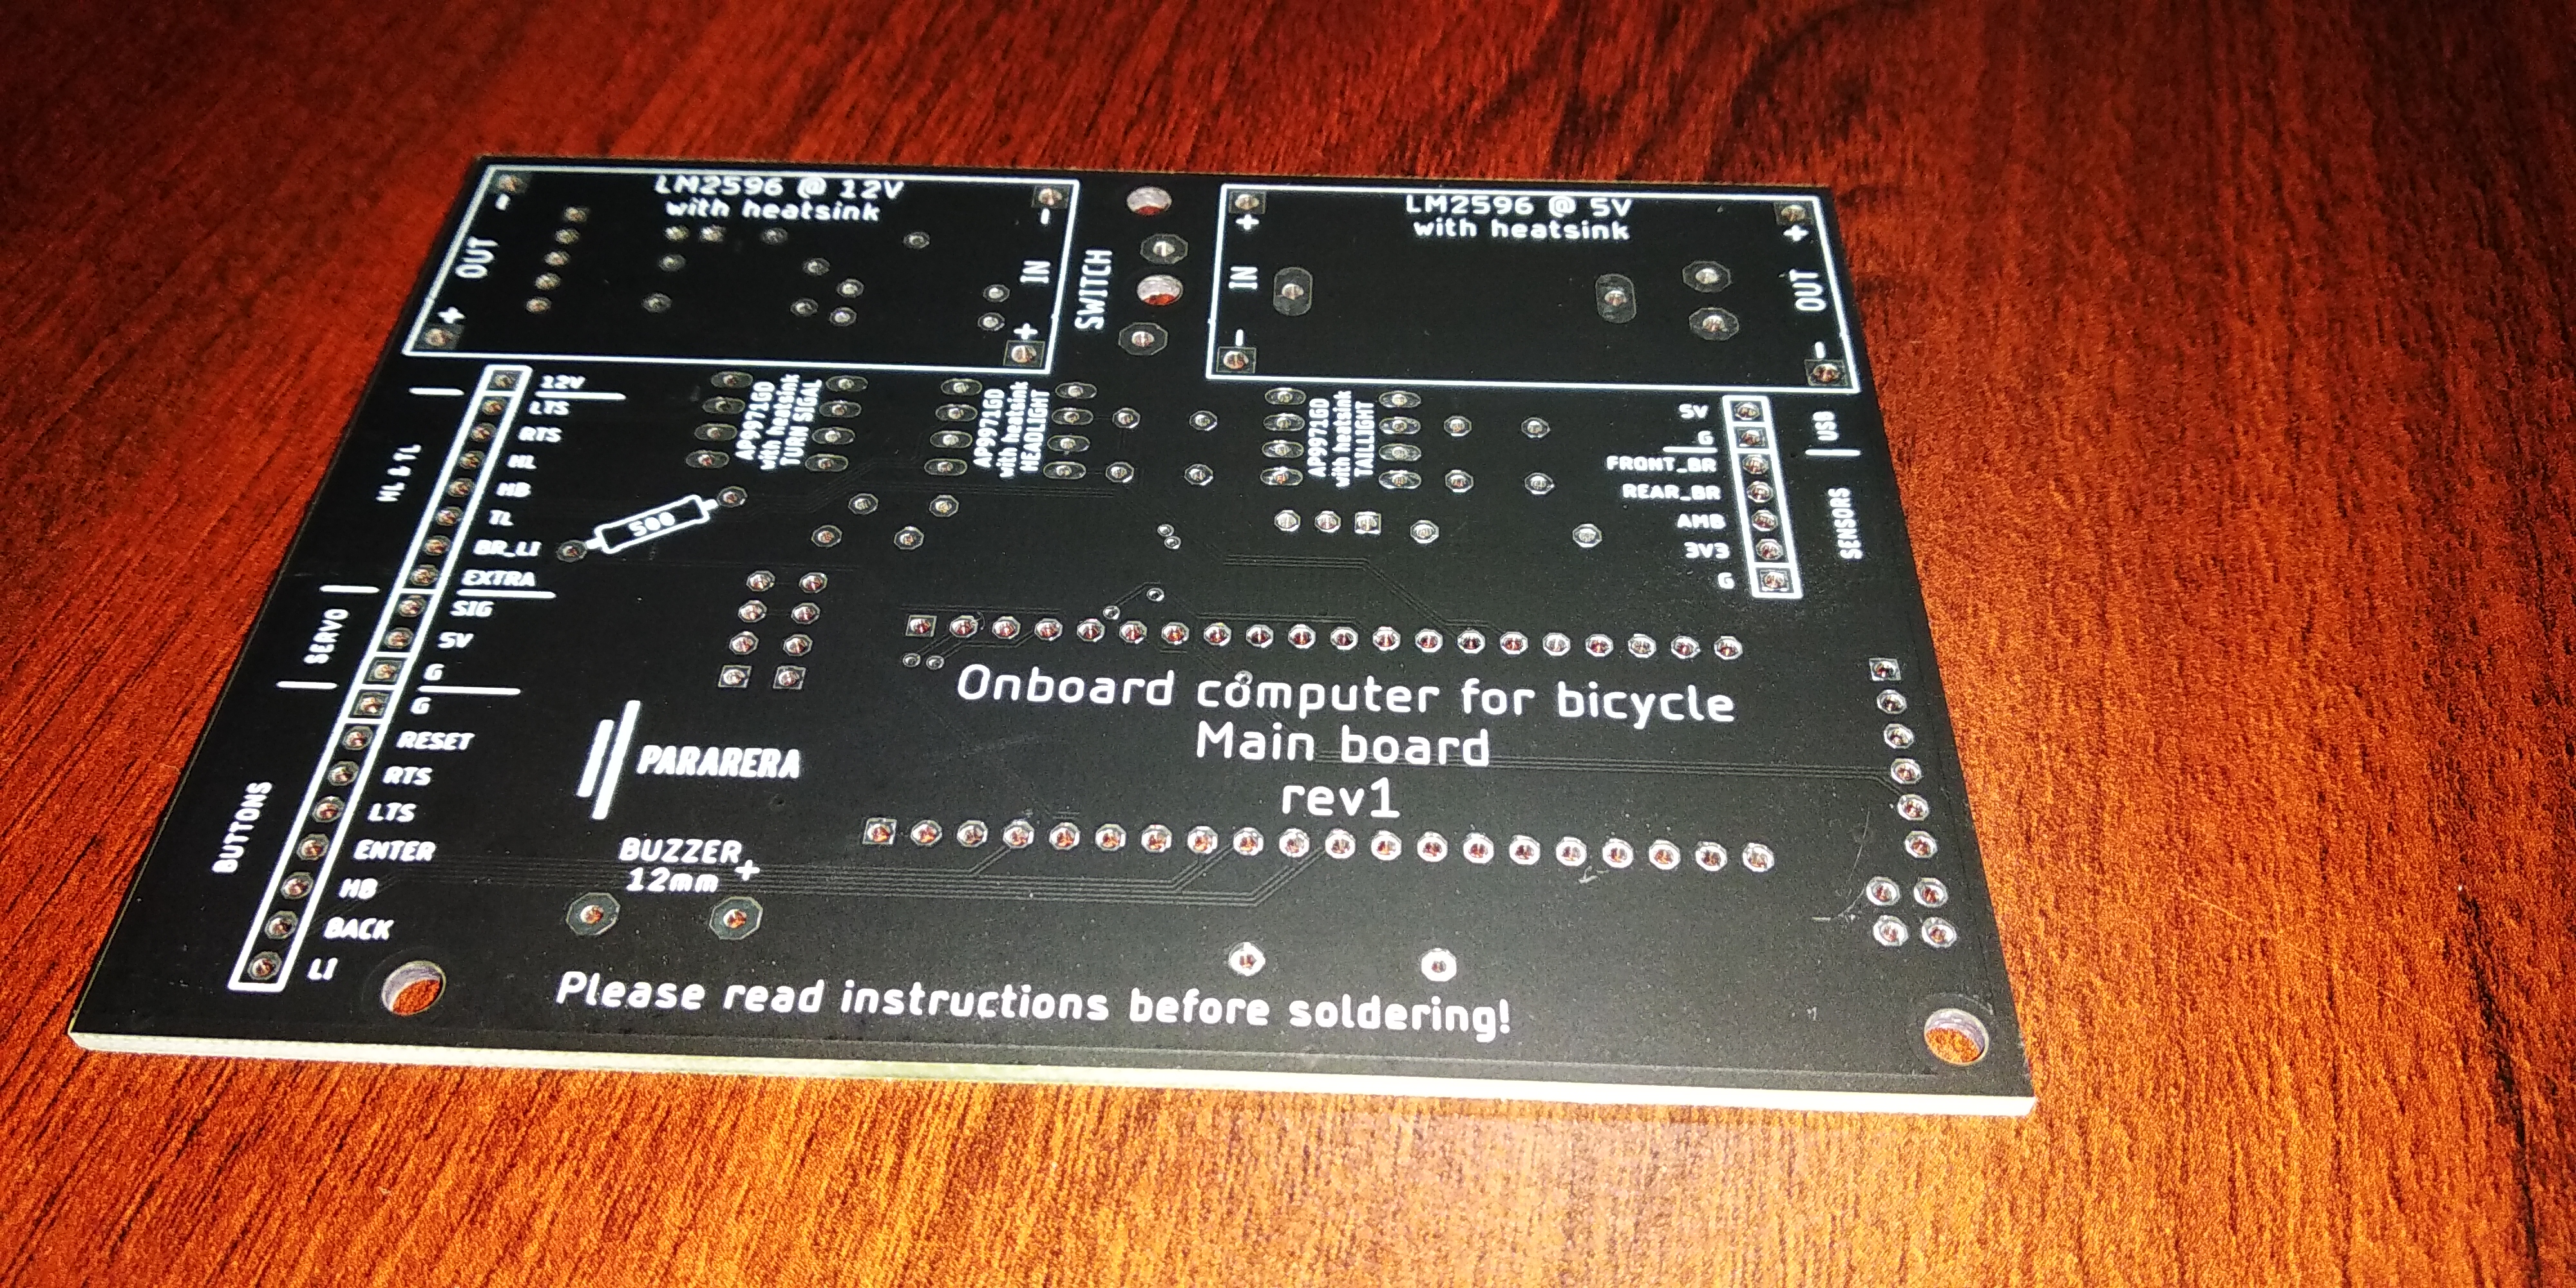
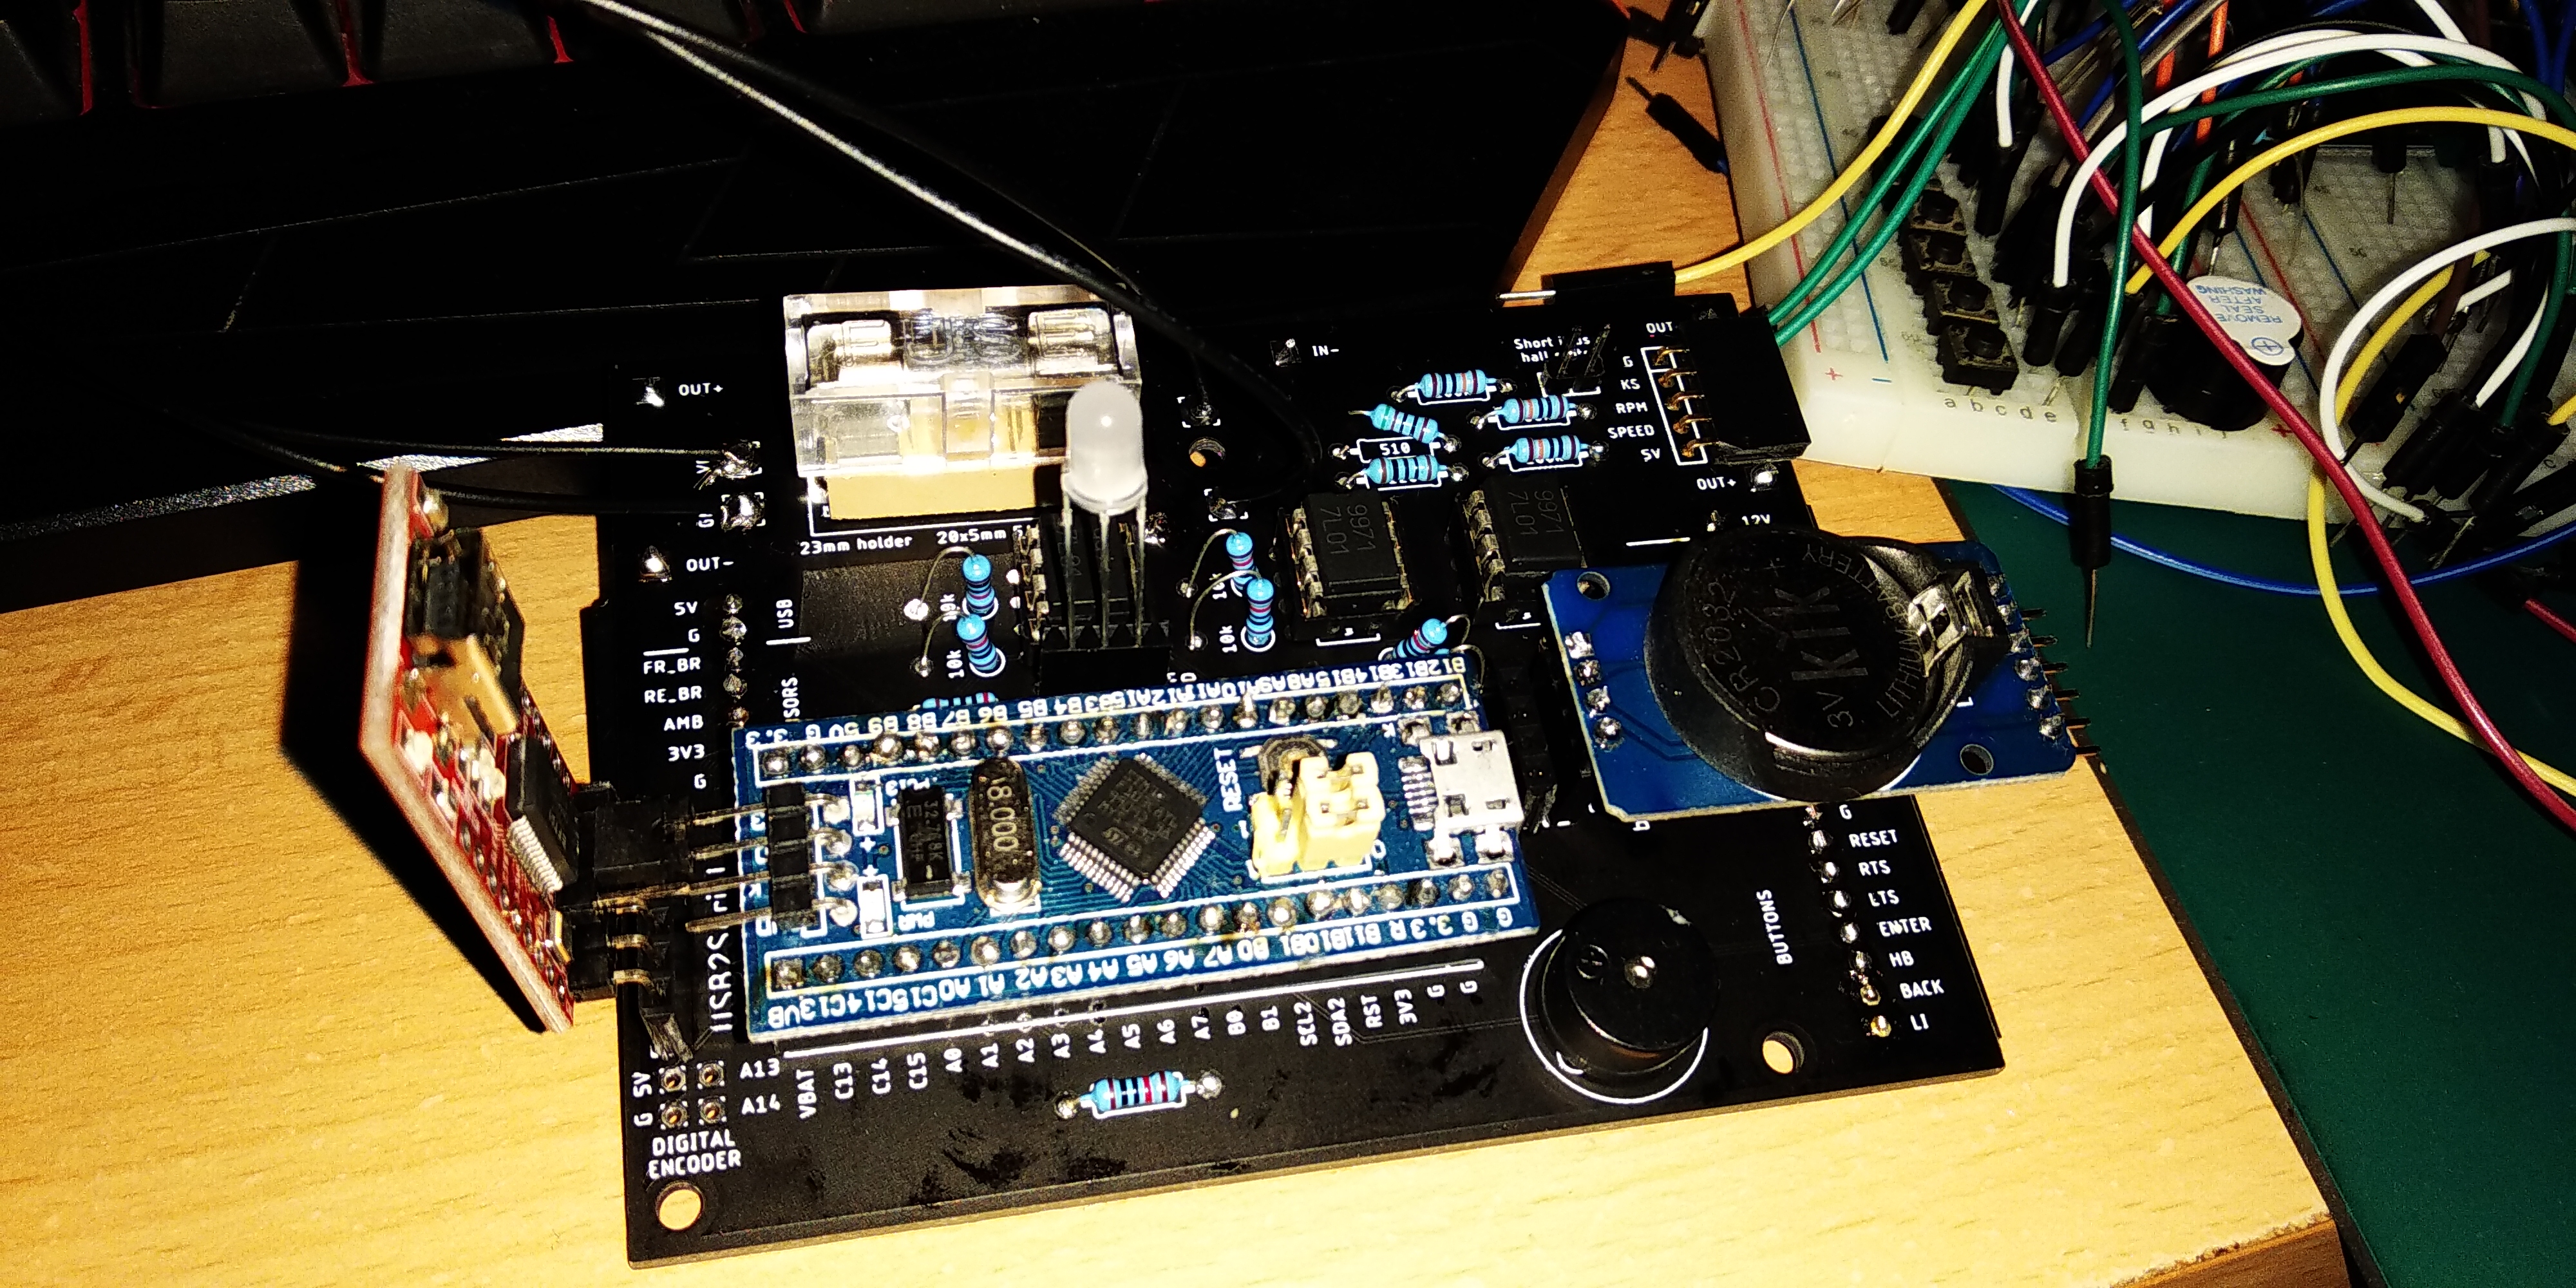
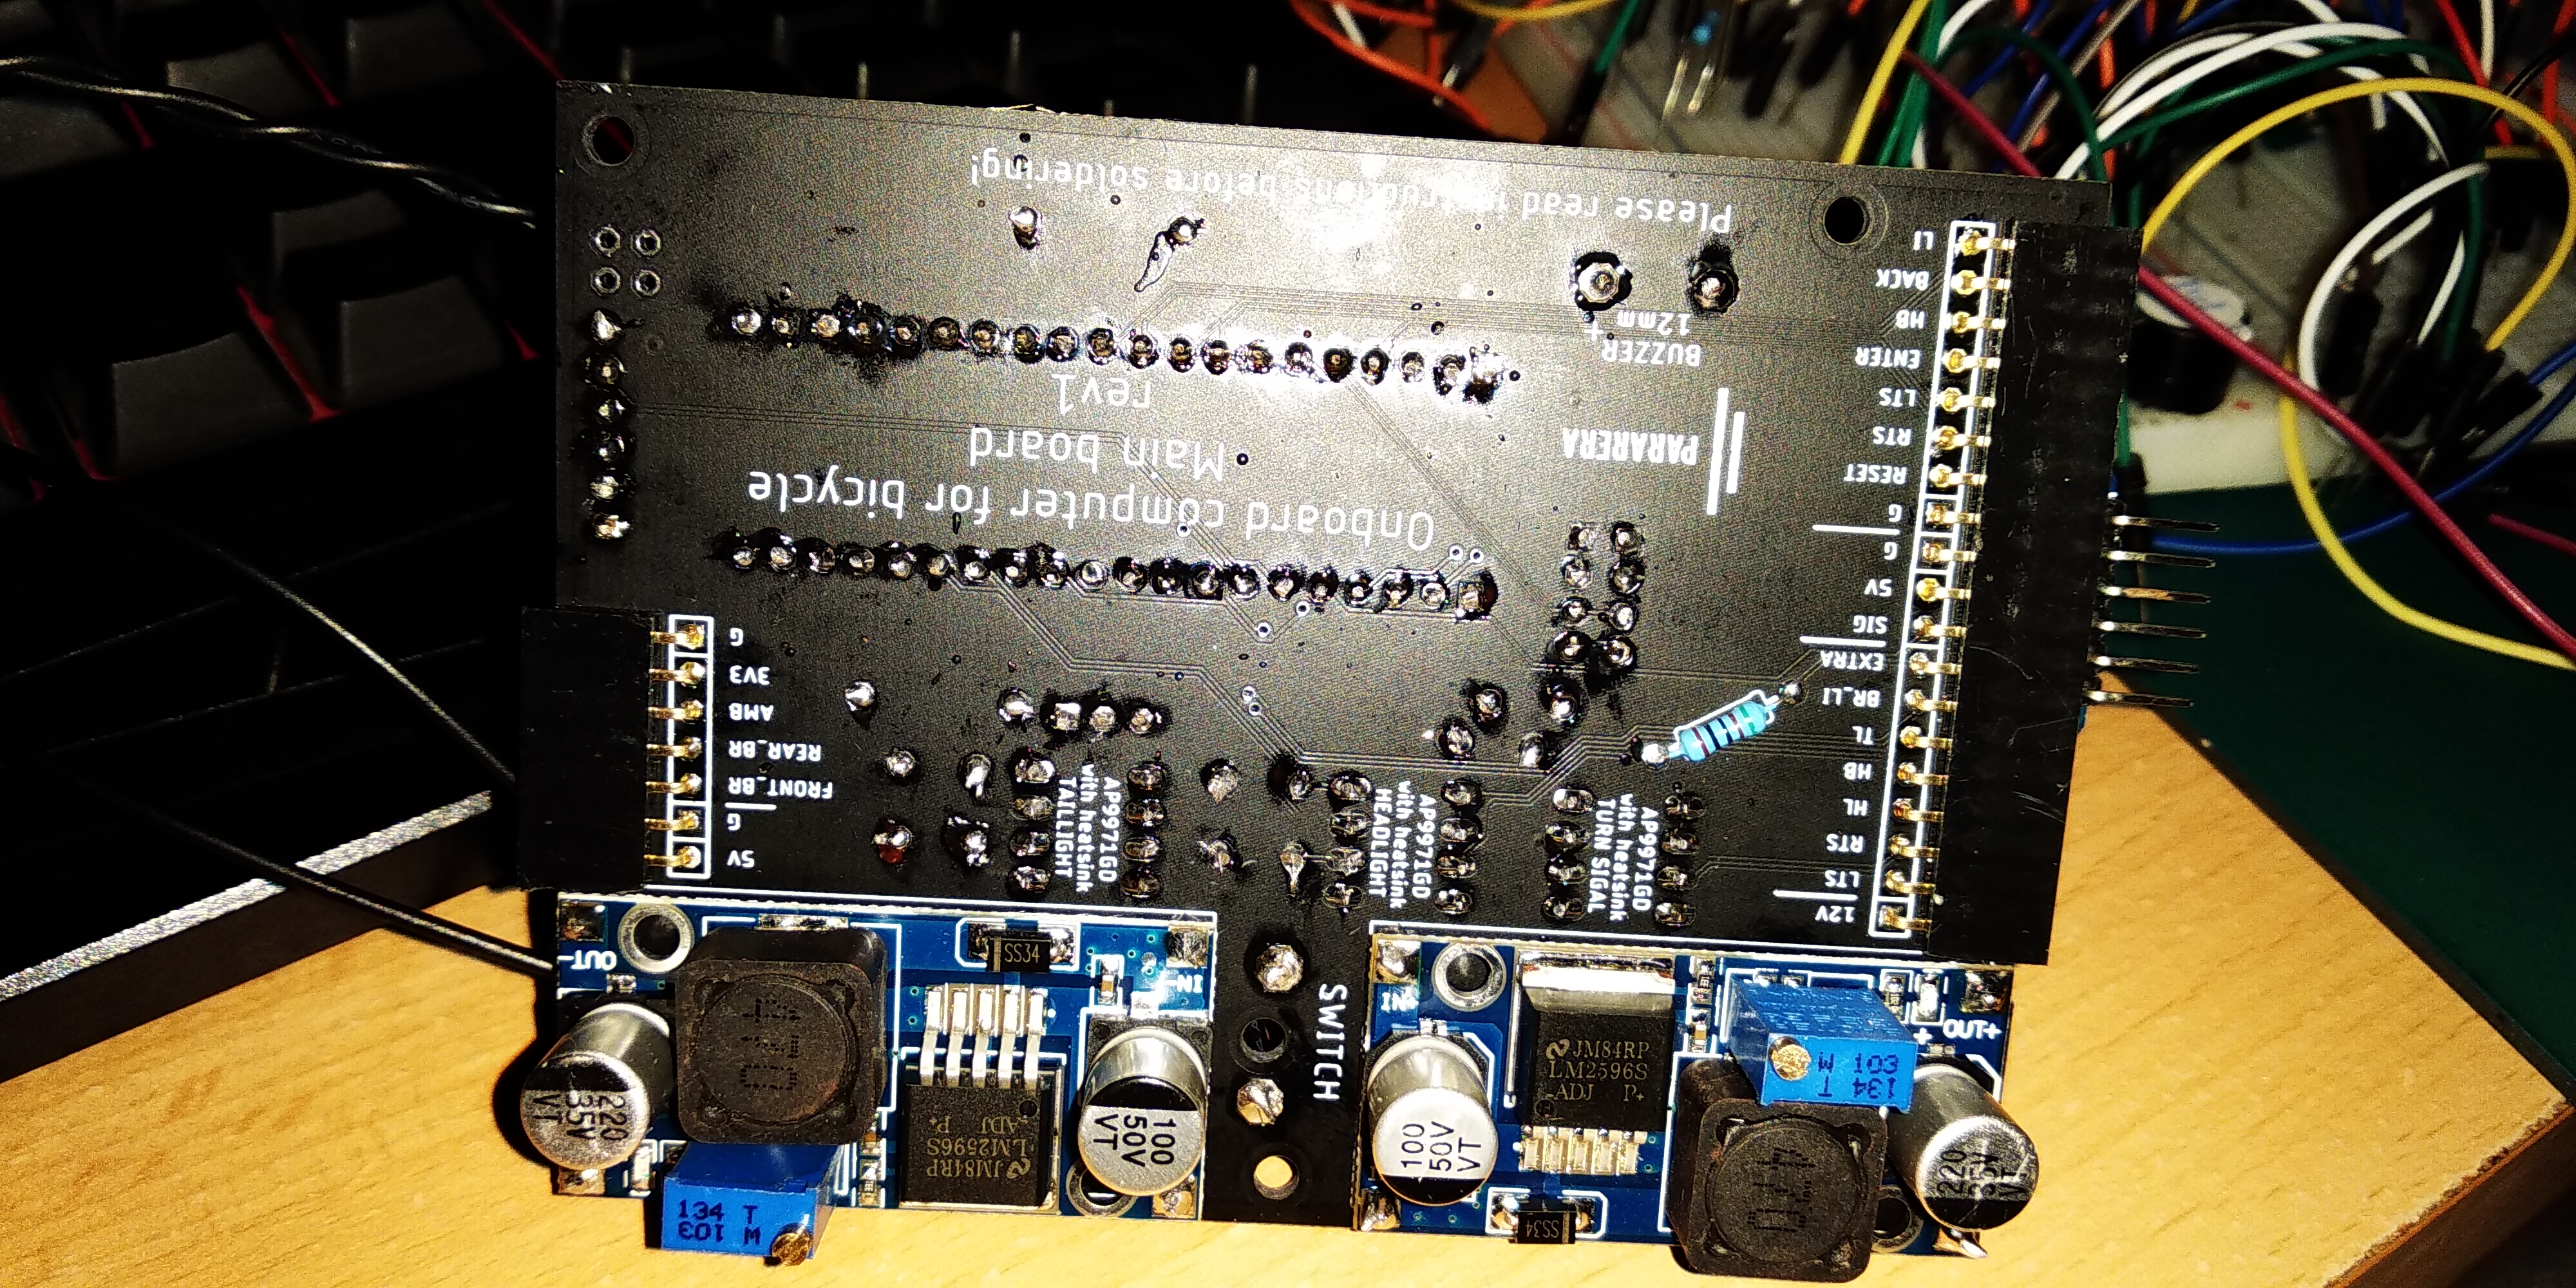
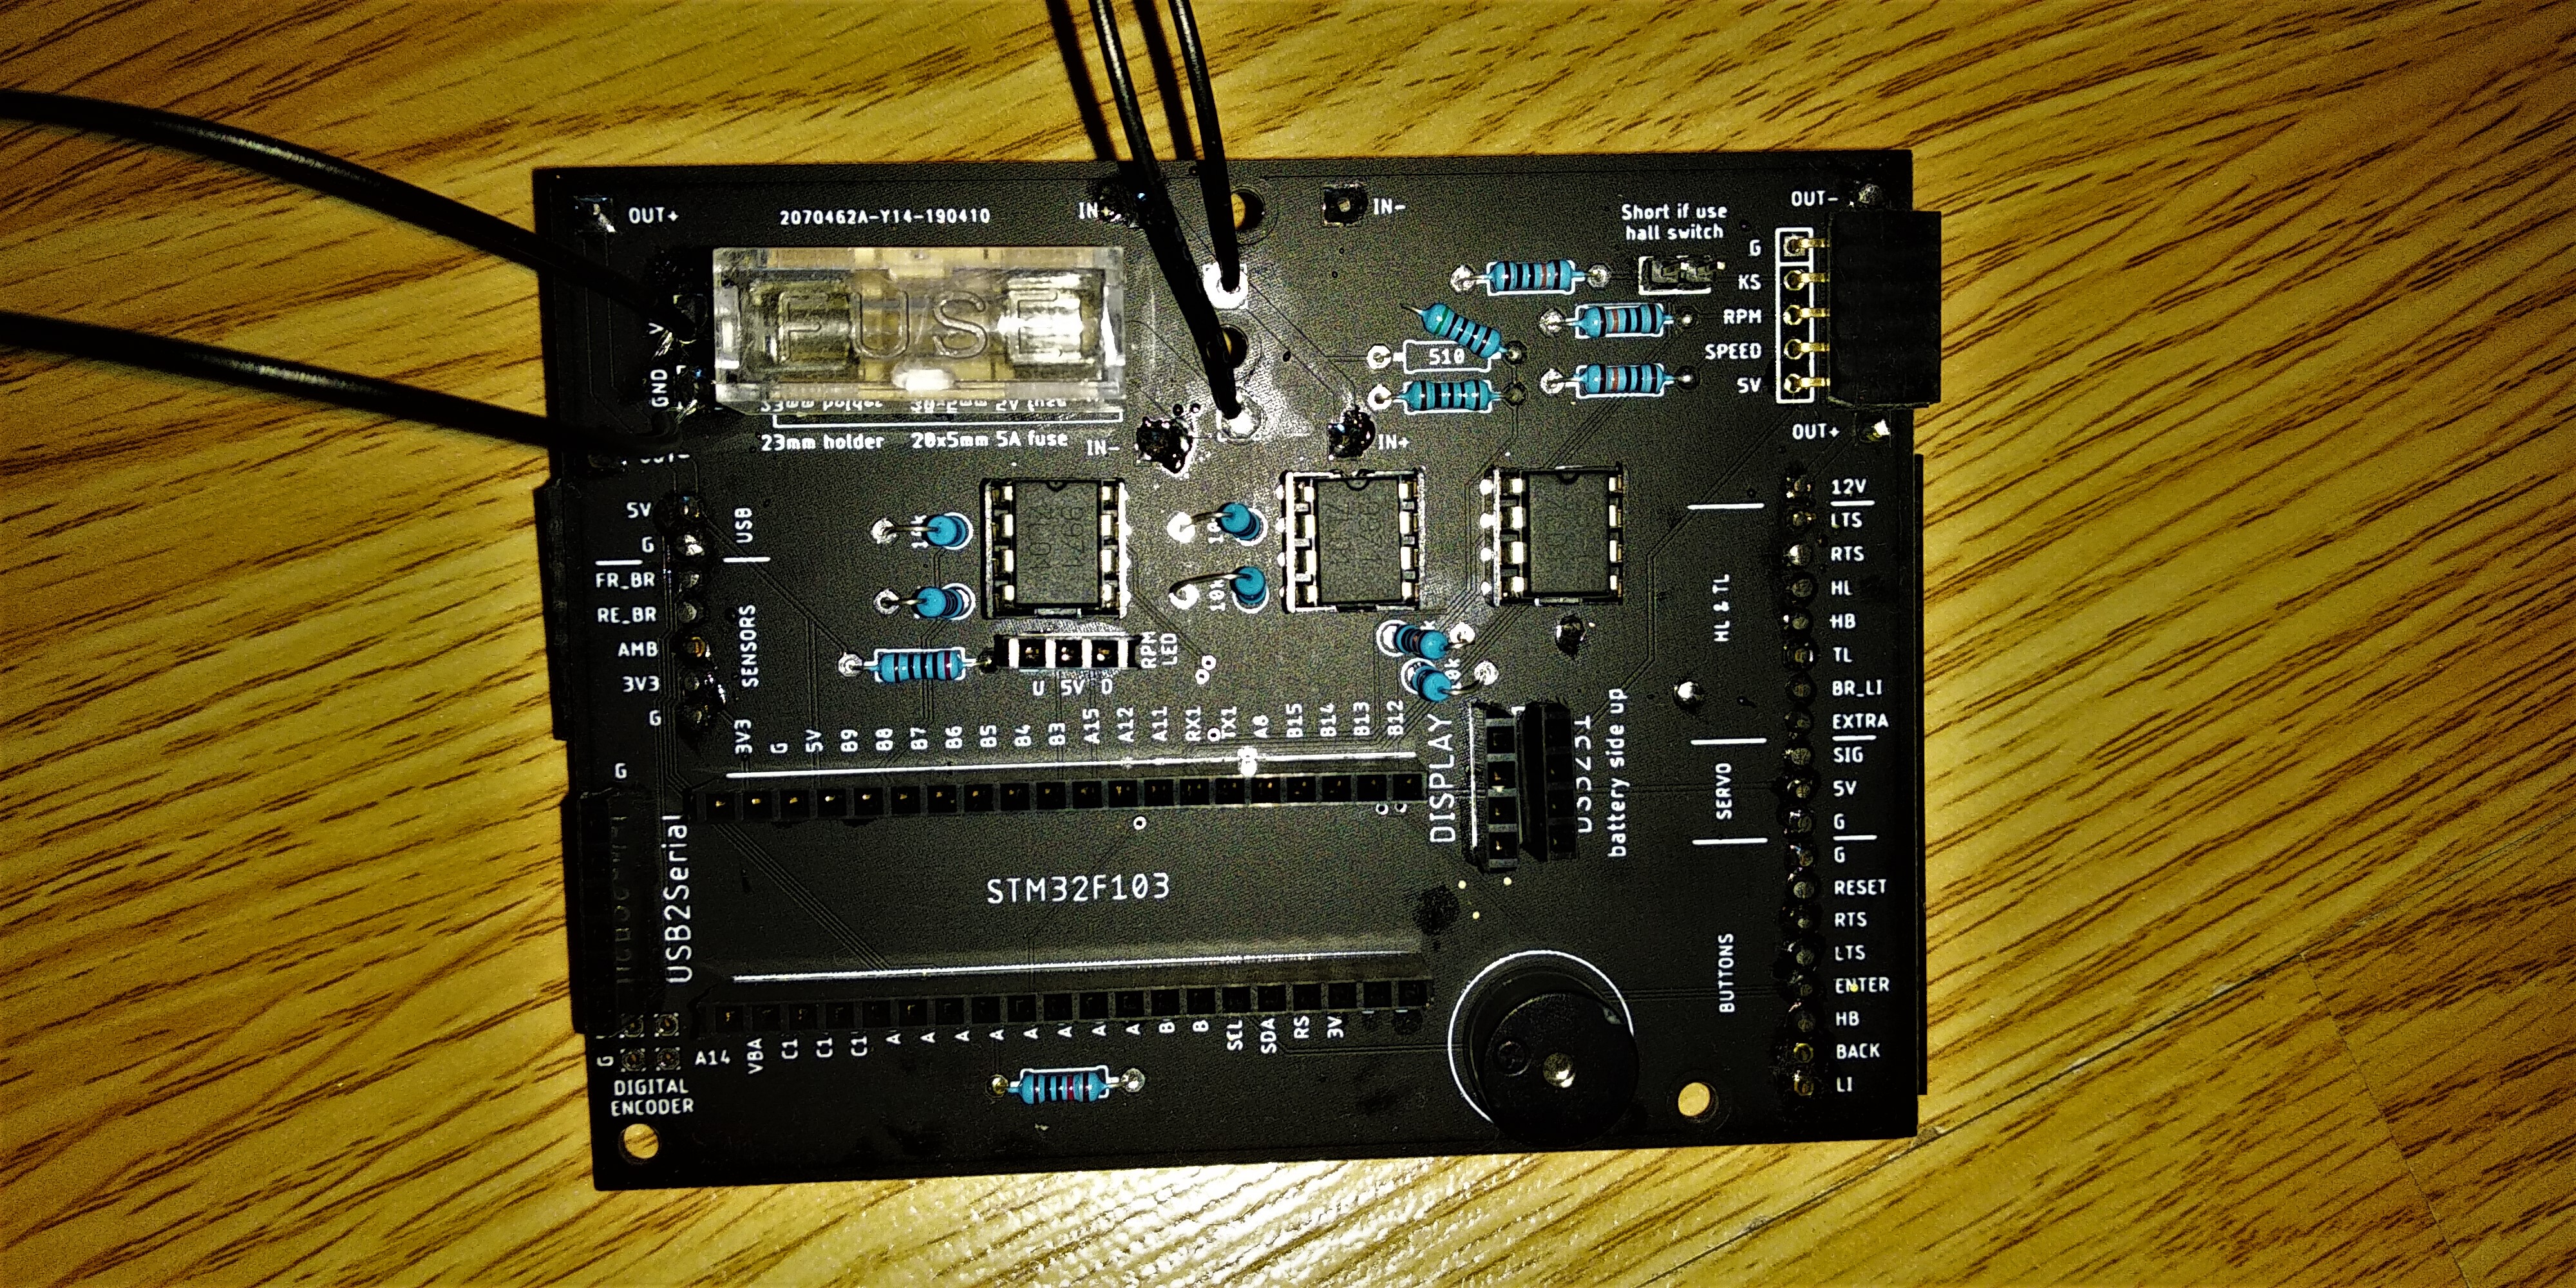
Second version
The second version is based on STM32F103C8 board. The reason why Arduino is not in use for the second version is lack of pins and memory. STM32 is a very good replacement for Arduino Nano. Also, the second version brings a completely new display design.
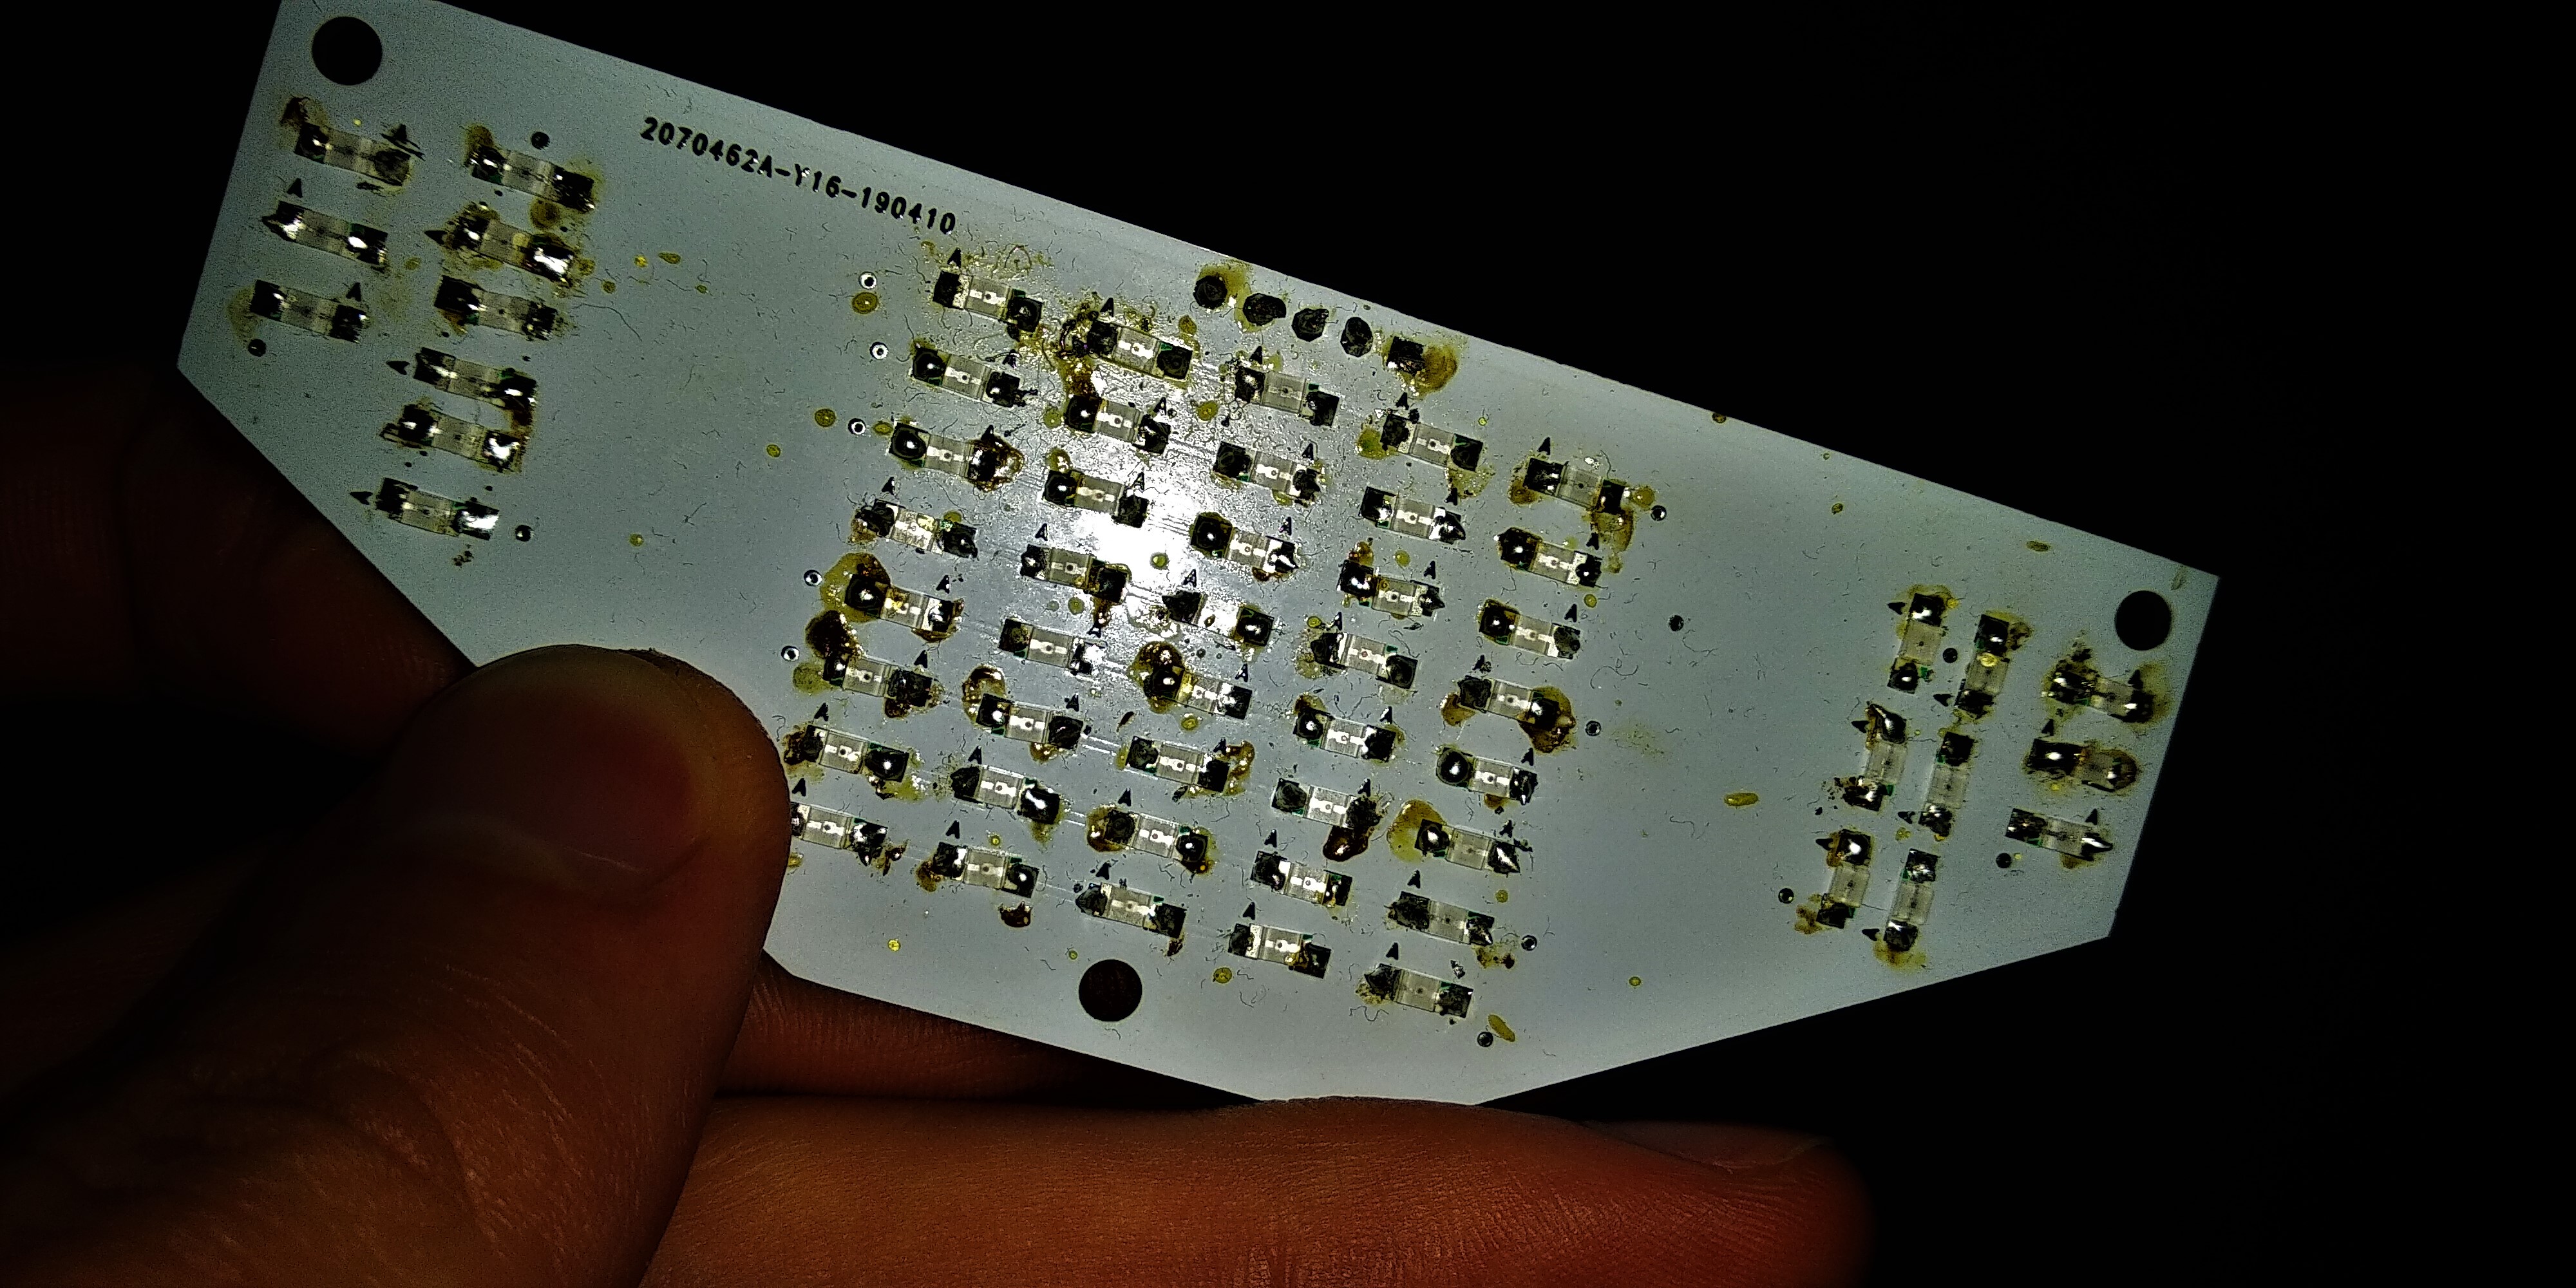
It is the first time for me to solder SMD components, it's not done well. It will be better for the next revision. Some pictures are not good quality and maybe a little bit out of focus. Below you can see how the project looks today.
NOTE
The only thing that holds this project is lack of money. I started with this project while I was going to high school, spending half allowance on components and tools. Only thing left to do is to make models and 3D print them. Also, that is the reason why code and CAD files for PCBs don't match up. In the next month or two I'll match code with PCBs.
EXPANDED TECHNICAL DETAILS
Mobile Performance Telemetry
This project transforms a standard bicycle into a "Smart Bike" with real-time speed, distance, and environmental tracking.
- Hall-Effect Speed Sensing: Uses a reed switch or Hall-effect sensor and a magnet on the wheel spoke. The Arduino calculates the "Time between pulses" and multiplies it by the wheel circumference to determine instantaneous speed (km/h) and RPM.
- OLED Speedometer GUI: Renders a high-resolution dashboard on a 0.96" I2C OLED. The firmware includes an "Odometer" feature that saves the total distance traveled to the Arduino's internal EEPROM every 5 minutes.
Efficiency
- Motion-Triggered Wakeup: Includes an accelerometer or tilt-switch; the Arduino enters "Deep Sleep" to save battery when the bike is stationary and wakes up instantly when movement is detected.