I love pixel art and OLED display makes it even cooler!
It may seem really hard to draw on this type of display, but with some practice you can make your own logo, even animation!
Choose your image
We will use a 128x32 display (128x64 are also really common if you want more space) so it's best to choose a small image.
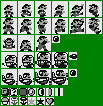
GameBoy sprites are the easiest to work with but keep in mind we are limited to black/white while the GameBoy can display 4 shades of gray.
You can download sprites from https://www.spriters-resource.com/ to get you started.
Convert images to pixel art
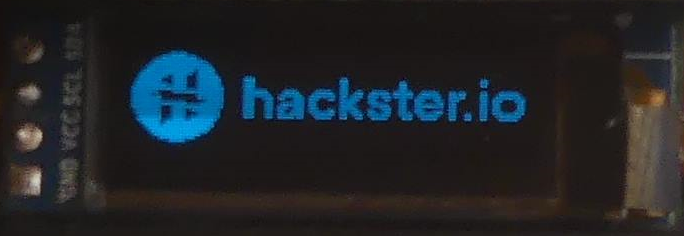
In our first example we will use the hackster.io logo.

We need to :
- resize our image to 128x32
- redraw the image to use two colors
- converts it to XBM (Arduino code)
You can use any software to make your images, but I recommend Krita. https://krita.org/en/
- Resize the image to the nearest size of your screen (128x32) : Image -->Scale to New Size
- Increase the canvas size : Image --> Resize Canvas
In brush presets, choose Pixel Art
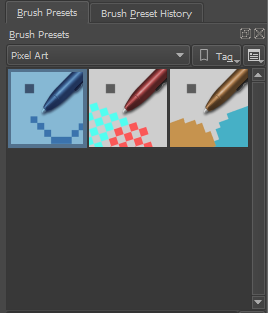
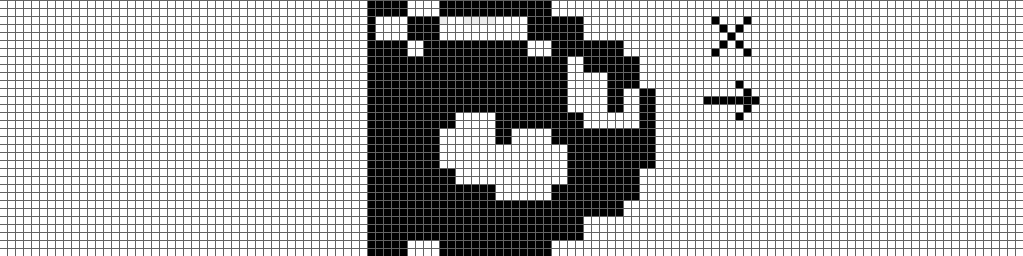
Then redraw your image:
White will be no color (black) and black will be color (Blue / White depending on your screen).
Press X to switch between color on Krita
 It's called pixel art for a reason, it will probably take you some trial and errors before you get a good result!
Convert your pixel art to Arduino code
- Save your image as XBM
- Also save it as PNG, you won't be able to edit the XBM file!
Open the xbm file with a text editor and change the variable name
Original file
#define _width 128
#define _height 32
static char _bits[] = {
0x00,0x00,0x00,0x00,0x00,0x00,0x00,0x00,0x00,0x00,0x00,0x00,0x00,0x00,0x00... };
Readytousefile
#define logo_width 128
#define logo_height 32
static const unsigned char logo[] U8X8_PROGMEM = {
0x00,0x00,0x00,0x00,0x00,0x00,0x00,0x00,0x00,0x00,0x00,0x00,0x00,0x00,0x00... };
Display your logo
It's best to keep the logo in another.hfile, so it will be easier to read your code.
We will use U8g2 library (which supports a LOT of screens)
#include <Wire.h> //I2C
#include <U8g2lib.h>
#include "logo.h"
//I2C SSD1306 128x32 (search U8g2 examples for other display)
U8G2_SSD1306_128X32_UNIVISION_F_HW_I2C u8g2(U8G2_R0, U8X8_PIN_NONE);
void setup() {
 u8g2.begin(); //Start Screen
 drawLogo();
}
void loop() {
}
void drawLogo() {
 u8g2.firstPage();
 do {
   u8g2.drawXBMP(0, 0, logo_width, logo_height, logo);
 } while ( u8g2.nextPage() );
}
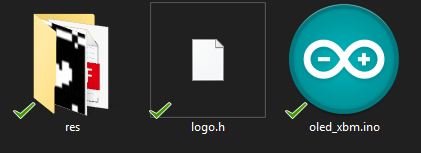
I also put the png and xbm files inside a res/ folder in my code, so I can remember what was my logo.h file.
Upload your code, and voilà!
EXPANDED TECHNICAL DETAILS: Converting Standard Images for Arduino
An I2C OLED (like the SSD1306) has a resolution of 128x64 pixels. That is 8,192 individual LEDs that must be told exactly what to do. The Arduino mathematically cannot send an image file. It can only send hex arrays.
The process involves converting your graphical art into a format the microcontroller can understand:
- You draw a logo on a pure black-and-white canvas matching your screen's resolution (e.g., 128x32 or 128x64).
- You save the image in a format like
.BMPor.XBM. - You use a conversion tool (like LCD Assistant, an online Image2CPP tool, or the XBM export in Krita as shown above) to analyze your picture and generate a massive array of hexadecimal bytes.
- This array is stored in the Arduino's Flash memory using
PROGMEM(orU8X8_PROGMEMwith U8g2) to conserve precious RAM.
Pushing the Screen Buffer
You load this array into the Flash memory of the Arduino.
- The graphics library (like
<U8g2lib.h>or<Adafruit_SSD1306.h>) initializes the screen on theI2C (SDA/SCL)pins. - A function like
u8g2.firstPage()begins a drawing loop, ordisplay.clearDisplay();deletes the old graphics. - A command like
u8g2.drawXBMP(x, y, width, height, bitmap);instructs the library where to draw the stored image data. - The Arduino retrieves the array from its flash memory, sends it via the I2C wires, and the screen renders a perfectly crisp, mathematically exact representation of your art!
u8g2.nextPage()ordisplay.display();finalizes the process, forcing the screen to update its internal memory buffer and display the new image.
Animation - position
You can animate your pixel art in two ways:
- Change his position
- Use multiple images
So if we want to move your sprite from left to right, we just have to change his x position right?
If you use an Arduino Uno, this will work but with more powerful boards (like the Arduino MKR1010) your animation will go too fast!
We need to limit the refresh rate of our animation, of course, we could simply use a delay but it will not allow us to do other things at the same time.
So we will use AsyncDelay library to manage this efficiently
#include <AsyncDelay.h>
const int FPS = 1000 / 30; //30 FPS
AsyncDelay tick;
void setup(){
  tick.start(FPS, AsyncDelay::MILLIS);
}
void loop(){
  if(tick.isExpired()){
    //ANIMATION HERE
    tick.repeat();
  }
}
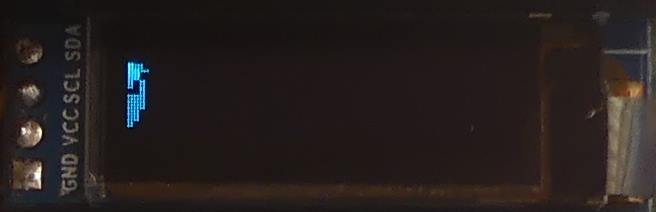
Last thing, we want our image to go outside the screen at the right and slowly appears on the left.
So we reset the position at the size of the OLED Width (128) with the width of the image (128+36).
And set the position to -36 so the image appears to be coming from the left.
void loop() {
 if (tick.isExpired()) {
   drawAnimation();
   pos_x = pos_x + X;
   if (pos_x > OLED_WIDTH + cannon_width) {
     pos_x = -cannon_width;
   }
   tick.repeat();
 }
}
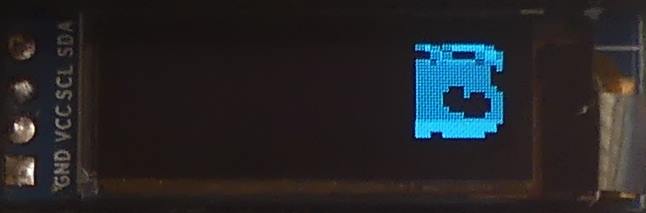
And here is the result !
Animation - multiples images
Another way to animate image is to use multiple images.
Instead of changing the X position, I make a switch conditionand increase the value animation_state.
void drawAnimation() {
 u8g2.firstPage();
 do {
   switch (animation_state) {
     case 0:
       u8g2.drawXBMP(0, 0, logo_width, logo_height, logo_1);
       break;
     case 1:
       u8g2.drawXBMP(0, 0, logo_width, logo_height, logo_2);
       break;
     case 2:
       u8g2.drawXBMP(0, 0, logo_width, logo_height, logo_3);
       break;
     case 3:
       u8g2.drawXBMP(0, 0, logo_width, logo_height, logo_4);
       break;
     case 4:
       u8g2.drawXBMP(0, 0, logo_width, logo_height, logo_5);
       break;
     case 5:
       u8g2.drawXBMP(0, 0, logo_width, logo_height, logo_6);
       break;
   }
 } while ( u8g2.nextPage() );
}
Since I want to reverse the animation I used a boolean (animation_direction) so the animation will go backward.
drawAnimation();
   if (animation_direction) {
     animation_state--;
   } else {
     animation_state++;
   }
   if (animation_state == 5) {
     animation_direction = true;
   }
   if (animation_state == 0) {
     animation_direction = false;
   }
Here is the result:
If you combine these two techniques, we can make complex animation:
Component Array
- Arduino Uno/Nano (I2C interface).
- 0.96” or 1.3” SSD1306 / SH1106 I2C OLED Display Module.
- A computer to run graphic-conversion programs (like Krita or LCD Assistant).
I hope this tutorial will be useful and you will have as much fun with your OLED screen as I have.
If you made some pixel art please share them in the comment or mention me on twitter @m4dnerd.