Portable-Digital Gauge is a fundamental and innovative distance measurement tool project. By focusing on the essential building blocks—the Arduino Nano and an ultrasonic sensor—you'll learn how to orient yourself and monitor distance using a specialized software logic and a robust hardware setup.
It is a very simple project. It works very simply: you just see your distance on the screen and if you double-click the button you can save up to four different distances.
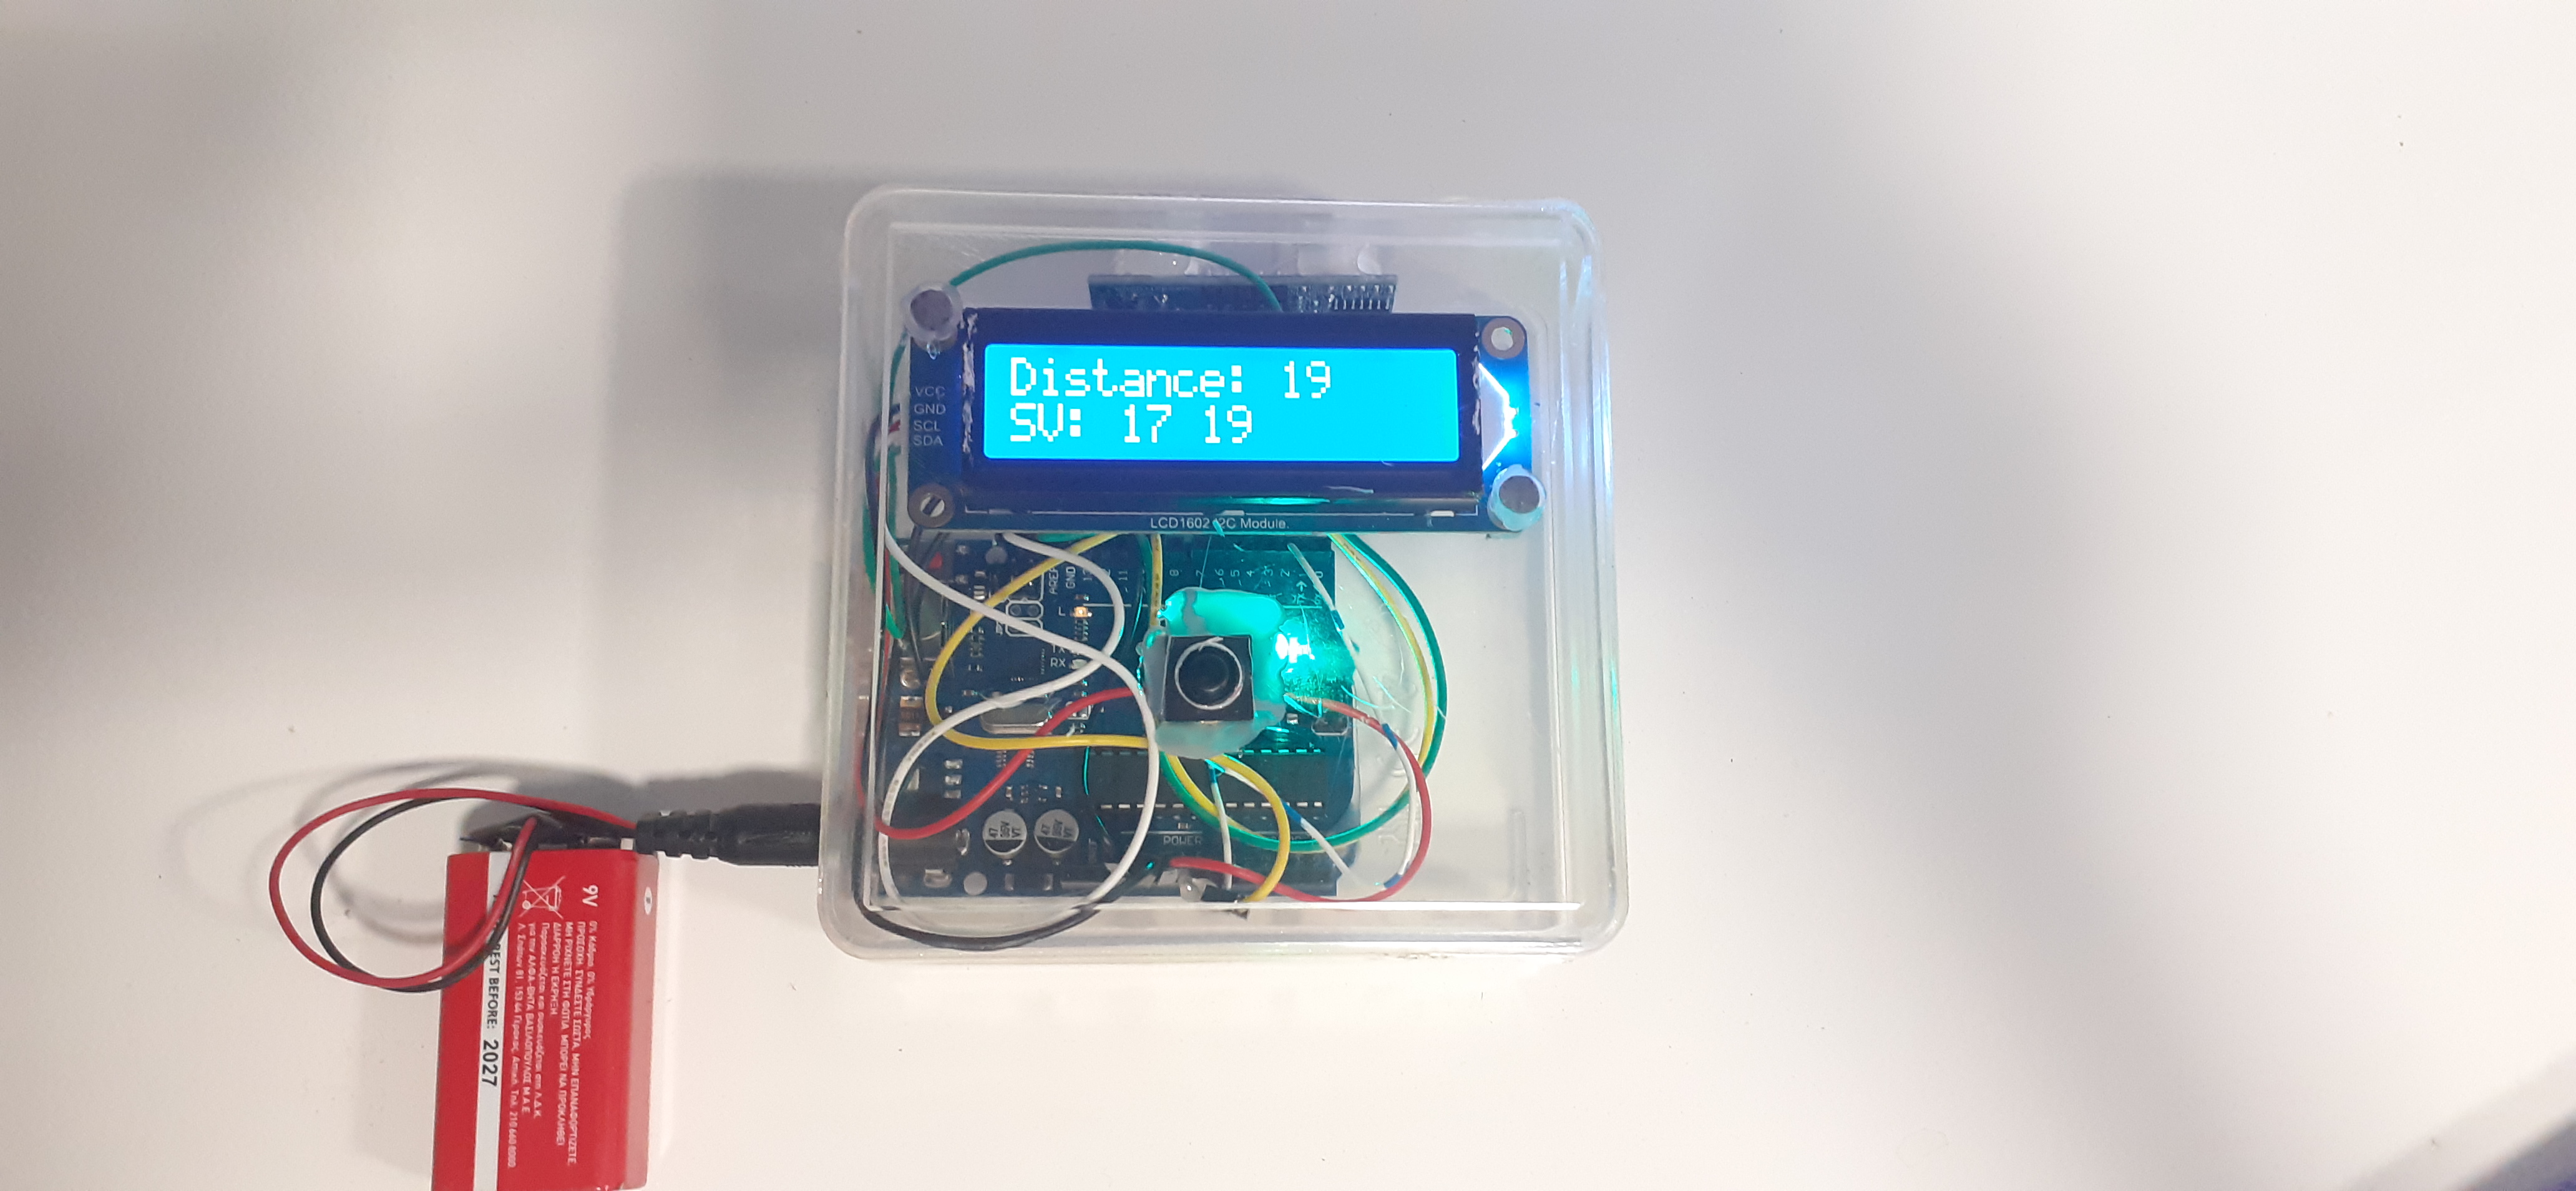
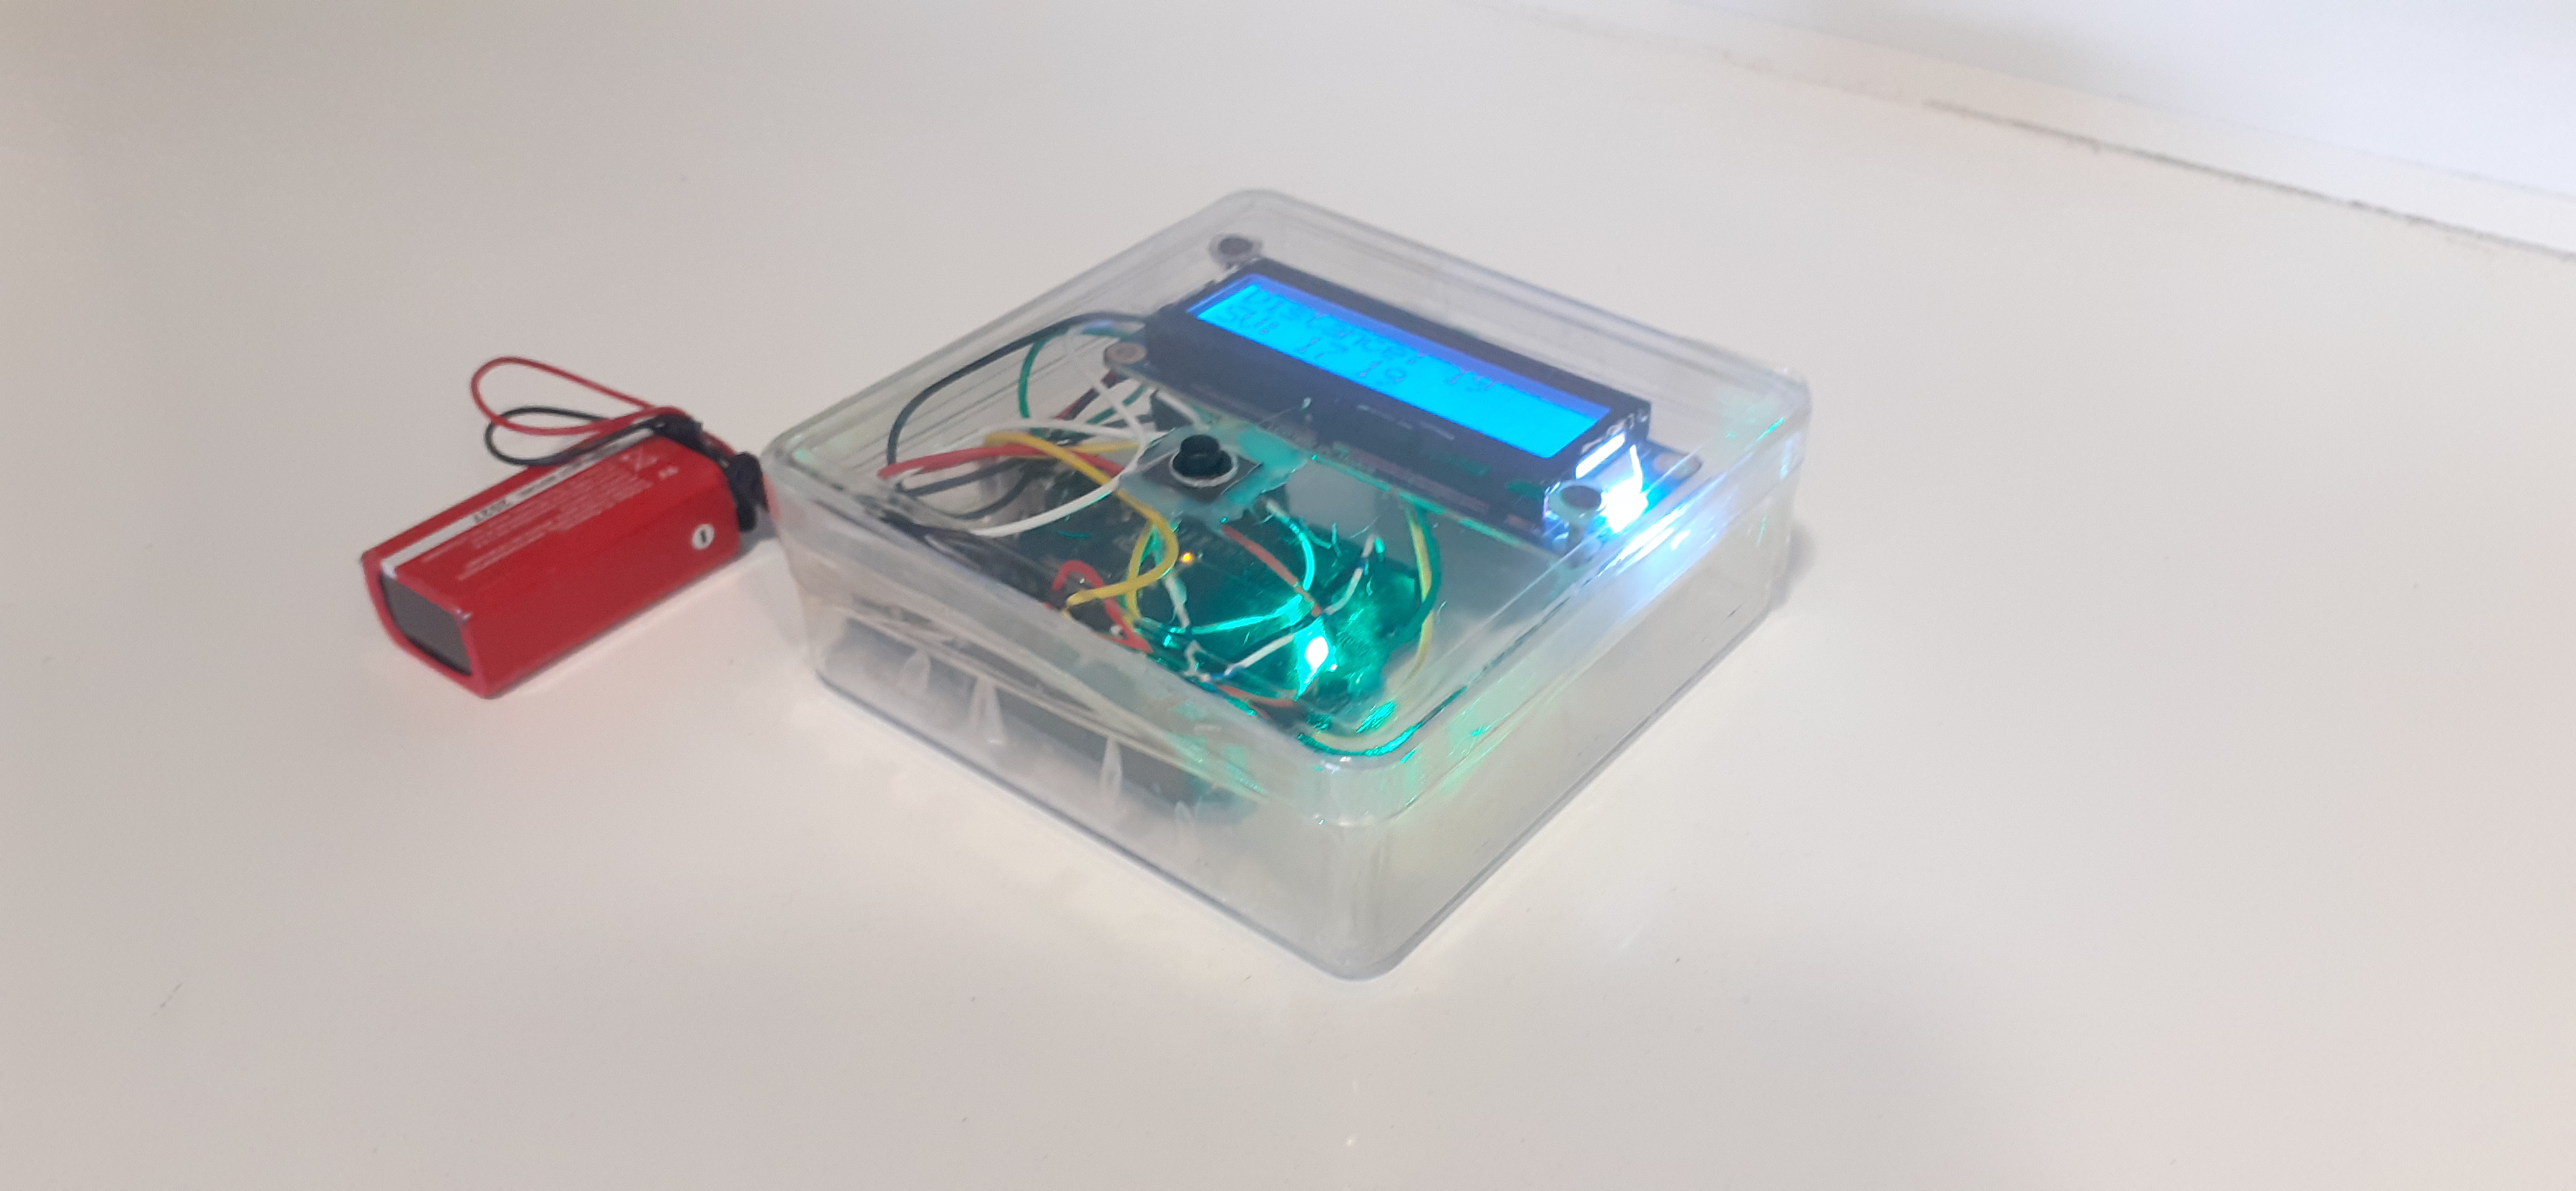
Here are some photos of the project:
Technical Implementation: Sensors and Feedback
The project focuses on creating a high-performance and user-friendly distance aid:
- Identification layer: Using an Ultrasonic Sensor (HC-SR04), the system can accurately detect and monitor the distance to any object in its path.
- Conversion layer: The sensor converts the time it takes for an ultrasonic pulse to bounce back into a proportional distance in centimeters (cm) or inches.
- Display layer: The OLED Display (SSD1306) provides a clear and versatile way to show the current "Measured Distance" in real-time.
- Power layer: The 9V Battery and a battery clip provide the power needed to keep your digital gauge portable and self-sufficient.
Hardware Infrastructure
- Arduino Nano: The tiny "brain" of the project, managing the ultrasonic pulses and coordinating the conversion and display tasks.
- Ultrasonic Sensor (HC-SR04): Providing contactless and reliable distance monitoring for each direction of your measurement tool's path.
- OLED Display: Providing a clear and playful visual feedback for the user through text and numeric distance readings.
- Tactile Switch: These robust and common electrical switches provide a satisfying tactile click for each interaction.
- 9V Battery: Essential for making the project truly portable and useful for measurement tasks around the house.
- Micro-USB Cable: Use to program the Arduino Nano directly from your computer for power and code.
Measurement and Interaction Step-by-Step
The digital gauge process is designed to be very efficient:
- Initialize Hardware: Correctly seat the ultrasonic sensor and OLED display on your breadboard following the provided diagram.
- Setup High-Power Sync: Ensure the Arduino Nano is correctly wired to the 9V battery source.
- Execution Loop: The Arduino constantly requests the raw distance data from the sensor and updates the OLED in real-time.
- Visual and Audio Feedback: Watch the status update on the OLED and Serial Monitor, with a celebrating buzzer or LED sound for each successful measurement.
Future Expansion
- OLED Identity Dashboard Integration: Add a small OLED display to show a larger life bar and the "Reality Index" forEach of yours distance readings.
- Multi-sensor Climate Sync Synchronization: Connect several sensors (e.g., an IR sensor) to create a more robust multi-layered measurement tool.
- Cloud Interface Registration Support: Add a WiFi module (ESP8266/ESP32) and link to a cloud dashboard to precisely track and log your distance history from your smartphone.
- Advanced Velocity Profile Customization Support: Add a small slider or potentiometer to manually adjust the calibration or units (cm/inches) of your digital gauge.
Portable-Digital Gauge is a perfect project for any electronics enthusiast looking for a more interactive and engaging measurement tool!