Analog Interaction: Potentiometer and LED
Switches are "On" or "Off," but life isn't always binary. The Potentiometer-Controlled LED project introduces you to Analog Input, allowing you to create smooth, variable control over your electronics.
The Magic of Mapping
The Arduino's ADC (Analog-to-Digital Converter) reads the position of the potentiometer knob as a value between 0 and 1023. However, the brightness of an LED (via PWM) only goes from 0 to 255.
- The Solution: We use the
map()function in our code to translate the 0-1023 input into a 0-255 output, ensuring the LED fades smoothly as you turn the knob.
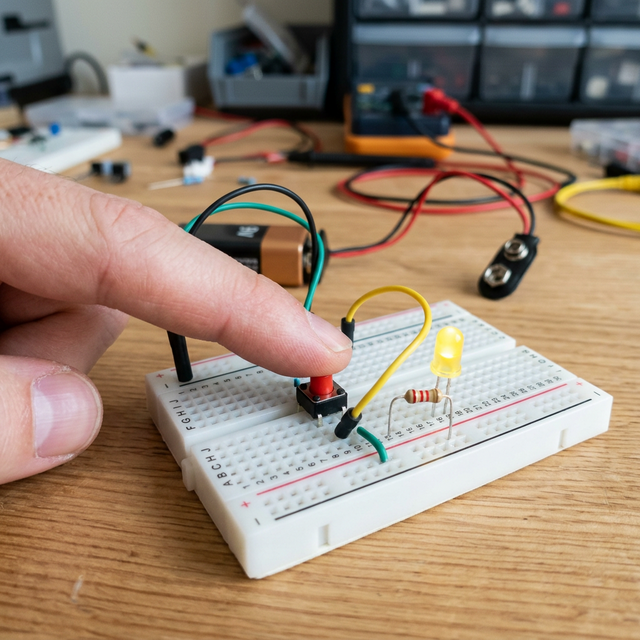
Hardware Components
- Arduino Uno/Nano: The logic processor.
- 10k-ohm Potentiometer: Your physical dial/input.
- LED and 220-ohm Resistor: The output.
- Breadboard and Jumper Wires.

Why This Matters
This simple setup is used in almost every control interface—from volume knobs on radios to dimmer switches in smart homes and joysticks on game controllers. Understanding how to "read" the physical position of a component is a key skill for any maker.