This is a step-by-step guide that I have created for beginners and arduiNOOBS like me.
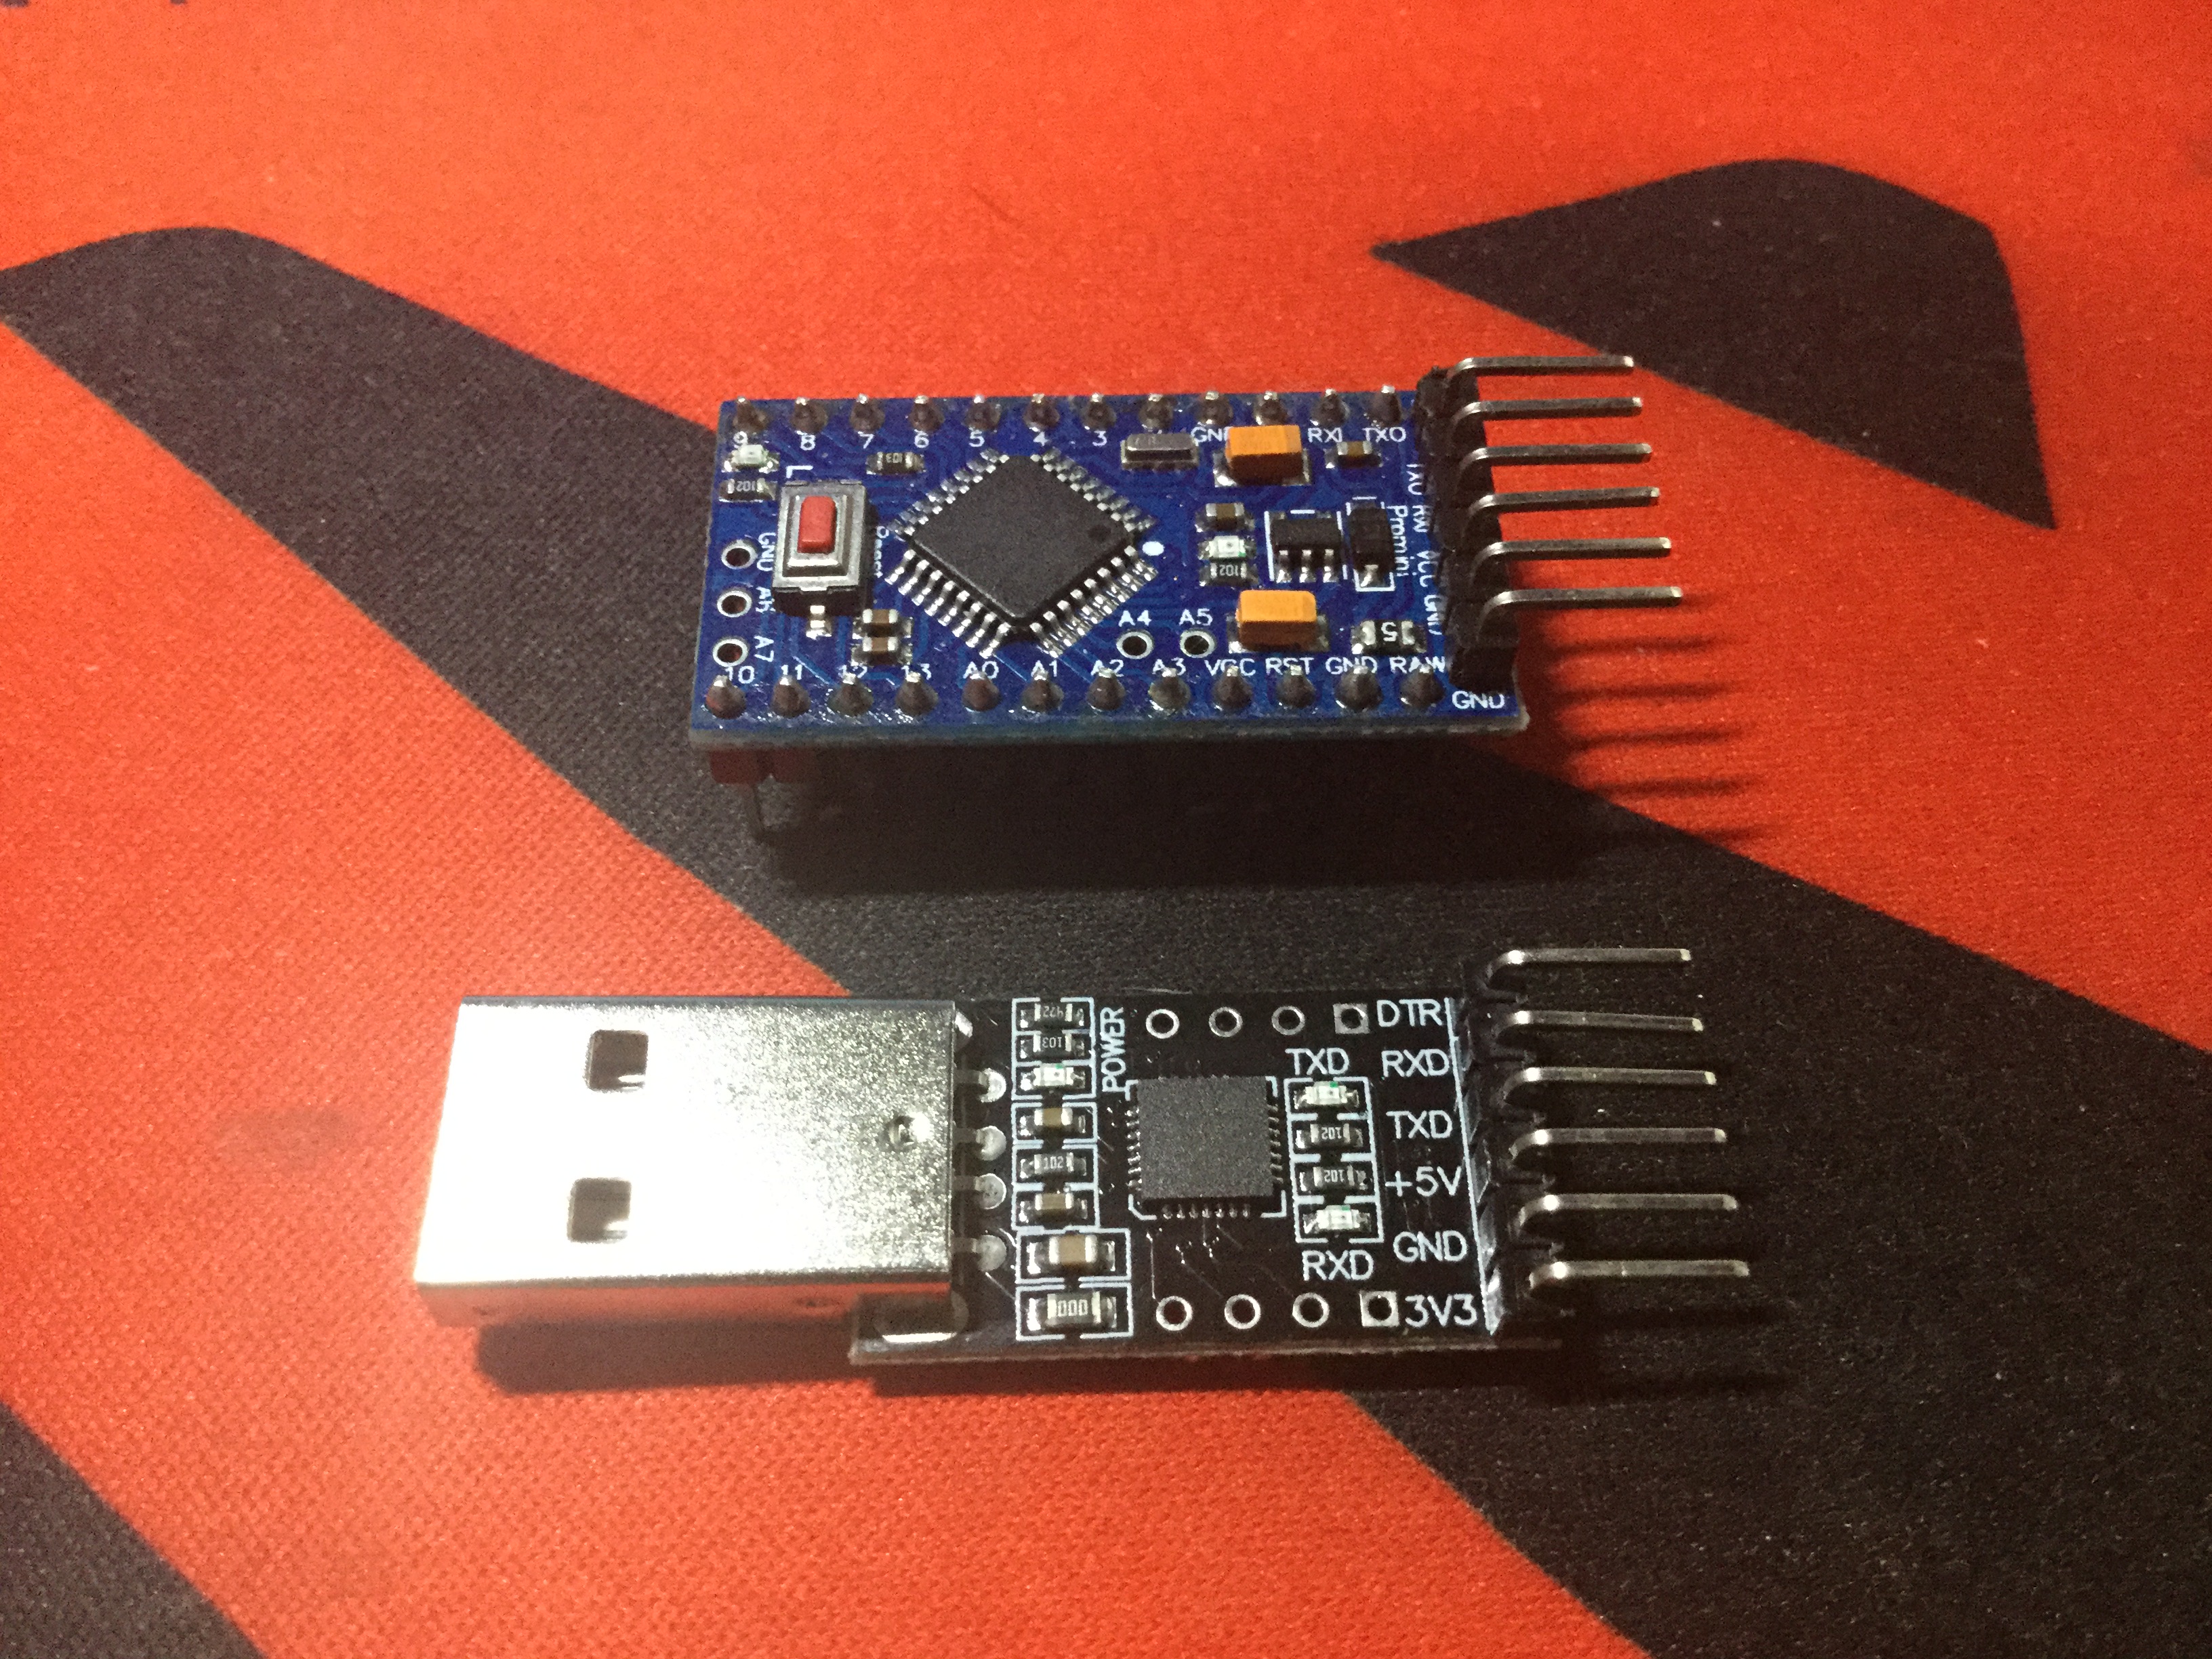
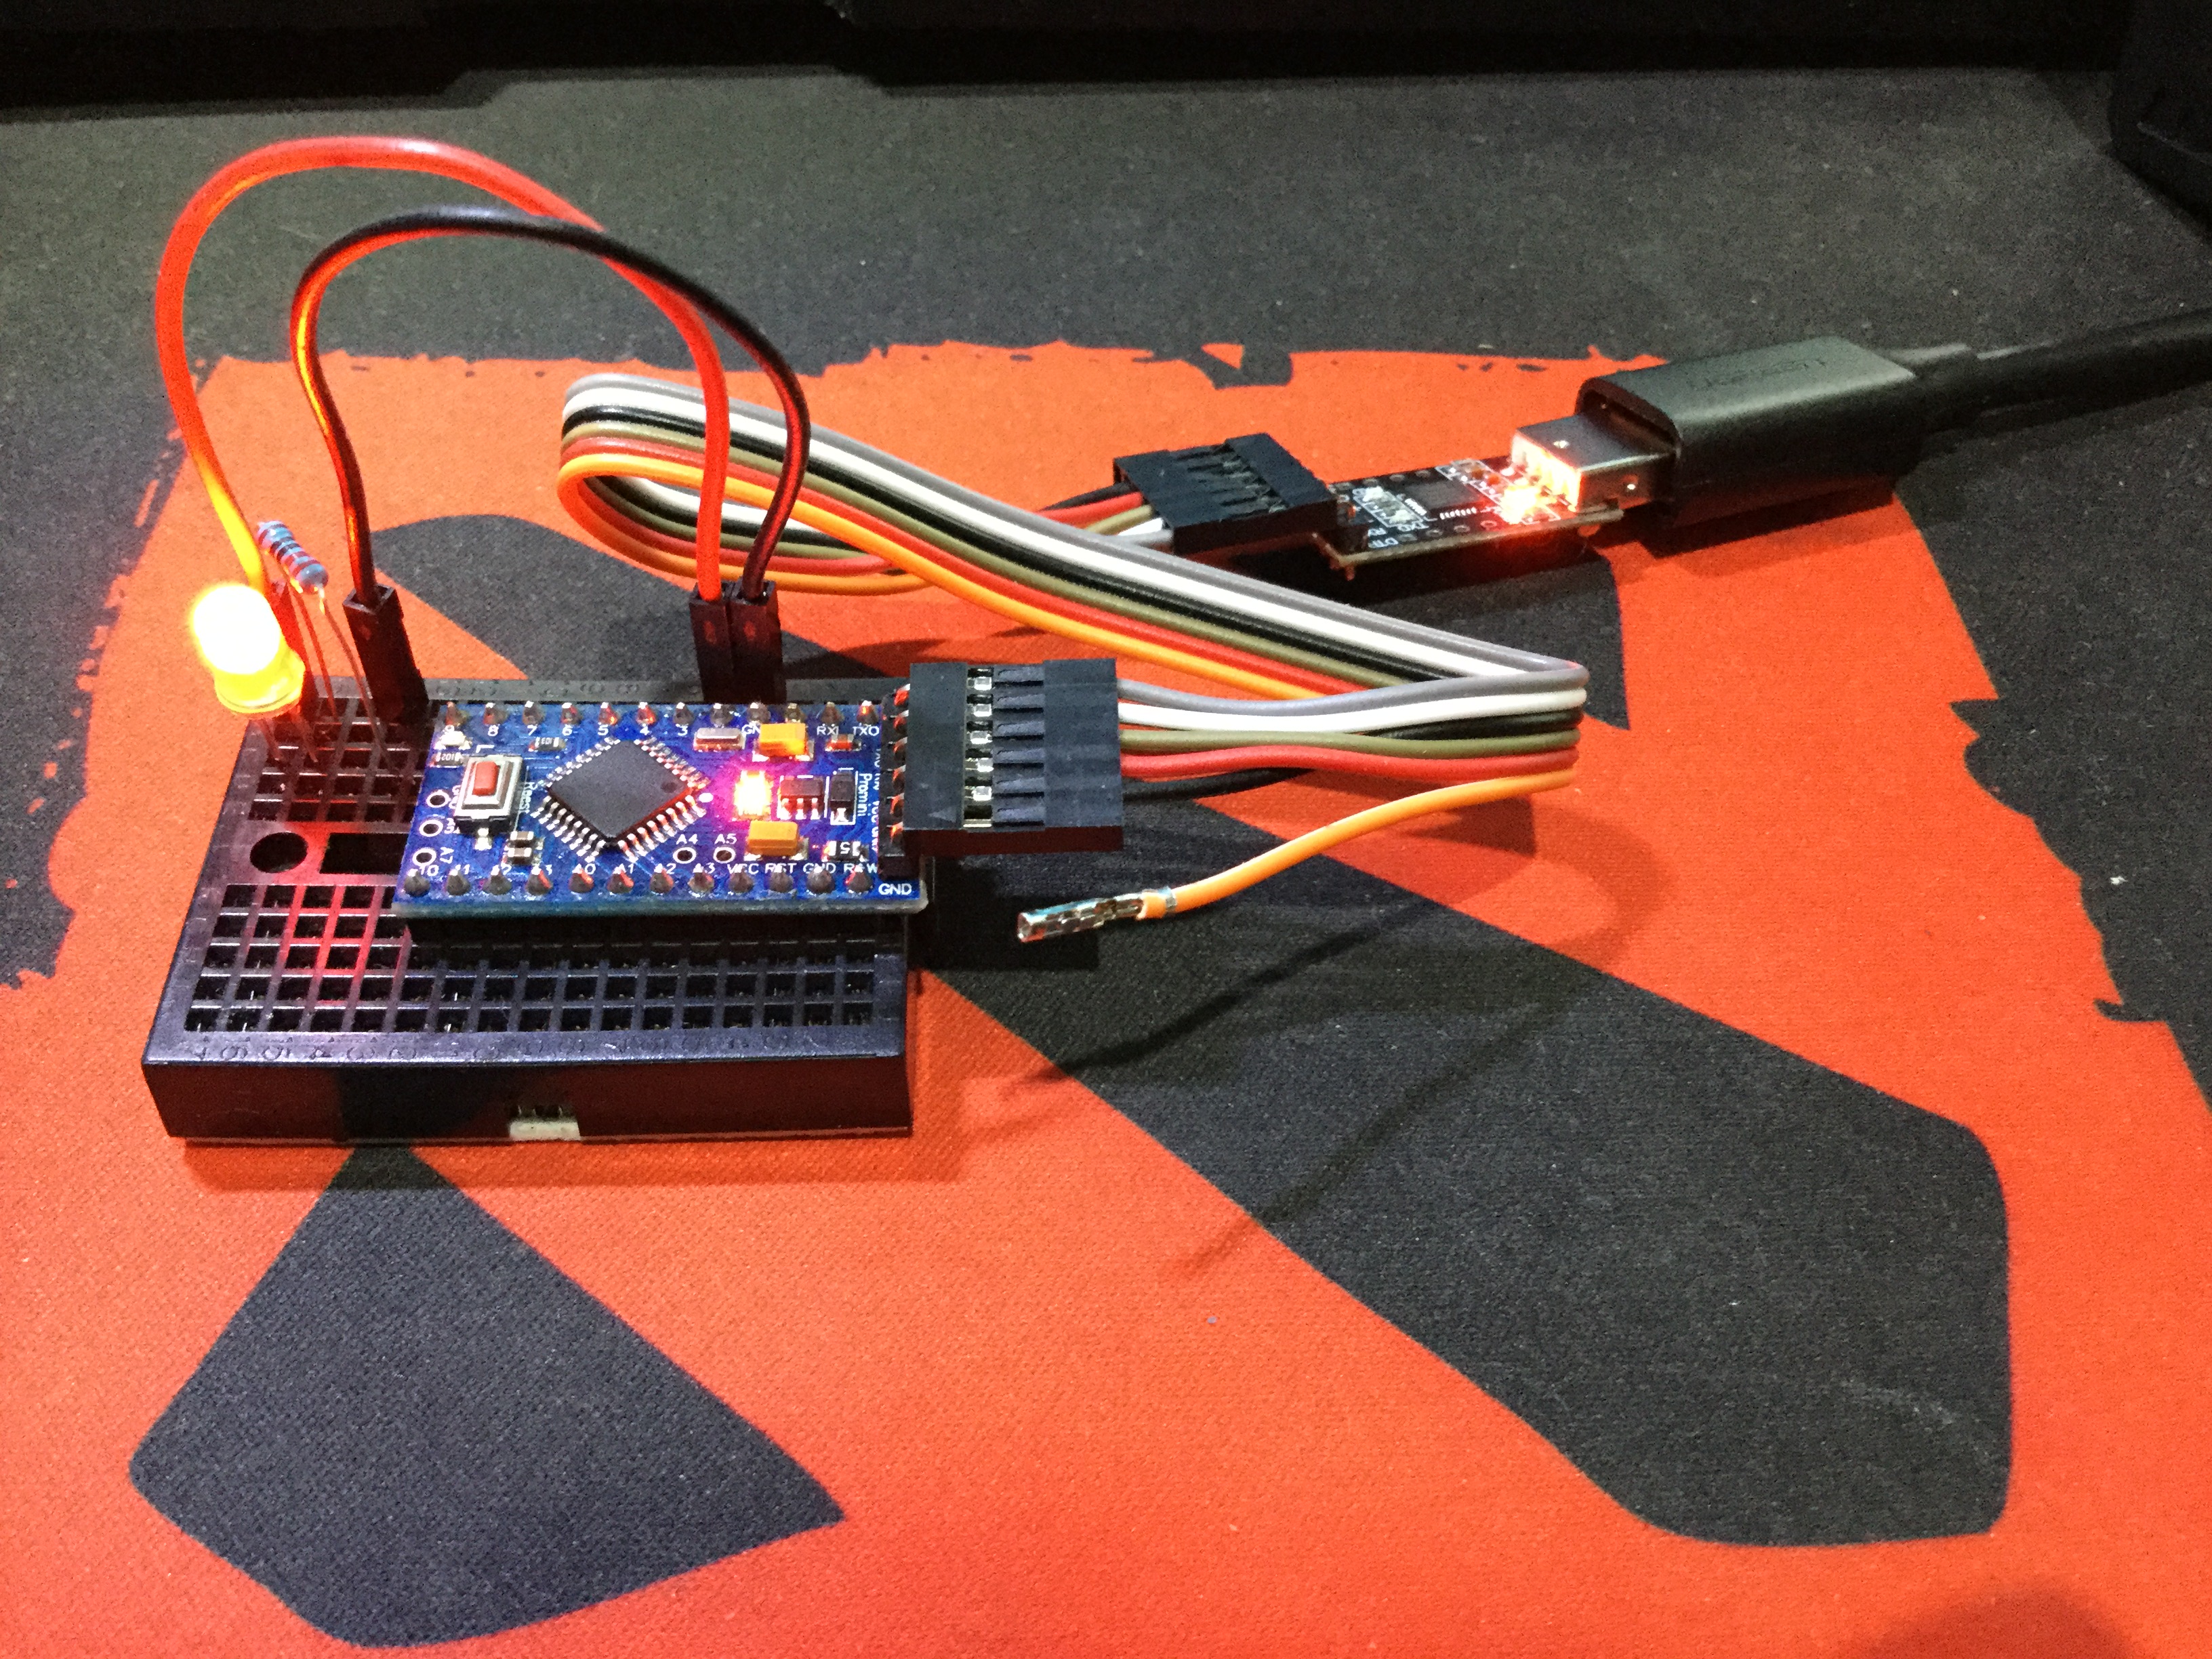
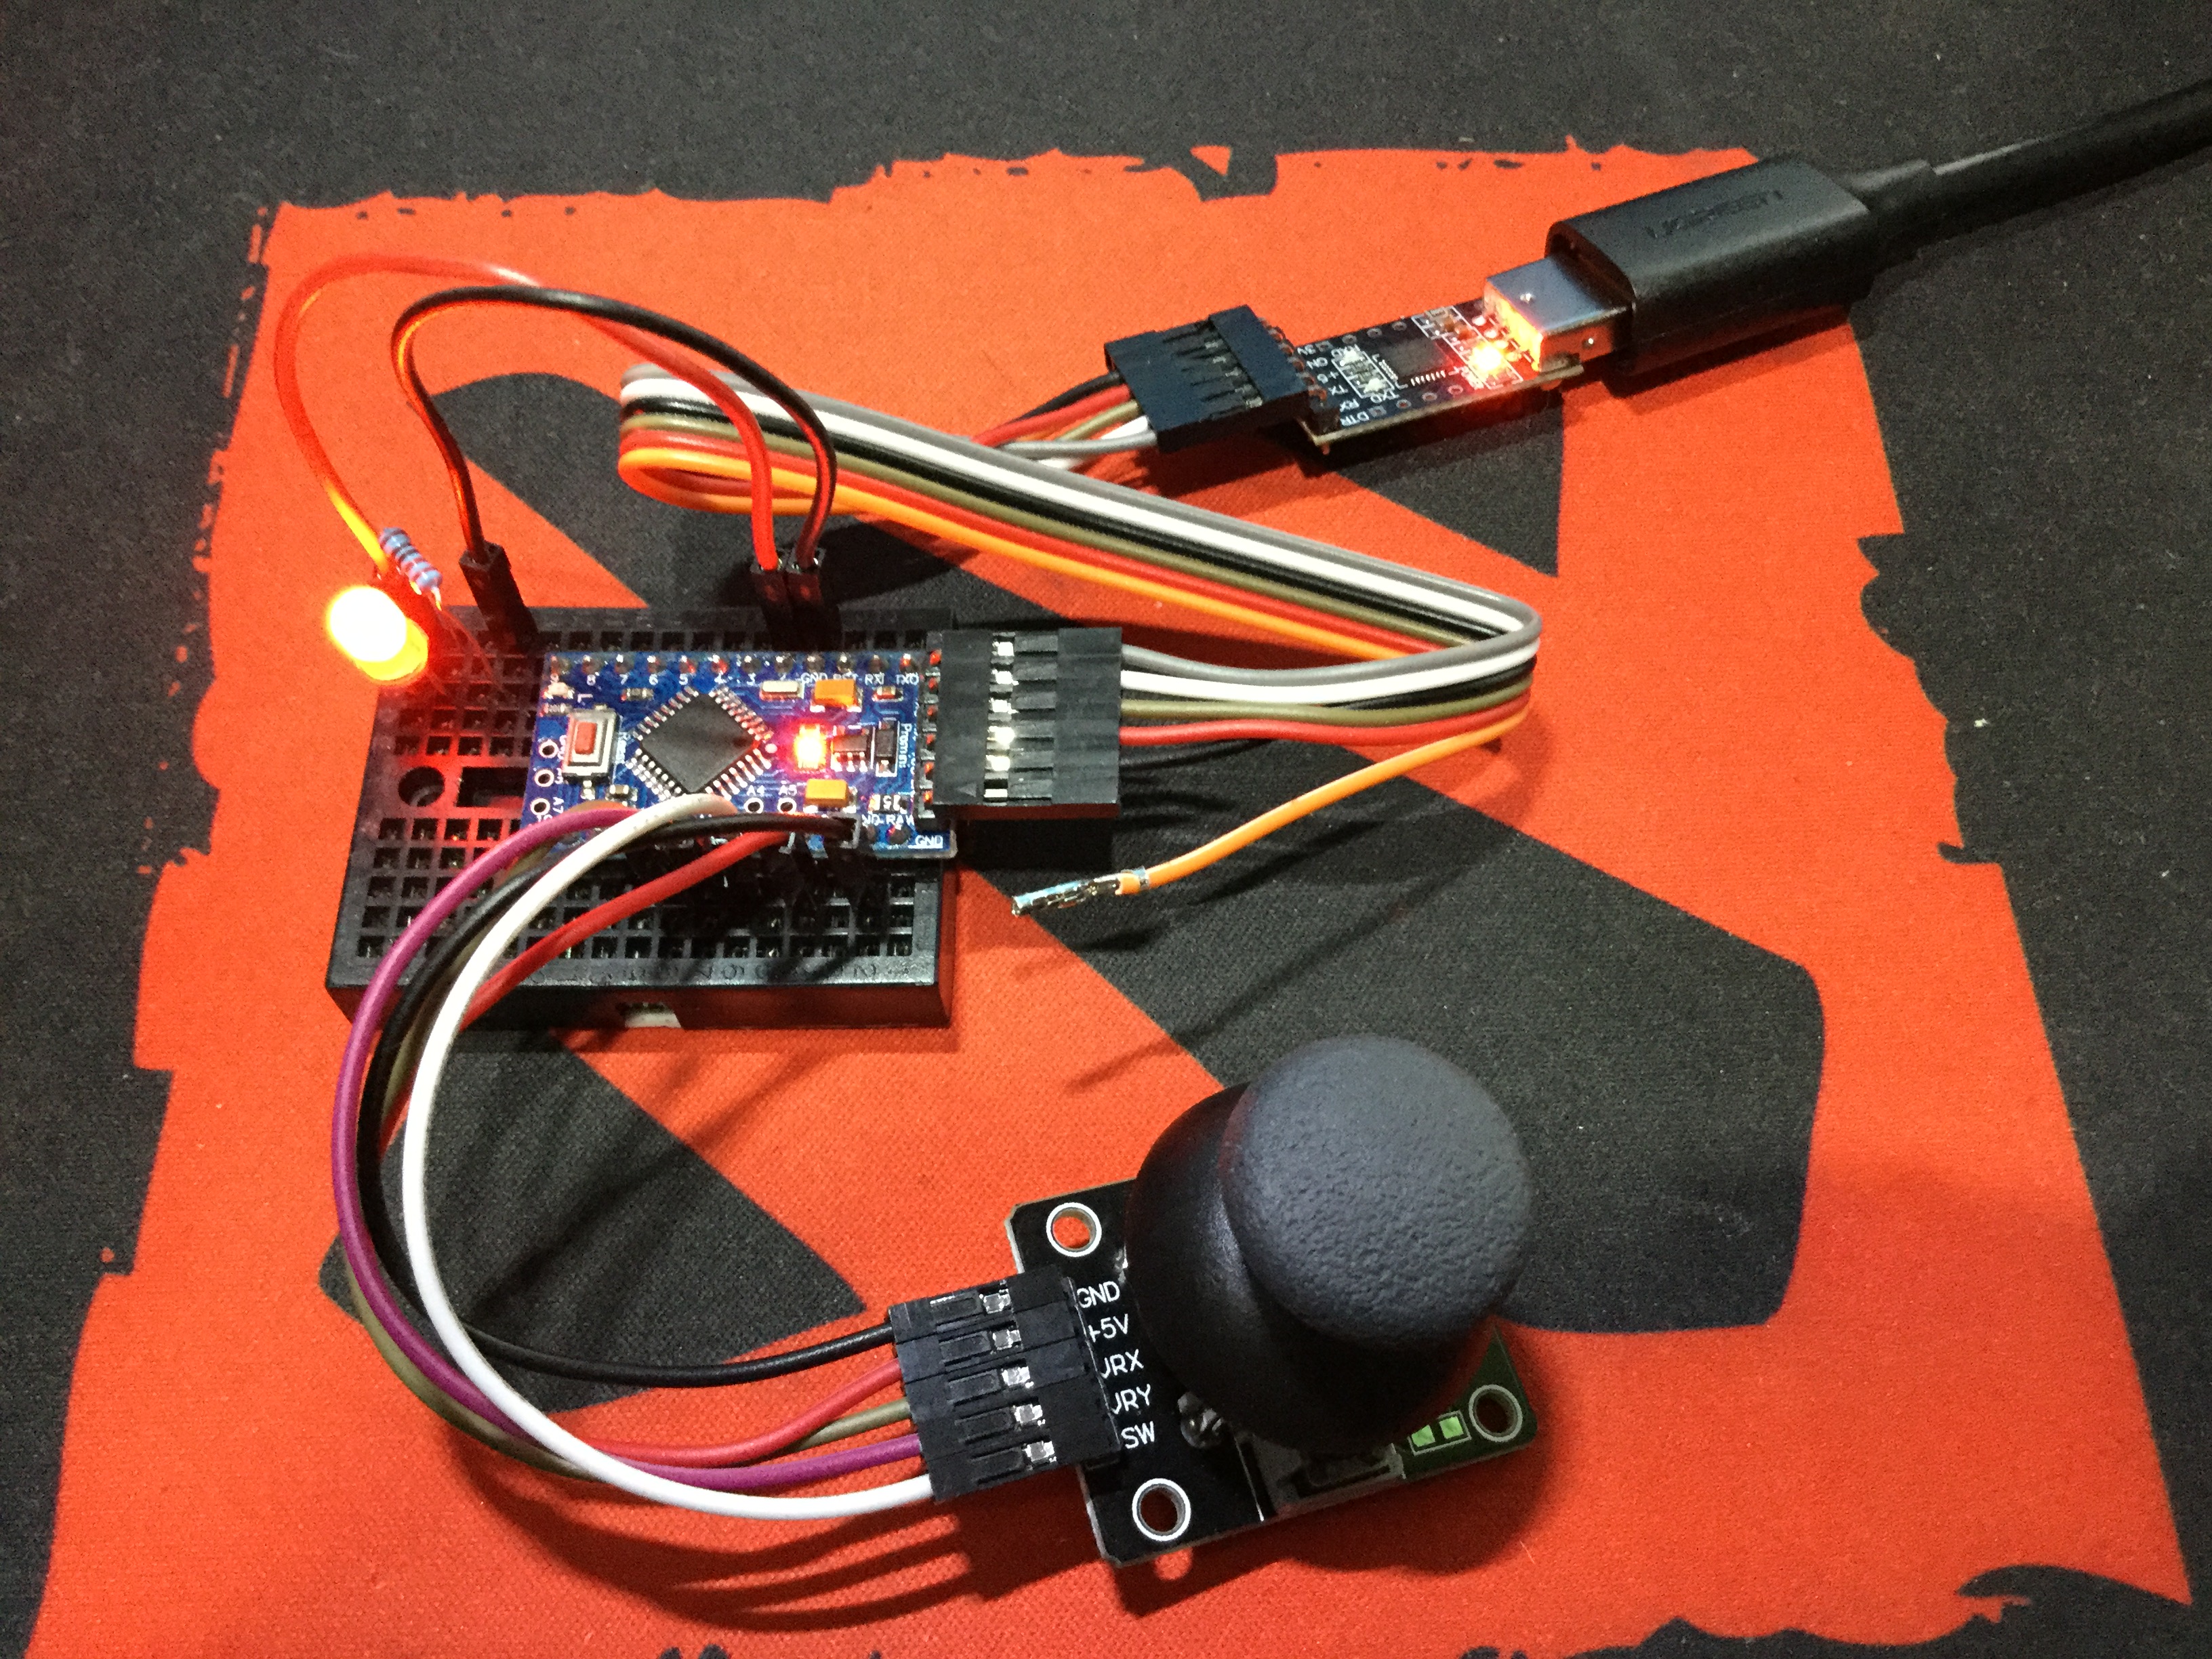
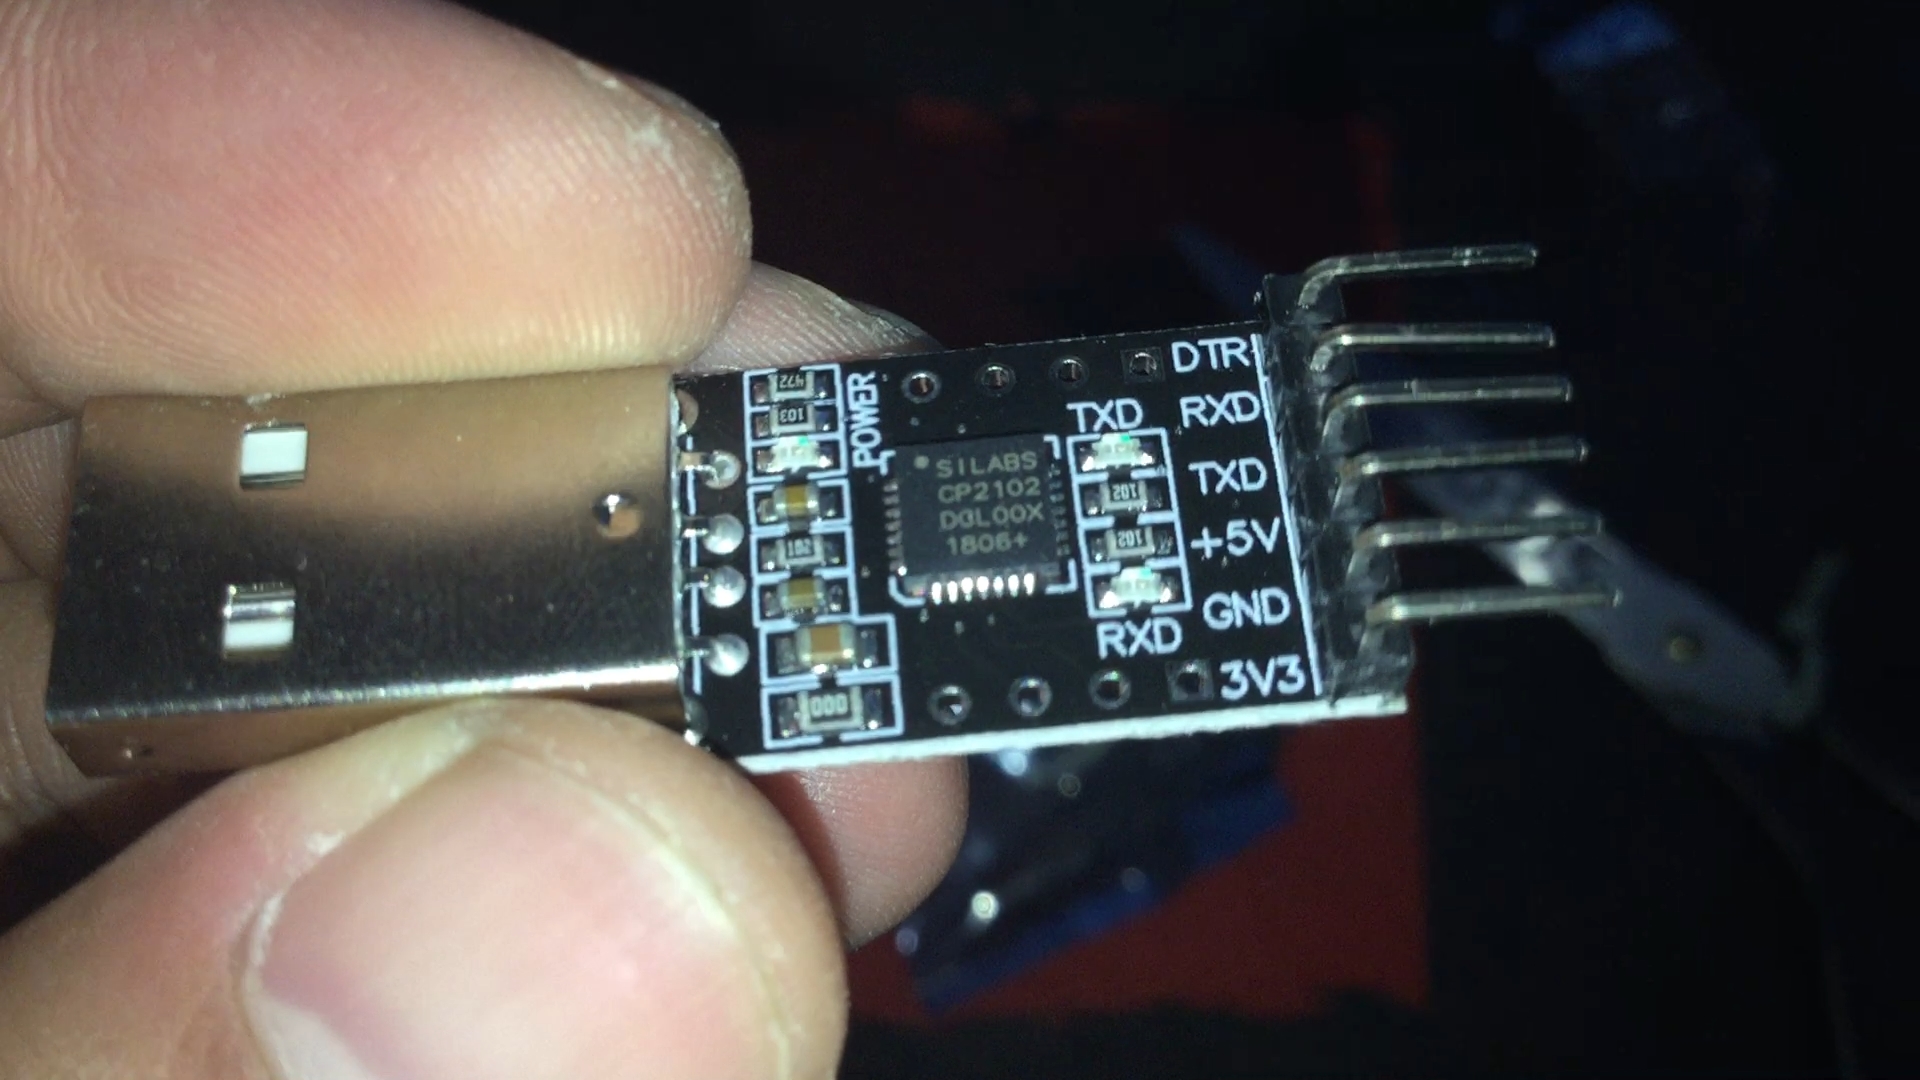
This is a simple video using an Arduino Pro Mini and a USB to UART Module called CP2102 from SiLabs together with a simple LED demonstration and a PS2 Joystick Module to try the Analog Pins.
Contrary to a lot of videos I have seen, this one does not need a driver to be installed in order for it to be used.
I am not sure if it is because some of those videos are uses FTDI or something.
Also, I just used the available example code from the Arduino Learning Board Library for the Joystick.
So, yeah. That's about it, I guess.
******************************************************************************
NECESSARY LINK:
What is UART: https://en.wikipedia.org/wiki/Universal_asynchronous_receiver-transmitter
******************************************************************************
Social Media Links To Follow (I mean, if you want to):
Facebook - https://fb.me/HeathenHacks
Twitter - https://twitter.com/HeathenHacks
Instagram - https://instagr.am/HeathenHacks
******************************************************************************

EXPANDED TECHNICAL DETAILS
Embedded Controller Connectivity
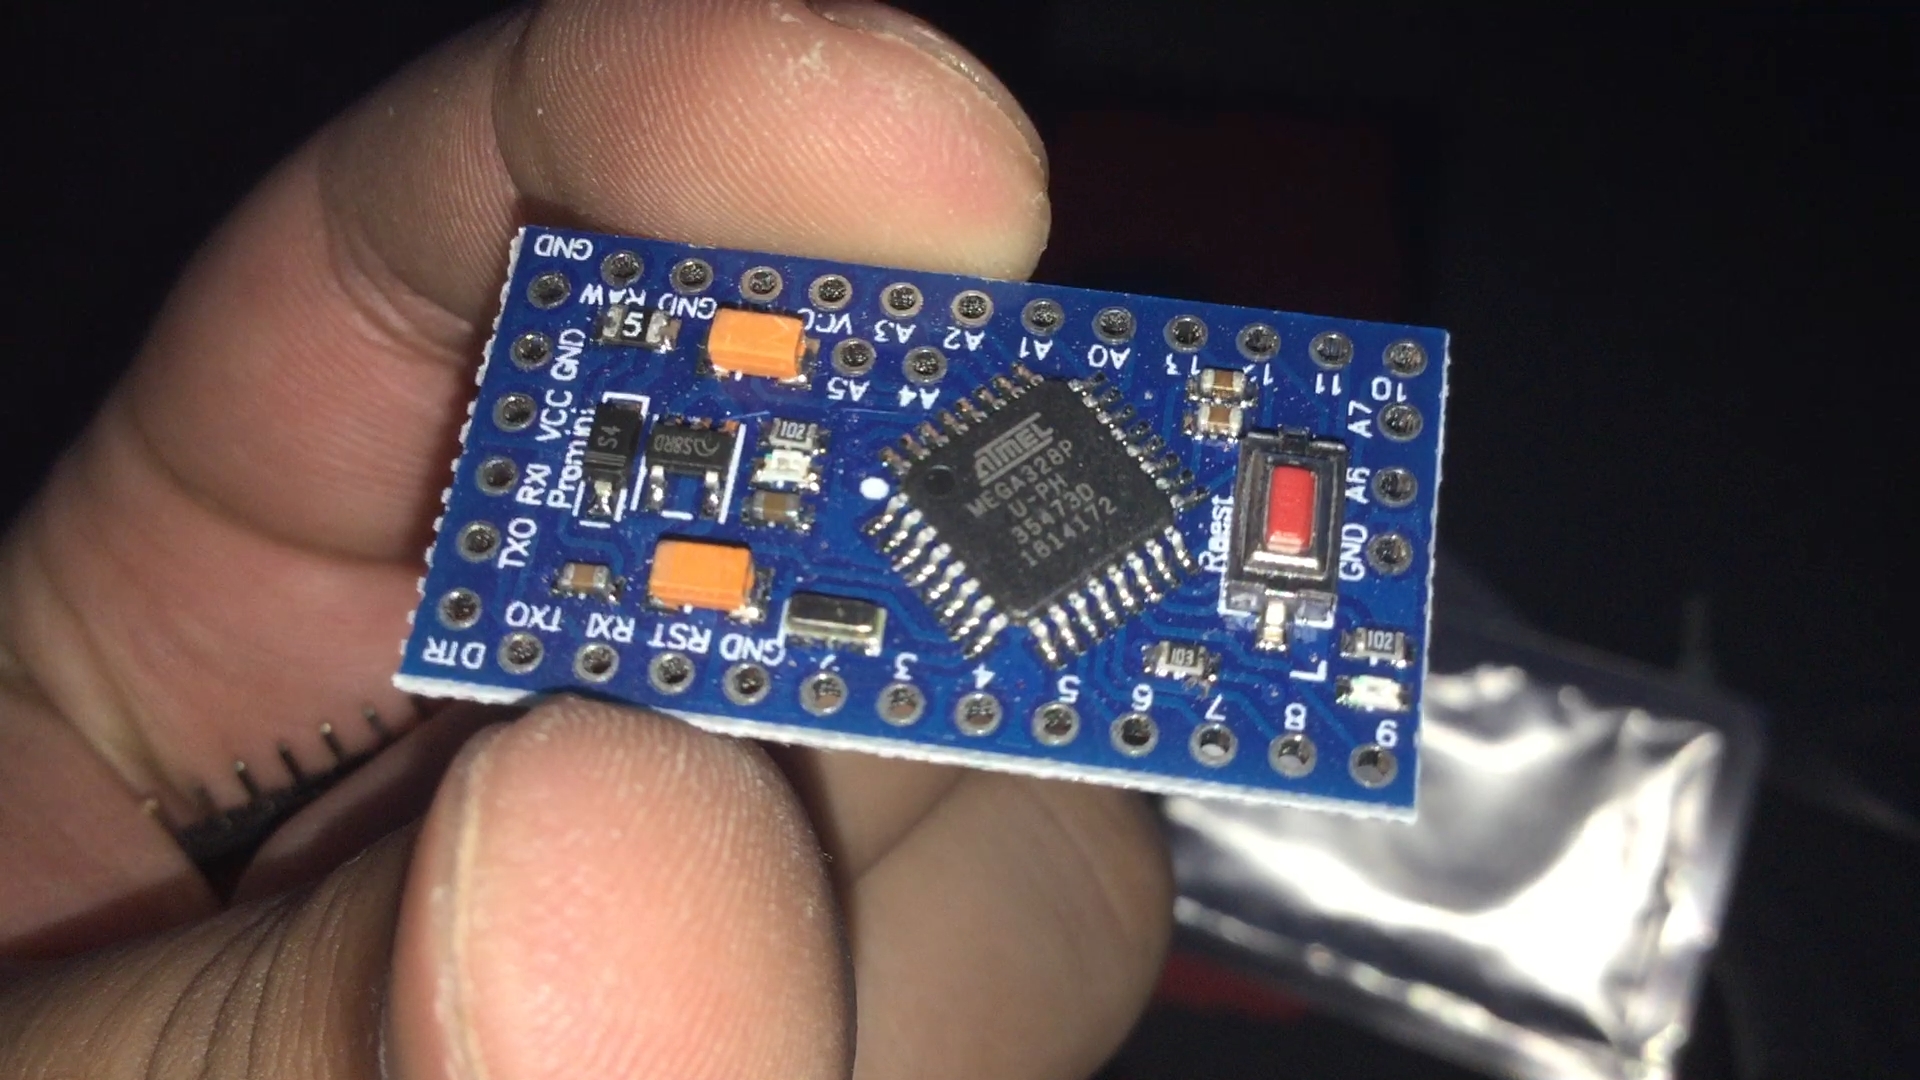
This project provides a guide to the professional ecosystem of the Arduino Pro Mini, which lacks a built-in USB port to save space and power.
- Serial Bridge Hub: Uses the CP2102 USB-to-TTL adapter. The Arduino Pro Mini's RX/TX pins are linked to the adapter, allowing for full firmware uploads and Serial Monitor debugging.
- DTR Auto-Reset: Highlights the importance of the DTR pin; when the PC initiates an upload, the CP2102 sends a reset signal to the Pro Mini, enabling the bootloader to accept new code.
Power Efficiency
- Compact Deployment: Because the USB circuitry is absent, the Pro Mini is the ideal choice for battery-powered, long-term deployments (like data loggers) where every milliamp counts.