Precision Display: 4-Digit 7-Segment LED
Displaying numbers is a core part of many electronics projects. While a single-digit 7-segment display is easy, controlling four digits simultaneously introduces the concept of multiplexing—a vital skill for every Arduino maker.
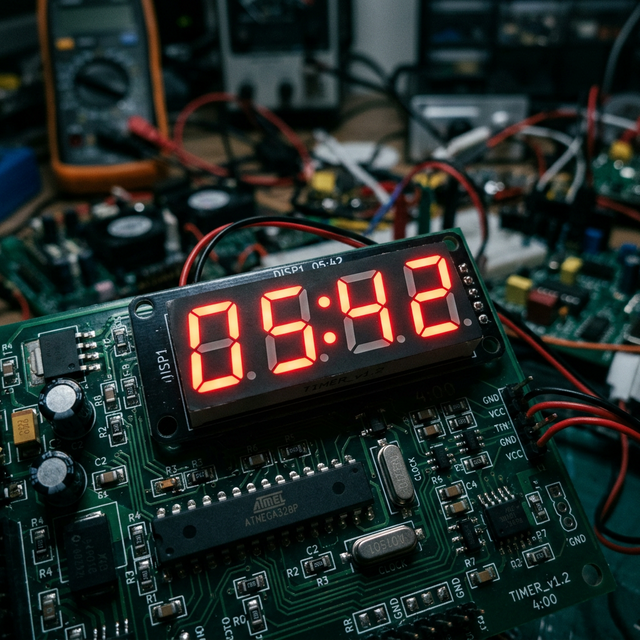
How It Works: Multiplexing
A 4-digit 7-segment display has 12 pins. If we tried to control every segment of every digit separately, we would need 32 pins! Instead, we use multiplexing:
- The Segments: All four digits share the same 8 pins for their segments (A-G and the Decimal Point).
- The Switching: Each digit has its own "common" pin. The Arduino turns on only one digit at a time, very rapidly.
- Persistence of Vision: Because the Arduino switches digits hundreds of times per second, the human eye sees all four digits as being lit at once.
Hardare Requirements
- Arduino Uno/Nano: The controller for the timing logic.
- 4-Digit 7-Segment Display: Common Anode or Common Cathode.
- Resistors (220-330 ohm): Crucial to protect the LEDs and the Arduino pins from excessive current.
- Jumper Wires and Breadboard: For the complex wiring setup.
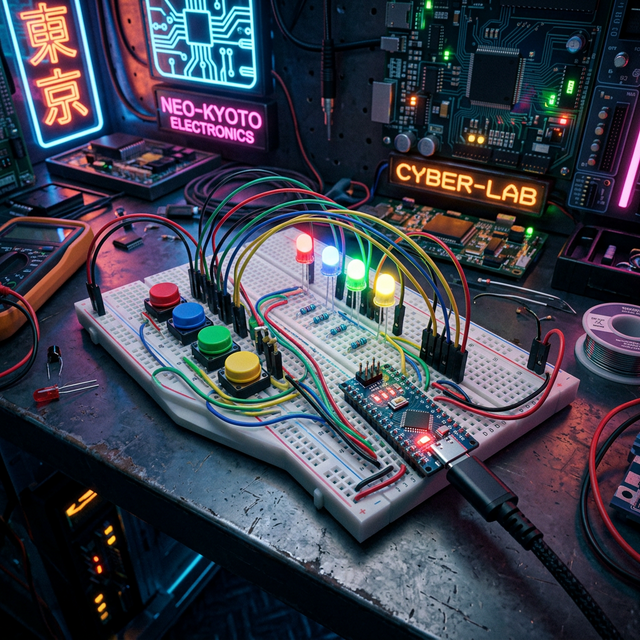
Software Libraries for Ease
While you can write the multiplexing logic from scratch, using a library like SevSeg simplifies the process significantly. It handles the refreshing, decimal points, and even strings (like "Err" or "COOL") automatically, allowing you to focus on your project's main logic.