This project is the definitive Portal to Bare-Metal Silicon Engineering. Moving from a development board like the Arduino Uno to the raw ATtiny family is the "Right of Passage" for any electronics engineer. This guide provides a high-fidelity Deployment Blueprint that teaches you how to flash firmware directly onto an 8-pin microcontroller using the industry-standard **USBasp programmer**, allowing you to create high-efficiency, miniature electronic products.
Embedded Infrastructure and ISP Architecture Overview
The ATtiny Programming Pipeline functions through a specialized In-System Programming (ISP) lifecycle. Unlike development boards that have a built-in USB converter, the ATtiny (45/85) is a "bare" chip. To communicate with it, we utilize the USBasp, an open-source hardware designed by Thomas Fischl. The Arduino IDE acts as the Compiler and Loader, converting your C++ "Sketch" into machine-readable HEX files, which are then transmitted via the SPI (Serial Peripheral Interface) bus (MISO, MOSI, SCK, RESET) directly into the ATtiny's internal flash memory.
Hardware Infrastructure & The Developer Tier
- USBasp High-Speed Programmer: The "Firmware Gateway." It features an ATmega8 microcontroller that translates your computer's USB signals into the high-voltage serial protocol needed to write to the ATtiny's silicon.
- ATtiny45 / 85 Microcontroller: The "Core Target." Chosen for its extreme miniaturization and versatility. It features 8 pins (6 I/O), up to 8KB of flash, and internal oscillators, making it the perfect choice for high-volume wearables or industrial sensors.
- Zadig Peripheral Bridge: A critical Windows utility used to replace generic USB drivers with the high-performance libusbK (v3.1.0.0). This ensures that the Arduino IDE has a direct, zero-latency link to the USBasp hardware.
- 10-pin Ribbon Interconnect: The project provides the precise wiring diagram to bridge the 10-pin USBasp connector to the 8-pin breadboard target, ensuring perfect electrical continuity without risk of mirroring the signal.
- Internal Oscillator (8MHz): The project explains how to "Burn the Bootloader" to configure the chip's internal fuse bits, allowing the ATtiny to run at high speed without needing an external crystal.
Technological Logic and The Flashing Algorithms
The system reaches high-fidelity reliability through ISP Sequencing:
- The Master-Slave Handshake: The USBasp acts as the "Master," pulsing the SCK line and shifting data bits into the ATtiny's memory registers.
- SPI Bus Synchronization: The connections use the standard MISO (Master In Slave Out) and MOSI (Master Out Slave In) lines, providing a full-duplex communication path for verifying the code after it's written.
- Low-Power Silicon Optimization: The guide teaches you how to use a 3.3V jumper on the USBasp, ensuring your sensitive ATtiny projects can be powered directly from the programmer without needing a bulky external power supply.
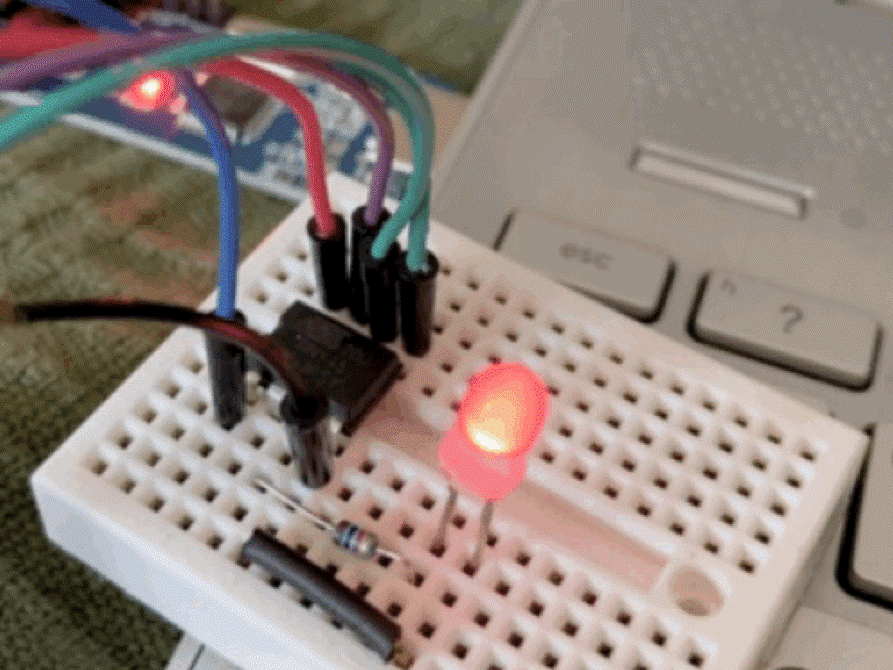
- Error Troubleshooting Protocol: The project includes a "Blink" diagnostic test, the industry-standard way to verify that the clock speed and I/O mapping have been correctly successfully deployed.
Why This Project is Important
Mastering Direct ISP Programming and Silicon Deployment is an essential skill for Production Engineers and Industrial Firmware Developers. It teaches you how to move beyond "prototypes" and into "manufacturing," where cost and size are the primary constraints. Beyond blinking LEDs, these same principles are used in Smart Key Fobs, Remote Light Controllers, Wearable Fitness Trackers, and Automotive Sensor Nodes. Building this guide proves you can handle the low-level complexity of bare microcontrollers and deliver a professional, production-ready embedded solution.