You can easily put images on the display using https://diyusthad.com/image-to-cpp-v2 . This website lets you upload an image, then in 'canvas size' put the dimensions as shown below.
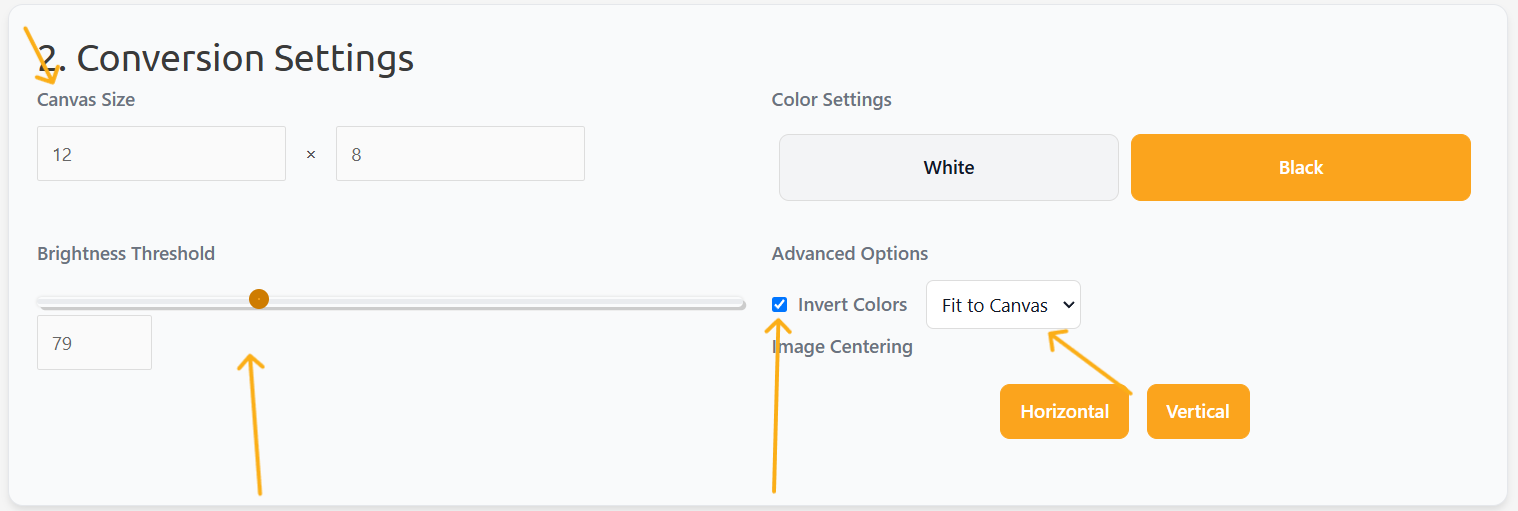
Next, you can change the brightness threshold so your displayed image isn't washed out or so dark you can't see anything.
Next, now that you have the brightness threshold and canvas size right you can create the sketch. You will want to create the code in raw bytes.
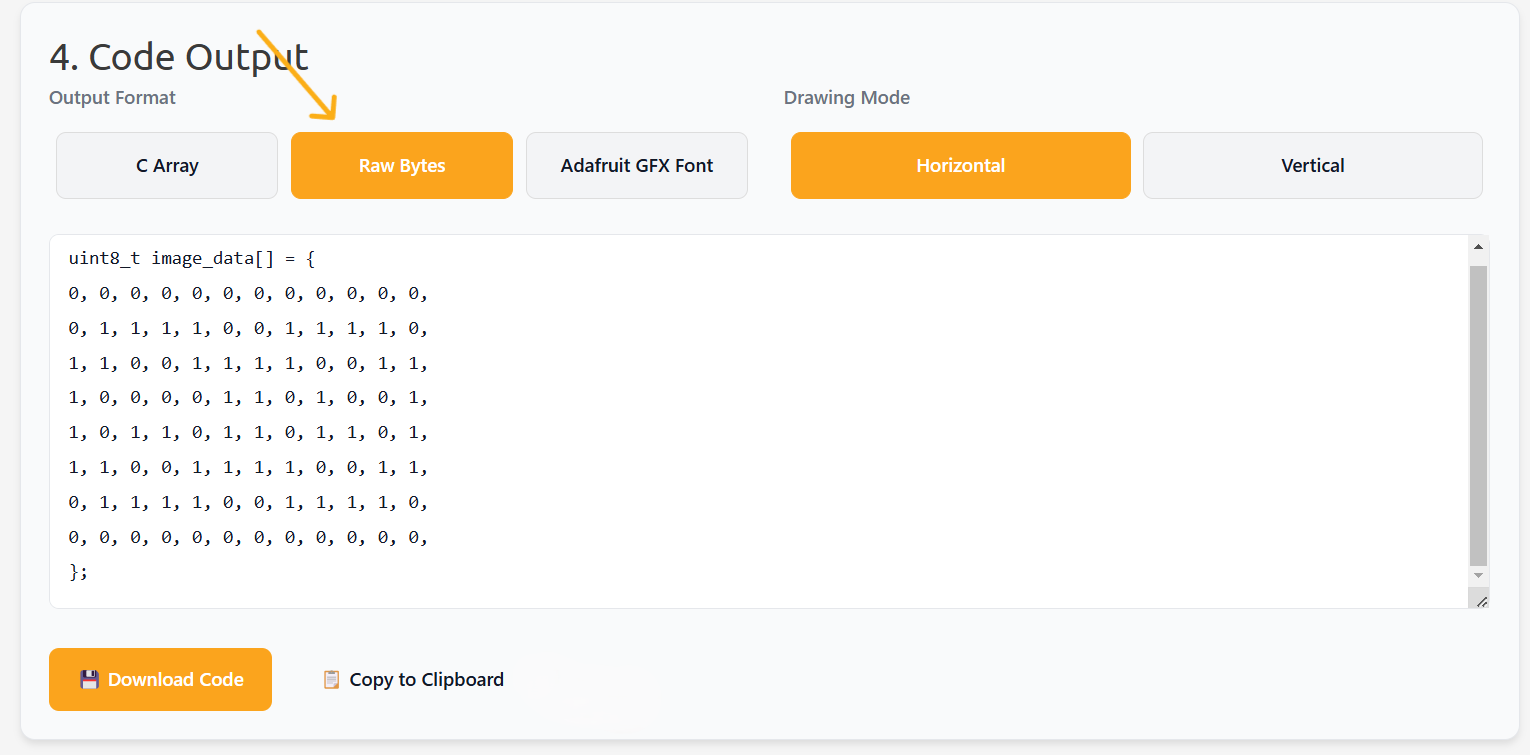
Now that you have the code ready, all you want to copy is the bytes as shown in the image below. Then copy the selected code.
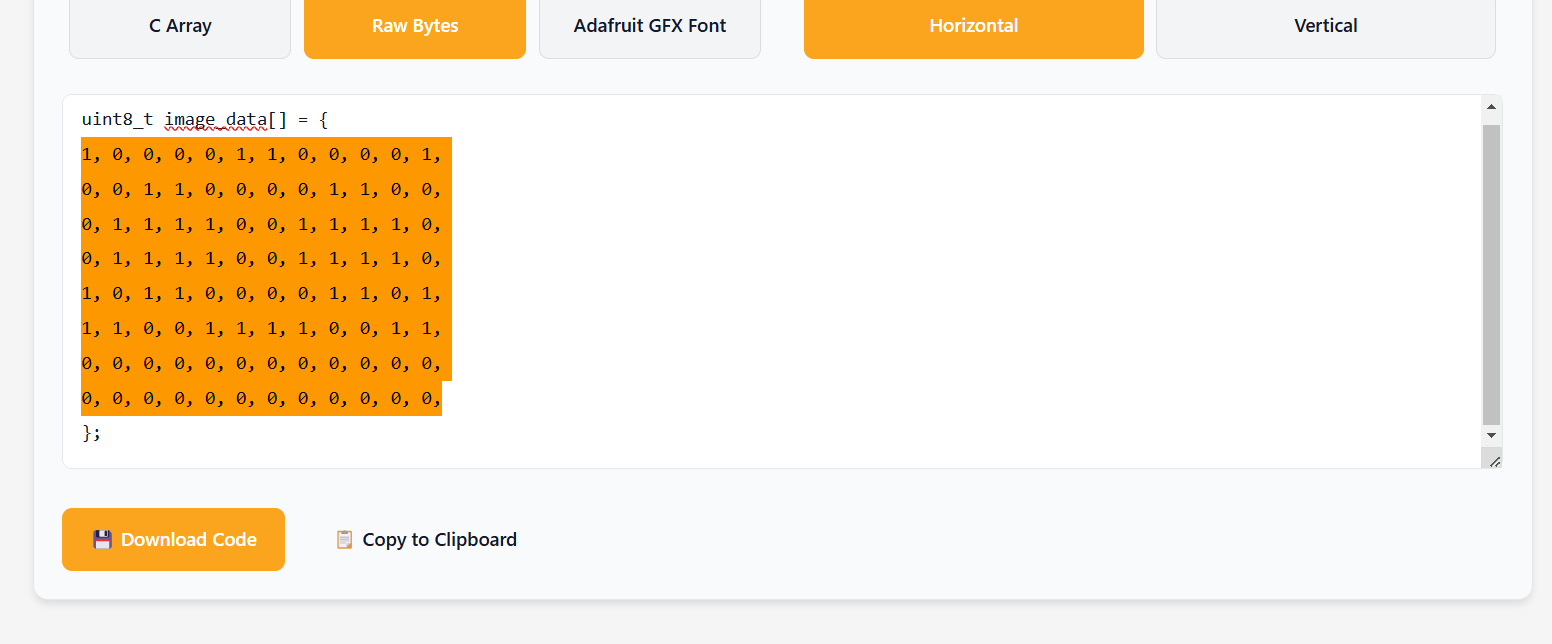
Now that the code is copied, open Arduino IDE and paste the code in the {} after byte frame[8][12] ={//Put the code here.} (You can use the alt key to just select the code in the {}) .
Now upload the code and have fun!
Built-In Display: The UNO R4 Matrix
The Arduino UNO R4 WiFi revolutionized the classic board by embedding a massive 12x8 red LED matrix directly onto the PCB. You no longer need external shields to display data, icons, or animations!
Frame Animation Logic
The matrix uses exactly 96 LEDs. To control them efficiently:
- You don't turn them on one by one.
- You use the
Arduino_LED_Matrixlibrary to create a Frame. A frame is a hexadecimal array representing which LEDs are ON and OFF. - To display a "Smiley Face," you write the hex code for the face and pass it to the library:
matrix.loadFrame(smiley_face_hex). - By passing different frames in a quick sequence inside the
loop(), you create moving animations, like a beating heart or a runner.
Online Matrix Editor
Arduino provides an incredible web tool (The LED Matrix Editor). You simply click on a virtual 12x8 grid to draw your icon. The tool automatically generates the complex C++ array code, which you just copy and paste into your sketch!
Hardware
- Arduino UNO R4 WiFi: Or the UNO R4 Minima. That's all you need!
This feature makes the R4 exceptional for testing sensor outputs. Instead of hooking up an LCD or staring at the Serial Monitor, you can program the matrix to scroll the room's temperature directly on the board.
If you have any questions feel free to comment.