Building and Programming:
Building the Blynk app:
Start a new project on the Blynk App.
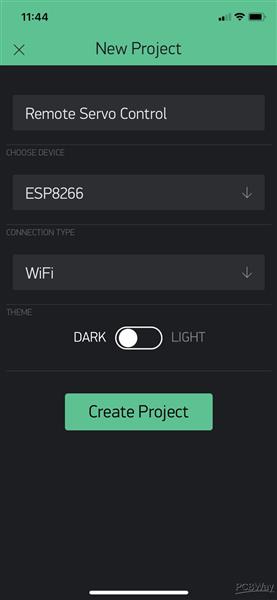
Name it Remote Servo Control, choose ESP8266 as the device and choose the connection type via WiFi
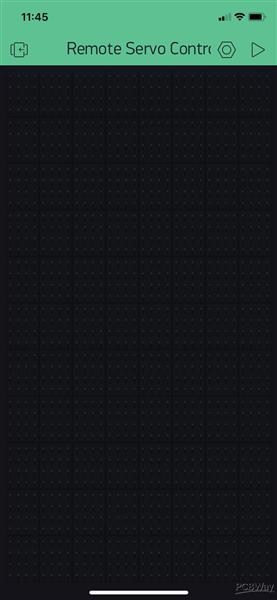
An email will arrive with your Auth token when you create your project. Save it, you'll need it later.
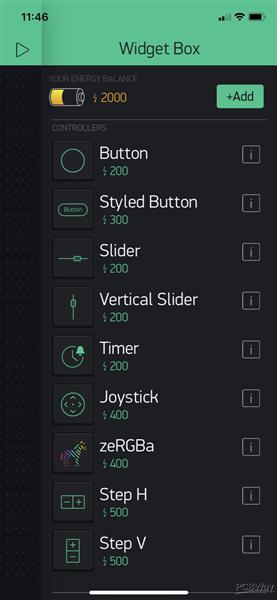
Add a Slider to the project.
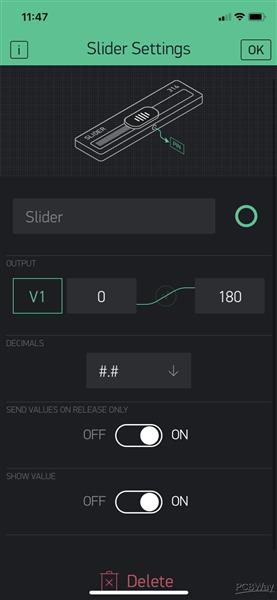
Set the output of the Slider to Virtual 1 (V1) and change the 1023 value to 180.
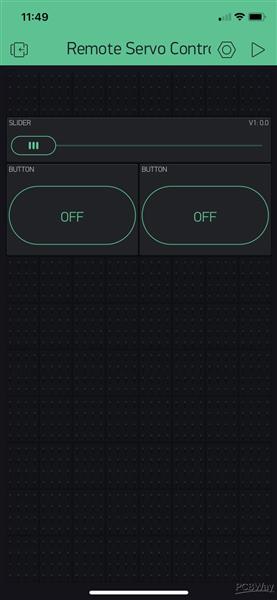
Add 2 buttons to the project
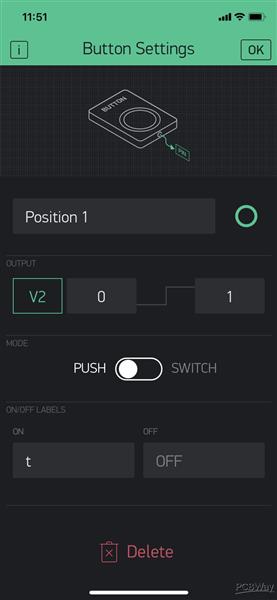
Name it Position 1 and set the output as Virtual 2 (V2)
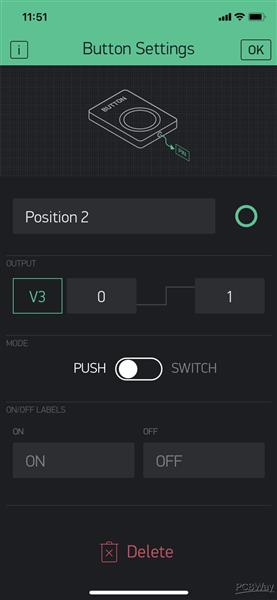
Name the other button Position 2 and set the output as Virtual 3 (V3)
And that's basically it for the App.
The code:
We need to change some things to make it work:
char auth[] = "Blynk Auth Token";
Paste your Auth code inside the brackets
char ssid[] = "your ssid";
Replace "your ssid" and add your wifi network name
char pass[] = "wifi password";
Replace "wifi password" and add your networks password.
And that's it! Now you're ready to turn on and off anything anywhere in your house.
TodownloadtheGerberorordertheboard,checktheprojectonPcbway:
https://www.pcbway.com/project/shareproject/Remote_Servo_Actuator_bb083b00.html
EXPANDED TECHNICAL DETAILS
Cloud-Driven Mechanical Articulation
This project allows for the remote control of high-torque mechanical movement over any internet connection using the Blynk platform.
- Direct IoT Servo Mapping: The Arduino captures a 0-180 degree value from a Blynk "Slider" widget. The firmware translates this cloud-event into a precise PWM pulse duration ($500\mu s - 2500\mu s$) to drive a standard SG90 or MG996R servo.
- Real-Time Angle Telemetry: Simultaneously sends the servo's currently "Target" vs. "Actual" position (if using a feedback servo) back to the mobile app for visual verification of the mechanical movement.
Efficiency
- Idle Power Down: To save energy and prevent "Servo Jitter," the Arduino electronically deactivates the servo's PWM signal after 5 seconds of inactivity, extending the lifespan of both the motor and the power supply.