I made this because I wanted to try an RFID tag and thought this might be a simple project to start with.
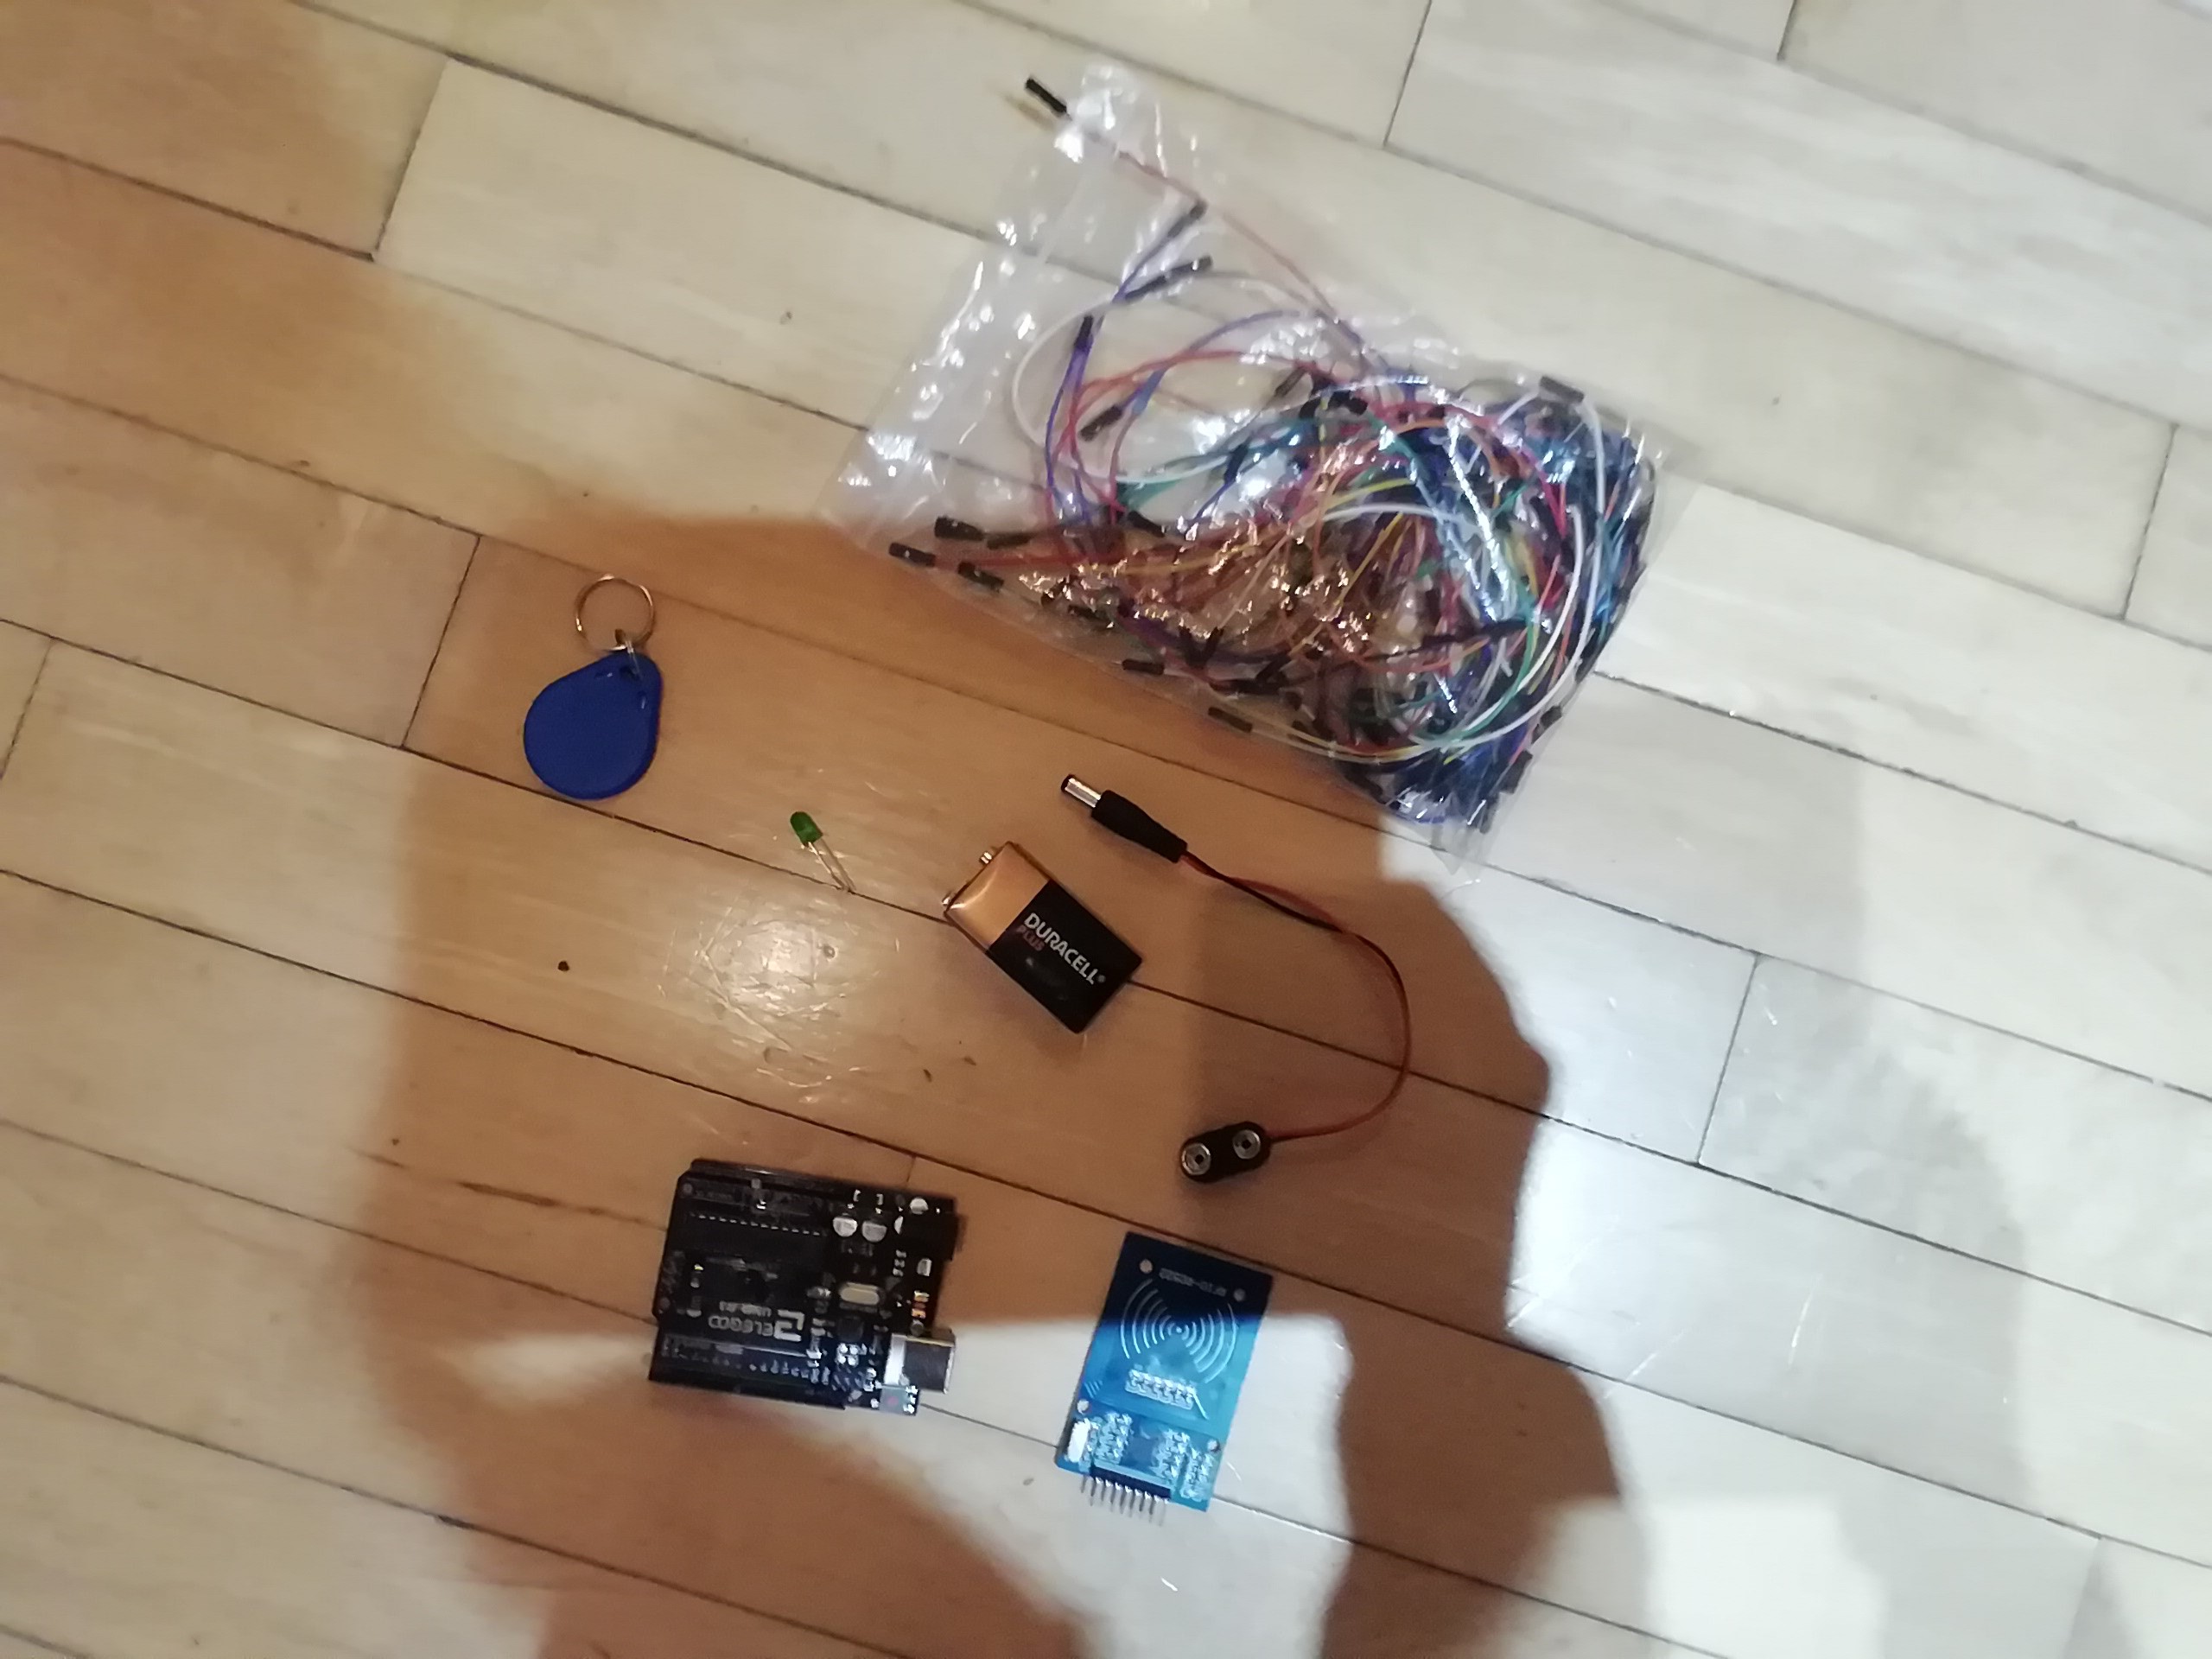
First of all, connect the RFID module using the picture below.
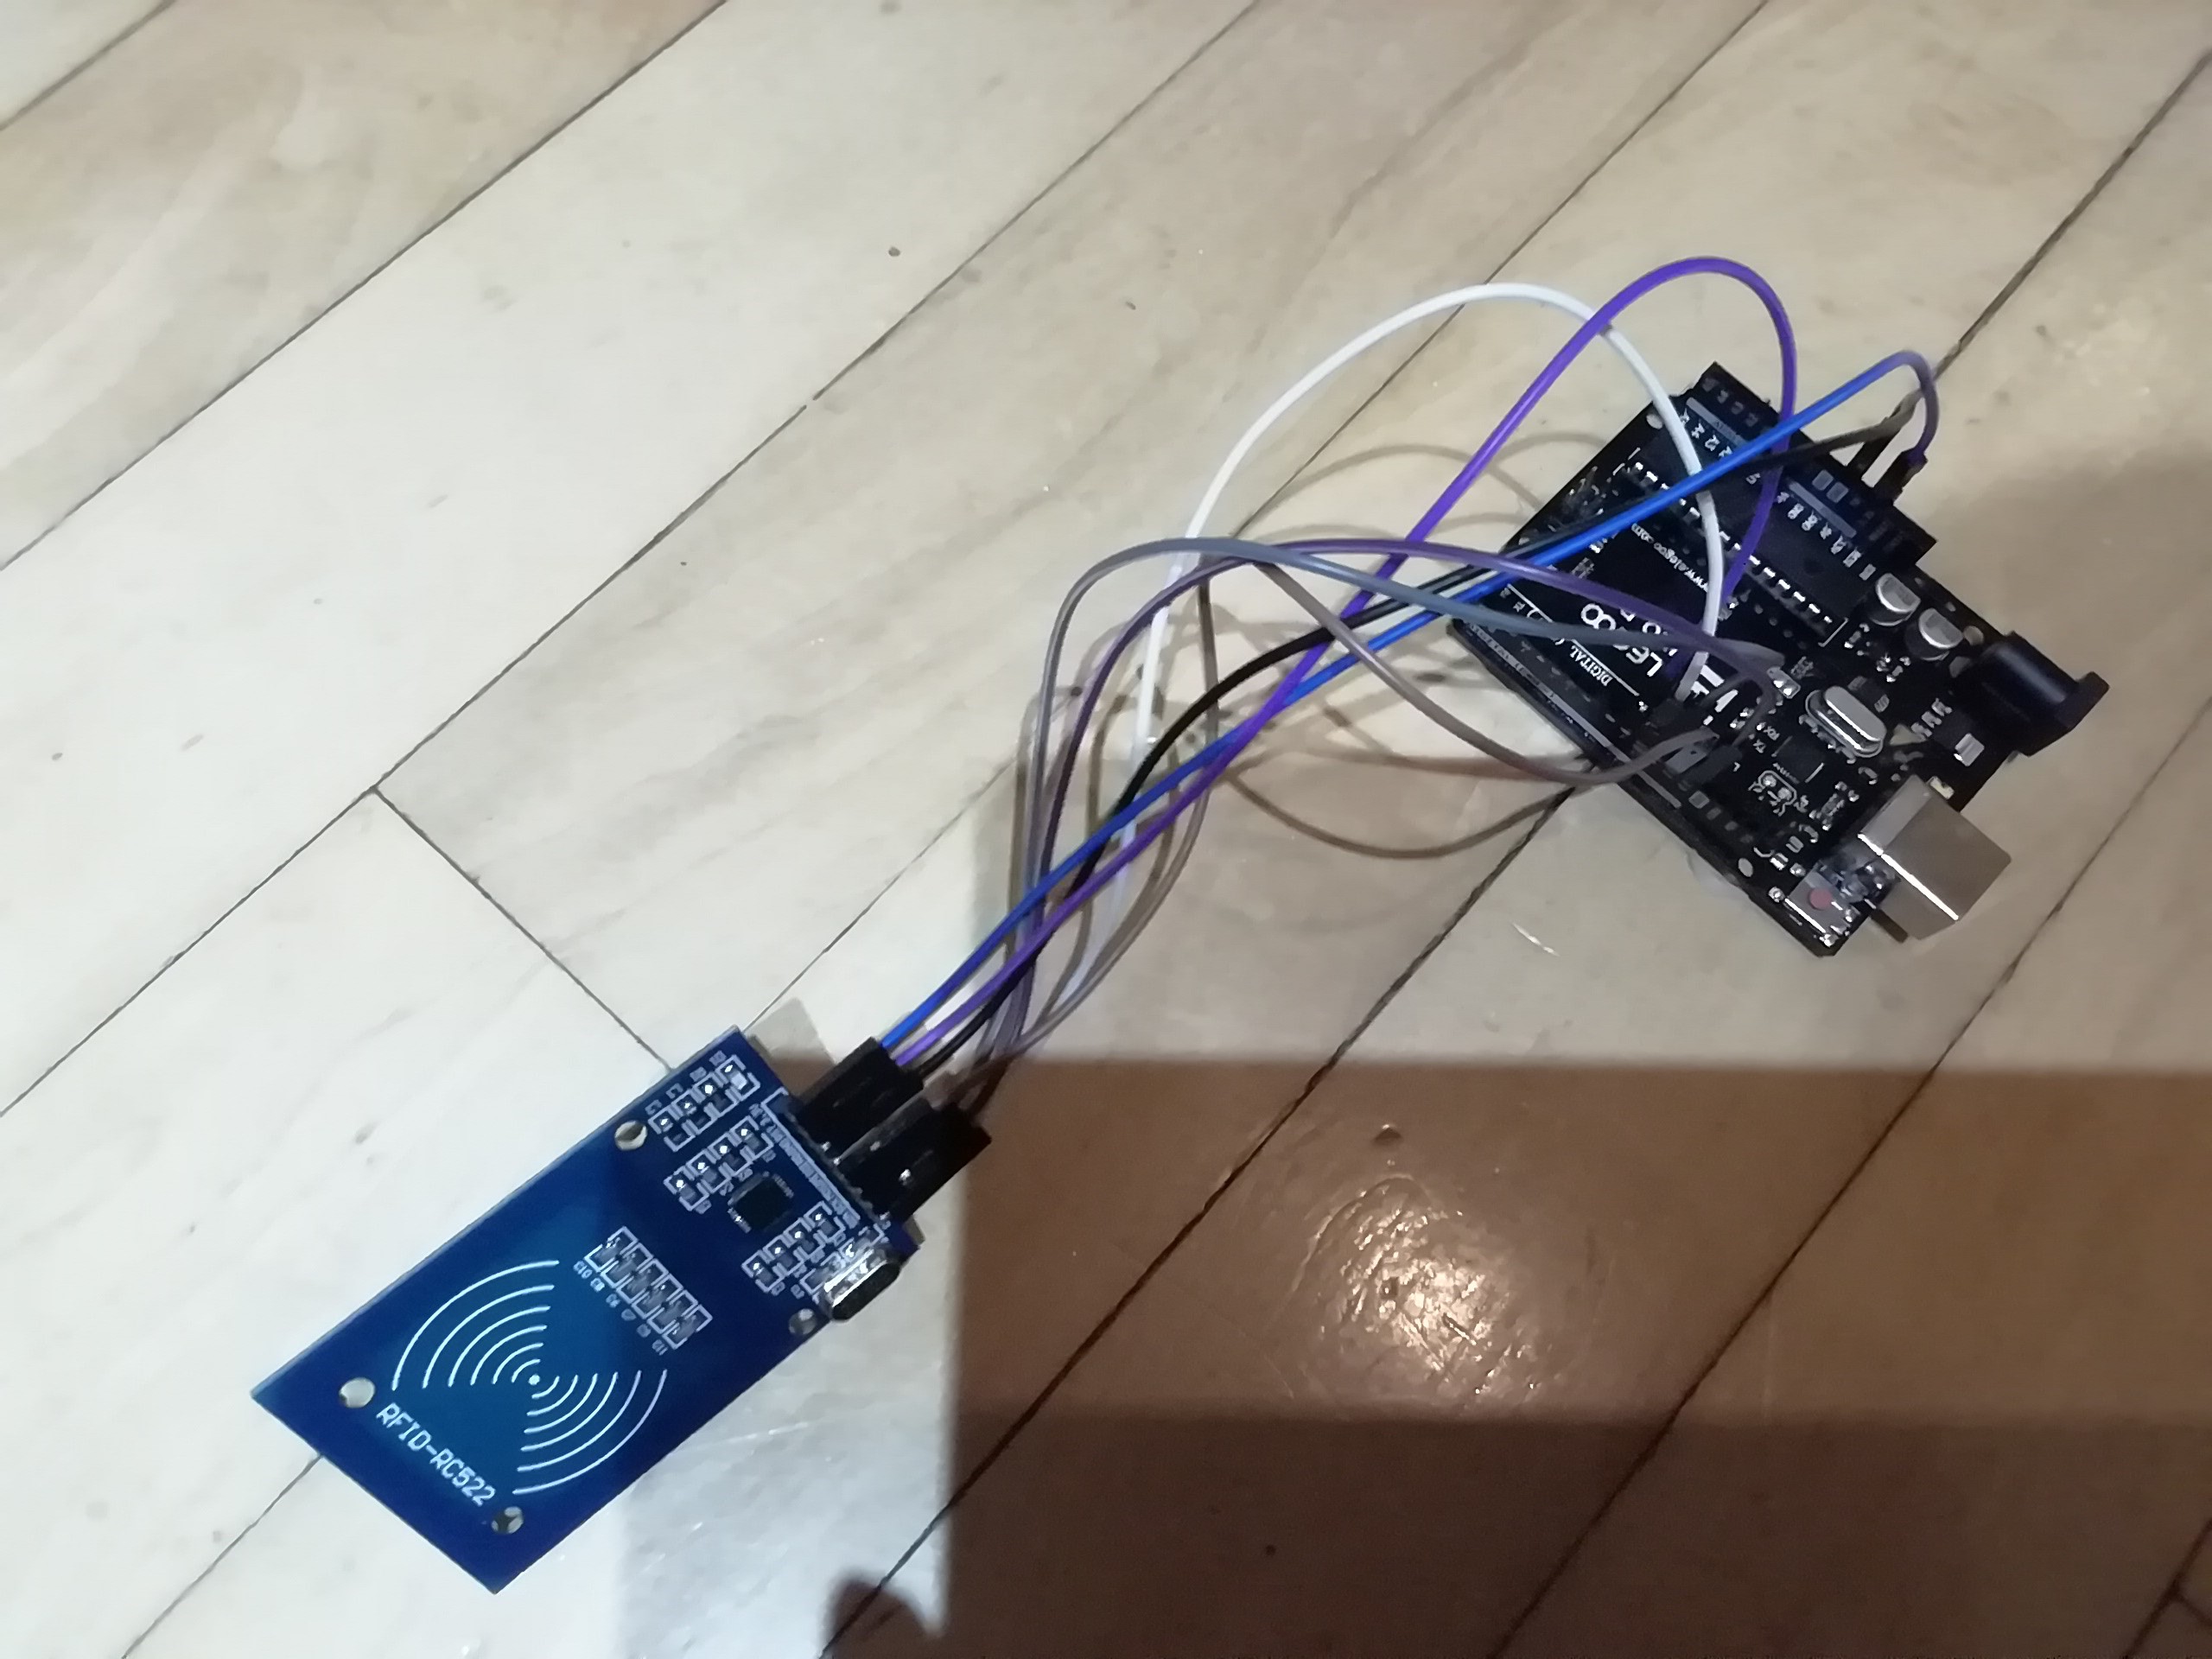
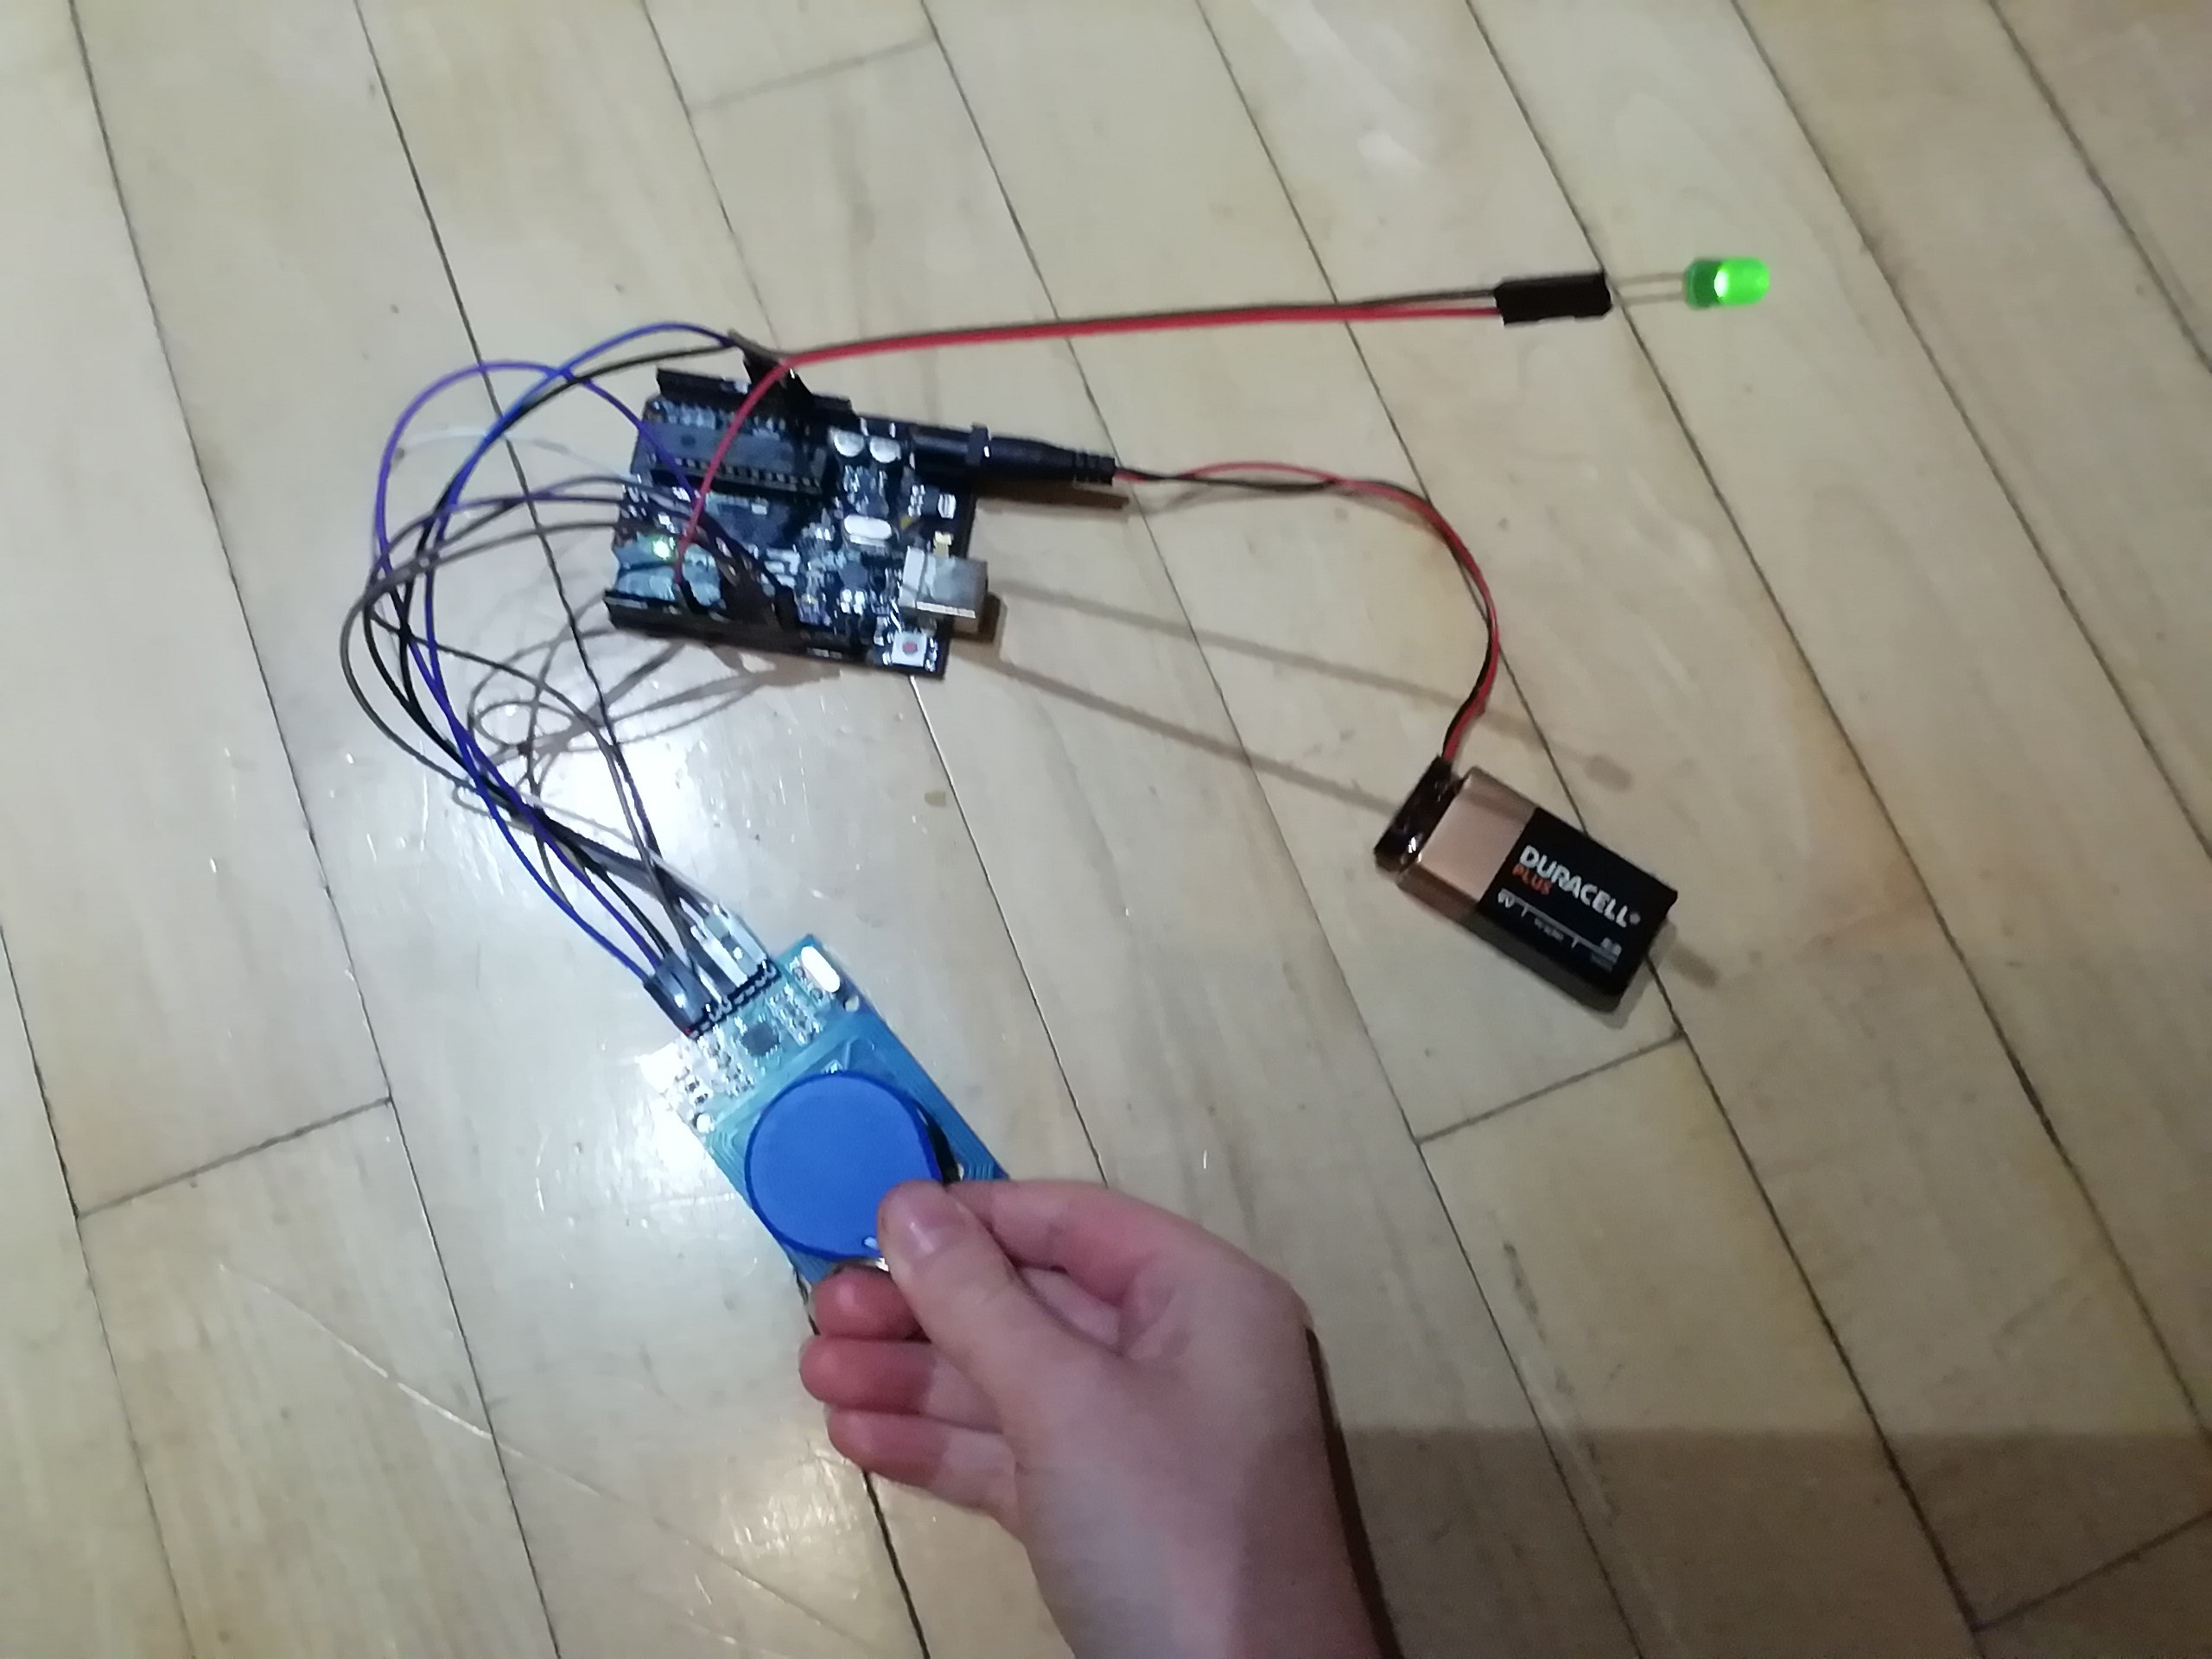
Then, the LED should go to digital pin 6 and GND. This will be activated when the RFID tag is over the module.
Proximity-Based Authentication
This project demonstrates the fundamentals of contactless data exchange using Radio Frequency Identification (RFID) technology.
- MFRC522 Protocol: The system uses an RC522 RFID reader. The Arduino communicates with it via the SPI protocol, constantly polling for a unique UID (Unique Identifier) from an approaching tag or card.
- Access Control Logic: The firmware compares the scanned UID against a "Whitelist" stored in the code. If a match is found, the Arduino pulls a digital pin HIGH to illuminate the green LED, as shown in the connection diagram above.
Practical Scaling
- EEPROM Storage: For more advanced versions of this project, new tags can be "learned" and saved to the Arduino's EEPROM. This allows the system to remember multiple authorized users even after a power cycle, moving beyond a simple hardcoded whitelist.
Time to code! Download GETUID.ino. This will get the UID or the tag. The only thing I changed in this code was move the printHex function to before setup() and loop(). Upload this code and in the Serial Monitor, the UID should be displayed.
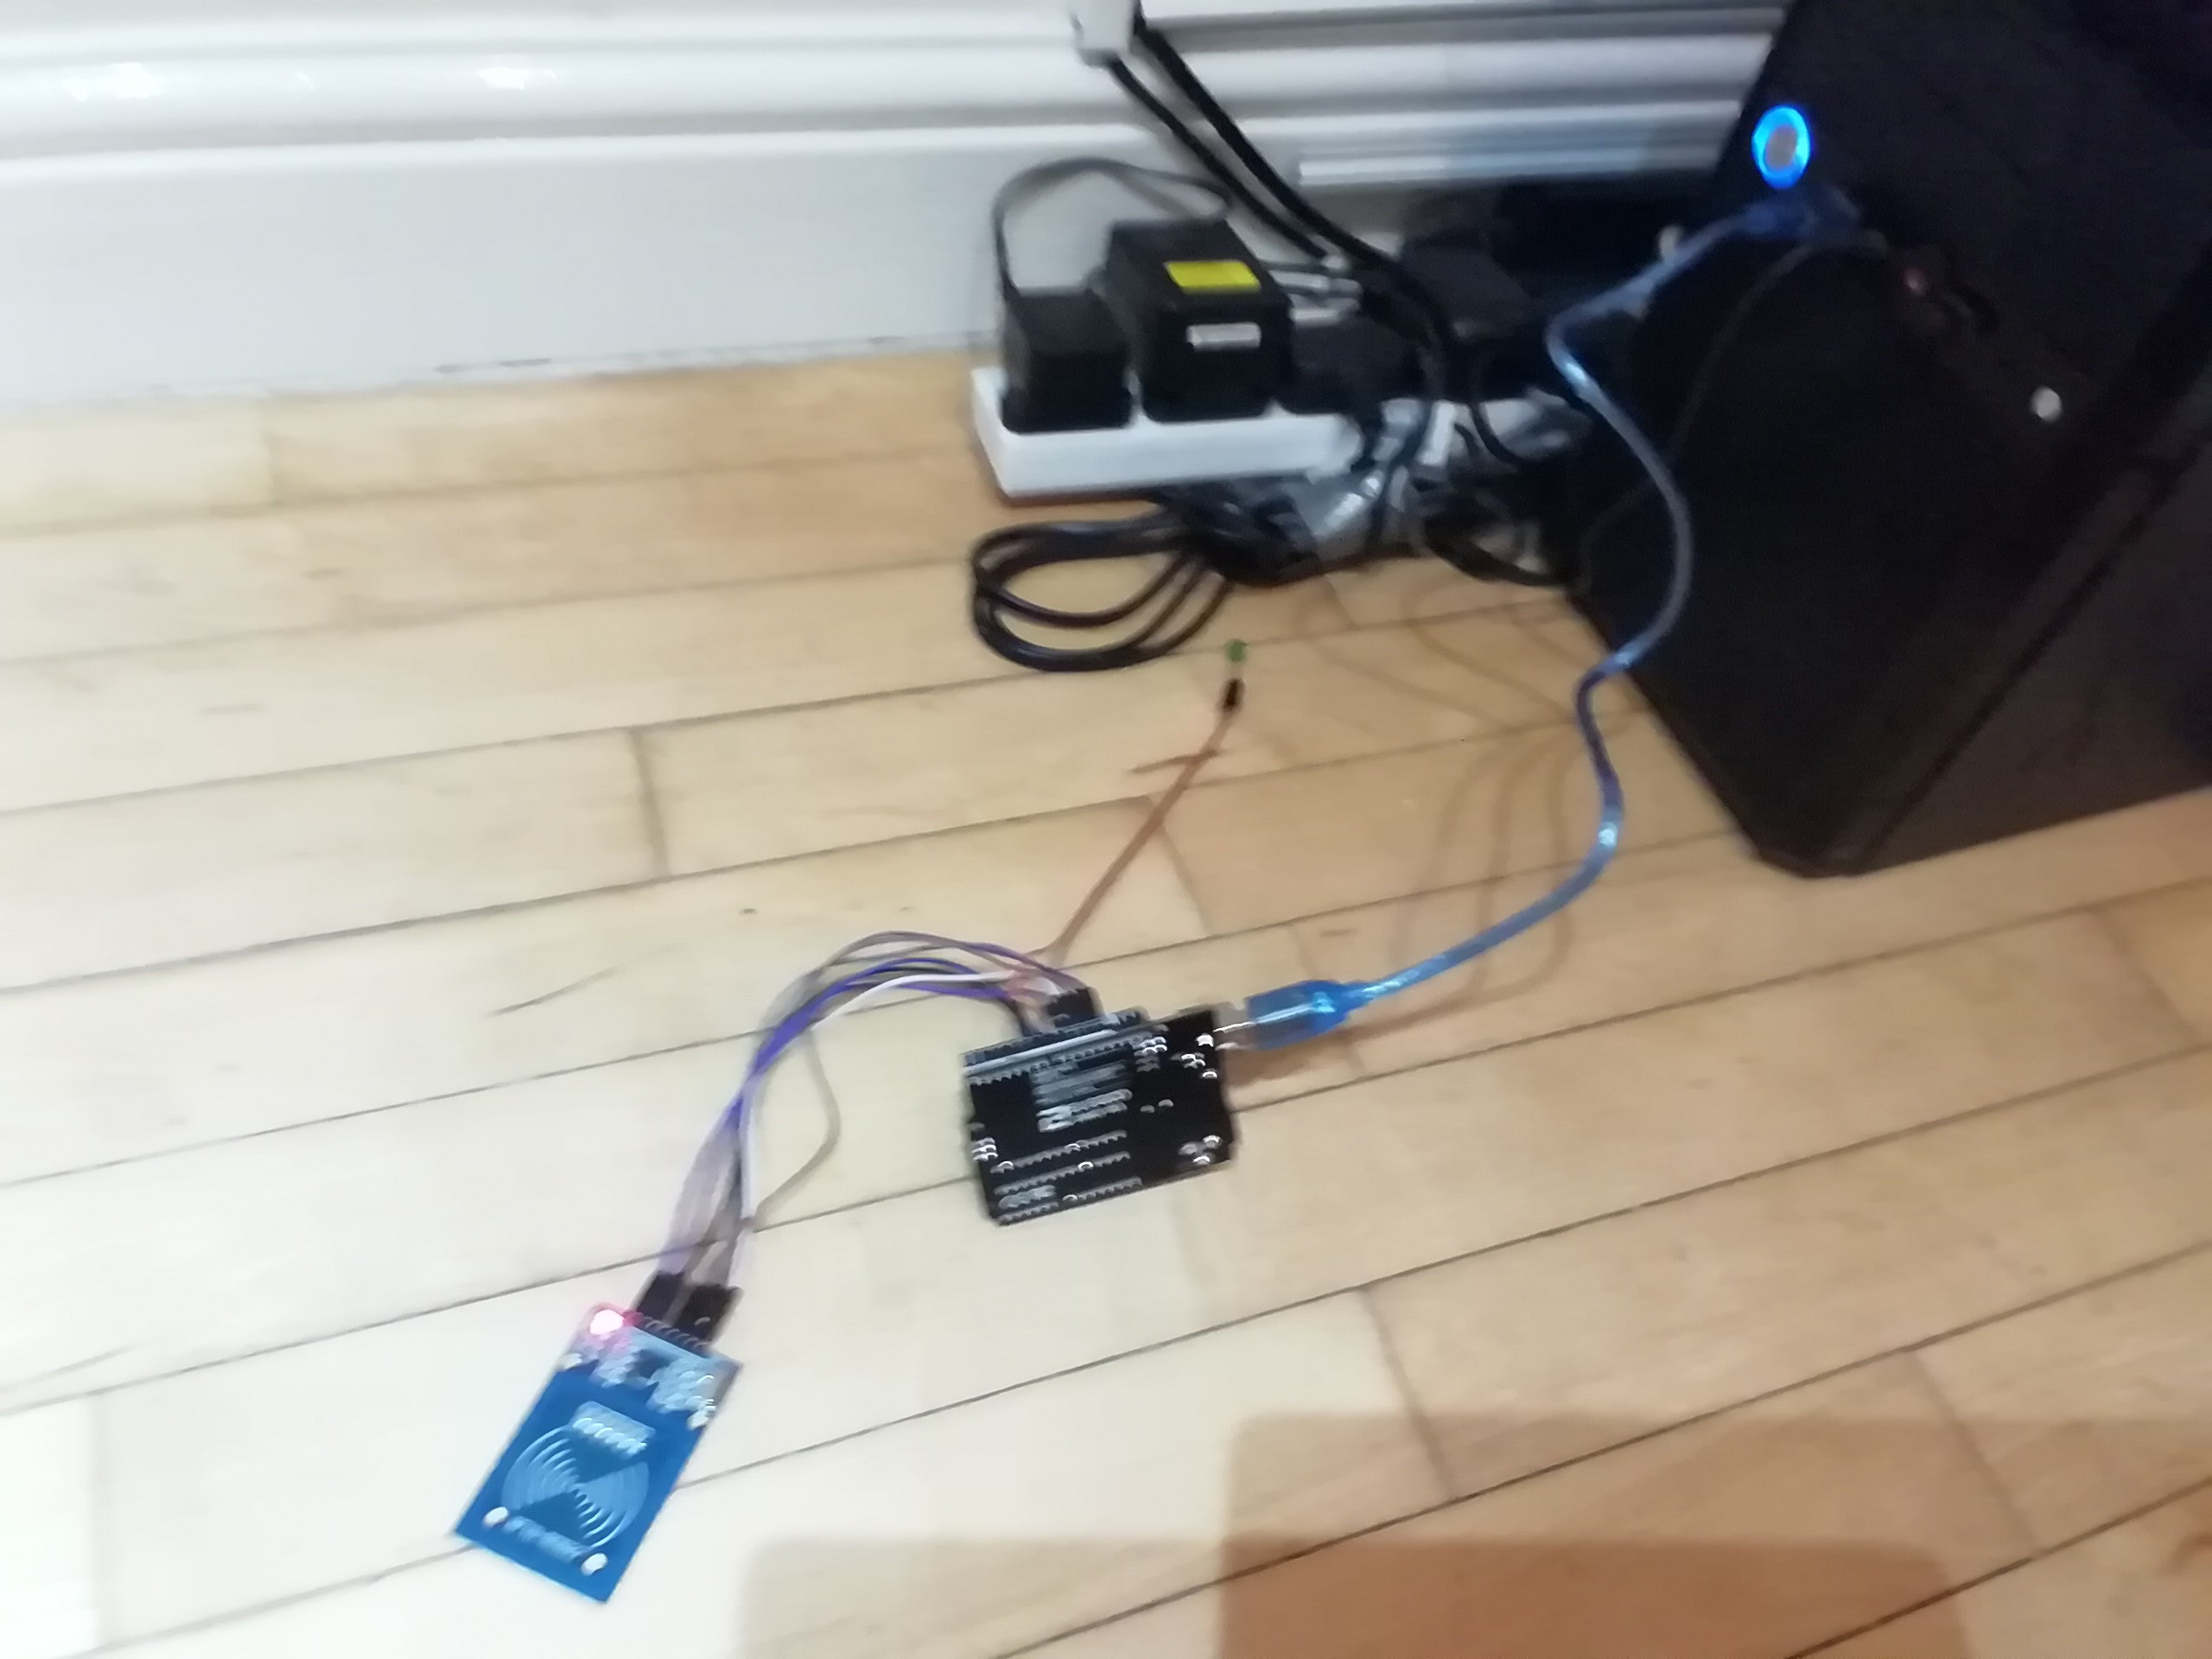
Next, download RFIDLED.ino. I added the led part in this code. Upload this and hover the RFID tag close to the module. The green LED should come on!