Overview
Arduino-ho-ho-ho-ho! Do you hear the bells? Santa Claus is coming to town!
Have your children sent their letters the North Pole? Are their gifts being prepared in Santa’s Workshop? These are some of the questions that are asked during the holiday season.
Remember the old advent calendar? We’re giving it an IoT twist with the MKR1000-based Road to Santa system!
If your child is “nice,” Santa will continue with his duties of reading the letters, preparing gifts, packing them into his sleigh, flying over the world, and delivering them to every household.
Project Perspective
Road to Santa Claus is a sophisticated exploration of holiday automation and sensor-to-hardware interaction. By focusing on the essential building blocks—an IR sensor and a servo-controlled barrier—you'll learn how to communicate and automate your Christmas village using specialized software logic and a robust festive setup.
Technical Implementation: IR Sensors and Festive Automation
The project reveals the hidden layers of simple train-to-village interaction:
- Identification layer: The IR Obstacle Avoidance Sensor acts as a high-resolution eye, detecting the presence of the "Santa Train" as it passes a certain point in the village.
- Processing Logic layer: The Arduino code follows a "sequential decoding" (or greeting-check) strategy: it only activates the LEDs and carols if the train is detected.
- Conversion layer: The Arduino uses the digital I/O pins to receive the high-speed pulses and coordinate the barrier tasks.
- Actuation layer: A SG90 Micro Servo acts as the village barrier, opening the road to coordinate the "Arrival" status for Santa.
- Audio Interface layer: A Piezo Buzzer provides high-precision audible feedback for your Christmas carol (e.g., Jingle Bells).
Hardware Infrastructure
- Arduino Uno: The "brain" of the project, managing the high-speed IR sampling and coordinating the servo and LED tasks.
- IR Obstacle Sensor: Providing contactless and reliable detection monitoring for every train pass.
- SG90 Micro Servo: Providing high-torque physical movement and orientation for the railway barrier.
- Piezo Buzzer: Providing high-precision and playful audio feedback for every note of the melody.
- Colored LEDs (Red/Green): Providing high-precision visual feedback for every point of the village's "Winter Glow."
- Micro-USB Cable: Used to program your Arduino and provides the primary power source for the festive controller.
Let's start to build it!
- place all the material on a flat surface
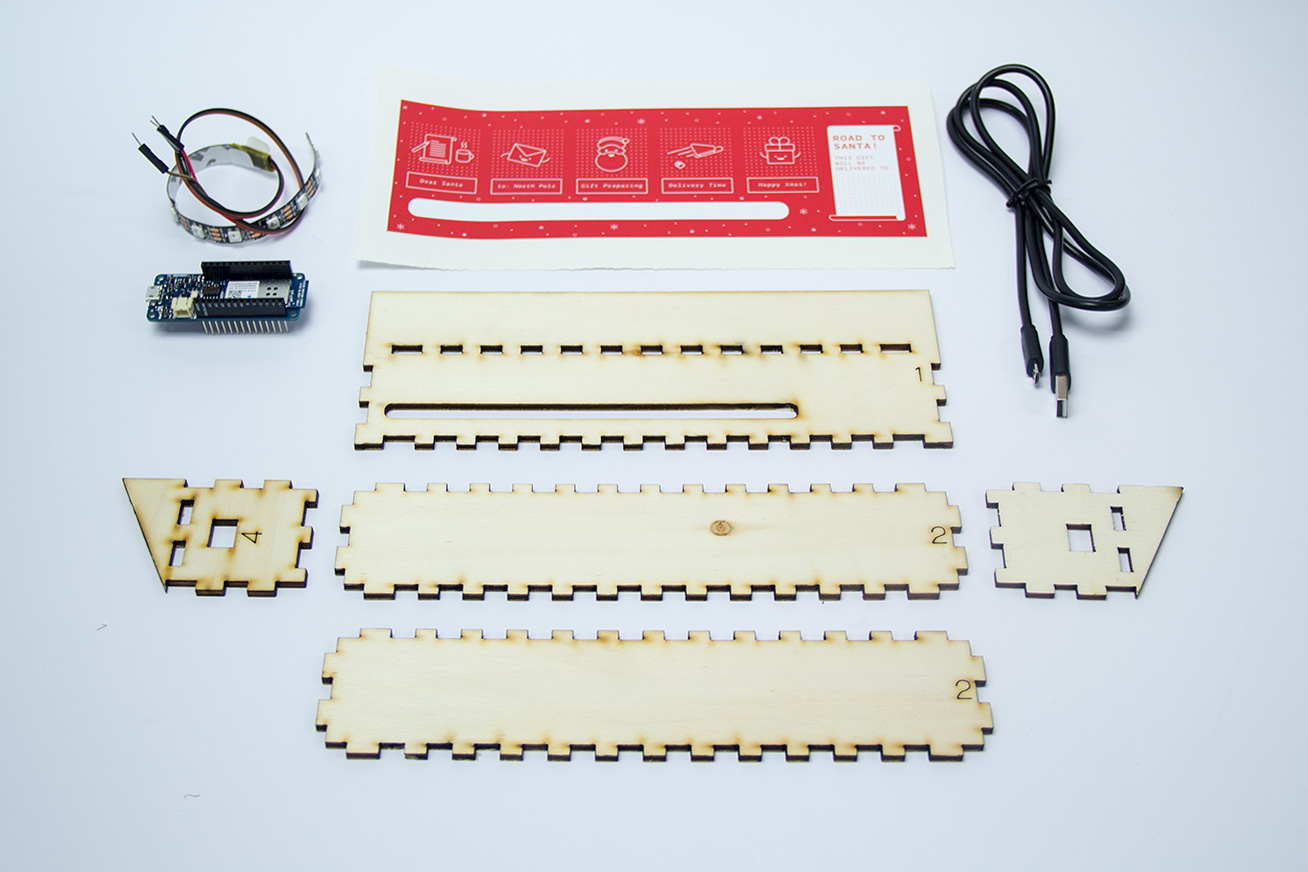
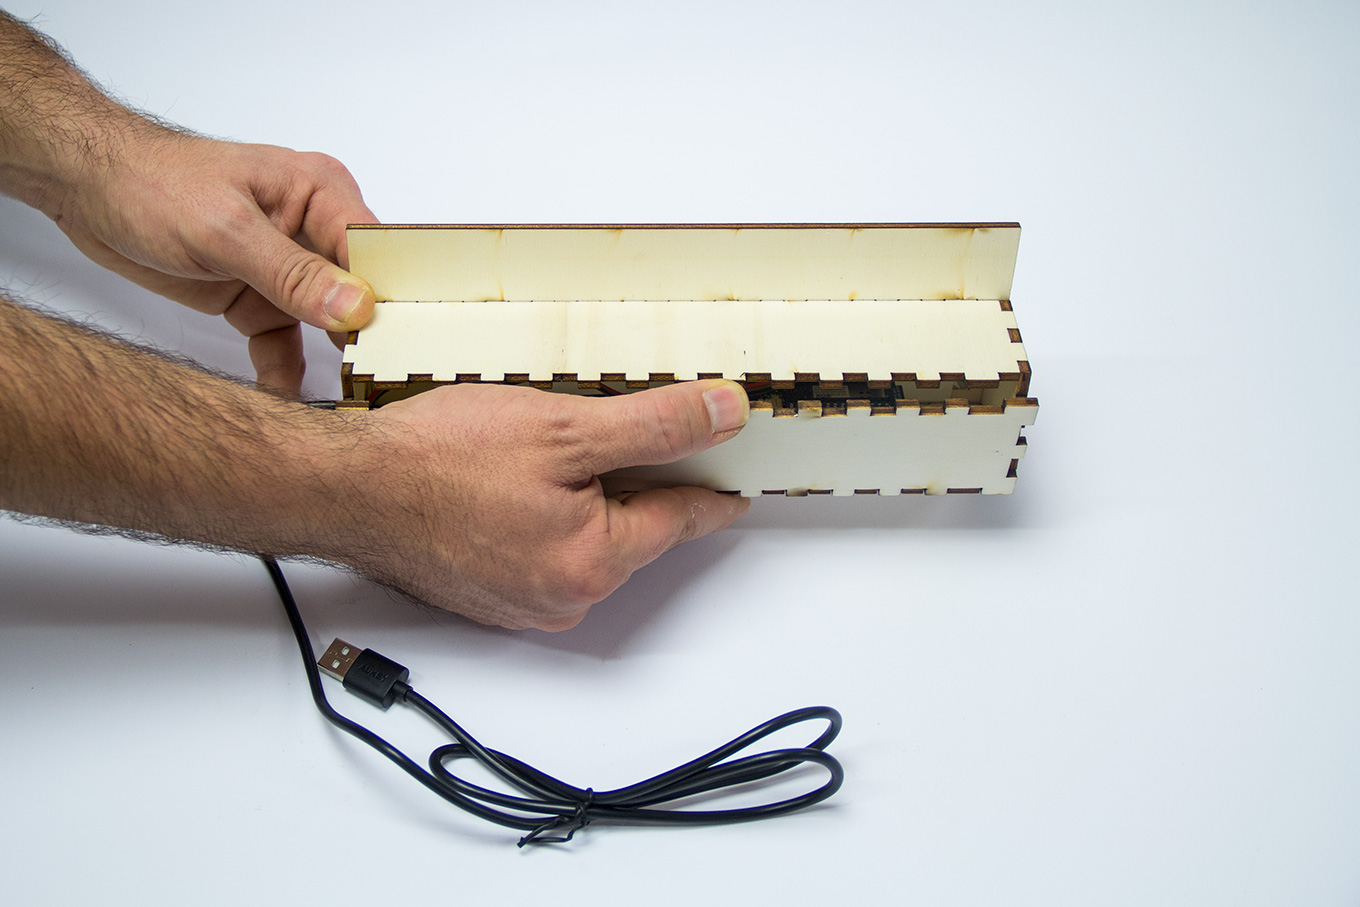
- insert the two pieces of wood numbered 2 trough the holes of the piece number 1 (the numbers should go on the internal side of the box).
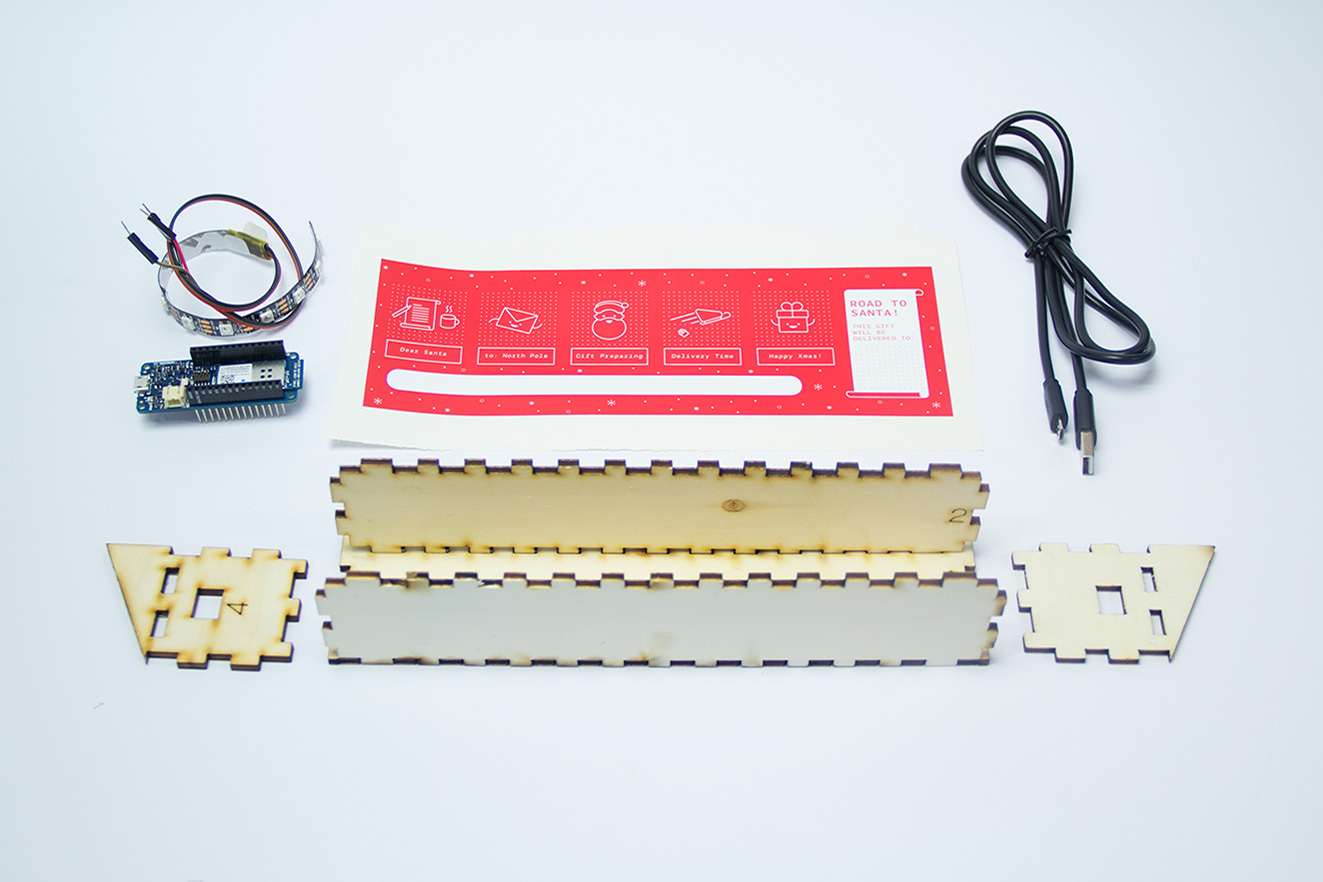
- attach the side parts of wood with a small quantity of vinyl glue.
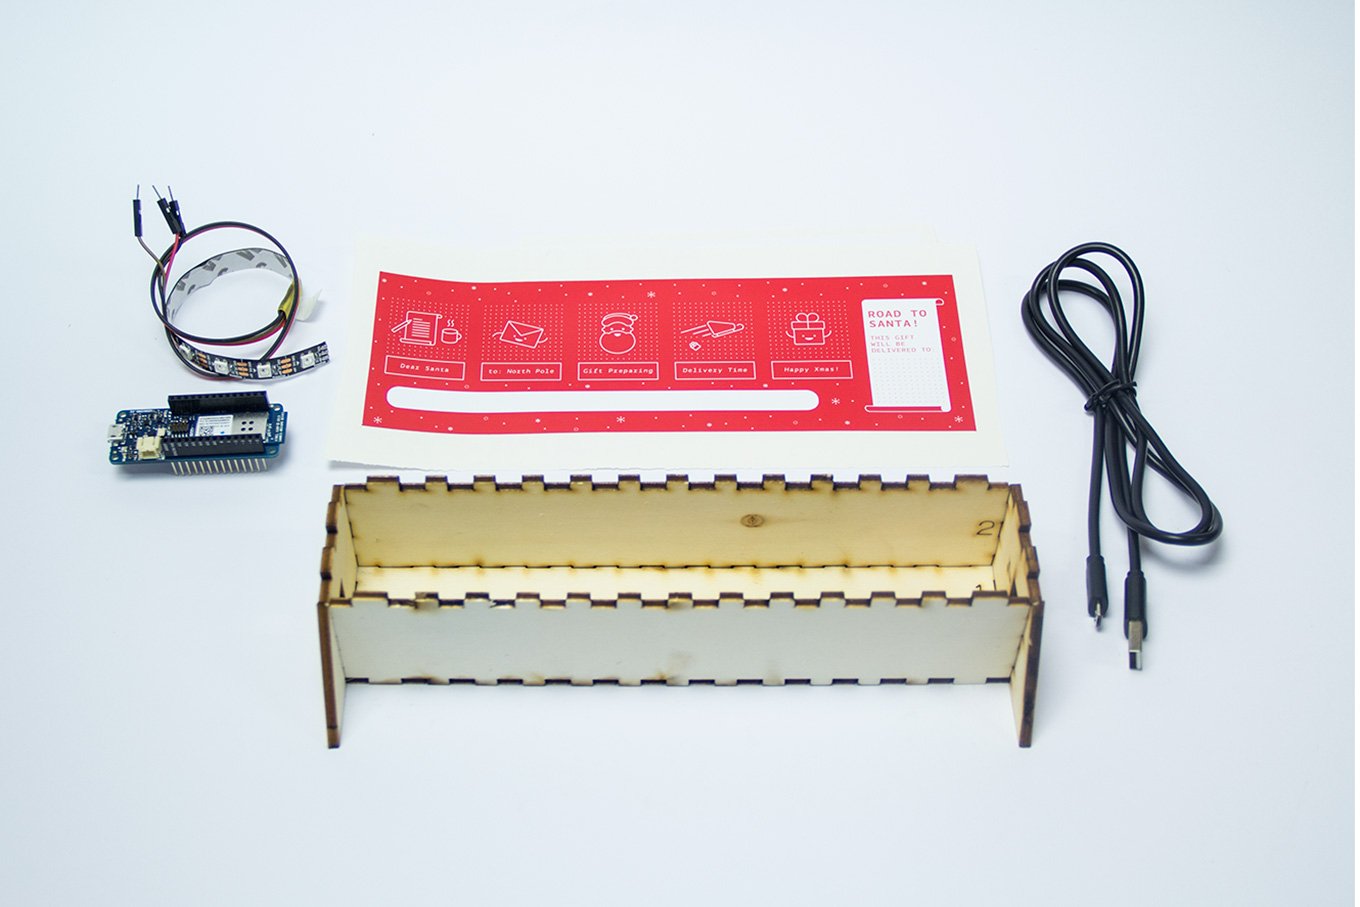
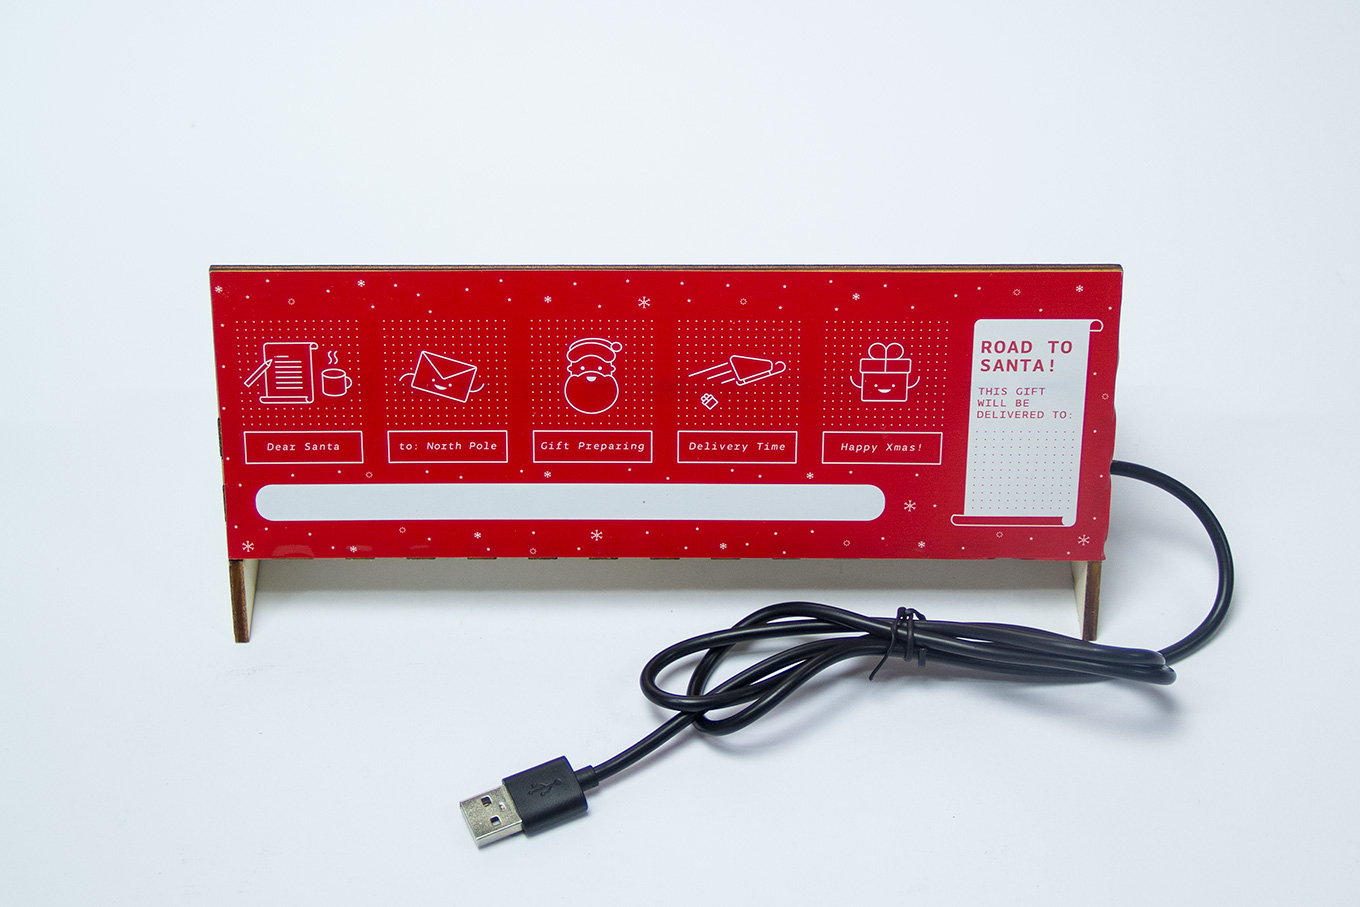
- peel the sticker and attach it to the front side of the wood number 1, aligning the white part of the sticker with the hole of the LEDs.
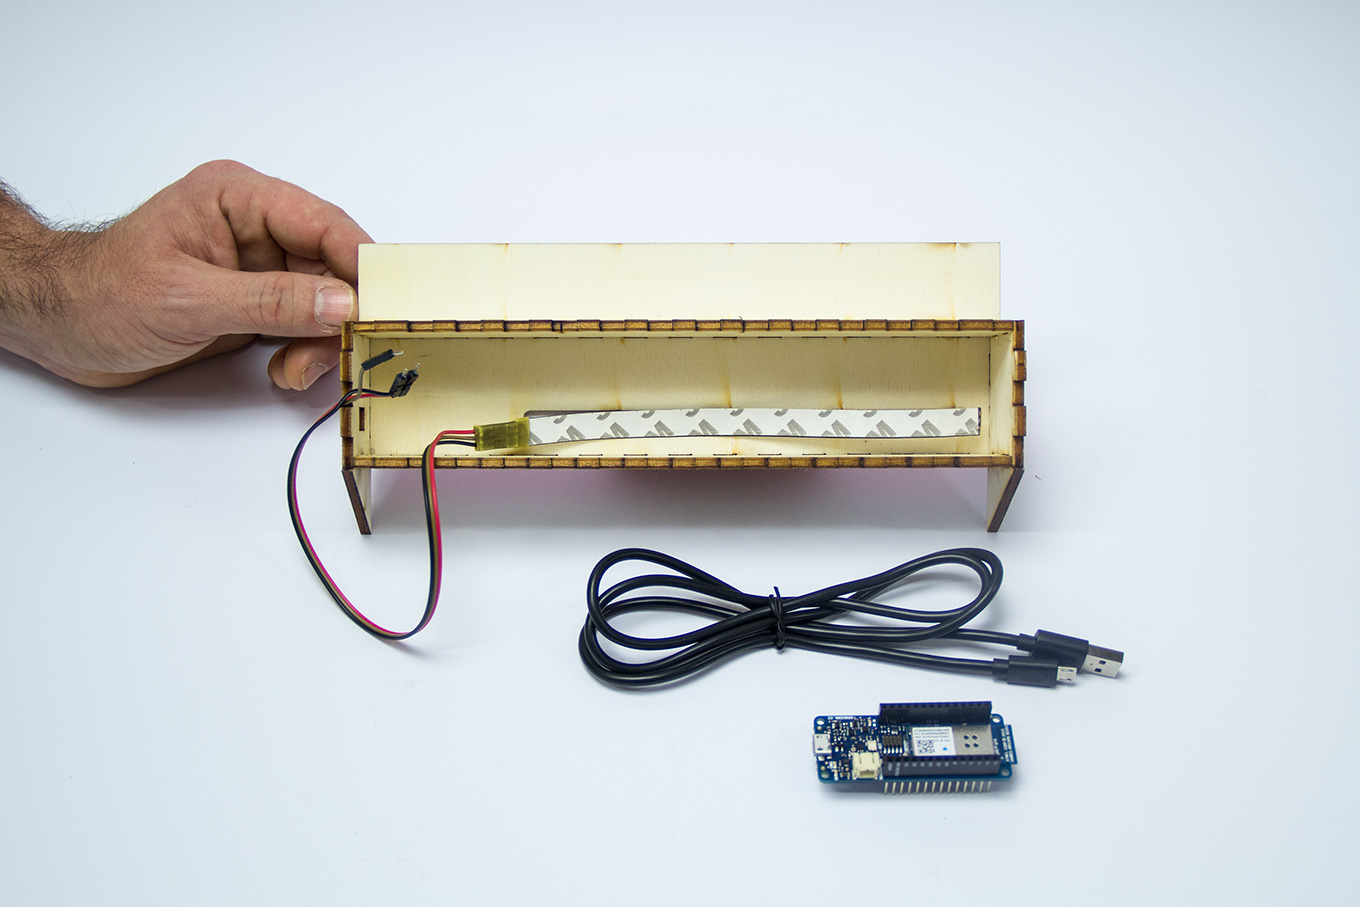
- take the LED strip and attach to the hole, put the white sticker on the back so it remain firmly attached.
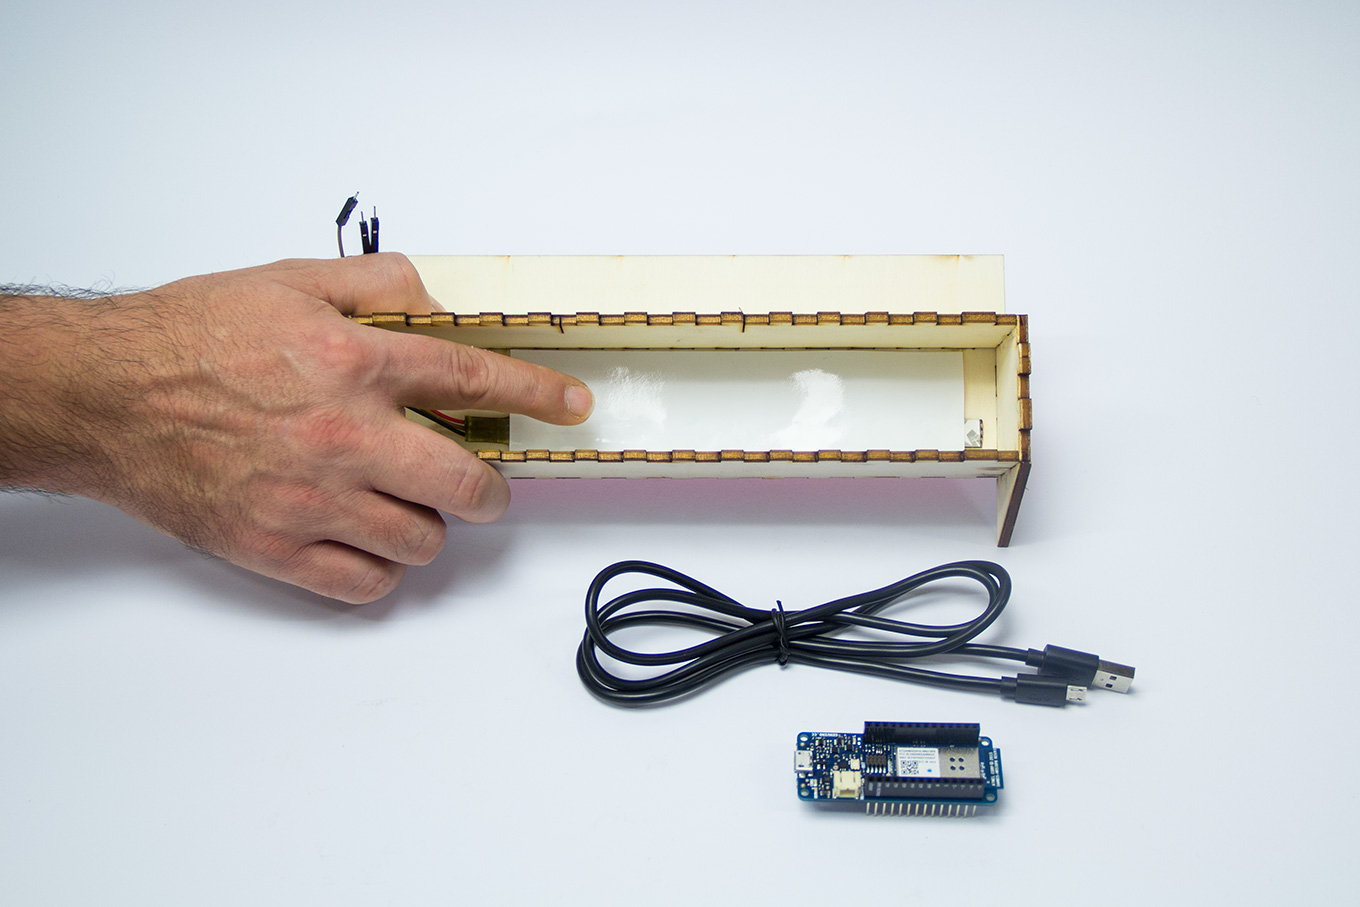
Attach pins from the LED strip to the MKR1000:
- Red cable on 5v Pin of the MKR1000
- Black cable of the ground to the ground pin of the MKR1000
- Brown cable to pin 6 of the MKR1000.
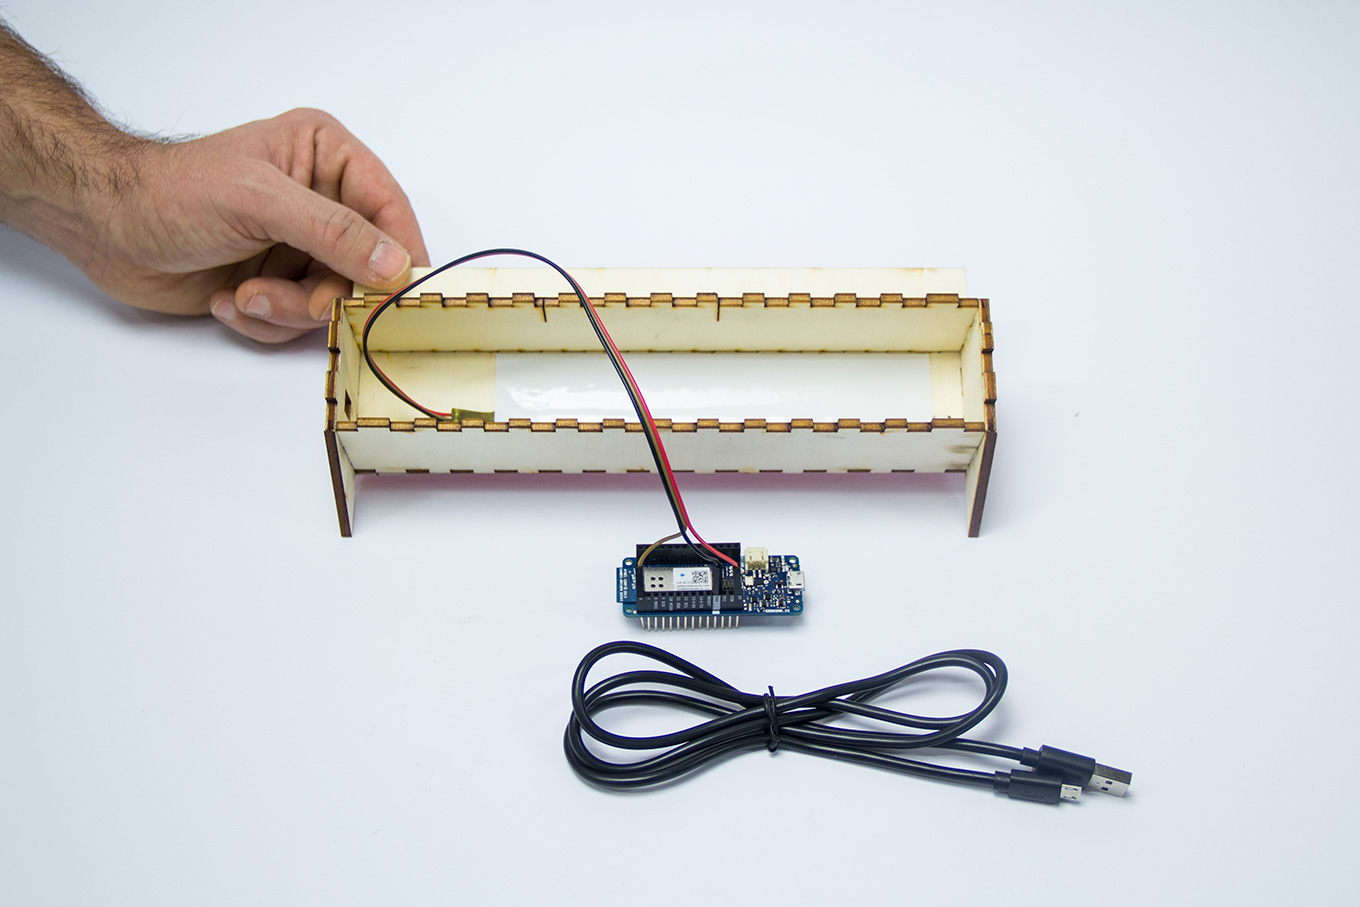
Double check the correct position of the pins, especially 5v and ground.
- put the micro USB cable trough the hole on the side wood piece.
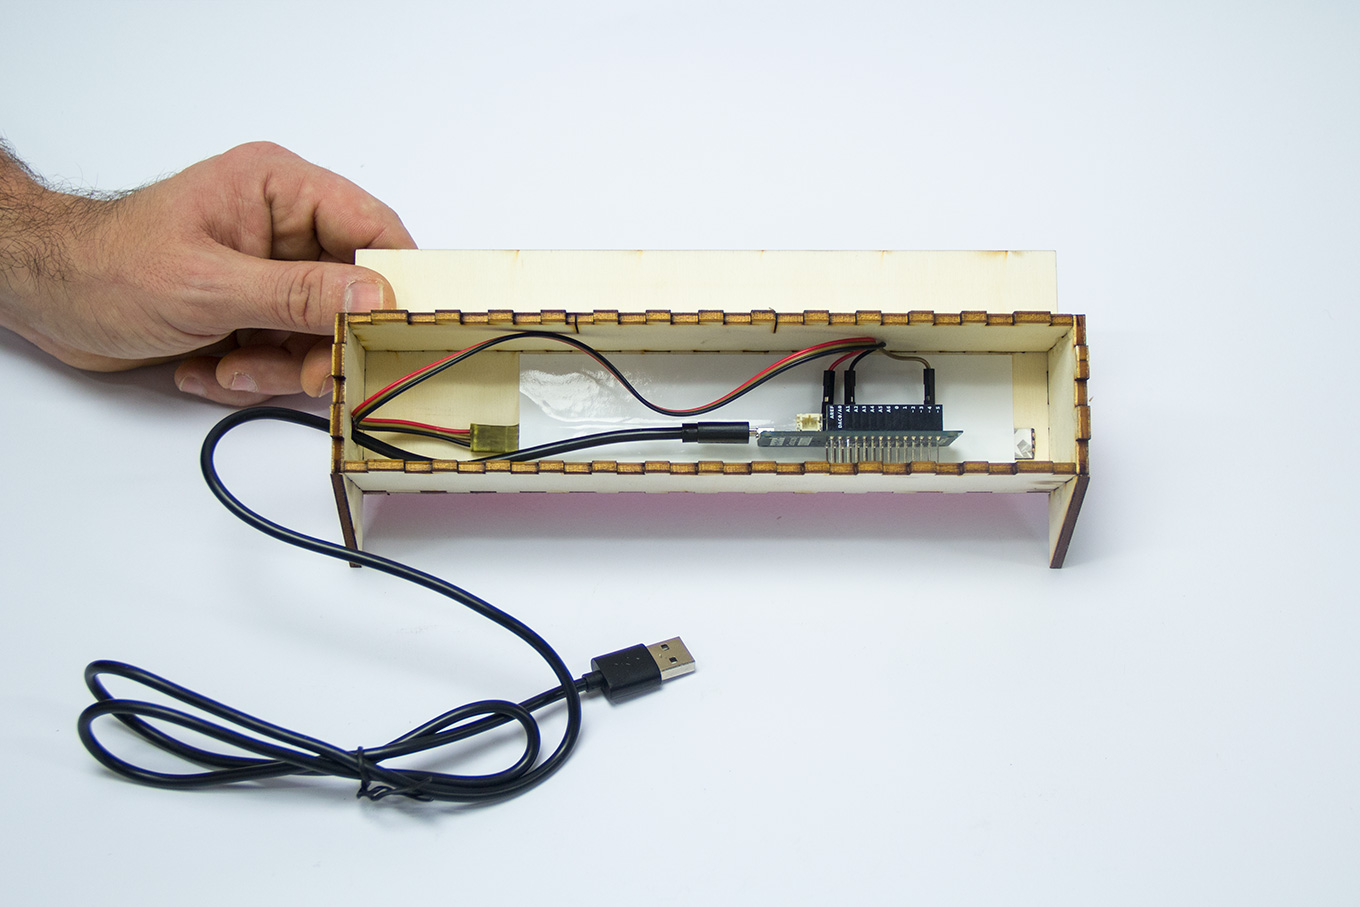
- connect the cable to the MKR1000 and the other side to the power supply.
Village Automation and Interaction Step-by-Step
The Christmas village automation process is designed to be very efficient:
- Initialize Hardware: Correctly seat the IR sensor and servo in your village layout and connect your LEDs to the Arduino.
- Setup Output Sync: In the
setup()function, initialize the Serial port and define the sensor and servo pins. - Execution Loop: The Arduino waits for the IR signal and updates your village barrier and carols in real-time.
- Visual and Audio Feedback Integration: Watch your custom village automatically become a rhythmic visual signal, pulsing and following your train's journey to the Santa Claus house.
The MKR1000 will boot. A red stripe is shown during the boot process, once done a flash green will show up. Now the MKR1000 is ready. From your smartphone, connect to the Wi-Fi called Road-To-Santa.
Once connected your web browser and open this address: http://10.0.0.1, a small interface with two buttons will open. Use the buttons to move back a forward the LED.
Have Fun!

Future Expansion
- OLED Identity Dashboard Integration: Add a small OLED display on the village station to show "Santa's Arrival Time" and the "Train Lap Count."
- Multi-sensor Climate Sync Synchronization: Connect a DHT11 (temp) or an LDR (light) sensor and have the village "Light Up" automatically at sunset.
- Cloud Interface Registration Support Synchronization: Add a WiFi module (ESP8266/ESP32) and link to a specialized web-dashboard to precisely track and log Santa's missions history.
- Advanced Velocity Profile Customization Support: Add a specialized "Snow Machine" (using a motor) to your code to simulate winter flakes whenever the train completes a lap.
Road to Santa Claus is a perfect project for any electronics enthusiast looking for a more interactive and engaging holiday-tracking tool!
Troubleshooting:
Q: The LEDs don't light up
- A: Double check the connections
Q: I cannot connect to the Wi-Fi
- A: Sometimes this can happen because of interference. In this case, just power off and then back on the board by detaching the power supply from the wall. The MKR1000 saves the state of the LED, so the next boot, will light up the correct number of the LED.
Keep in mind that you have a brand new MKR1000 in your hands, so after Santa Claus make your children happy, you can enjoy and get inspired with all the tutorials on the dedicated page on Project hub.