What is your project about?
This is the triangle. Which will try to balance itself. With the help of all the sensors & actuators on-board.
Why did you decide to make it?
To make a balancing robot without using the MPU-6050 IMU. Instead, used a conventional ultrasonic sensor.
How does it work?
It is an Inverted Triangle. With counterweight on the servo motor to balance itself. And an ultrasonic sensor to detect the falling direction.
When the triangle is upright, its center of gravity remains right above its base. If the triangle falls left, then the CG Shifts left. And moves beyond the base. so the triangle tips over. The same goes for the right side.
So, to keep it balanced. We have added a servo motor. With counterweight on its shaft.
Now if the triangle falls on one side, The servo motor will move the weight on the opposite side. So there combined CG remains at the same place.
EXPANDED TECHNICAL DETAILS
The Physics of the Inverted Triangle:
- Center of Gravity (CG) Dynamics: When the prism rotates away from the vertical axis, its CG shifts outside its base of support, creating a "Tipping Moment." To counteract this, the system must generate an equal and opposite torque.
- Kinetic Counterbalancing: The project utilizes a servo-driven metal link. By moving this weight in the direction of the fall, the total localized CG of the system is pulled back toward the central axis, theoretically restoring stability ($M_{total} = M_{body} + M_{counterweight}$).
Non-Inertial Feedback (Ultrasonic Forensics):
- Trigonometric Tilt Calculation: The HC-SR04 sensor is mounted on the "wing" of the robot. As the robot tilts, the distance between the sensor and the ground changes. By calculating this height delta, the Arduino can infer the tilt angle without an accelerometer.
- Acoustic Latency: Unlike silicon IMUs, ultrasonic sensors rely on the speed of sound. This introduces a slight phase lag in the feedback loop, which is a critical variable when tuning high-speed stabilization algorithms.
Logical Control Flow:
- The Directional Correction Algorithm: The firmware operates on a simple but effective premise: If
Distance > Threshold(Robot falling left), thenServo Move Right. This "Opposing Force" logic is the basis for all closed-loop stabilization systems.
Steps to Make
Scrap Cardboard Box
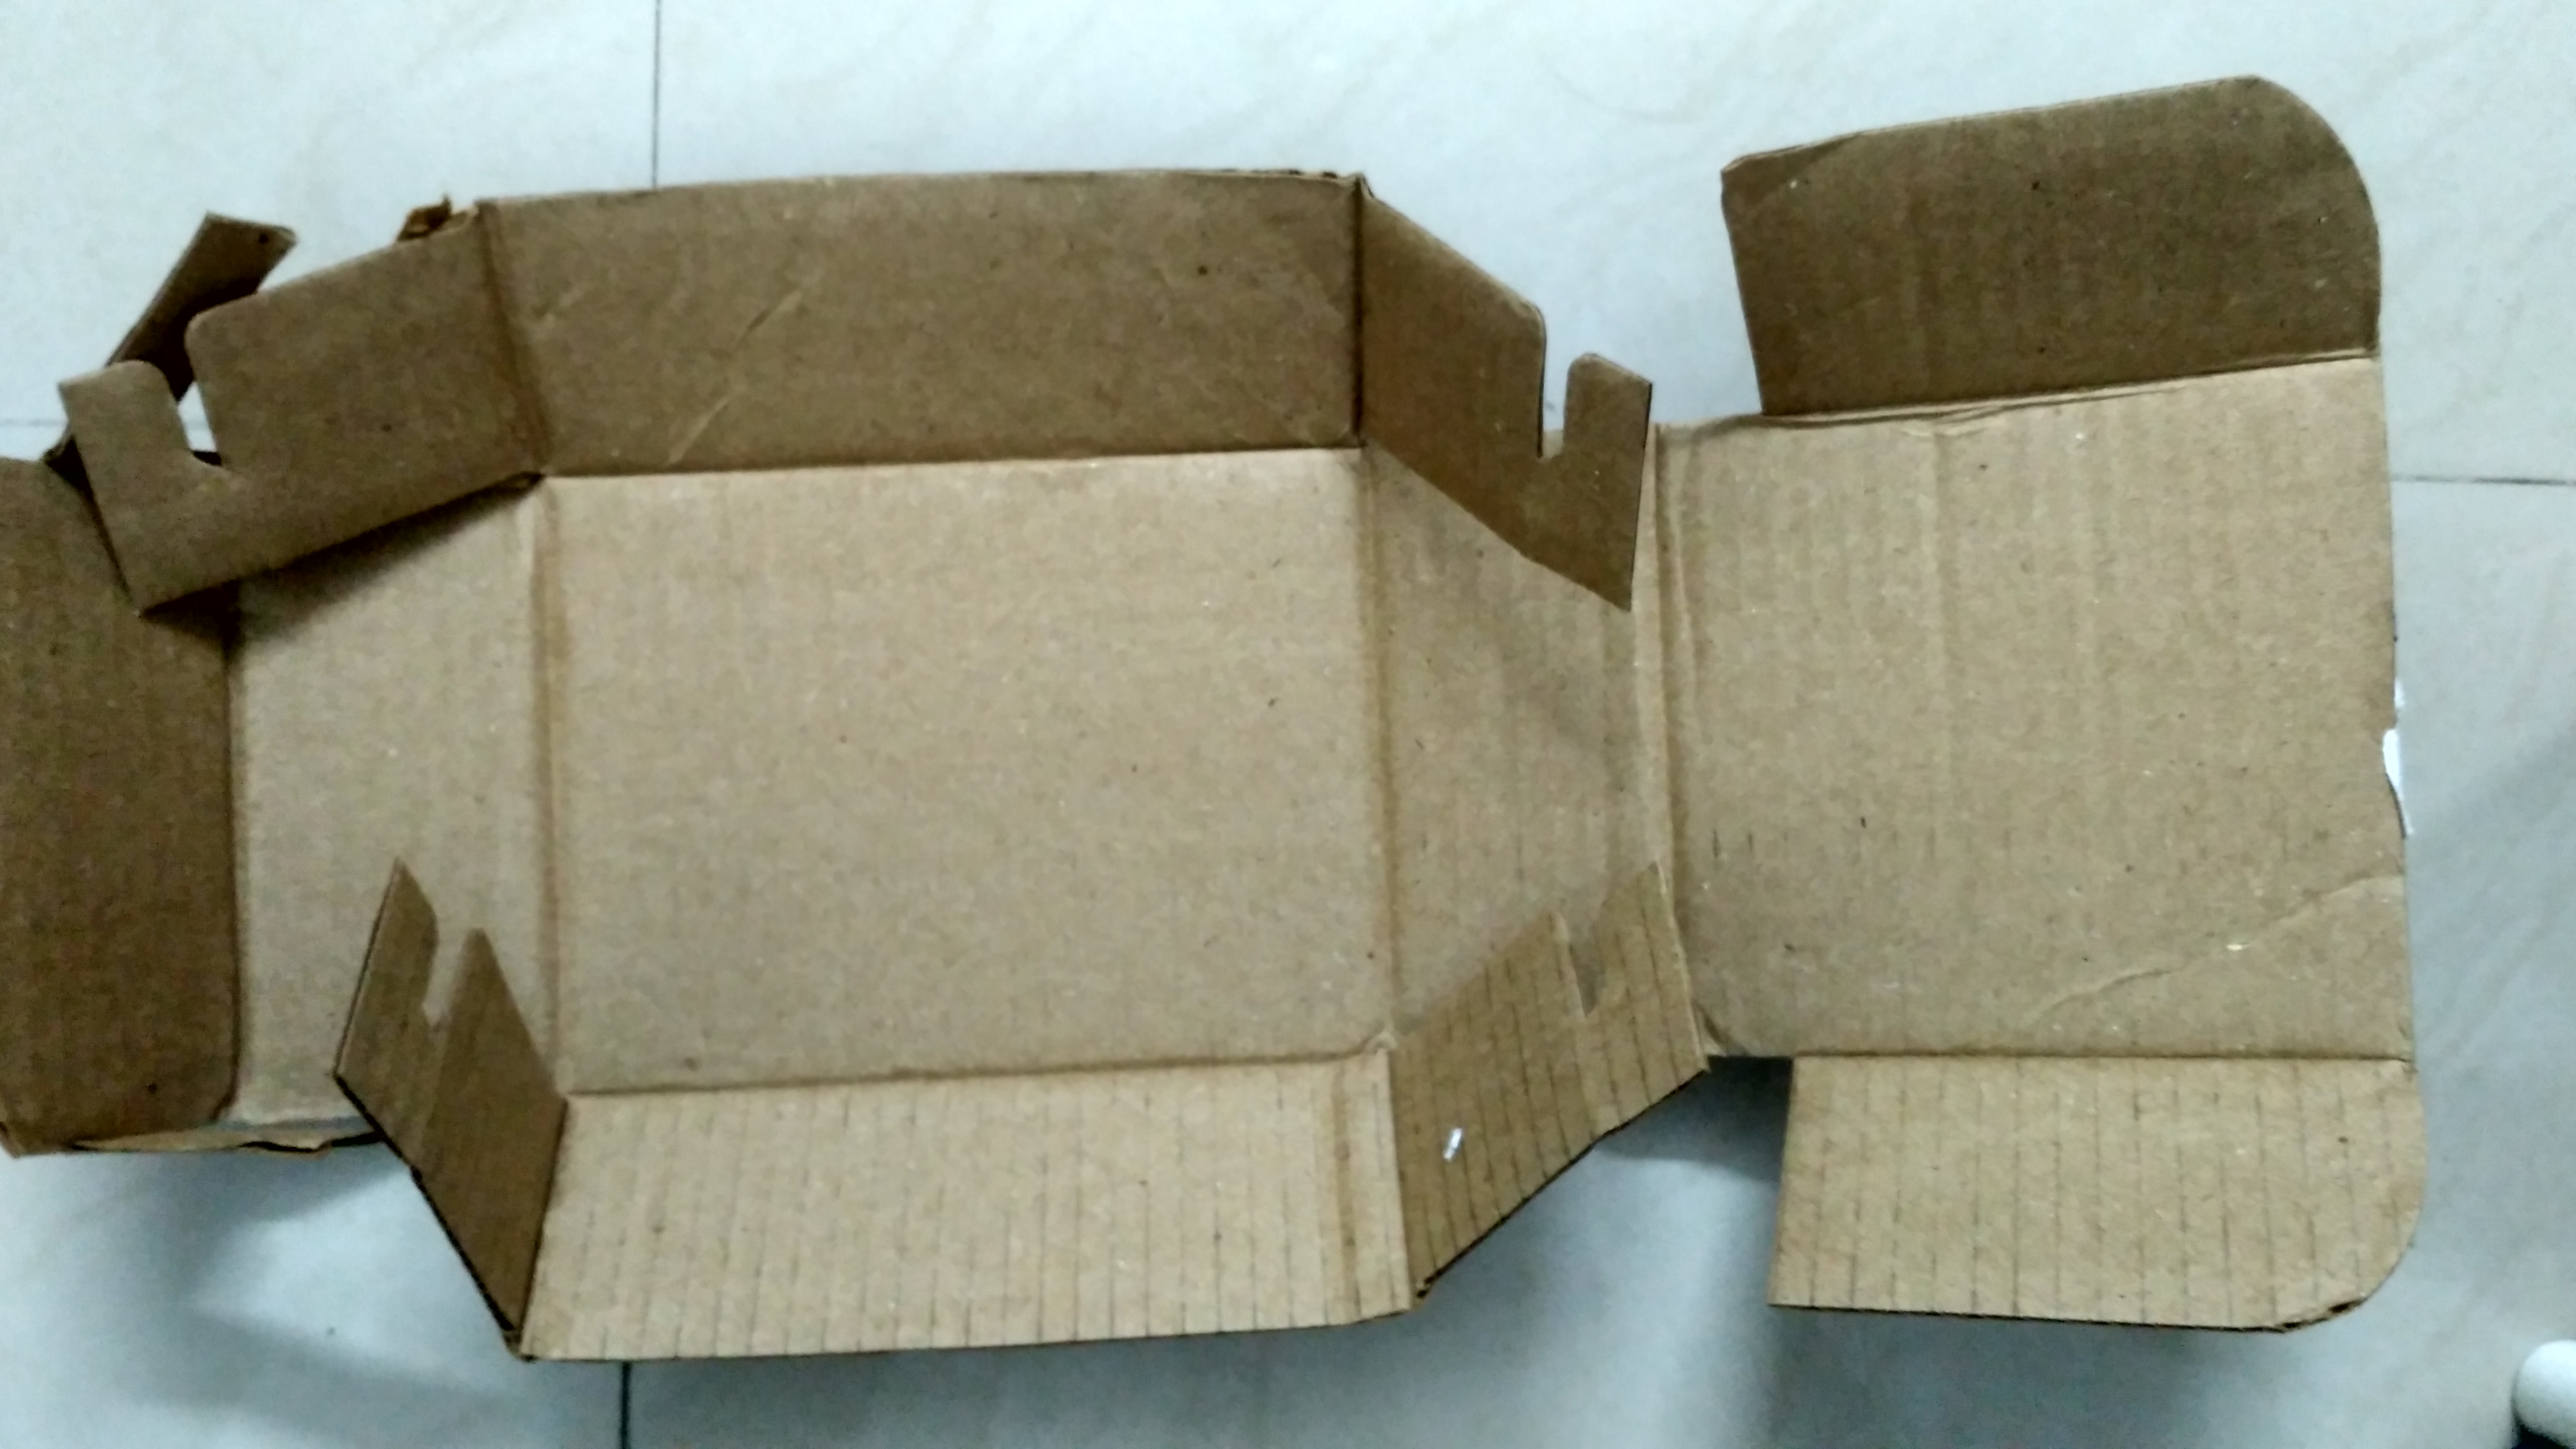
Take a scrap cardboard box. Cut it as per your requirement. Then fold it to form a prism shape. Stick it with tape. This will be the body or fuselage of the robot. We will mount a Servo motor on top of it. The wings will be inserted into their sides.
Cutout Wings
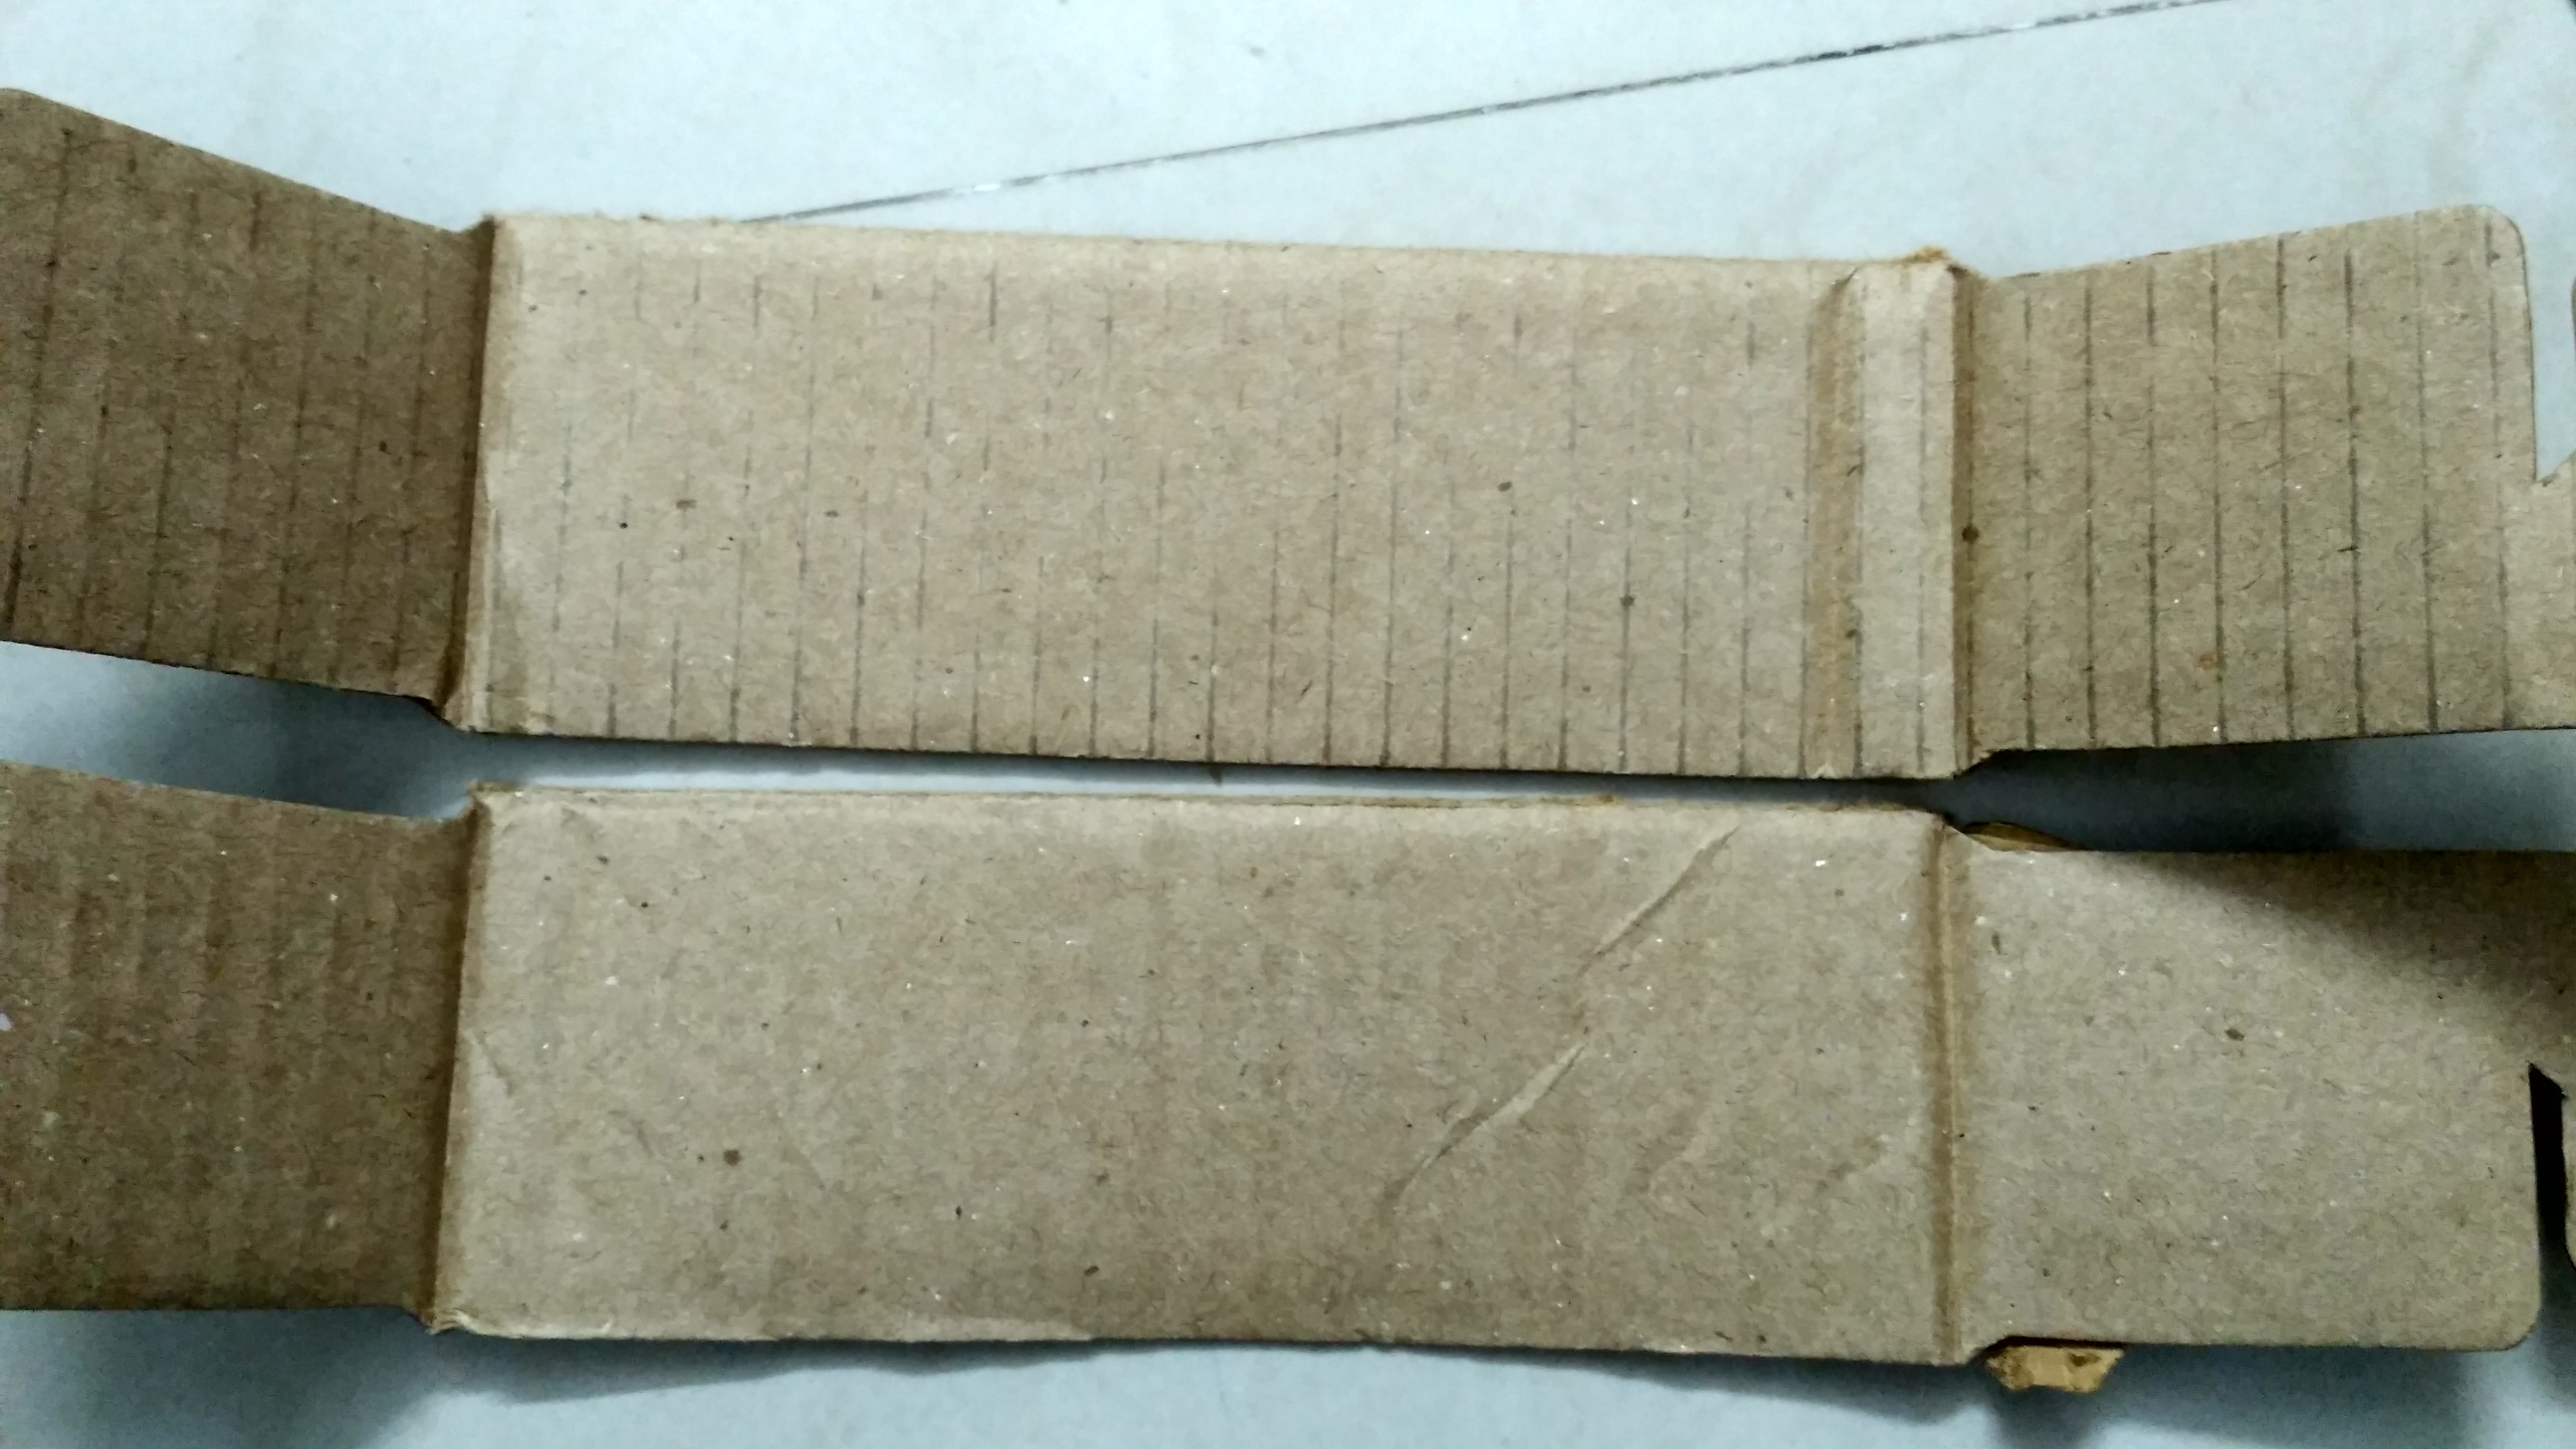
From the same cardboard box cut out two longer pieces for making wings.
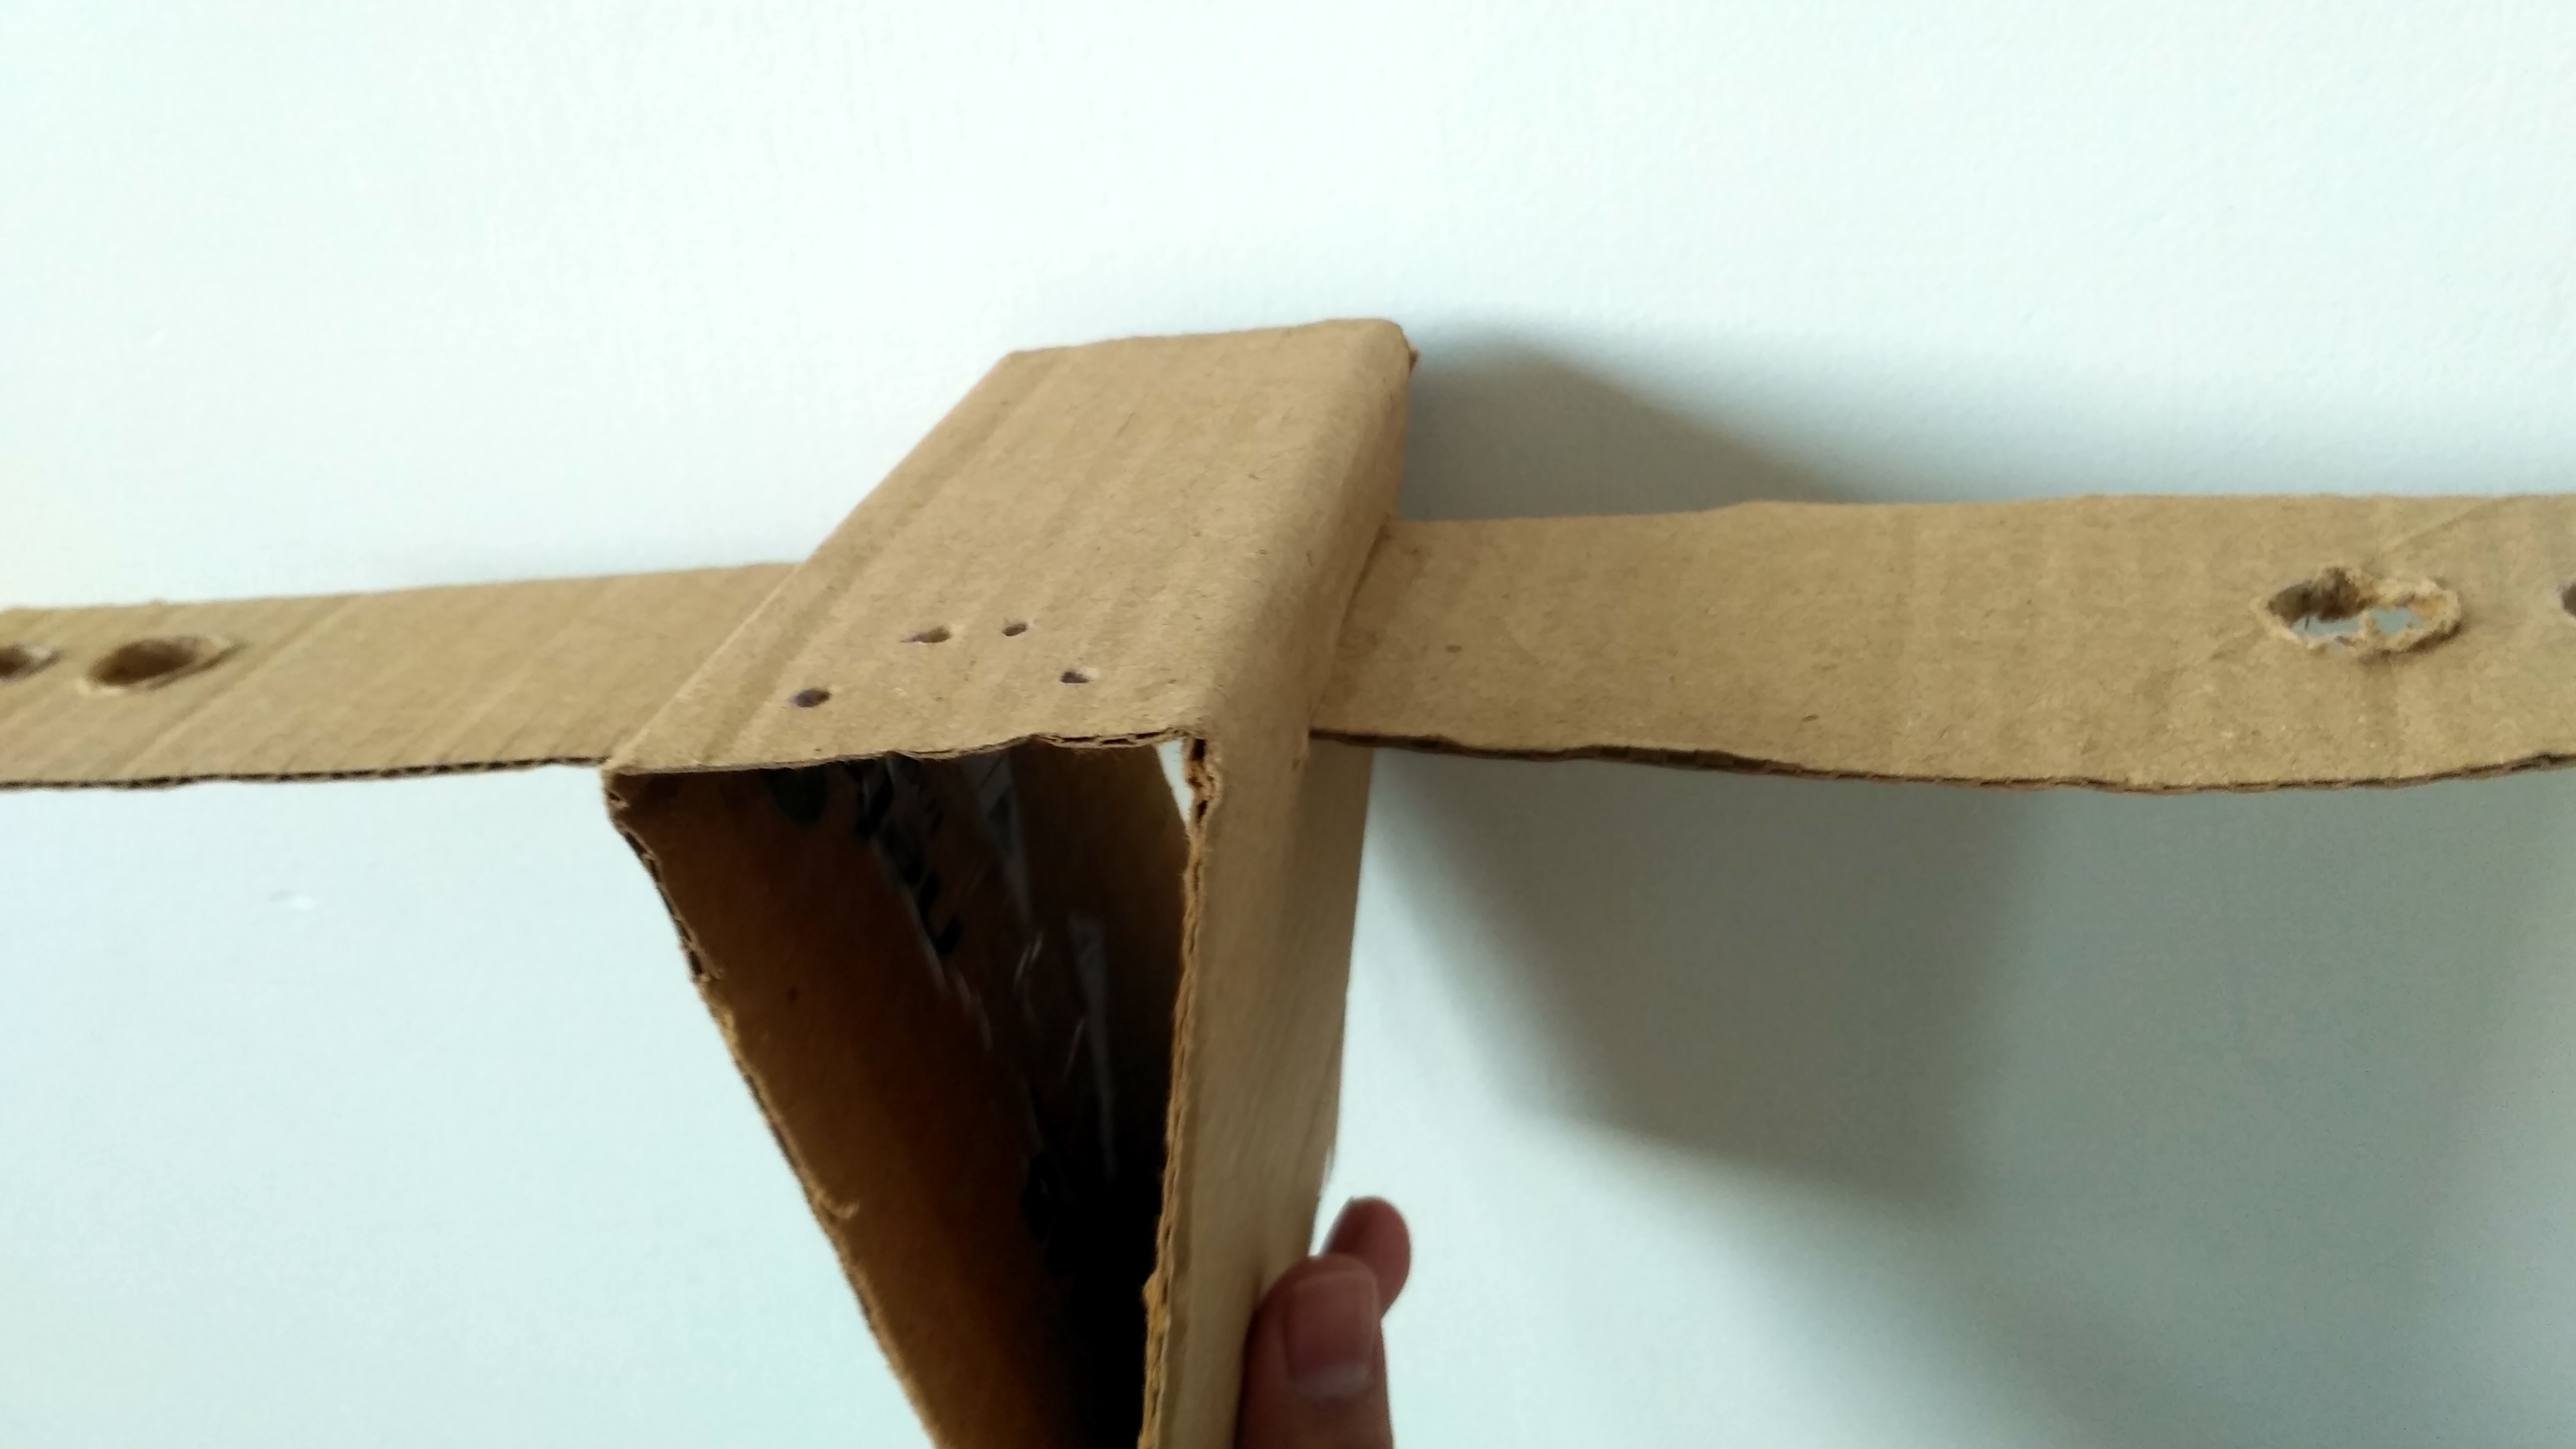
Join Wings With Fuselage
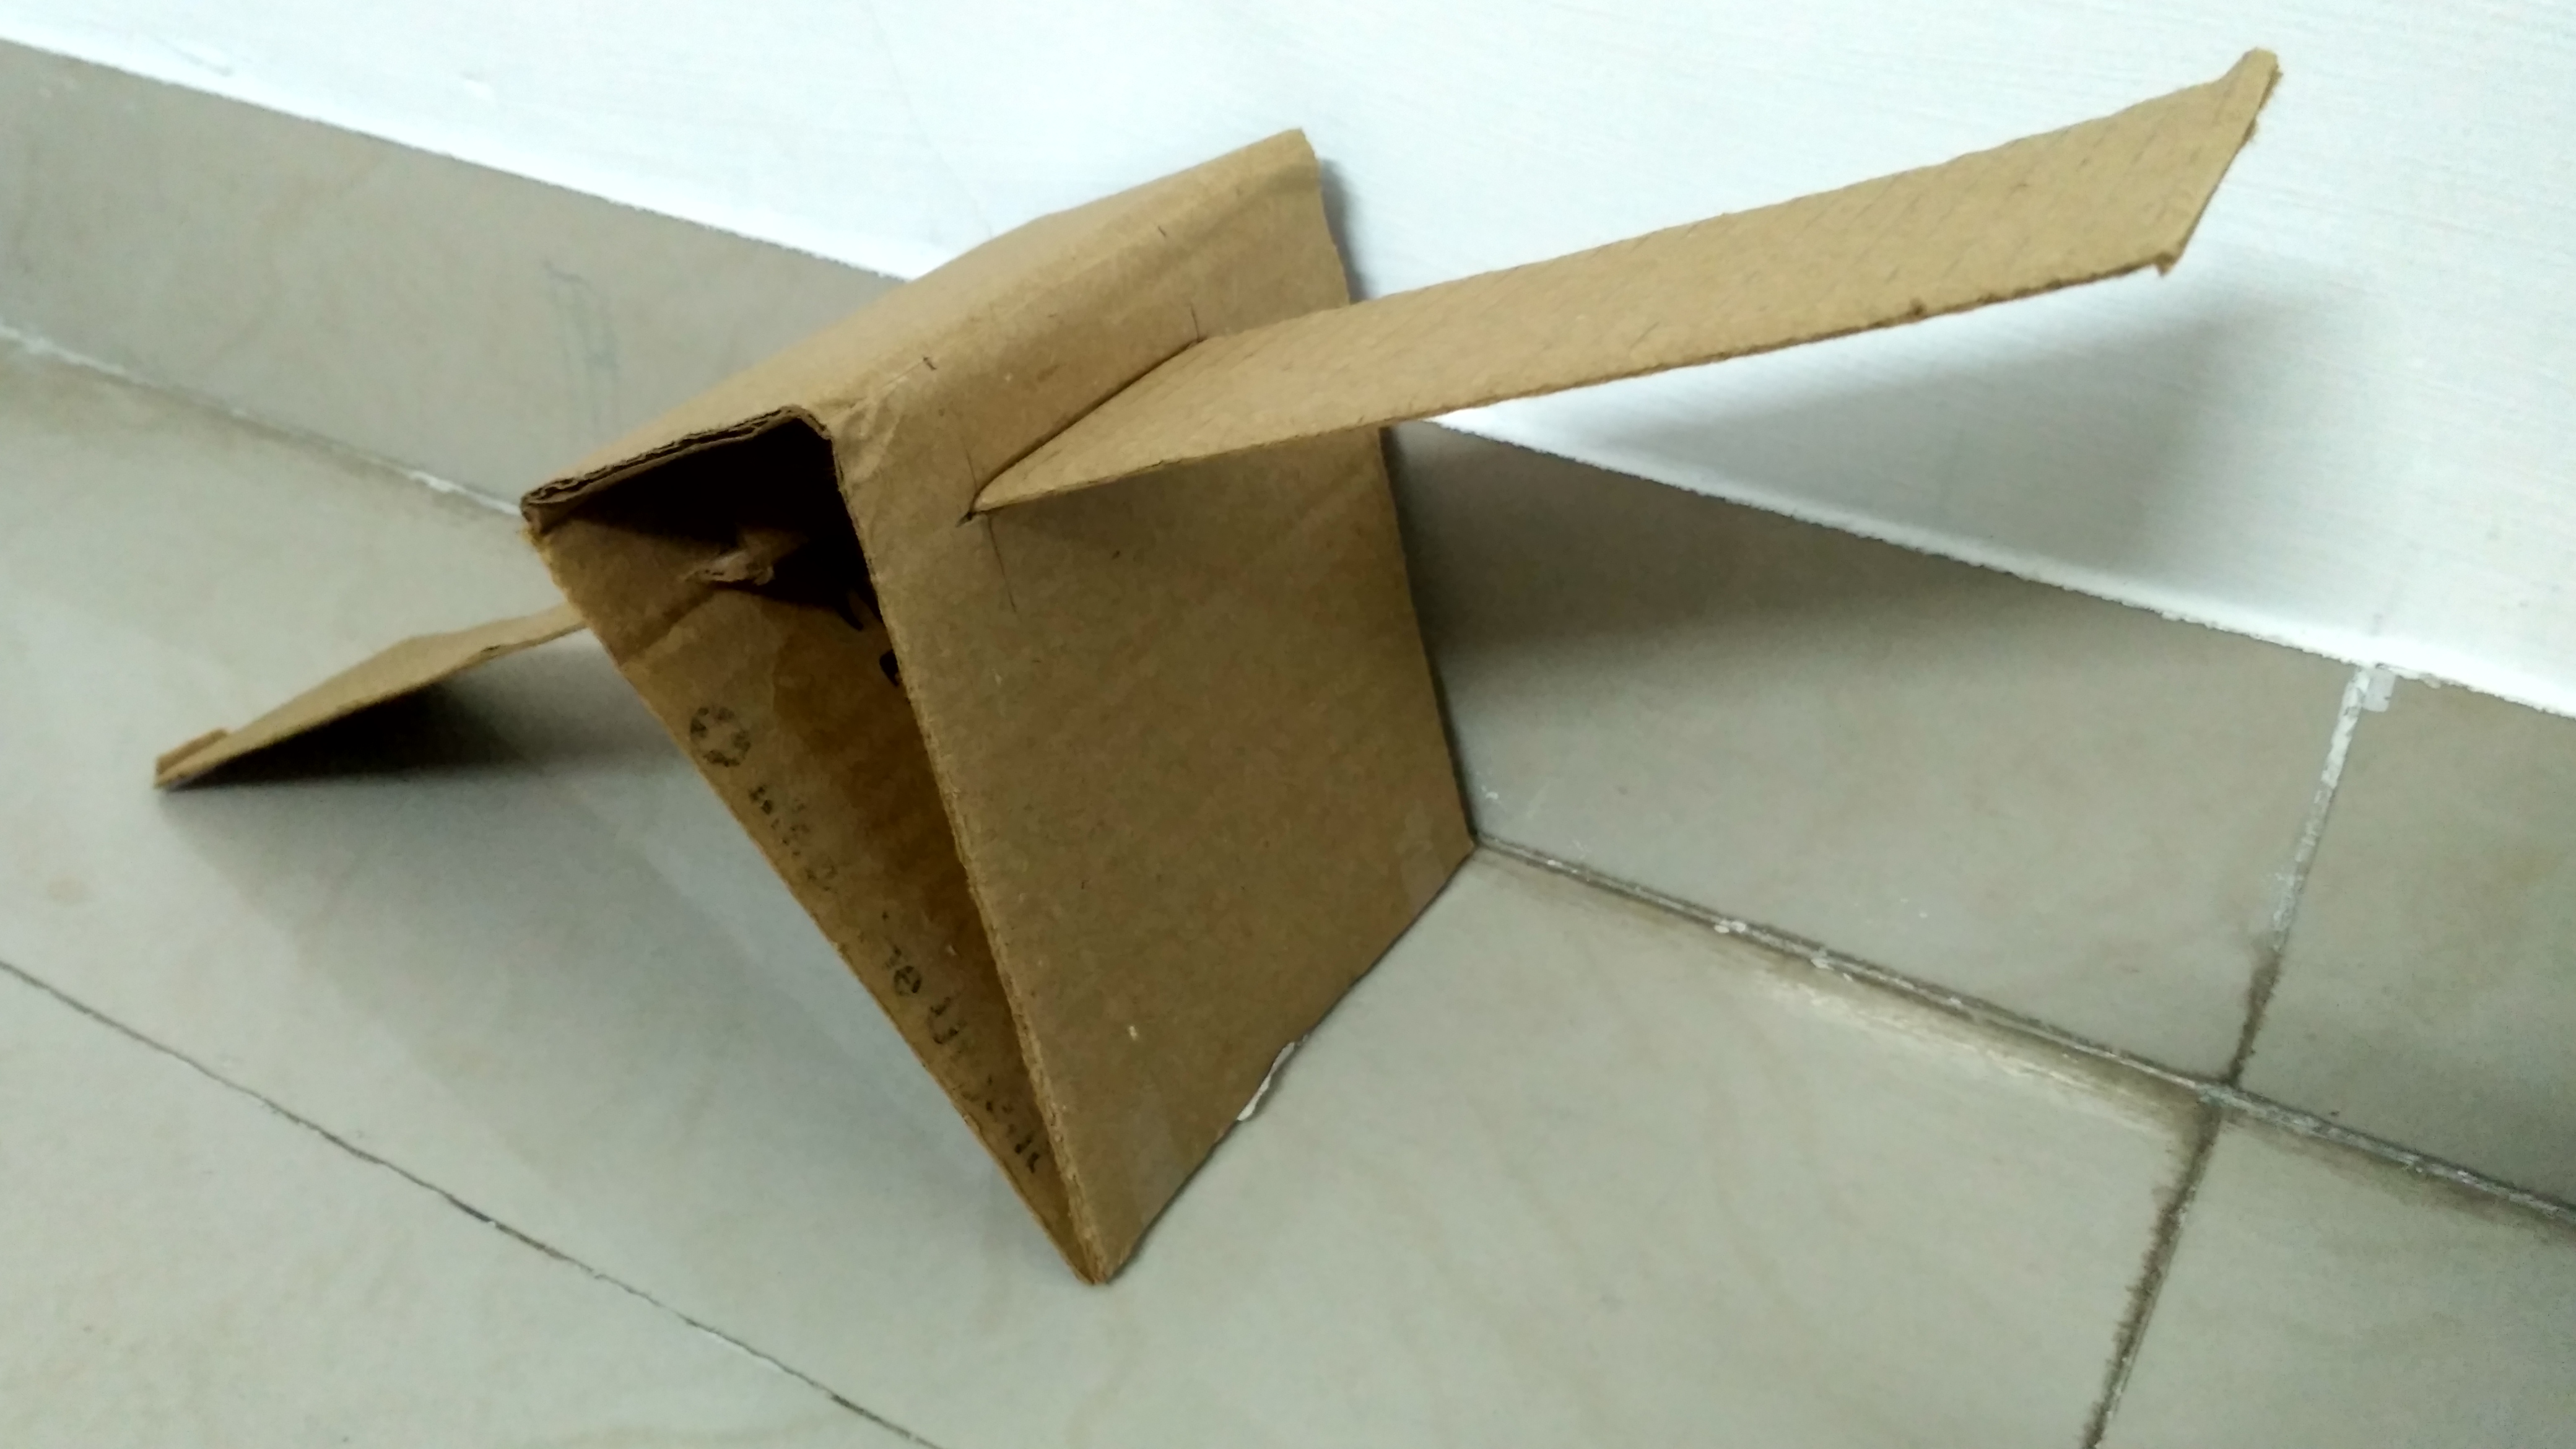
Make holes on either side of the fuselage. The dimensions of the hole must be equal to that of wings.
Make Holes in Fuselage
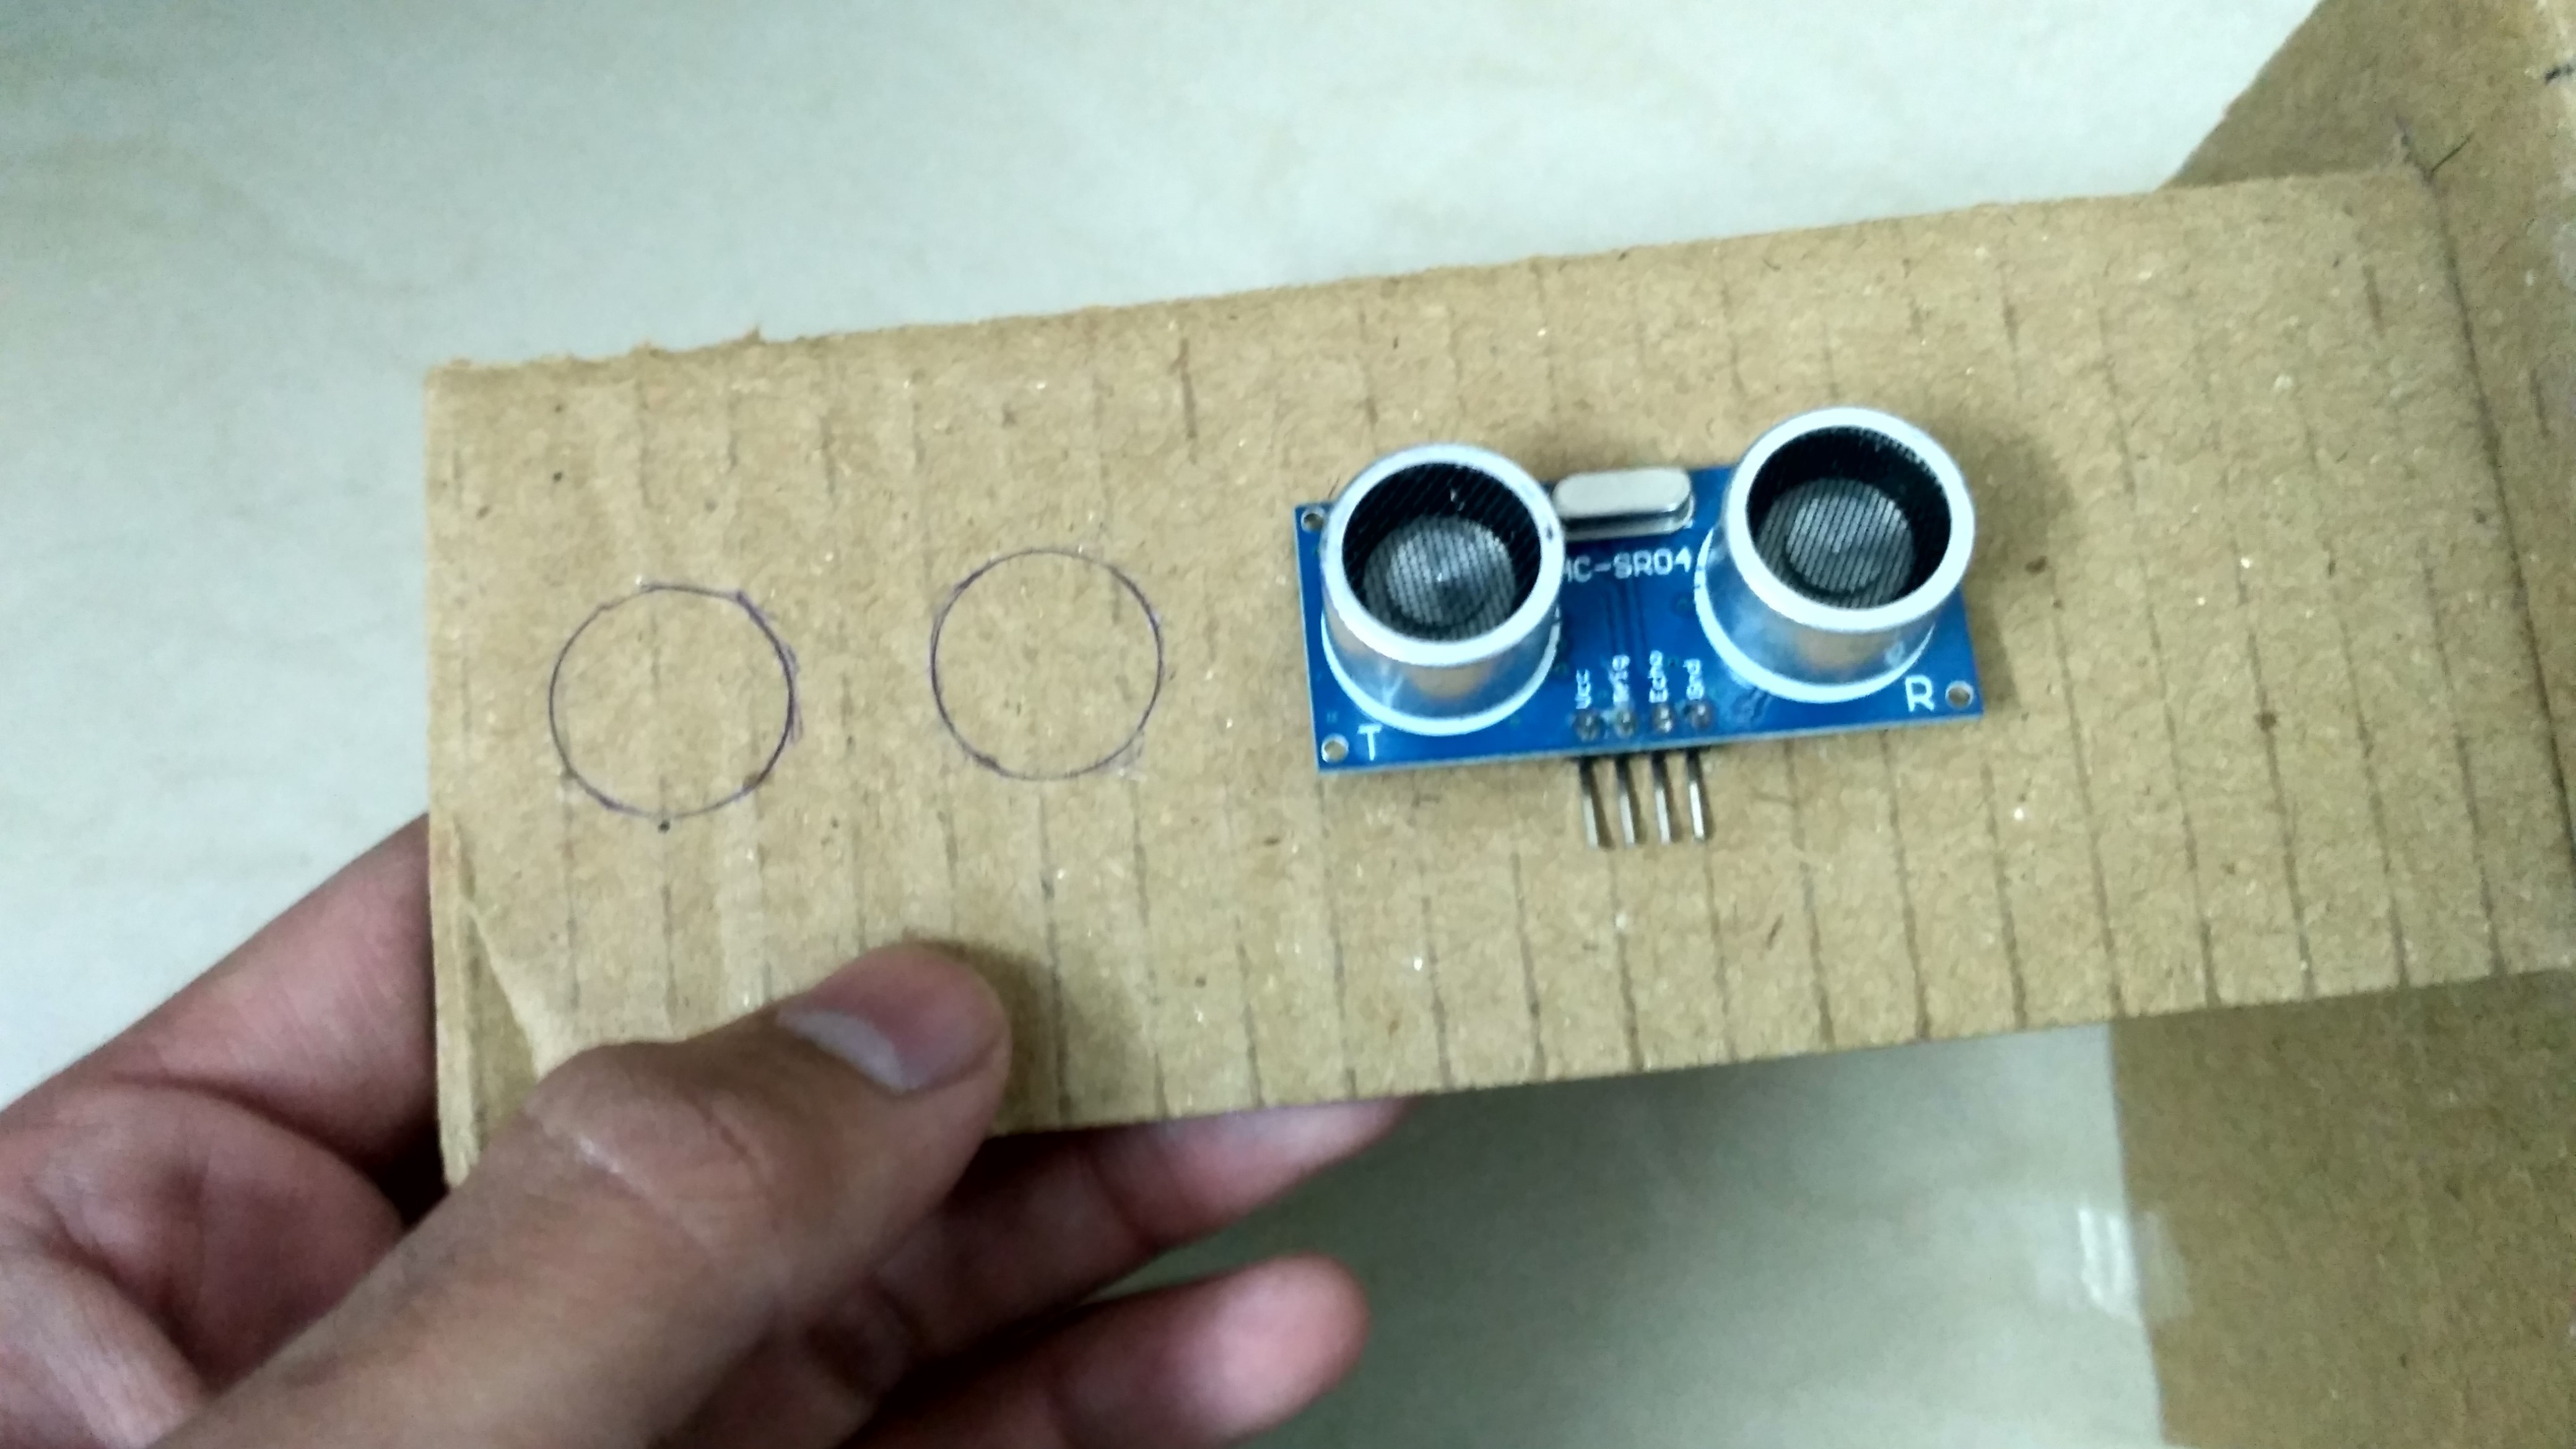
Take reference to an ultrasonic sensor and make some marking on the wings. These markings need to be cut out and the sensor will be inserted into them.
Ultrasonic Sensors
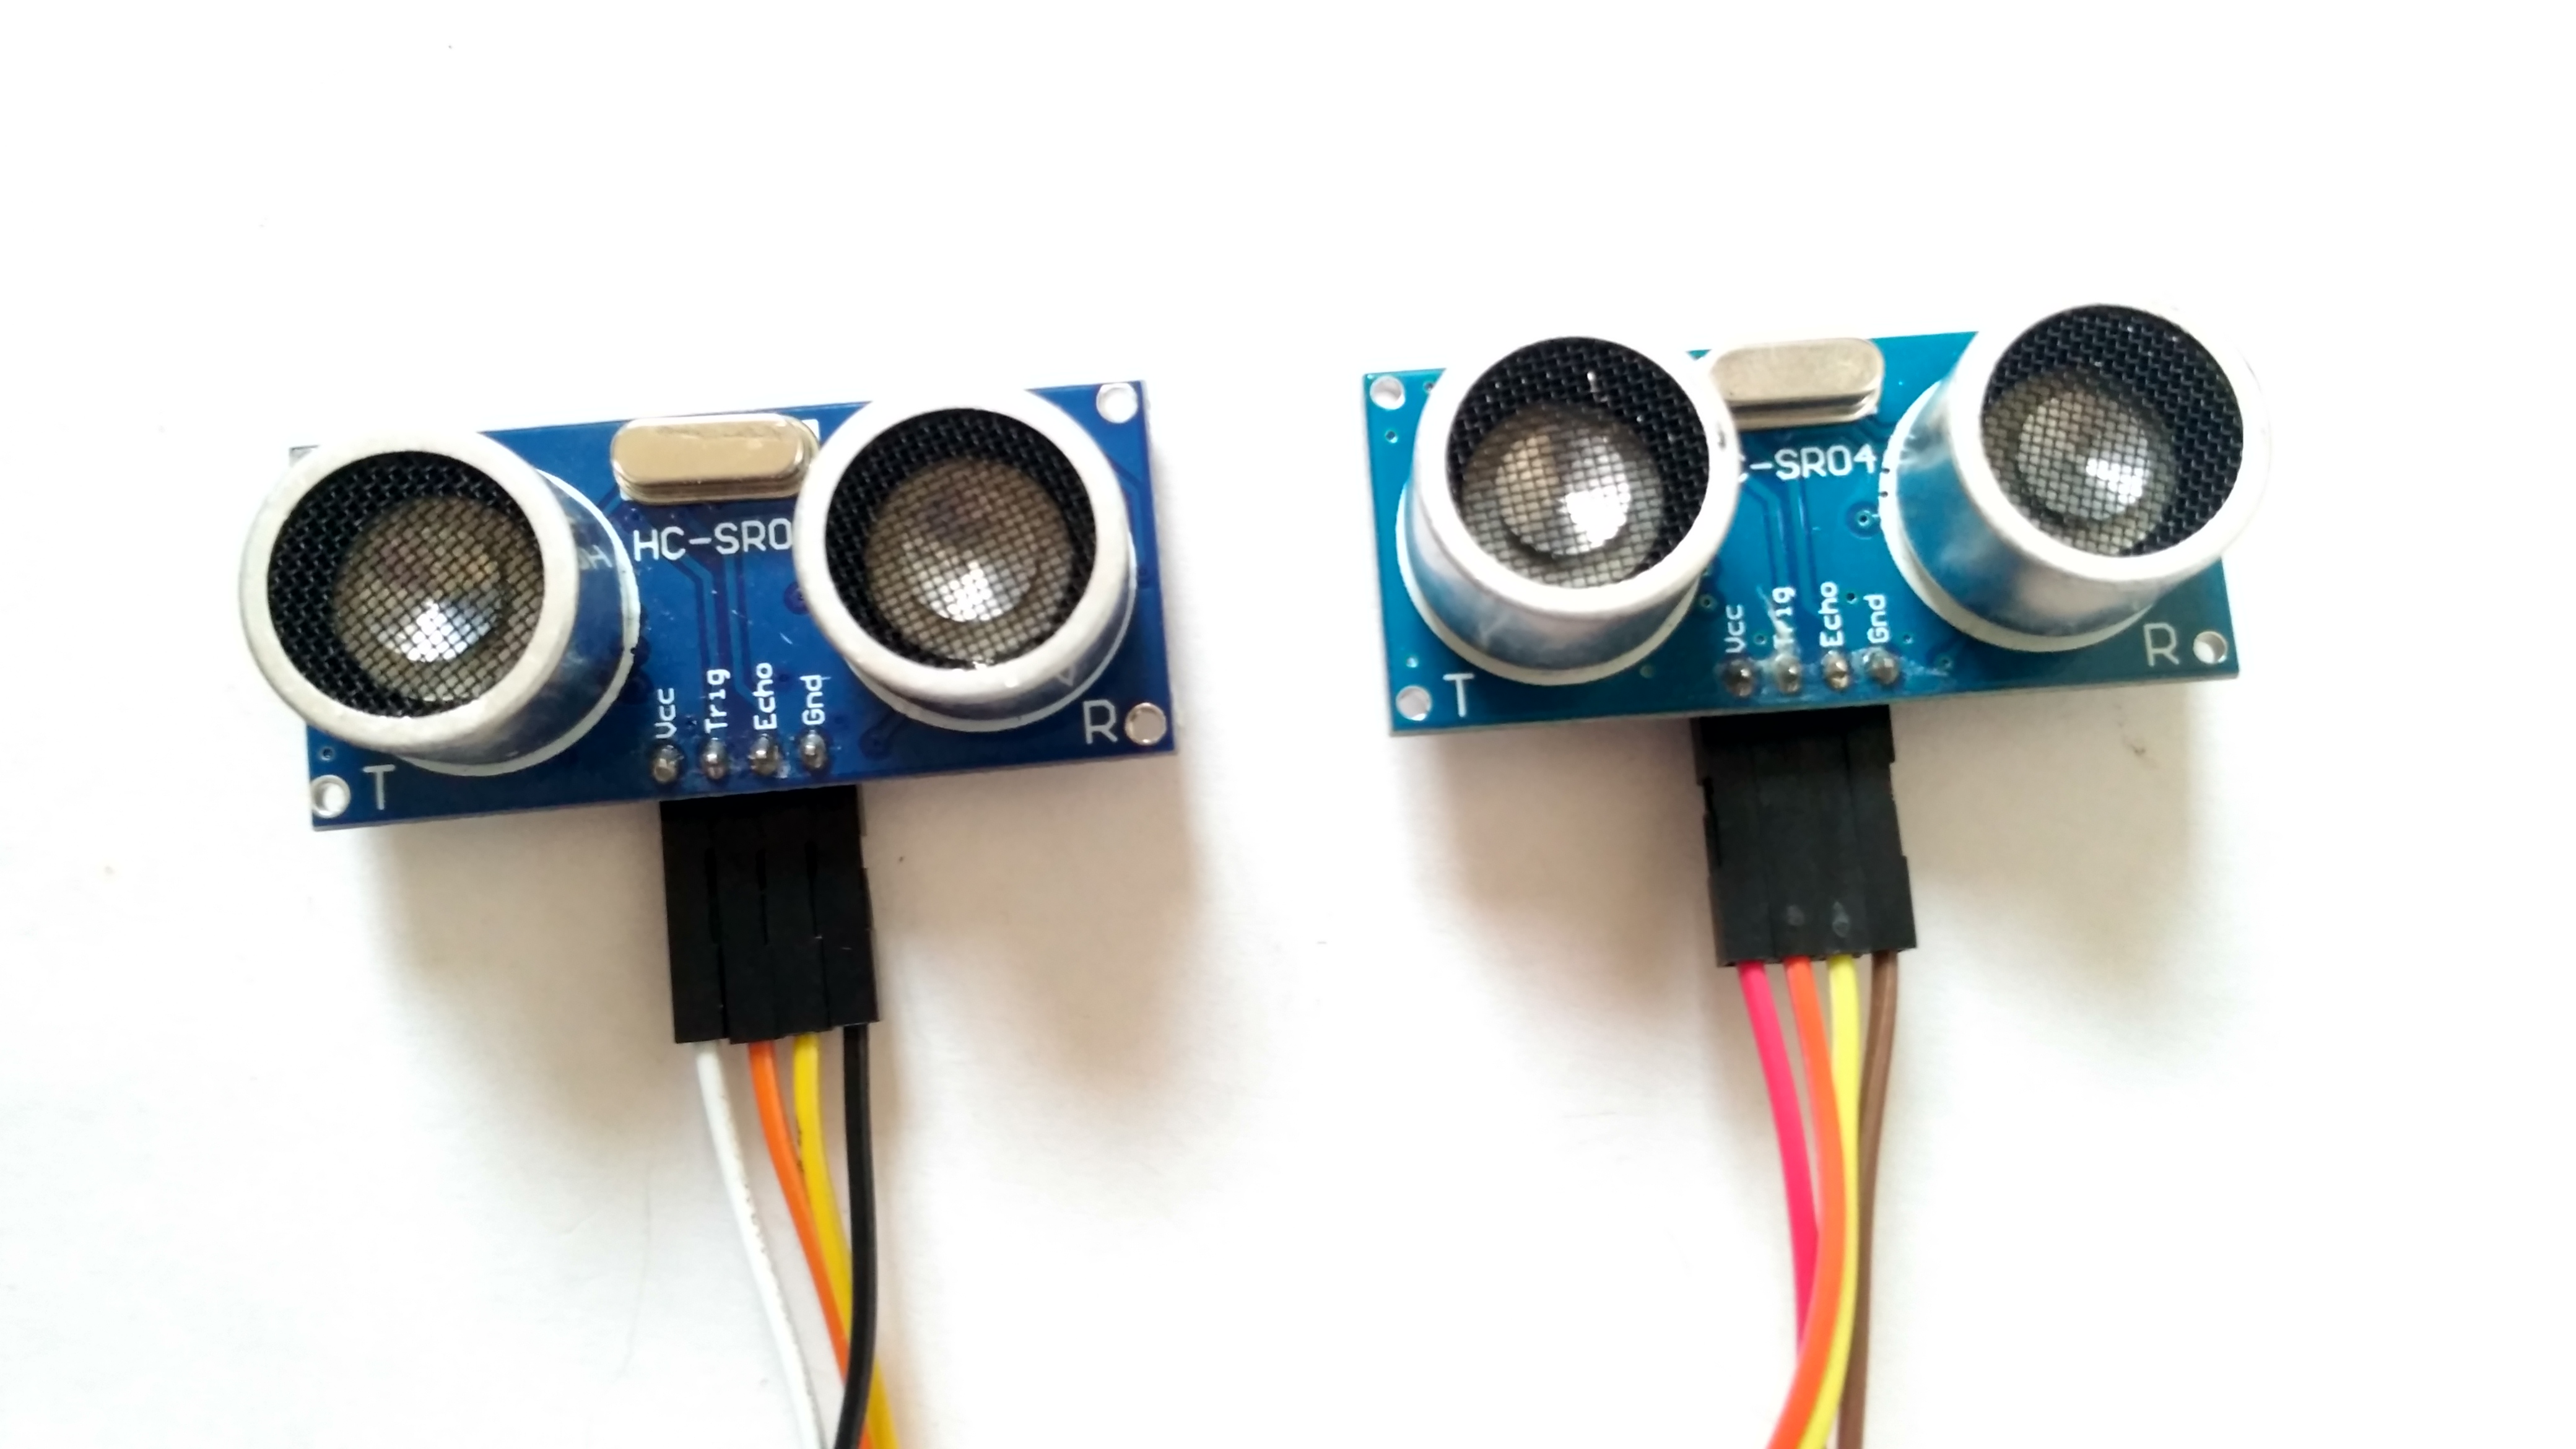
Take two ultrasonic sensors. There are two sensors. But, the other sensor is just for equal dead weight, it is not connected.
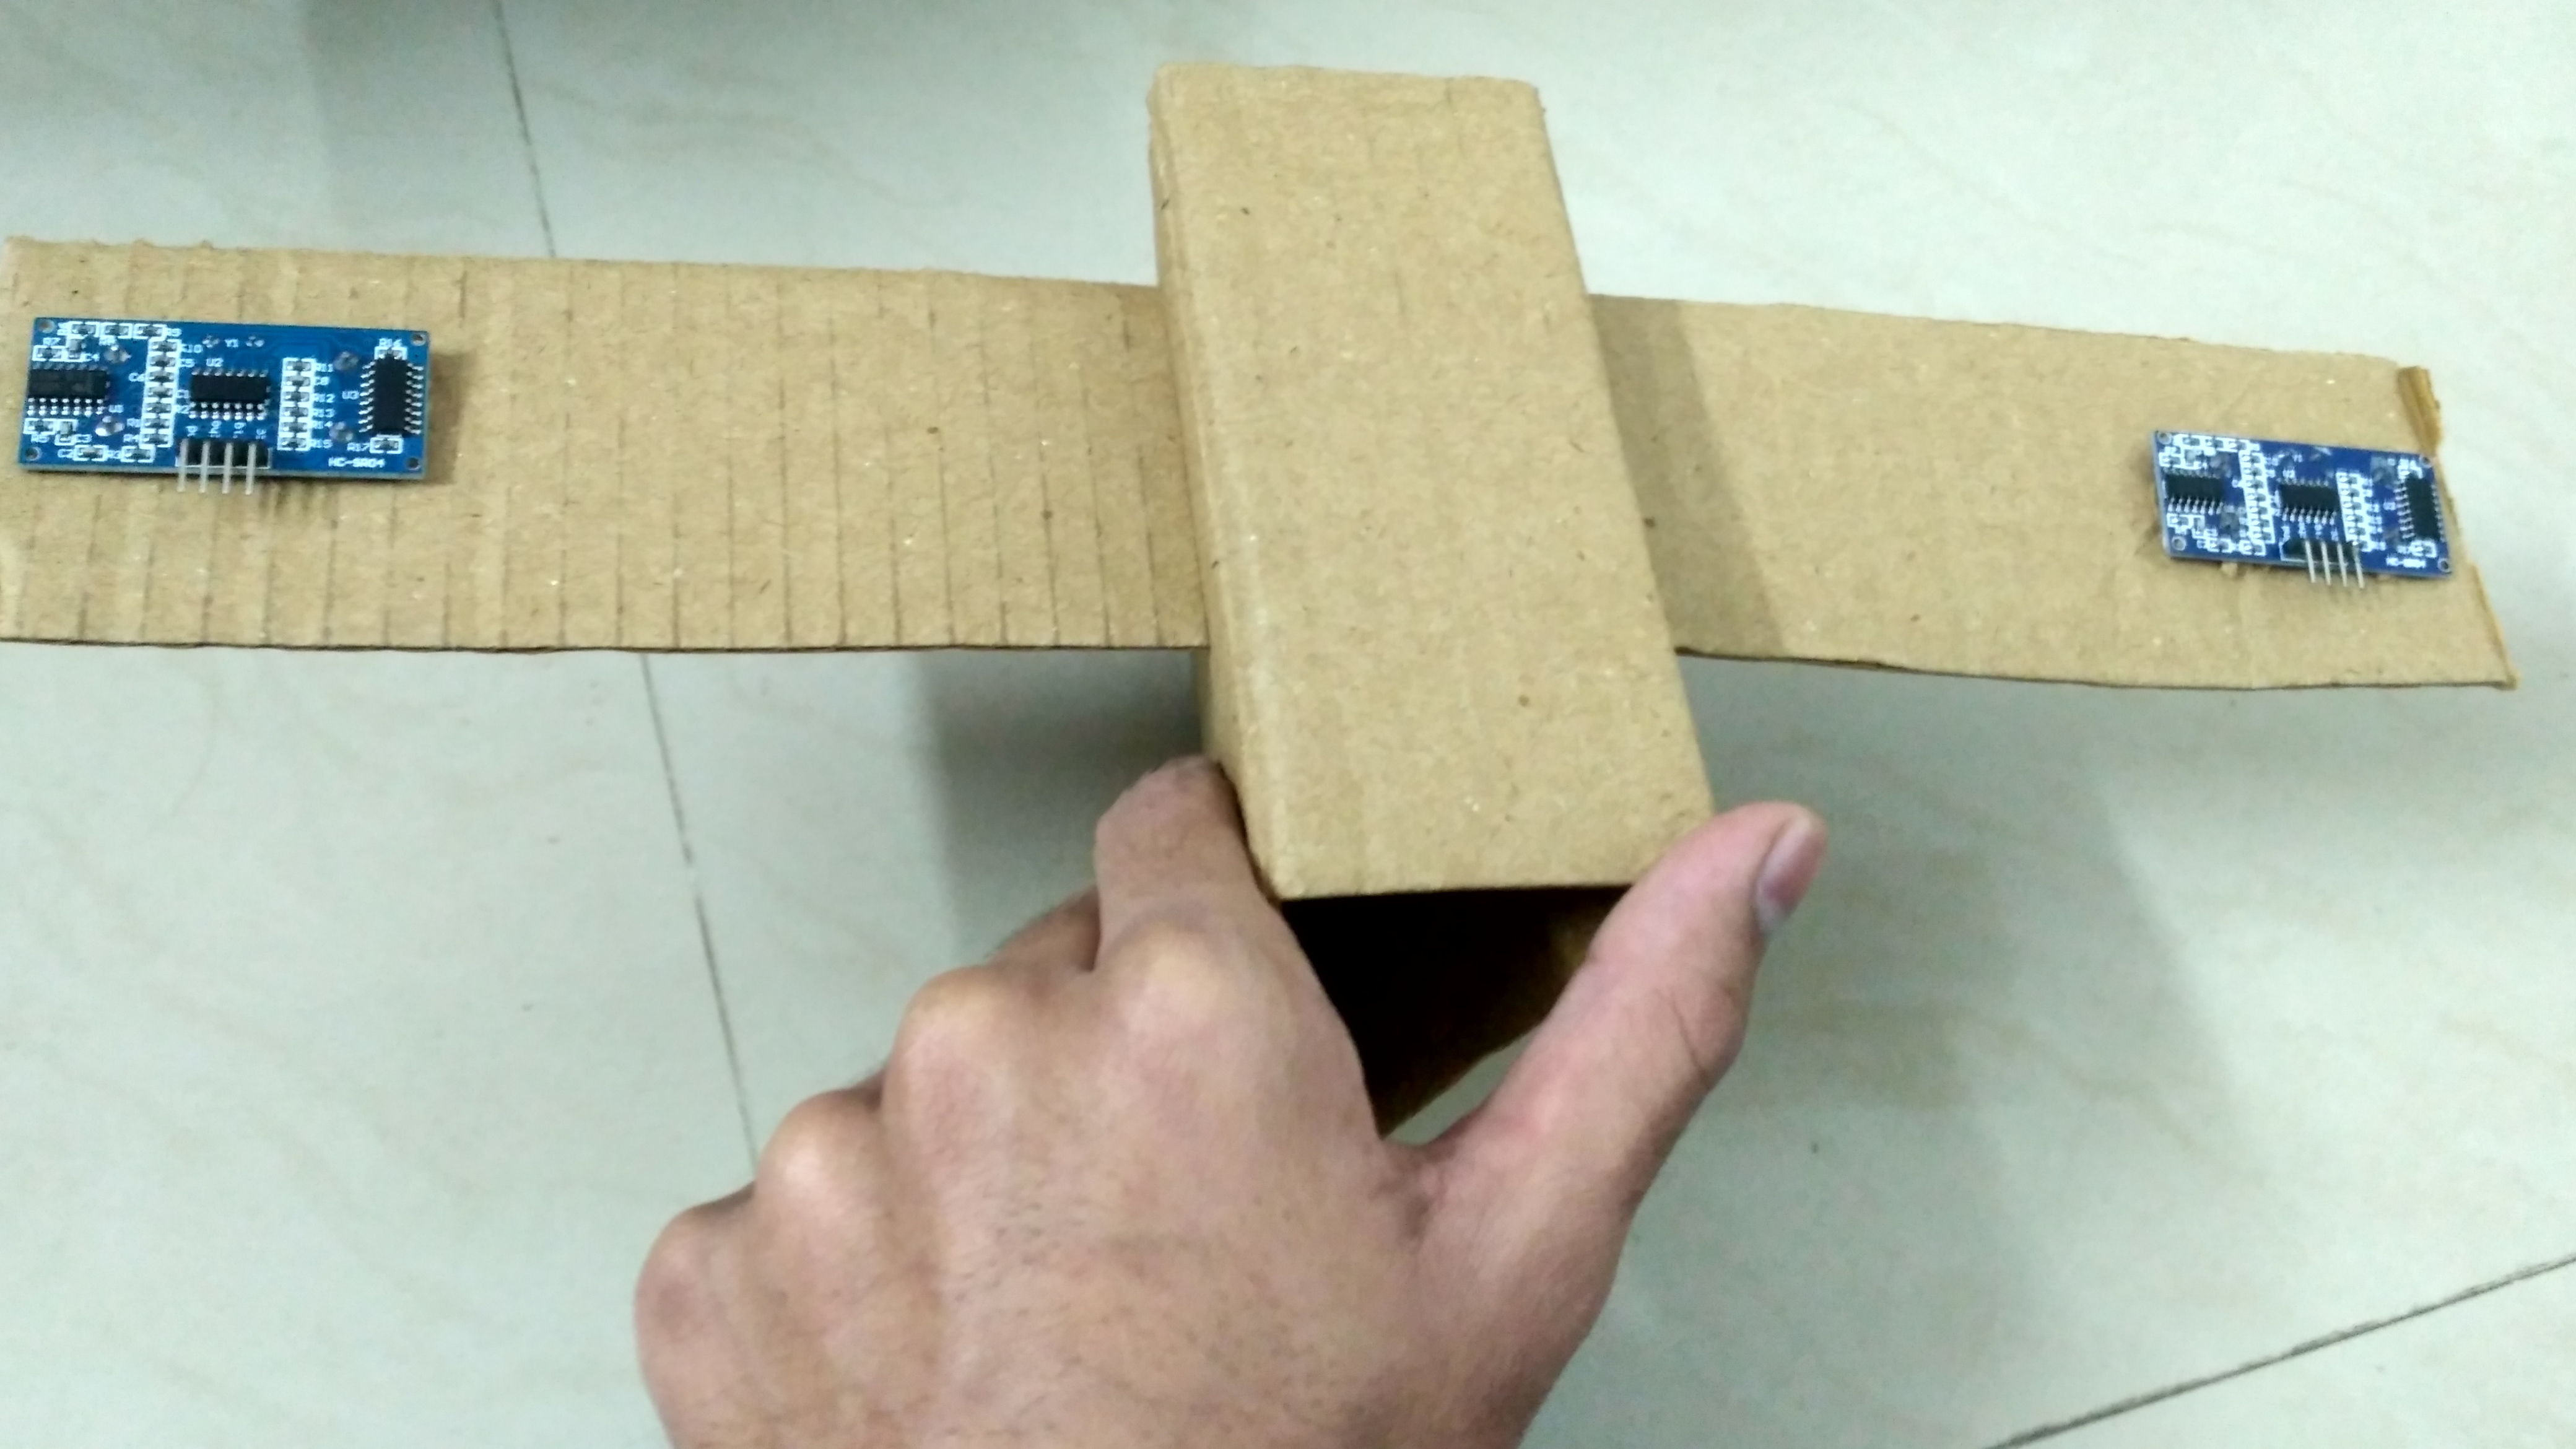
Inserting Ultrasonic Sensors
Inserted these sensors into the holes on the wings.
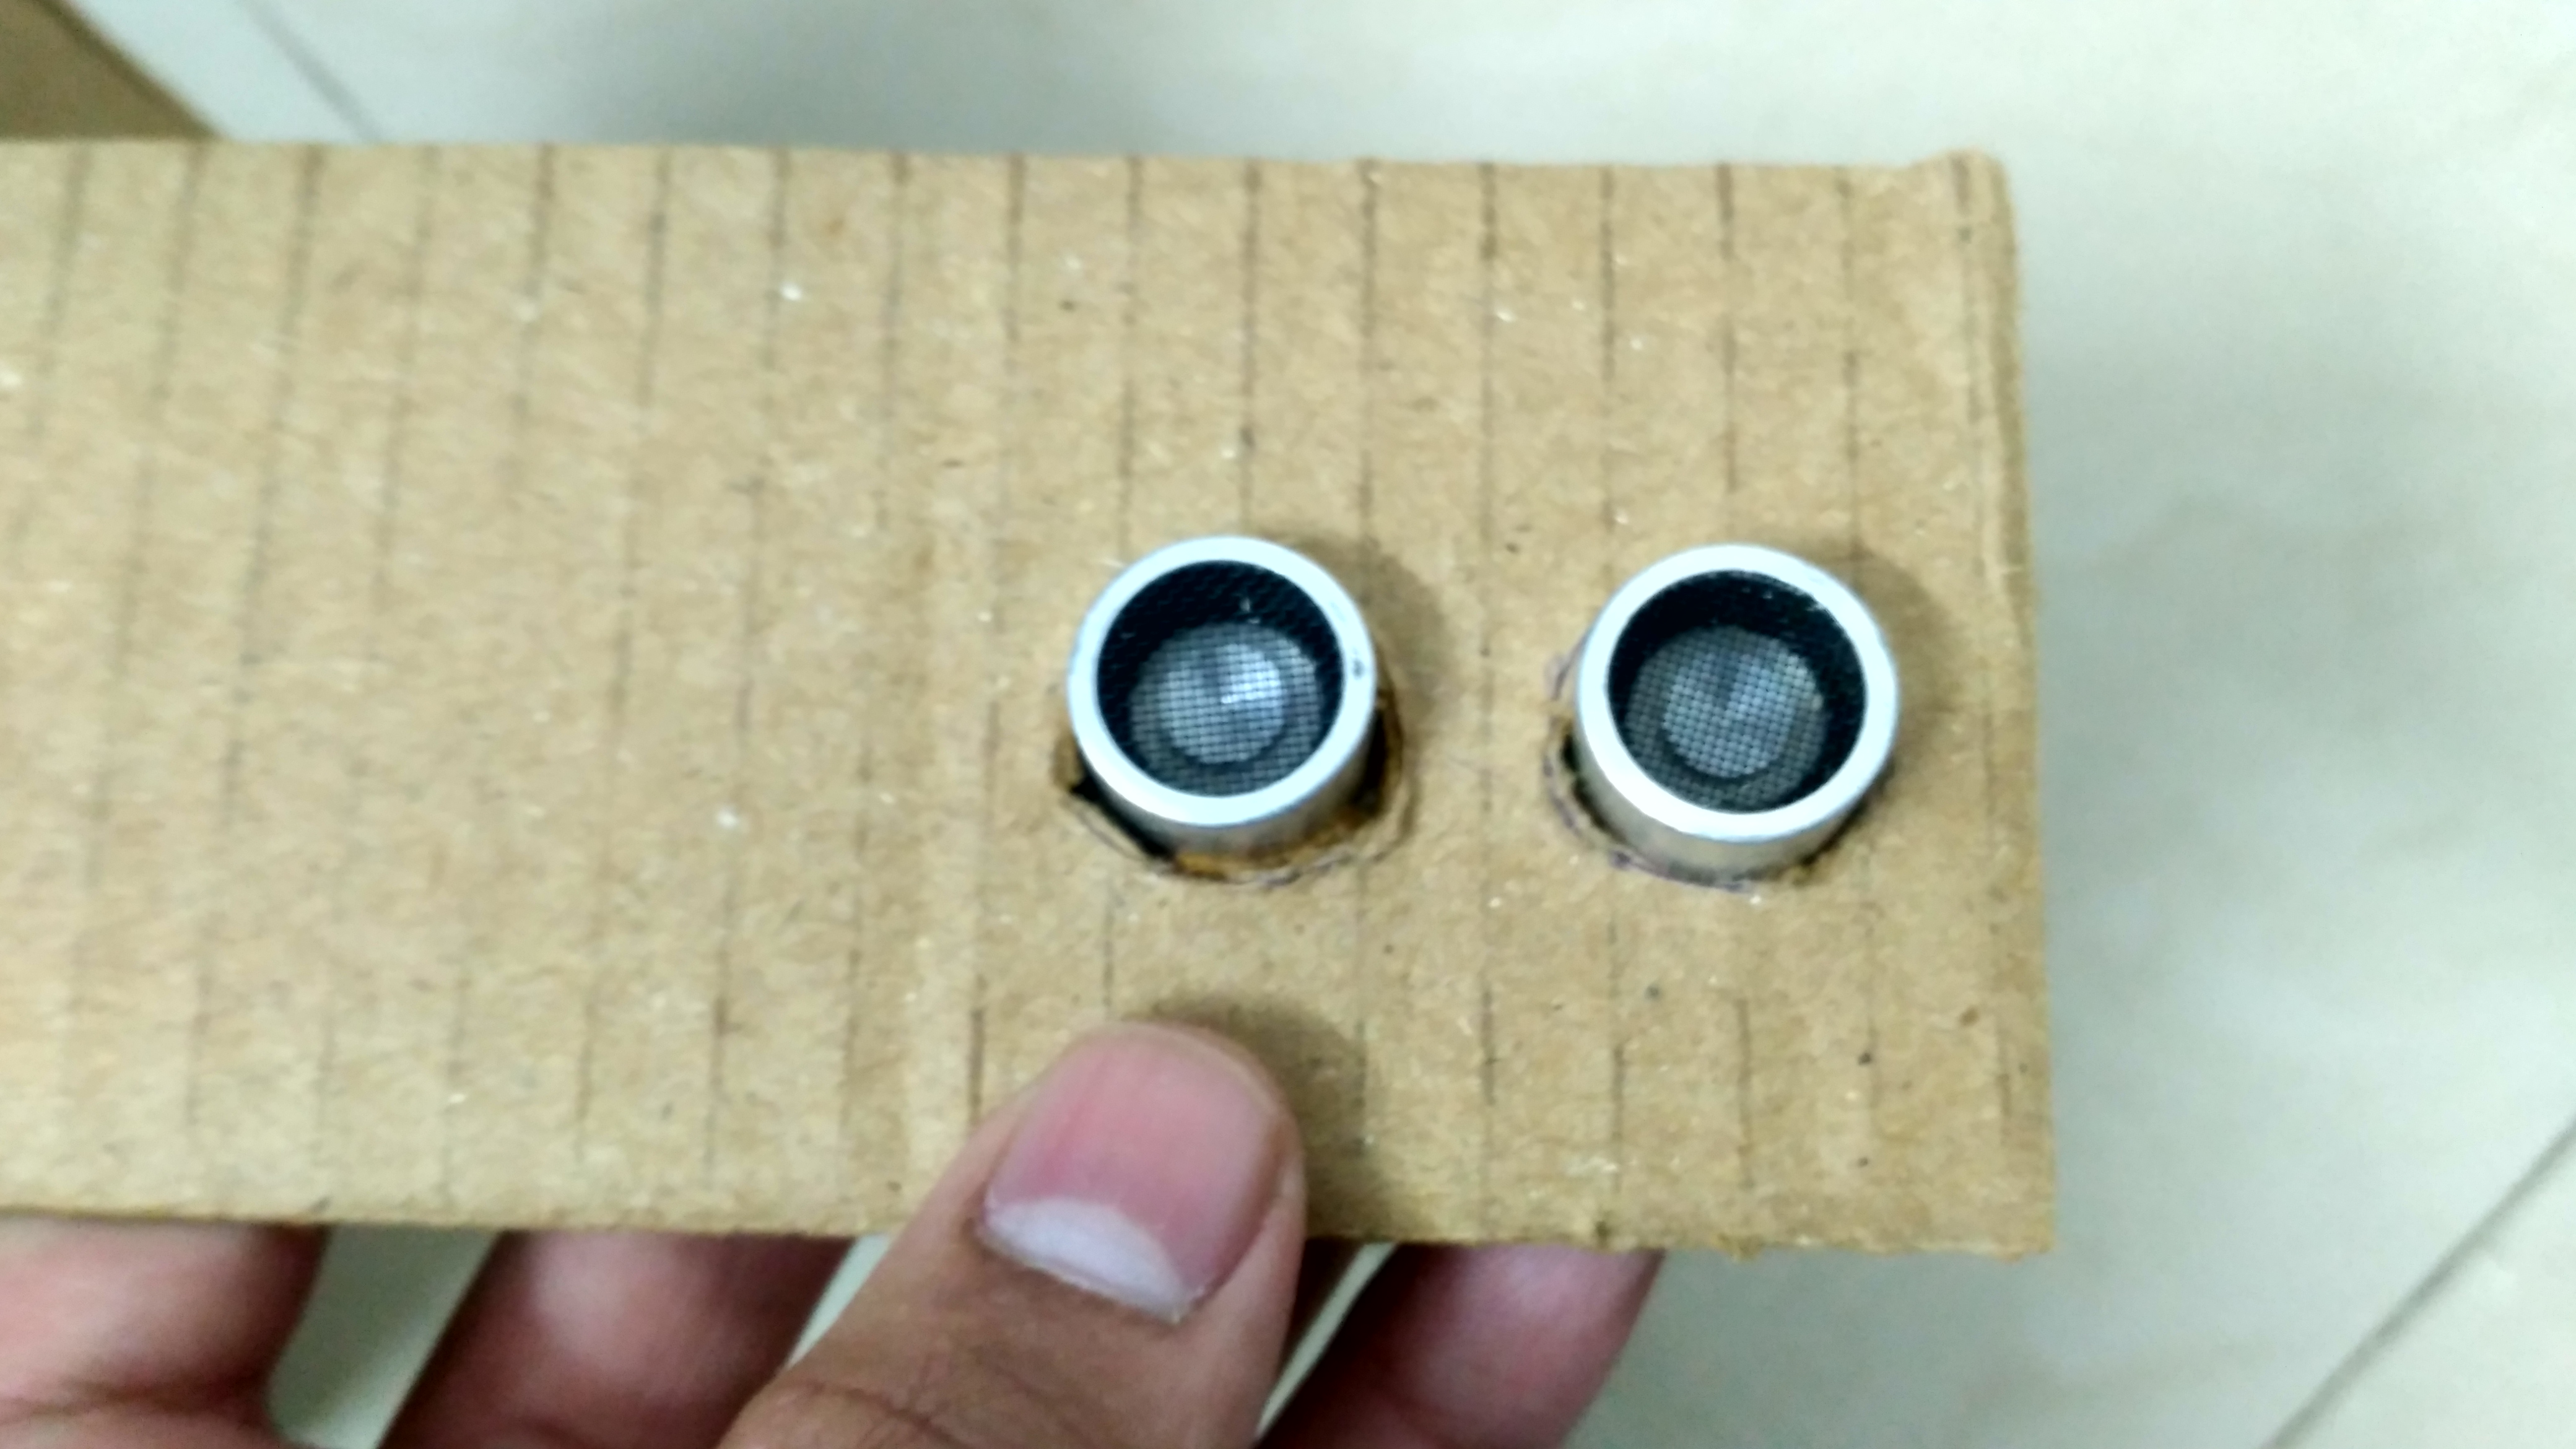
After Inserting Sensors
This is what it looks like after inserting sensors on both of its wings.
The Servo Motor With Link Attached
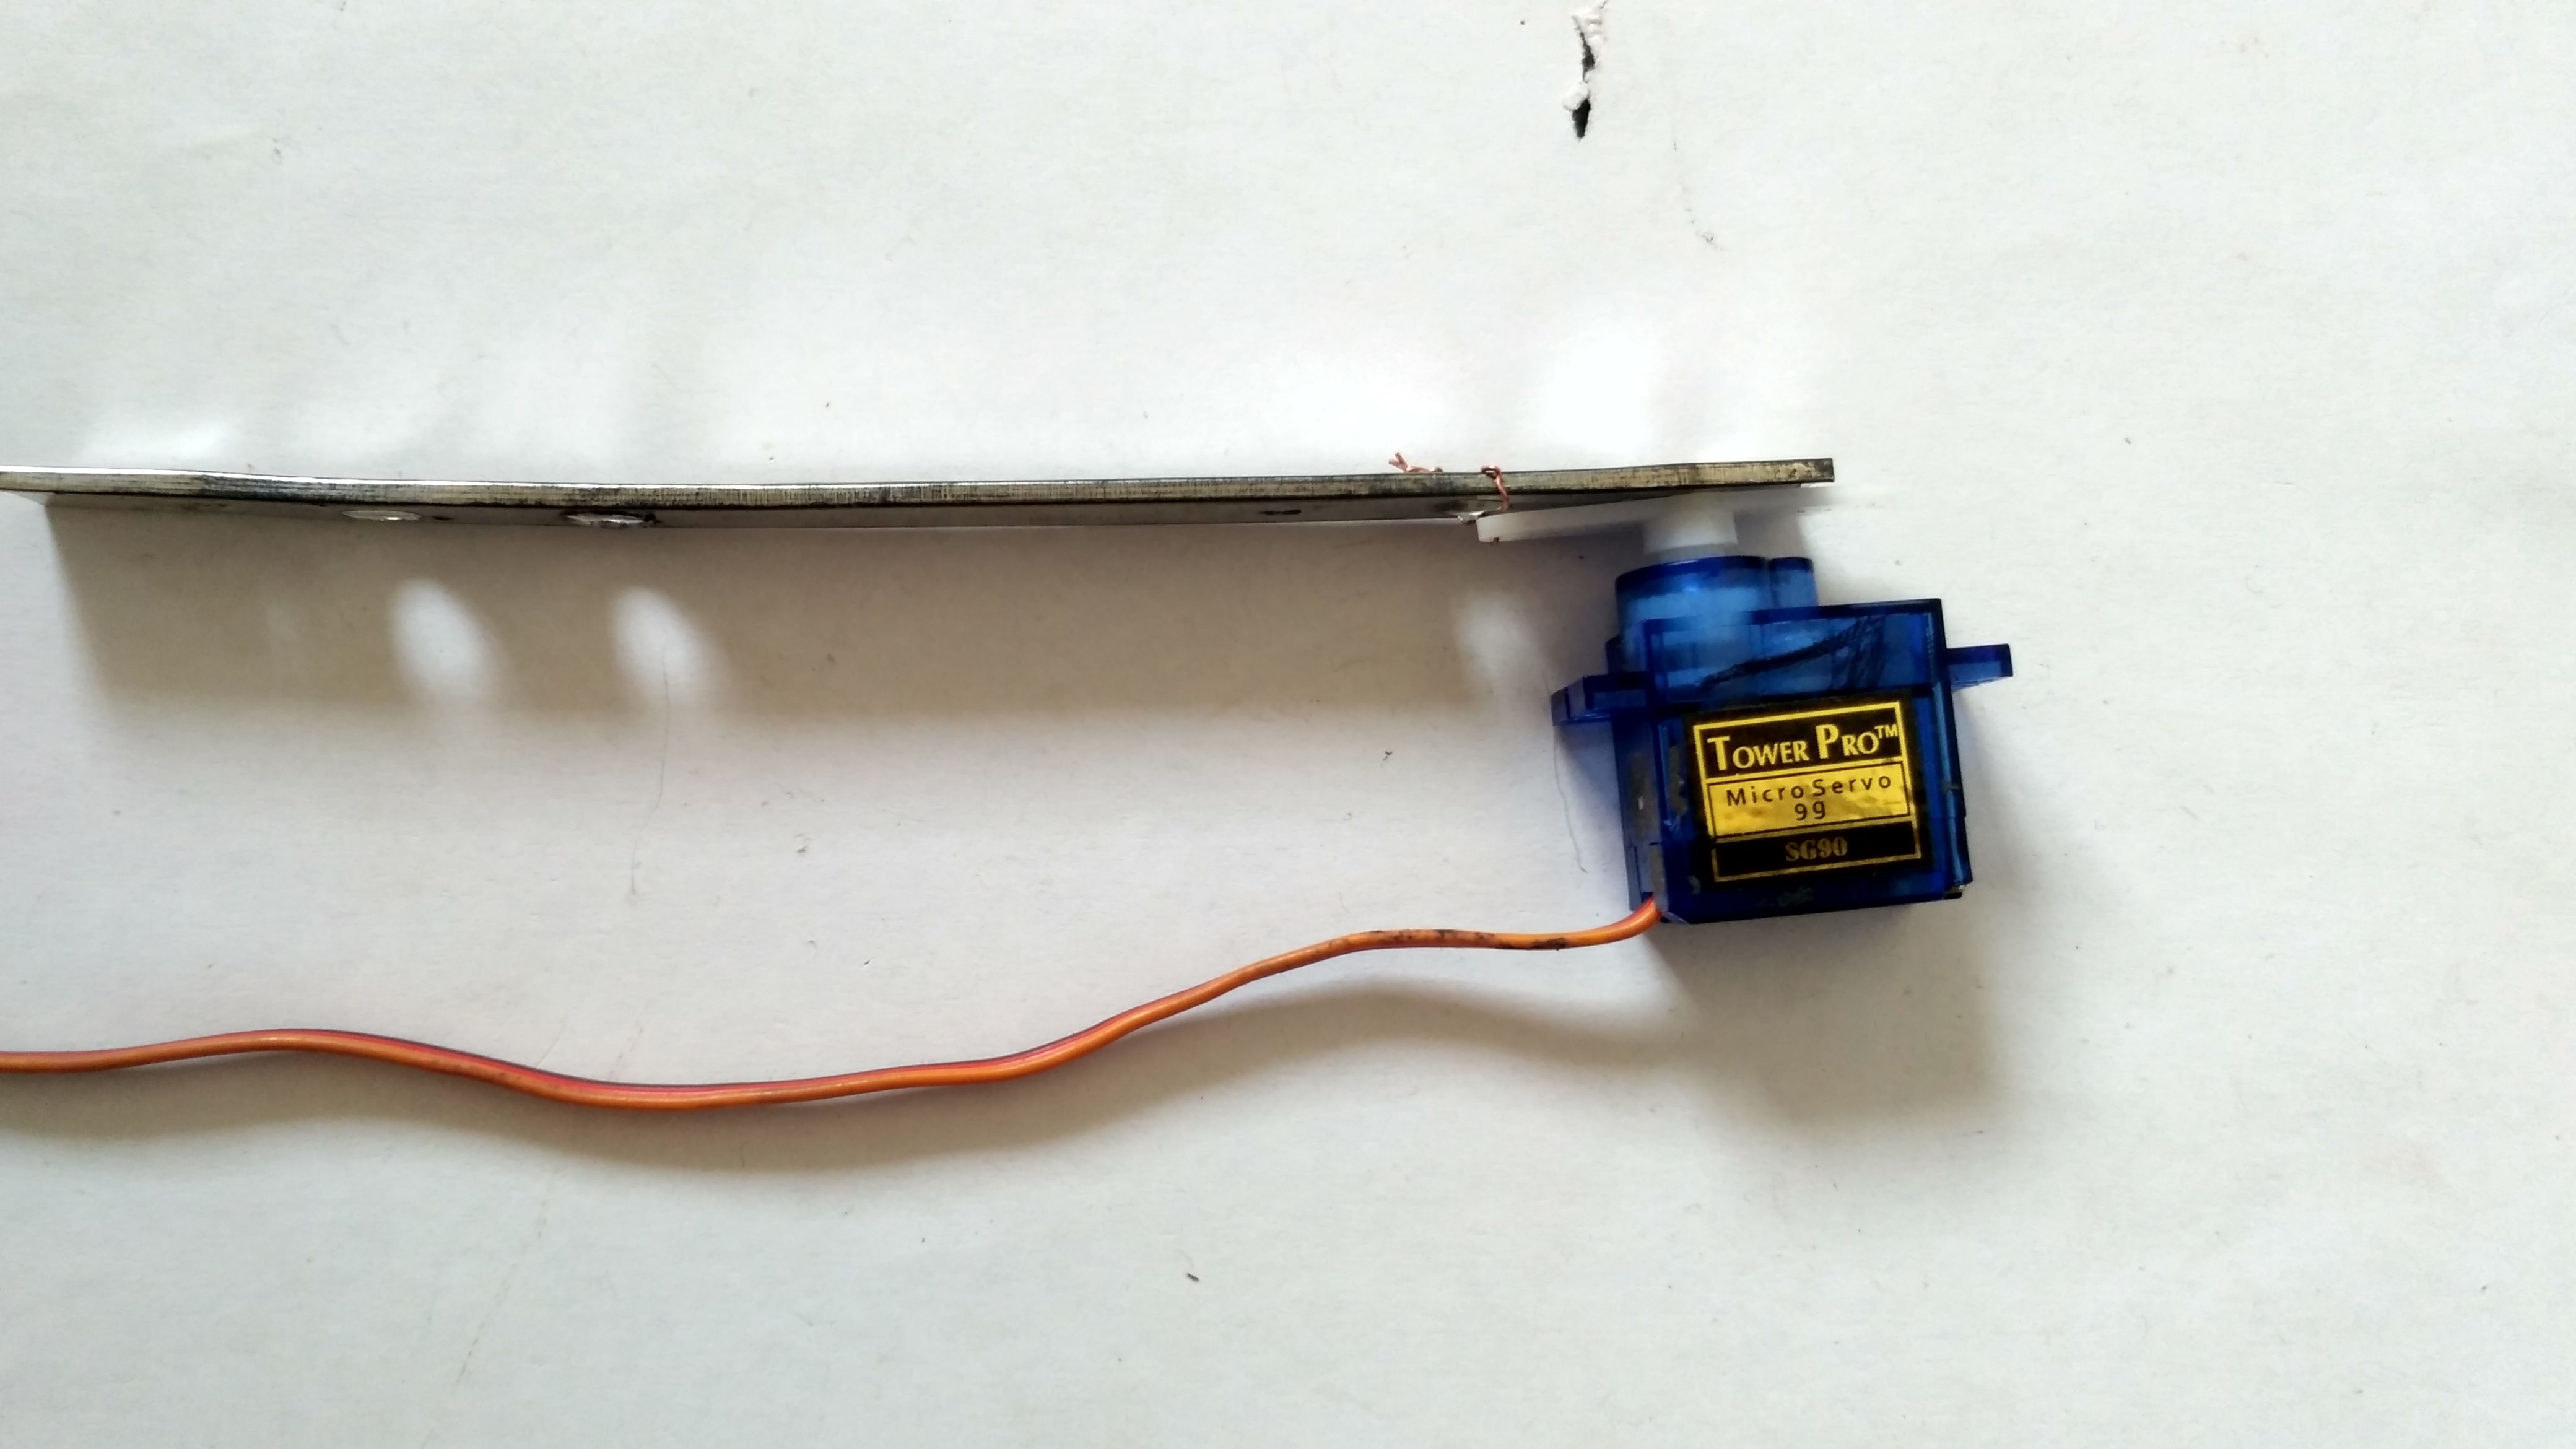
Take a servo motor. Take a long metal link and attach it to the horn on the servo motor. Some weights can also be attached to this link.
Making Holes in Fuselage
Make some holes on the fuselage to mount a servo motor.
After Attaching All Sensors & Actuators
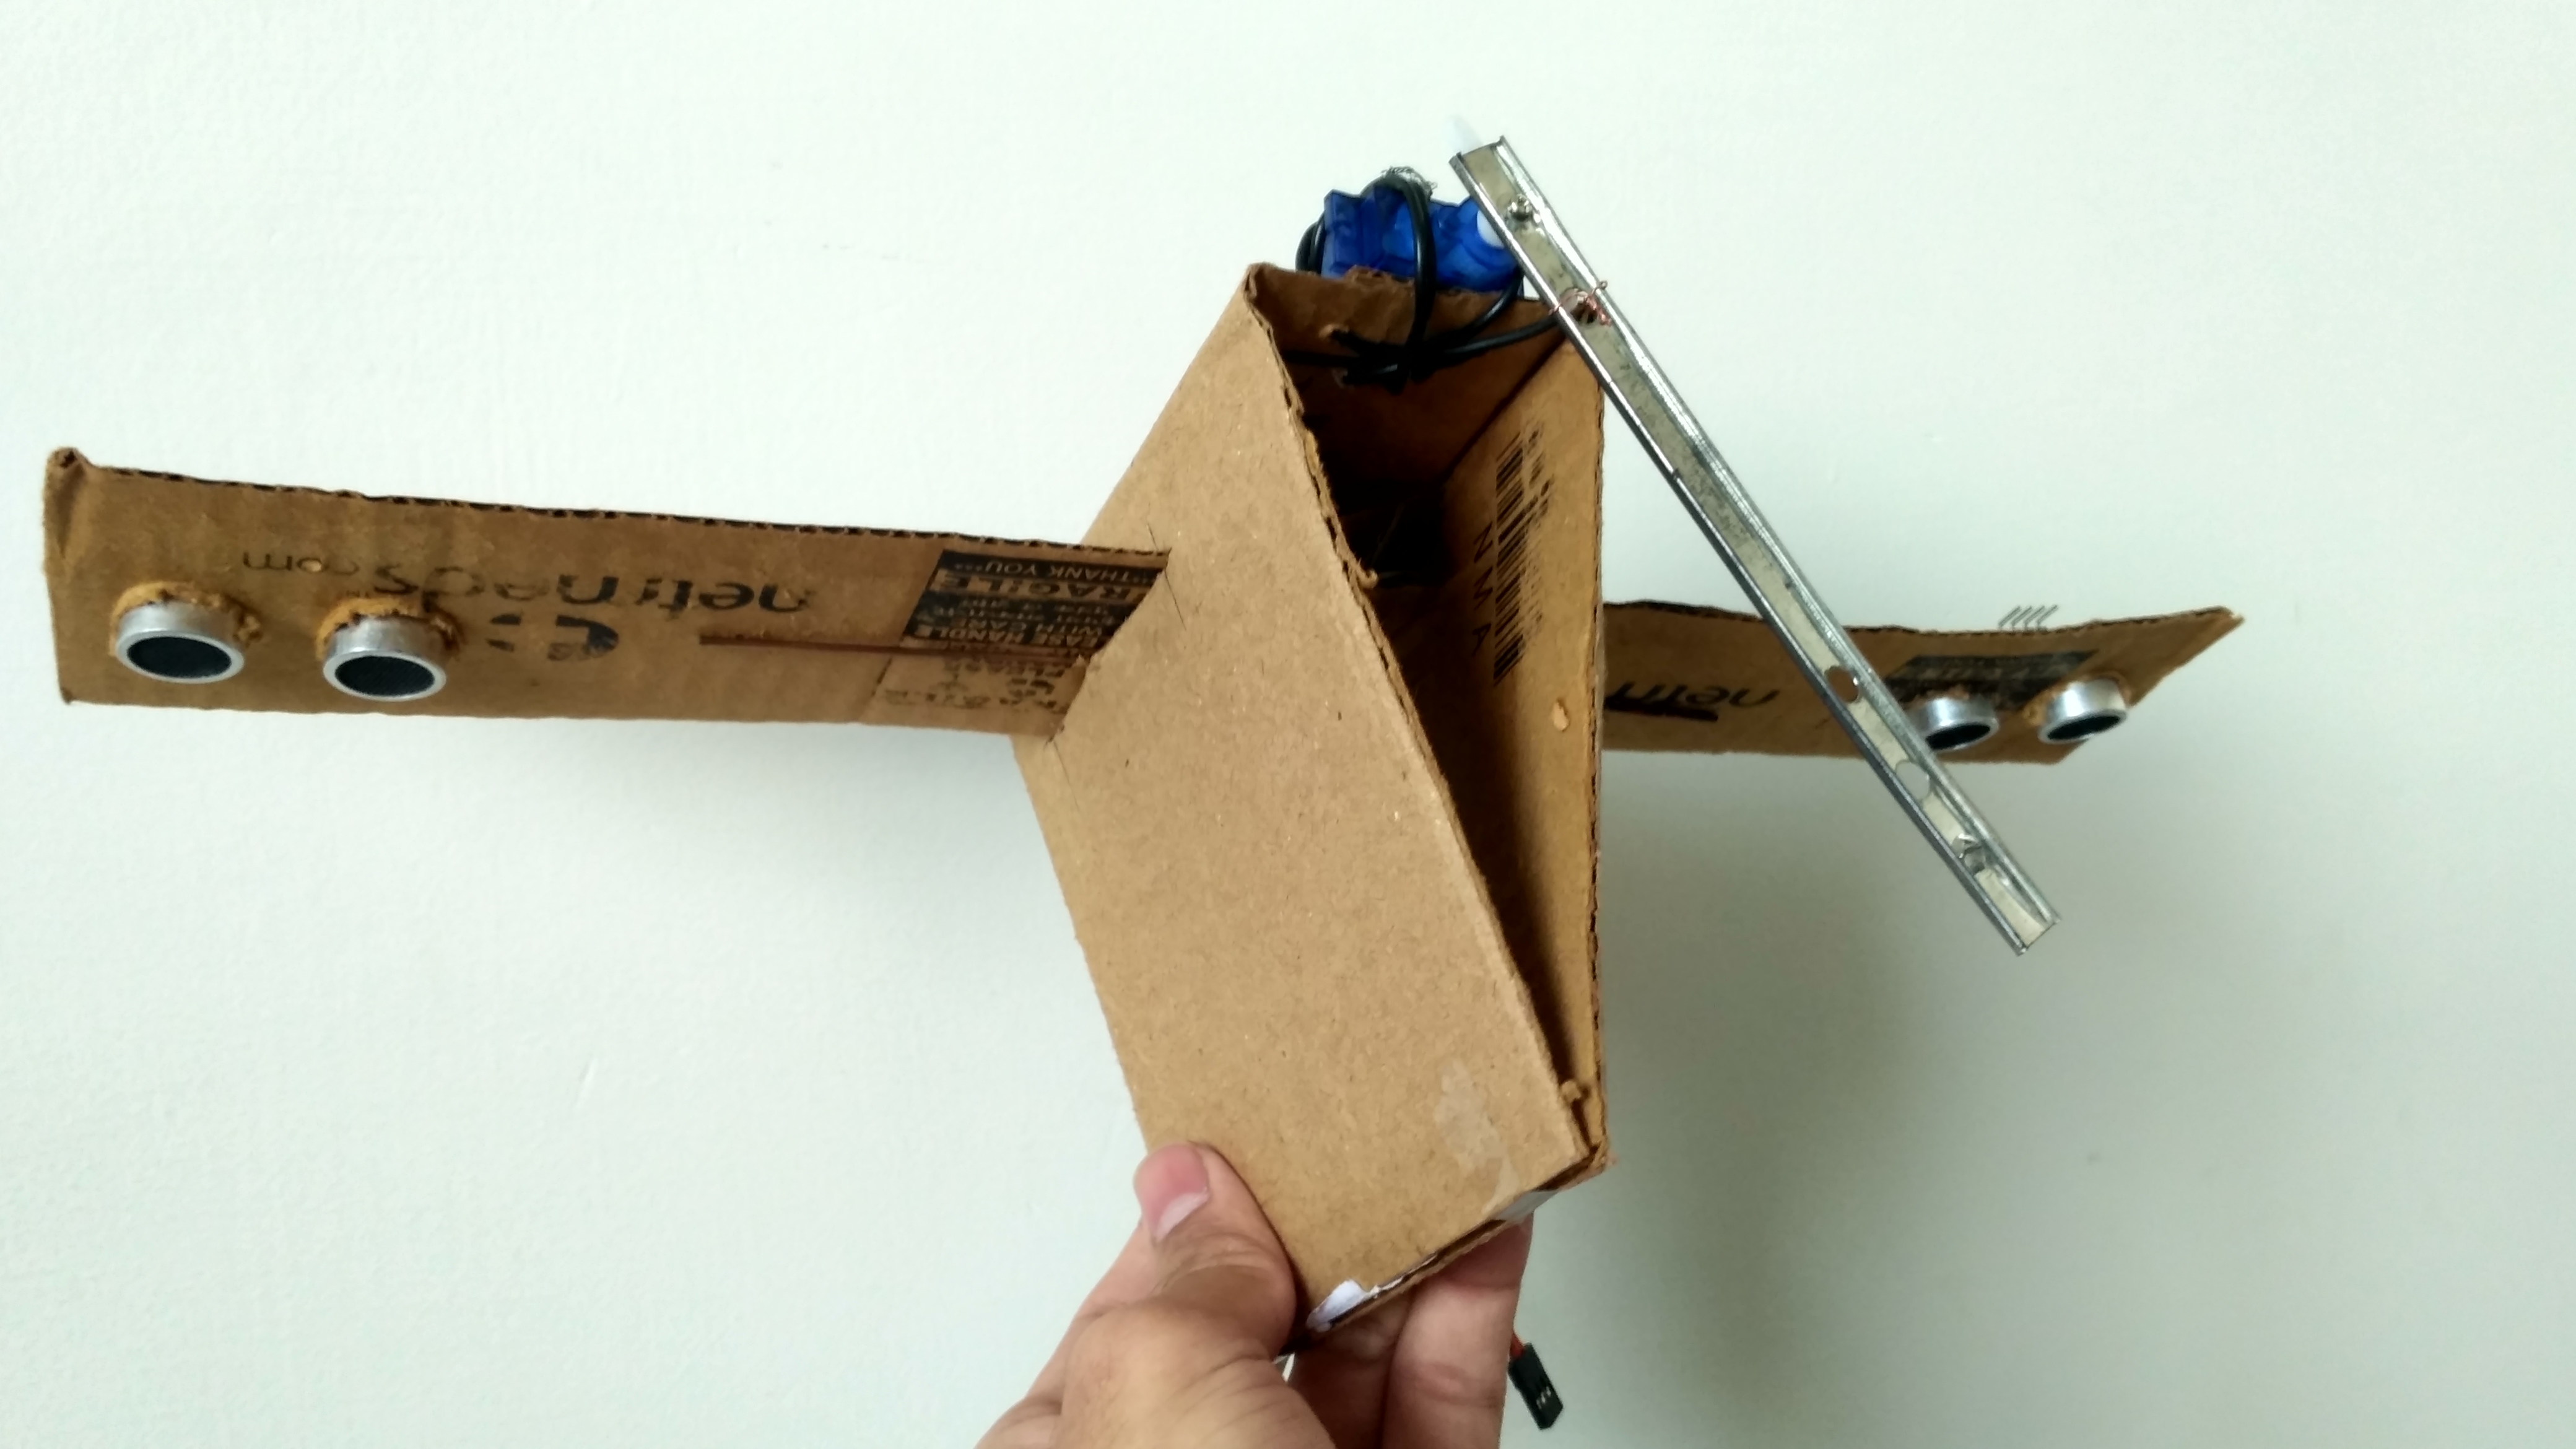
Attach the servo motor on the fuselage with the help of a string/ zip tie/ wire.
Engineering & Implementation
- Actuator Response & Torque: The SG90 Servo acts as the system's "Muscle." Because the servo is a geared actuator, it provides substantial holding torque, ensuring the counterweight stays in position even as gravity attempts to pull the robot down.
- Structural Light-Weighting: The use of a scrap cardboard fuselage is an intentional engineering choice. By keeping the main body mass low ($m_{body}$), the relative influence of the servo counterweight ($m_{weight}$) is maximized, increasing the Control Authority of the system.
Circuit Schematic & Simulation TinkerCAD
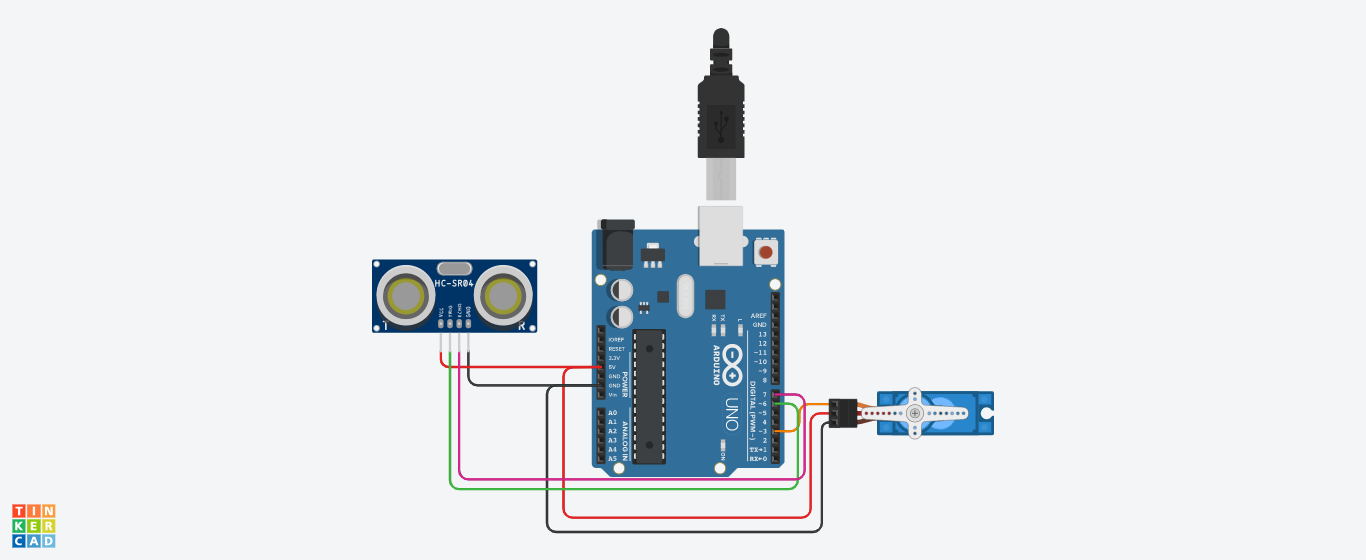
This is the circuit schematic of the self-balancing triangle.
Interfacing With Microcontroller
Write the code and upload it to the microcontroller.
The code should have logic such that whenever the triangle falls on the left side, the link is moved right. And whenever the triangle falls towards the right, the link should be moved left. To counterbalance.
Working
When the triangle is upright, its center of gravity remains right above its base.
If the triangle falls left, then the CG Shifts left. And moves beyond the base. so the triangle tips over. The same goes for the right side.
We have added a servo motor. With counterweight on its shaft. Now if the triangle falls on one side, The servo motor will move the weight on the opposite side. So there combined CG remains at the same place.
The Path to Full Equilibrium (PID)
While the current version uses basic logic, it provides the bridge to PID (Proportional-Integral-Derivative) control. Future iterations can utilize the high-speed processing of the Uno to apply derivative damping, preventing the "Oscillation" often seen in single-sensor balancing experiments.
Conclusion
We are not able to balance the triangle. But no regrets. We will modify it further. to make it balance itself in its next version.
Equilibrium-Tri is a testament to the "Fail Fast, Learn Faster" philosophy of robotics. By mastering the relationship between Inertial Torque and Acoustic Feedback, developers can begin to understand the complex mathematics required to keep unstable systems in a state of perfect balance.
Full Video Demonstration