In today's video I show you how to setting up ESP-CAM with your own Arduino.
Full tutorial on my youtube channel
What is ESP32?
The ESP32 is a series of low-cost, low-power system on a chip microcontrollers with integrated Wi-Fi and dual-mode Bluetooth.
Subscribe to my youtube channel
Follow me on instagram
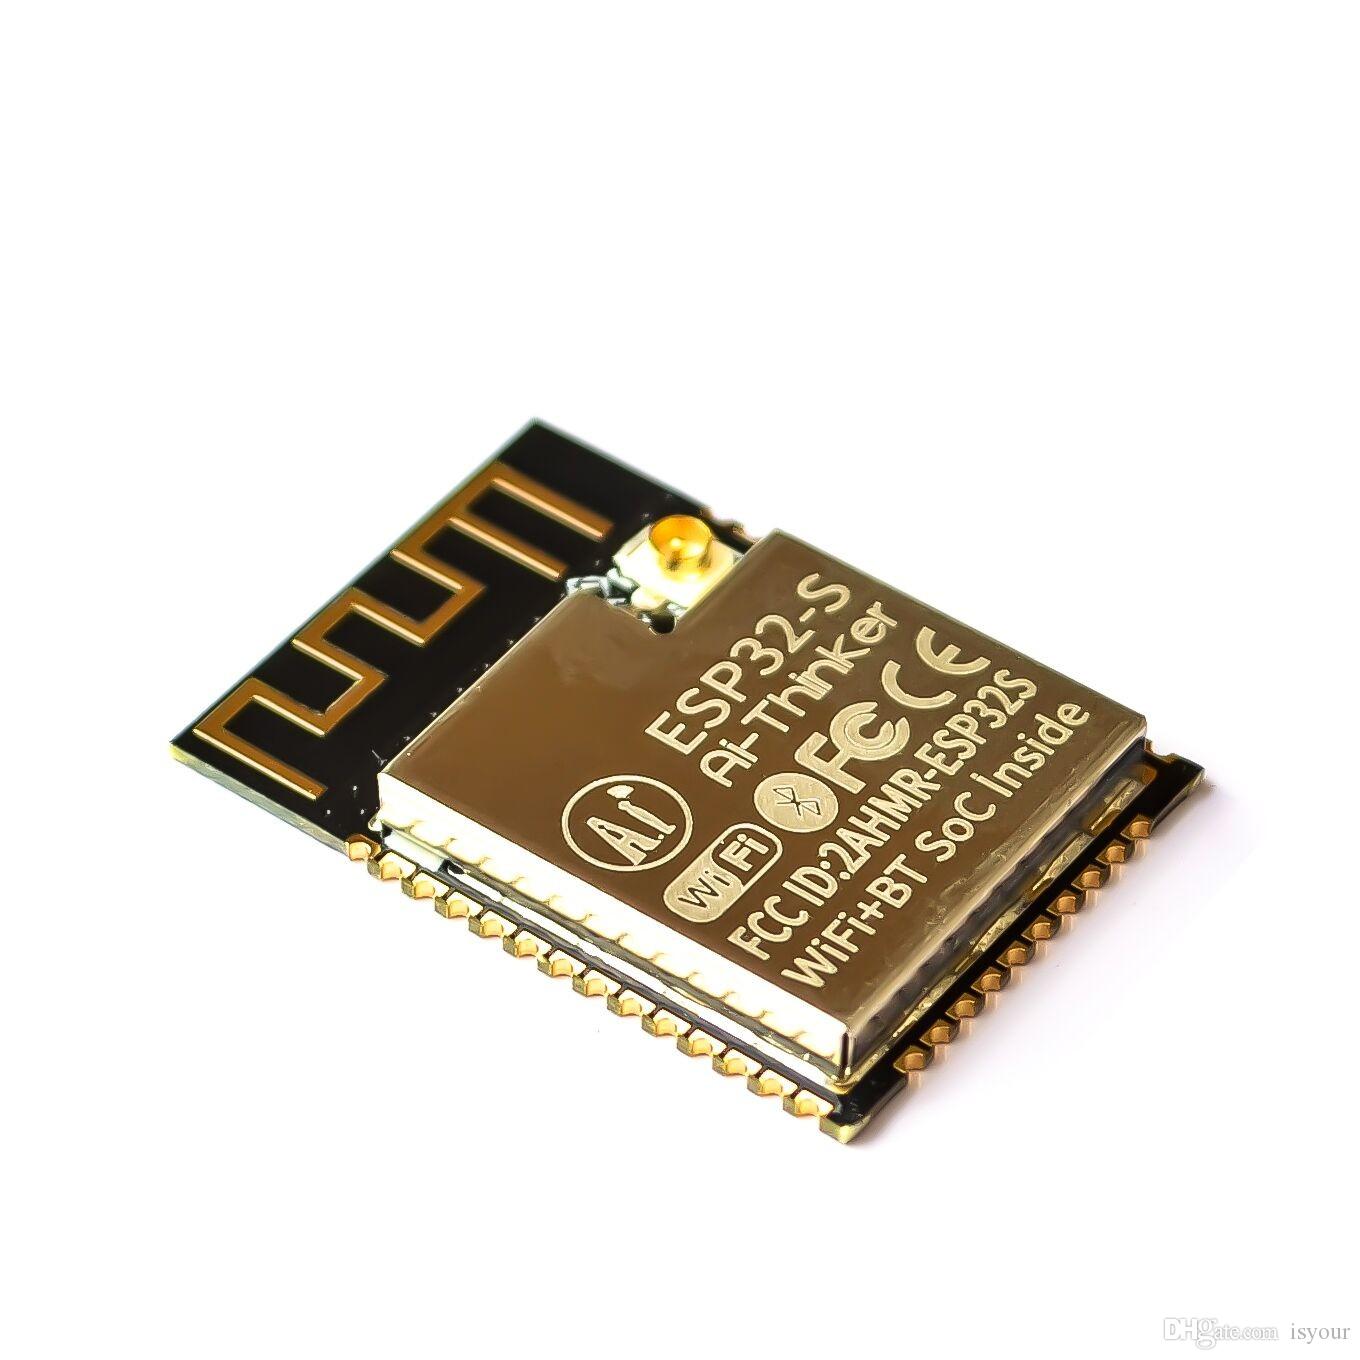
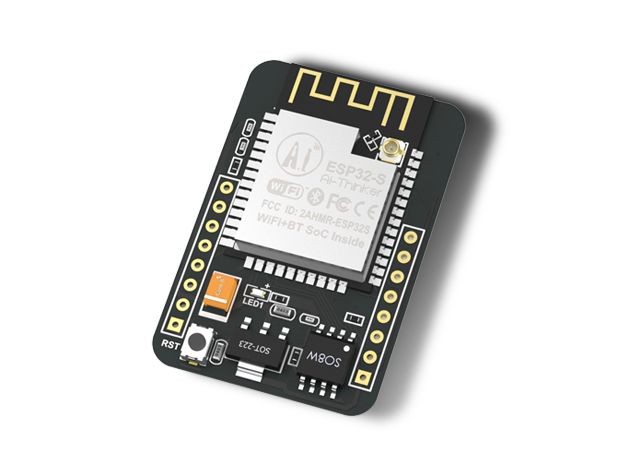
What is ESP32-CAM?
The ESP32-CAM is a small camera module with the ESP32-S chip that costs approximately $10. Besides the OV2640 camera, and several GPIOs to connect peripherals, it also features a microSD card slot that can be useful to store images taken with the camera or to serve files to clients.
Subscribe to my youtube channel
Follow me on instagram
ESP32-CAM Specifications:
- The smallest 802.11b/g/n Wi-Fi BT SoC Module
- Low power 32-bit CPU, can also serve as the application processor
- Up to 160MHz clock speed, summary computing power up to 600 DMIPS
- Built-in 520 KB SRAM, external 4MPSRAM
- Supports UART/SPI/I2C/PWM/ADC/DAC
- Support OV2640 and OV7670 cameras, Built-in Flash lamp.
- Support image WiFi upload
- Support TF card
- Supports multiple sleep modes
- Embedded Lwip and FreeRTOS
- Supports STA/AP/STA+AP operation mode
- Support Smart Config/AirKiss technology
- Support for serial port local and remote firmware upgrades (FOTA)
Subscribe to my youtube channel
Follow me on instagram
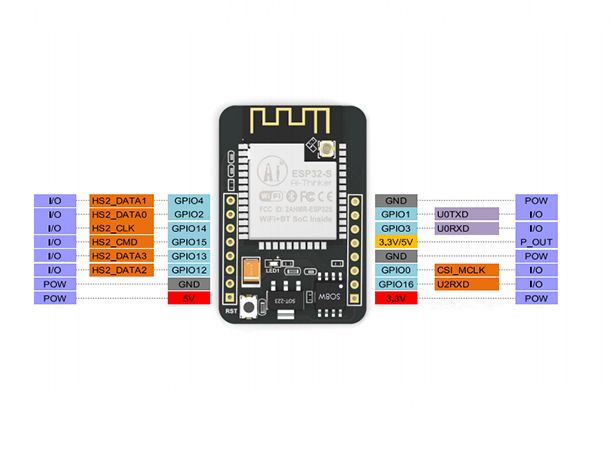
Hardware Hacking: Flashing the ESP32-CAM via Uno
The ESP32-CAM is a phenomenal, low-cost Wi-Fi camera module. However, its manufacturer (AI-Thinker) omitted a critical component to save cost: It does not have a USB port! The standard method requires buying a separate FTDI/USB-TTL programmer. This project teaches a classic engineering "hack," utilizing the internal ICs of a standard Arduino Uno to act as a bridge, entirely eliminating the need for extra programming hardware.
The CH340 / ATmega16U2 Bypass
The Arduino Uno is actually two chips. The main brain (ATmega328P) and the USB bridge chip near the silver port. We need the bridge; we want the brain dead.
- Killing the Uno: You physically wire a jumper cable from the Uno's
RESETpin directly toGND. This completely paralyses the Uno's main processor, turning the entire board into a "dumb" USB-to-Serial converter. - The RX/TX Crossover: You wire the Uno directly to the ESP32-CAM.
Uno 5V->ESP 5VUno GND->ESP GNDUno TX->ESP U0TXUno RX->ESP U0RX(Notice: Unlike standard serial communication, we connect RX to RX and TX to TX because we are injecting from the bridge, not talking to the Arduino itself).
Forcing Flash Mode (GPIO 0)
The ESP32-CAM will not accept code just because you plugged it in. It has a strict security architecture.
- You must temporarily connect the ESP's
GPIO 0pin toGND. This mathematically pulls the boot pin low. - You hit the physical Reset button on the ESP module. The chip wakes up, reads the pulled-down pin, and enters "Bootloader / Upload Mode."
- You hit
Uploadin the Arduino IDE (selecting the "AI Thinker ESP32-CAM" board profile). - The USB data flows through the Uno's bridge chip seamlessly into the ESP32!
- After climbing to 100%, you remove the
GPIO 0jumper, reset the board, and the camera web server comes roaring to life!
The Hacking Toolkit
- Arduino Uno (Must have a removable ATmega328P chip, or use the RESET to GND trick).
- ESP32-CAM AI-Thinker Module.
- Male-to-Female Jumper Wires.
- (Pro Tip: The ESP32-CAM draws significant power when transmitting video. The 5V pin on the Uno might struggle to provide enough Amps. Always use a dedicated 5V 2A external source if the video feed constantly crashes!)
Subscribe to my youtube channel
Follow me on instagram