What's different from the other VU meters?
Most VU meters based on the Arduino use its internal ADC (Analog to Digital Converter) to convert the sound, an analog signal, to a digital signal which the Arduino can easily understand to send outputs to the LEDs. To do this, usually a female end of an TRS connecter is used, or a microphone module. The drawback though, is that the music has to be playing externally on a speaker for the microphone and for the plug, you'll need a splitter (one end for your headphones, one end for the Arduino)
I didn't have a splitter and exclusively listen to my music on headphones so I came up with another solution. This doesn't utilize the internal ADC though so I hypothesize it would be less responsive because the signal has to undergo a lot of processing, compared to the more direct route.
P.S It's important to know the difference between a spectrum analyzer and a VU meter. Spectrum analyzers show you the relative volumes of all the frequency bands present in audio. Spectrum analyzers can have a lot of bands to accommodate a more fine tuned experience, or even just three - but it is more complex than a VU meter.
VU meters simply just show the loudness of audio, which doesn't give it as much detail. For example, songs with a lot of layered instruments where the volume level is the same throughout would have almost no movement while a spectrum analyzer would allow you to see the different instruments, assuming they have different frequencies. VU meters are most responsive for songs with punchy instrumentals, things like drums and bass.
How does it work?
In order to get the system output and analyze it, I needed to use Python. It has libraries that allows the streaming of audio as an input (pyaudio) and then another which analyzes the loudness of it (audioop). There was another hoop that needed to be jumped through though: pyaudio can't read the system sound.
However, there's some preinstalled driver on your computer that allows you to use your system sound card as an input device that pyaudio can use. I didn't figure this out myself but rather after some fervent Googling and I must credit this discovery to this person. Do note , however, this works only for Windows. There may be a workaround for other OS but I haven't looked into them a lot.
Now that you have a signal to analyze, audioop comes into play. It uses the rms value of the sound to determine the loudness. RMS stands for root mean square, and basically it's a value of the power of the sound. To get a little more into detail, the power of sound is represented as a sine wave, which isn't very easy to work with but taking the rms at a point allows a means of finding the equivalent signal if it were a regular straight line. The frequency of the generation of the rms value was 42Hz, and after some calculations I determined an 115200 baud rate would be sufficient. Nonetheless, it was sufficiently responsive but some flickers here and there can be annoying.
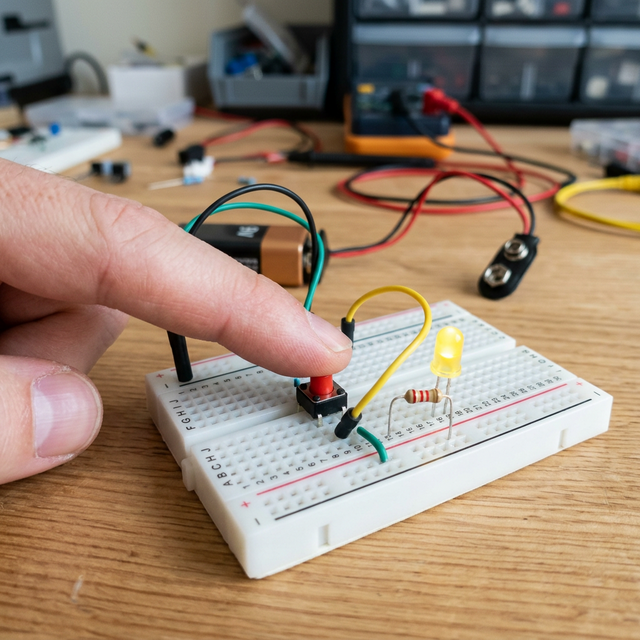
The rms value is sent over serial to the Arduino which reads it and lights up the row of 8 LEDs depending on the sound level. On the Arduino side, I used the 74HC595 shift register. You could use the regular pins as well, but I wanted to utilize binary somehow. 8 LEDs shouldn't cause any electrical problems because all eight of the lights are not constantly all so you wouldn't approach the 200mA threshold that Uno boards have, even if they were to be all on. Make sure to check though, because different LEDs have different current draws.
EXPANDED TECHNICAL DETAILS
The LED VU (Volume Unit) Meter is an iconic retro display found on classic stereos and mixing boards. Instead of using complex frequency analysis (FFT), this project focuses entirely on the raw volume (Amplitude) to create a striking, responsive light show.
The Envelope Follower
The core principle is to follow the audio envelope. In a typical hardware-based build, an Electret Microphone Amplifier (like the MAX4466) is key. The microphone module picks up sound waves, and the Arduino reads the analog pin as fast as possible for a small "window" of time (e.g., 50 milliseconds). The code identifies the peak-to-peak voltage during that window. If the room is silent, the peak is tiny. If the bass drum hits, the peak is massive! It converts that peak amplitude into a volume variable.
The Bar Graph Array
- You set up 5 to 10 LEDs in a row, storing their pin numbers in an array.
- Using the
map()function, the Arduino converts the Volume Variable (e.g., 0 to 1024) into an LED Index (e.g., 0 to 8). - A
forloop turns on all LEDs up to that index, and turns off all LEDs above it. This makes the bar graph actively "bounce" up and down in perfect sync with the music!
Required Parts for a Standard Build
- Arduino Uno/Nano: The processor.
- MAX4466 Microphone Amplifier: Provides a cleaner, louder signal than a basic sound sensor.
- LEDs of different colors (e.g., 5 Green, 3 Yellow, 2 Red) & Resistors.
This is one of the most visually rewarding beginner projects available.
The results
Keep in mind, this is recorded straight from my headphones so the audio quality lacks a little clarity, and the recordings only play on one side for some reason. I would've used yellow LEDs in the middle but I found them too dim. Flashing light warning.
Song
Song
Song