A kitchen timer is a simple, user-friendly device that counts down a set time and alerts the user with an audible or visual signal when cooking or baking tasks are complete.
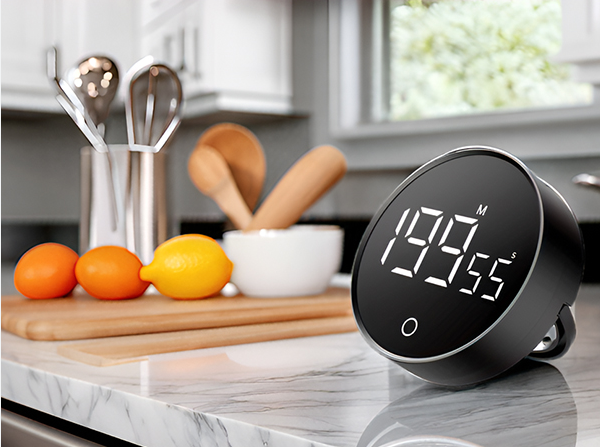
Most commercial kitchen timers are relatively complex to set up and operate, as more attention is paid to many unnecessary options and functions, while neglecting the simplicity of operation that should be a basic feature for a timer with this purpose.
In this project I will show you a very simple way to make a kitchen timer that is extremely easy to operate, yet has almost all the features of a modern commercial timer.
In the high-pressure environment of a kitchen, simplicity is the ultimate sophistication. This project replaces complex, menu-driven digital timers with a high-speed, intuitive device that uses a single physical knob to "dial in" your countdown—enabling you to go from zero to sixty minutes in less than a second.
User-Centric Timer Design Overview
The Arduino Kitchen Timer is an exercise in Human-Computer Interaction (HCI). Most commercial timers require multiple button presses to set a long duration; this project uses a 10k Linear Potentiometer as a "High-Speed Encoder," mapping the mechanical position of the wiper to a specific number of seconds or minutes. This provides an analog-like "Feel" with digital-level precision, perfect for busy chefs who need to set and forget their timers instantly.
To make the device, you only need a few components:
- Arduino Nano microcontroller board
- TM1637 - 4 digits, 7 segment display
- 10K Potentiometer
- Three buttons
- and Buzzer
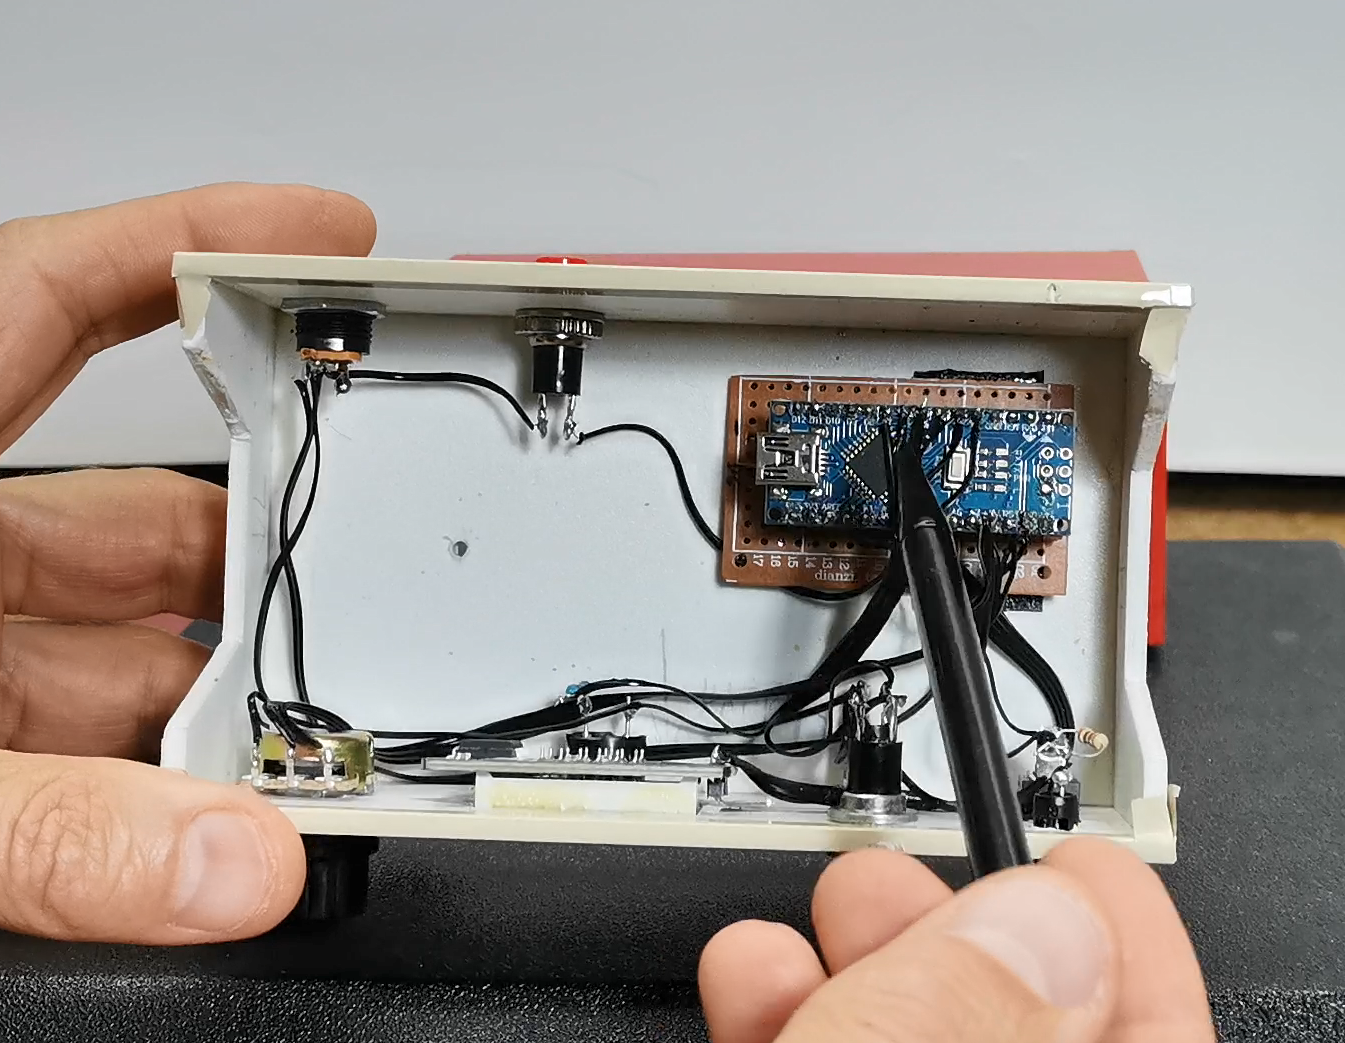
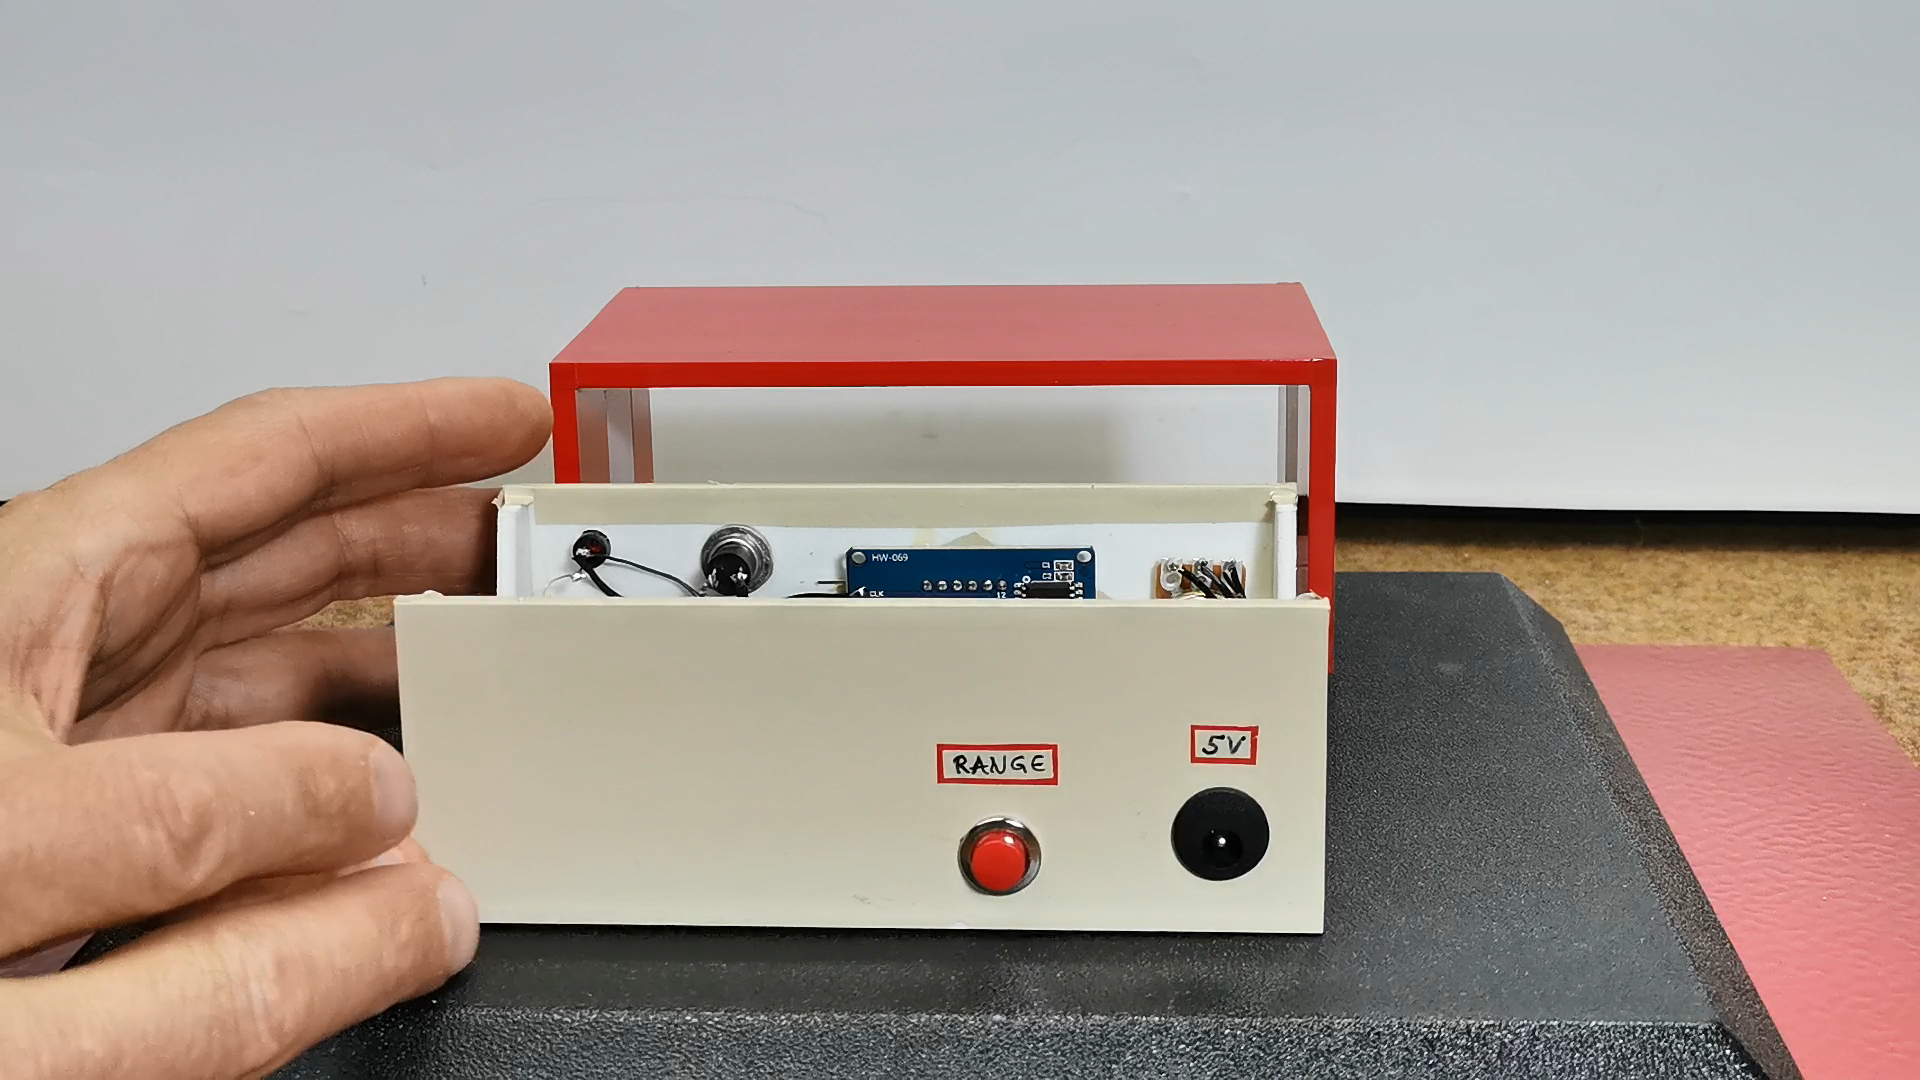
Hardware Infrastructure & The Control Tier
- Arduino Nano: The "Main Processor." Its compact form factor makes it ideal for building a sleek, hand-held or counterside device.
- TM1637 4-Digit Display: The "Visual Feedback." This specialized module uses only two data pins (DIO and CLK) to control all four digits, providing a bright, flicker-free readout of the remaining time.
- 10k Linear Potentiometer: The "Input Actor." By reading the raw voltage on an Analog pin, the Arduino calculates the target time. The project includes "Quantized Intervals" (e.g., jumping in 30-second steps) to ensure the setting is fast and non-jittery.
- Piezo Buzzer: The "Alert Node." When the countdown reaches zero, the code triggers a high-frequency alternating tone that can be heard even over the noise of a busy kitchen.
- Color-Coded Buttons:
- Green: Starts the timer cycle.
- Yellow: Resets the countdown to the initial value.
- Red: Swaps between "Rough Setting" (0-60m) and "Fine Tuning" (0-10m) modes for precision baking.
This project is sponsored by Altium 365. Altium 365 is a cloud-based platform designed for electronics design and engineering. It provides a suite of tools for PCB design tools, including Requirements management, Supply chain, Library management, ECAD connectivity, Co-design and integration, and manufacturing portal.

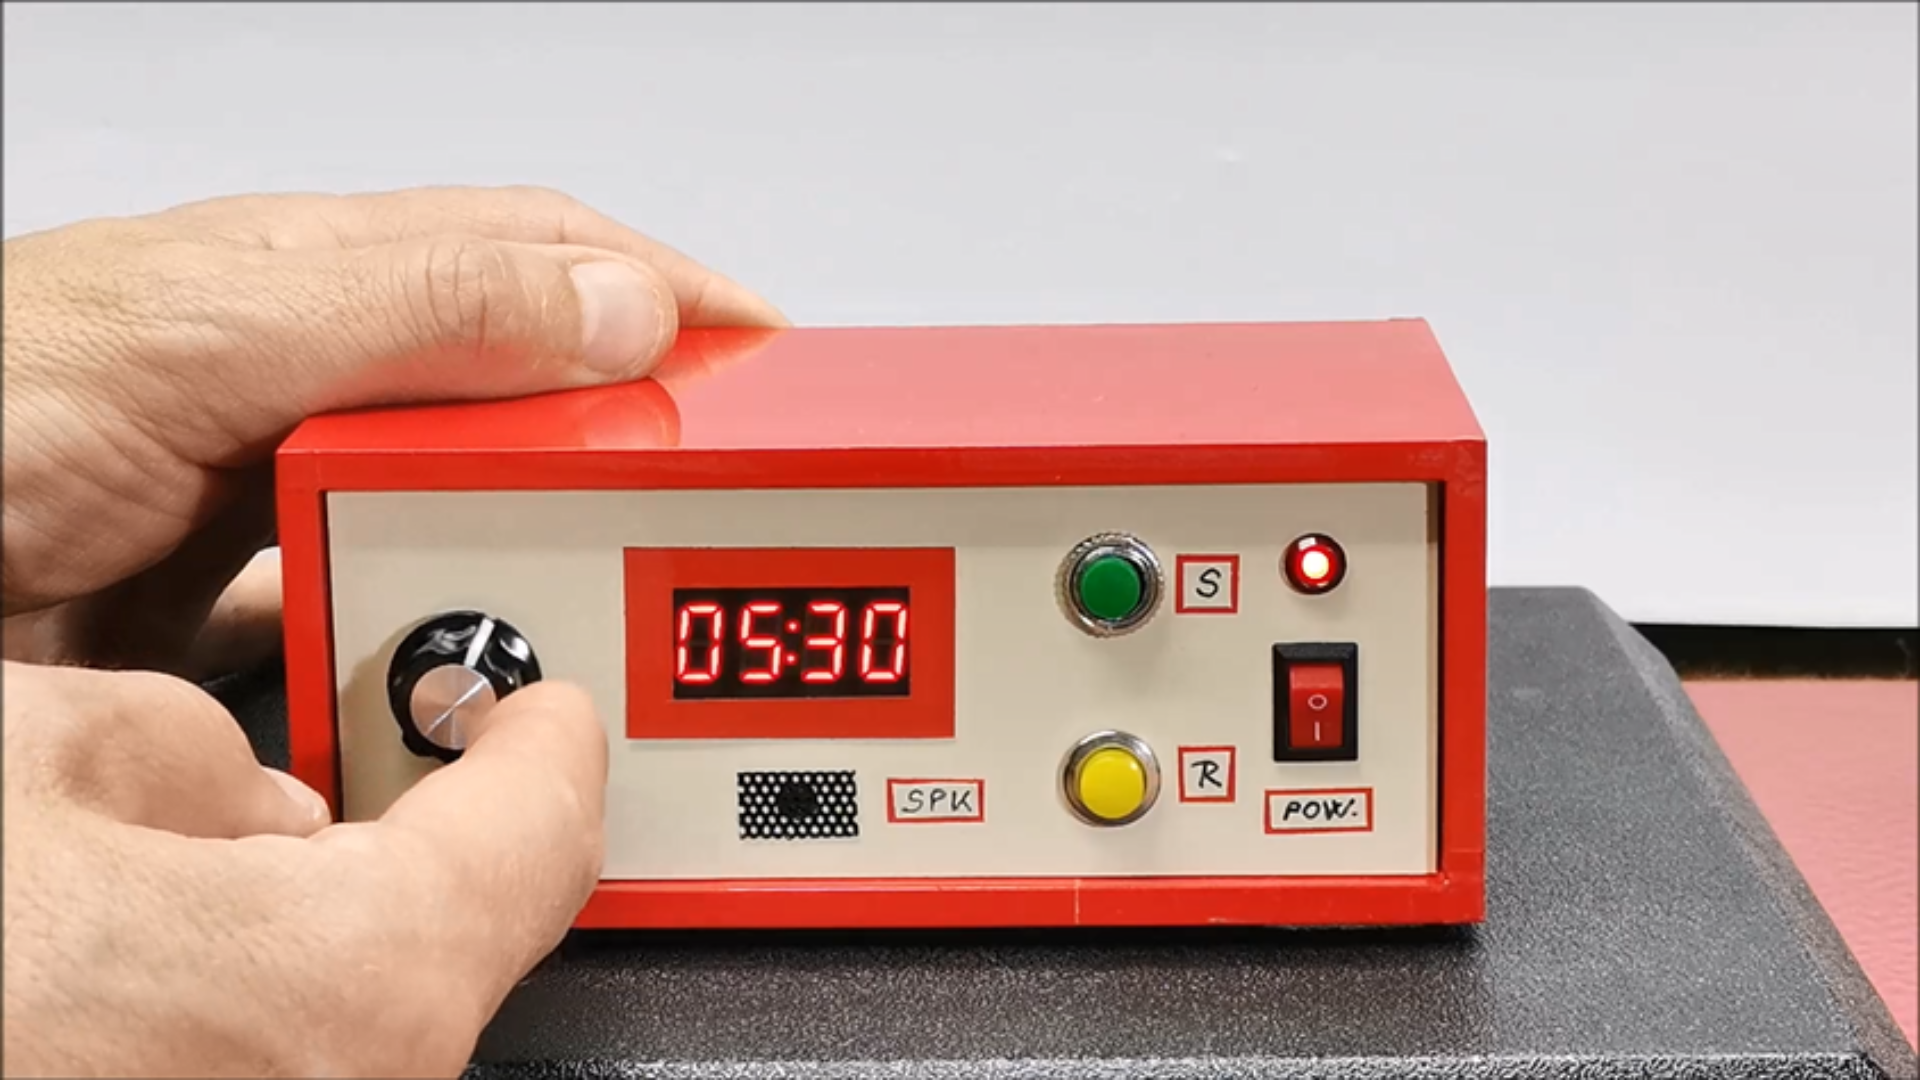
First, I will explain how to operate the device and its functions and capabilities. For simplicity, the time is set with a simple potentiometer, in three ranges - 0 to 60 min, 0 to 30 min, and 0 to 10 min range. The green button starts the countdown, the yellow button resets the device at any time, and the red button selects the desired range.
When the device is turned on, the time appears on the screen, which is determined by the position of the potentiometer.
Technological Logic and The Timing Algorithm
The software is optimized for both reliability and "Butter-Smooth" interaction:
- The Range Selection Phase: By dividing the potentiometer’s 10-bit reading (0-1023) by a variable "Scalar," the code can dynamically switch the scale of the timer.
- Potentiometer Smoothing: To prevent the numbers on the screen from bouncing due to electrical noise, the code implements a "Running Average" filter—ensuring the time only changes when the user consciously turns the knob.
- The Non-Blocking Countdown: Unlike basic sketches that use
delay(), this project uses amillis()-based timer. This allows the Arduino to remain responsive to the "Reset" and "Pause" buttons at every millisecond of the countdown. - Alarm Modulation: The final alarm isn't just a steady beep. It is a "Patterned Pulse" that increases in urgency—an essential feature for grabbing the chef's attention before the food burns.
The default range when turned on is 60 min. Now simply and quickly set the desired time with the potentiometer, for example 7 min and press the start button. The timer starts counting down and the two dots in the middle of the display start flashing. If at any time during the process we press the reset button, the time returns to the original set state. The end of the set time is signaled by an intermittent tone of the buzzer, as well as alternating flashing of the numbers (in this case four zeros) on the display. This lasts until we press the reset button, after which the device is ready for operation again. Let's also see the function of the RANGE button.
By pressing the button, the set range appears on the screen for two seconds and then the timer value in that range is displayed. With this option, we can set shorter intervals much more precisely and easily. As you can see, in the explanation, the resolution for setting this timer is currently 30 seconds, because for a kitchen timer that is quite enough. However, depending on the needs, it can be 10, 5 or even one second and is set in the code in the line:
`#define QUANTIZE_INTERVAL 30 // (1 to 60 sec)`
As for the code, I tried to make it as flexible and easy to modify as possible, so with minimal changes we can create a custom timer to suit our own requirements.
In short, as you can see, all the timer parameters can be changed. For example, the previously mentioned QUANTIZE_INTERVAL, POT_SMOOTHING, POT_READ_DELAY, Alarm Frequencies as well as ON/OF time, number and duration of timer ranges, and even the brightness of the display.
Why This Project is Important
Mastering the Potentiometer-to-Display interface is a critical skill in Product Prototyping. It teaches you how to design hardware that prioritizes speed and efficiency. Beyond the kitchen, these same principles are used in Industrial Equipment, Medical Devices, and Laboratory Instrumentation where complex menus must be avoided in favor of direct, tactile control.
And finally a short conclusion. In summary, this Arduino project delivers a user-friendly, highly customizable kitchen timer with all essential features, proving that effective timekeeping doesn’t require unnecessary complexity.