Installing the Teensy boards isn't available via boards manager at the moment, and the below guide will get you setup in minutes.
Once we're setup we can get some code uploaded, and use some Debugging Tools to help us with our Arduino project development in Visual Studio with Visual Micro.
Software Setup
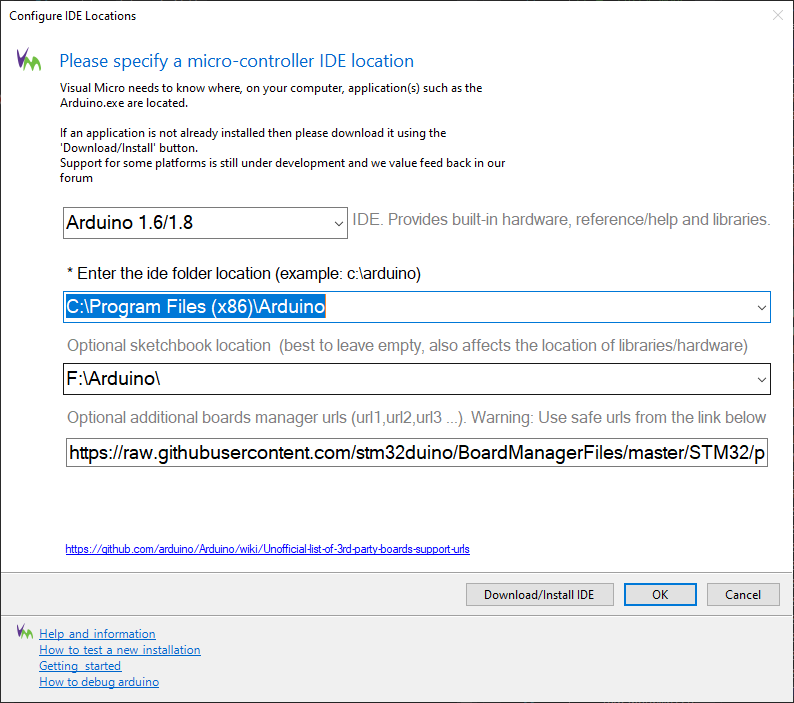
We assume that you have already installed the Arduino IDE on your machine (if not download here).
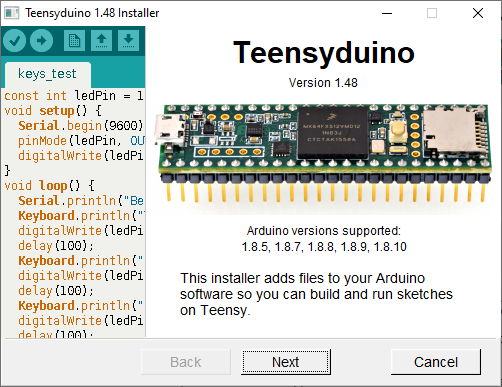
Adding the Teensyduino components:- Download the Windows package from PJRC here
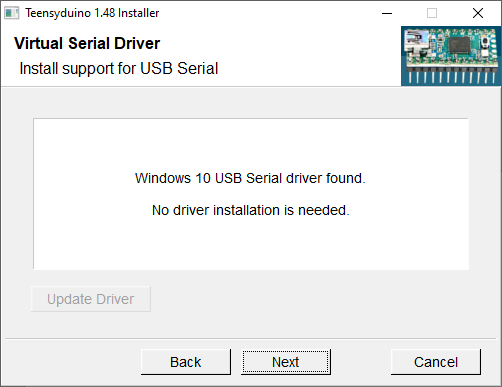
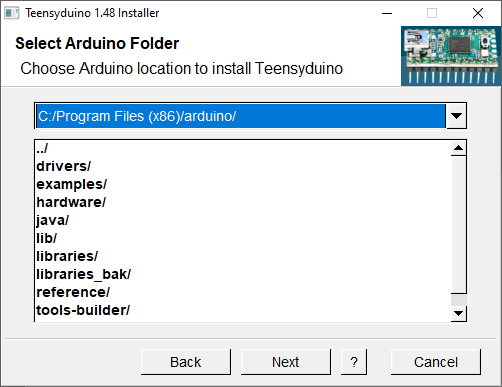
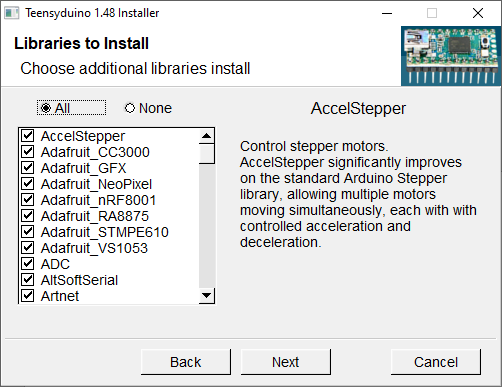
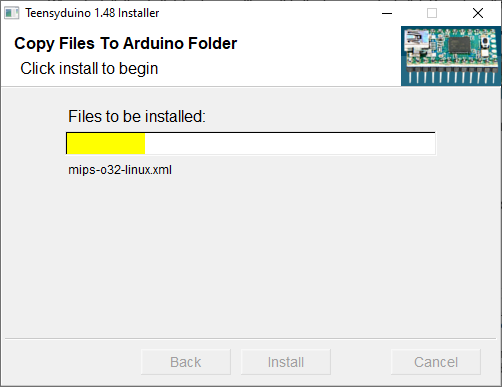
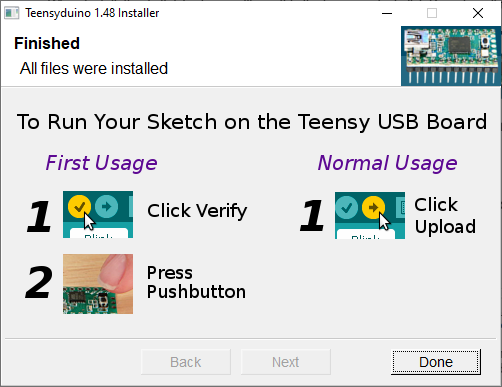
Run the Installer and follow the on-screen prompts (also captioned below), ensuring you install it into the same Arduino IDE location you are using in Visual Micro:
This is all that's needed to make the Teensy boards and tools available to Arduino, and Visual Micro.
EXPANDED TECHNICAL DETAILS: Teensy uses a proprietary loader called Teensyduino, an add-on installer that injects the Teensy core files directly into the standard Arduino IDE you already know. This guide is for the maker who has outgrown the Arduino Uno. When your LED matrix starts flickering, or your audio processor stutters because the Uno is too slow (16 MHz), you upgrade to the Teensy 4.0 or 4.1, which boasts a terrifying 600 MHz ARM Cortex-M7 processor.
Hardware Setup
Just connect your Teensy board to your PC using the USB cable provided, any drivers needed were installed by the installer in the previous step.
EXPANDED TECHNICAL DETAILS: The hardware setup requires a Teensy 4.1 Development Board and a Micro-USB Cable. A critical warning: unlike the Uno, the Teensy is strictly a 3.3V device. Sending 5V into its pins will instantly destroy it. Connecting standard 5V components often requires a Logic Level Converter chip.
Lets Code
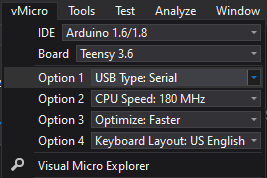
Now we can get our first sketch uploaded onto our board;- Open an existing or New project in Visual Micro Select the boards list and locate your Teensy of choice.
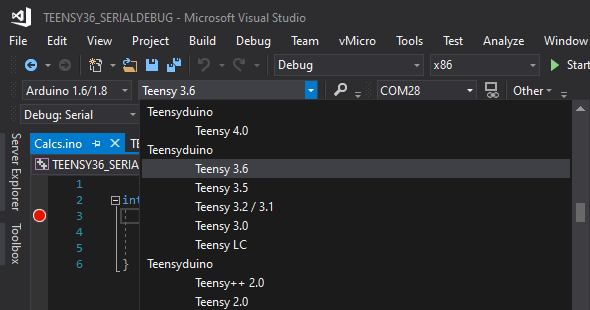
Ensure on the Board Options the the "USB Type: Serial" option is set.
EXPANDED TECHNICAL DETAILS: USB Type Settings: The sheer processing power allows the Teensy to pretend to be a Mouse, an internal MIDI keyboard, or a Flight Simulator Joystick natively. You configure this through the IDE's "Tools" menu.
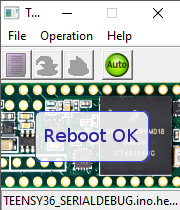
Now simply Build & Upload the code to your board NOTE - you will see a window pop up during the process whichwill perform the upload**. Once this is done this window can be closed.**
Thats it! Your code should now have been uploaded to your board. Blink at 600MHz: Uploading the standard Blink sketch proves the massive ARM processor is alive.
EXPANDED TECHNICAL DETAILS: The True Power: Fast Math The Teensy features a built-in Floating Point Unit (FPU). Math that takes an Arduino Uno 10,000 clock cycles is completed by the Teensy in 1 clock cycle. This makes it the absolute industry leader for DIY synthesizers (Teensy Audio Library) and insanely fast data loggers.
Debugging the Code
The next challenge to simplify, is what to do when you have a problem with your program which you cant figure out... this is where the Serial Debugger allows you to monitor your code closely and control its execution as it runs... Here we will need to select the "Debug: Serial" mode in Visual Micro Then add Breakpoints where you want to stop in your code, by clicking in the left margin (more breakpoint help).
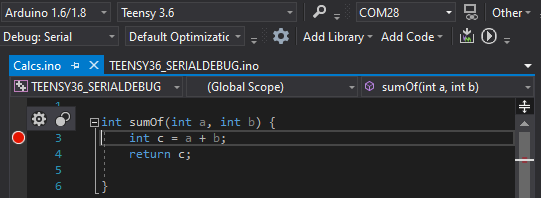
You can also trace variables by setting Actions when a breakpoint is hit. Simply Build and Upload and the Serial Debugger will start automatically. NOTE - If you change breakpoint positions or actions then the sketch will need to be re-uploaded to the board Now you have your board debugging and working, you can also calibrate sensors, and plot graphs of your data / readings with literally only a few steps, using the Serial Debugger.
Full Video Walkthrough
Hopefullyitallmadesense,but having a video to follow through is always useful:
Find Out More
Visual Micro Website Serial Debugger Walkthrough PJRC Website