Hello friends! In this article, we will talk about what the ESP8266 is and how this WiFi module works. We will also measure temperature and humidity with Arduino using this module and send the data to ThingSpeak. Let's have fun and learn 🙂
What's in the article?
- What is the ESP8266 WiFi Module? What kind of projects can I do using this module?
- Is it possible to directly program the processor inside the ESP8266 without using Arduino?
- Let's Learn How To Send Our Data To The Cloud To See It Anywhere You Have Internet Using Arduino and the ESP8266
What is the ESP8266 WiFi Module? What kind of projects can I do using this module?
The ESP8266 is a versatile, low-cost WiFi module. With this module, it is possible to connect to existing wireless networks and to set up its own wireless access point. Crucially, the module contains its own powerful processor and has programmable I/O (input / output) pins. This means we can create standalone IoT projects with the module without needing an Arduino or similar microcontroller. For this tutorial, we will use it in conjunction with an Arduino to easily handle sensor data and manage the WiFi connection.
Materials needed:
- Arduino UNO
- Breadboard
- ESP8266 WiFi Module (e.g., ESP-01)
- DHT11 Temperature and Humidity Sensor
- Male-to-male jumper cables
After gathering the materials, let's set up our circuit as shown in the following diagram:

Cloud-Based Meteorological Telemetry
This project demonstrates a professional-grade weather station that streams environmental data to the ThingSpeak IoT platform.
- ESP8266 AT Command Pipeline: The Arduino reads data from a DHT11 sensor. It communicates with the ESP8266 module via a software serial link, sending the temperature and humidity data to ThingSpeak at regular intervals using HTTP GET requests.
- Real-Time ThingSpeak Dashboard: The uploaded data is automatically rendered into dynamic charts on your private ThingSpeak channel, which you can view from any web browser in the world.
- Reliability Feature: The system can be enhanced with a Watchdog Timer (WDT) implementation. This involves a software routine to automatically reset the ESP8266 if the WiFi connection is lost for an extended period, ensuring maximum logging uptime.
We can now write the required Arduino code. You can access the DHT11 library here.
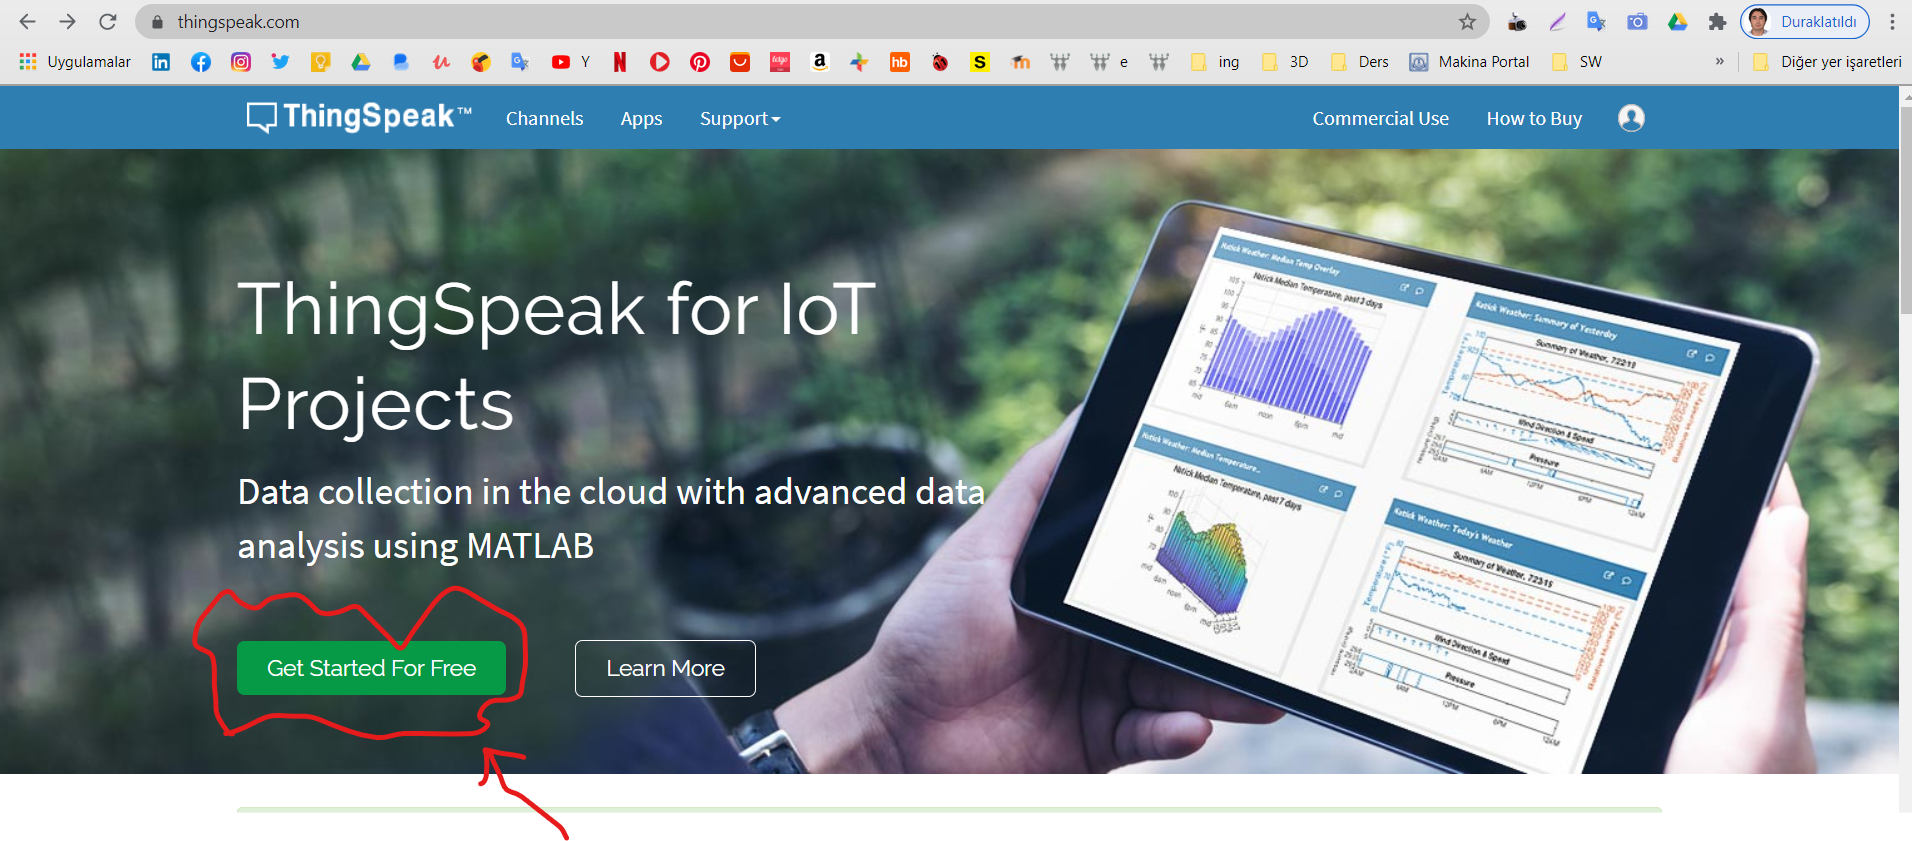
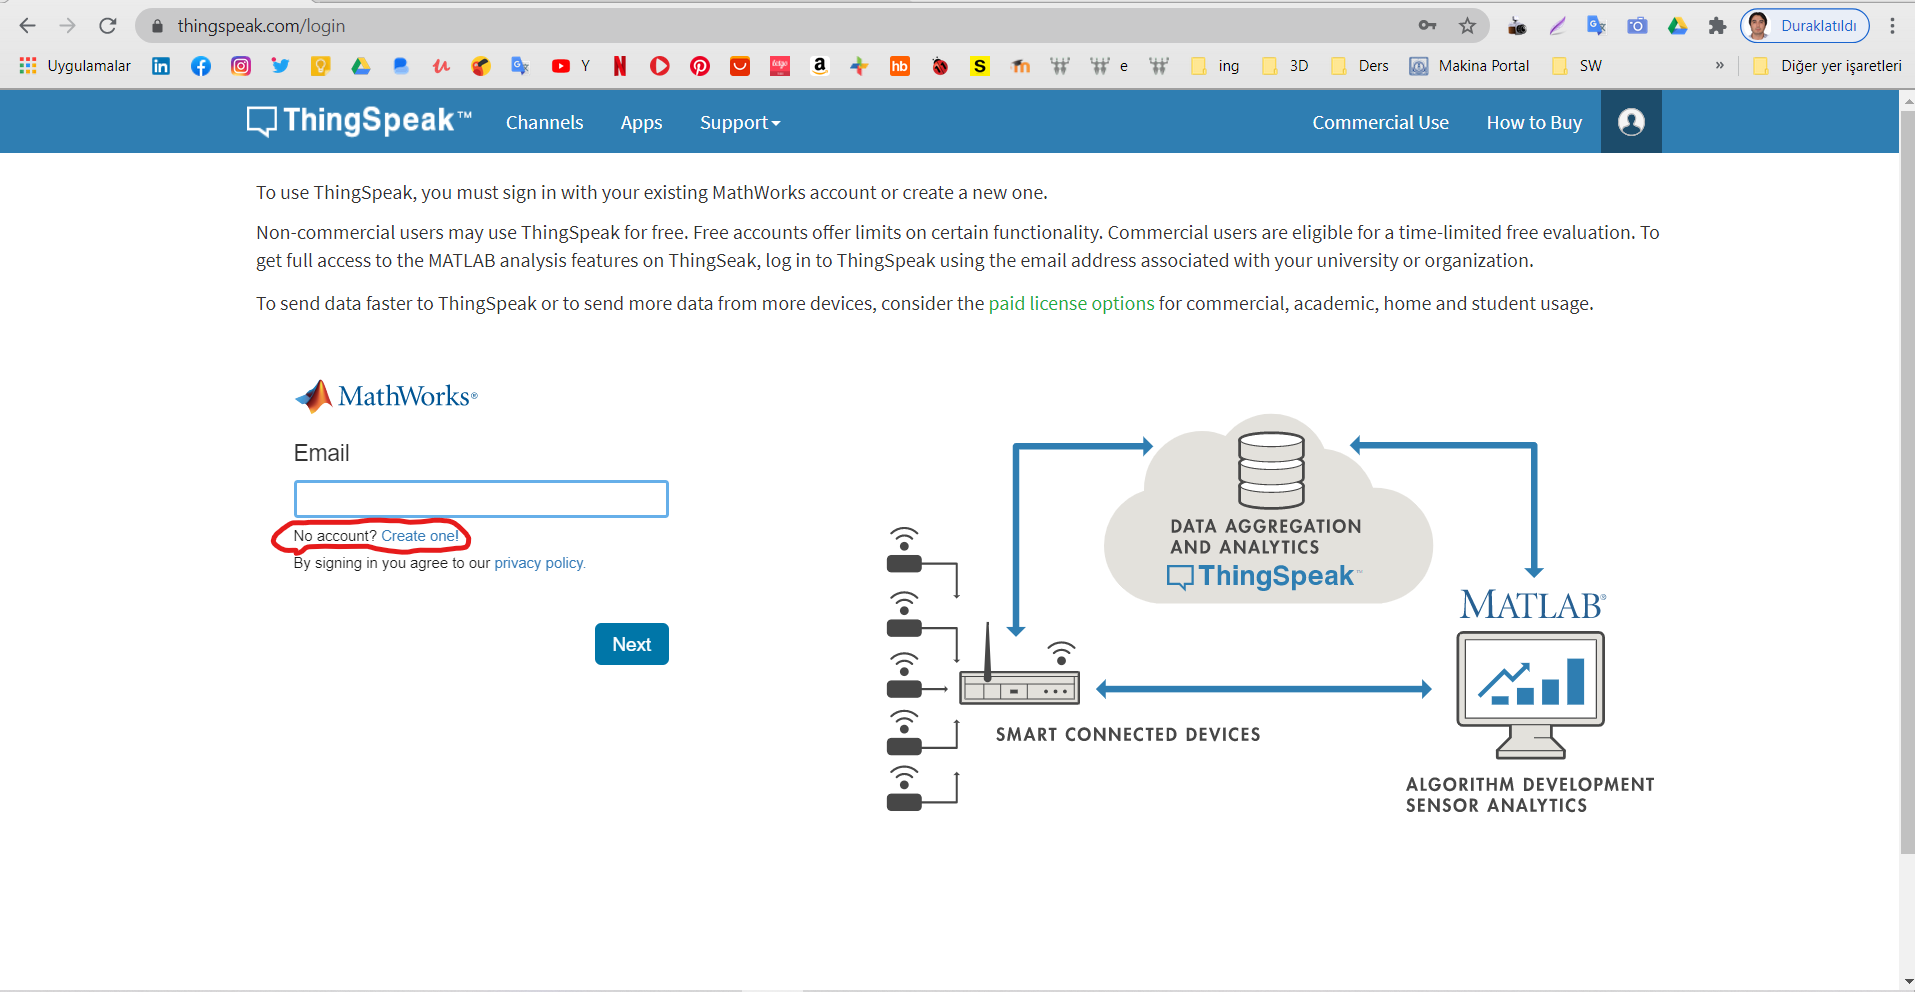
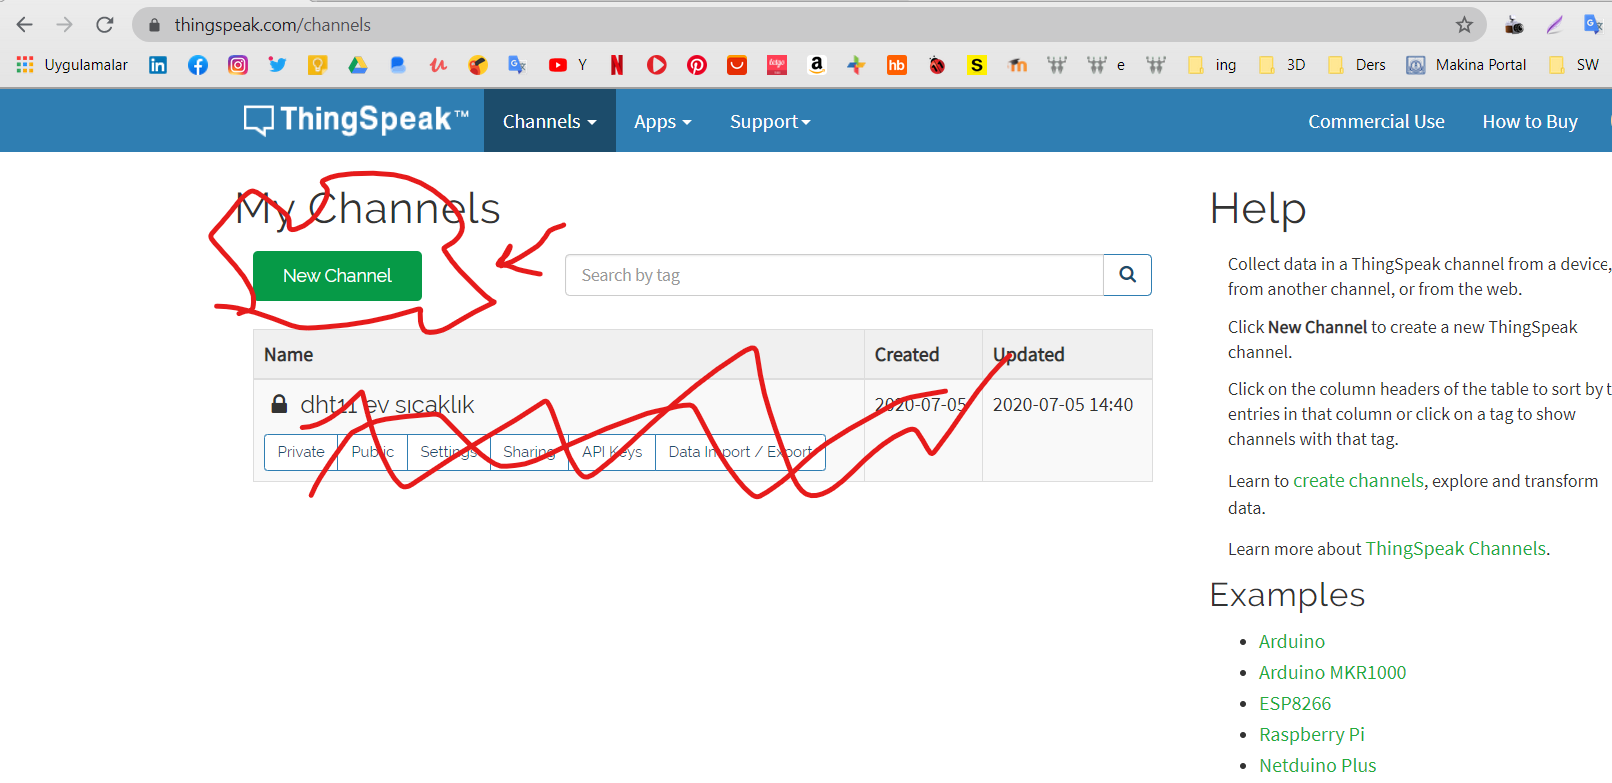
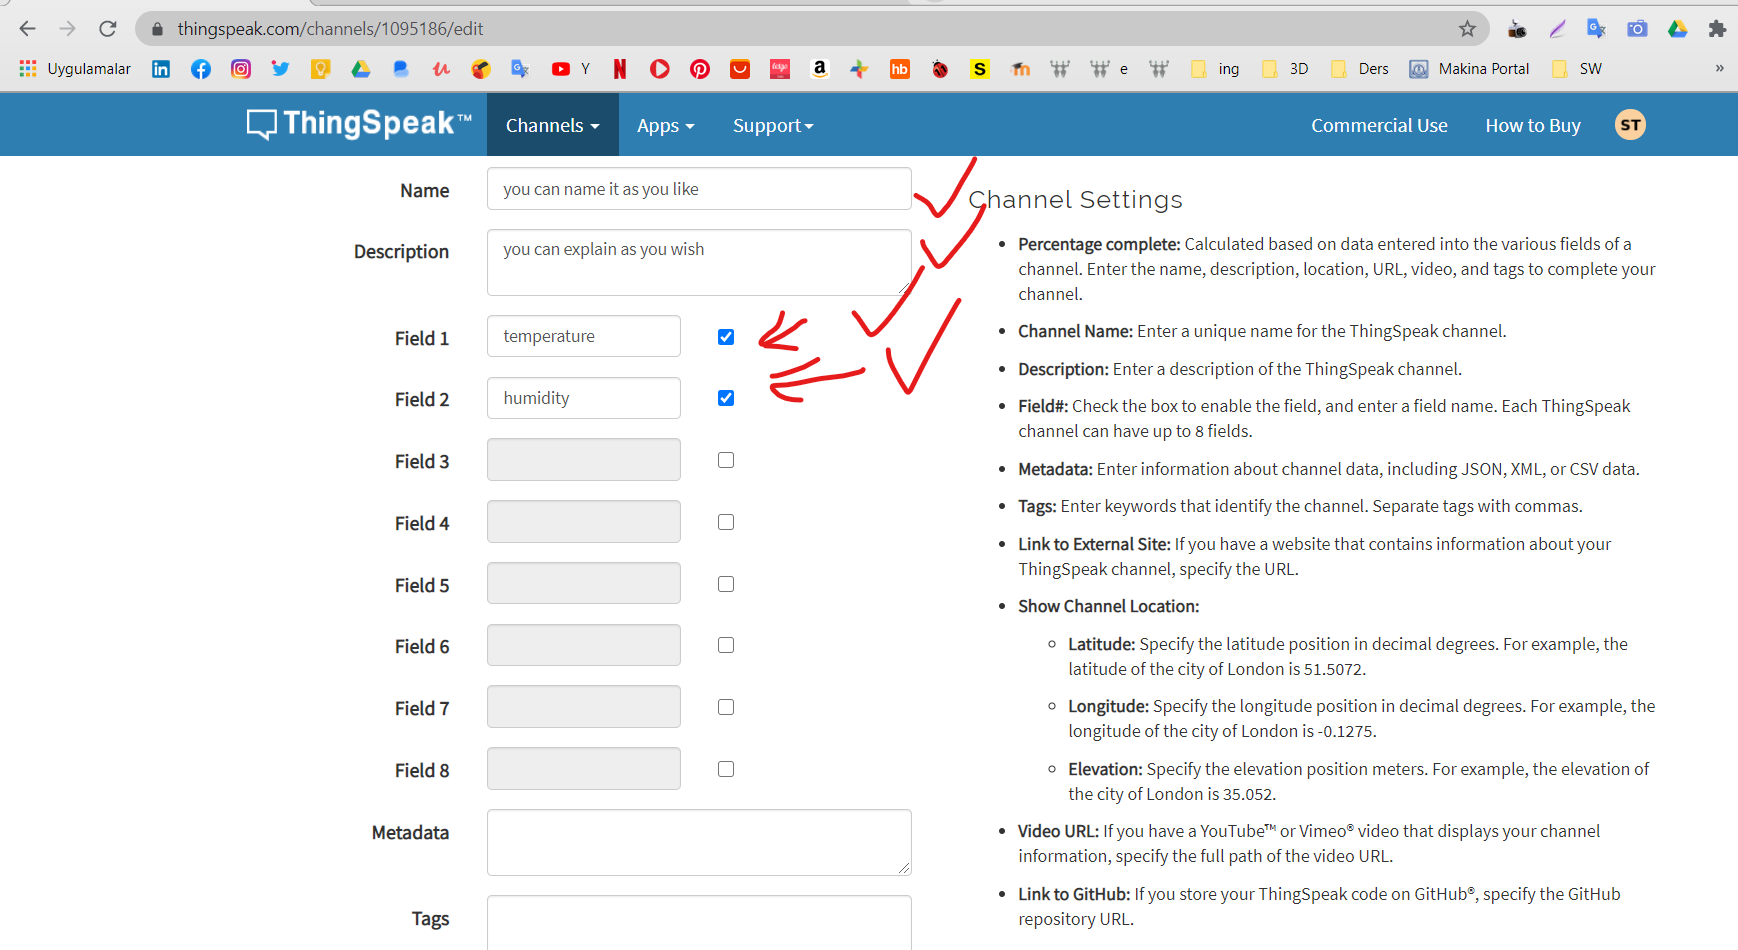
What should I do in ThingSpeak?
1. Register for a free account on ThingSpeak.
2. Create a new channel after registration.
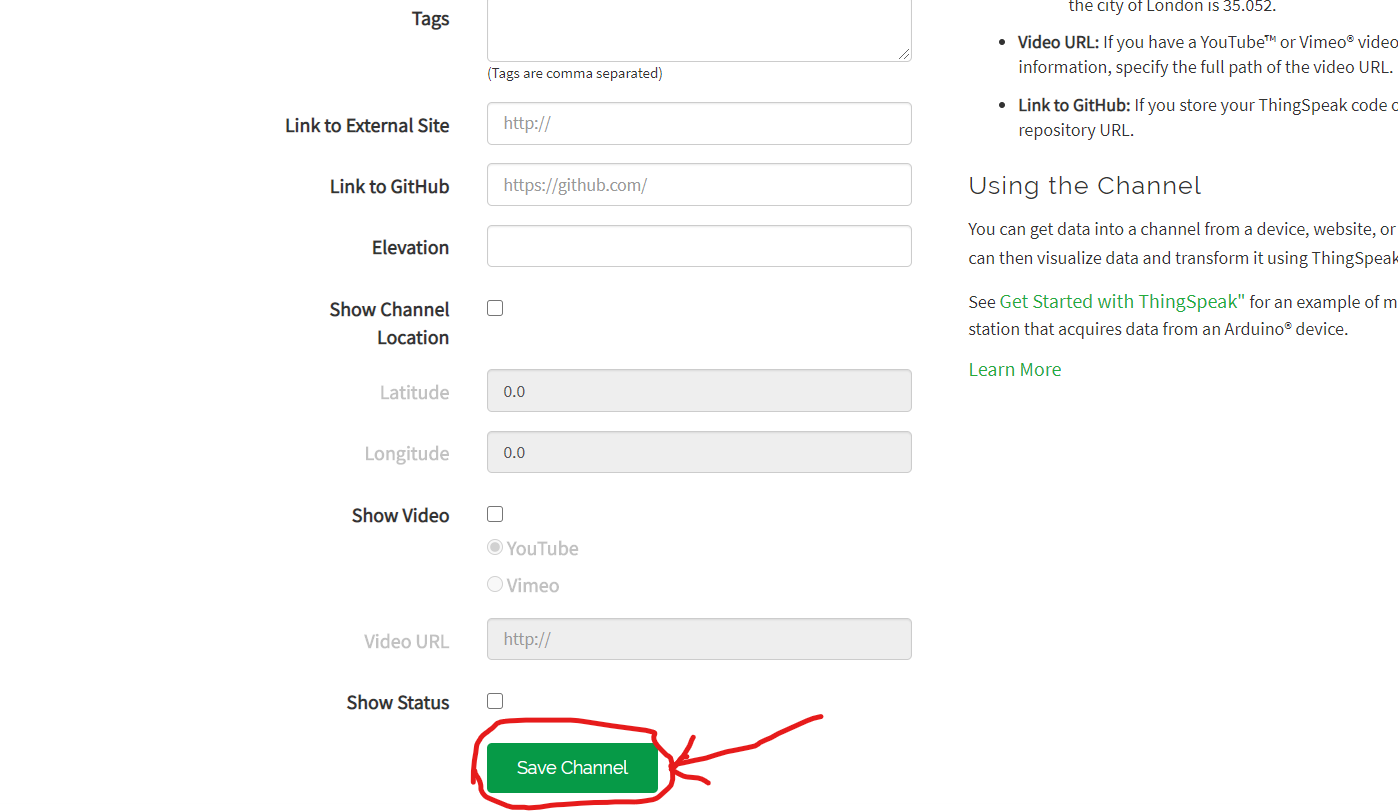
3. Configure your channel. Name your channel and the fields (e.g., Field 1 as "Temperature", Field 2 as "Humidity") as shown in the image below, then scroll down and click the Save Channel button.
4. Your channel has been created. Now, get your API Key. Go to the "API Keys" tab.
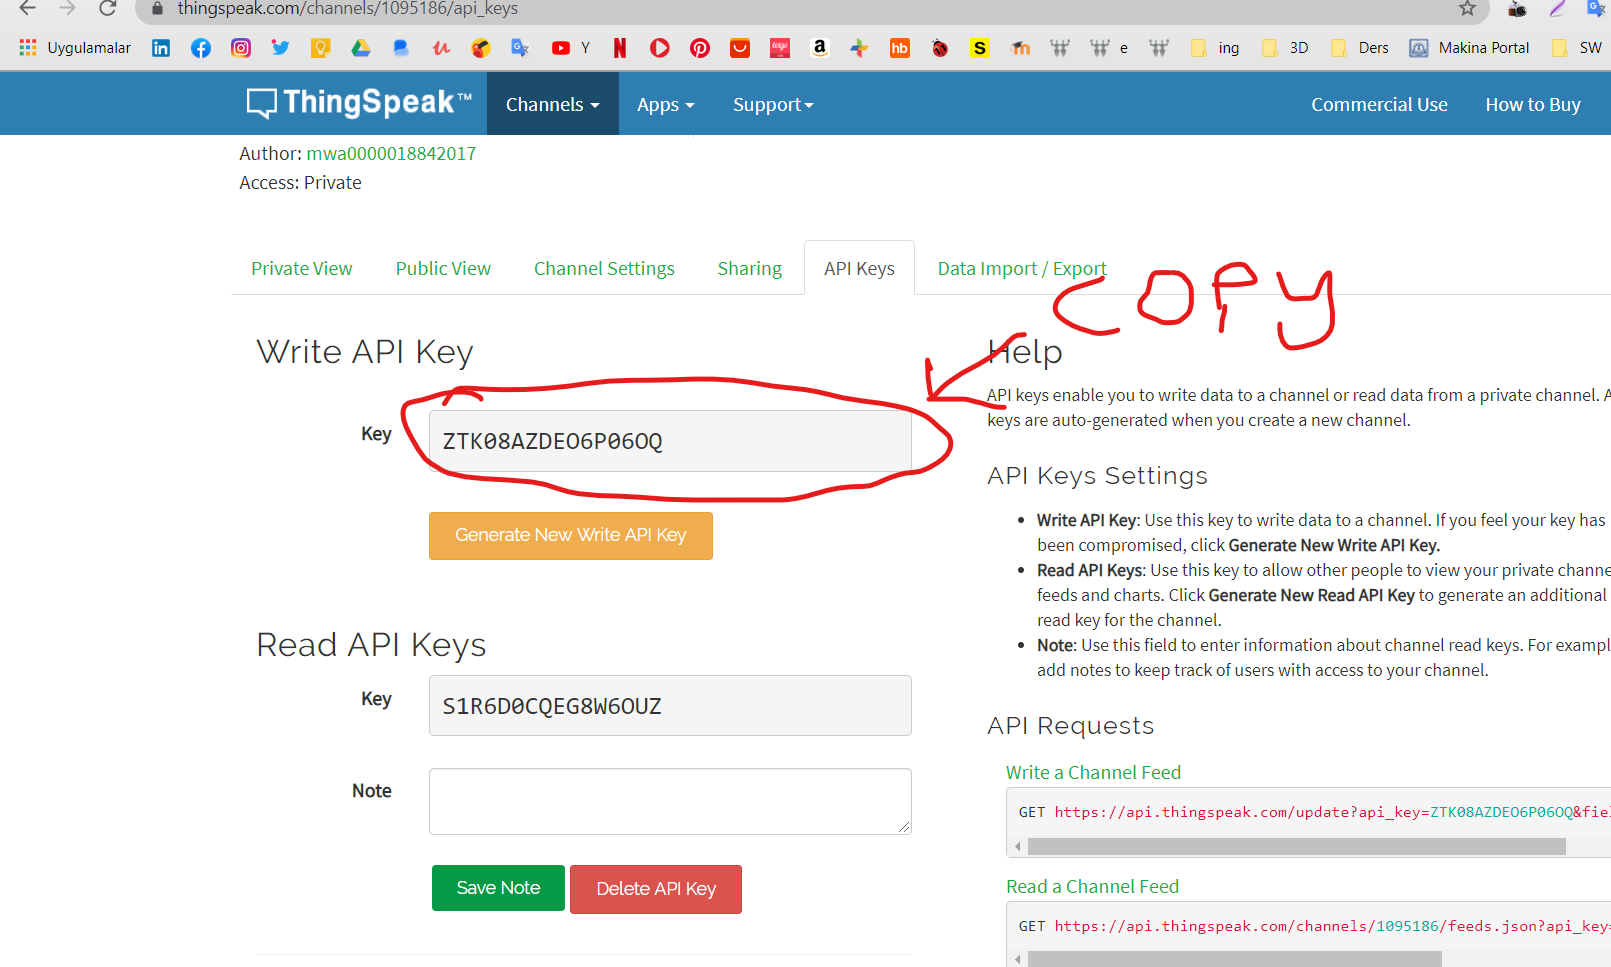
Copy your Write API Key. You will need this for the Arduino code.

5. Write your API key into the designated place in the Arduino IDE code.
Finish! 😊 Your weather station is now ready to log data to the cloud.