Did you ever need a cheap and simple (with one digit only) pulse counter?
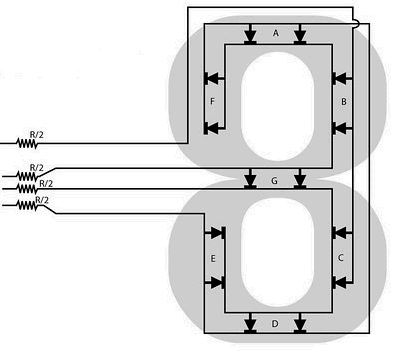
This is the maximum optimization and simplification. Thanks to Charlie Allen.
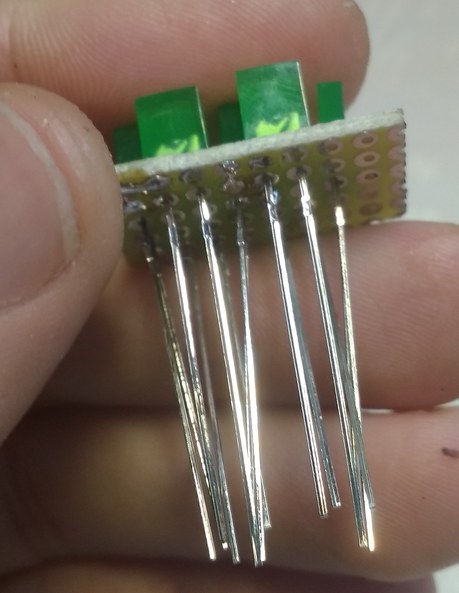
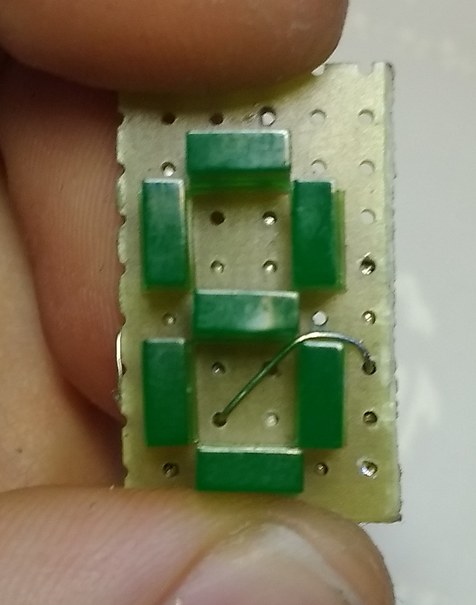
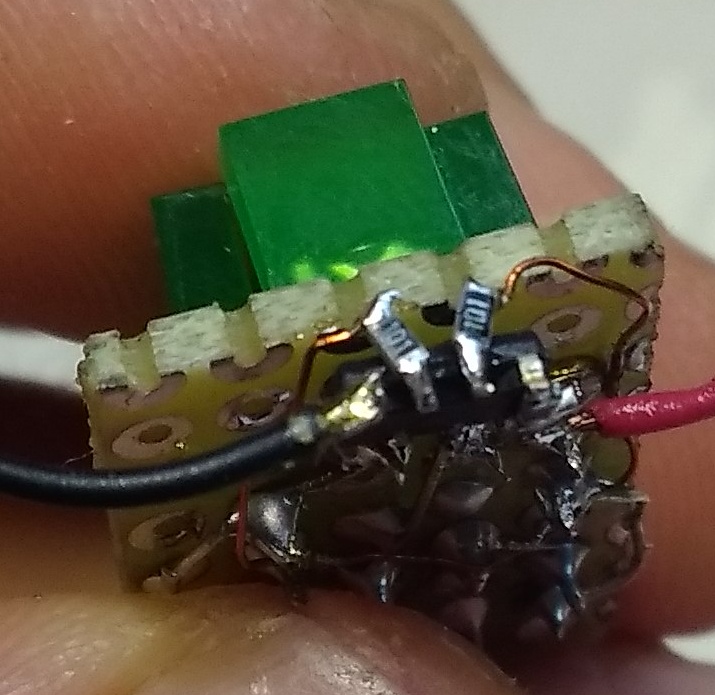
Connect 7 LEDs L-144 (2x5mm) as on pictures below:
In the Arduino IDE -> Preferences add this Additional Boards: https://mcudude.github.io/MicroCore/package_MCUdude_MicroCore_index.json
Next in the Arduino IDE -> Tools -> Board -> Boards Manager find ATtiny13 and add this package.
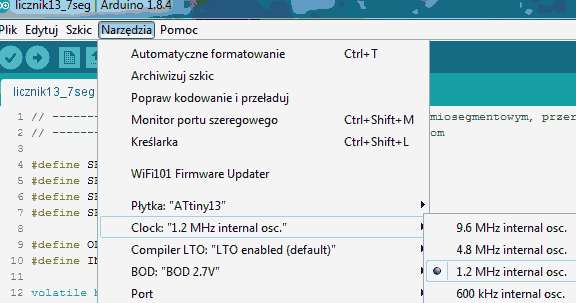
Select clock for ATtiny13:
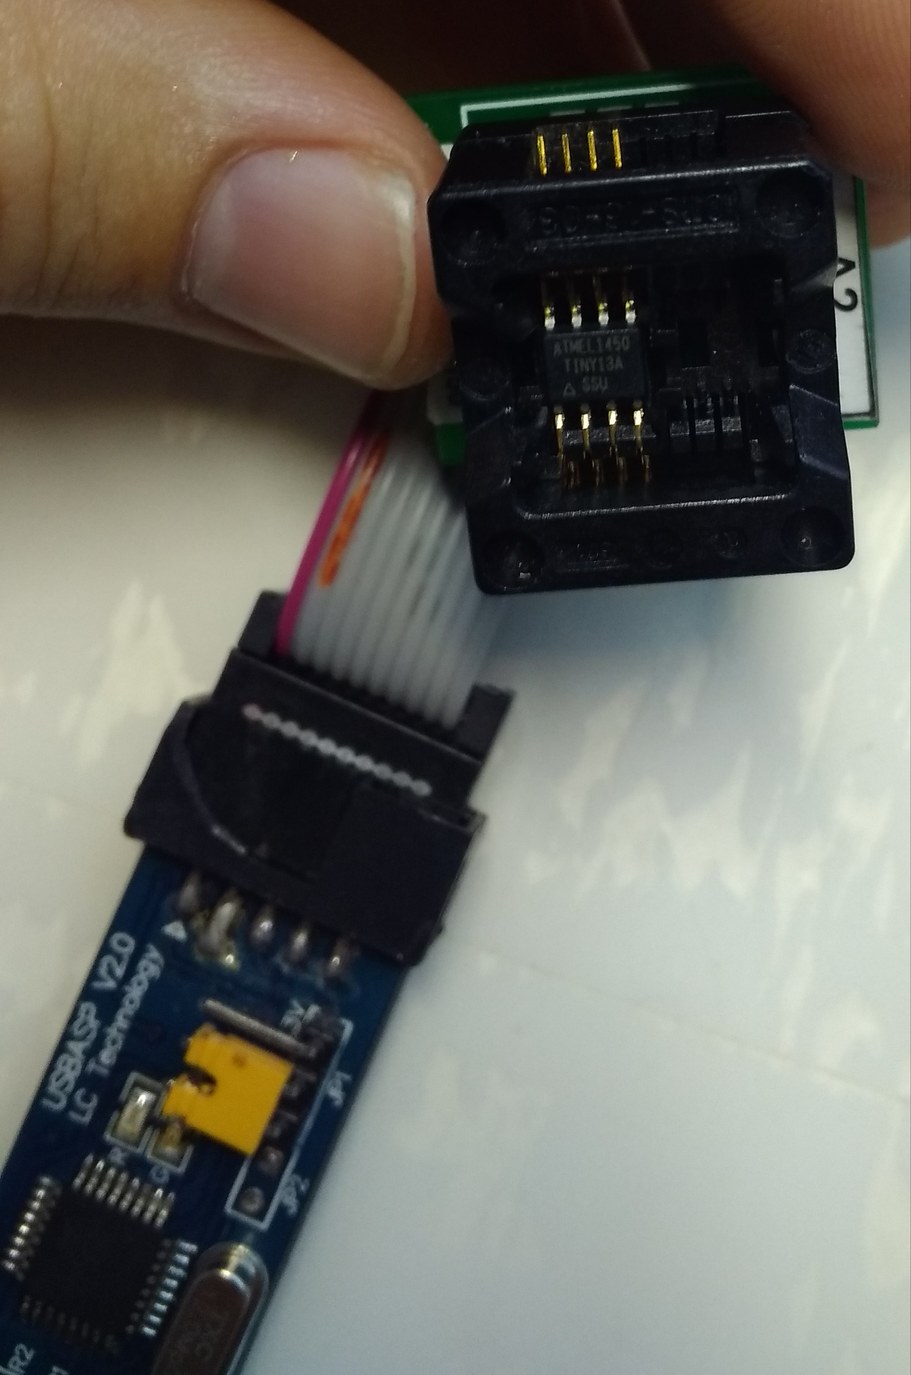
Flash it:
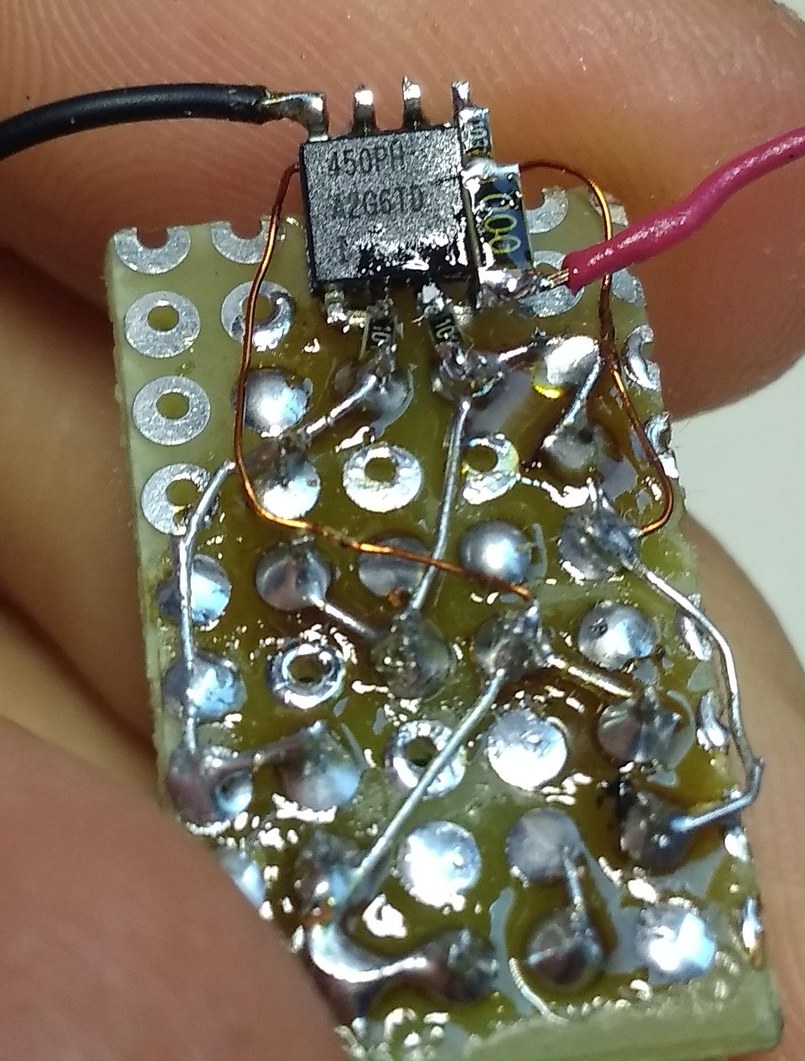
Connect the microcontroller with diodes, 100Ω resistors and button (pin 0) as show in the pictures below:
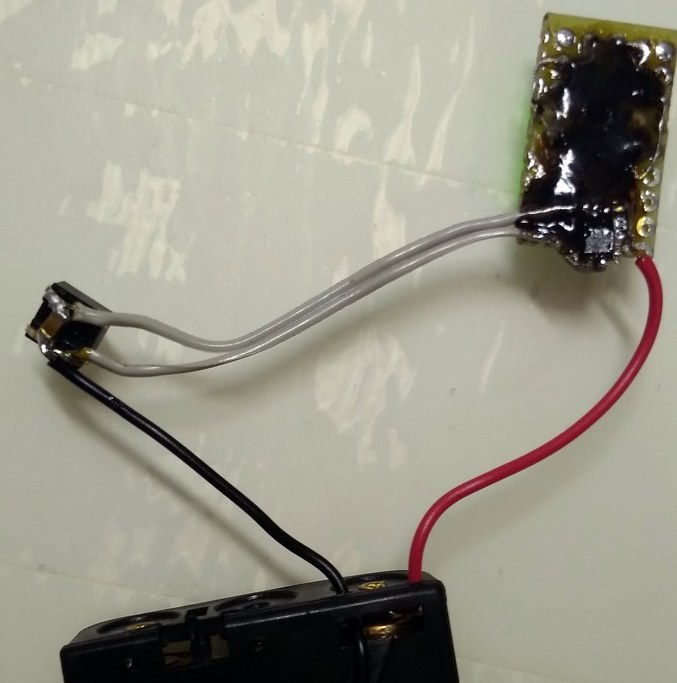
Connect 5V and it is ready!
Number 3 is like inverted C but it is understandable. Of course, you can connect segment F separately but this is great task for you. :-)
EXPANDED TECHNICAL DETAILS
Digital Event Monitoring
This project demonstrates how to turn an Arduino into a high-speed digital counter for industrial or scientific events.
- Input Logic: Monitors a simple digital pin. Each pulse (from a reed switch, an optocoupler, or a mechanical button) is recorded.
- Software Debouncing: To avoid "Ghost Counts" from mechanical bounce, the firmware implements a 50ms lock-out timer after every detected pulse.
Display Options
- Serial vs. LCD: Results are typically output to the Serial Monitor for low-cost setups, or to a 16x2 I2C LCD for portable standalone operation.
- Scaling Potential: This logic is identical to that used in water flow meters, wind speed sensors (anemometers), and production line counters, making it a powerful, low-threshold industrial tool.