How it works
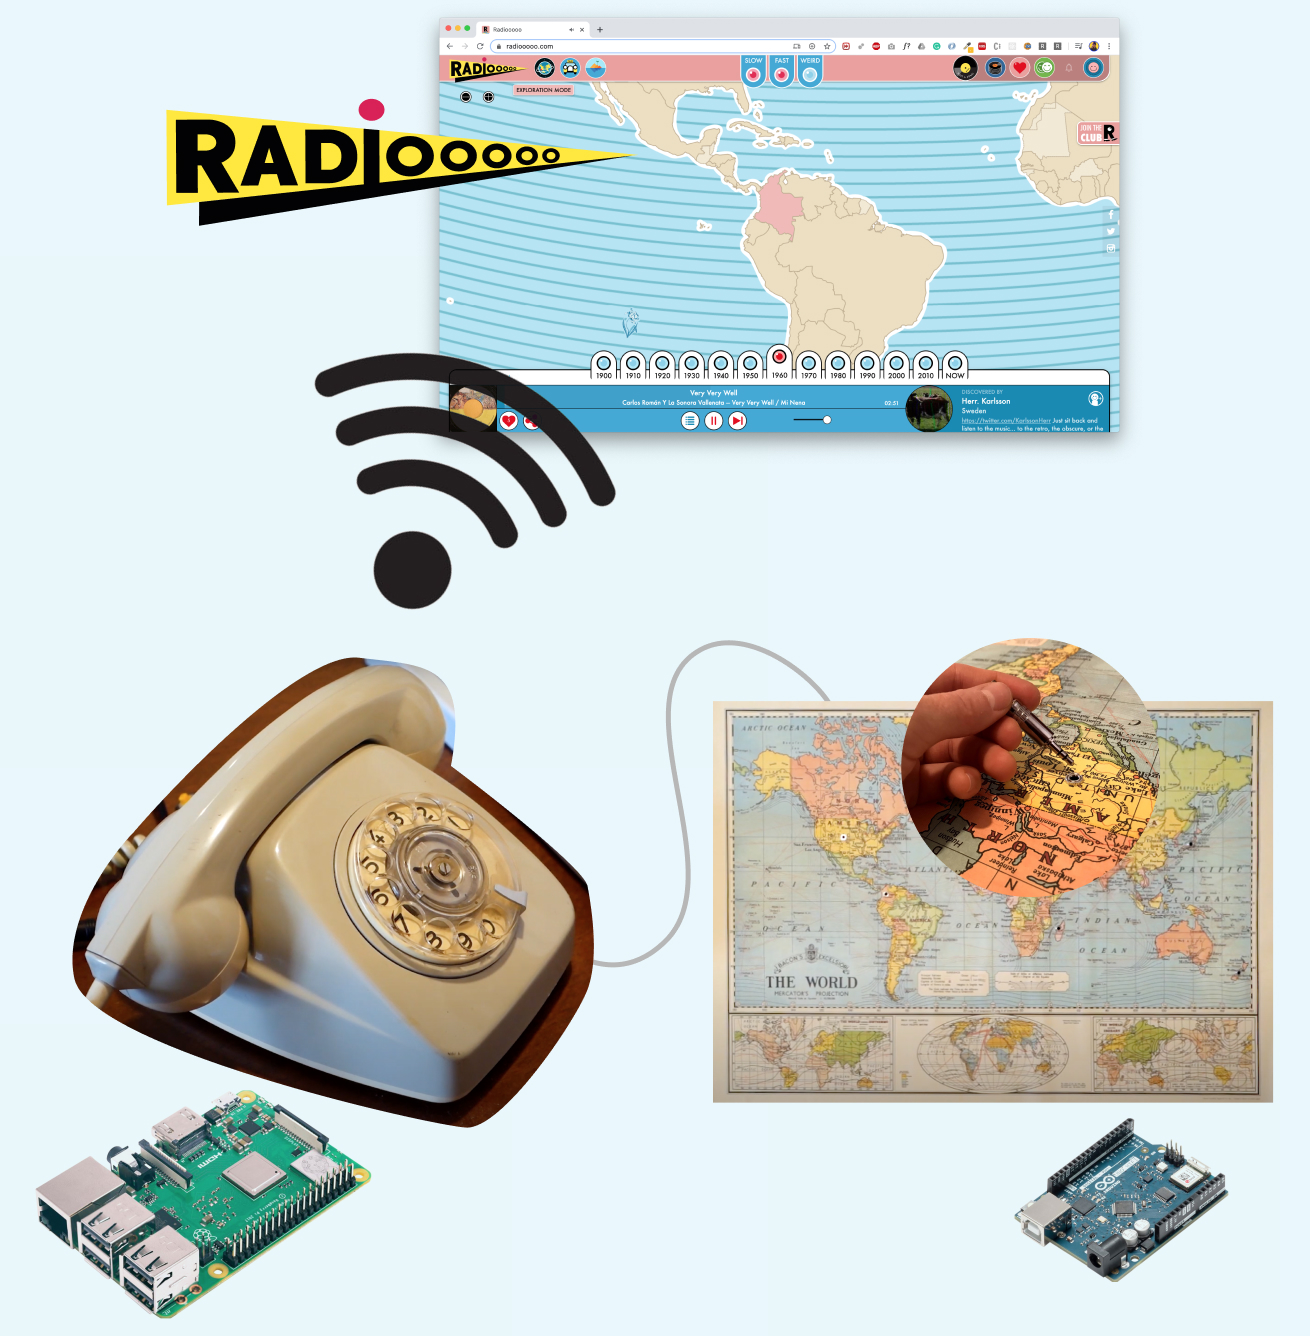
This rotary phone has a microcomputer built-in (a Raspberry Pi), that communicates to radiooooo.com, a web radio. There is a microcontroller (an Arduino) behind the map that controls the selection of the country.
Together, this makes for an awesome, IoT project!

I was sponsored by Digitspace for this project, they kindly sent me over some electronics for this prototype.
Technical breakdown
This project is made of several parts:
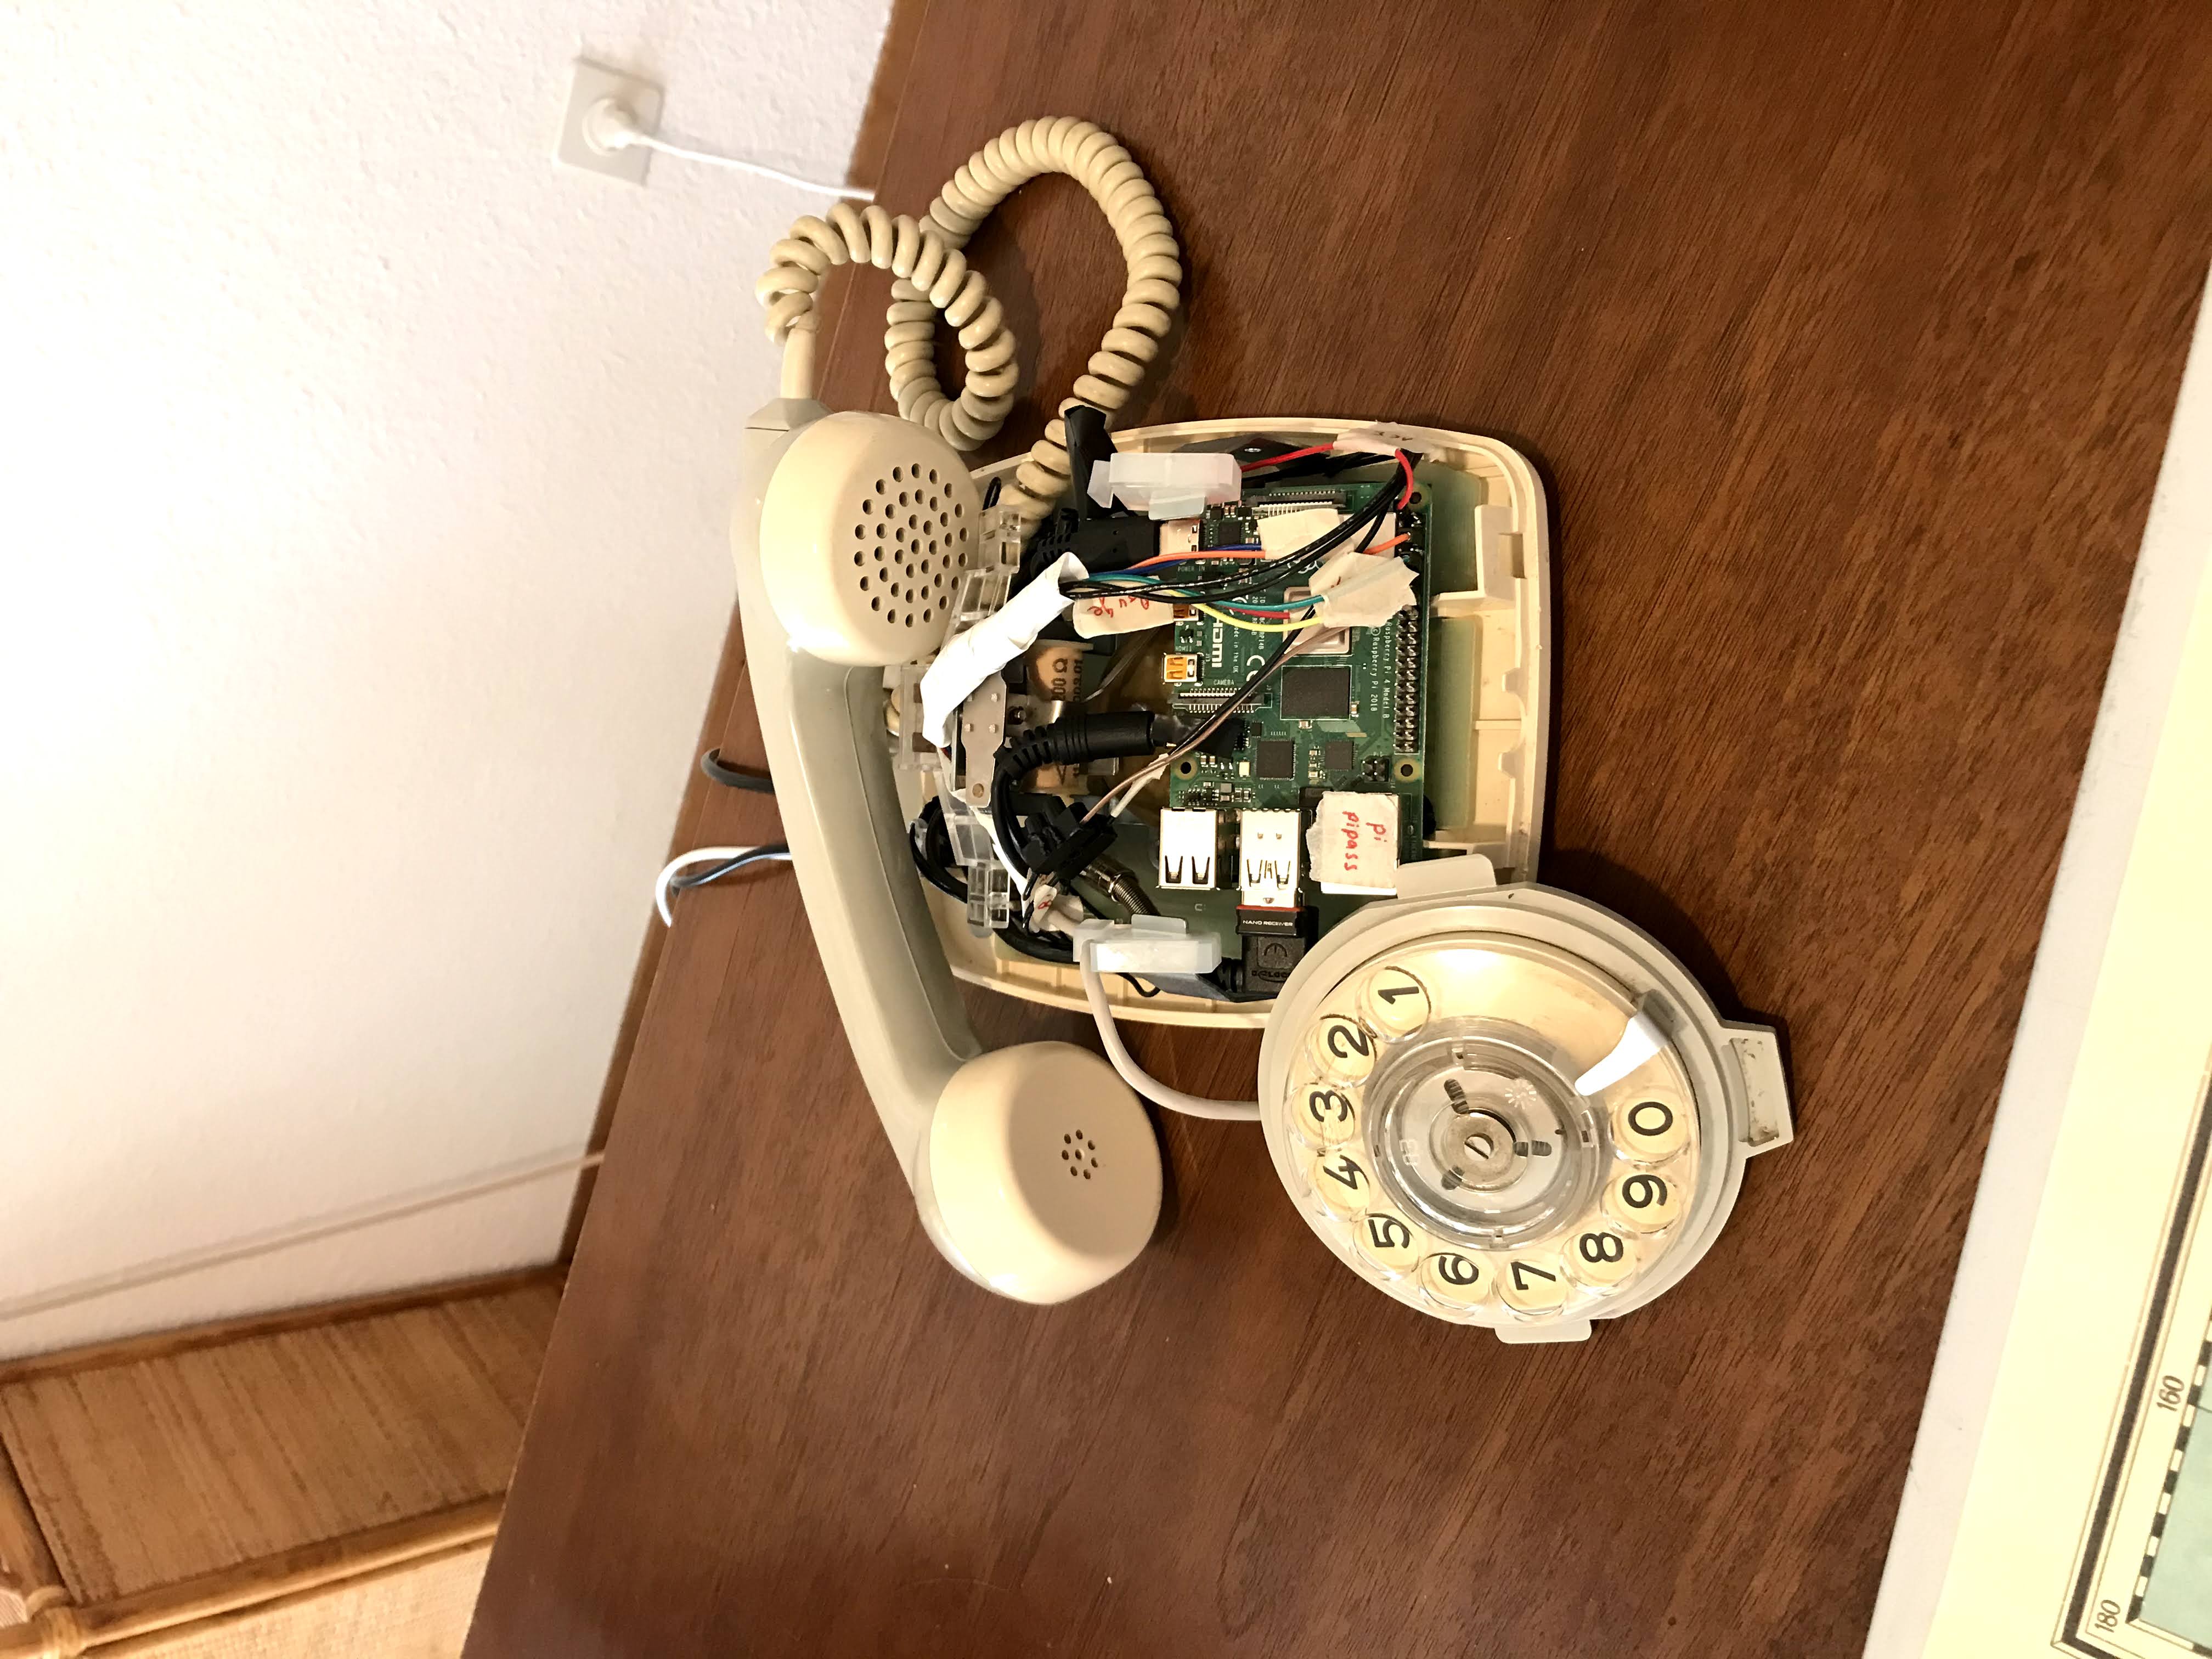
A rotary phone
A Raspberry Pi, whose role is to:
- Play music through radiooooo.com
- Detect when the handset is picked up / put down
- Detect the numbers that are dialed in
An Arduino, whose role is to:
- Detect which country is selected on the map (via jack connectors)
- Send the info to the RPi over serial
Step by step instructions
Step 1: Get a rotary phone
Get it from a second-hand shop, from somebody you know, or maybe even from the dumpster! It got mine from my grandma.
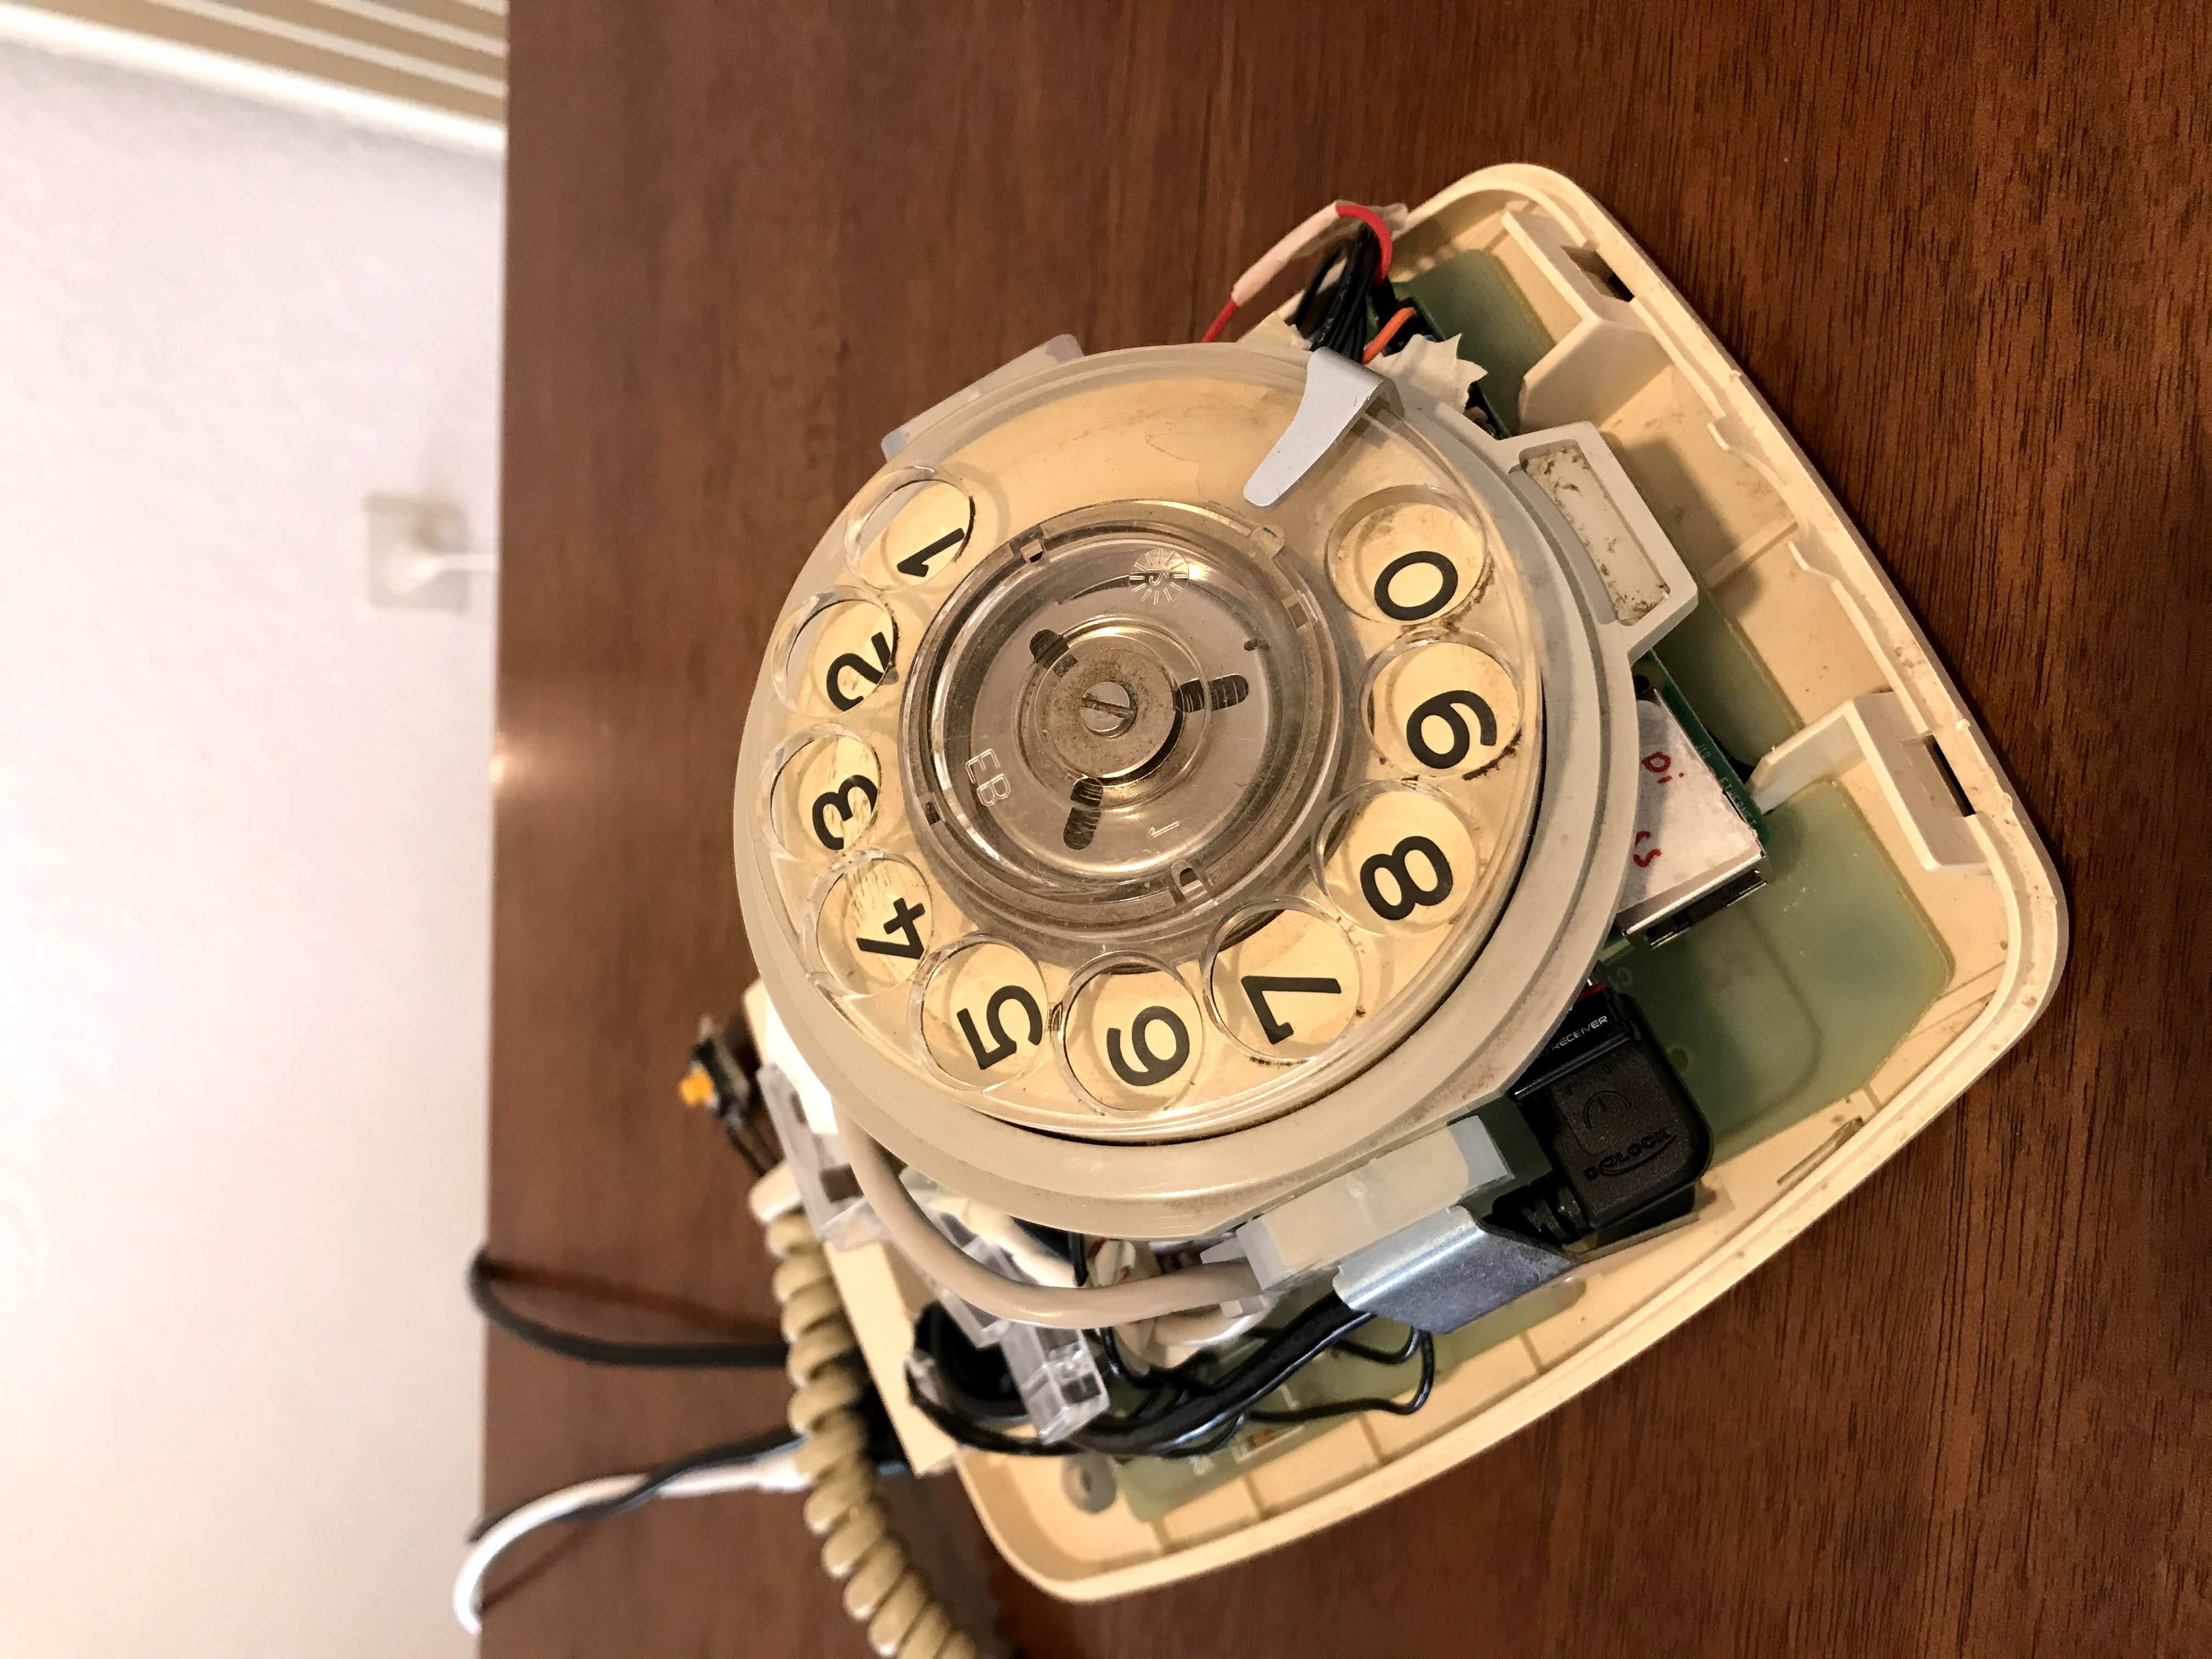
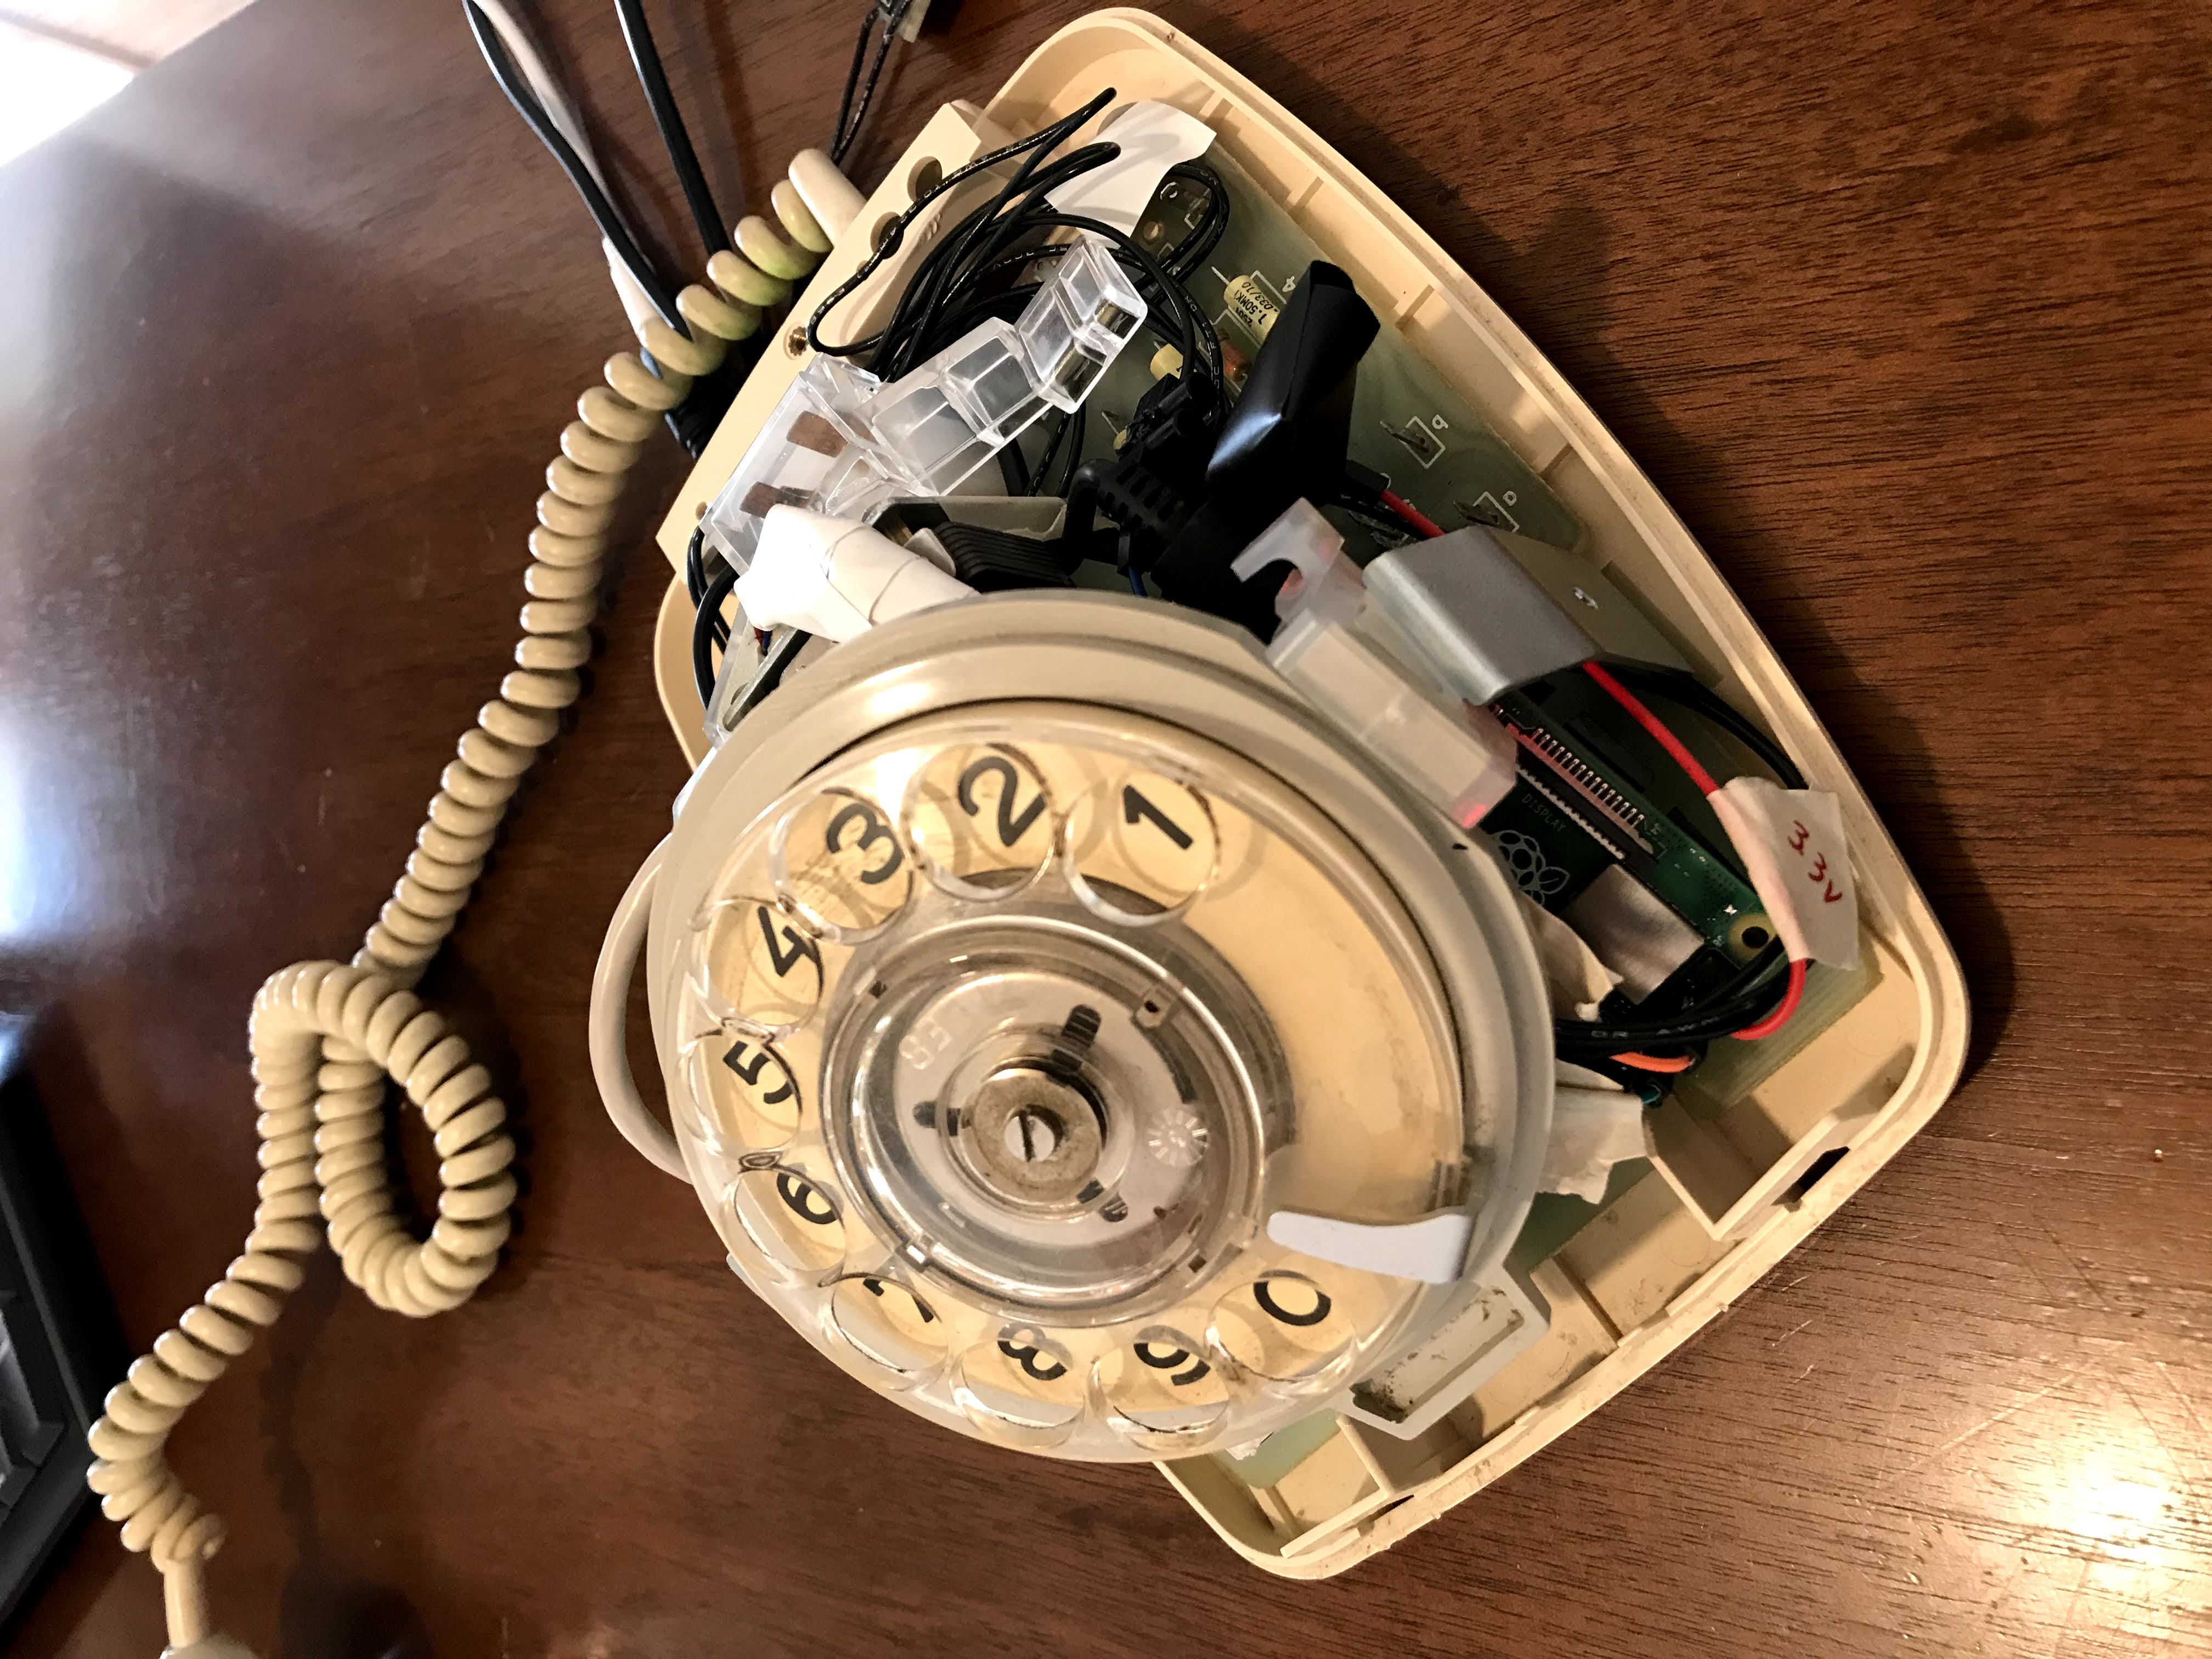
Step 2: Understand how your rotary phone works
All rotary phones are different. Yours might not work exactly like mine, but the parts are quite similar. For this project, the parts you'll need are:
- 📞 The pick up / put down mechanism for the handset
In my case, those switches were accessible on the board of the telephone: I used a multimeter to find the pins and soldered 2 wires from there. One of the wires goes to the 3.3V of the Rpi ( through a 220-ohm resistor), and the other wire goes to the physical PIN 18 of the RPI (GPIO 24)
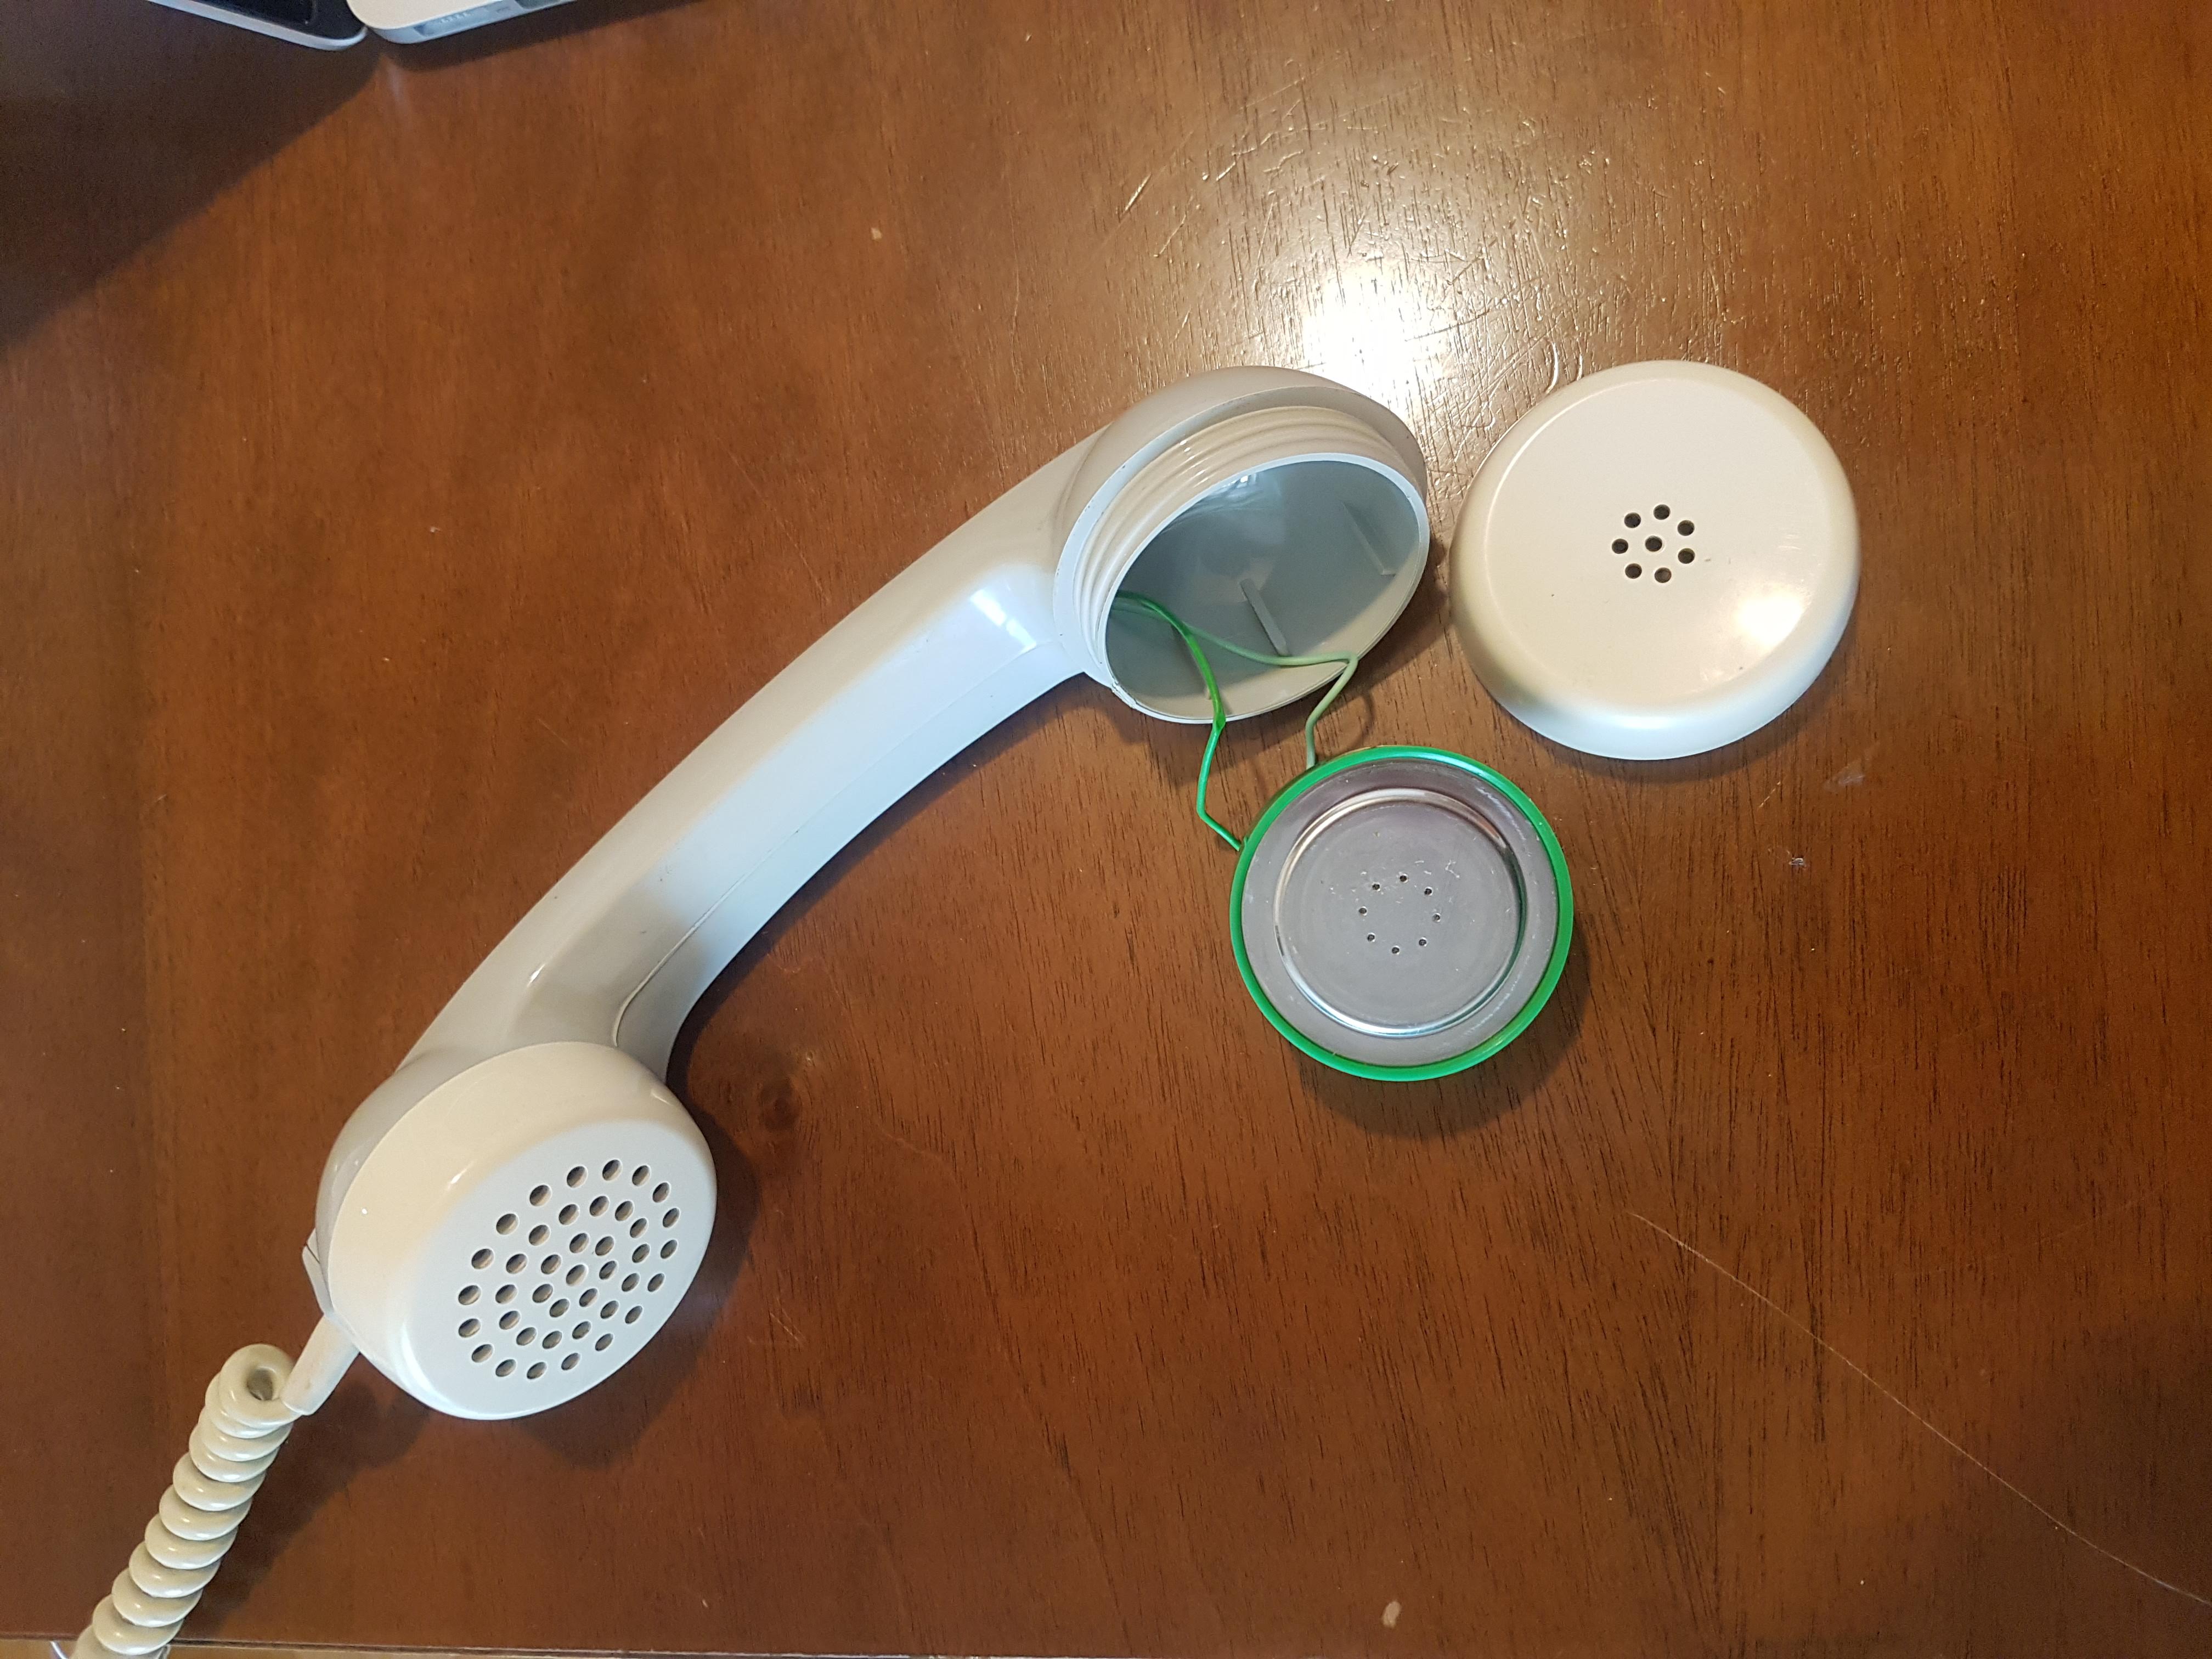
- 🔈 The speaker from the handset
By unscrewing the handset, I could access the speaker. There are 2 wires (positive and negative) that you can hook to an audio cable. The end of your audio cable should have a jack connector so that you can plug it into the audio output of the Raspberry Pi.
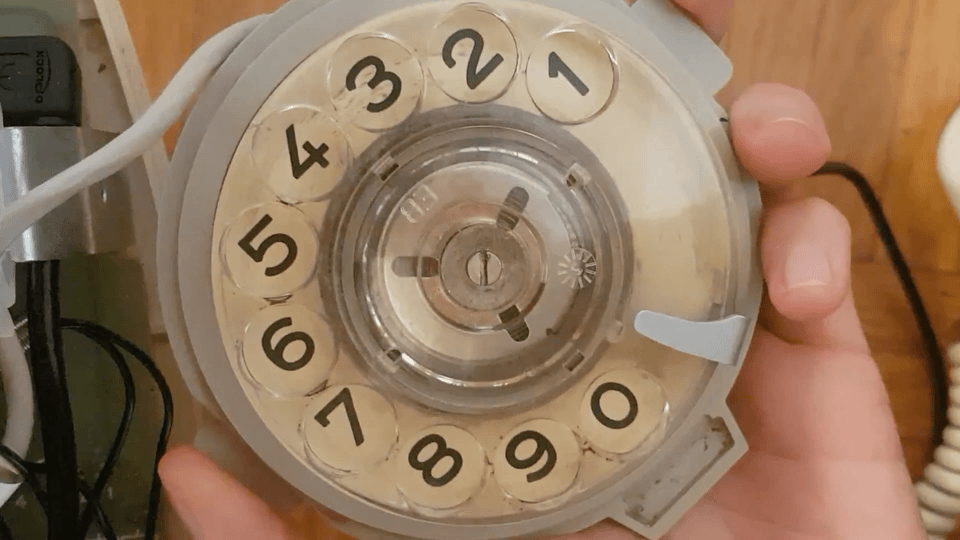
- ⚙️ The rotary module
There are two distinct parts in a rotary module:
- The DIAL SWITCH: A switch that detects when the dialing started
- The NUMBER SWITCH: A switch that opens and closes as many times as the number dialed. For example, for number 6, the switch will open and close 6 times. The only exception is the number 0, which will trigger 10 pulses.

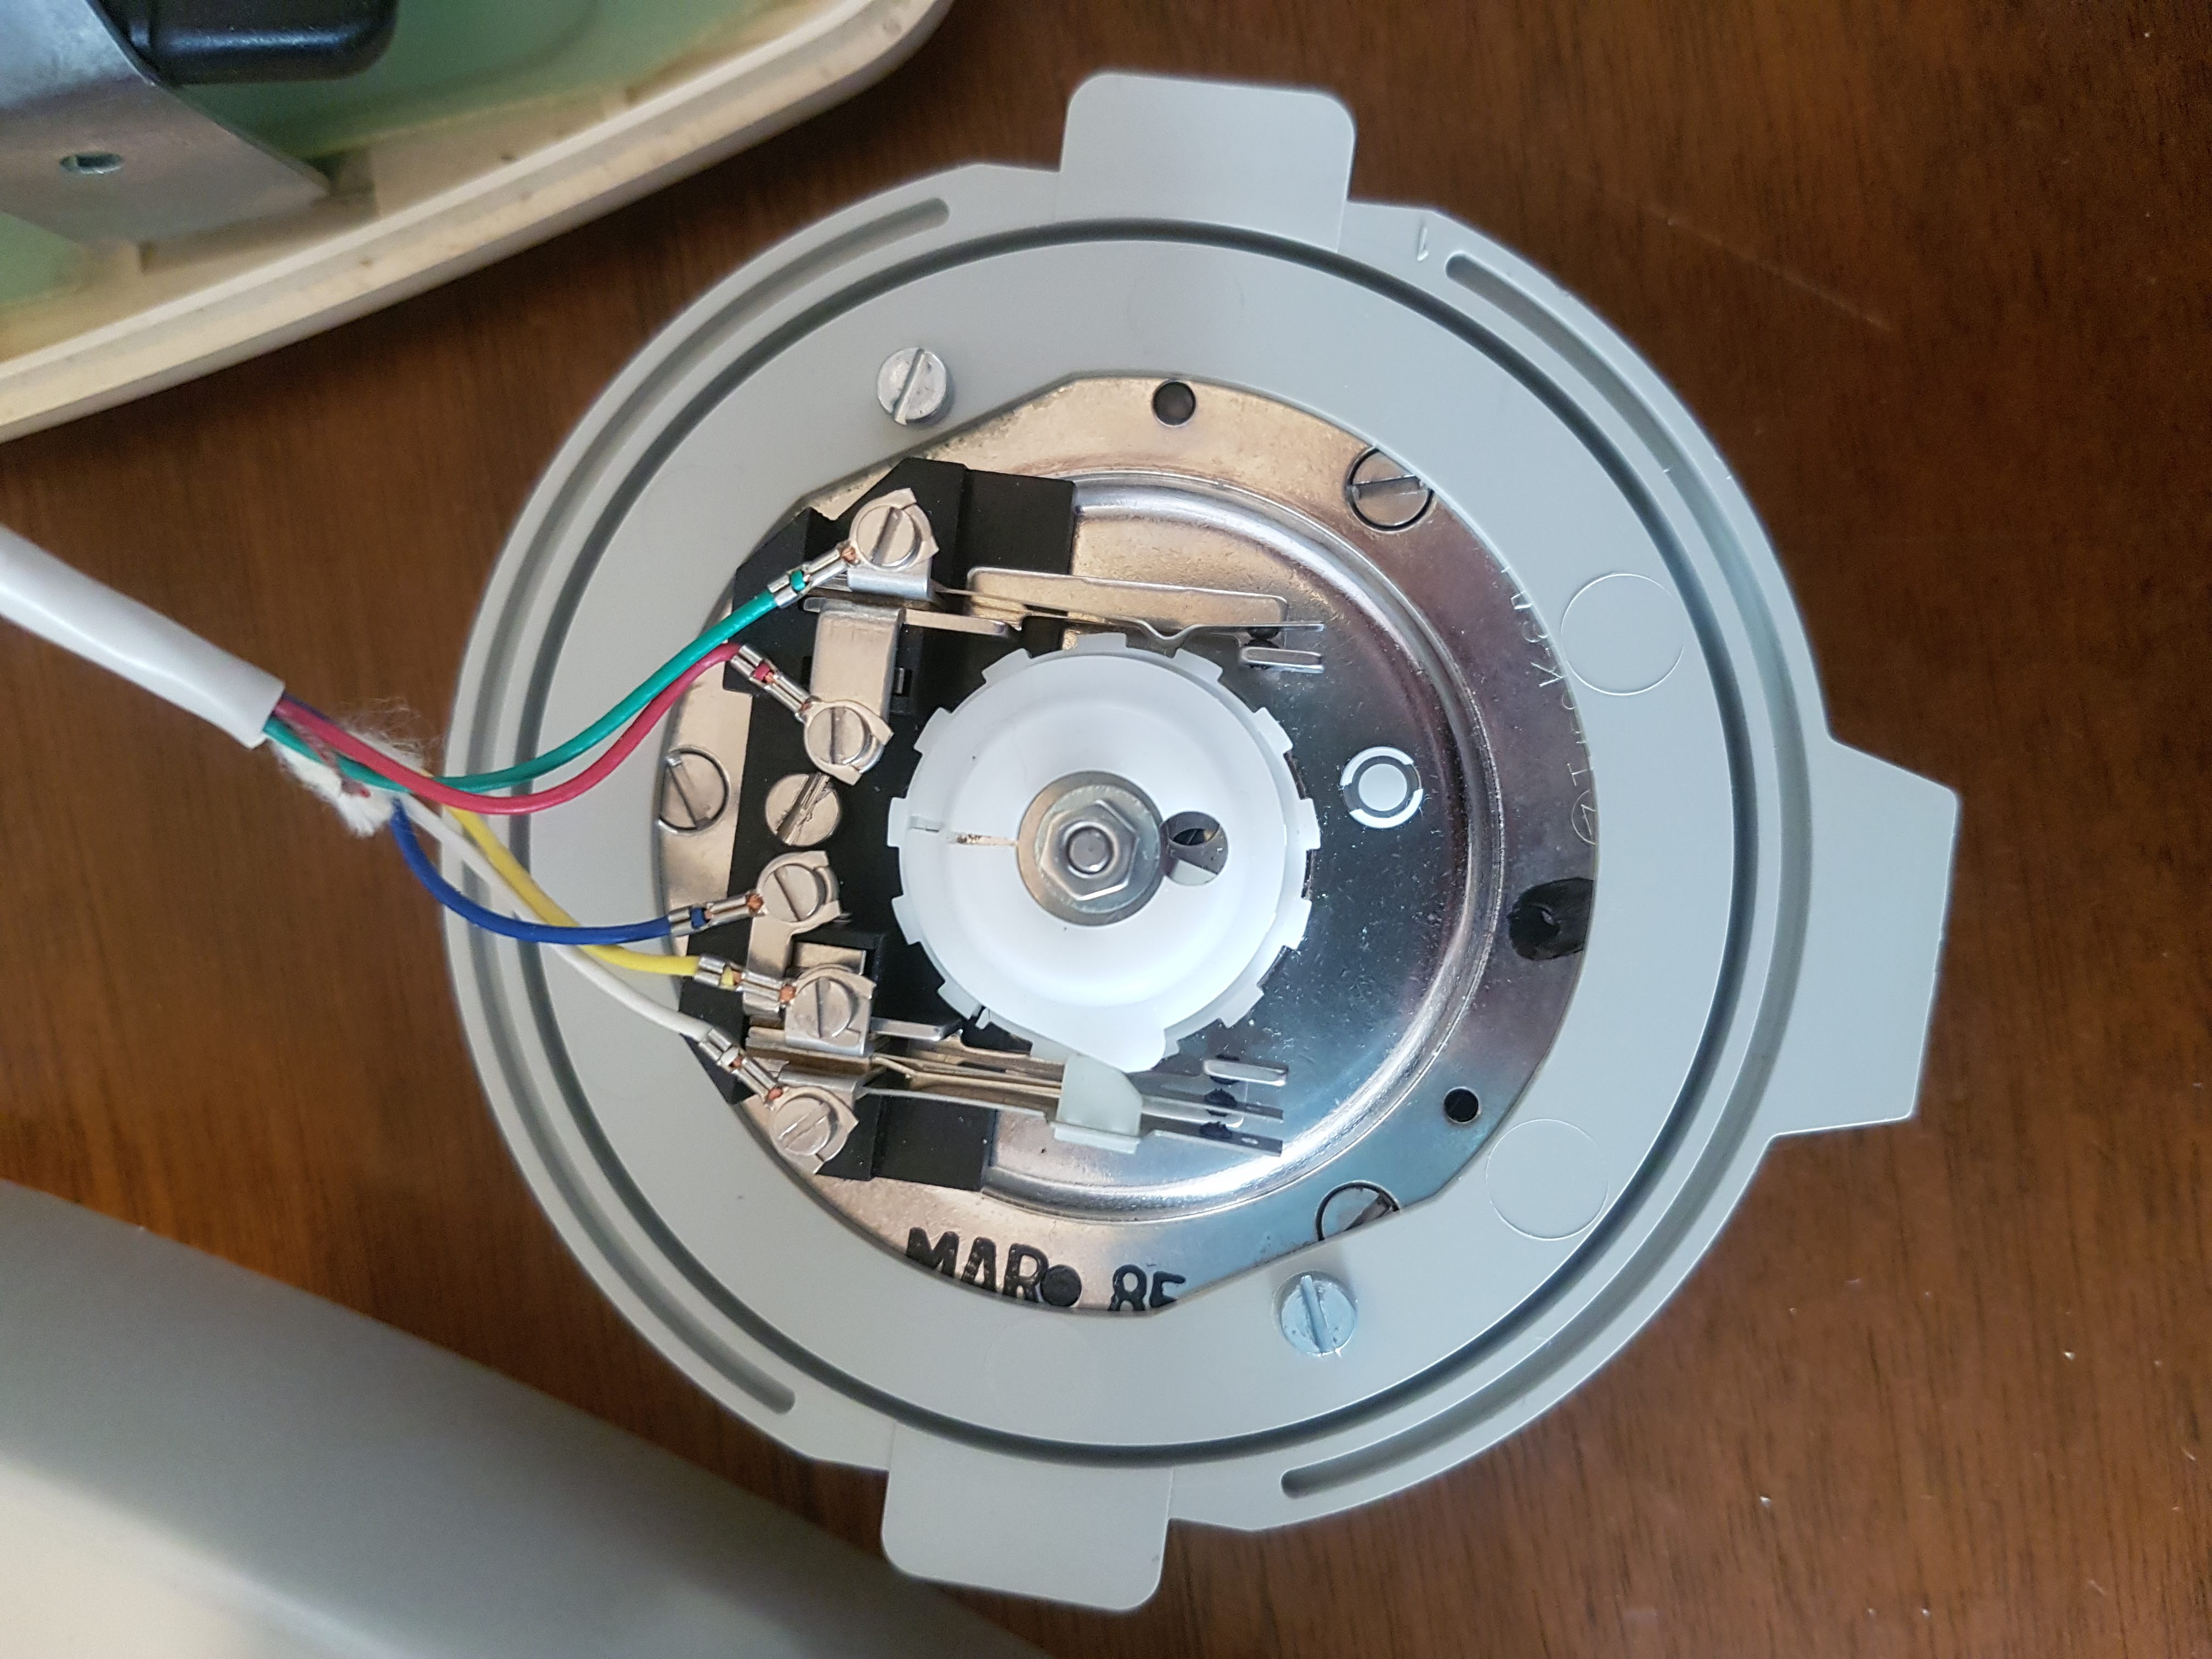
I have connected 2 wires to my DIAL SWITCH. One goes to 3.3V of the Rpi ( through a 220-ohm resistor), and the other wire goes to physical PIN 10 of the RPI (GPIO 15)
I also have connected 2 wires For my NUMBER SWITCH. One goes to3.3V of the Rpi ( through a 220-ohm resistor), and the other wire goes to physical PIN 16 of the RPI (GPIO 23)
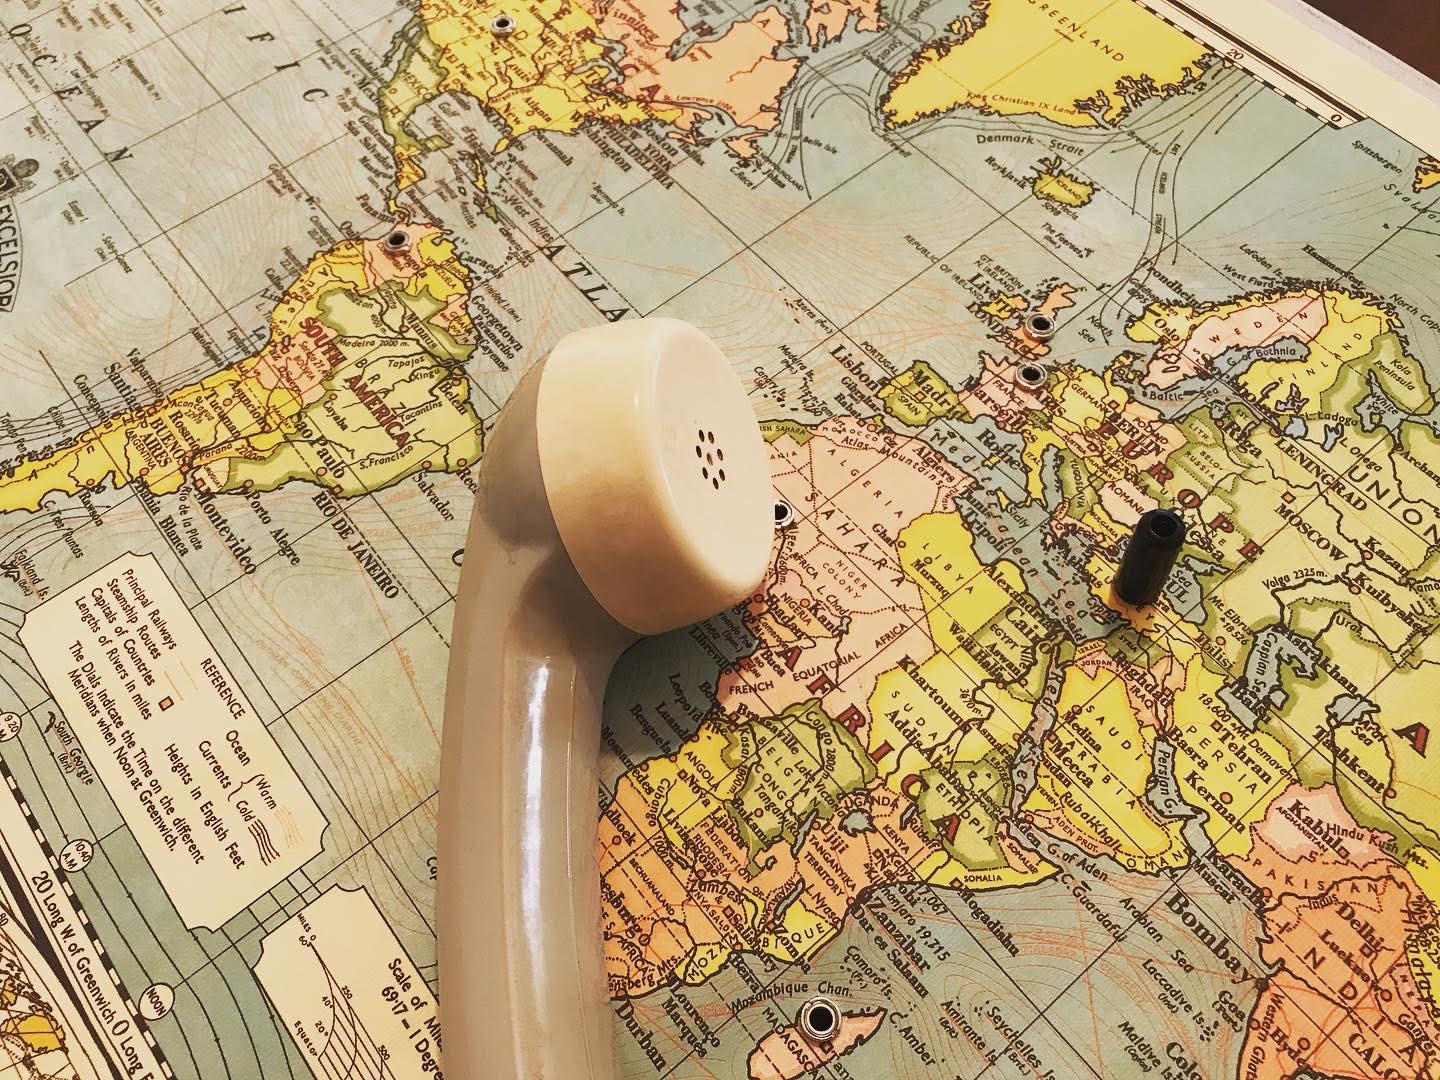
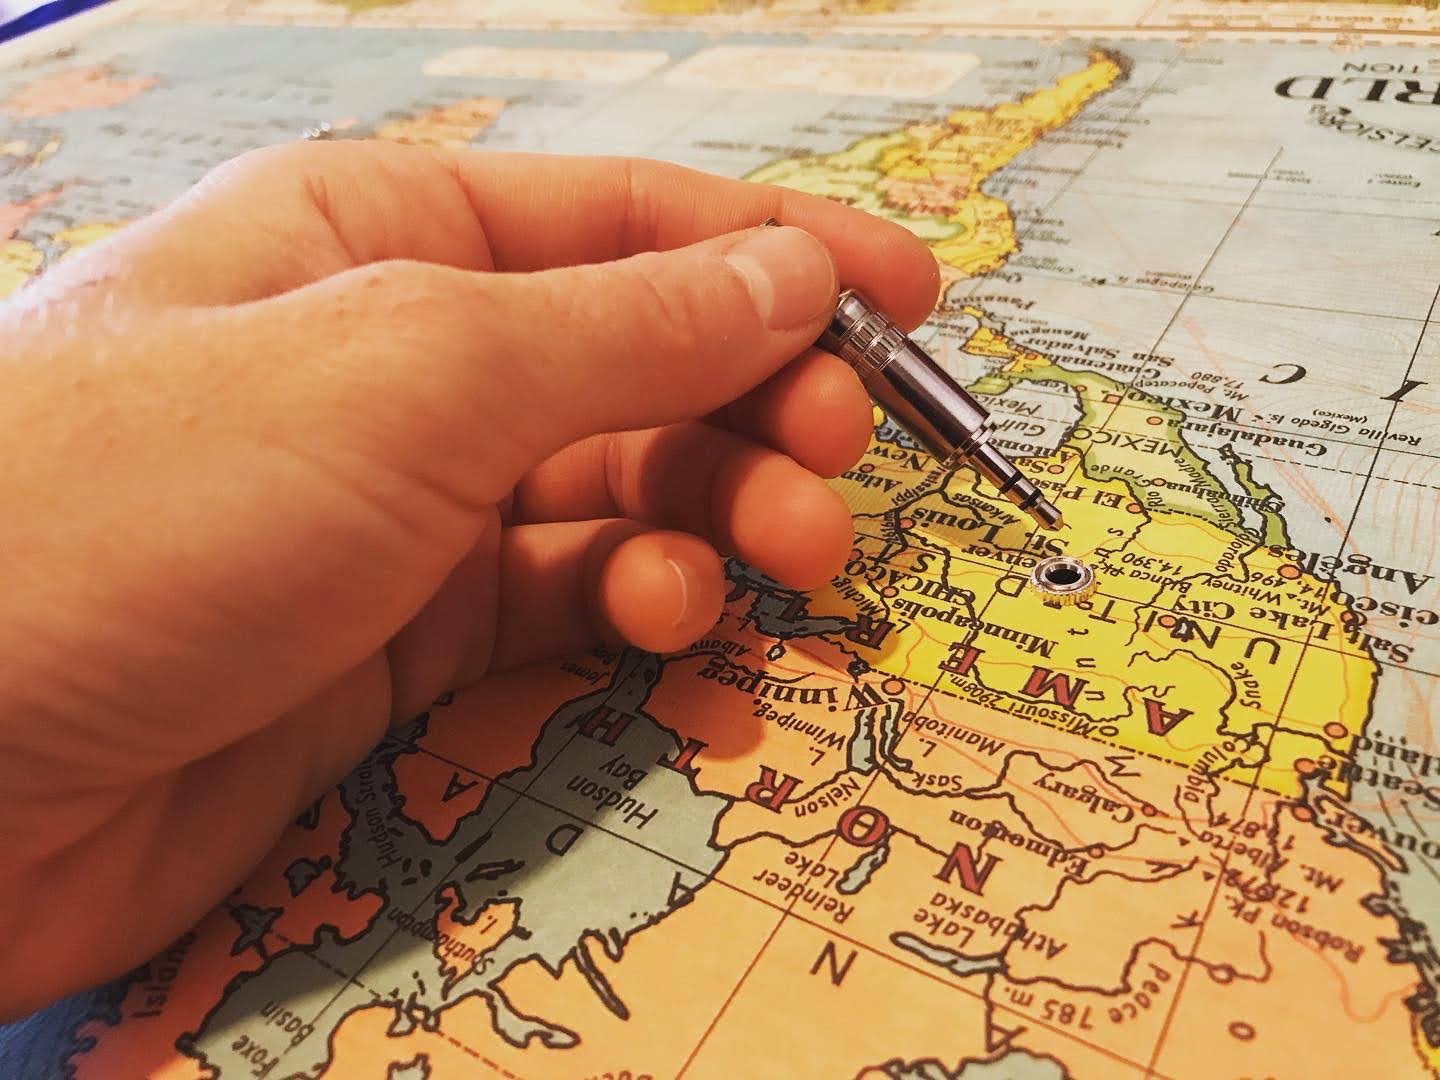
Step 3: Build a map!
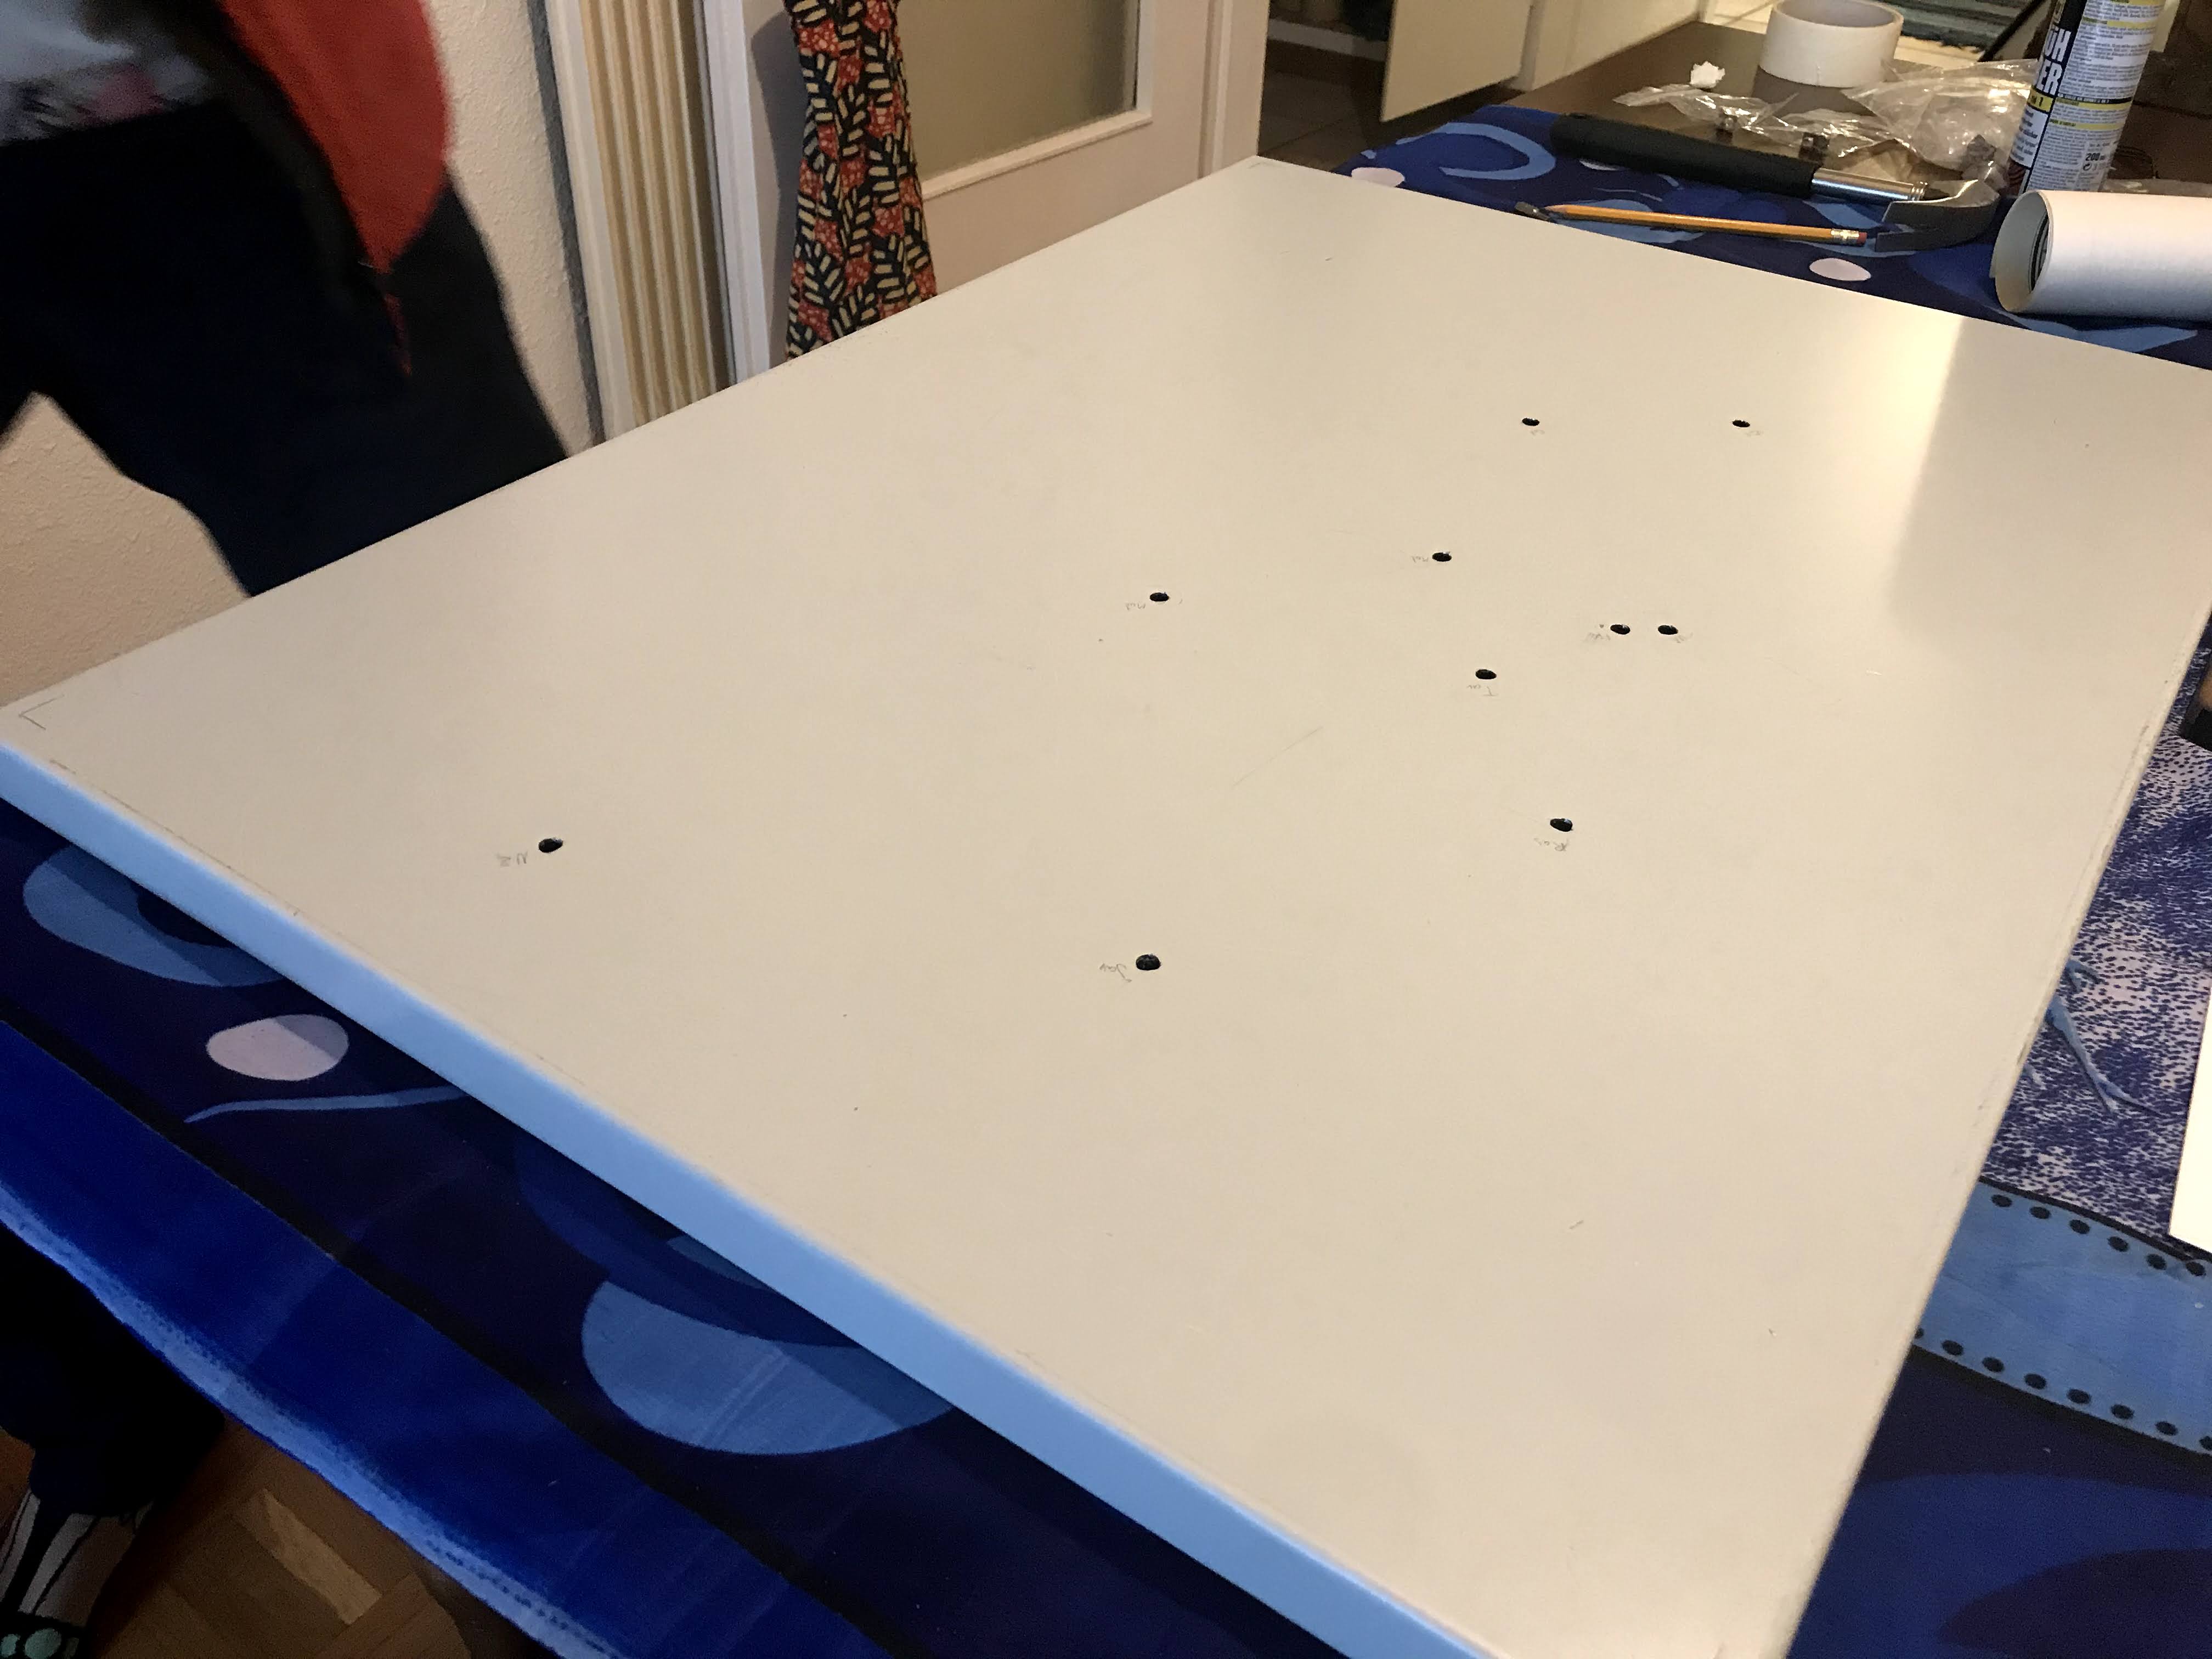
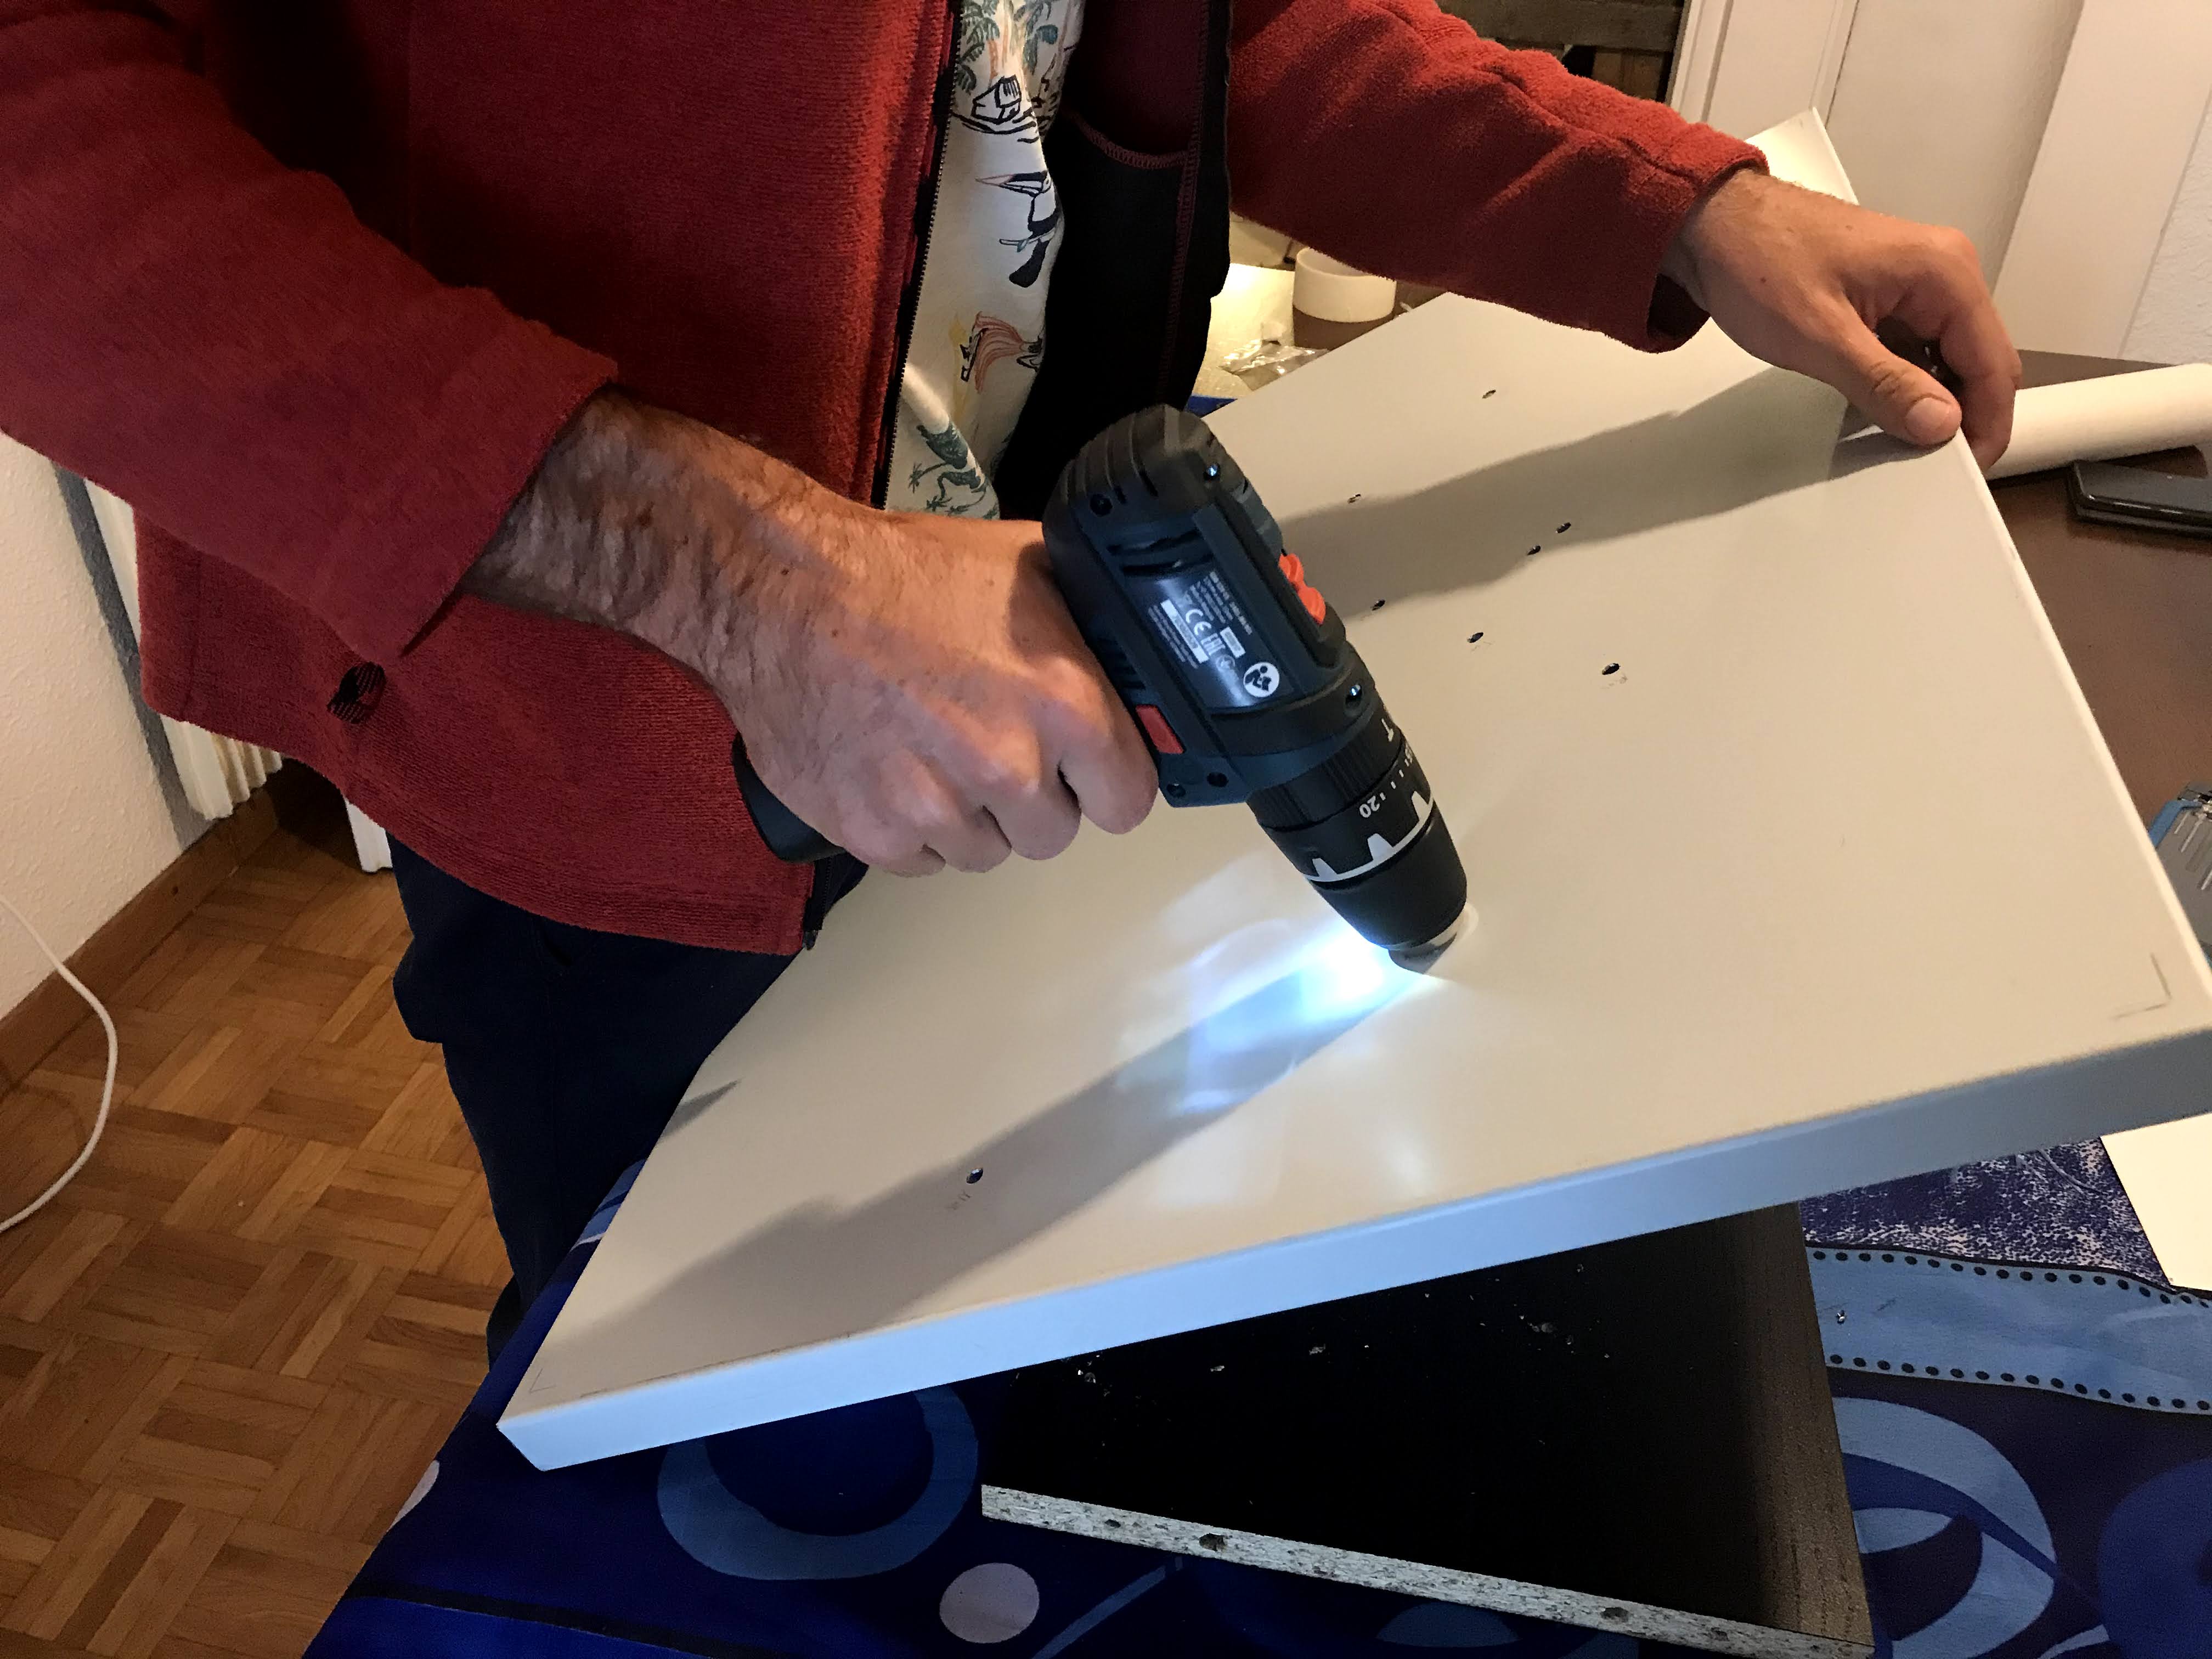
The map will be used to select countries for your rotary radio. I built mine by gluing a paper map on a metal panel. You can use any material you want, but make sure it's thin enough so that you can screw the jack sockets on your panel.


Once your audio sockets are in place onto your map, you can then proceed to wiring.
The Arduino is connected to a Raspberry Pi via a USB cable (for both power and serial communication).
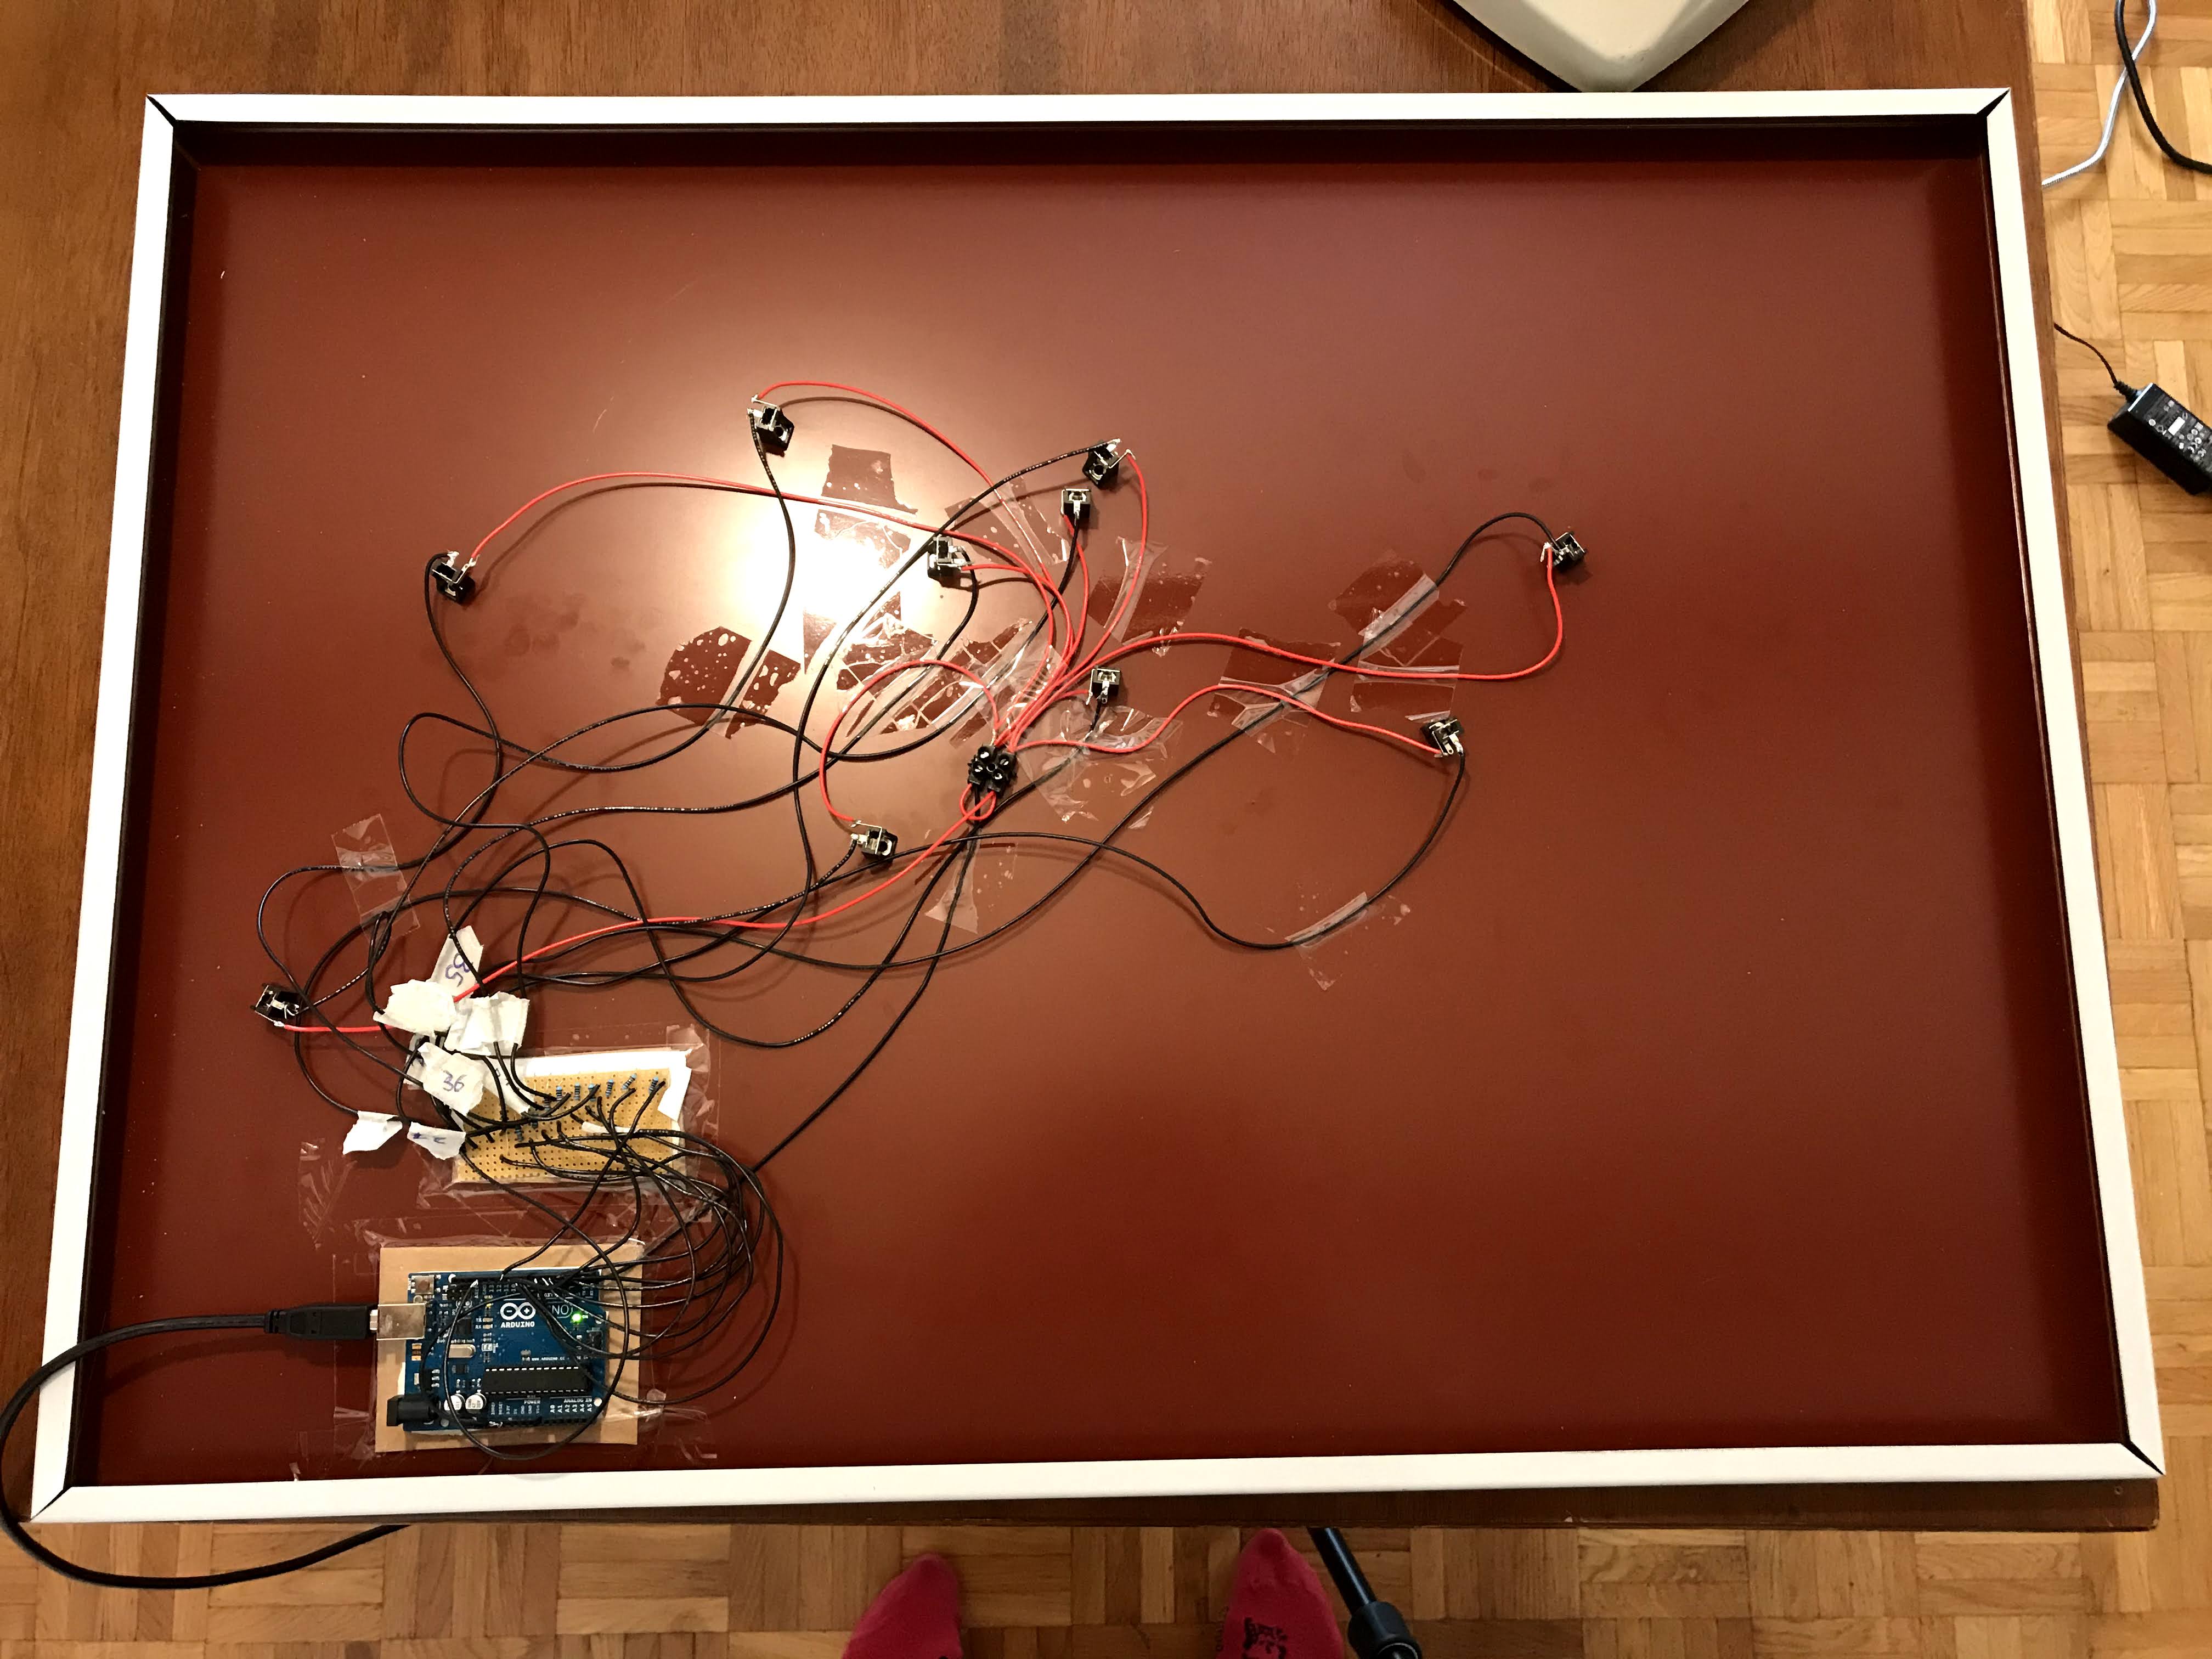

You can find the Arduino code in the git repository below.
- Step 4: Setup your Raspberry Pi
Check out the diagram in the SCHEMATICS section below for detailed instructions on how to wire your Raspberry
Optional: I have also included a LED that I connected to pin 15 (GPIO 22). This LED will flash when the main.py script is running.
Optional: Add a push button that allows you to reboot/shutdown your pi. Mine has 2 wires that respectively go to PIN 13 (GPIO 27) and GROUND
I have provided the main script main.py in the GitHub repository below. The script is ready to use and has comments in case you are interested in how it works.
Please note that running the python script without any Arduino connected will trigger an error.
My raspberry pi is set up to run headlessly (without a screen). There are a couple of things you need to set up if you want it to work:
- Make sure the GUI (Graphical User Interface) starts even when no monitor is connected. We'll need it to run our website.
In the terminal, type:
sudo nano /boot/config.txt
Then, uncomment the following line:
hdmi_force_hotplug=1
save it by pressing CTRL+X and accept the changes by pressing y when prompted
- Open the radioooo.com website at startup
In the terminal, type:
sudo nano /etc/xdg/lxsession/LXDE-pi/autostart
Add the following line to the file:
/usr/bin/chromium-browser --ignore-certificate-errors --disable-restore-session-state https://www.radiooooo.com
- Run the python script at startup
In the same file, add the following lines:
@/usr/bin/python /home/pi/your/path/main.py
@/usr/bin/python /home/pi/your/path/shutdown_button.py
- Update the script to the correct USB port that you connected your Arduino to
Run the following line in the terminal (with the Arduino unplugged):
ls /dev/tty*
A list of all available ports will show. Then, plug in your Arduino and run the same command again. The port that appears is your Arduino (In my case, it's /dev/ttyACM0 )Open the main.py script and update the following line to match your port:
ser = serial.Serial('/your/port', 9600)
Step 5: Install the chrome extension
To interface with the radiooooo.com website, we need a chrome extension that our Rpi can run in Chromium.
I have also provided the extension itself and the installation instructions in the GitHub repository. Please refer to the README for more info.
Step 6:Run the script
Reboot your pi.
When your pi has rebooted, your LED should flash; this is how you know that your script works.
Everything should work!
Happy hacking!
EXPANDED TECHNICAL DETAILS
Salvaging Retro Hardware
This project repurposes a classic Rotary Phone into a unique internet radio interface.
- Pulse Decoding: The Arduino monitors the mechanical dial pulses. Each number dialed (1-10) generates a specific count of electrical breaks. The firmware uses debounced interrupts to count these pulses and translate them into a digital integer.
- Audio Streaming: Paired with the Radiooooo platform or a custom Python script, the Arduino tells the computer which "decade" or "country" to play based on the number dialed.
Firmware Logic
- Hook Detection: The original "cradle" switch acts as the power or play/pause toggle.
- Visuals: A small OLED or LED ring might be hidden behind the dial to provide modern feedback while maintaining the vintage aesthetic. This is a masterclass in "Retro-tech" recycling, blending 1950s mechanics with 2020s streaming digital audio.