Overview
Have you ever dreamt of your home's lights to turn on when you approach your house, so you will never walk into your house and be surrounded by darkness? This device aims to do all of that for you, so your lights will be on when you get close to your house using GPS. The lights will remain on when you are inside the house.
Functionality
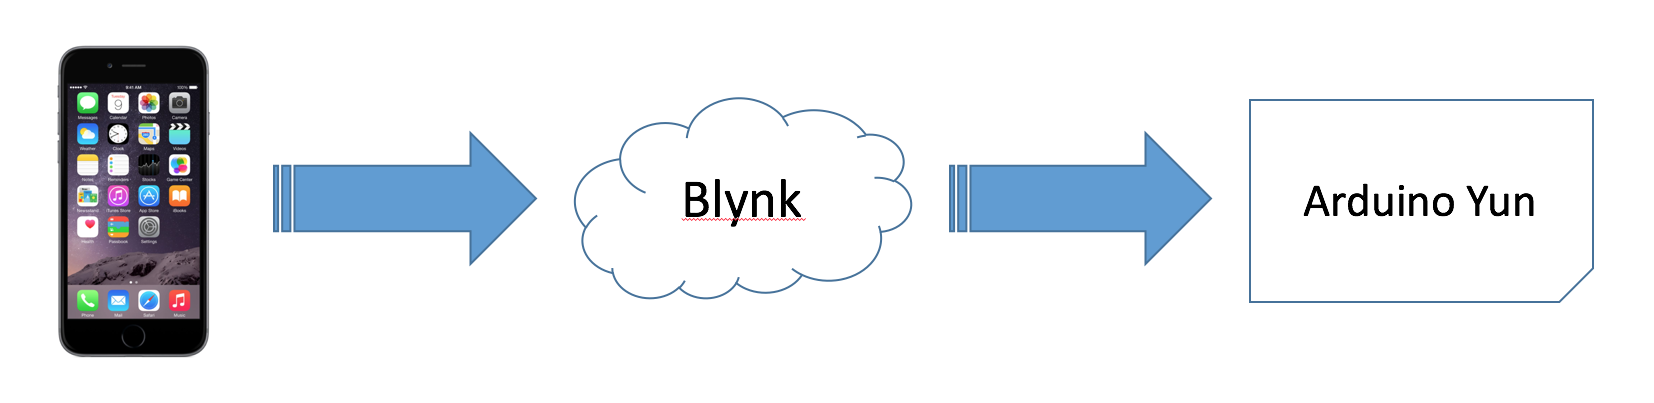
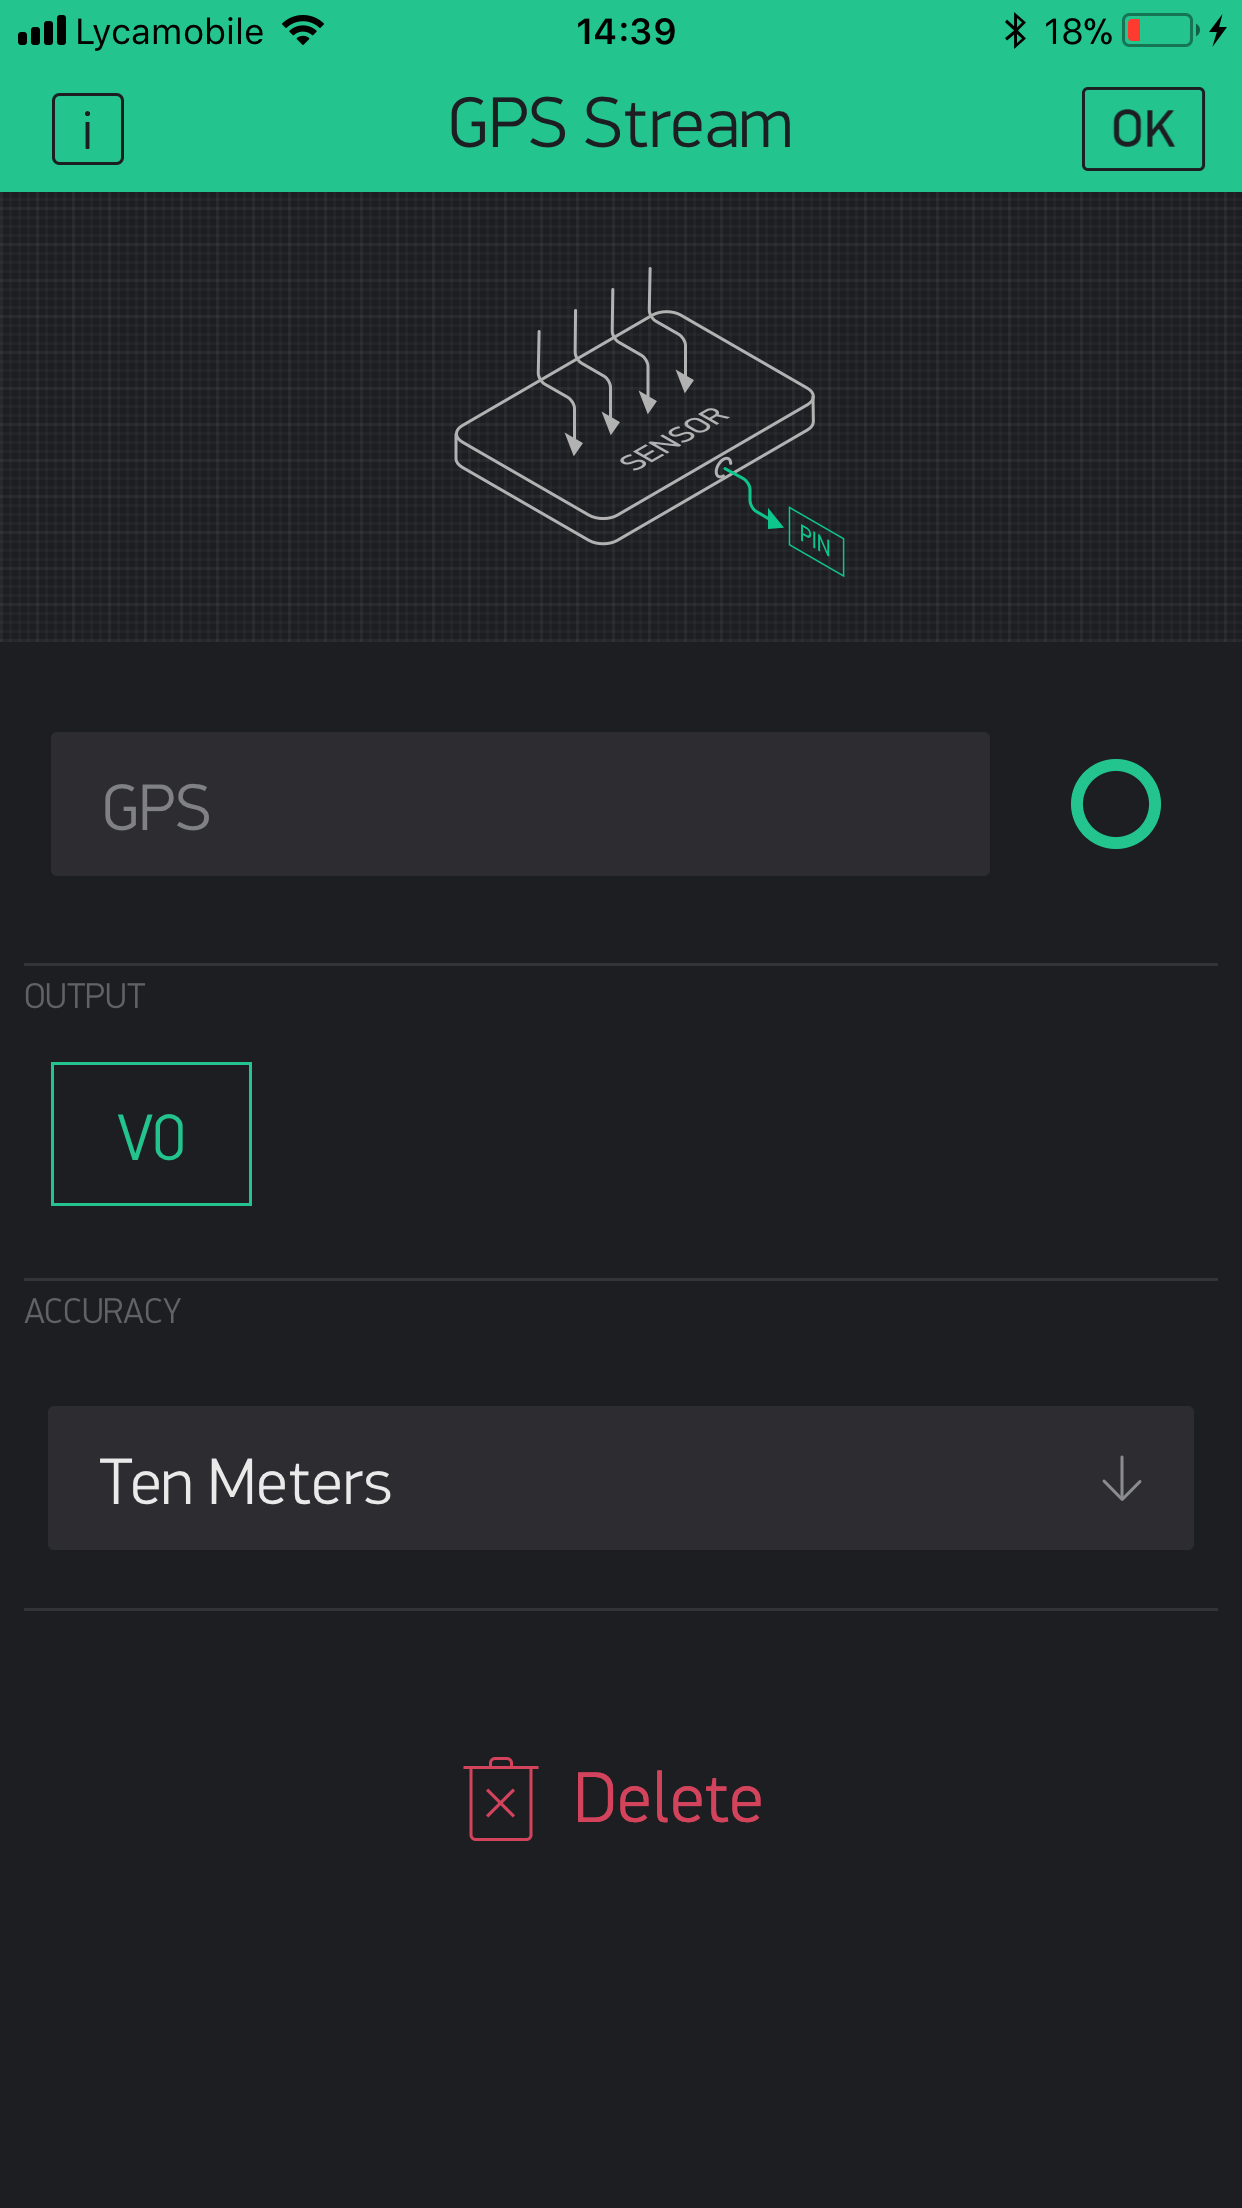
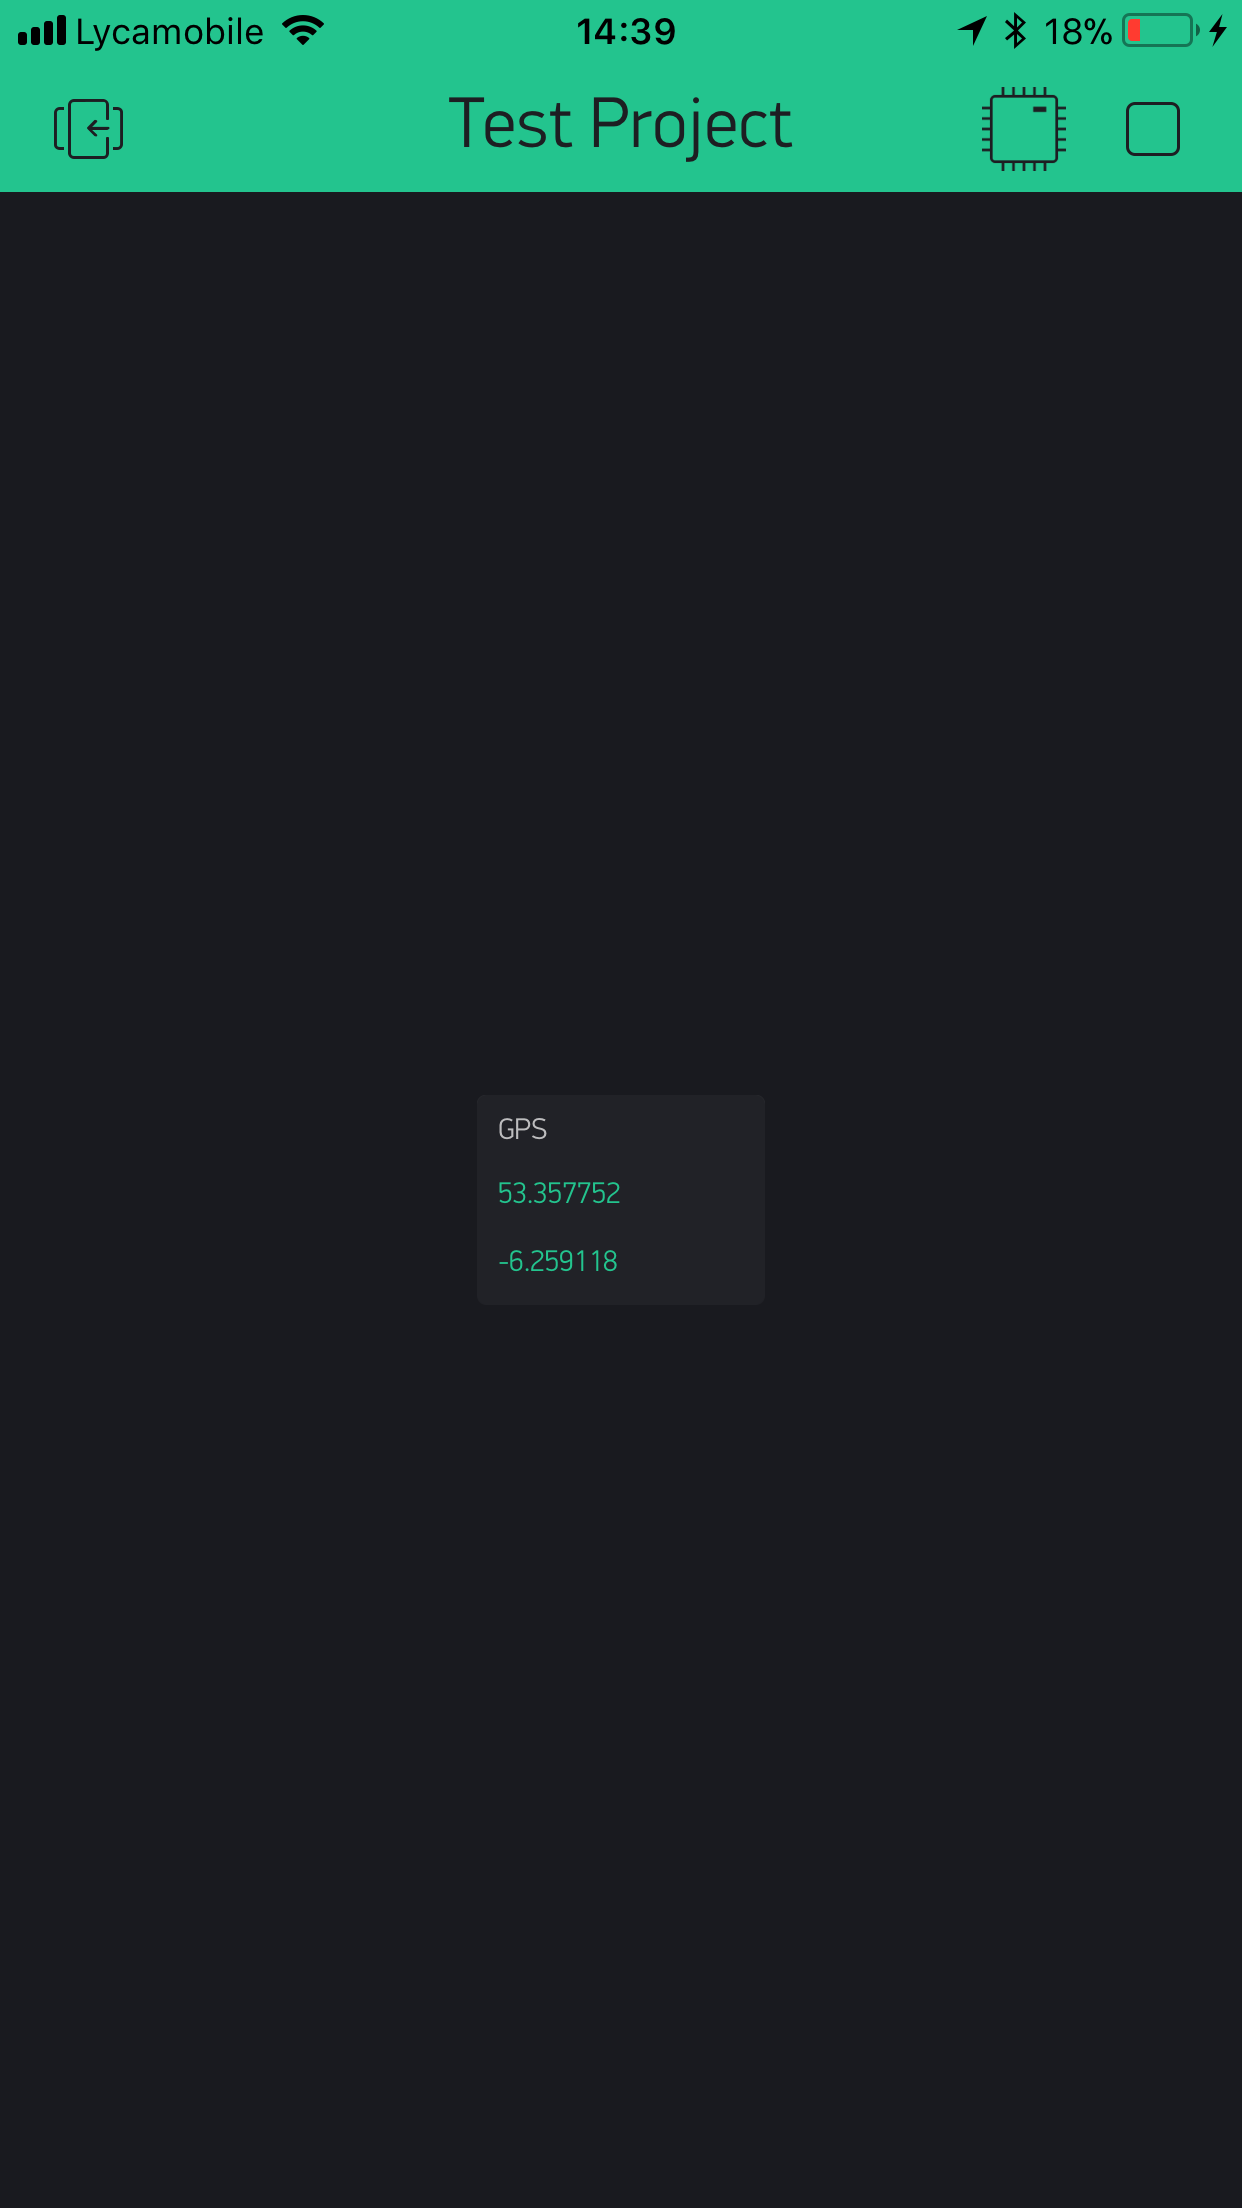
This project utilises Blynk to operate, Blynk requires mobile data to run on the move, so it must be enabled for this project to work, note that a Blynk account and app is necessary to run this project. This project works fairly simply, Blynk monitors the phone's geolocation and sends the feed to the Arduino Yún. The Arduino Yun compares the phone's geolocation to home's location (Home is set by the user manually). When the phone is detected to be within range of home, the Arduino Yun will turn on the LED. Here is an image illustrating this.
The device will constantly monitor the user's phone location, always checking if the user is within home range. Here is an image illustrating the code overview.
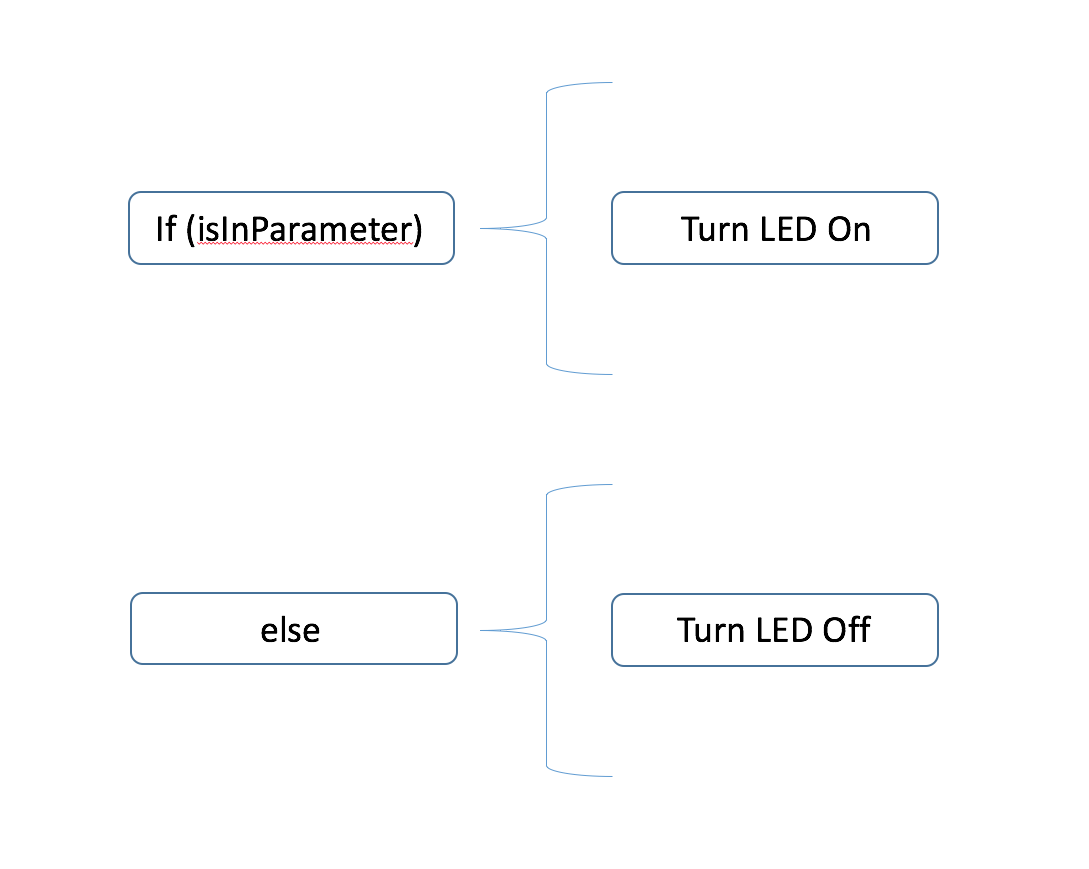
If(isInParameterwill check if the user is within the home's parameter, if it is, the functionTurnLEDOnwill commence witch will turn the LED on.
Elsewill do theTurnLEDOffstatement witch will turn the LED off if the user is not within home's parameter.
The Arduino Yun will automatically set home's parameters according to the co-ordinates of home. The Yun will create a square around home, with 4 points in each corner, in this way, if the user is inside the square, the device turns on the LED, if not, the device turns off the LED. The default range for the square is about 60 meters in all directions from the setup point.
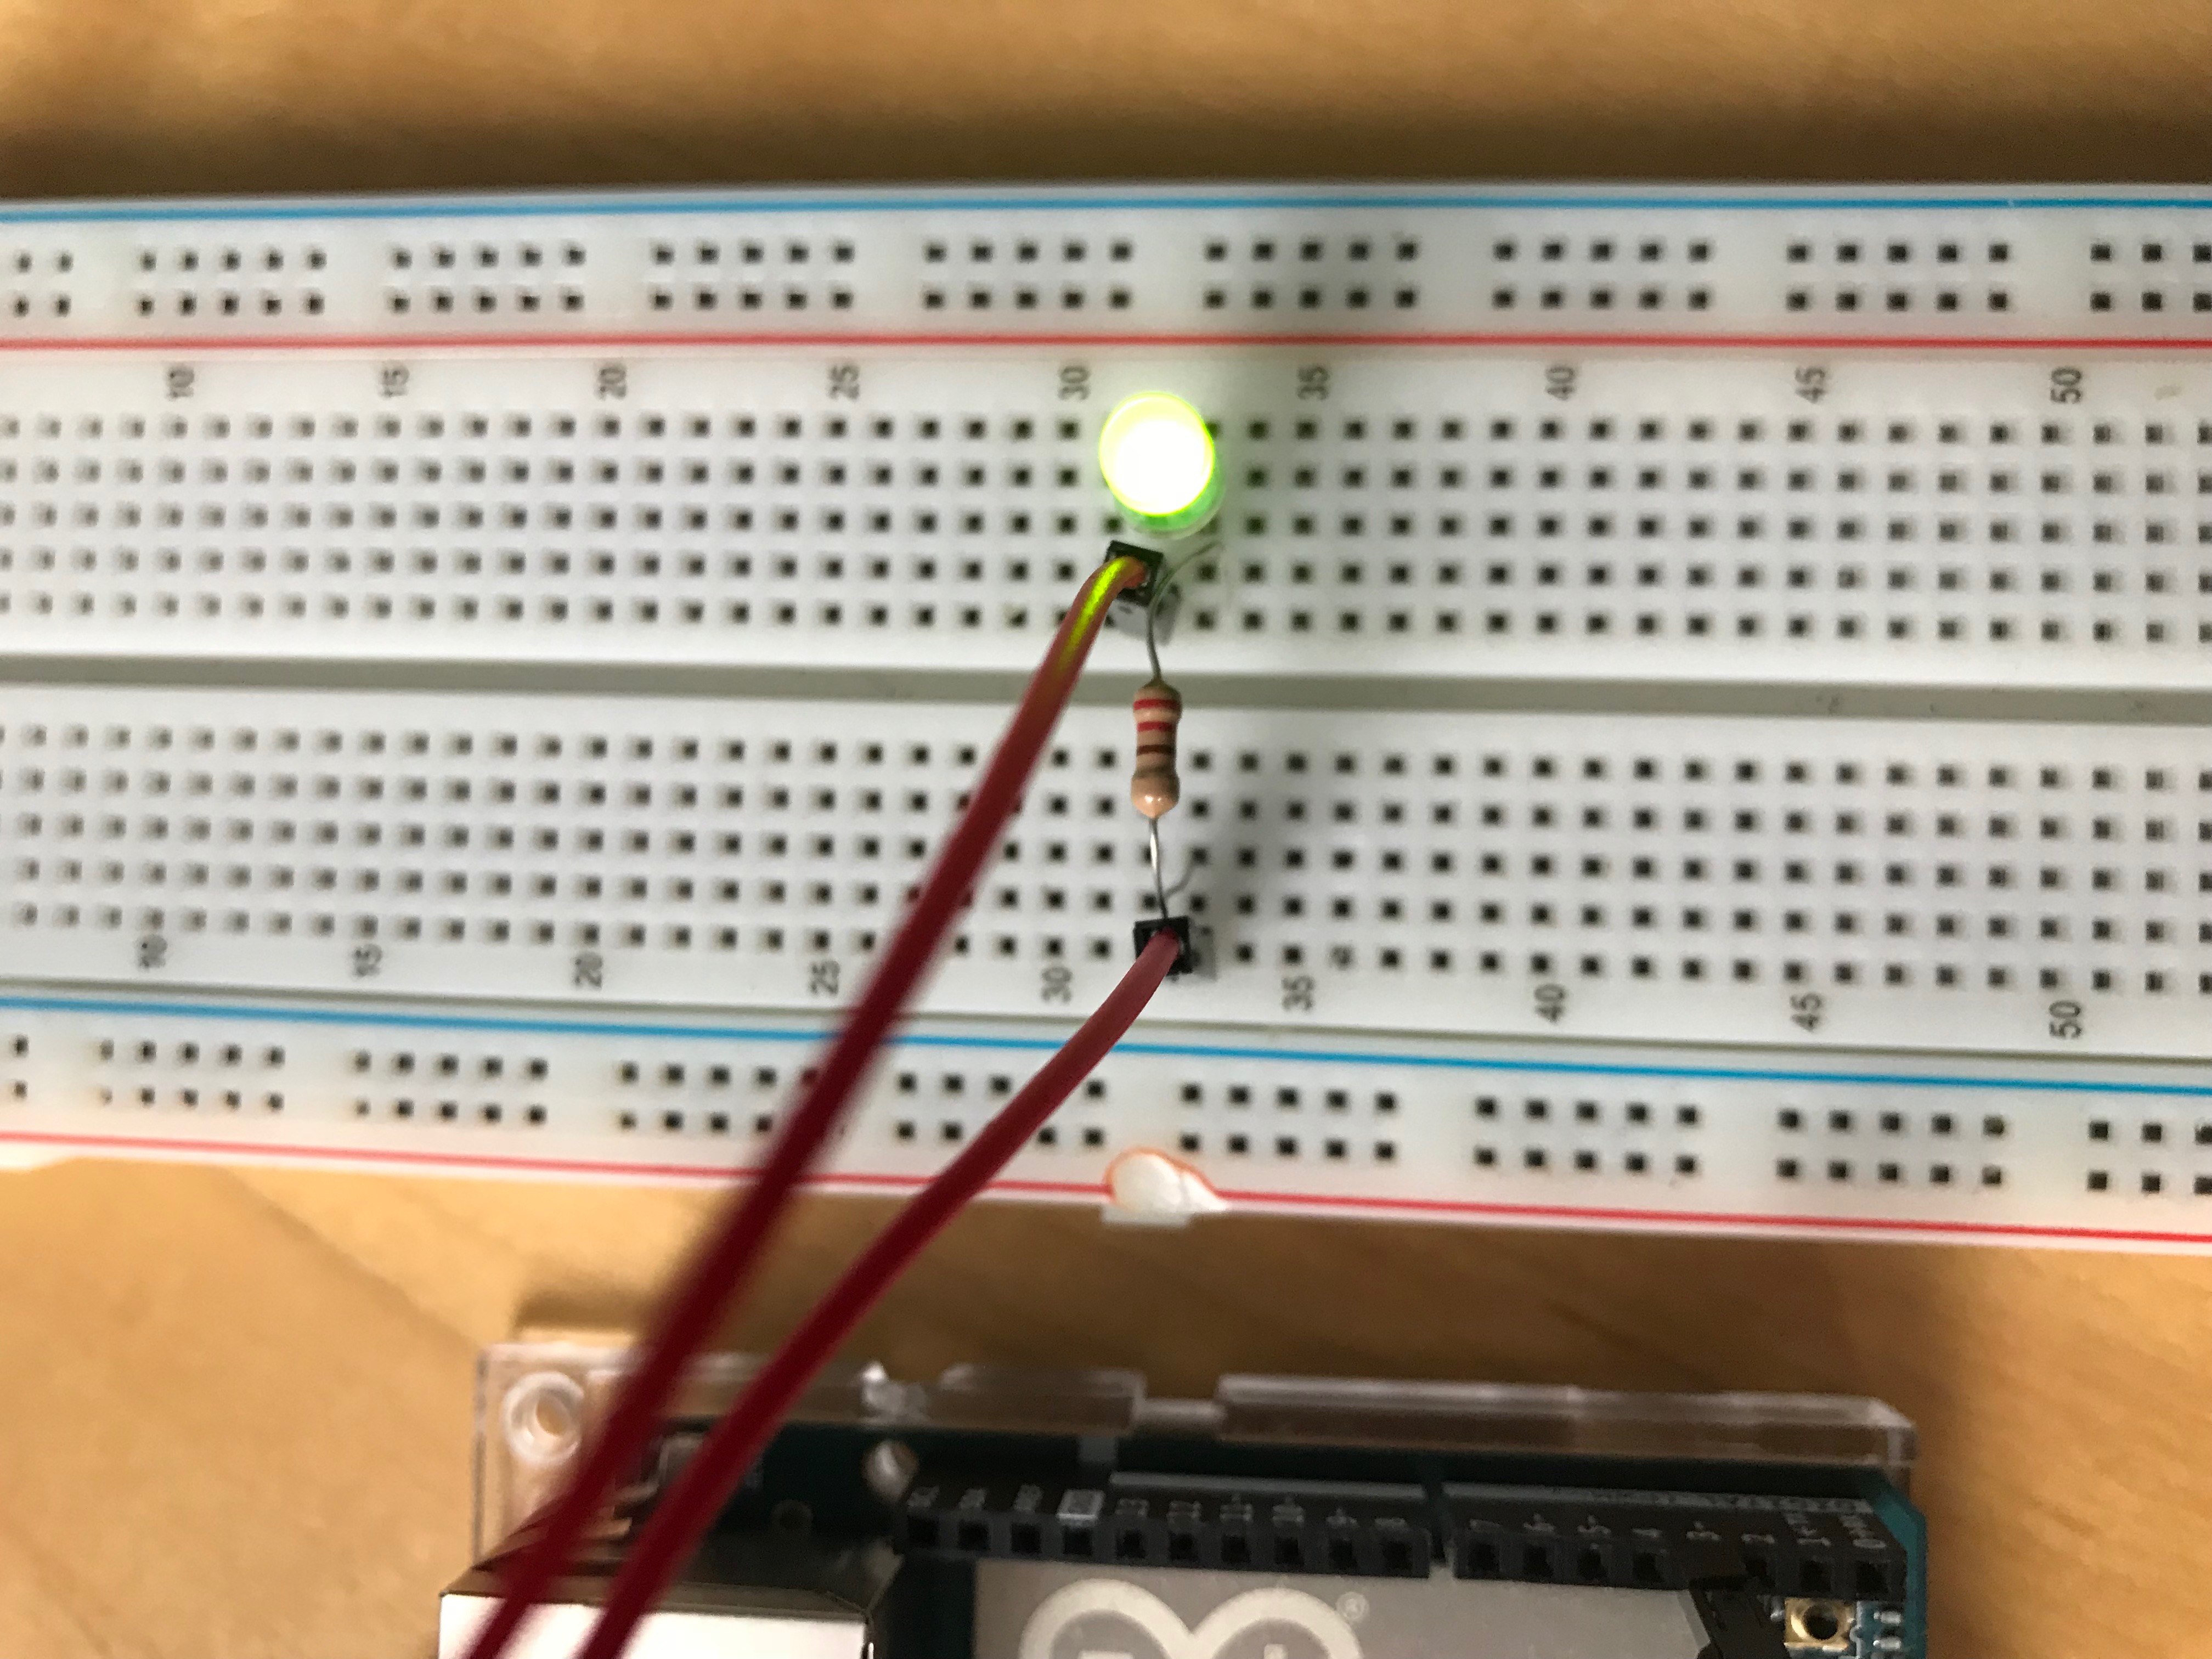
Here are some images showing the device in action.
Benefits
The user operating this project will benefit in:
- Easily turning on the lights when entering home
- Notifying people at home that the user is arriving soon
Constructing the Project
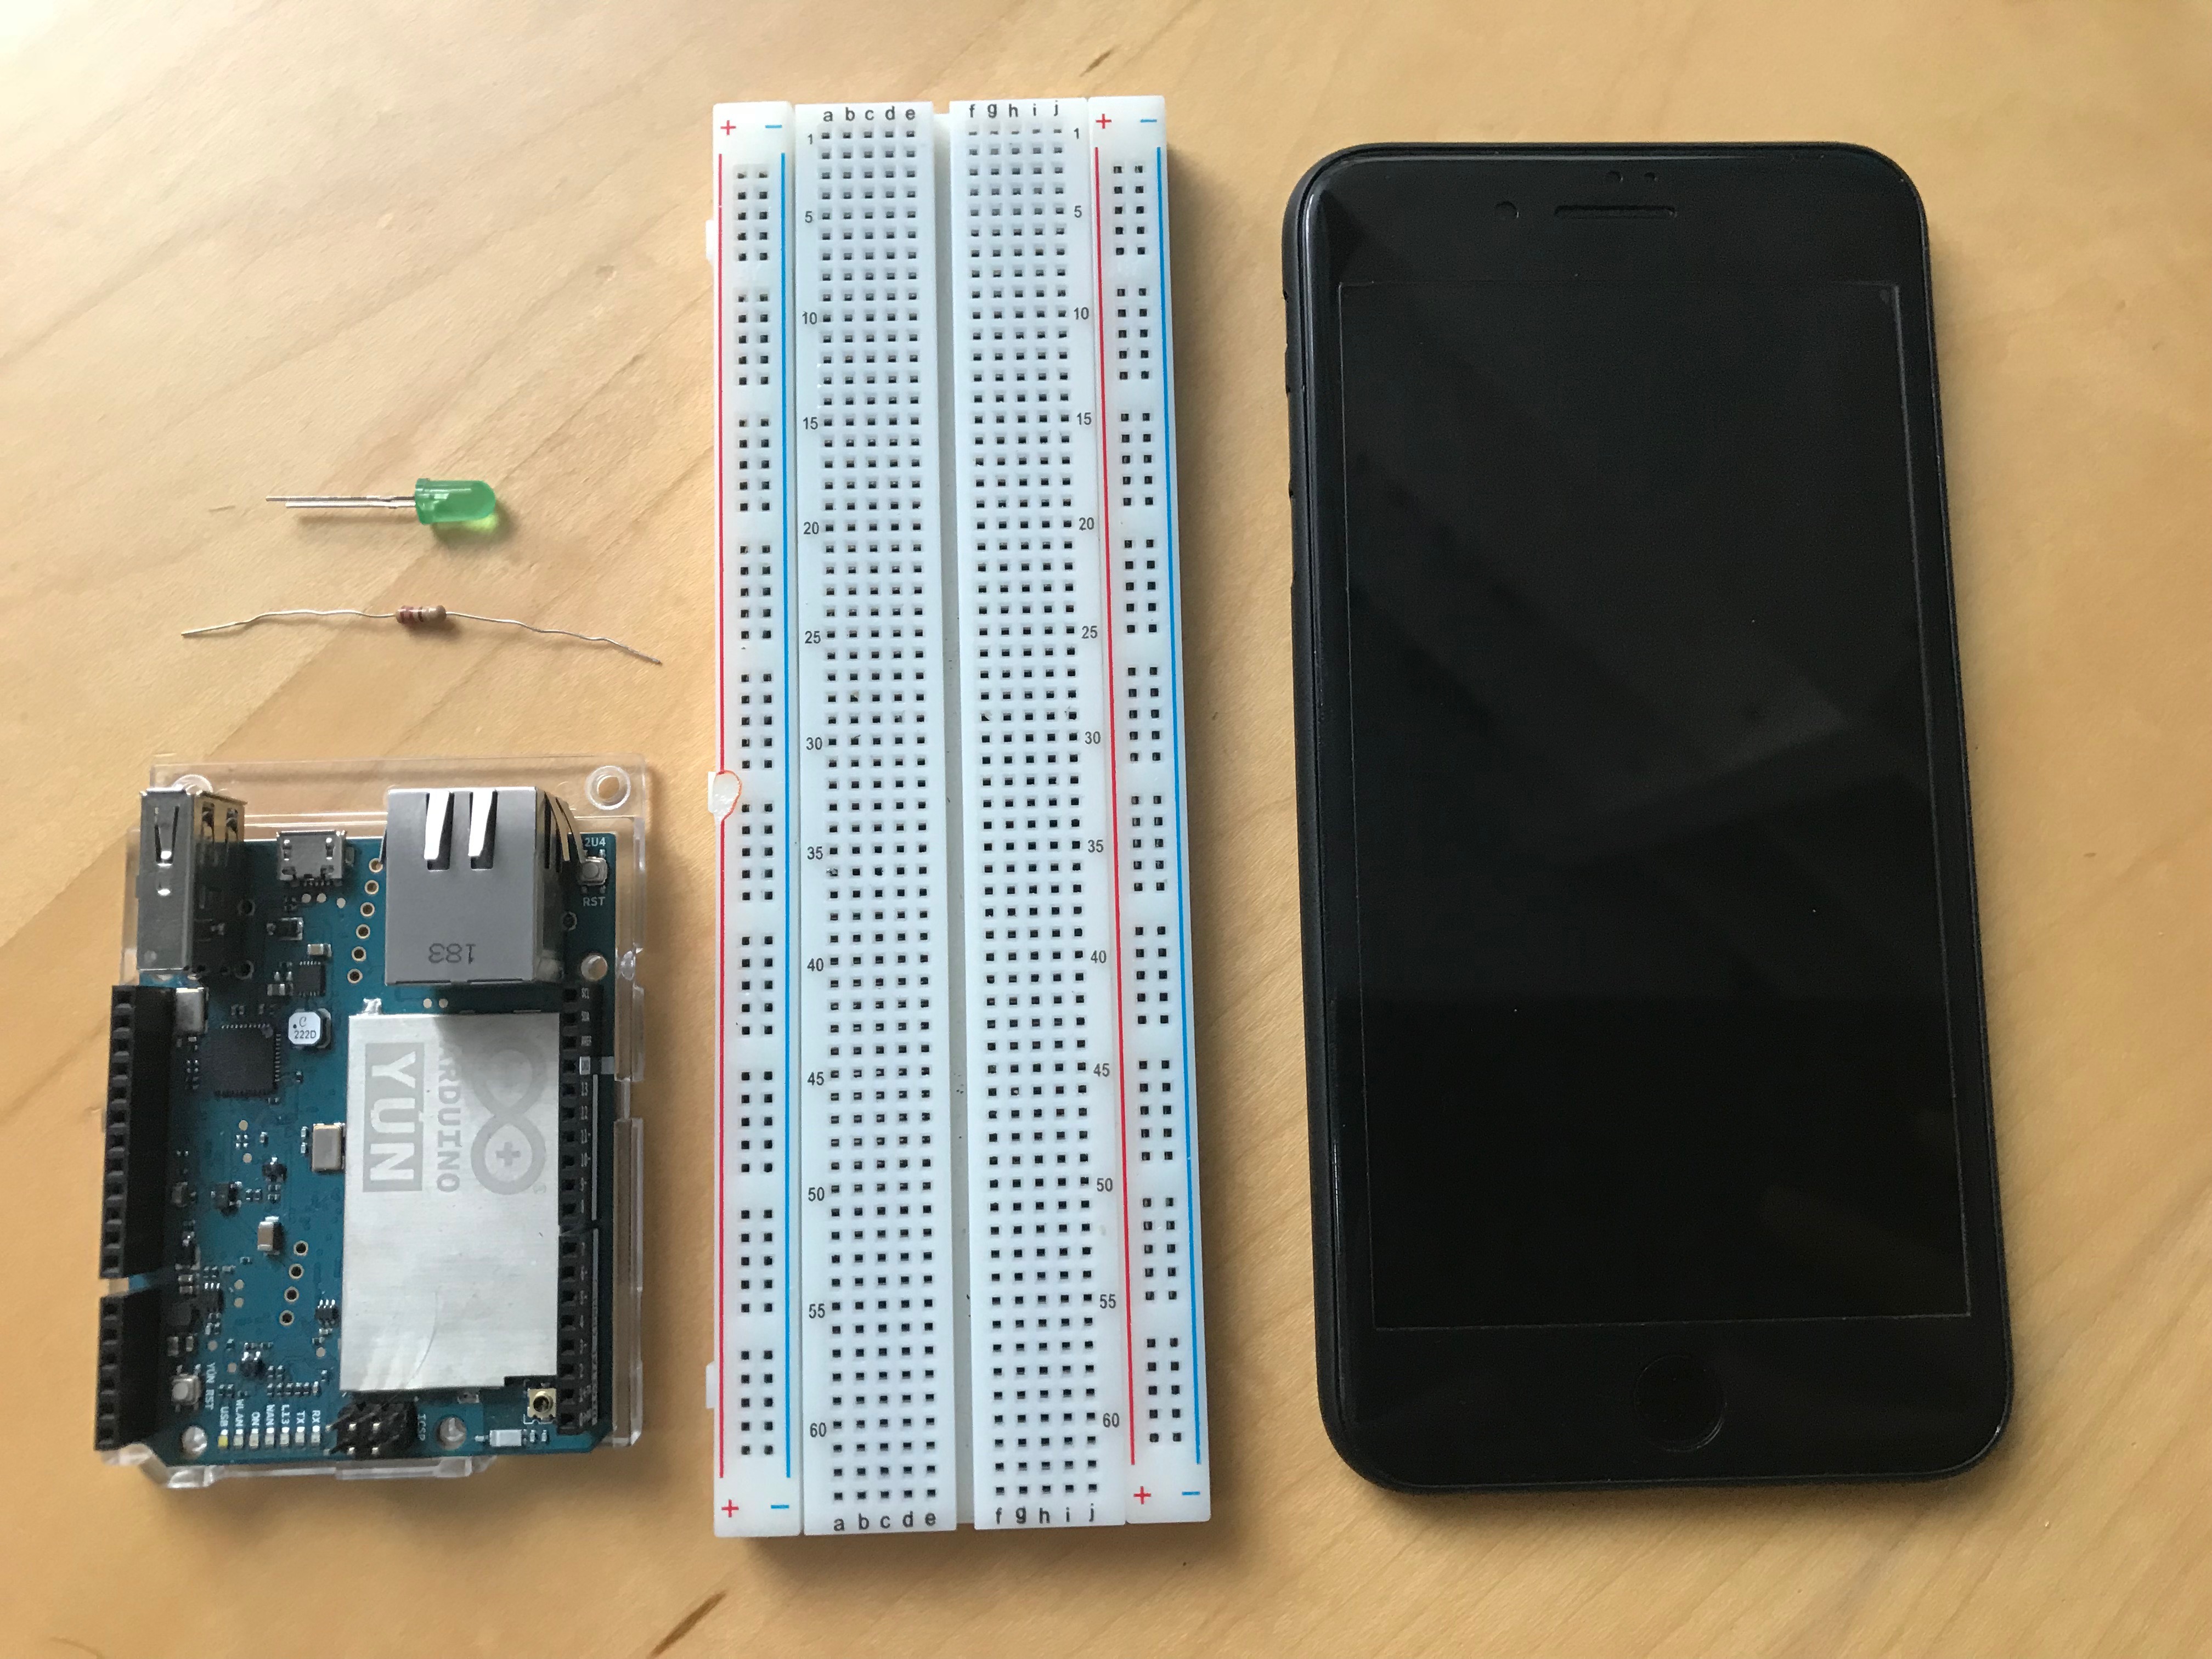
Step 1: Required Apparatus
There are a few things needed in this project, the list of them are below.
- 1, Arduino Yun
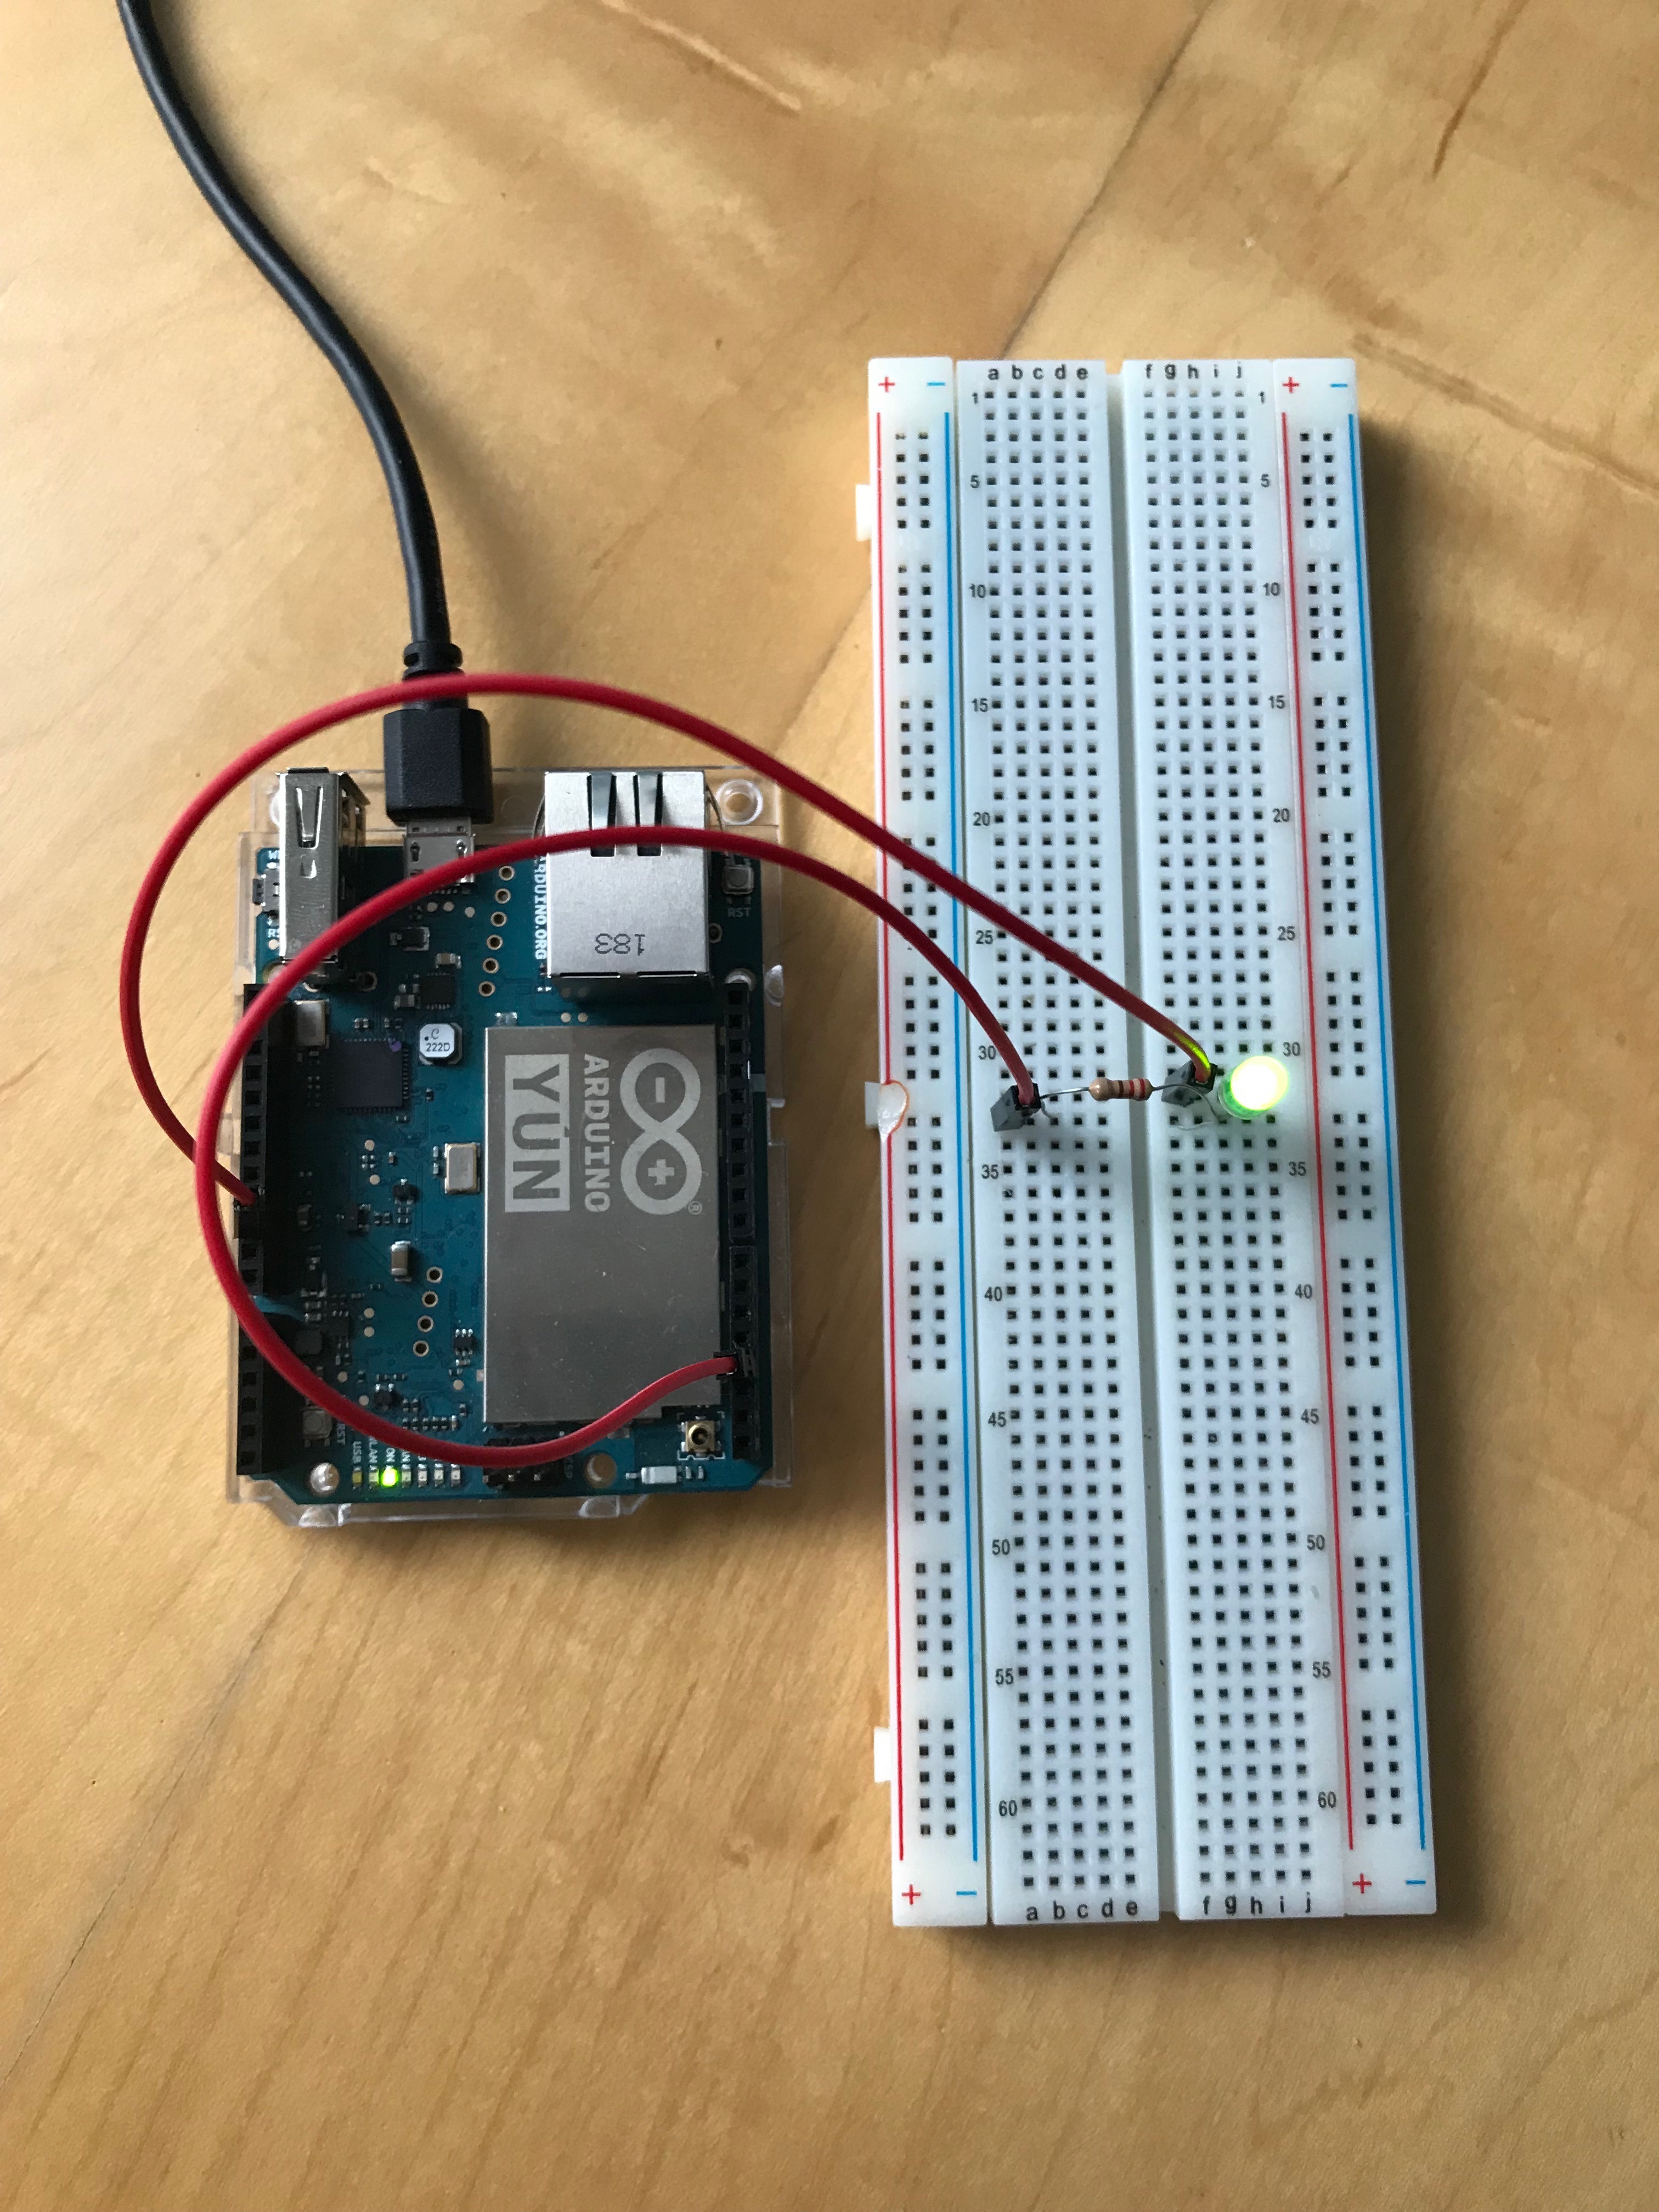
- 1, Breadboard
- 1, Resistor (220Ω)
- 1, Smartphone
- Jumper Wires
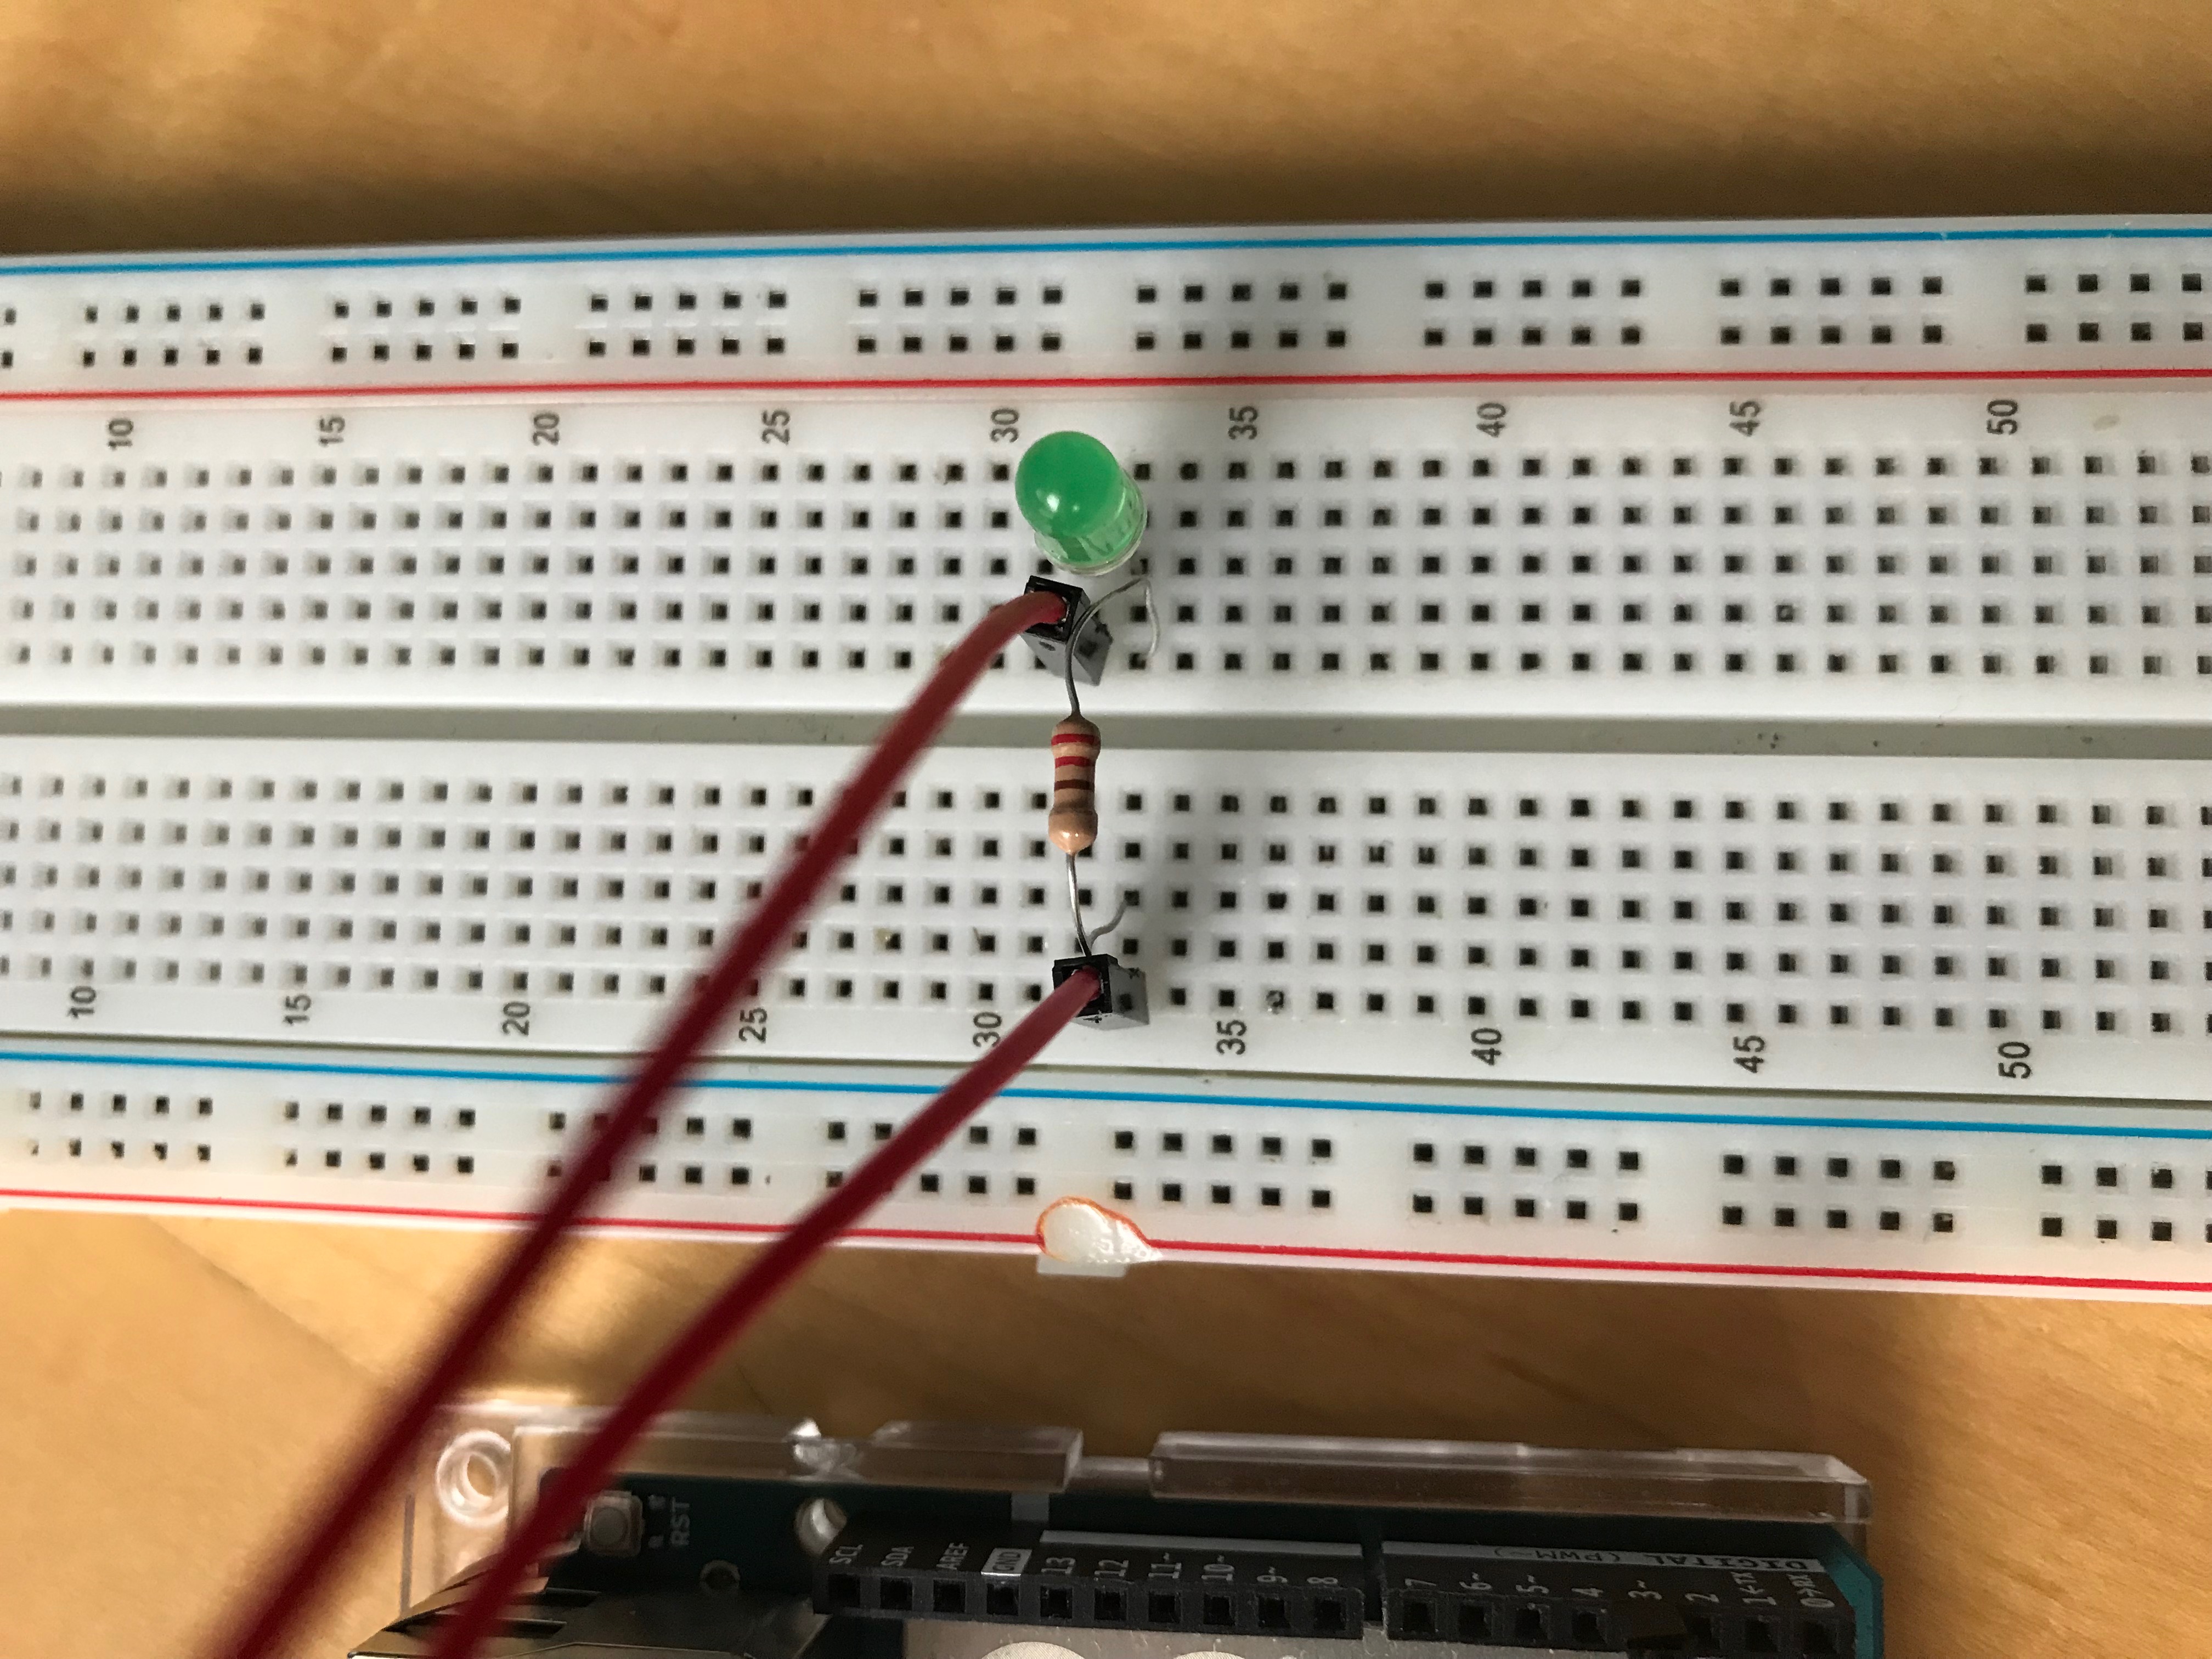
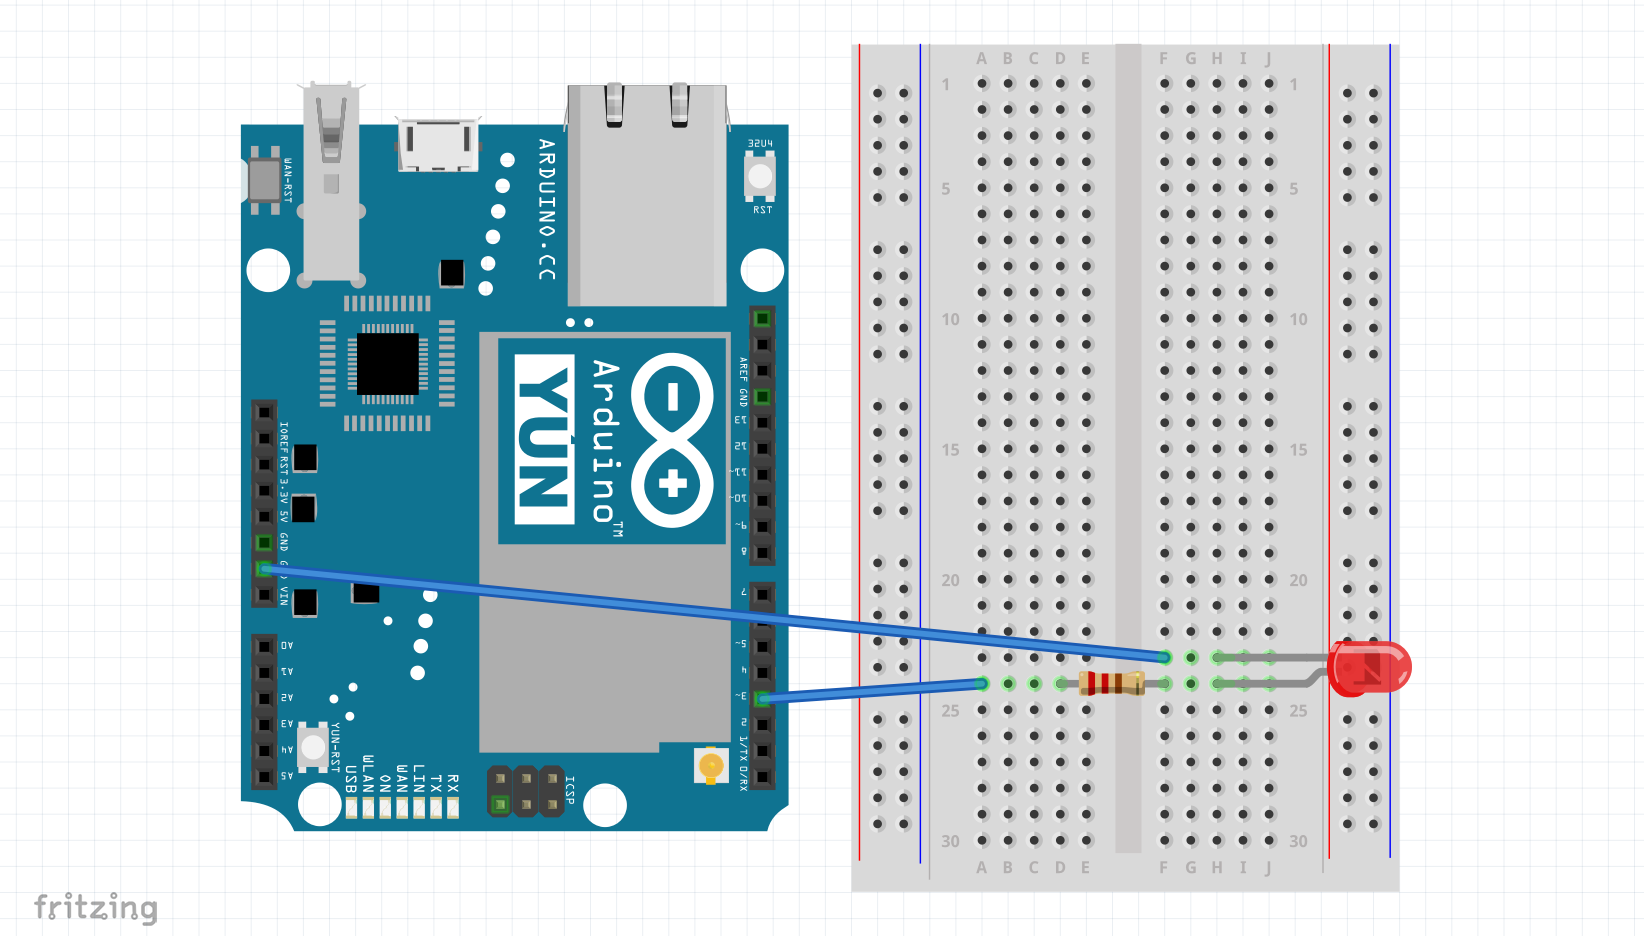
Step 2: Connecting the Circuit
This project has a physical circuit consisting of an LED and resistor, here is an image of the schematics of the project.
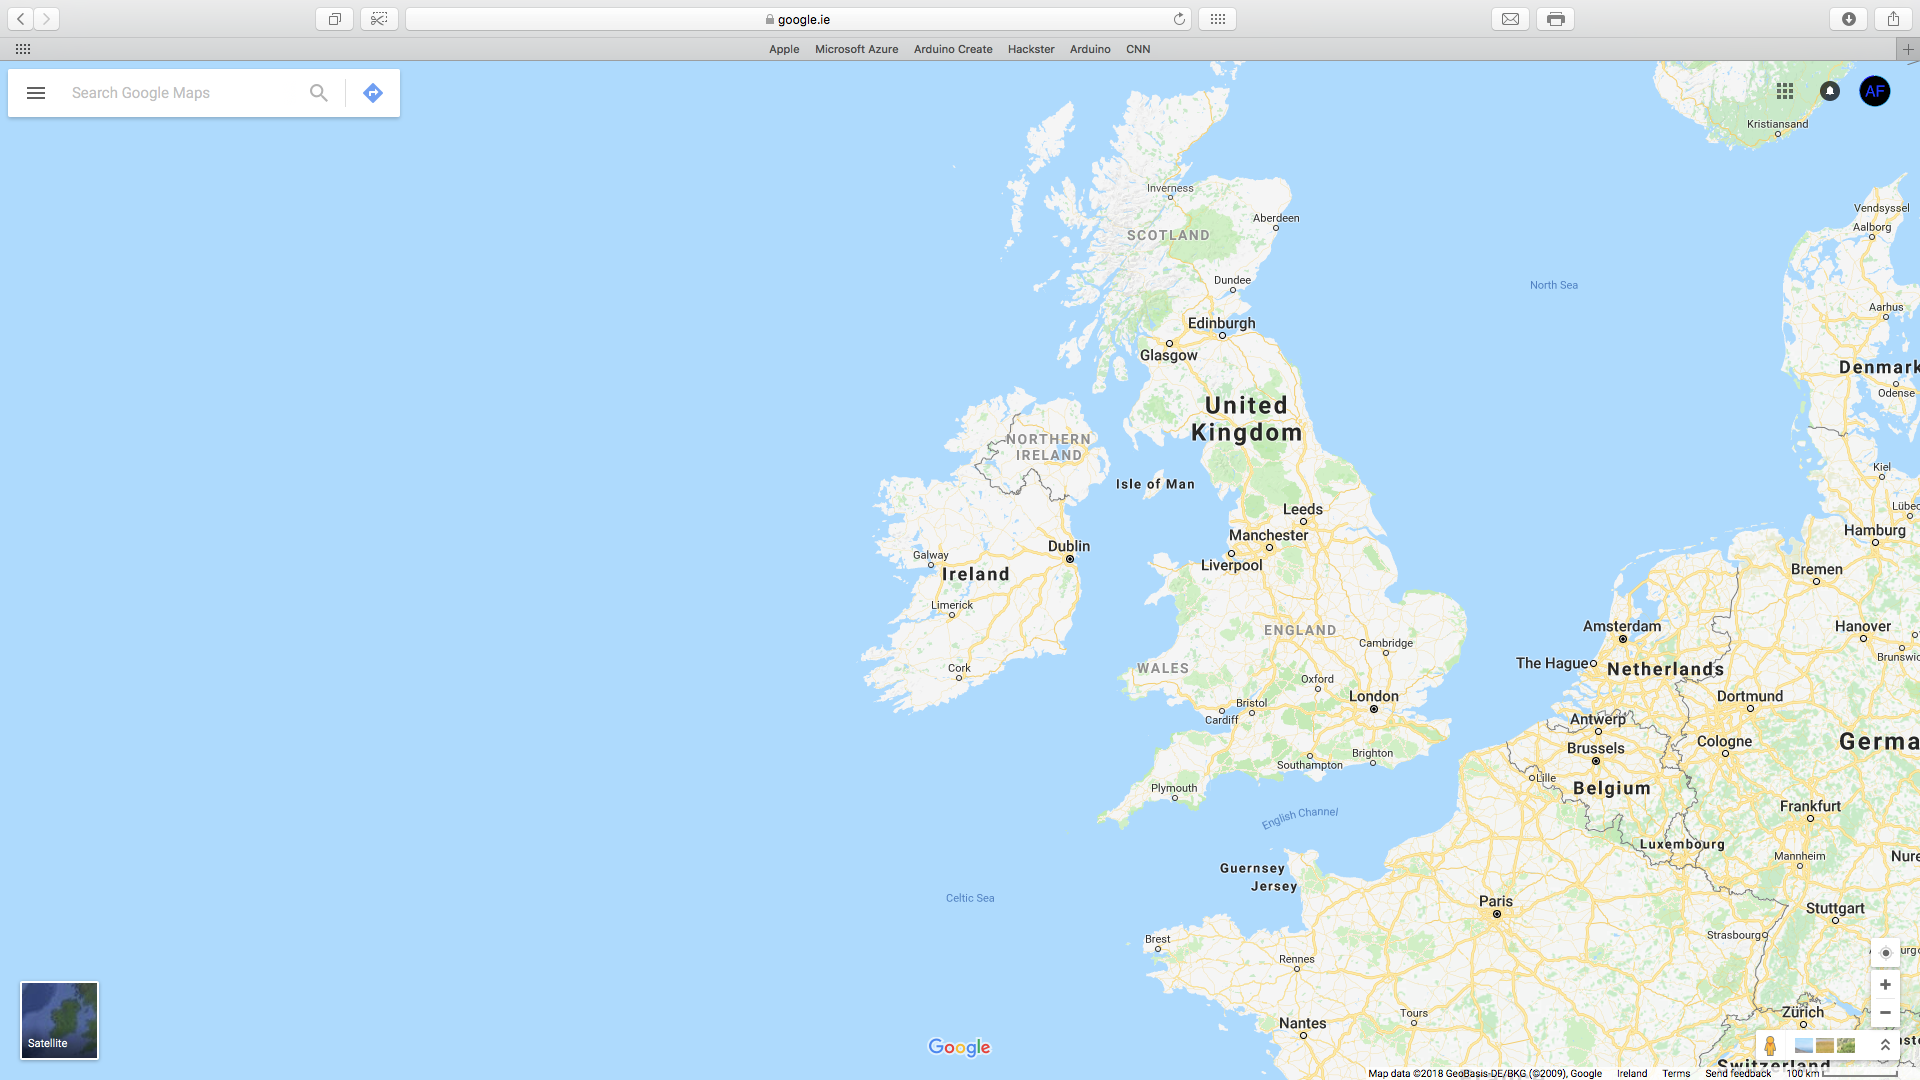
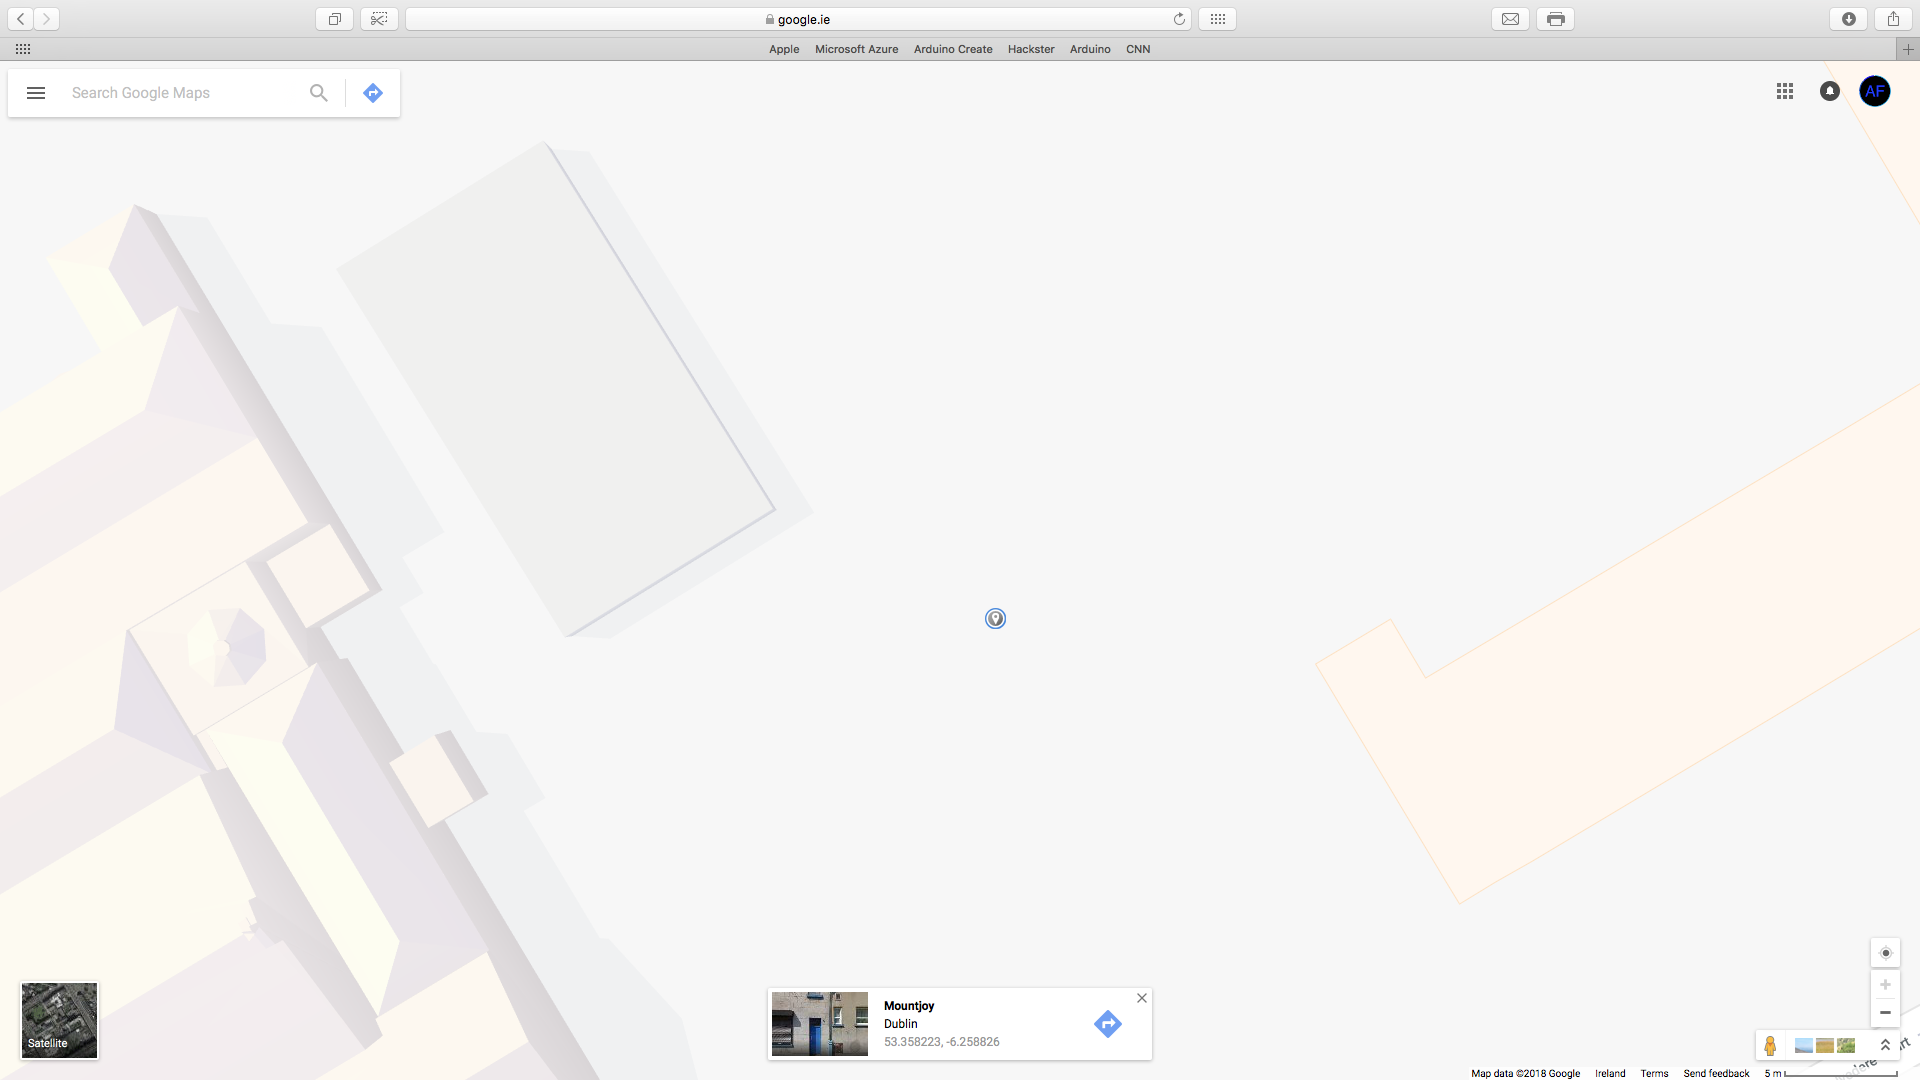
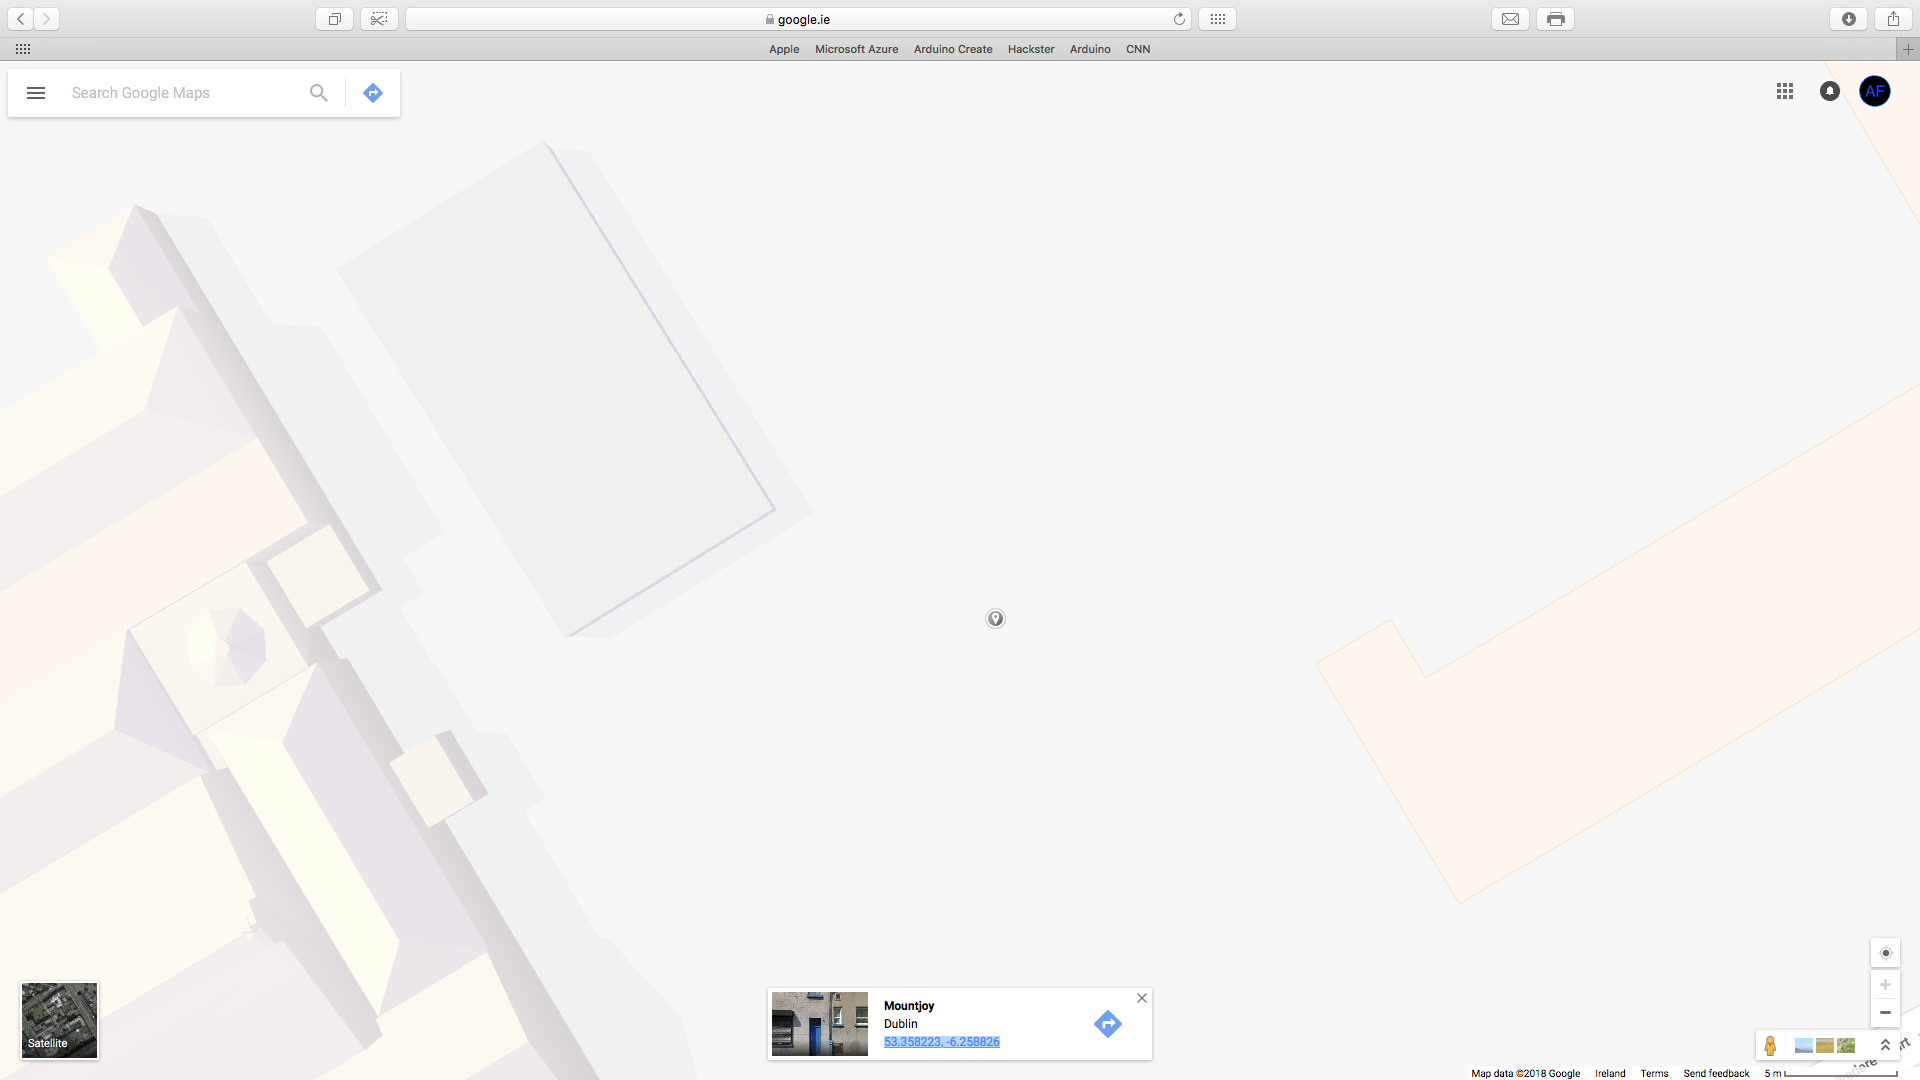
Step 3: Get your Geolocation
The next step is to figure out the geolocation co-ordinates of your house, the images below will illustrate this process.
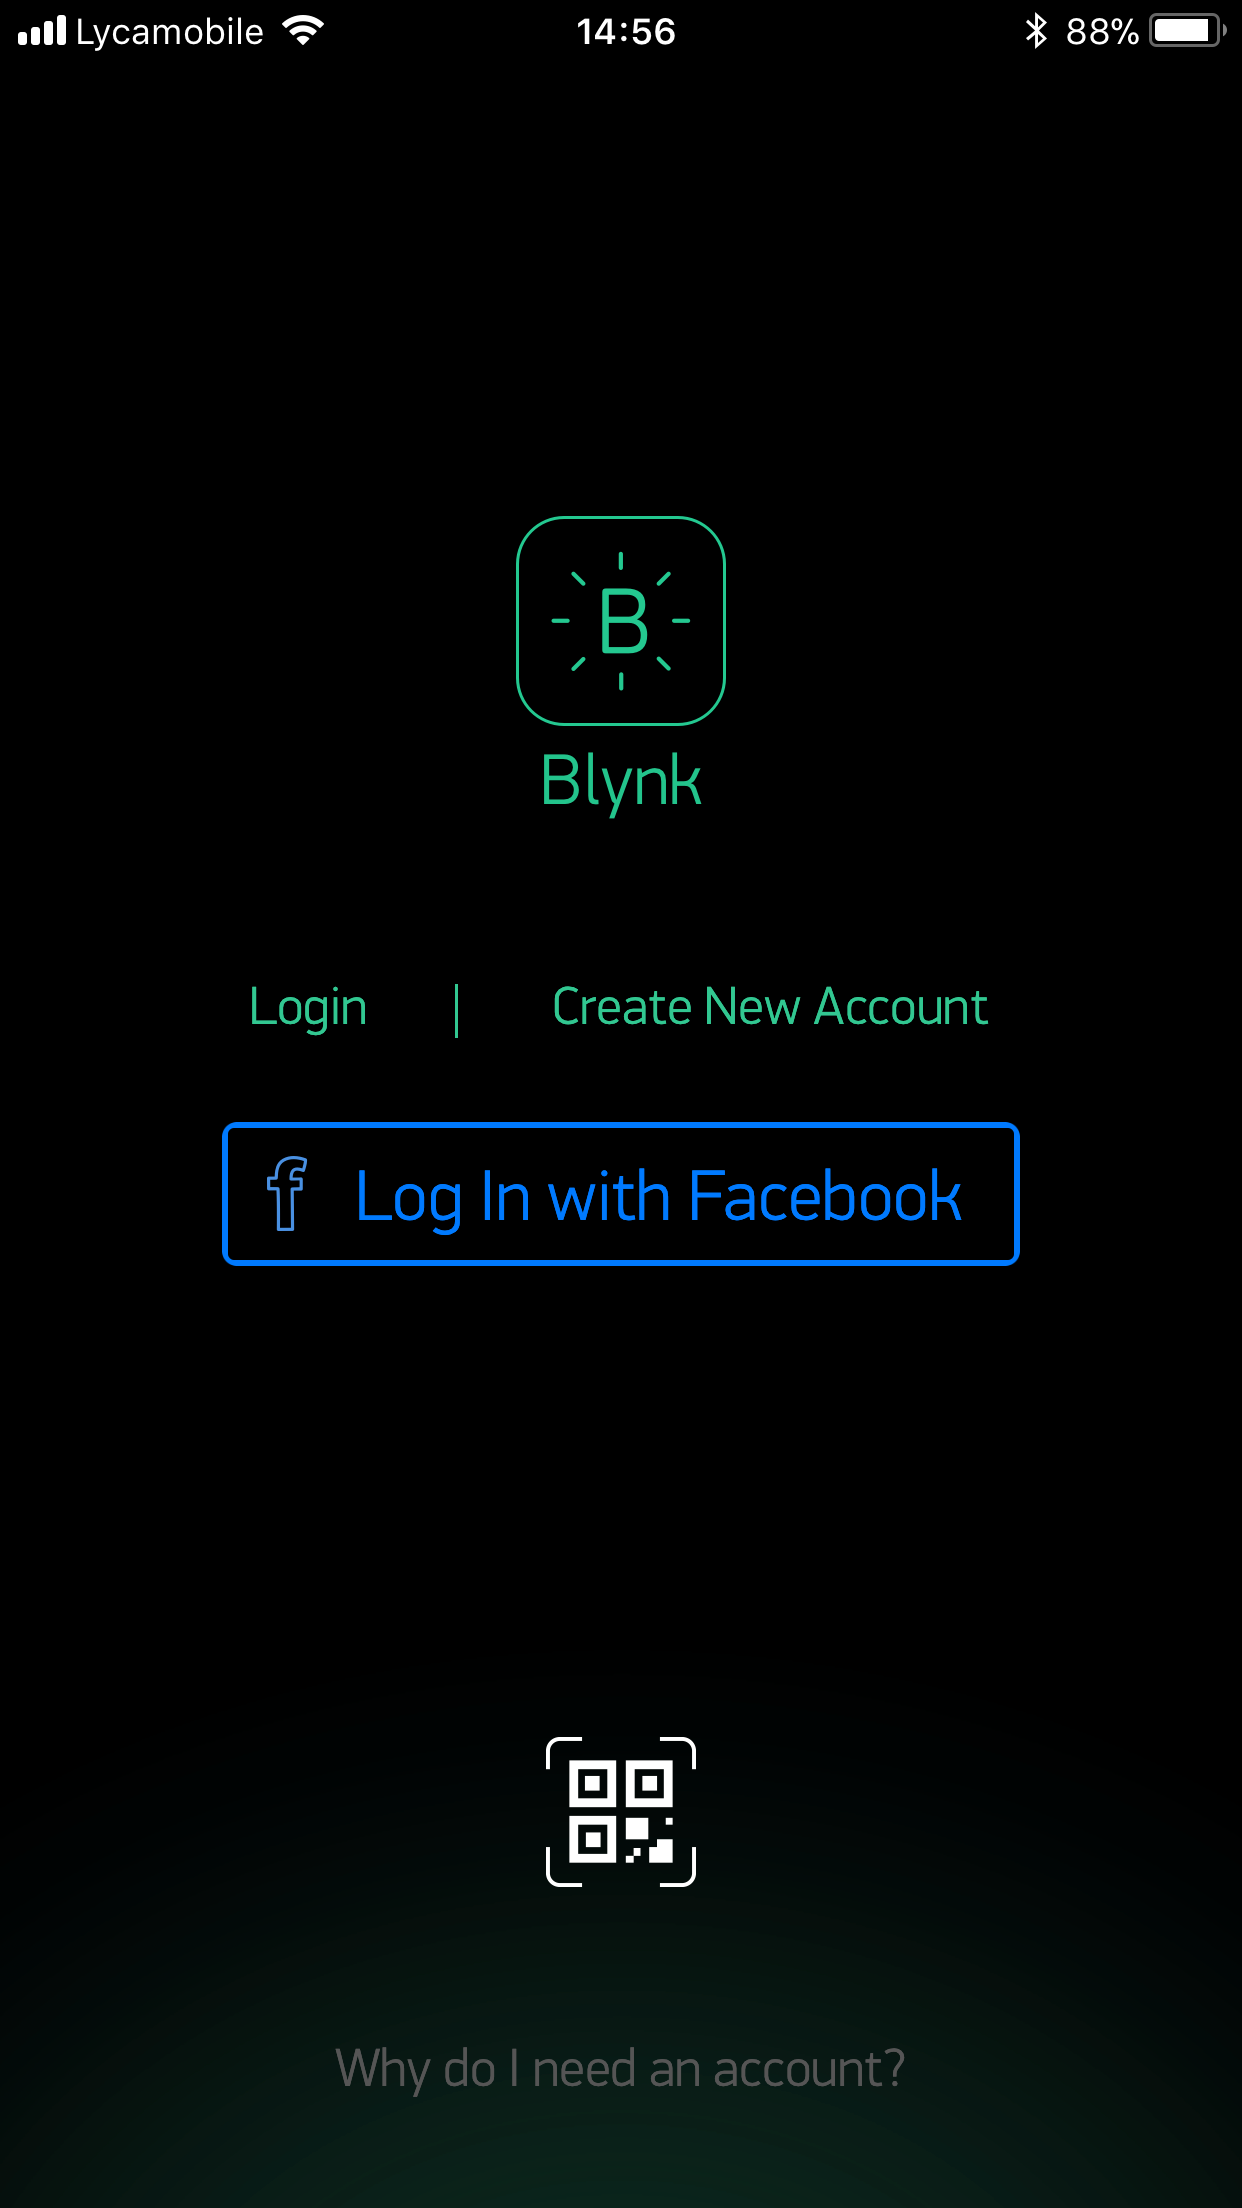
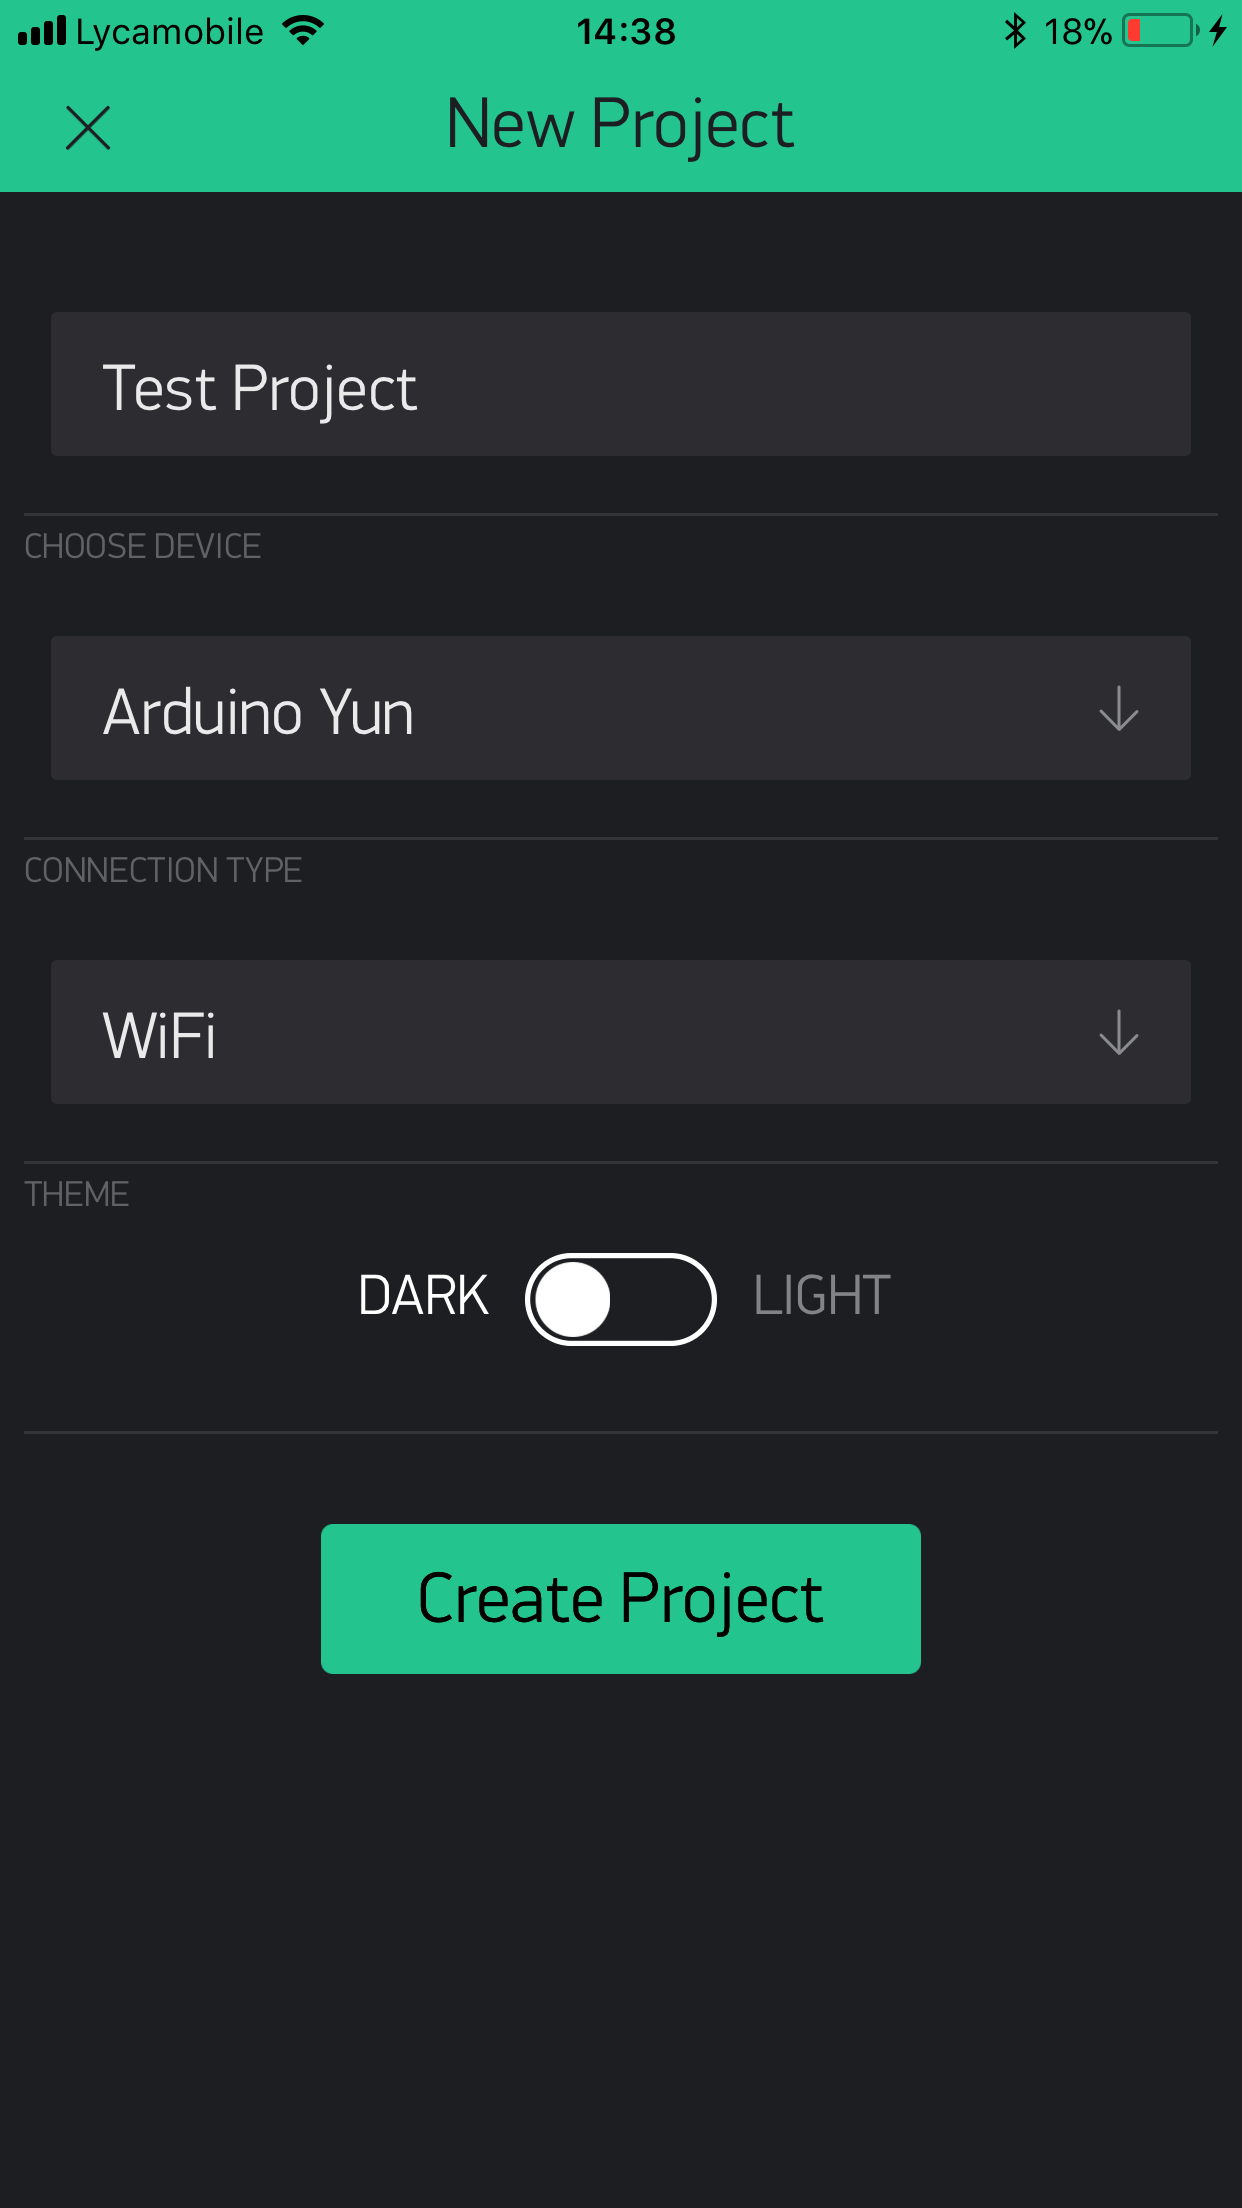
Step 4: Blynk Setup
A Blynk account is required to utilise this project, you will need to download the Blynk app from the App Store or Google Play to start off with, now follow the images below to setup Blynk.

Step 5: Acknowledging the Code
This project's code has 3 main sections:
- Read geolocation
- Plot Location
- LED Control
These sections will be explained below.
- Read Geolocation
BLYNK_WRITE(V0) // store the geolocation to variable
{
 latitude = param[0].asFloat();
 longitude = param[1].asFloat();
 // debugging? - Consider un-commenting the lines below and test manually
   //latitude = 67.357899;
   //longitude = -8.259199;
}
This section of code reads the geolocation from the Blynk Virtual Pin and stores the values to variables, the debugging section allows you to debug the device by entering a specific location, note that the values read are your phone's co-ordinates.
- Plot Location
if(latitude <= maxLat && latitude <= minLat && // check if the phone is inside perameters
    maxLng >= longitude && minLng >= longitude)
 {
   geolocation = 1;
 }
 else
 {
   geolocation = 0;
 }
This part of the code checks if the location of the phone is within the parameters set as home, note that a square is automatically formed around the inserted geolocation, and the Arduino checks if the phone is within the square.
- LED Control
if(geolocation == 1) // turn LED on if phone is in perameter
 {
   digitalWrite(pinLED, HIGH);
 }
 else
 {
   digitalWrite(pinLED, LOW);
 }
The simple last part of the code turns on the LED is the user is approaching or is in Home and turns it off if the user is away.
Setting Up the Variables
There are a few values to set in this project, to get started with enter your Blynk Auth Token received through email in the Blynk Setup step in the auth[] variable. Then take your Home's geolocation latitude and longitude and insert them in the myLocationLat and myLocationLng variables. The last step is to check if you are debugging, if you are not, considered setting proDebug to 0 to prevent Serial Prints, if you are debugging, you may want the Arduino to receive a fixed geolocation instead of your phone's geolocation, if you go to the BLYNK_WRITE loop there are further instructions there.
Libraries
- Bridge - copyright (c) Arduino LLC under the GNU Lesser General Public Licence, this library is in the public domain.
- Blynk - Blynk this library is released under The MIT License (MIT)
Final
The final step is to connect your Arduino Yun to the computer and upload the code, this project requires an Arduino Yun to work, with slight code modifications, it is possible to run this project on any microcontroller that has built in WiFi or you could attach a WiFi module to an Arduino device. Note that mobile data is required for the project to work on the move.
Background
This is a project that I wanted to implement for a long time, it has a basic idea behind it, when the user approaches the House, the lights in the house turns on, I have not connected this project to my house's lights but have used an LED instead of a that, if you wish to connect this project to your home's lights, you can add a relay and connect it to the same pin on the Arduino as the LED and also connect it to the wires connecting your lights to power, but first, test the project to make sure that the wiring is correct and the project works. Good Luck.

EXPANDED TECHNICAL DETAILS
Geo-Fenced Smart Lighting
This IoT automation project uses your smartphone's GPS location to automatically switch on home lights as you approach.
- Blynk Geofencing: The Blynk app on the user's phone monitors their location. When the user enters a virtual "Circle" around their house, the app sends a trigger to the Blynk Cloud.
- Hardware Integration: The Arduino (NodeMCU or ESP32) is constantly connected to the cloud. Upon receiving the trigger, it activates an AC Relay to turn on the porch or hallway lights.
Security & Efficiency
- Cloud Authentication: All communication is encrypted via a secure Auth Token, ensuring that only your specific phone can trigger your home lights. This eliminates the need for manual timers or leaving lights on all night.