Introduction: Prototyping Without the Hardware
One of the biggest barriers for students and hobbyists getting started with Arduino is the initial cost of components. What if you make a mistake and "fry" a sensor? What if you're traveling and don't have your breadboard with you?
Virtual Arduino Experiment is a guide to using TinkerCAD Circuits, a powerful, free online simulator by Autodesk. It allows you to build, wire, and program virtual Arduino projects in your web browser. This environment is perfect for learning the basics of electronics and C++ programming in a safe, risk-free environment.
Getting Started with TinkerCAD
Follow these steps to set up your virtual laboratory:
- Sign Up: Navigate to TinkerCAD.com. Click "Join Now" and create an account using your email or Google account.
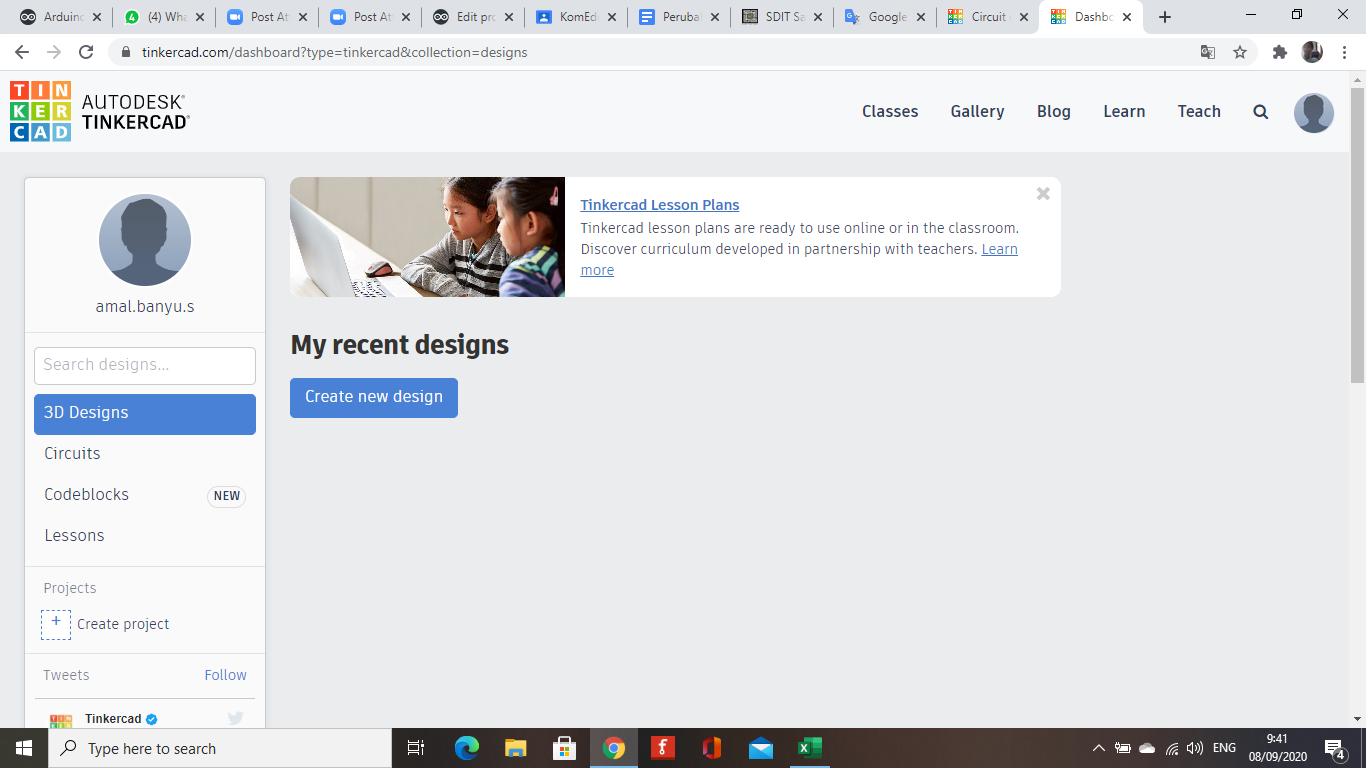
- Dashboard: Once logged in, look at the left-hand sidebar and select Circuits. Click the "Create new Circuit" button.
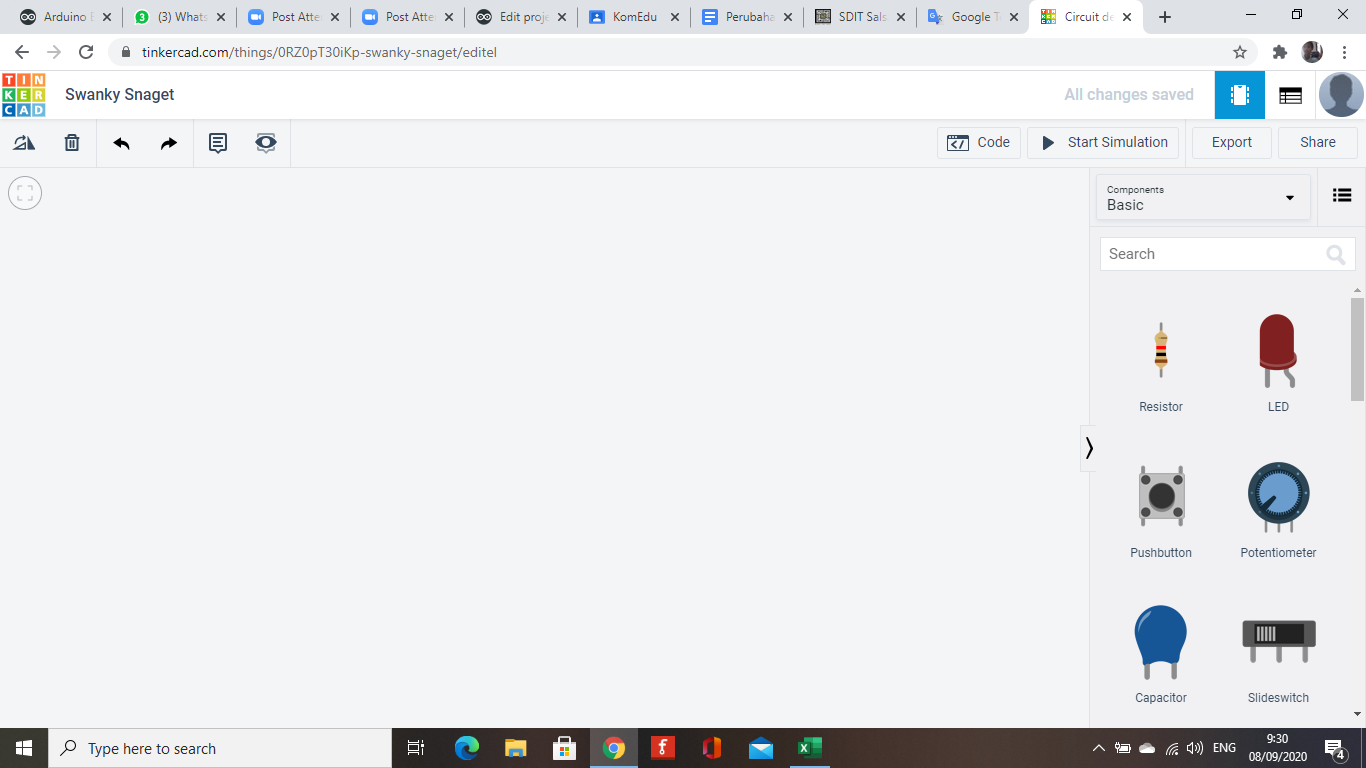
- The Assembly Area: You will be presented with a white workspace and a component library on the right.
Your First Virtual Build: The "Blink" Circuit
To understand how the simulation works, let's build the "hello world" of electronics:
- Placement: Find the Arduino Uno R3, an LED, and a Resistor in the component list. Drag them into the central workspace.
- Wiring: Click on the "feet" of the components to draw wires. Connect the Arduino's GND pin to the LED's Cathode (shorter leg) through the resistor. Connect Digital Pin 13 to the LED's Anode (bent leg).
- Resistance: Click the resistor and set its value to 220 ohms. This is a critical step in simulation, just as it is in real life, to prevent the virtual LED from being "damaged."
Writing & Running Code
TinkerCAD offers two ways to program your virtual Arduino: Blocks (like Scratch) or Text (standard C++).
- Click the Code button at the top right.
- Select the dropdown menu currently saying "Blocks" and switch it to Text.
- You will see a standard Arduino sketch. Click Start Simulation.
You should see the virtual LED on the breadboard begin to flash! You can modify the delay(1000) values in the code and see the changes reflected immediately in the simulation.
Why Use Simulation?
- Safety: You can't start a fire or break expensive sensors in a simulator.
- Debugging: TinkerCAD includes a built-in Serial Monitor and even a simplified oscilloscope to visualize PWM signals.
- Accessibility: All you need is a computer and an internet connection.
- Collaboration: You can share your circuit as a link, making it easy to get help from teachers or the community.
Conclusion
TinkerCAD is an invaluable tool for the modern maker. By mastering the virtual experiment first, you’ll gain the confidence and knowledge needed to transition to physical hardware without the fear of making costly mistakes.