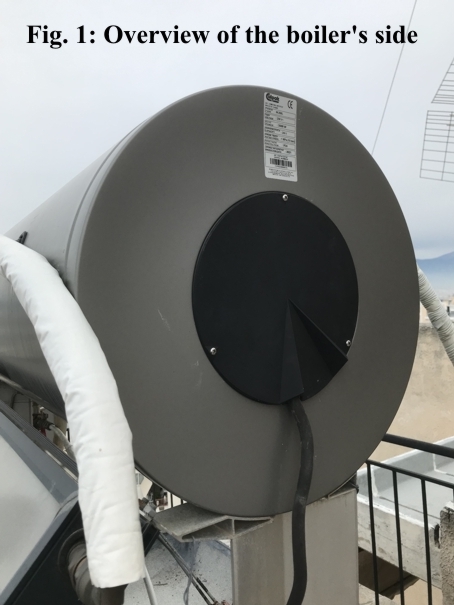
In cases where a thermal solar collector water boiler is far away (e.g., on the roof of a block of flats) and one wants to know the water temperature inside it, especially on cloudy days, a nice way to do it is to use a temperature sensor like the LM35 (included in the Arduino basic kit) or a more robust DS18B20.
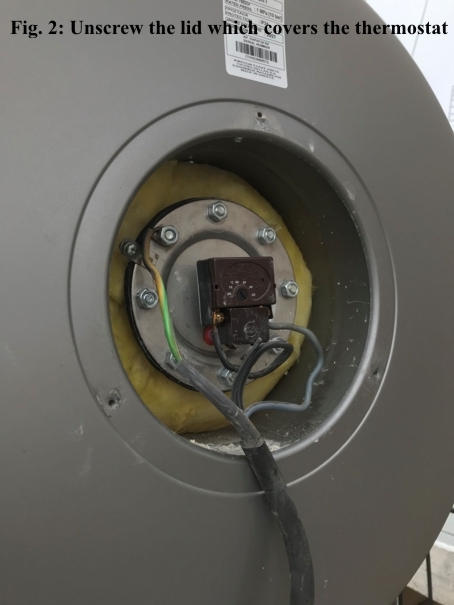
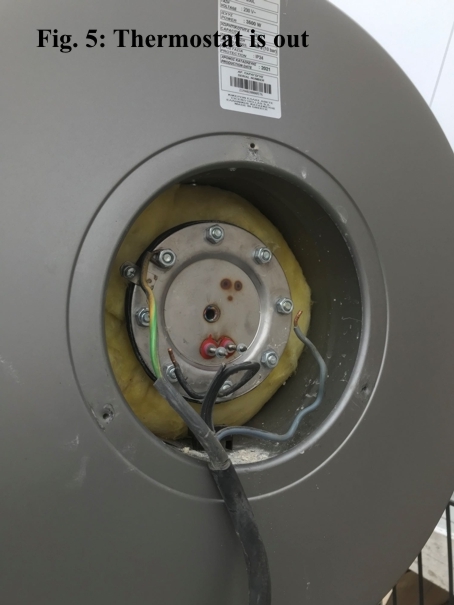
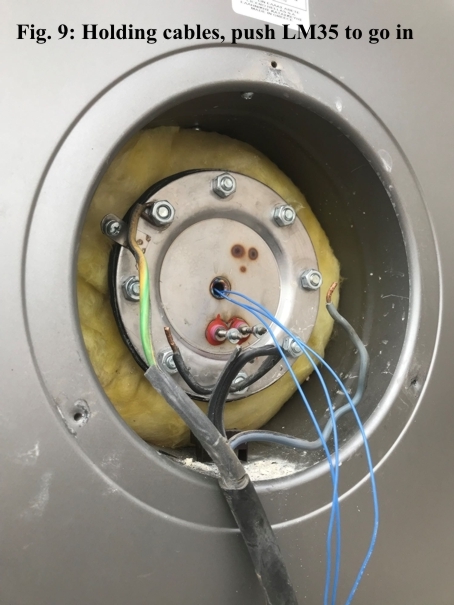
First thing to do is to find a housing pot inside the boiler for the sensor. All boilers have a casing to house their thermostat. This casing is usually a bit longer than the length of their thermostat's probe, so it seems there is a small room inside the casing where the sensor can be fitted.
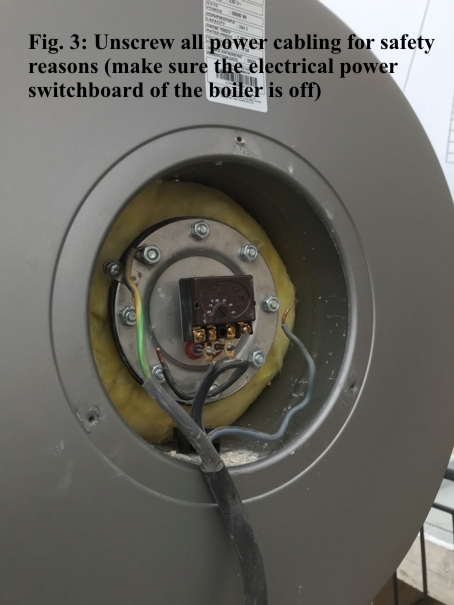
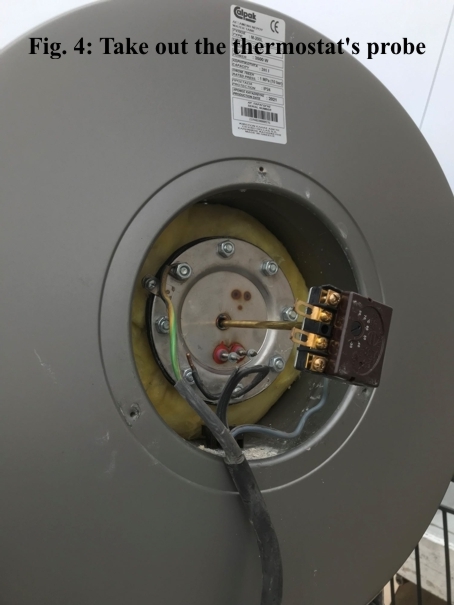
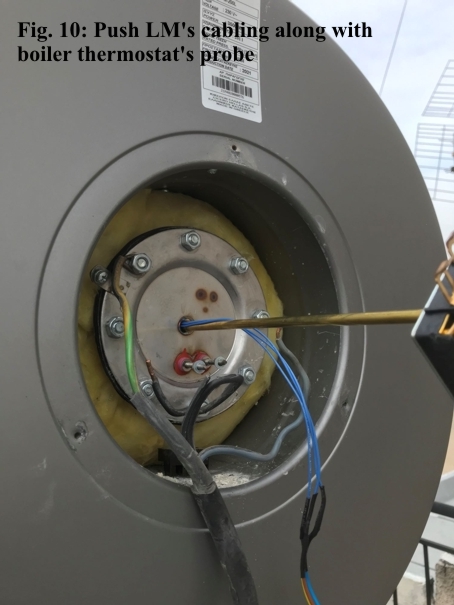
To find out if this is true, take out the thermostat's probe as the pictures show below and measure both the probe’s and its housing length.
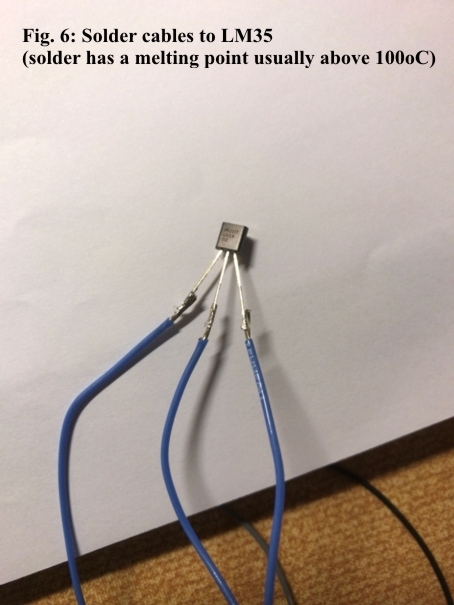
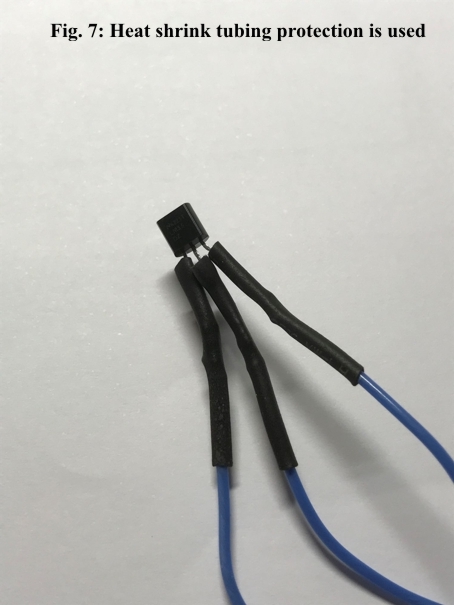
Second is to prepare the sensor connections. Water temperature can reach 100°C and so does the housing in which we insert the sensor. A silicon cable is used to withstand this temperature.
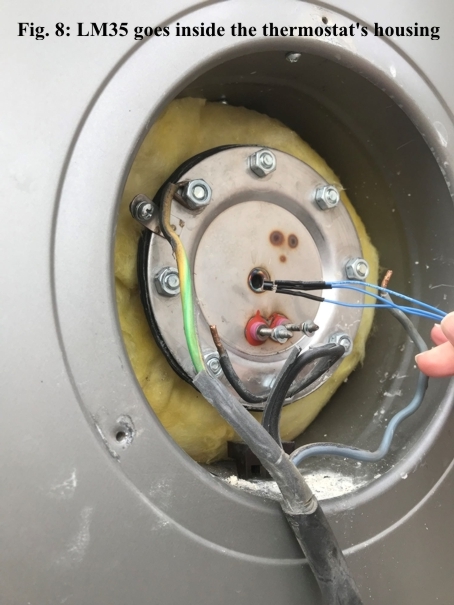
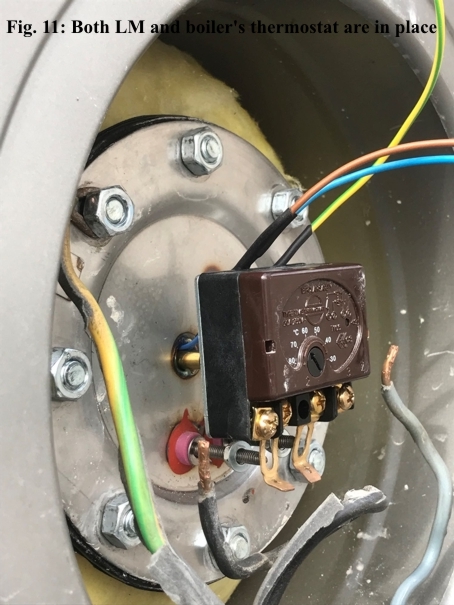
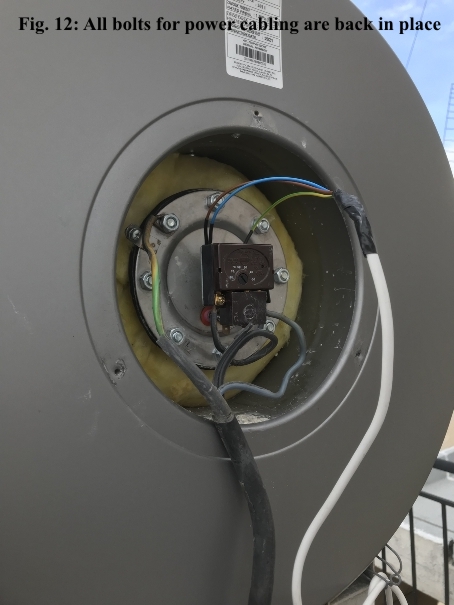
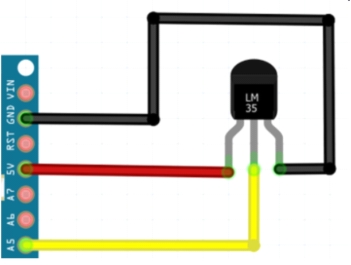
Third is to connect the sensor to Arduino as the photo shows below.
EXPANDED TECHNICAL DETAILS
For a more industrial-grade solution, consider using a DS18B20 1-Wire waterproof temperature probe. Unlike analog sensors like the LM35, which can suffer from signal degradation over long cable runs, the DS18B20 computes the Celsius reading internally and transmits it digitally.
The 1-Wire Digital Protocol (DS18B20)
- The Stainless Steel Shell: The tiny silicon sensor is potted completely in thermal conductive epoxy inside a waterproof steel tube, allowing it to sit safely submerged in a high-pressure boiler tank.
- The 1-Wire Bus: The sensor communicates using a digital 1-Wire bus. A mandatory 4.7k Ohm pull-up resistor is required between the Data line and 5V for the bus to function correctly.
- Multi-Sensor Capability: You can wire multiple DS18B20 sensors to the same Arduino digital pin, as each has a unique 64-bit address. The code can query each sensor individually.
The Hysteresis Safety Cut-Off Water heaters can be dangerous if they overheat. The Arduino can act as a redundant safety cutoff, commanding a Contactor Relay to control the main heating elements.
- The Code Logic:
sensors.requestTemperatures();
float boilerTemp = sensors.getTempCByIndex(0);

if (boilerTemp >= 85.0) { // Danger threshold!
  digitalWrite(SafetyRelay, HIGH); // Cut the 240V power
  TriggerAlarmSiren();
}
Thermal Measurement Hardware
- Arduino Uno or Nano.
- Waterproof DS18B20 Temperature Probe (with 4.7k Ohm Pull-Up resistor).
- Standard 16x2 LCD Display or an I2C OLED for immediate visual feedback.
- (Optional: Use an ESP8266 to broadcast boiler temperatures to an MQTT/Node-RED dashboard.)
Last step: programming the Arduino using the appropriate code for your chosen sensor (LM35 or DS18B20).