Well, first of all, we will open Arduino Create, after that, here are the results:
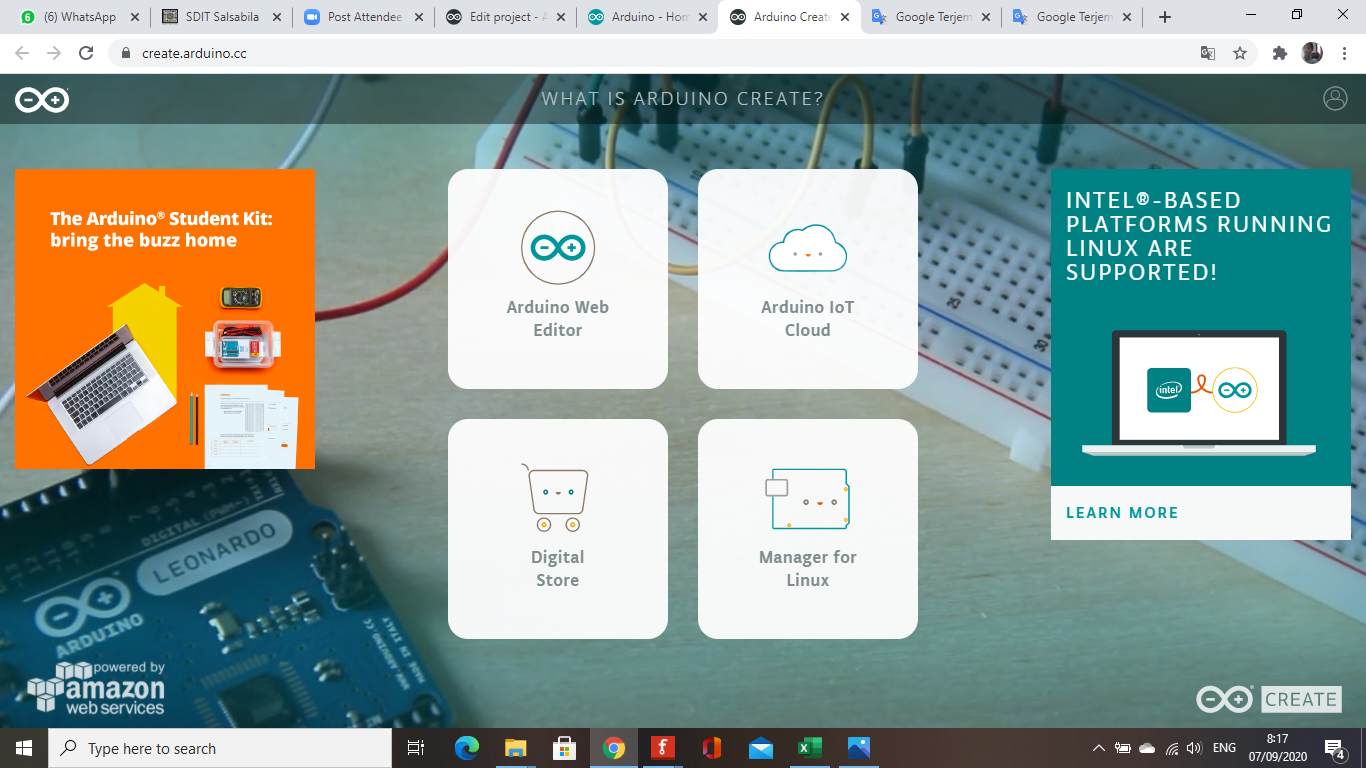
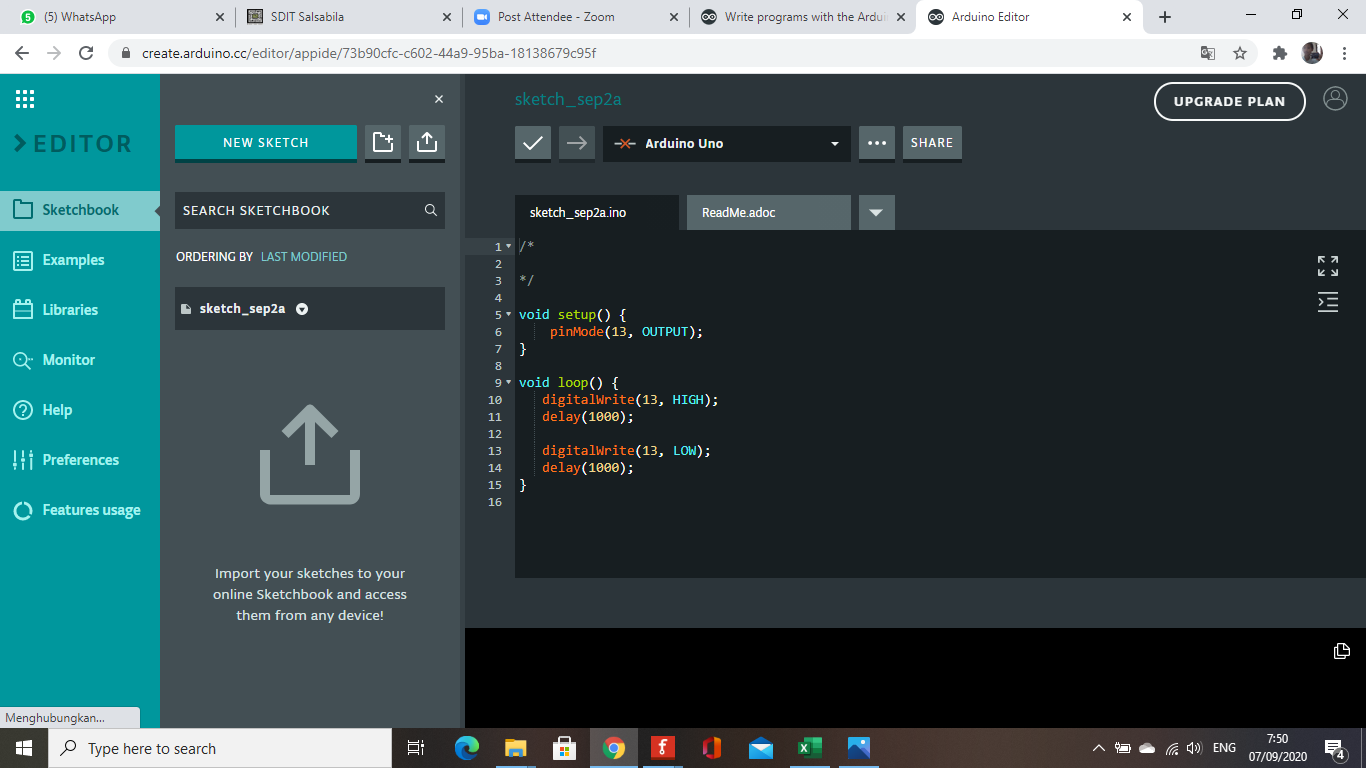
After that, select the arduino web editor. So, the display will change to something like this:
Then, select the board in the drop down box at the top, it will look like this:
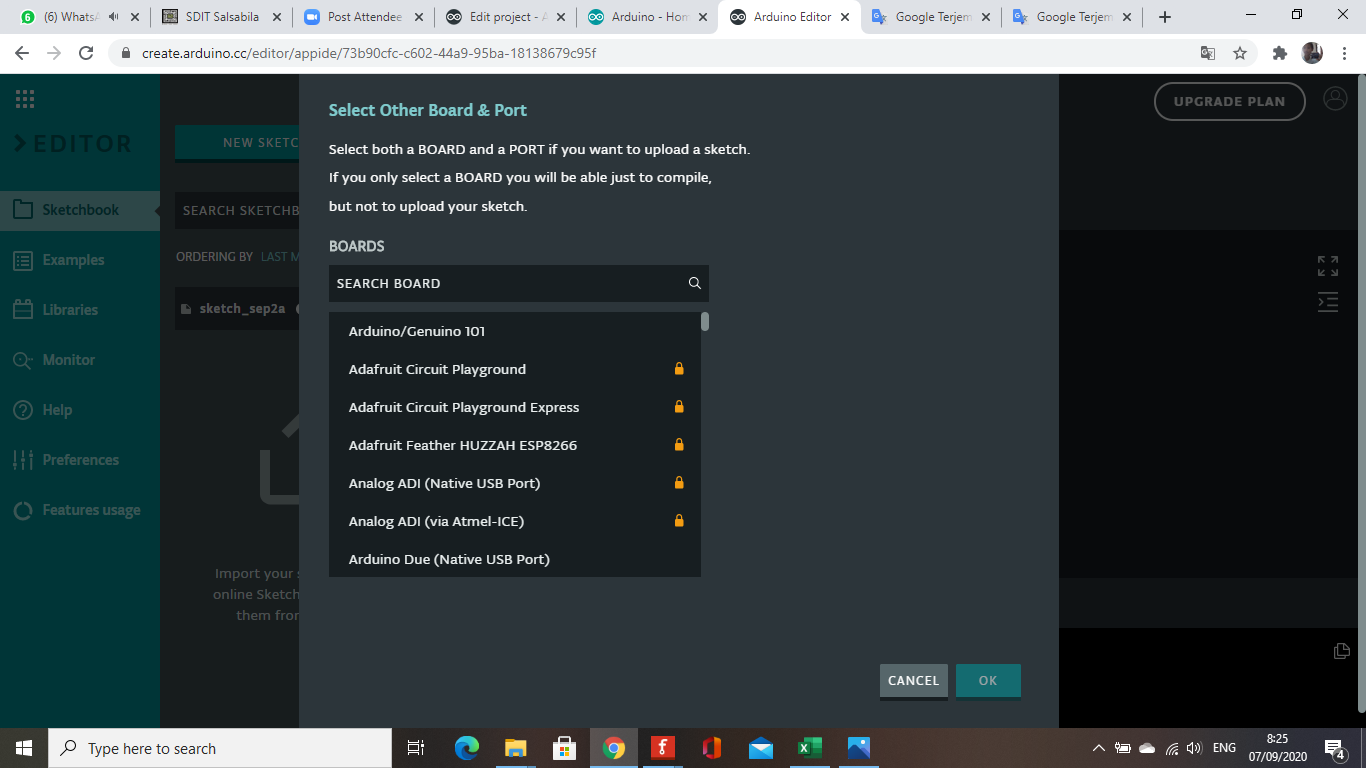
Once selected, click OK and the board selection screen will disappear:

Write the program in the empty box below the toolbox. After that, verivy / compile the program. To upload a program that has been created, first, download and install the Arduino Create Agent. After that, connect the Arduino with the laptop. When Arduino is connected to a laptop, the writing haas been connected will appear in the Arduino Web Editor editor. Then, the program is ready to be uploaded.
Well, easy right?
EXPANDED TECHNICAL DETAILS
Cloud-Native Development Orchestration
This technical guide explores the workflow of the Arduino Web Editor, showing how to leverage cloud-based compilation and storage for your hardware projects.
- Create Agent Handshake: Details the installation of the Arduino Create Agent, which provides the bridge between your web browser and the physical USB port on your PC for uploading code.
- Infinite Library Persistence: Highlights the benefit of the Web Editor: your custom libraries and sketches are backed up to the cloud automatically, allowing you to code on any machine without re-installing the IDE.
Efficiency
- Cloud-Stream Collaborative coding: Allows multiple users to work on the same sketch remotely, with the Web Editor handling versioning and secure cloud storage.