Why I made this theme?
There were no Pitch Black themes available for Arduino IDE at the time when I was looking for one. All the existing dark themes were grey-coloured themes with dull text colours. So, I made this 100% true black theme for Arduino IDE with vibrant colours, which is easy on the eyes and looks great on an OLED screen.
Below are the steps required to setup the theme for your Arduino IDE.
1. Download the theme files
Head over to: https://github.com/JairajJangle/Arduino-Black-Theme and click on the Code button and click on Download ZIP.
Open and Extract/Expand the downloaded .zip file on your system.
The below steps vary from OS to OS, so, in this tutorial, I will go over the steps for each of these OSes: macOS, Linux and Windows.
Click on the below links to go to the respective section:
For macOS
2. Backup
Just in case something goes wrong, by doing a backup you can restore the original state of Arduino IDE or revert the changes.
1. Go to the Applications in Finder > Right-click on Arduino.app > Click Show Package Contents > A folder named Contents will be revealed.
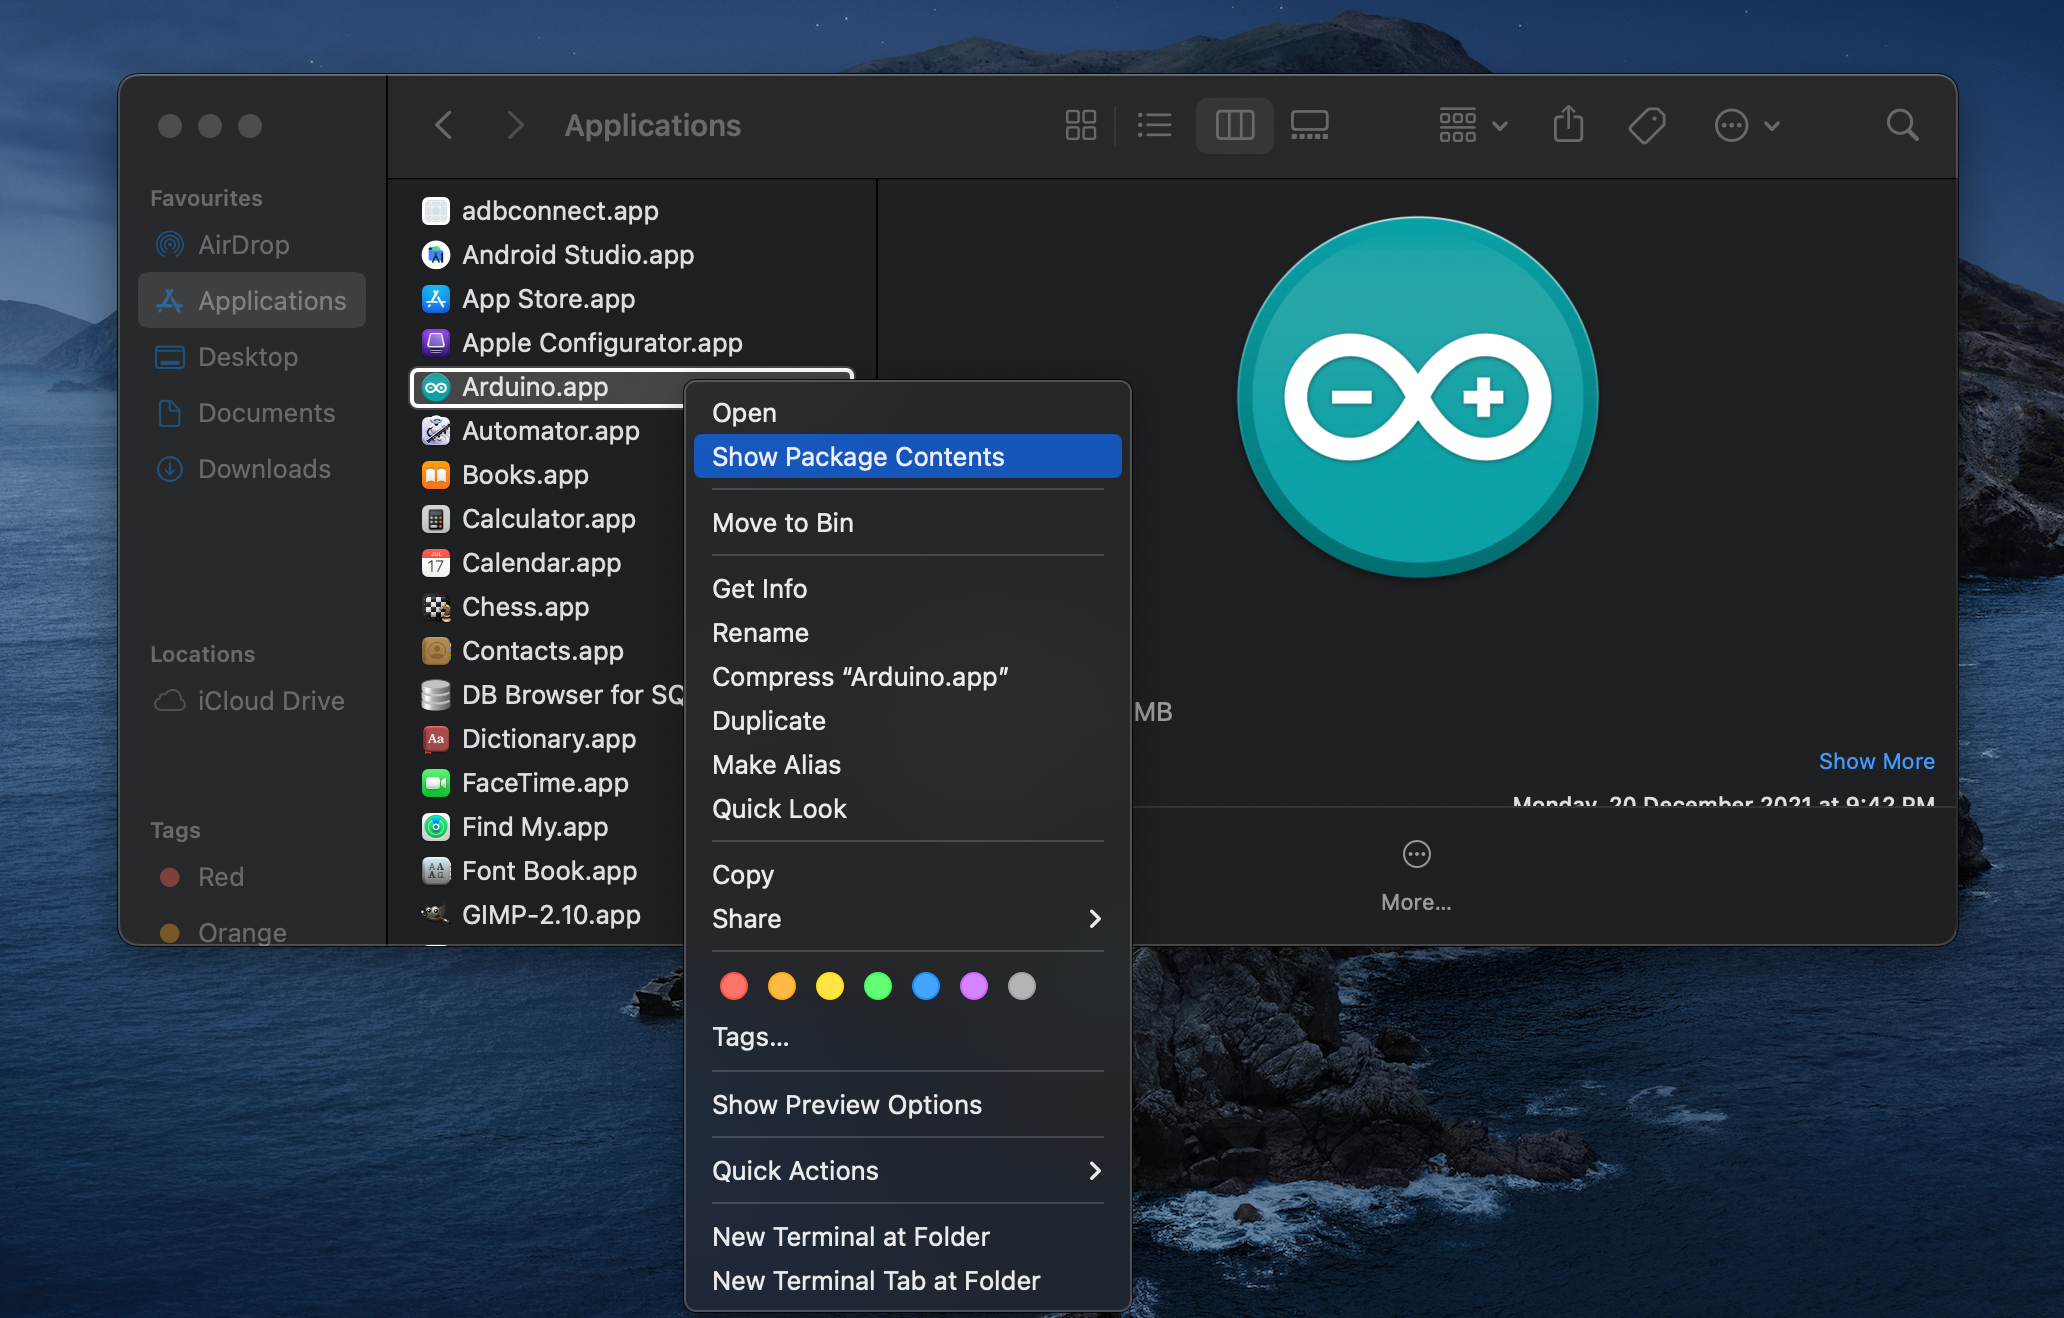
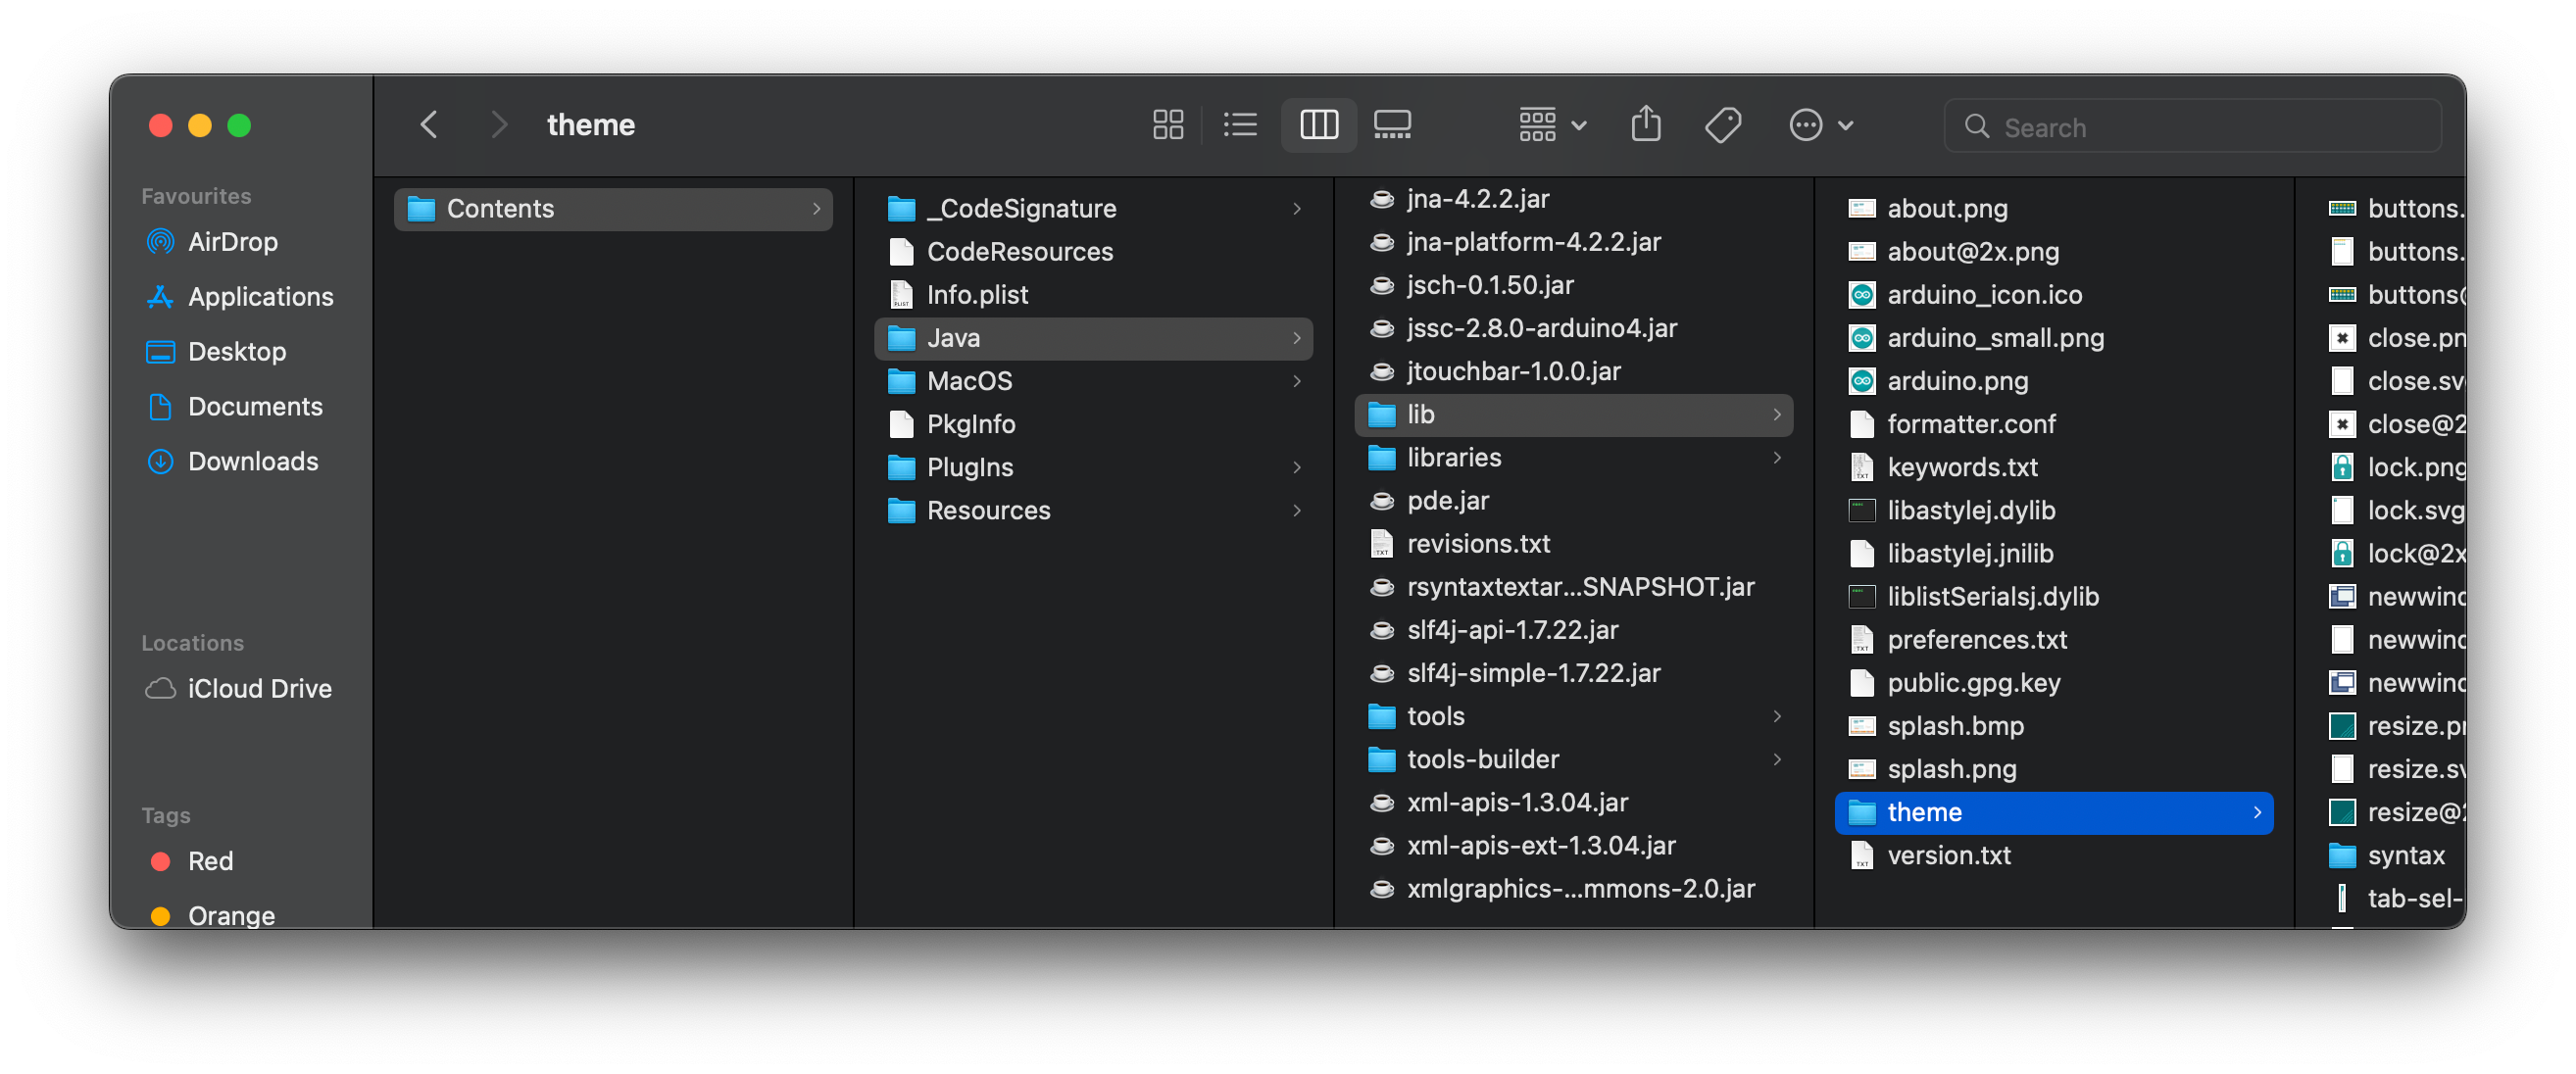
2. Go to Contents/Java/lib and copy the theme folder somewhere else (eg in Documents) to take a backup.
3. Replace the theme folder
Before performing this step, make sure to close the Arduino application if it is running.
To install the new theme, you need to replace the theme folder in Arduino.app/Contents with the theme folder extracted from the downloaded .zip file.
1. Copy the extracted theme folder from the downloaded .zip file.
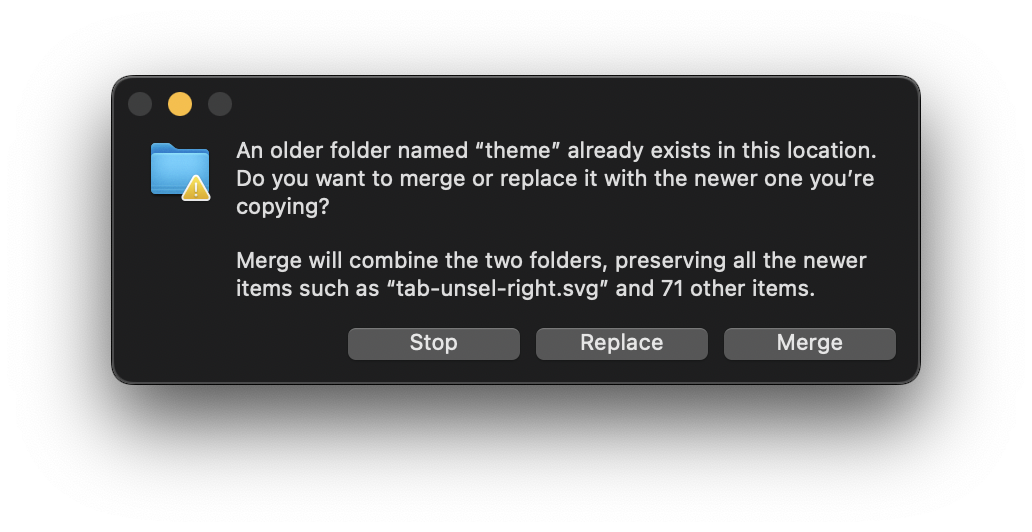
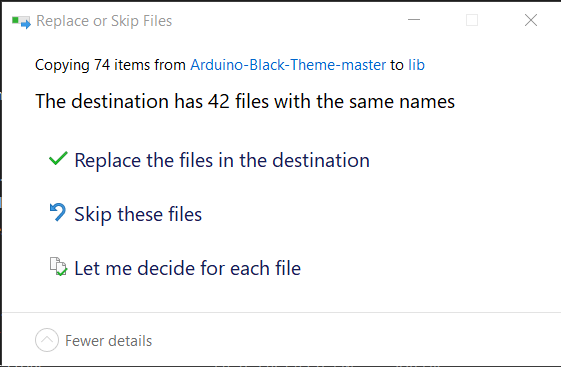
2. Copy it inside this location: Contents/Java/lib/, below prompt will be displayed, select Replace.
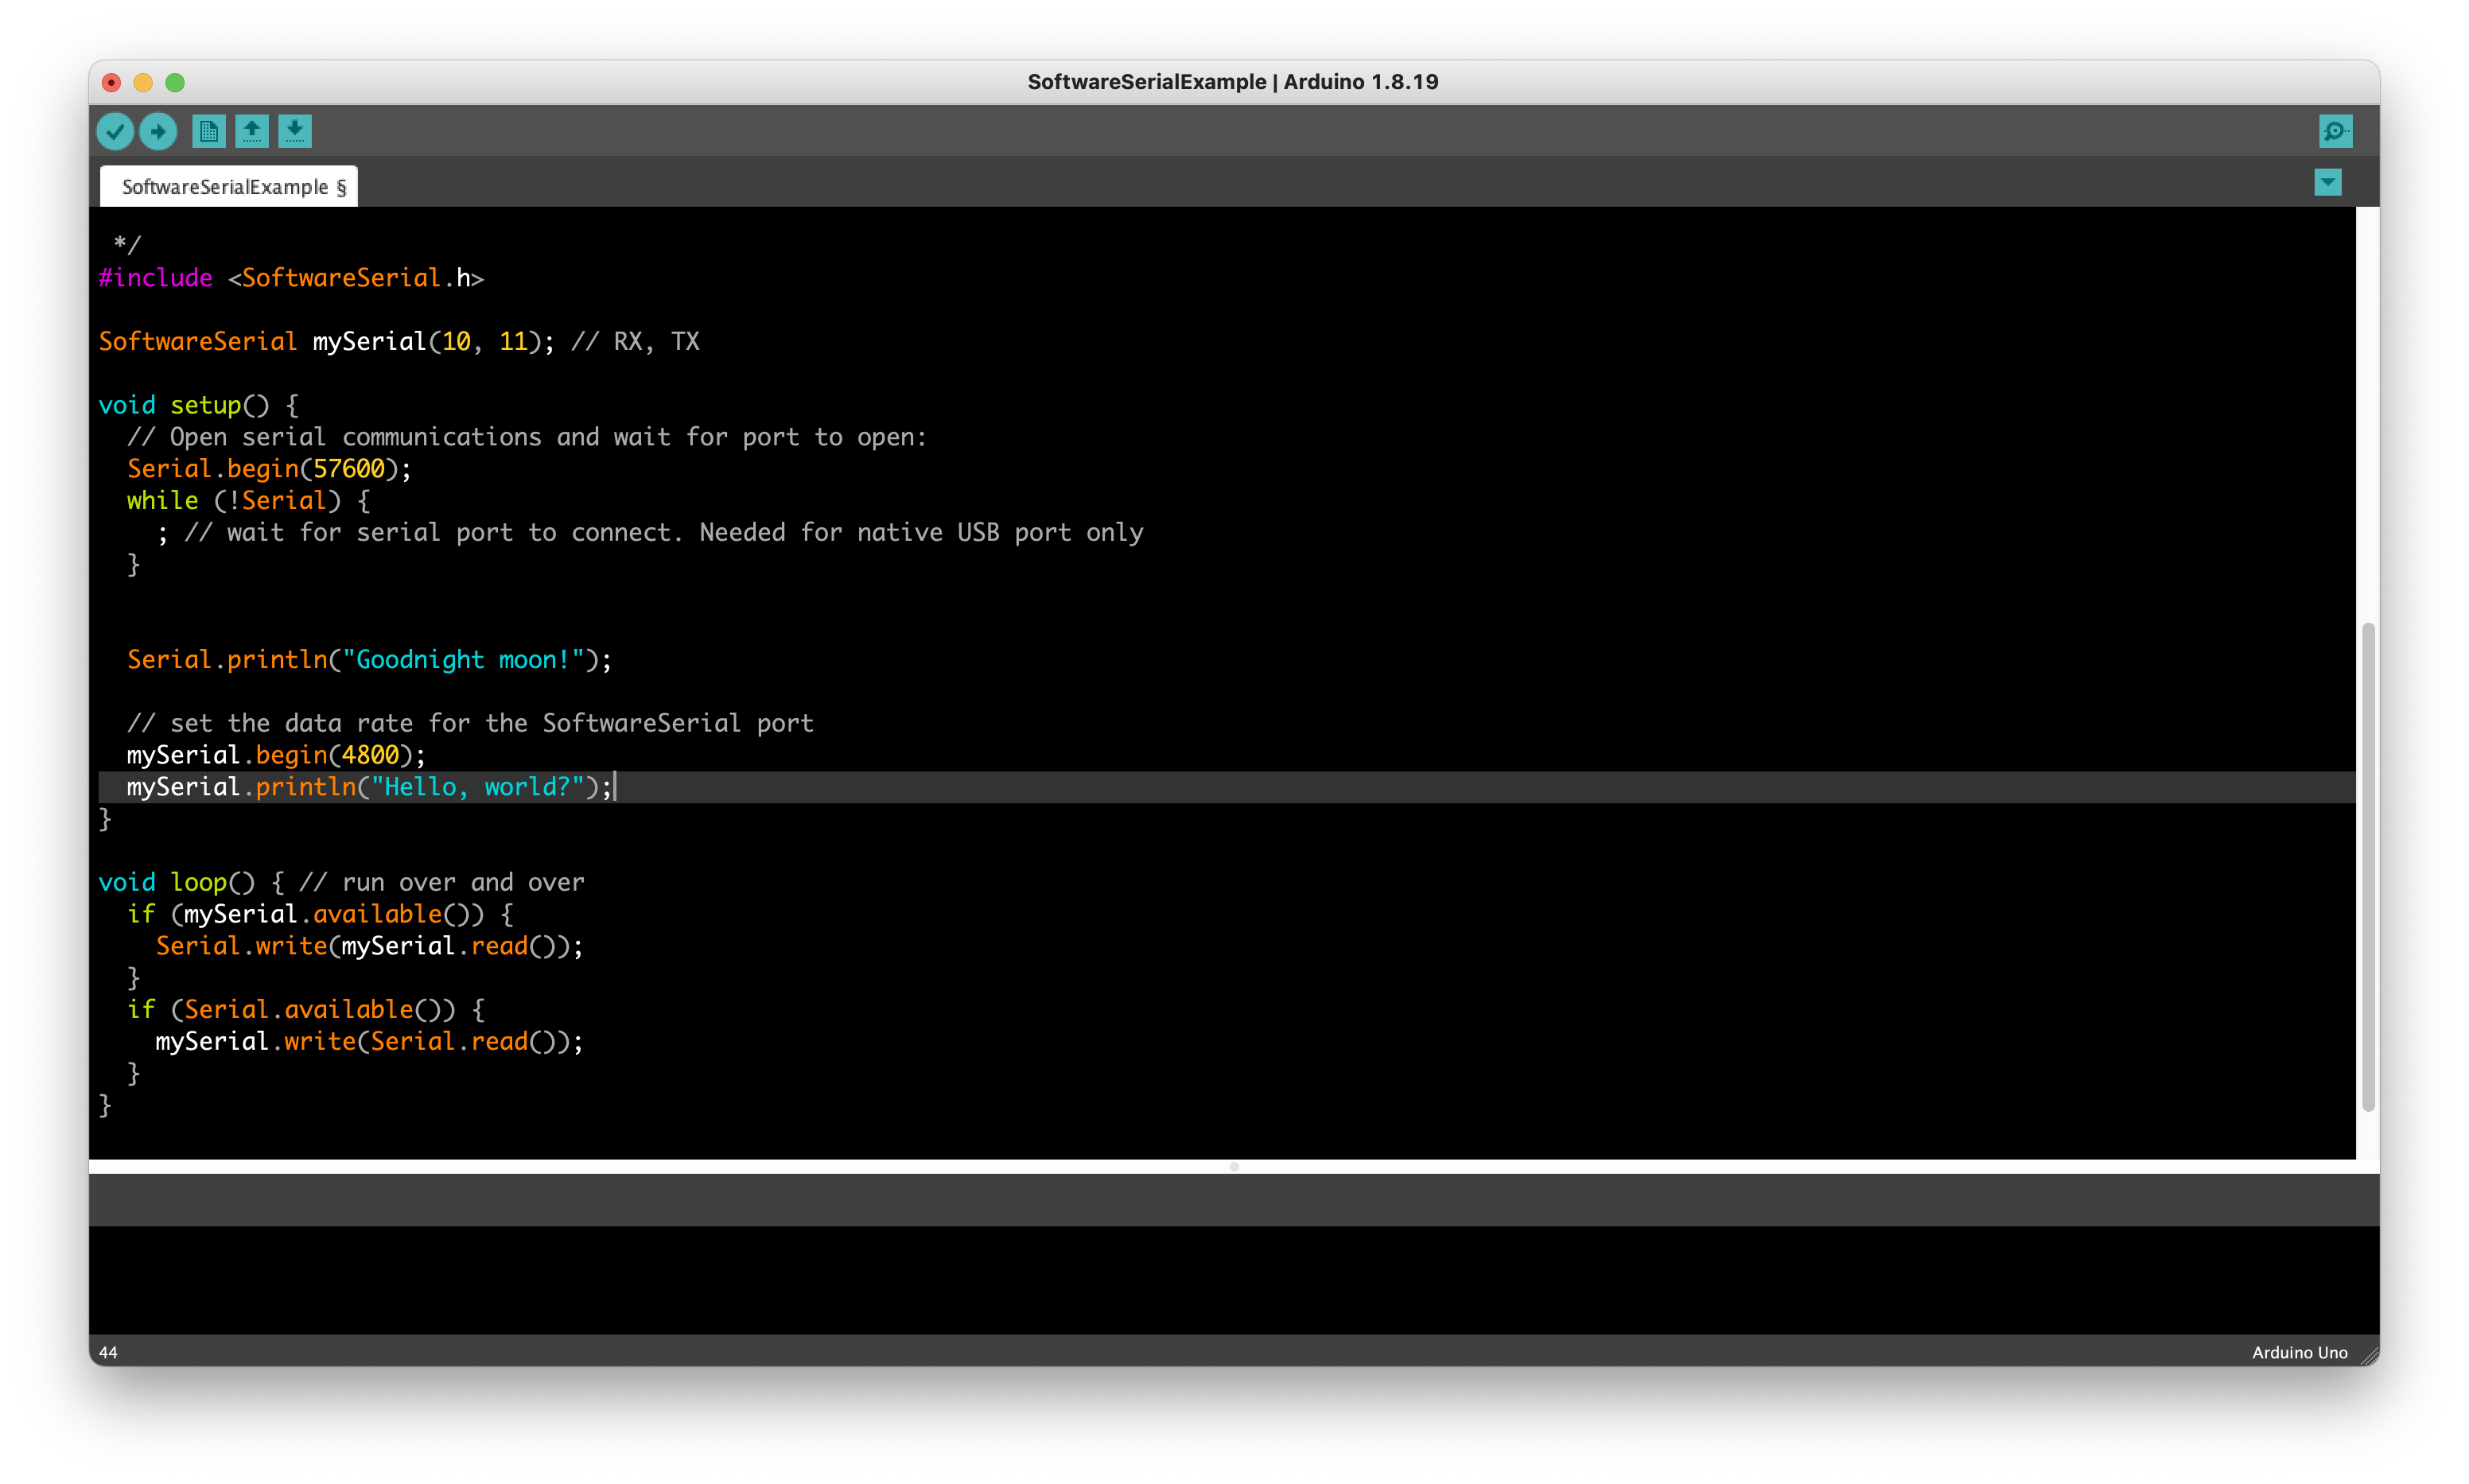
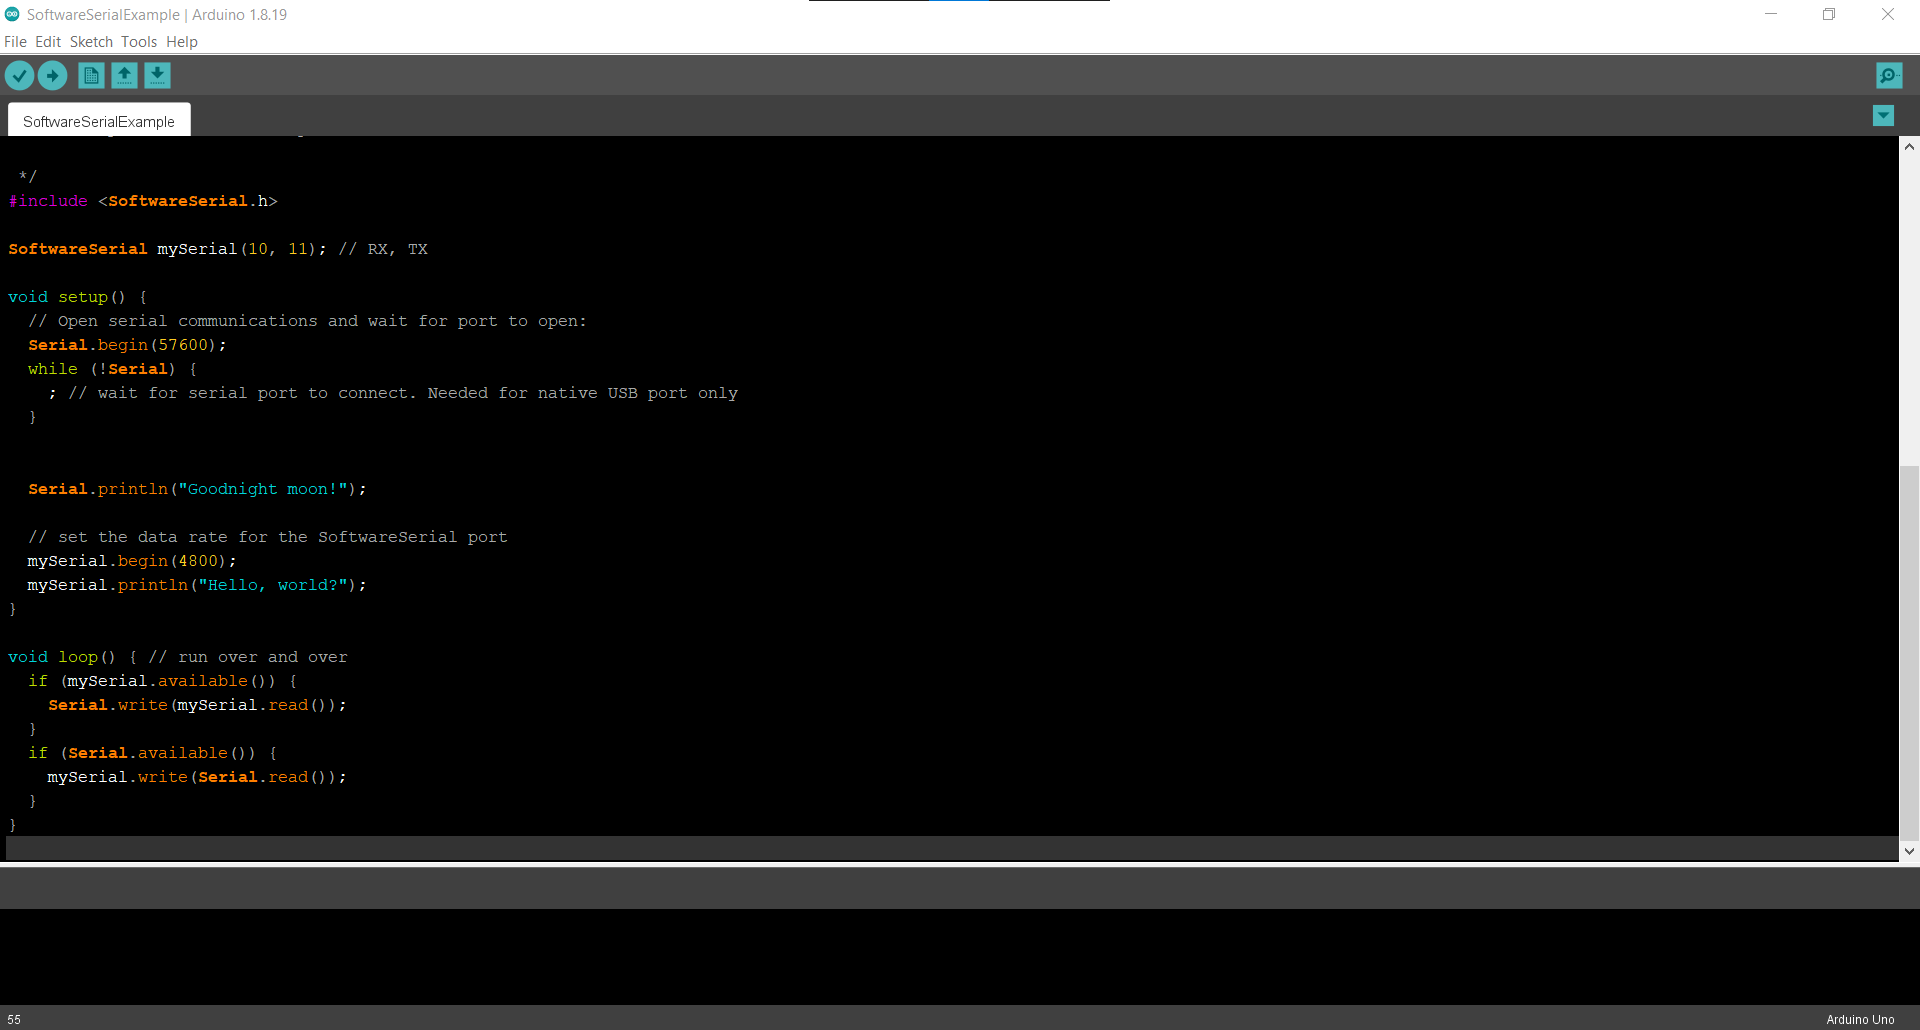
Ta-da!
Open the Arduino IDE
For Linux
2. Backup
Just in case something goes wrong, by doing a backup you can restore the original state of Arduino IDE or revert the changes.
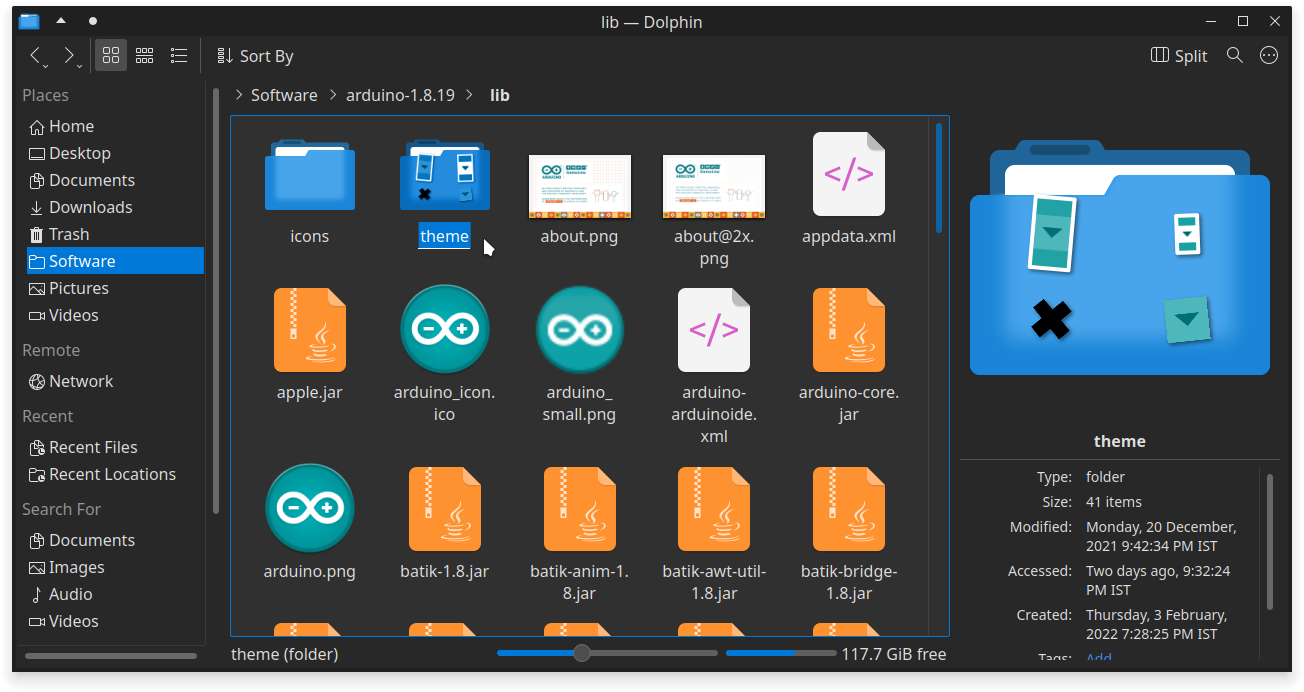
1. Go the your Arduino installation directory(eg: /home/user_name/arduino-.../). In it, go to the lib folder and take a backup of the theme folder.
3. Replace the theme folder
Before performing this step, make sure to close the Arduino application if it is running.
To install the new theme, you need to replace the theme folder in <your_arduino_installation_path>/lib/ with the theme folder extracted from the downloaded .zip file.
1. Copy the extracted theme folder from the downloaded .zip file.
2. Copy it inside this location: <your_arduino_installation_path>/lib/,replace/overwriteifaskedfor.
Ta-da!
Open the Arduino IDE

For Windows
2. Backup
Just in case something goes wrong, by doing a backup you can restore the original state of Arduino IDE or revert the changes.
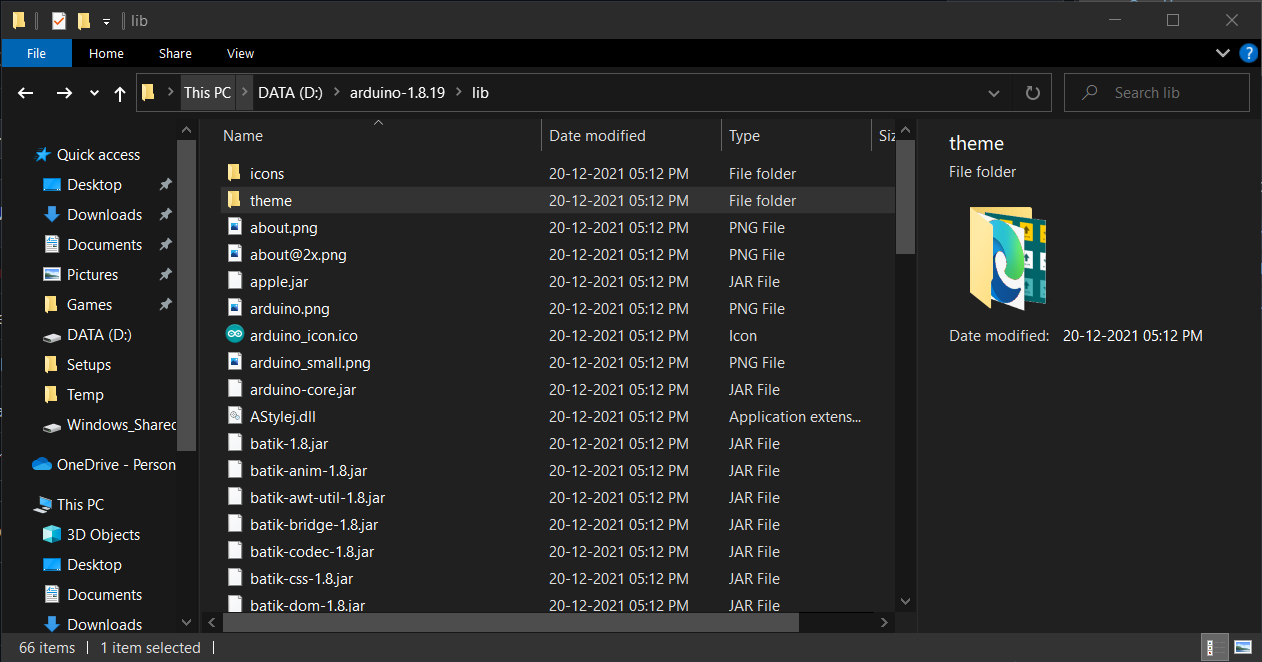
1. Go to your Arduino installation directory(eg: Default installation directory for Windows: C:\\Program Files (x86)\\Arduino). In it, go to the lib folder and take a backup of the theme folder.
3. Replace the theme folder
Before performing this step, make sure to close the Arduino application if it is running.
To install the new theme, you will need to replace the theme folder in <your_arduino_installation_path>\\lib\ with the theme folder extracted from the downloaded .zip file.
1. Copy the extracted theme folder from the downloaded .zip file.
2. Copy it inside this location: <your_arduino_installation_path>\\lib\\, click Replace.
Ta-da!
Open the Arduino IDE
4. You can even create your own theme
Before playing with the theme files do not forget to take a backup of the theme folder.
Edit the theme.txt file, .xml files inside the syntax folder and the image files in the folder extracted from the downloaded .zip file.
Unfortunately, for me, not all the changes done in the theme.txt file got reflected in the Arduino IDE, so if you can't get a style to be applied, try changing other files.
Thanks to https://github.com/jeffThompson/DarkArduinoTheme for the inspiration.
And lastly, if you like the theme...
Feel free to suggest any improvements to the theme in the comments below.
🛠️ เจาะลึกเบื้องหลังการทำงาน (Deep Dive / Technical Analysis)
Coding for hours on a stark white background causes severe eye strain. While the new Arduino IDE v2.0 has built-in dark modes, thousands of developers still rely on the bulletproof v1.8.x. The Arduino Black Theme project teaches you how to manually hack the Java configuration files to reskin the entire interface.
Modifying the theme.txt File
The Arduino UI is not compiled into stone; it reads its colors from a simple text file every time it launches.
- Locate the Folder: You navigate to your installation folder:
C:\Program Files (x86)\Arduino\lib\theme. - The Backup: You must always copy the original
theme.txtfile and save it somewhere safe before modifying it! - The Edit: You open the
.txtfile and begin changing Hex color codes.editor.bgcolor = #1A1A1A(Changes the main coding window to dark grey).editor.fgcolor = #FFFFFF(Changes the default text to pure white).keyword1.fgcolor = #FF8800(Changes the color of functions likedigitalWriteto bright orange).
Updating Output Console and Icons
The text is only half the battle.
- You can also change the black console at the bottom to a deep navy blue:
console.color = #000044. - The Buttons: In the same
lib/themefolder, you will find SVGs and PNGs of the "Compile" and "Upload" buttons. You can open these in Photoshop, invert their colors, and save them. When you reboot the IDE, you have a completely bespoke, 100% custom developer environment.
What You Need
- A PC/Mac/Linux machine with Arduino IDE v1.8.x installed.
- A Text Editor (like Notepad++ or VS Code).
- Basic understanding of Hex Color Codes (e.g., #FF0000).