Hello There!
Humans just love to control stuff, don't they? Well I bet you do too! So being quite the Arduino enthusiast myself; Today I will guide you through a project that I have made which I am you will surely enjoy making too! Without further ado, let's dive in!
This will be a Bluetooth controlled car so for this project we will be using the HC-05 Bluetooth module to receive the controlling commands from any smartphone with the Google Play Store.
We will also need an Android app which will be sending the controlling commands to the Bluetooth module(HC-05). I will provide further details in a while.
Building The Chassis
Since the car is a 4WD vehicle we will be using four wheels which easily connect to four BO motors. The chassis that I have used is made of plywood and is of dimensions(12x14), but you can use whatever dimensions you please. I have painted it jet black in order to remove the dry color of the plywood but again this is your car and you can do anything you wish to it! you could paint designs or decals to it and it's all your creativity.
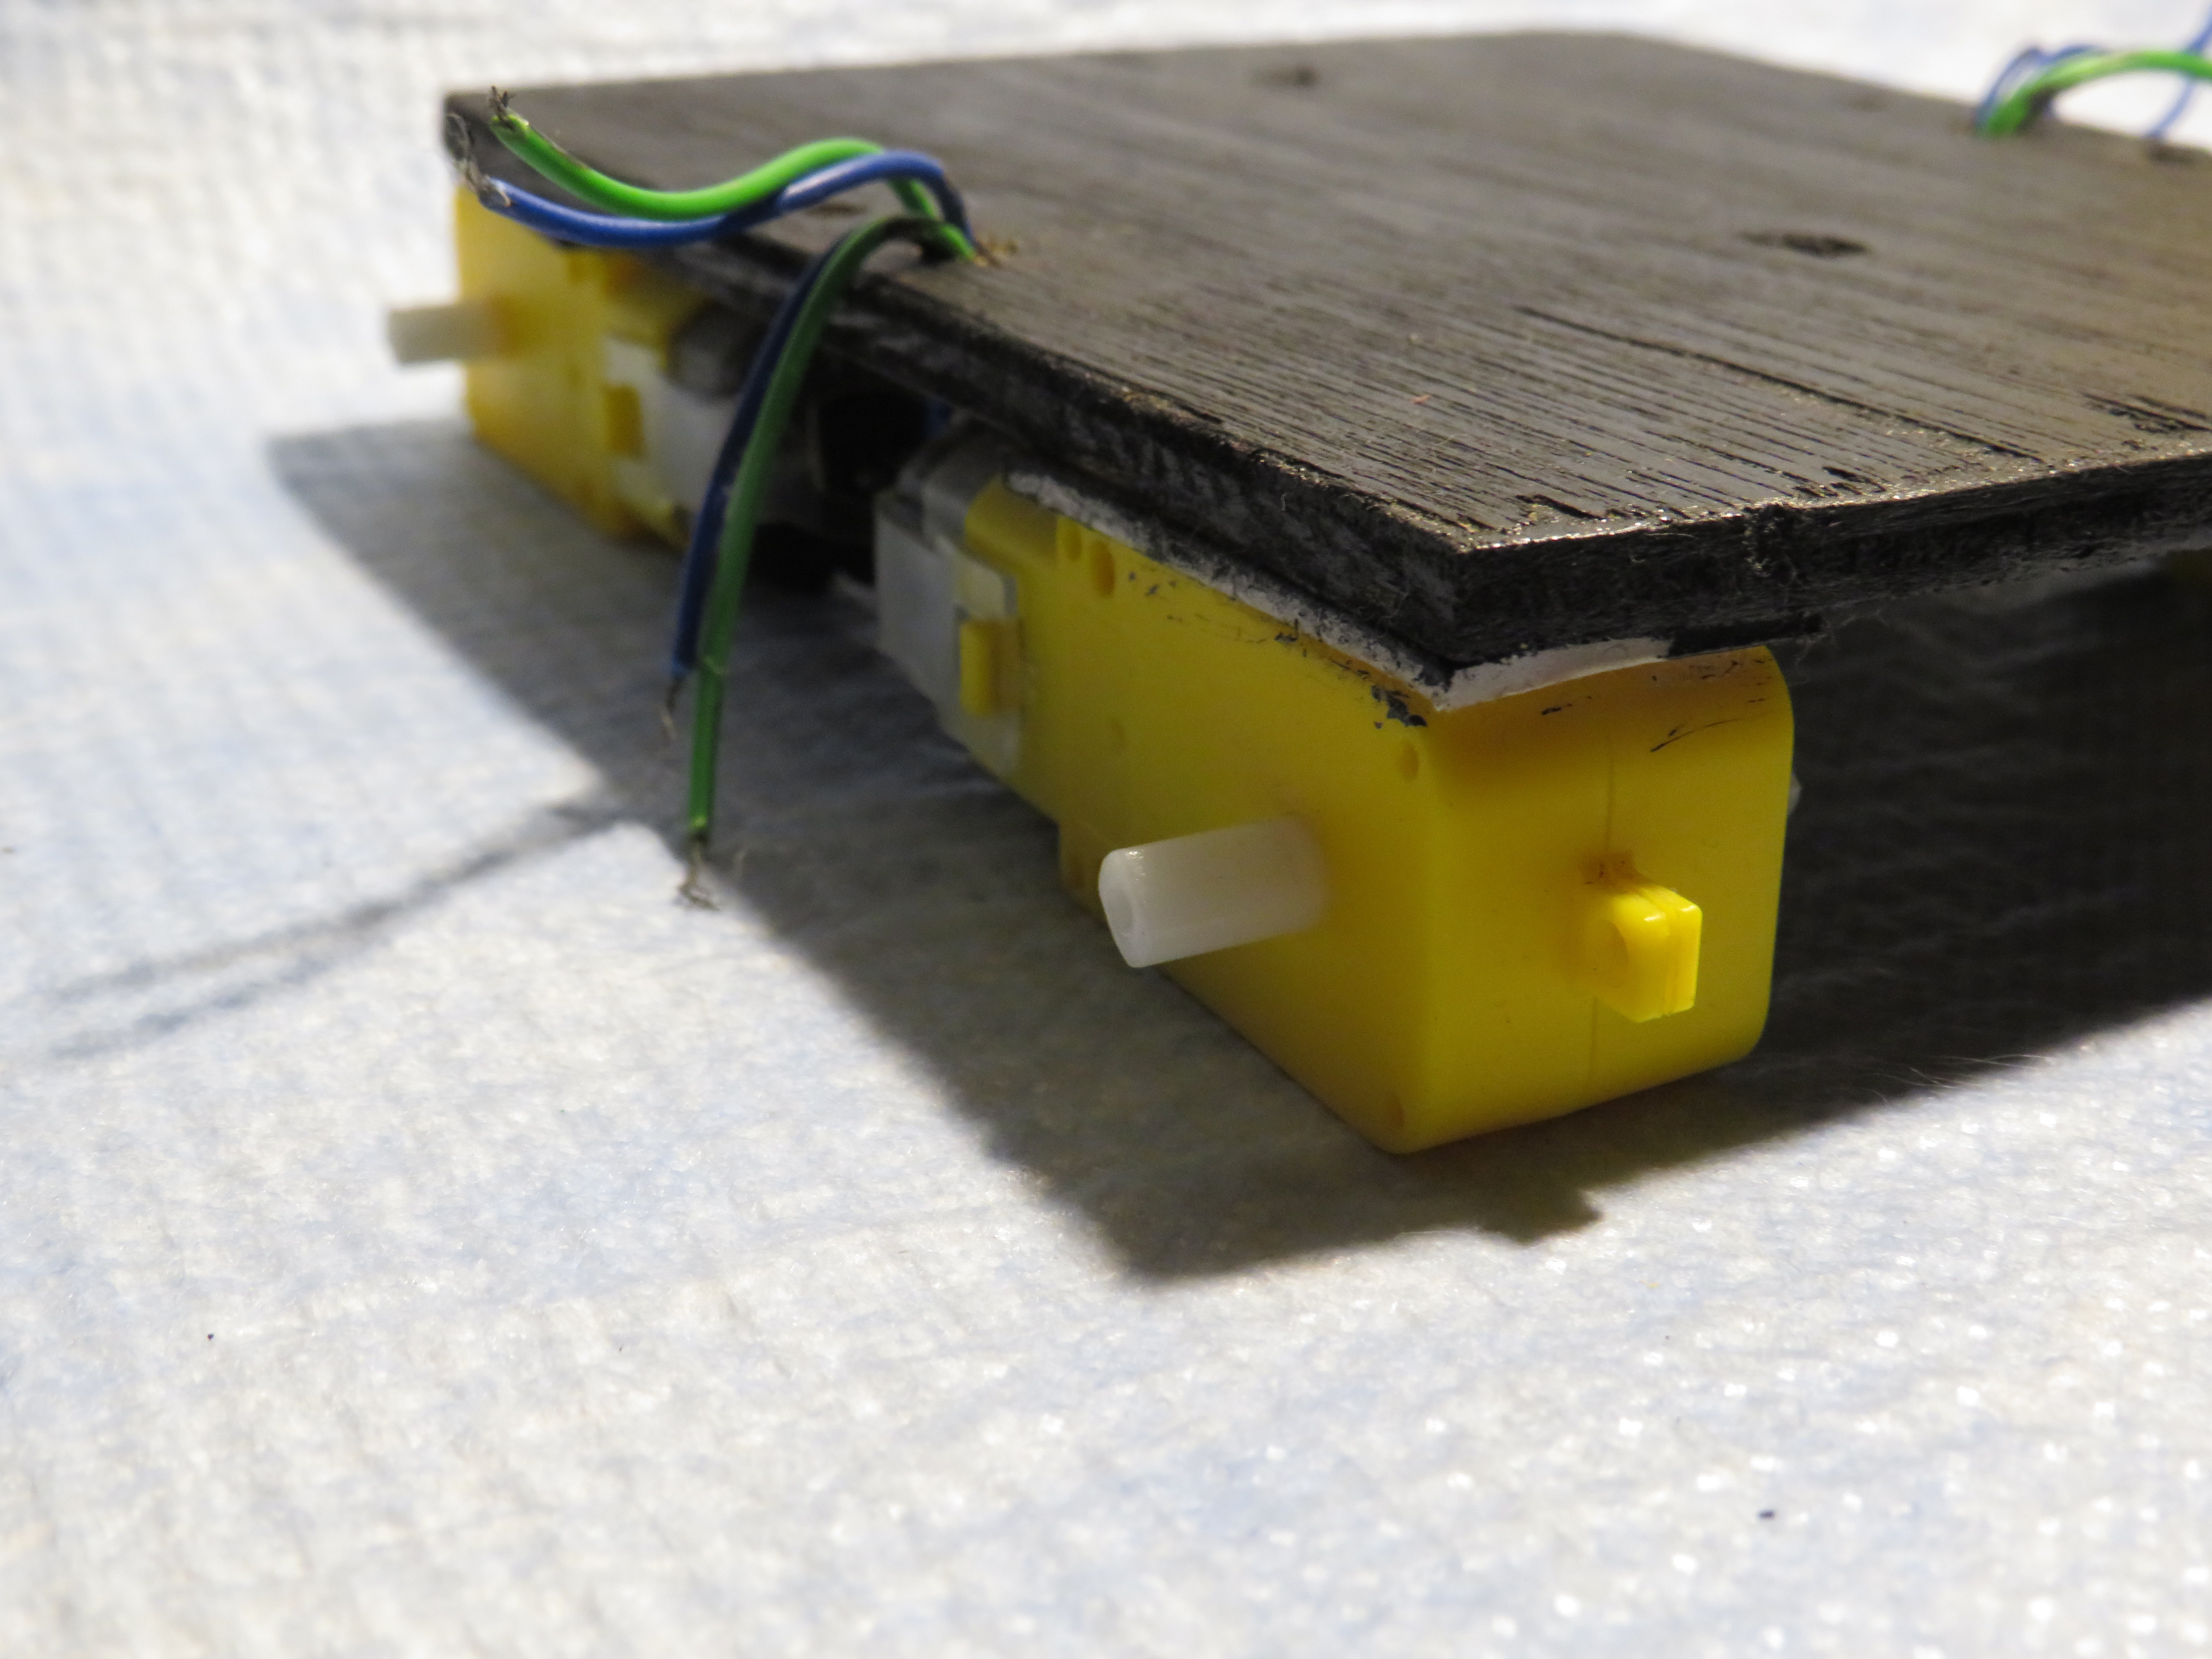
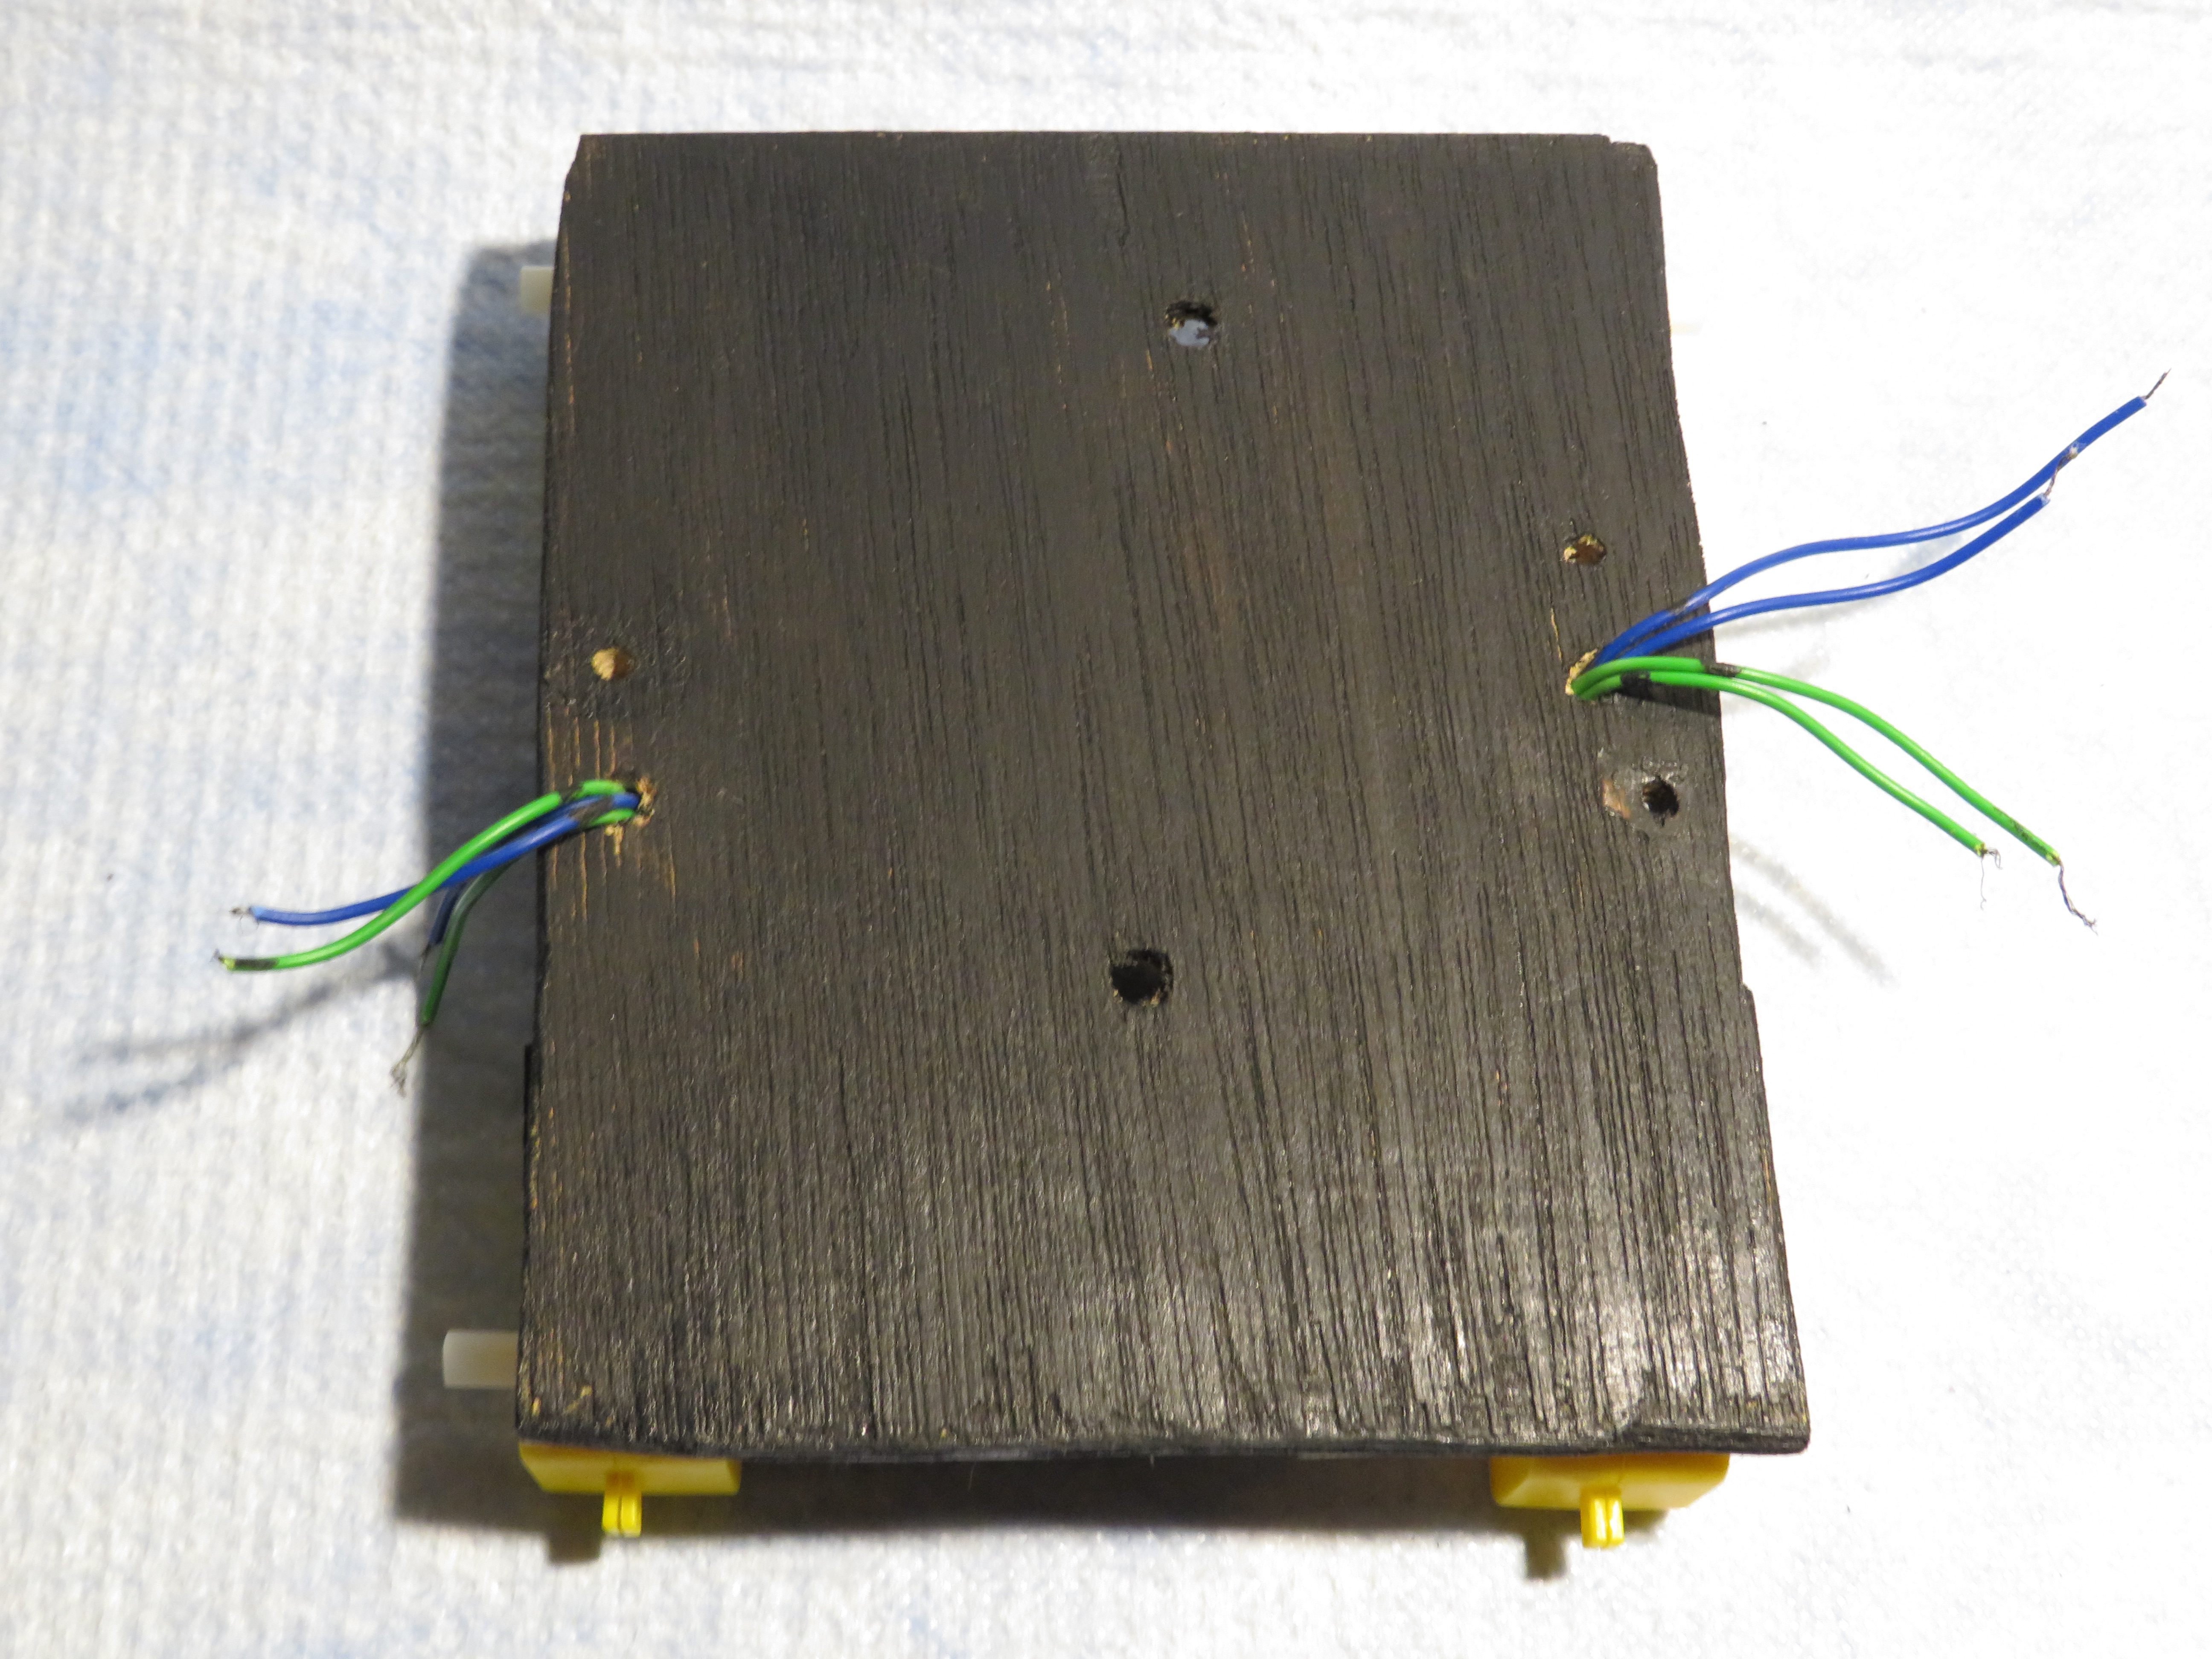
Here I have attached the motors to the chassis using double sided tape. But you could also glue-gun them in place for the sake of permanence, but double sided tape works just as well. Solder a wire to each terminal of every motor (8 in total) and make two holes on either side of the chassis to thread the wires out.
Materials Used
These are the pictures of the materials to be used for making the car:-
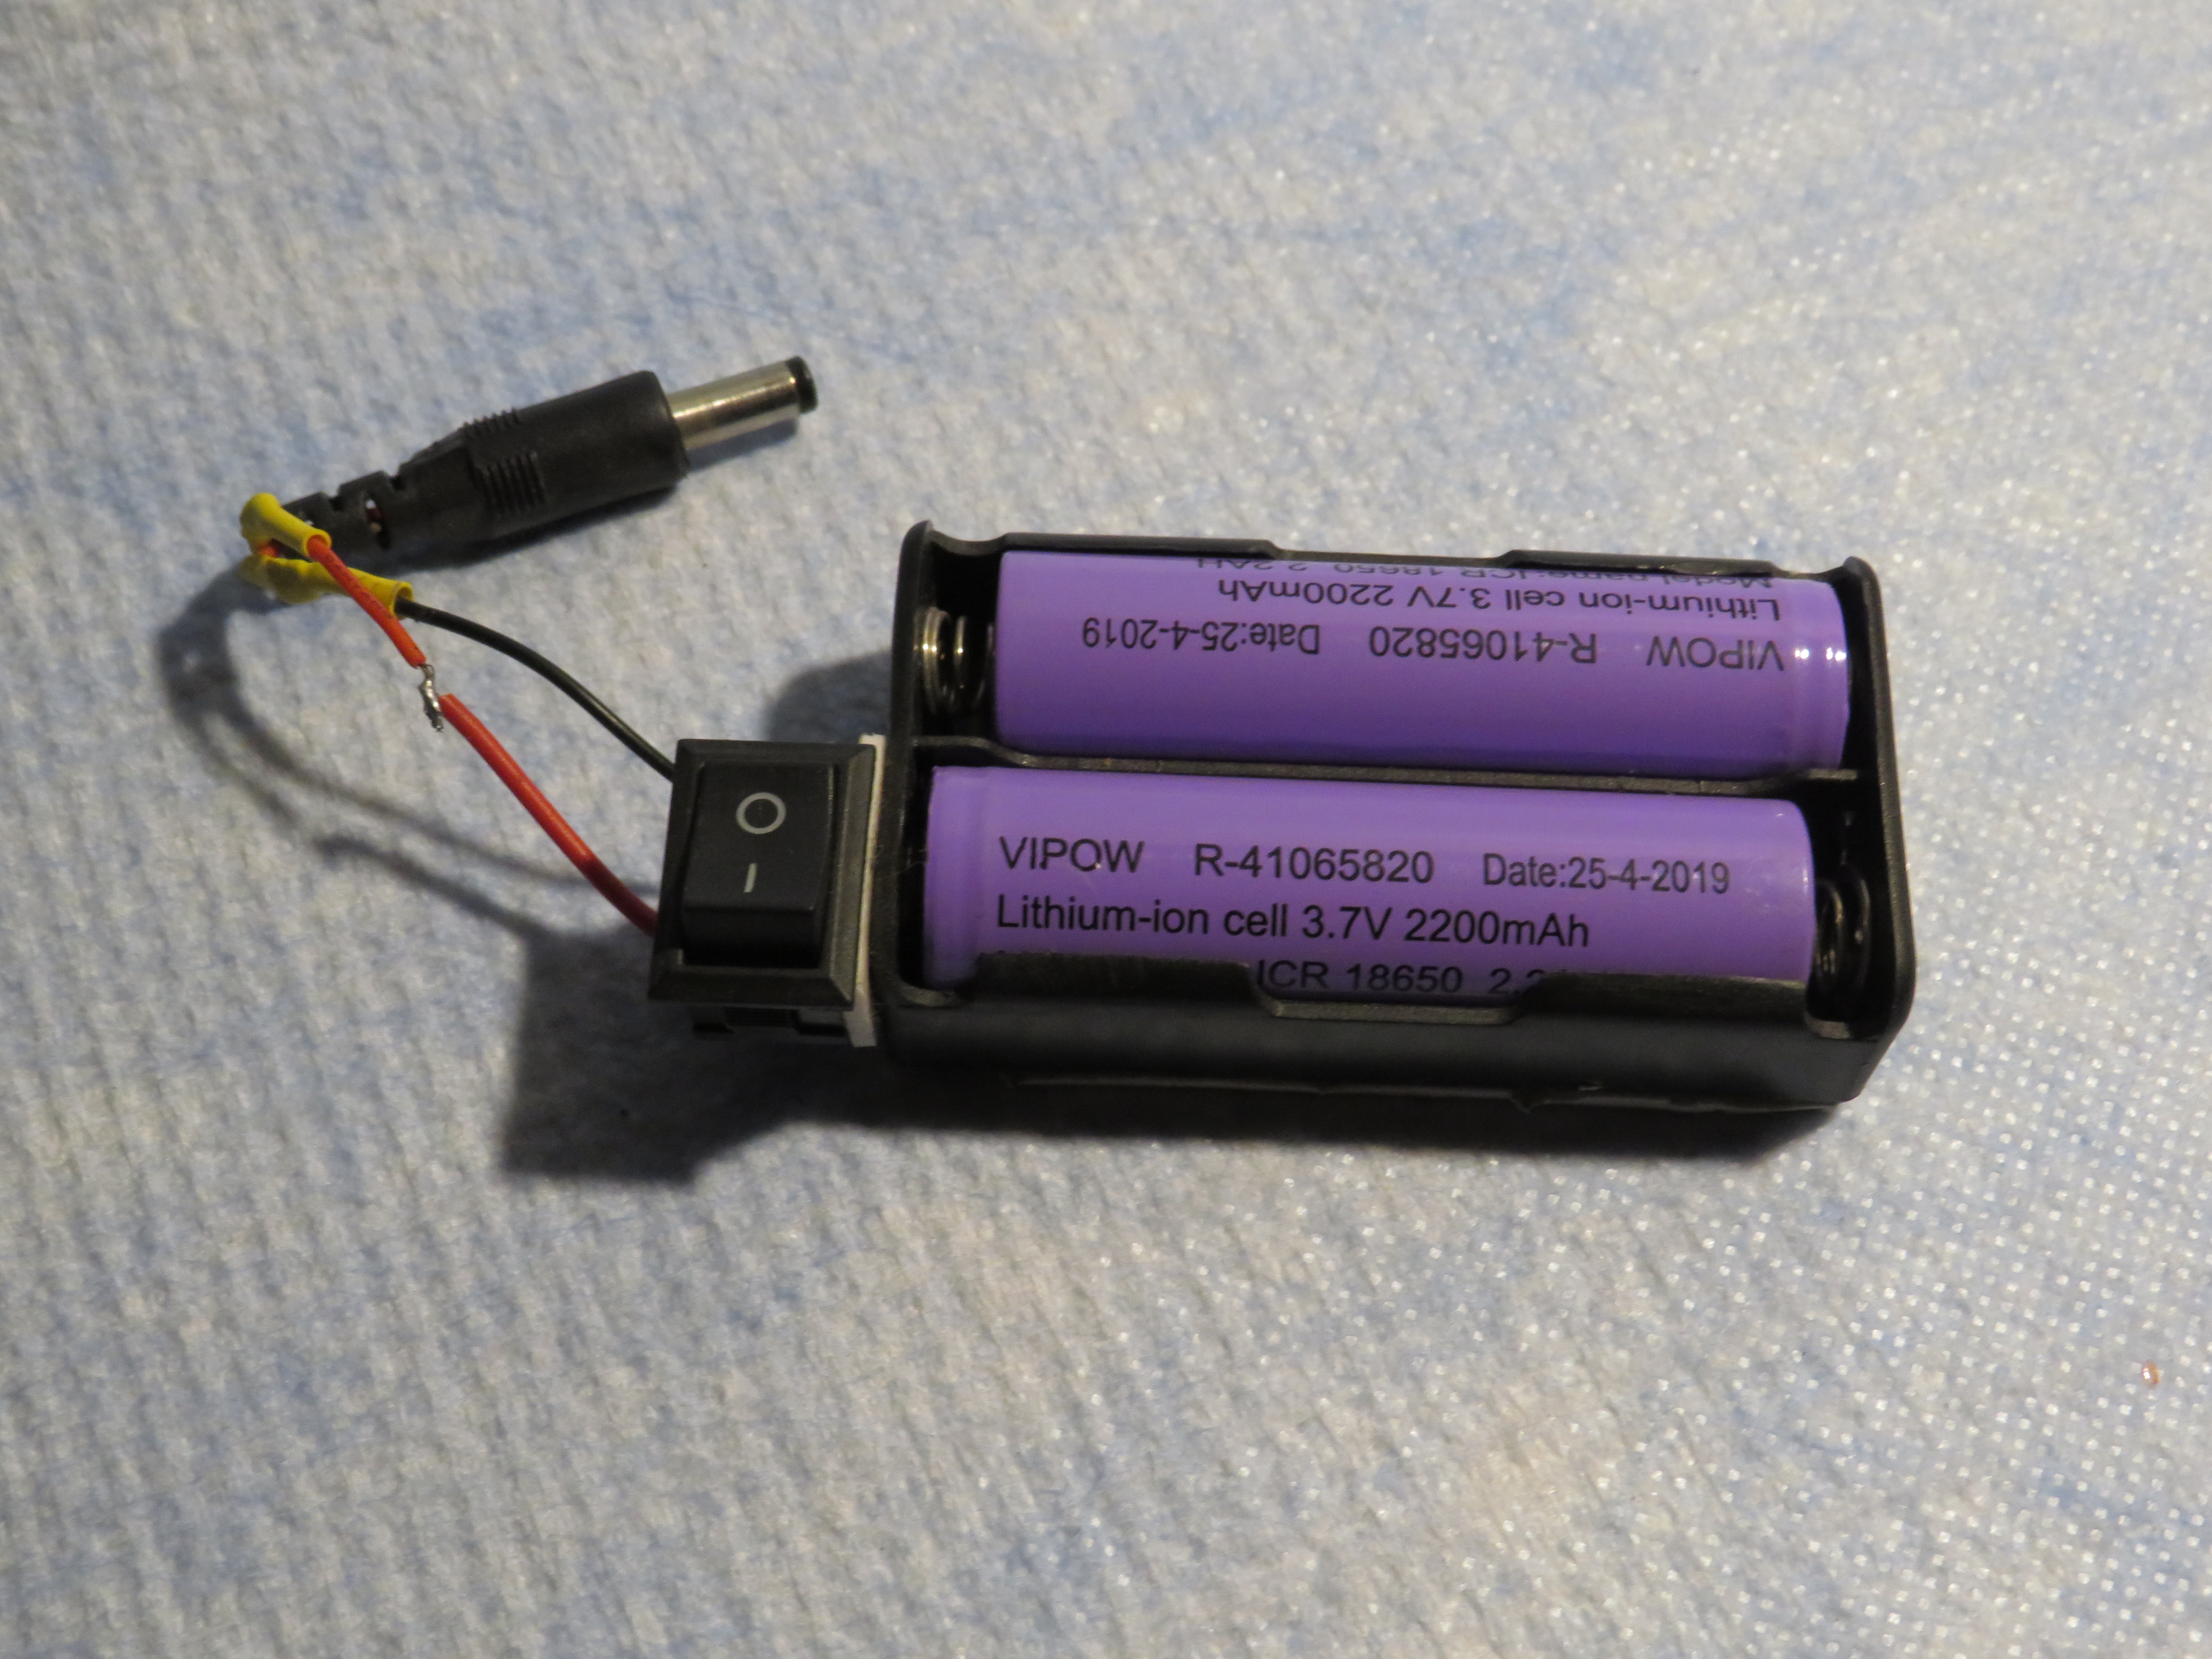
- Two 3.7V Li-ion batteries
- Battery holder with switch and power jack
- HC-05 Bluetooth Module
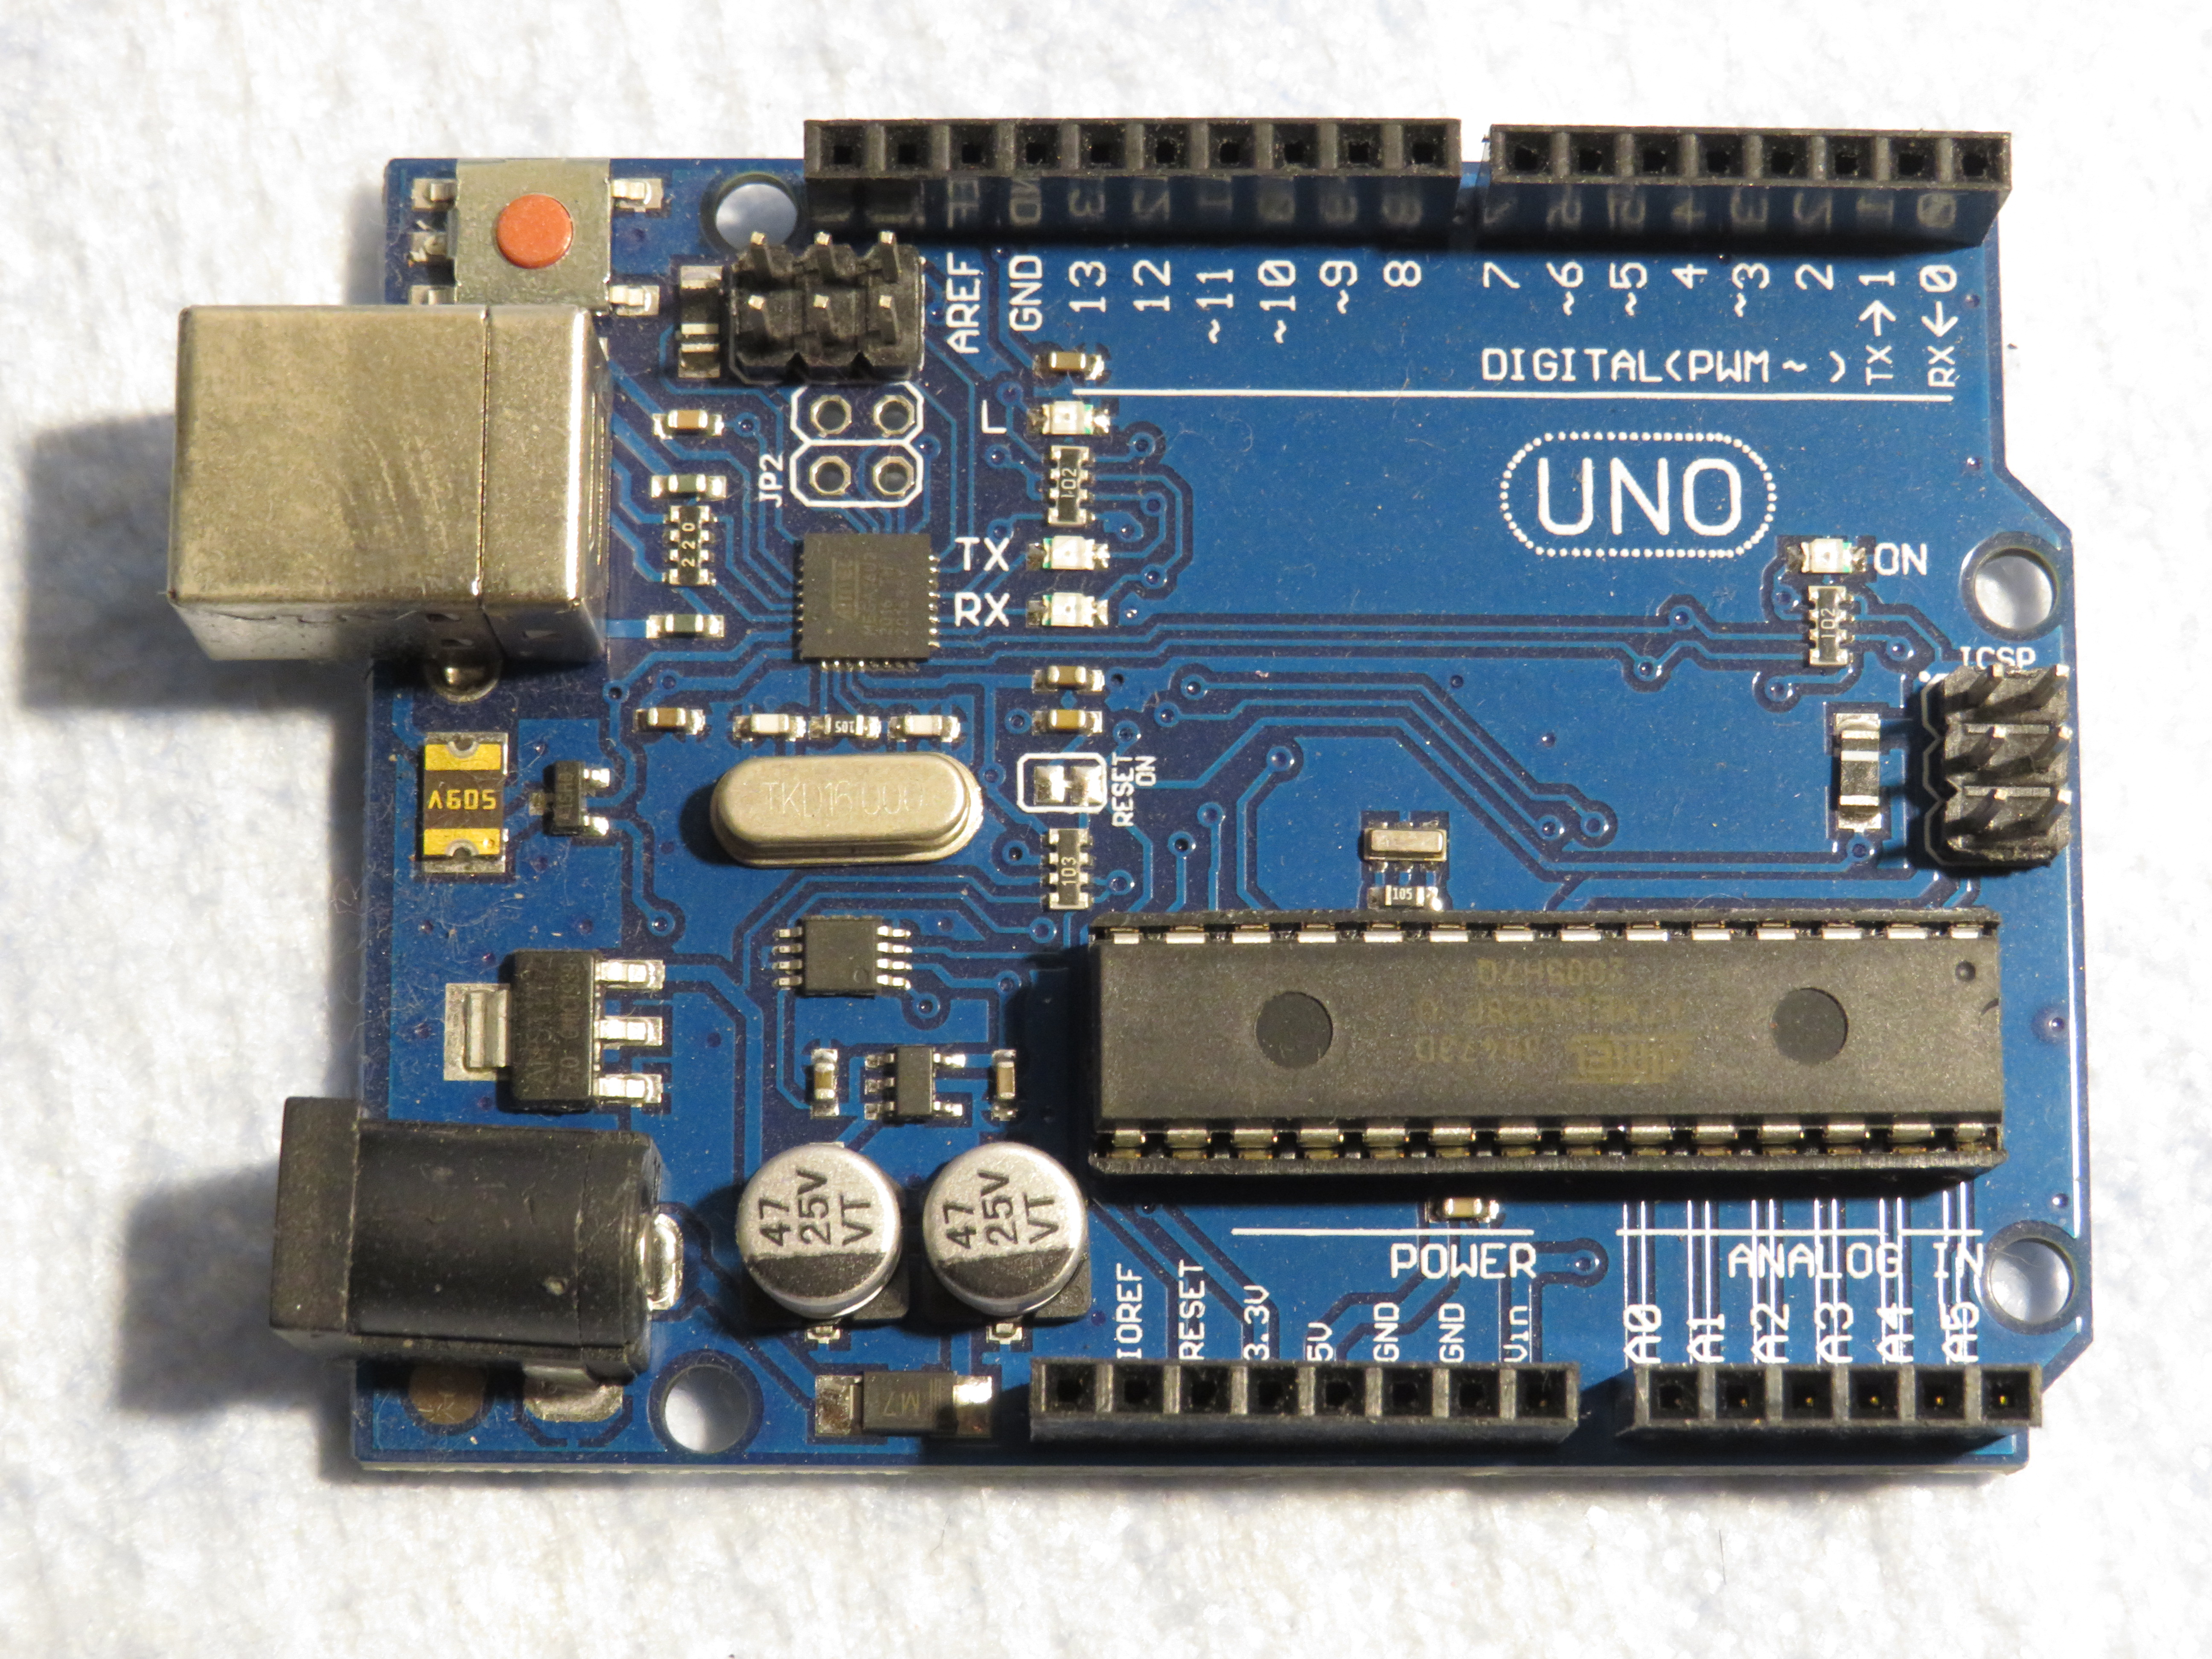
- Arduino Uno
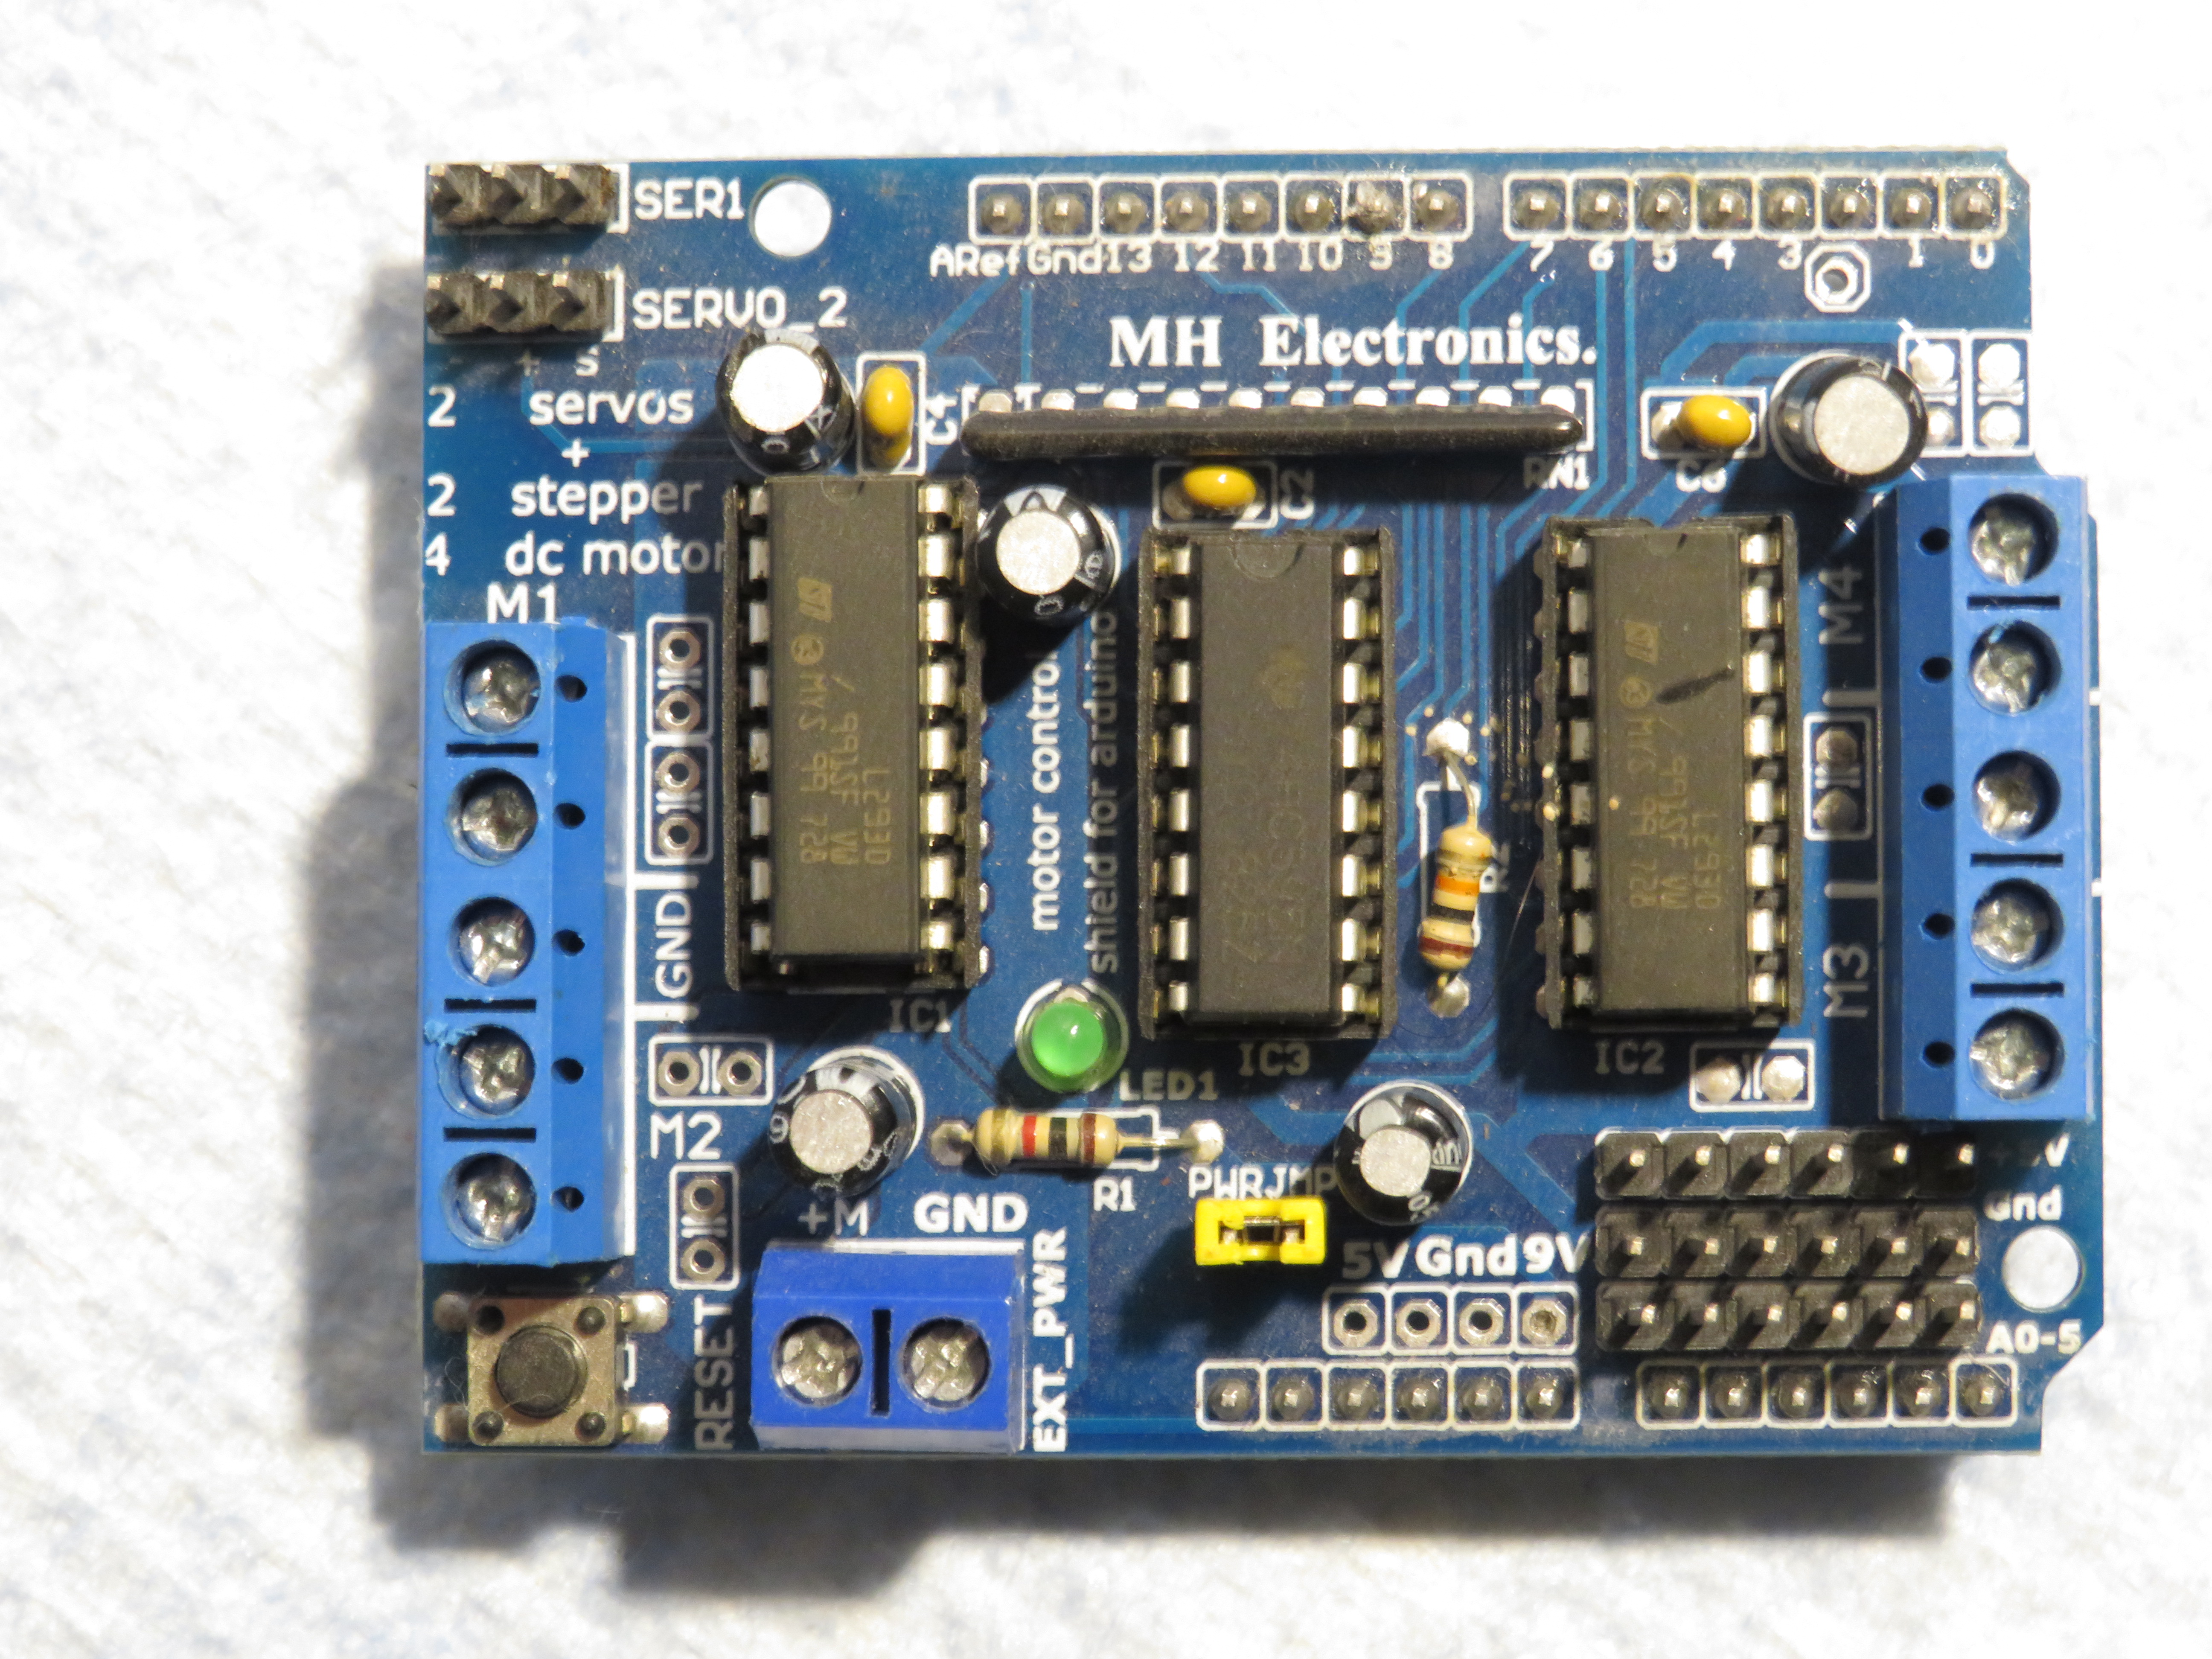
- Arduino Uno Motor Shield (l298)
- 4 BO Motors
- 4 Wheels
CONNECTIONS
Please follow my hand-drawn schematic which will guide you through each connection.
NOTE:- The battery holder I have used is self designed. It is a battery holder connected to a switch. these two terminals are the connected to a power jack.
NOTE:- Connect the motor wires to the screw terminals of the shield.
After connections the circuit should look like the photo given in the title.
Disclaimer- While uploading the code please disconnect RX and TX.
Have fun and good luck!!!!!!!!
🛠️ เจาะลึกเบื้องหลังการทำงาน (Deep Dive / Technical Analysis)
Tethering a robot chassis explicitly limits its environmental exploration radius! The Arduino Bluetooth Car severs the wired serial connection permanently, transferring absolute kinematic command arrays to an Android smartphone! By integrating an HC-05 Bluetooth transceiver, the Arduino constantly listens for Serial 1 or 0 command characters traversing the 2.4GHz RF spectrum. When it intercepts a valid command, it aggressively triggers massive physical H-Bridge power drivers to wildly spin two DC gear motors in opposing synchronized matrices!
The L298N H-Bridge Motor Paradigm
An Arduino digital pin outputs an incredibly pathetic 40 milliamps of power. A DC TT-Gear motor demands massive 500-1000 milliamp spikes!
- Wiring a motor straight into Pin 3 will instantly blow the
Atmega328Psilicon die! - You MUST interface the Arduino through an L298N Dual H-Bridge Motor Driver.
- The L298N receives massive 9V battery power directly.
- The Arduino sends weak 5V Logic signals (
IN1,IN2,IN3,IN4) to explicitly instruct the massive H-Bridge which direction to dump the heavy current into the motors!
if (Serial.available() > 0) {
  char command = Serial.read();

  if (command == 'F') { // FORWARD KINEMATICS!
    digitalWrite(IN1, HIGH); // Left Motor Fwd
    digitalWrite(IN2, LOW);
    digitalWrite(IN3, HIGH); // Right Motor Fwd
    digitalWrite(IN4, LOW);
  }
  else if (command == 'L') { // AGGRESSIVE TANK TURN LEFT!
    digitalWrite(IN1, LOW);  // Left Motor violently reverses!
    digitalWrite(IN2, HIGH);
    digitalWrite(IN3, HIGH); // Right Motor thrusts forward!
    digitalWrite(IN4, LOW);
  }
}
Creating The Android Tactile Layout
Standard Bluetooth Terminal Apps are boring. The project relies upon absolute visual mapping!
- Using MIT App Inventor, you drag physical directional arrows (Up, Down, Left, Right) onto a smartphone canvas.
- When you
TouchDownon the Up Arrow, the App blasts an'F'via Bluetooth. - Crucially: When you
TouchUp(release the button), the App instantly blasts an'S'(Stop), causing the Arduino to forcefully kill all L298N pinsLOWto physically brake the chassis!
Autonomous Hardware Infrastructure
- Arduino Uno Rev3 (Acts as the primary brain mapping RF serial data into pin matrices).
- HC-05 or JDY-31 Bluetooth Module (Requires a 3.3V voltage divider resistor pair on its RX pin to prevent Arduino 5V logic from permanently destroying the Bluetooth chip!).
- L298N Dual Motor Driver (Capable of routing extreme 2Amp currents natively!).
- 2x or 4x Yellow TT Gear Motors mounted to an acrylic or 3D-printed chassis.
- Dedicated Motor Battery Pack (Do NOT power the motors from the Arduino 5V pin. The L298N requires a dedicated 2-cell 18650 7.4V battery pack wired straight into its input block to prevent processor brownouts!).