ภาพรวม
โปรเจกต์นี้ใช้อุปกรณ์ฮาร์ดแวร์ที่อาจจะดูแปลกๆ หน่อยนะน้อง เช่น โมดูลตัวรับสัญญาณ RC 6 ช่อง ถึงแม้ว่าจะใช้ตัวที่มีช่องน้อยกว่านี้ก็ได้ แต่โปรเจกต์นี้เราจะยังคงใช้ 6 ช่องอยู่ดี มาดูกันดีกว่าว่ามันต่างยังไง เพราะนี่แหละคือจุดสำคัญของโปรเจกต์นี้
ความแตกต่างของสัญญาณ PWM: ระหว่างตัวรับ RC กับ Arduino
- สัญญาณ PWM จากตัวรับ RC จะส่งออกมาเป็นพัลส์หน่วยไมโครวินาที ระหว่างค่าต่ำสุด 1000 ถึงค่าสูงสุด 2000
- สัญญาณ PWM สำหรับโมดูลมอเตอร์ H-Bridge ของ Arduino เป็นพัลส์กำลัง ระหว่างค่าต่ำสุด 0 ถึงค่าสูงสุด 255
- เราใช้การขัดจังหวะ (Interrupts) ในการเก็บค่าสัญญาณจากตัวรับ RC นี่คือวิธีจับเวลาความยาวของพัลส์แล้วแปลงเป็นค่าที่ Arduino เอาไปใช้งานได้
- การคำนวณแปลงค่าระหว่างสัญญาณสองแบบนี้เร็วและง่ายมาก จัดไปวัยรุ่น!
มุมมองของโปรเจกต์
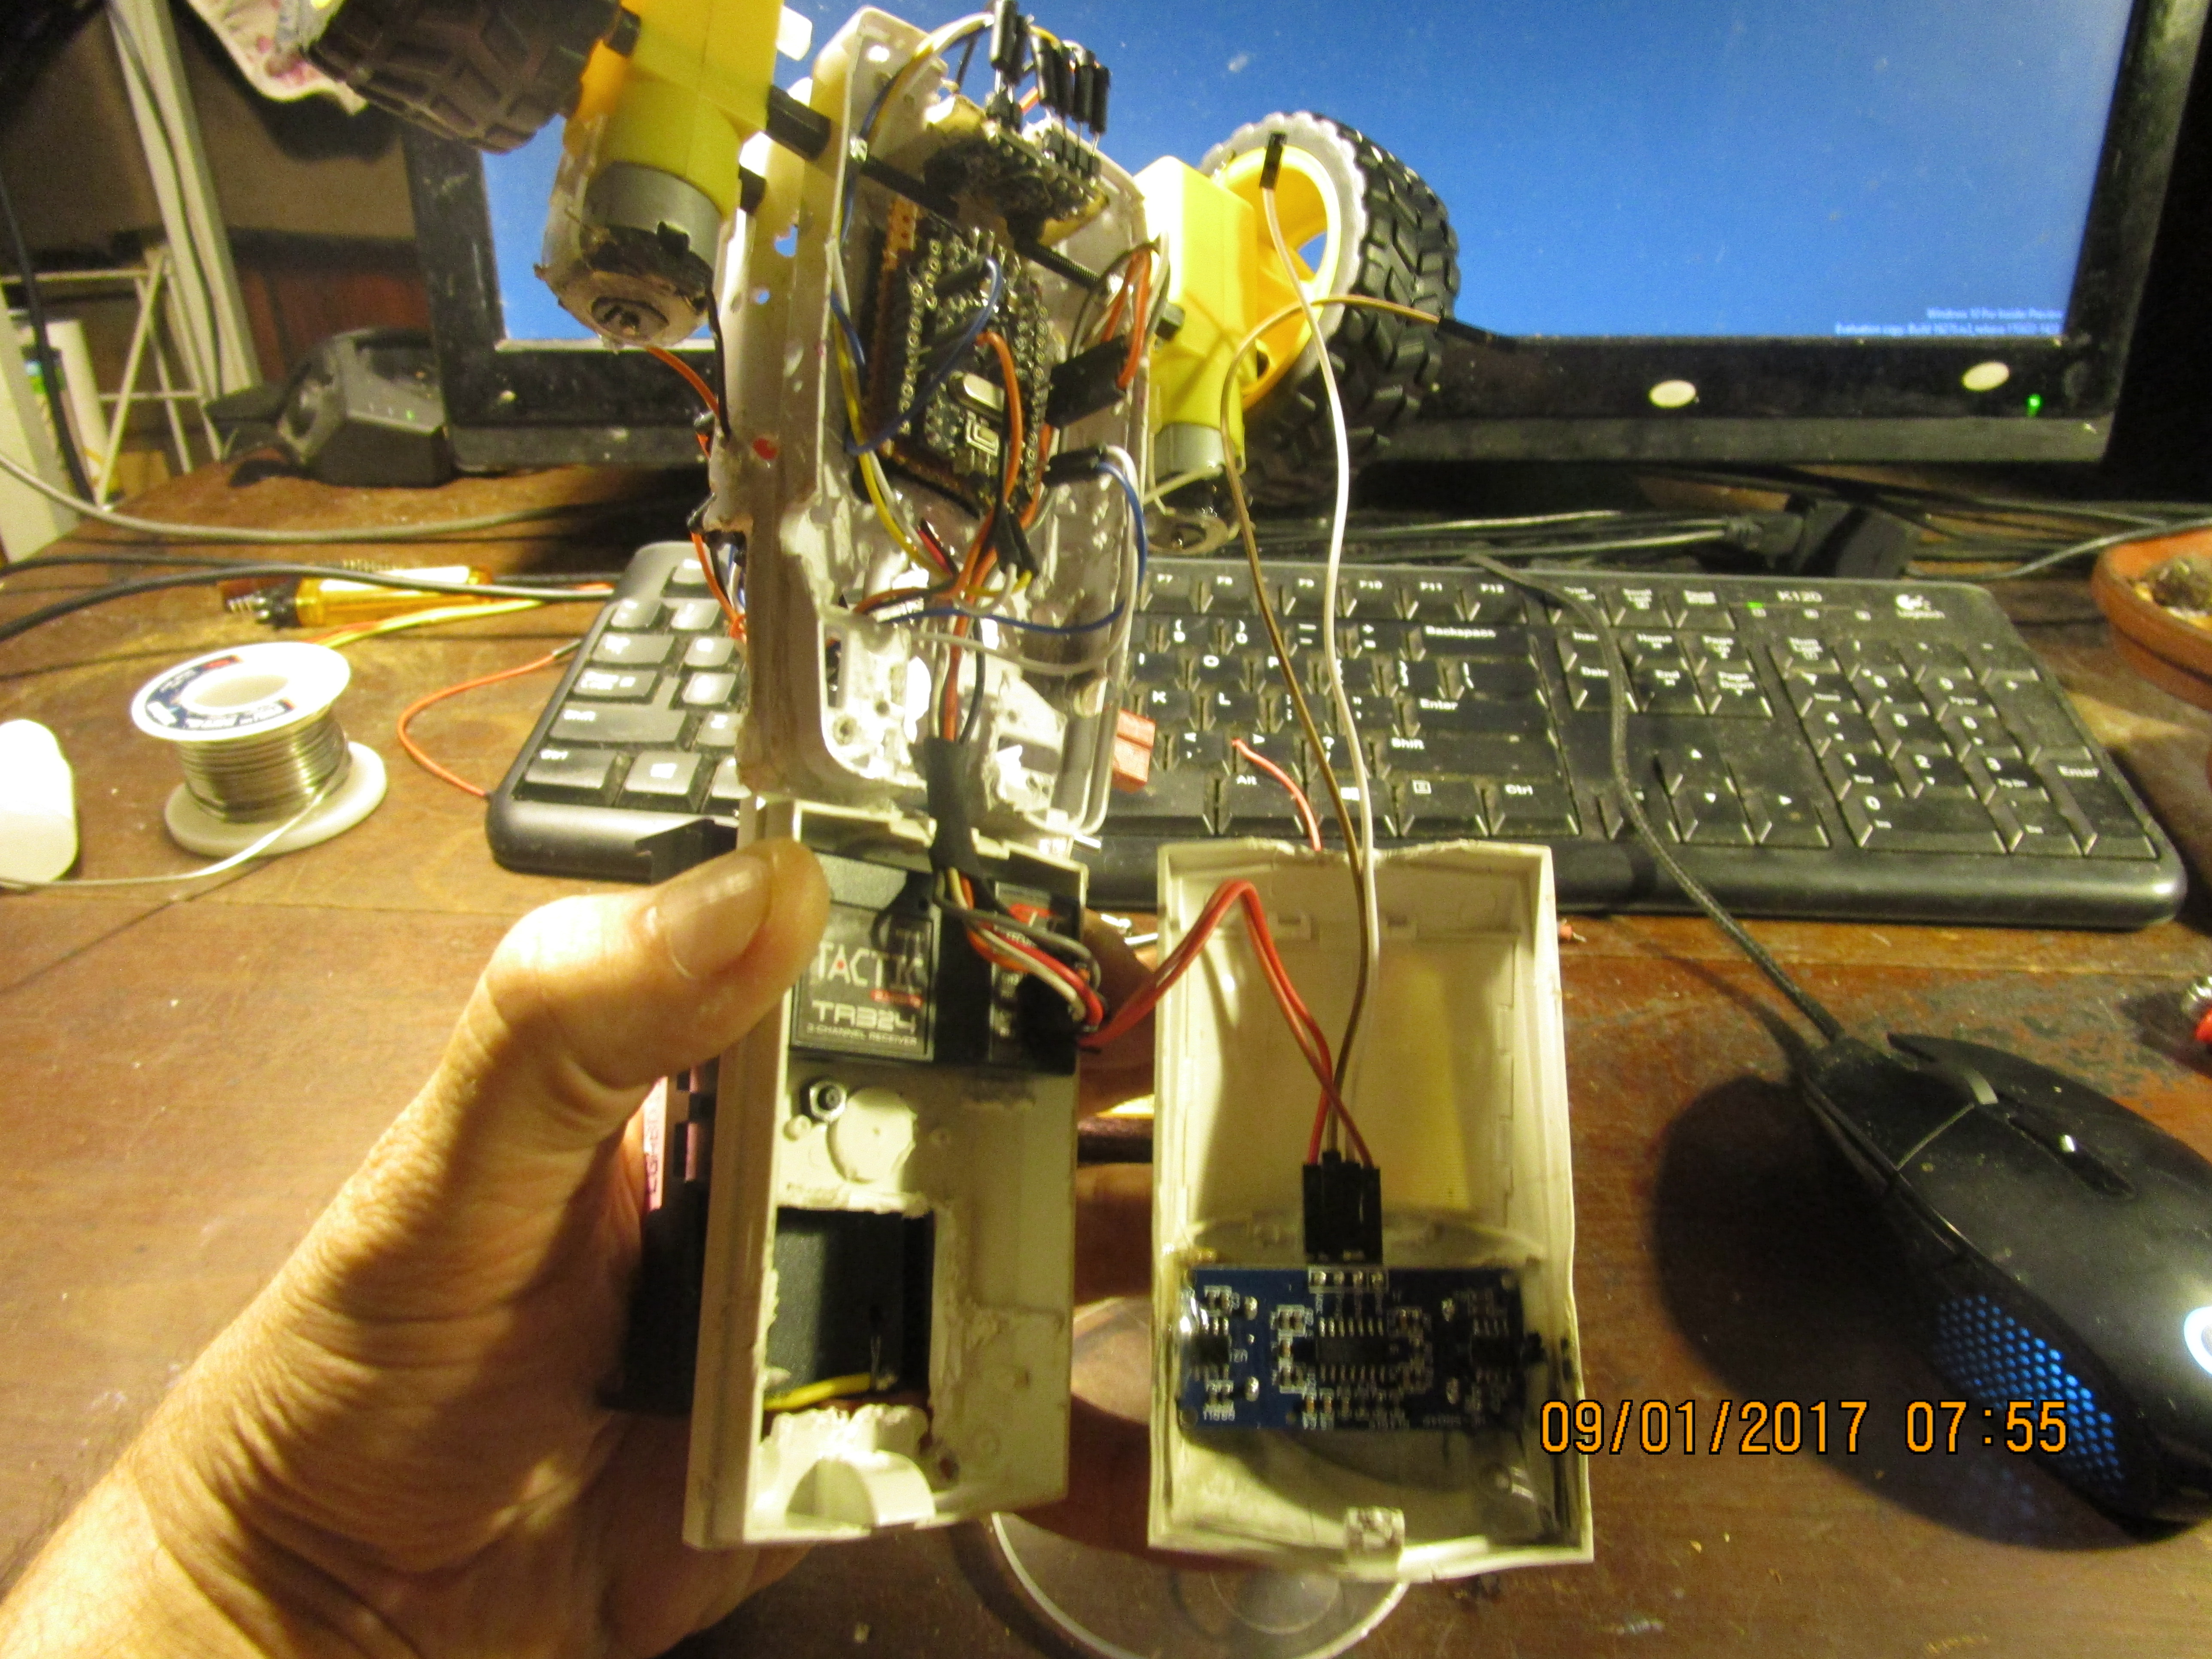
โปรเจกต์นี้เป็นการสำรวจโลกของหุ่นยนต์และทฤษฎีการควบคุมแบบลงลึกเลยนะ ใช้ Arduino ร่วมกับ MPU6050 Inertial Measurement Unit (IMU) เราก็สามารถสร้างหุ่นยนต์สองล้อที่ตั้งตรงได้เอง เหมือน Segway เลยแหละ โปรเจกต์นี้เป็นสนามทดลองชั้นดีสำหรับการเรียนรู้เรื่อง PID control และการรวมข้อมูลเซนเซอร์แบบเรียลไทม์
การลงมือทำ: ศิลปะแห่งการทรงตัว
ความสามารถในการทรงตัวของหุ่นยนต์อาศัยลูปตอบสนองความเร็วสูง:
- ชั้นการรับรู้: MPU6050 วัดมุมเอียง (pitch) ของหุ่นยนต์หลายร้อยครั้งต่อวินาที
- ชั้นควบคุม: Arduino รันอัลกอริทึม PID (Proportional-Integral-Derivative) เพื่อคำนวณการตอบสนองของมอเตอร์ที่จำเป็นเพื่อต้านการเอียง
- ชั้นตอบสนอง: มอเตอร์ DC แรงบิดสูง เร่งความเร็ปล้อในทิศทางที่หุ่นยนต์กำลังล้ม เพื่อย้ายจุดศูนย์ถ่วงกลับมาอยู่ใต้ตัวหุ่นยนต์
โครงสร้างพื้นฐานฮาร์ดแวร์
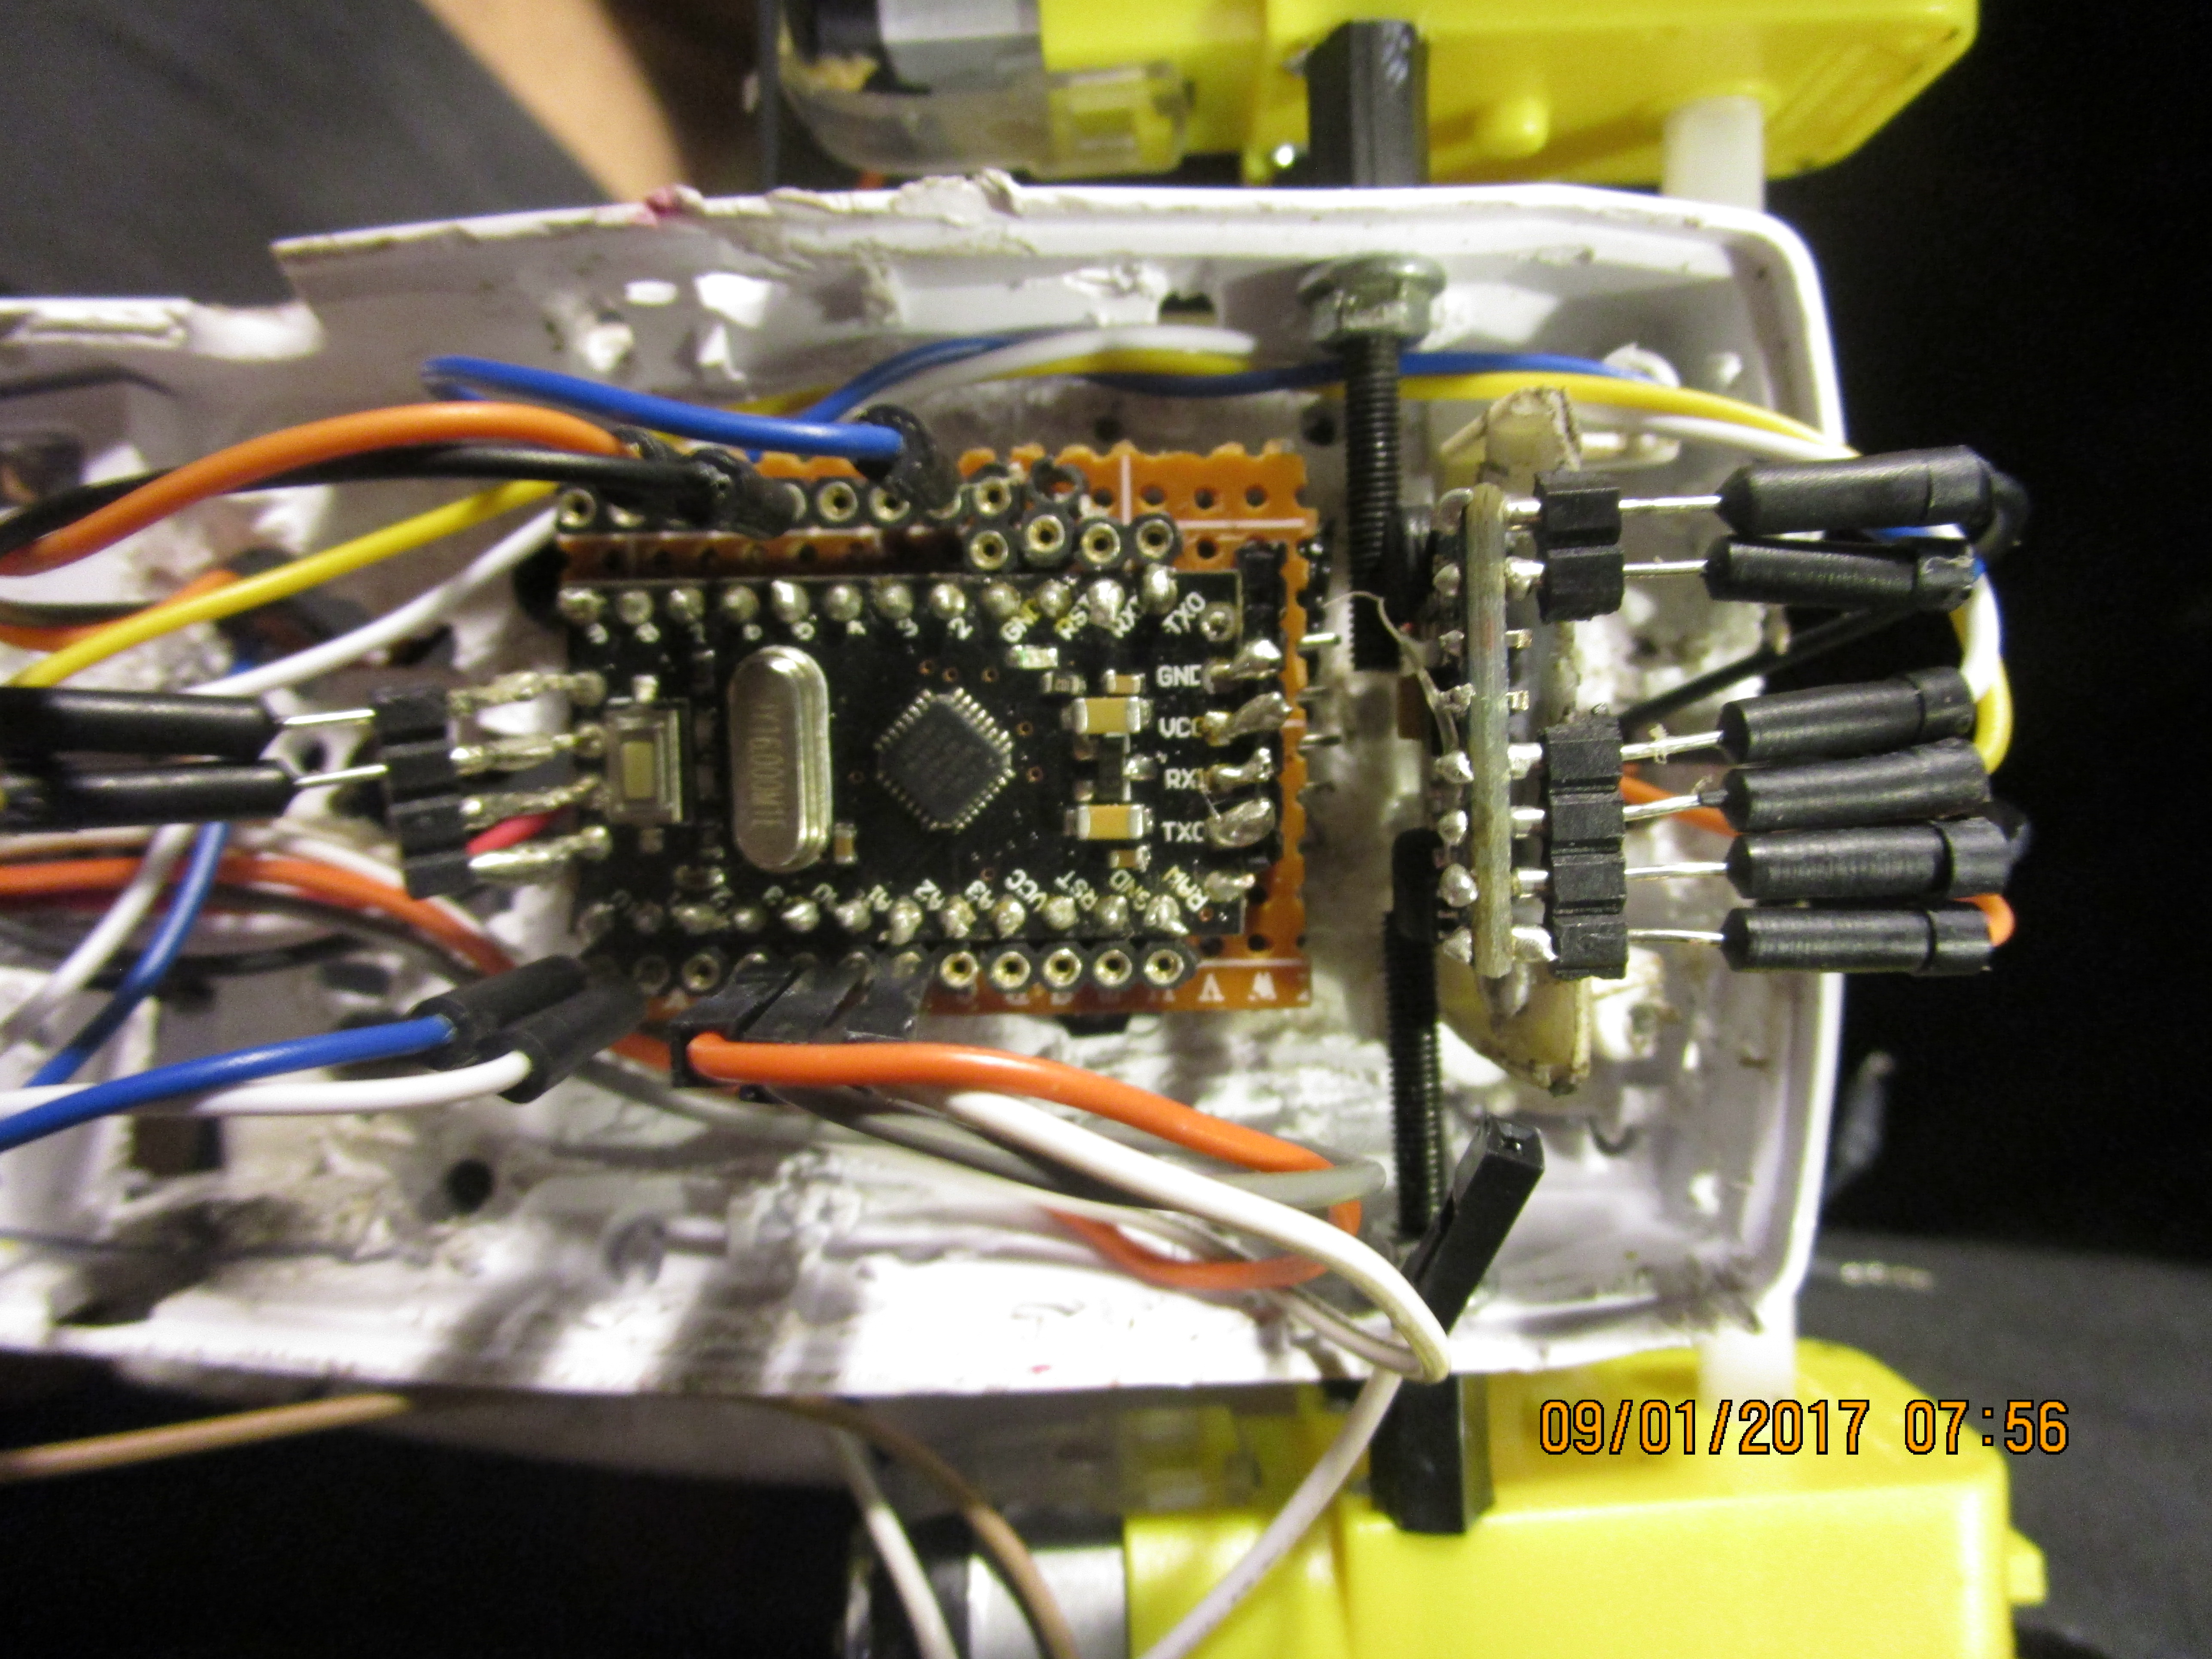
- Arduino Uno: ตัวควบคุมหลัก จัดการลูป PID และประสานการเคลื่อนที่ของมอเตอร์
- MPU6050 IMU: คือ "หูชั้นใน" ของหุ่นยนต์ ให้ข้อมูลการเคลื่อนไหว 6 แกนสำหรับคำนวณมุมที่แม่นยำ
- มอเตอร์แรงบิดสูงพร้อมเอ็นโค้ดเดอร์: เอ็นโค้ดเดอร์สำคัญมากสำหรับวัดการหมุนของล้อ และทำให้แน่ใจว่ามอเตอร์หมุนด้วยความเร็วที่ PID controller ต้องการเป๊ะๆ
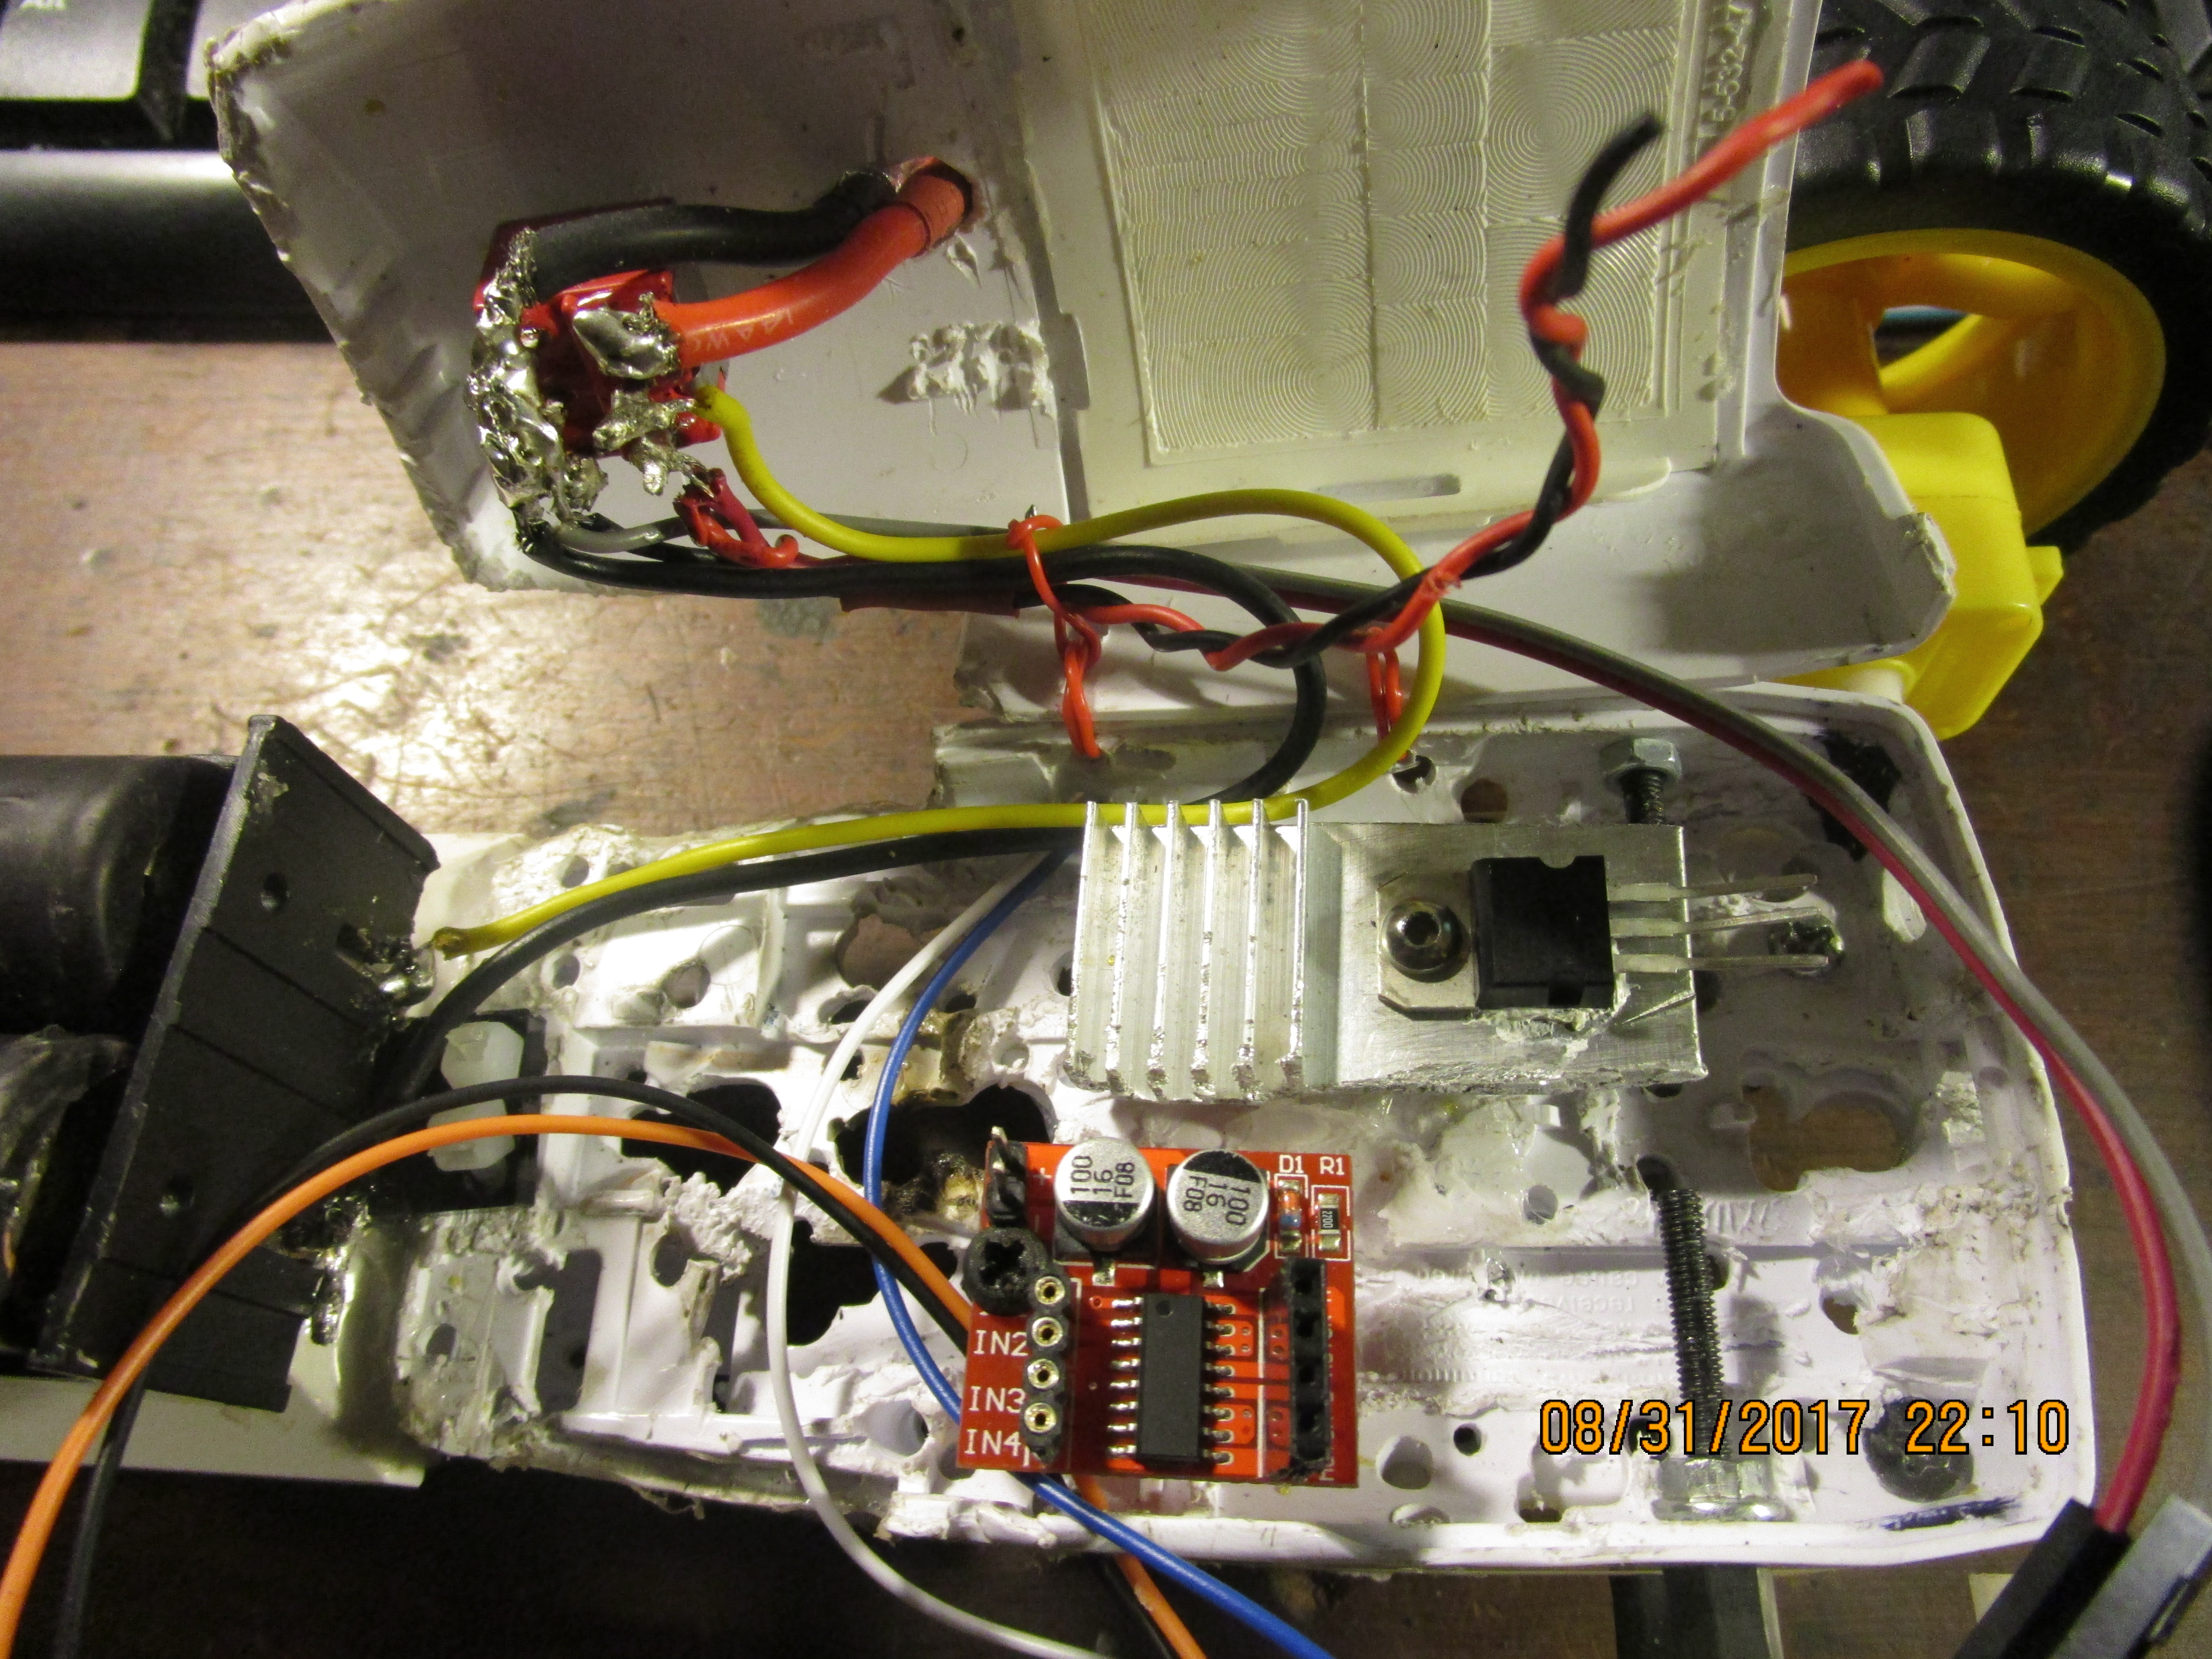
- มอเตอร์ไดรเวอร์: แปลงสัญญาณดิจิทัลจาก Arduino เป็นพลังงานกระแสสูงสำหรับขับมอเตอร์
- แบตเตอรี่ Li-ion/Lipo: จ่ายกระแสคายประจุสูงที่จำเป็นสำหรับการเคลื่อนไหวของมอเตอร์ที่รวดเร็ว
ตรรกะซอฟต์แวร์ & การปรับค่า PID
โค้ด Arduino คือหัวใจของความมั่นคงของหุ่นยนต์:
- การรวมข้อมูลเซนเซอร์: รวมข้อมูลจาก accelerometer และ gyroscope โดยใช้ Complementary หรือ Kalman filter เพื่อให้ได้มุมเอียงที่เสถียรและลดสัญญาณรบกวน
- ลูป PID: ฟังก์ชัน
PID.calculate(targetAngle, currentAngle)จะสร้างค่าสัญญาณ PWM ออกมาให้มอเตอร์ไดรเวอร์ - การปรับแต่ง: การหาค่า Kp (Proportional), Ki (Integral), และ Kd (Derivative) ที่เหมาะสม เป็นกระบวนการลองผิดลองถูกที่กำหนดว่าหุ่นยนต์จะทรงตัวแบบดุดันหรือนุ่มนวลแค่ไหน สู้งานนะน้อง!
ตัวอย่าง
ด้านล่างคือตัวอย่างผลลัพธ์จากหน้าต่าง Serial Monitor นะ
Cycle #89
Clear distance to front:	0-In	0-Cm
	    Temperature:	21-C	71-F
   System Arming State:	Disarmed
    Transmission State: 	Neutral
	     Turn State:	Going Straight
	     Spin State:	Not Spinning
        Throttle State: 	0%
 Right Stick Horizontal:	Remote CH1	1496-126
   Right Stick Verticle:	Remote CH2	1512-130
  Left Stick Horizontal:	Remote CH4	1444-113
    Left Stick Verticle:	Remote CH3	1000-0
   Arming switch signal:	Remote CH5	1992-252
  Mode Dial(Delay time):	Remote CH6	1992-252
Gyro Motion-Acceleration:	AX-4148		AY-448		AZ17456
   Gyro Motion-Rotation:	GX-1034		GY361		GZ-105
      Gyro Acceleration:	AX-4116		AY-568		AZ17408
          Gyro Rotation:	GX-1023		GY363		GZ-53
โค้ดมันยาวหน่อยนะ อาจต้องใช้เวลามากกว่าสองสามนาทีในการทำความเข้าใจ (ก็แล้วแต่สกิลของแต่ละคนแหละ) ห้ามช็อตนะตัวนี้!
หน้าที่ของตัวรับสัญญาณรีโมท (RC Receiver) มีตามนี้เลยน้อง:
- CH1 - เลี้ยวซ้าย/ขวา
- CH2 - เกียร์เดินหน้า/ว่าง/ถอยหลัง
- CH3 - คันเร่ง (Throttle)
- CH4 - หมุนตัวซ้าย/ขวา (ใช้ได้ตอนเกียร์ว่างเท่านั้นนะ ระวังหักเพลานะตัวนี้!)
- CH5 - สวิตช์ปลดอาวุธ/ติดอาวุธ (Arming/Disarming)
- CH6 - ปรับความหน่วงของระบบ (เพิ่ม/ลด delay ในลูปหลัก)
ต่อยอดในอนาคตได้อีก (Future Expansion)
- รีโมทแบบใหม่: ใส่บลูทูธหรือ WiFi (HC-05/ESP8266) ไปขับหุ่นยนต์สมดุลจากมือถือได้เลย จัดไปวัยรุ่น!
- หลบหลีกอัตโนมัติ: ต่อเซ็นเซอร์อัลตราโซนิก (Ultrasonic) ให้มันหลบผนังกับเฟอร์นิเจอร์เอง
- เดินทางเองได้: ใช้ GPS หรือ SLAM (Simultaneous Localization and Mapping) สำหรับการเดินทางที่ซับซ้อนขึ้น
- ลอจิกแบบฟัซซี่ (Fuzzy Logic): เอามาปรับแต่ง PID Controller ให้สมดุลได้ดียิ่งขึ้นในสภาวะต่างๆ
โปรเจคนี้คือการผสมผสานระหว่าง วิศวกรรมเครื่องกล, อิเล็กทรอนิกส์, และอัลกอริทึมทฤษฎีการควบคุม อย่างลงตัวเลย สู้งานนะน้อง!
วิดีโอ
โค้ดตอนนี้ยาวประมาณ 440 บรรทัดแล้ววว ห้ามช็อตนะตัวนี้!
#include <EnableInterrupt.h>
#include <NewPing.h>
#include "I2Cdev.h"
#include "MPU6050.h"
#include "Wire.h"
#define SERIAL_PORT_SPEED 57600
#define TRIGGER_PIN  3
#define ECHO_PIN     4
#define MAX_DISTANCE 500
NewPing sonar(TRIGGER_PIN, ECHO_PIN, MAX_DISTANCE);
#define OUTPUT_READABLE_ACCELGYRO
MPU6050 accelgyro;
#define heartbeat_pin 7
int heartbeatDelay=10;
int delayTime=0;
int count = 0;
int delayMultiplier=2;
int16_t ax, ay, az;
int16_t gx, gy, gz;
int16_t ax1, ay1, az1;
int16_t gx1, gy1, gz1;
int x, x1;
int y, y1;
int z, z1;
int temp=0;
int tempC=0;
int tempF=0;
#define RC_NUM_CHANNELS  6
#define RC_CH1  0
#define RC_CH2  1
#define RC_CH3  2
#define RC_CH4  3
#define RC_CH5  4
#define RC_CH6  5
#define RC_CH1_INPUT  A0
#define RC_CH2_INPUT  A1
#define RC_CH3_INPUT  A2
#define RC_CH4_INPUT  A3
#define RC_CH5_INPUT  8
#define RC_CH6_INPUT  9
uint16_t rc_values[RC_NUM_CHANNELS];
uint32_t rc_start[RC_NUM_CHANNELS];
volatile uint16_t rc_shared[RC_NUM_CHANNELS];
bool left_turn = false;
bool right_turn = false;
bool left_spin = false;
bool right_spin = false;
bool not_spinning=true;
bool straight = true;
bool reverse = false;
bool forward = false;
bool brakes = false;
bool neutral = true;
bool armed = false;
int rc_input_Deadzone = 20;
int rc_input_MIN = 1000;
int rc_input_MAX = 2000;
int pwm_MIN = 0;
int pwm_MAX = 255;
int pwm_ch1 = 0;
int pwm_ch2 = 0;
int pwm_ch3 = 0;
int pwm_ch4 = 0;
int pwm_ch5 = 0;
int pwm_ch6 = 0;
int arming_MIN = 20;
int arming_MAX = 230;
int forward_AT = 150;
int reverse_AT = 90;
int left_AT = 150;
int right_AT = 90;
int throttle=0;
int LF_motor_pin = 5;
int LR_motor_pin = 6;
int RF_motor_pin = 10;
int RR_motor_pin = 11;
int L_motor_speed = 0;
int R_motor_speed = 0;
int outMax = 255;
int outMin = 0;
float lastInput = 0;
double ITerm = 0;
double kp = 2;         // Proportional value
double ki = 0;           // Integral value
double kd = 0;           // Derivative value
double Setpoint = 0; // ตั้งค่าเริ่มต้น (Setpoint) เป็น 0 ไปก่อนนะน้อง double Compute(double input) { double error = Setpoint - input; ITerm += (ki * error); if (ITerm > outMax) ITerm = outMax; else if (ITerm < outMin) ITerm = outMin; double dInput = (input - lastInput); // คำนวณค่าออกมาเลยจ้า PID Output double output = kp * error + ITerm + kd * dInput; if (output > outMax) output = outMax; else if (output < outMin) output = outMin; // จำค่าตัวแปรบางตัวไว้ใช้รอบหน้า อย่าลืมล่ะ lastInput = input; return output; } void SetSetpoint(double d) { Setpoint = d; } double GetSetPoint() { return Setpoint; } void rc_read_values() { noInterrupts(); memcpy(rc_values, (const void *)rc_shared, sizeof(rc_shared)); interrupts(); } void calc_input(uint8_t channel, uint8_t input_pin) { if (digitalRead(input_pin) == HIGH) { rc_start[channel] = micros(); } else { uint16_t rc_compare = (uint16_t)(micros() - rc_start[channel]); rc_shared[channel] = rc_compare; } } void calc_ch1() { calc_input(RC_CH1, RC_CH1_INPUT); if (rc_values[RC_CH1] < rc_input_MIN) { rc_values[RC_CH1] = rc_input_MIN; } if (rc_values[RC_CH1] > rc_input_MAX) { rc_values[RC_CH1] = rc_input_MAX; } } void calc_ch2() { calc_input(RC_CH2, RC_CH2_INPUT); if (rc_values[RC_CH2] < rc_input_MIN) { rc_values[RC_CH2] = rc_input_MIN; } if (rc_values[RC_CH2] > rc_input_MAX) { rc_values[RC_CH2] = rc_input_MAX; } } void calc_ch3() { calc_input(RC_CH3, RC_CH3_INPUT); if (rc_values[RC_CH3] < rc_input_MIN) { rc_values[RC_CH3] = rc_input_MIN; } if (rc_values[RC_CH3] > rc_input_MAX) { rc_values[RC_CH3] = rc_input_MAX; } } void calc_ch4() { calc_input(RC_CH4, RC_CH4_INPUT); if (rc_values[RC_CH4] < rc_input_MIN) { rc_values[RC_CH4] = rc_input_MIN; } if (rc_values[RC_CH4] > rc_input_MAX) { rc_values[RC_CH4] = rc_input_MAX; } } void calc_ch5() { calc_input(RC_CH5, RC_CH5_INPUT); if (rc_values[RC_CH5] < rc_input_MIN) { rc_values[RC_CH5] = rc_input_MIN; } if (rc_values[RC_CH5] > rc_input_MAX) { rc_values[RC_CH5] = rc_input_MAX; } } void calc_ch6() { calc_input(RC_CH6, RC_CH6_INPUT); if (rc_values[RC_CH6] < rc_input_MIN) { rc_values[RC_CH6] = rc_input_MIN; } if (rc_values[RC_CH6] > rc_input_MAX) { rc_values[RC_CH6] = rc_input_MAX; } } void print_rc_values() { Serial.print(" Right Stick Horizontal:\t"); Serial.print("Remote CH1\t"); Serial.print(rc_values[RC_CH1]); Serial.print("-"); Serial.println(pwm_ch1); Serial.print(" Right Stick Verticle:\t"); Serial.print("Remote CH2\t"); Serial.print(rc_values[RC_CH2]); Serial.print("-"); Serial.println(pwm_ch2); Serial.print(" Left Stick Horizontal:\t"); Serial.print("Remote CH4\t"); Serial.print(rc_values[RC_CH4]); Serial.print("-"); Serial.println(pwm_ch4); Serial.print(" Left Stick Verticle:\t"); Serial.print("Remote CH3\t"); Serial.print(rc_values[RC_CH3]); Serial.print("-"); Serial.println(pwm_ch3); Serial.print(" Arming switch signal:\t"); Serial.print("Remote CH5\t"); Serial.print(rc_values[RC_CH5]); Serial.print("-"); Serial.println(pwm_ch5); Serial.print(" Mode Dial(Delay time):\t"); Serial.print("Remote CH6\t"); Serial.print(rc_values[RC_CH6]); Serial.print("-"); Serial.println(pwm_ch6); } void set_rc_pwm() { pwm_ch1 = map(rc_values[RC_CH1], rc_input_MIN, rc_input_MAX, pwm_MIN, pwm_MAX); if (pwm_ch1 < pwm_MIN) { pwm_ch1 = pwm_MIN; } if (pwm_ch1 > pwm_MAX) { pwm_ch1 = pwm_MAX; } pwm_ch2 = map(rc_values[RC_CH2], rc_input_MIN, rc_input_MAX, pwm_MIN, pwm_MAX); if (pwm_ch2 < pwm_MIN) { pwm_ch2 = pwm_MIN; } if (pwm_ch2 > pwm_MAX) { pwm_ch2 = pwm_MAX; } pwm_ch3 = map(rc_values[RC_CH3], rc_input_MIN, rc_input_MAX, pwm_MIN, pwm_MAX); if (pwm_ch3 < pwm_MIN) { pwm_ch3 = pwm_MIN; } if (pwm_ch3 > pwm_MAX) { pwm_ch3 = pwm_MAX; } pwm_ch4 = map(rc_values[RC_CH4], rc_input_MIN, rc_input_MAX, pwm_MIN, pwm_MAX); if (pwm_ch4 < pwm_MIN) { pwm_ch4 = pwm_MIN; } if (pwm_ch4 > pwm_MAX) { pwm_ch4 = pwm_MAX; } }
pwm_ch5 = map(rc_values[RC_CH5], rc_input_MIN, rc_input_MAX, pwm_MIN, pwm_MAX); if (pwm_ch5 < pwm_MIN) { pwm_ch5 = pwm_MIN; } if (pwm_ch5 > pwm_MAX) { pwm_ch5 = pwm_MAX; } pwm_ch6 = map(rc_values[RC_CH6], rc_input_MIN, rc_input_MAX, pwm_MIN, pwm_MAX); if (pwm_ch6 < pwm_MIN) { pwm_ch6 = pwm_MIN; } if (pwm_ch6 > pwm_MAX) { pwm_ch6 = pwm_MAX; } } void Ping() { Serial.print("Clear distance to front:\t"); Serial.print(sonar.ping_in()); Serial.print("-In\t"); Serial.print(sonar.ping_cm()); Serial.println("-Cm"); } void delay_time(){ delayTime=pwm_ch6*delayMultiplier; delay(delayTime); } void arming_state() { Serial.print(" System Arming State:\t"); if (pwm_ch5 <= arming_MIN) { armed = true; Serial.println("Armed"); } else if (pwm_ch5 >= arming_MAX) { armed = false; Serial.println("Disarmed"); } } void spin_state(){ Serial.print("\t Spin State:\t"); if (pwm_ch4 > left_AT) { left_spin = true; right_spin = false; not_spinning = false; Serial.println("Spinning Left"); } if (pwm_ch4 &