การใช้งานหลักอย่างหนึ่งของ Bluetooth devices คือการส่ง sensor data ไปยังอุปกรณ์อื่น หรือใช้เพื่อคำนวณแบบ real time เพื่อทำงานเฉพาะอย่าง หรือเพียงแค่แสดงผลลัพธ์สุดท้าย ข้อมูลนี้ยังสามารถใช้เพื่อทำให้งานเป็นอัตโนมัติ ควบคุมอุปกรณ์ และอื่น ๆ อีกมากมาย
ในบทช่วยสอนนี้ เราจะได้เรียนรู้วิธีส่ง sensor data จาก Arduino ไปยัง app บน smart phone ของเรา
ซอฟต์แวร์ -
ในการรับ sensor data เราจะใช้ The Arduino Bluetooth Terminal ( คลิกที่นี่เพื่อดาวน์โหลด )
ฮาร์ดแวร์ -
sensors หลายประเภทสามารถใช้งานร่วมกับ Arduino และใช้งานกับ HC-05 Bluetooth module ได้อย่างง่ายดาย ในบทช่วยสอนนี้ เราจะมาดูกันว่าจะส่ง sensor data นี้ไปยัง app ได้อย่างไร HC-05 เป็น Bluetooth module ยอดนิยมที่มักใช้กับ Arduino boards สำหรับ wireless communication ช่วยให้คุณสามารถสร้าง wireless link ระหว่างโปรเจกต์ Arduino ของคุณกับอุปกรณ์อื่น ๆ เช่น smart phones, tablets หรือ microcontrollers อื่น ๆ ทำให้คุณสามารถควบคุมหรือแลกเปลี่ยนข้อมูลแบบไร้สายได้
นี่คือคุณสมบัติหลักและรายละเอียดบางอย่างเกี่ยวกับ HC-05 Bluetooth module:
- Bluetooth Version: โมดูล HC-05 รองรับ Bluetooth version 2.0+EDR (Enhanced Data Rate) ซึ่งให้การเชื่อมต่อที่ค่อนข้างเสถียรและเชื่อถือได้
- Serial Communication: โมดูลใช้ serial communication interface เพื่อสื่อสารกับ Arduino โดยเชื่อมต่อกับ Arduino board โดยใช้ UART pins ซึ่งมีป้ายกำกับว่า RX (receive) และ TX (transmit)
- Operating Modes: โมดูลมี operating modes หลักสองโหมด: Command Mode (AT Mode) และ Data Mode (Receiving and Sending data) ใน AT Mode คุณสามารถส่ง configuration commands ไปยังโมดูล โดยระบุ parameters เช่น ชื่อ Bluetooth, PIN code และ operating mode ใน Data Mode คุณสามารถส่งและรับข้อมูลได้
- Power Supply: โมดูล HC-05 ต้องการแหล่งจ่ายไฟประมาณ 3.3V อย่างไรก็ตาม โดยปกติแล้วจะทนทานต่อ 5V logic levels ทำให้เข้ากันได้กับบอร์ด Arduino ส่วนใหญ่
ในโปรเจกต์นี้ เราจะใช้ input data จาก 10k Ω potentiometer (เราสามารถใช้ sensor อื่น ๆ ได้) ตาม schematic (ที่ด้านล่างของหน้า) middle pin ของ potentiometer คือ data output pin และอีก 2 pins คือ GND และ VCC (สามารถสลับกันได้ เนื่องจากเราไม่ได้ใช้งานเฉพาะเจาะจงยกเว้นเพื่อจ่ายไฟ) ในที่นี้ data จะถูกส่งไปยัง analog pin 1 (A1) ของ Arduino ของเรา ซึ่งจะถูกส่งไปยัง smart phone ผ่าน HC-05
หากต้องการส่ง multiple data inputs เราเพียงแค่ wire เข้ากับ Arduino และ store ไว้ใน variable ซึ่งจะถูกส่งไปยัง smart phone ผ่าน code
แม้ว่าเราจะใช้ HC-05 Bluetooth module สำหรับโปรเจกต์นี้ซึ่งมีราคาถูกและ durable มาก แต่เราใช้ voltage divider circuit เพื่อให้แน่ใจว่า RXD pin จะไม่เสียหาย โดยทำได้โดยการ attaching 1k Ω potentiometer คร่อม RXD และ Pin 11 และ 2k Ω potentiometer คร่อม RXD และ Ground
โค้ด -
โค้ดที่คุณให้มาเป็น Arduino sketch ที่ตั้งค่า SoftwareSerial communication กับ Bluetooth module และอ่านค่าจาก potentiometer จากนั้นจะ maps ค่า potentiometer จาก range 0-1023 ไปยัง range 0-180 และ sends ผ่าน Bluetooth
มาดูโค้ดทีละขั้นตอนกัน:
การรวม Libraries:
- โค้ดเริ่มต้นด้วยการ including the SoftwareSerial library ซึ่ง allows serial communication บน digital pins อื่น ๆ นอกเหนือจาก default RX และ TX pins ของ Arduino
การเริ่มต้น Variables:
- โค้ด declares a SoftwareSerial object ชื่อ "bluetooth" และ defines pin 10 เป็น RX pin และ pin 11 เป็น TX pin สำหรับ Bluetooth module นอกจากนี้ ยัง declares a variable ชื่อ "potentiometer" ชนิด int เพื่อ store the potentiometer pin number ซึ่ง is defined as "A1"
Setup Function:
- ใน function นี้ เราจะ initialize the Bluetooth communication ที่ baud rate 9600 และ set the variable "potentiometer" as an input
Loop Function:
- It reads the value จาก potentiometer โดยใช้ "analogRead()" และ maps the value จาก 0-1023 ไปยัง 0-180 degrees โดยใช้ "map()" It then sends the mapped value ผ่าน Bluetooth โดยใช้ "bluetooth.print()" function A semicolon (";") is added as a *delimiter เพื่อ separate values Then, there's a delay of 20 milliseconds ก่อนที่ loop จะ repeats
ข้อควรทราบ:
- เพื่อ best results อย่า replace the TX และ RX pins ของ Bluetooth module และ follow all the proper instructions ใน Hardware section
- A delimiter is a symbol or character used to separate individual pieces of data within a larger sequence In this case, we use the semicolon to let the app know that the data has ended and make it wait for the next piece of data Without this line, the app won't know when the data has ended and will continue adding the older data to the newly updated one
- Additionally, make sure you have the required libraries installed In this case, you need to have the "SoftwareSerial" library installed ใน Arduino IDE ของคุณ You can install it โดย going to "Sketch > Include Library > Manage Libraries" และ searching for "SoftwareSerial"
แอป -
คำแนะนำการตั้งค่าแอปพลิเคชัน:
- Power the Arduino
- Now, the HC-05 module should blink rapidly
- Next, open the app
- Allow it to access Bluetooth settings
- In the list, select HC-05
- Select receiver mode
- Now the module should blink once every 2 seconds
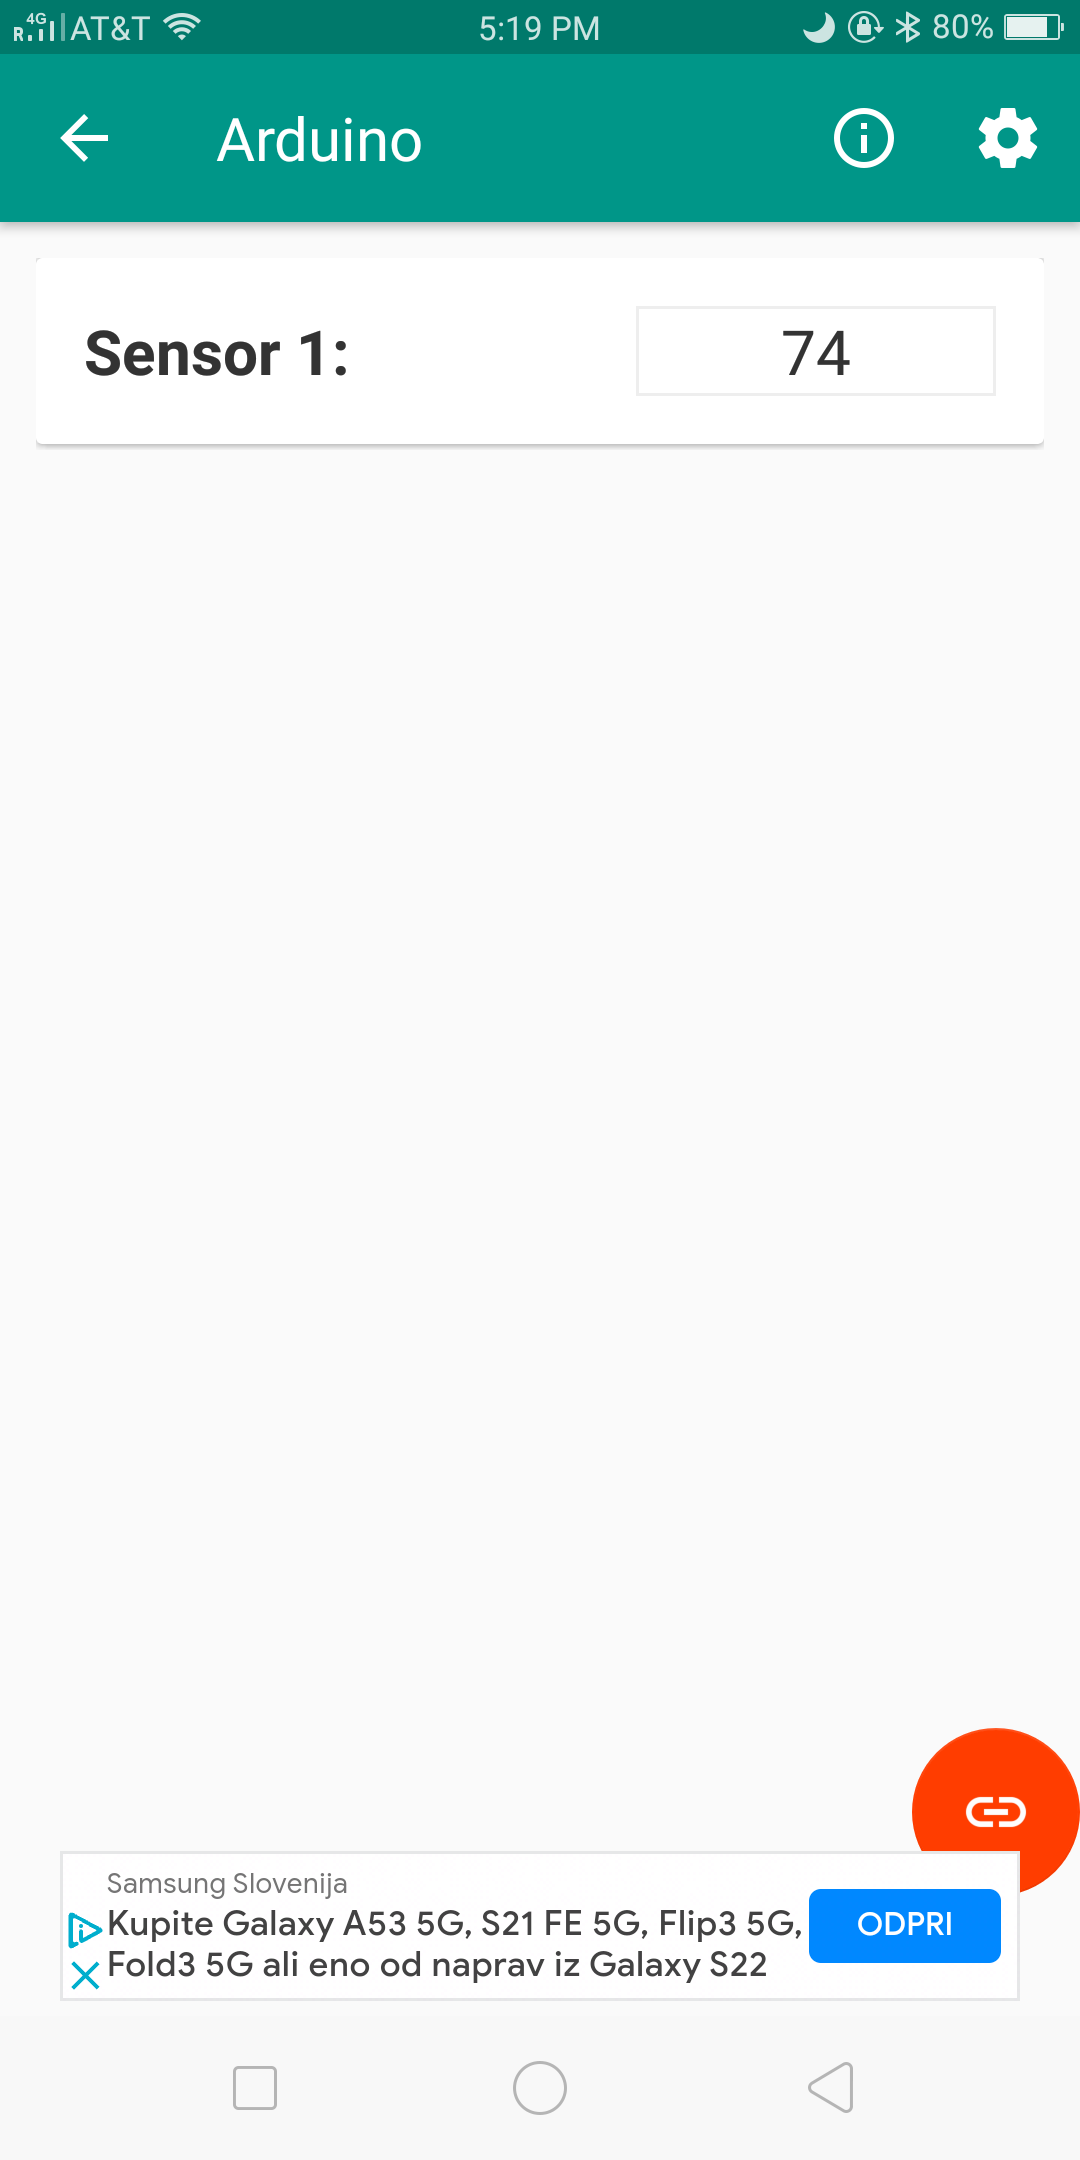
- Here, click the link 🔗 icon on the bottom right hand corner
- It will load for some time now
- Afterwards, this is what you will see -
รายละเอียดทางเทคนิคเพิ่มเติม
Wireless Serial Sensor Telemetry
โปรเจกต์นี้มี framework ระดับมืออาชีพสำหรับการ streaming real-time sensor data จาก Arduino ไปยัง smart phone หรือ PC ผ่าน Bluetooth
- HC-05 Master/Slave Pipeline: กำหนดค่า HC-05 module โดยใช้ AT commands Arduino จะ captures data จาก multiple sensors (e.g., Temp, Light, Motion) และ packs them into formatted strings sent over a 9600-baud UART link
- Android Terminal Interface: ใช้ Bluetooth Terminal App มาตรฐาน ผู้ใช้สามารถเห็น sensor values แบบ real-time และ send character-based commands กลับไปยัง Arduino (like "L" for LED Toggle)
Scalability
- CSV Data Packing: firmware จะ formats the output as
Sensor1,Sensor2,Sensor3ทำให้ it easy for the receiving side to parse the data for charting หรือ logging