If you are searching for what are PWM pins in an Arduino board? Then this is the right place.
-PWM pins are digital pins on each Arduino that can give a variable amount of power that matches your needs. And they are usually used on some motors like the servo motors, and any actuator that you want to control the power given to it.
But in this project, I am going to show how to control a LED brightness using a potentiometer.
This project is made for beginners so I am going to use a block coding software that is more easier to use than Arduino IDE. It is called mBlock.
So, Let's start:
The first step is the wiring and here is the wiring diagram.
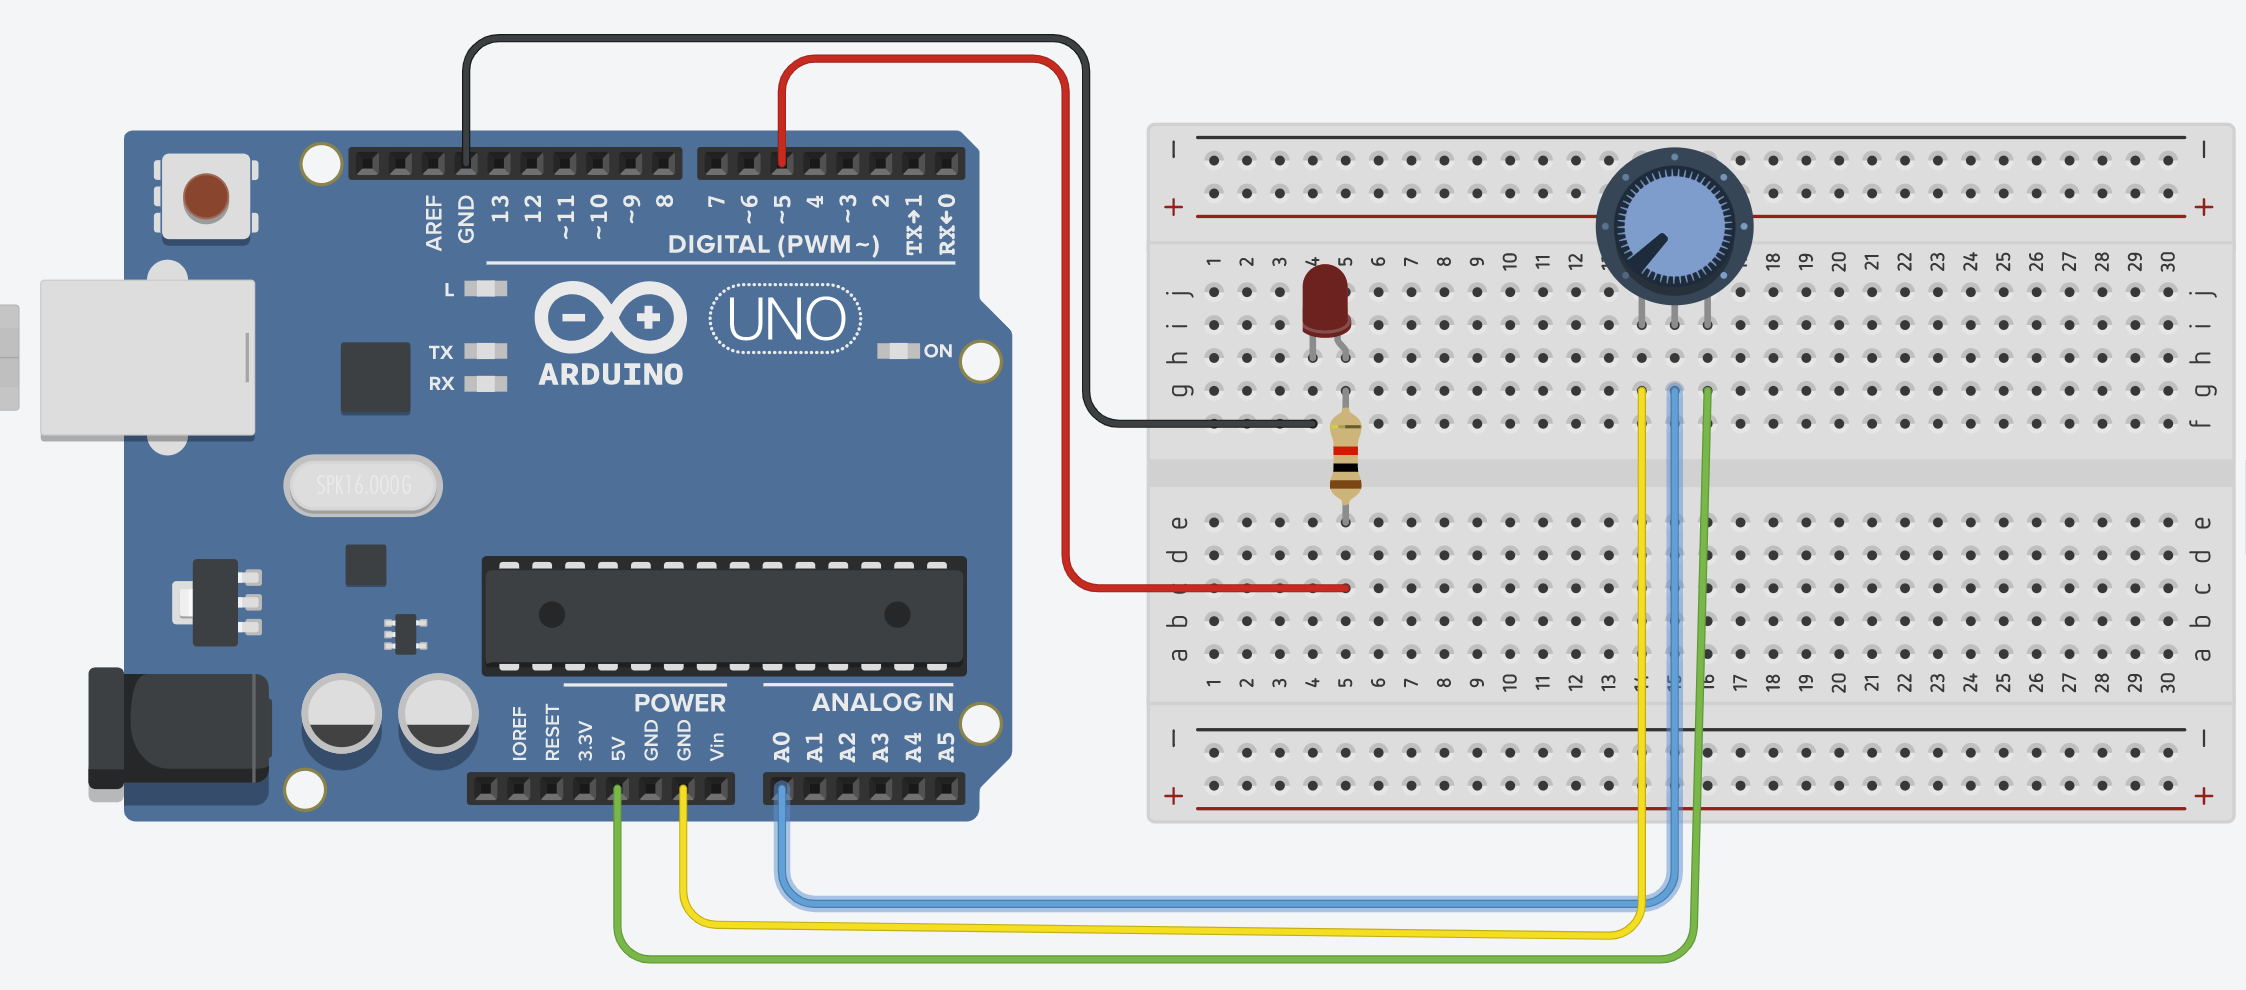
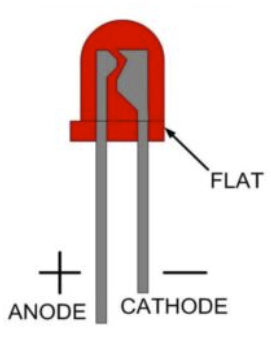
You need to connect the anode to digital pin 5 and the cathode to GND pin like this:
And then the potentiometer: the both pins on the sides are the same, one needs to be connected to the GND and the other to the Analog pin A0.
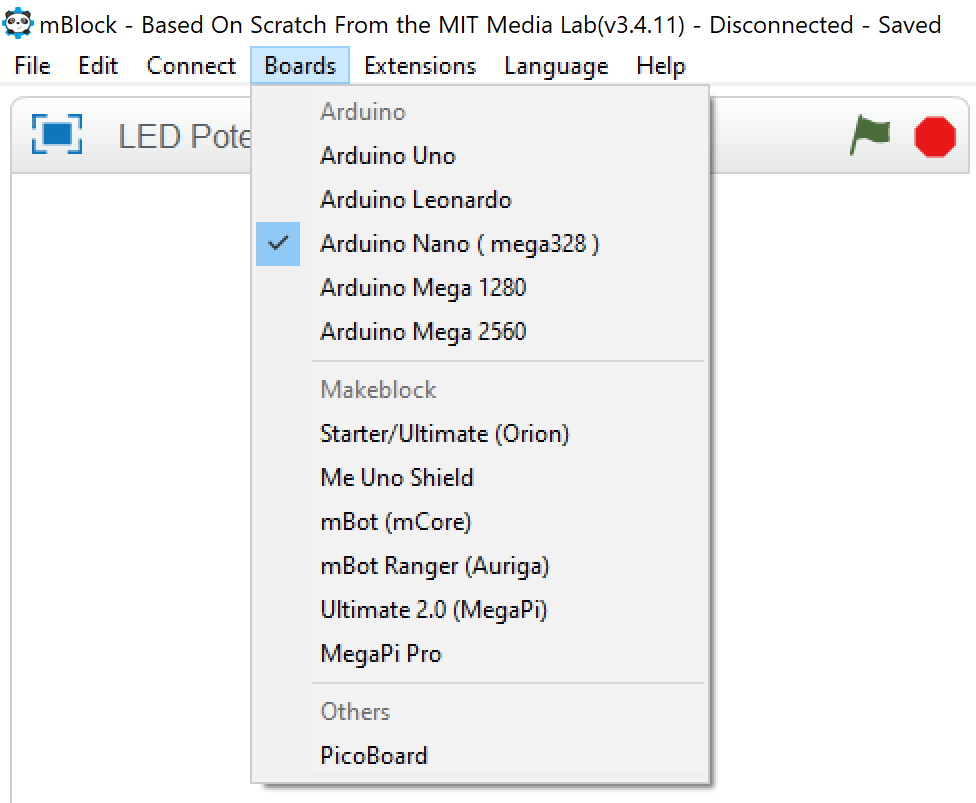
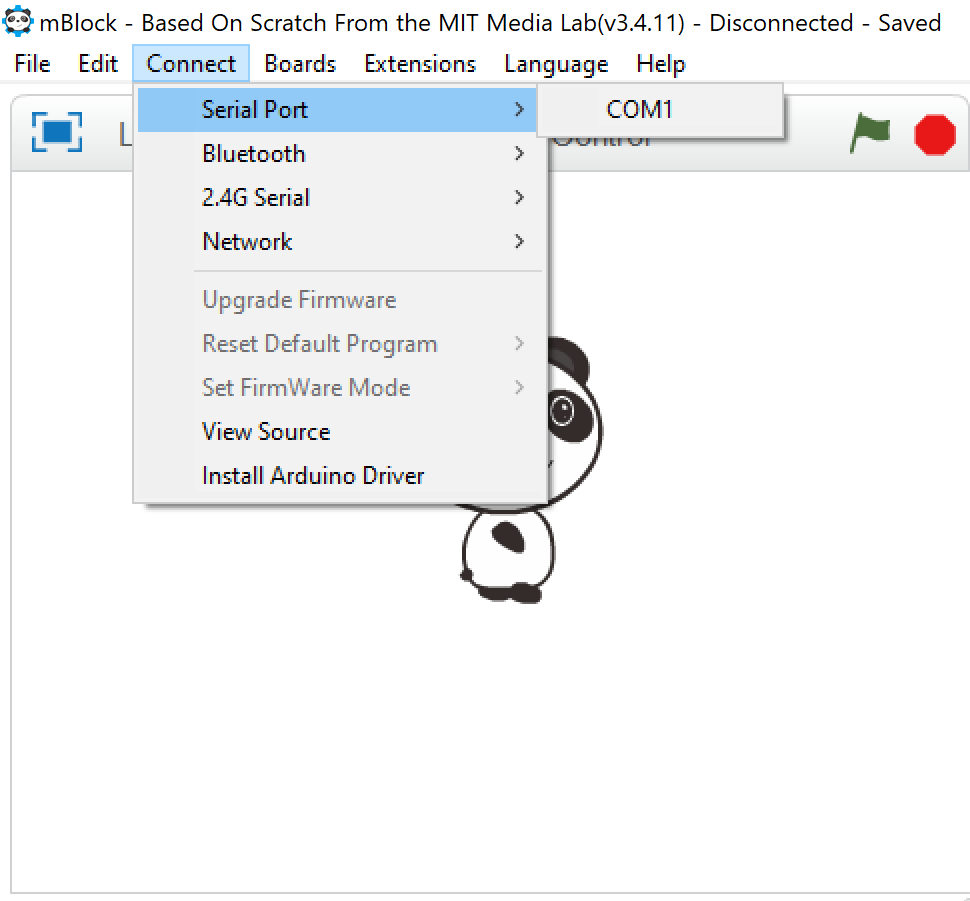
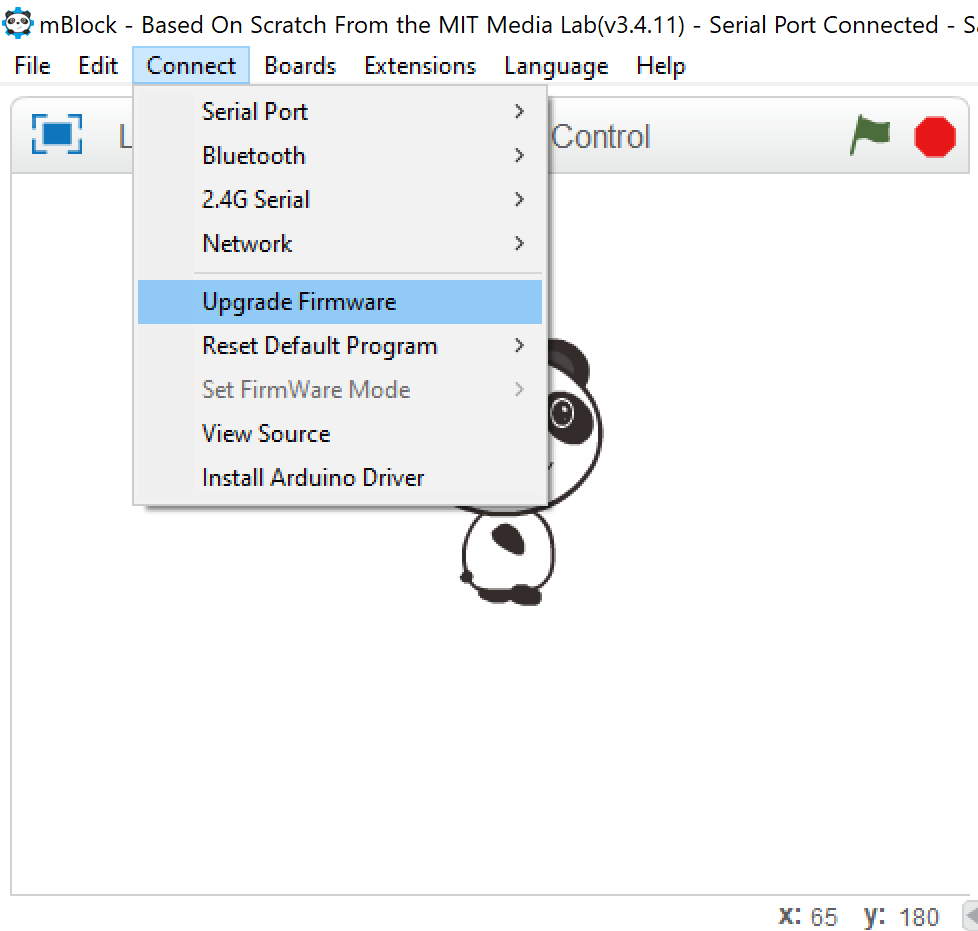
After wiring we need to code our board. So, First download mBlock(v3.4.11) from the mBlock website. And then follow these steps:

🛠️ เจาะลึกเบื้องหลังการทำงาน (Deep Dive / Technical Analysis)
Switches are "On" or "Off," but life isn't always binary. The Potentiometer-Controlled LED project introduces you to Analog Input, allowing you to create smooth, variable control over your electronics.
The Magic of Mapping
The Arduino's ADC (Analog-to-Digital Converter) reads the position of the potentiometer knob as a value between 0 and 1023. However, the brightness of an LED (via PWM) only goes from 0 to 255.
- The Solution: We use the
map()function in our code to translate the 0-1023 input into a 0-255 output, ensuring the LED fades smoothly as you turn the knob.
Hardware Components
- Arduino Uno/Nano: The logic processor.
- 10k-ohm Potentiometer: Your physical dial/input.
- LED and 220-ohm Resistor: The output.
- Breadboard and Jumper Wires.
Why This Matters
This simple setup is used in almost every control interface—from volume knobs on radios to dimmer switches in smart homes and joysticks on game controllers. Understanding how to "read" the physical position of a component is a key skill for any maker.