This is an Tutorial that tells you how to connect a 4 pin push button switch with the Arduino. The contraption allows an LED to be switched on when the push button is pressed.
Step 1: What You Need:
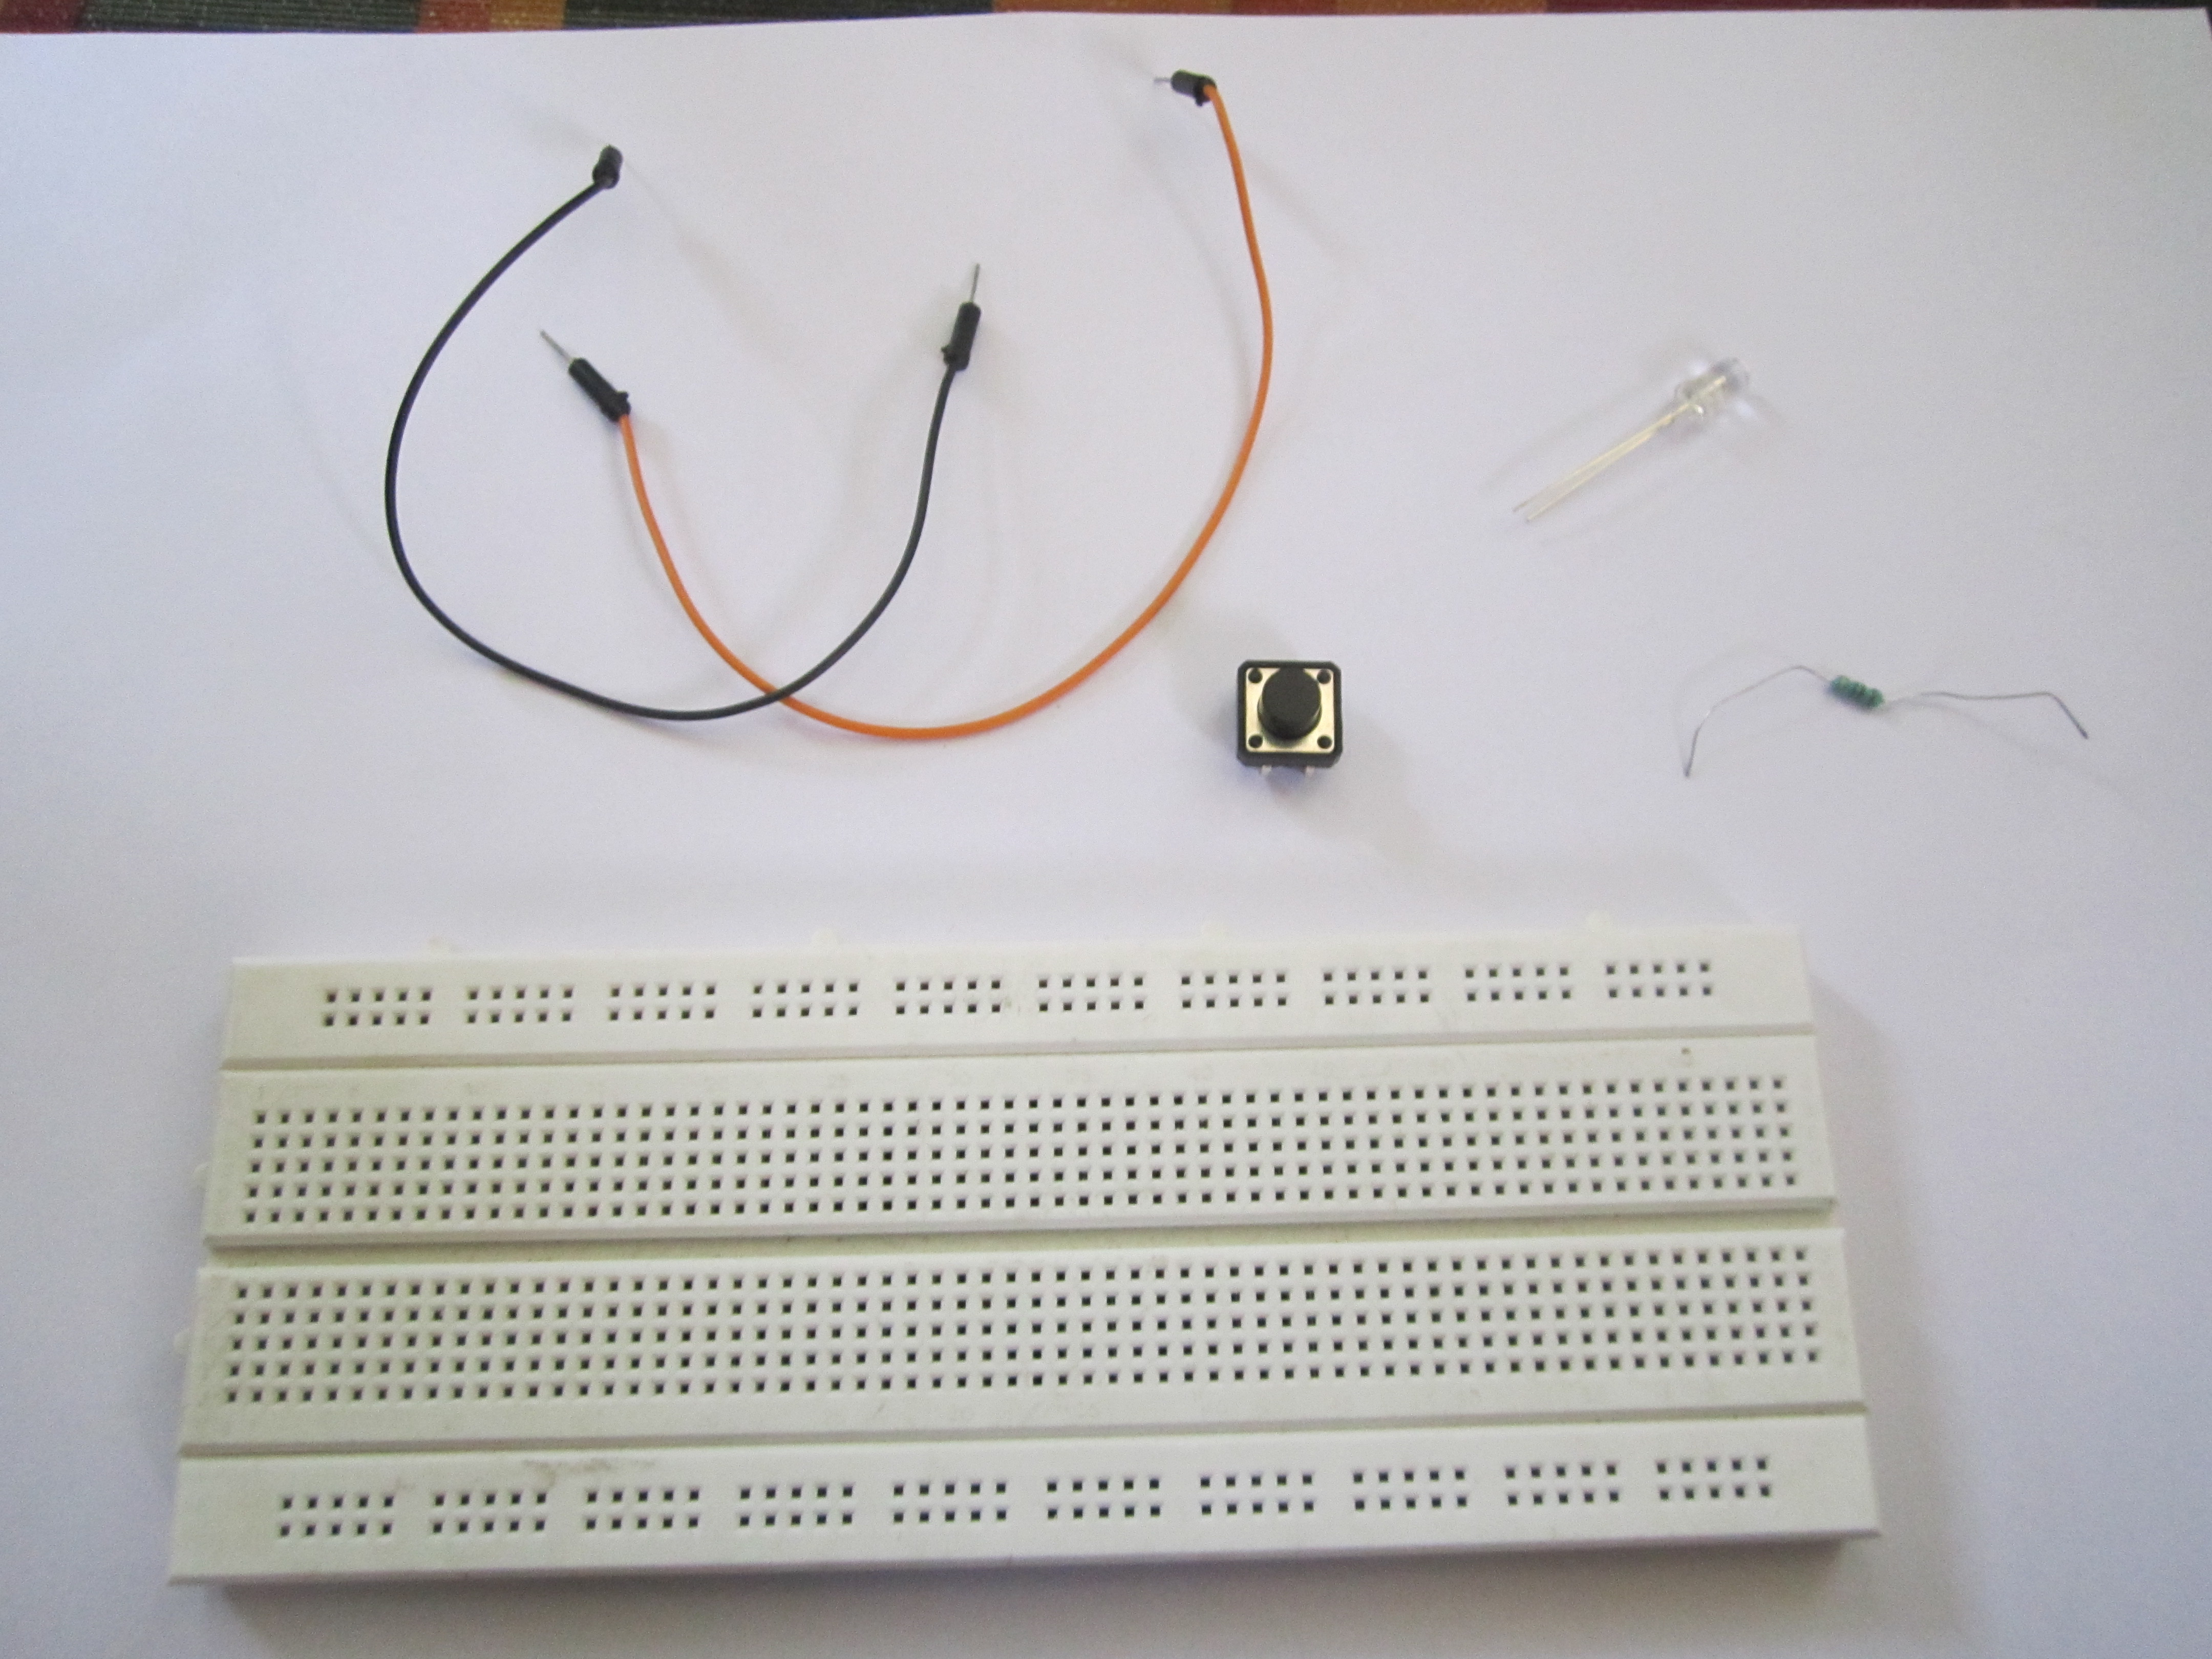
You need:
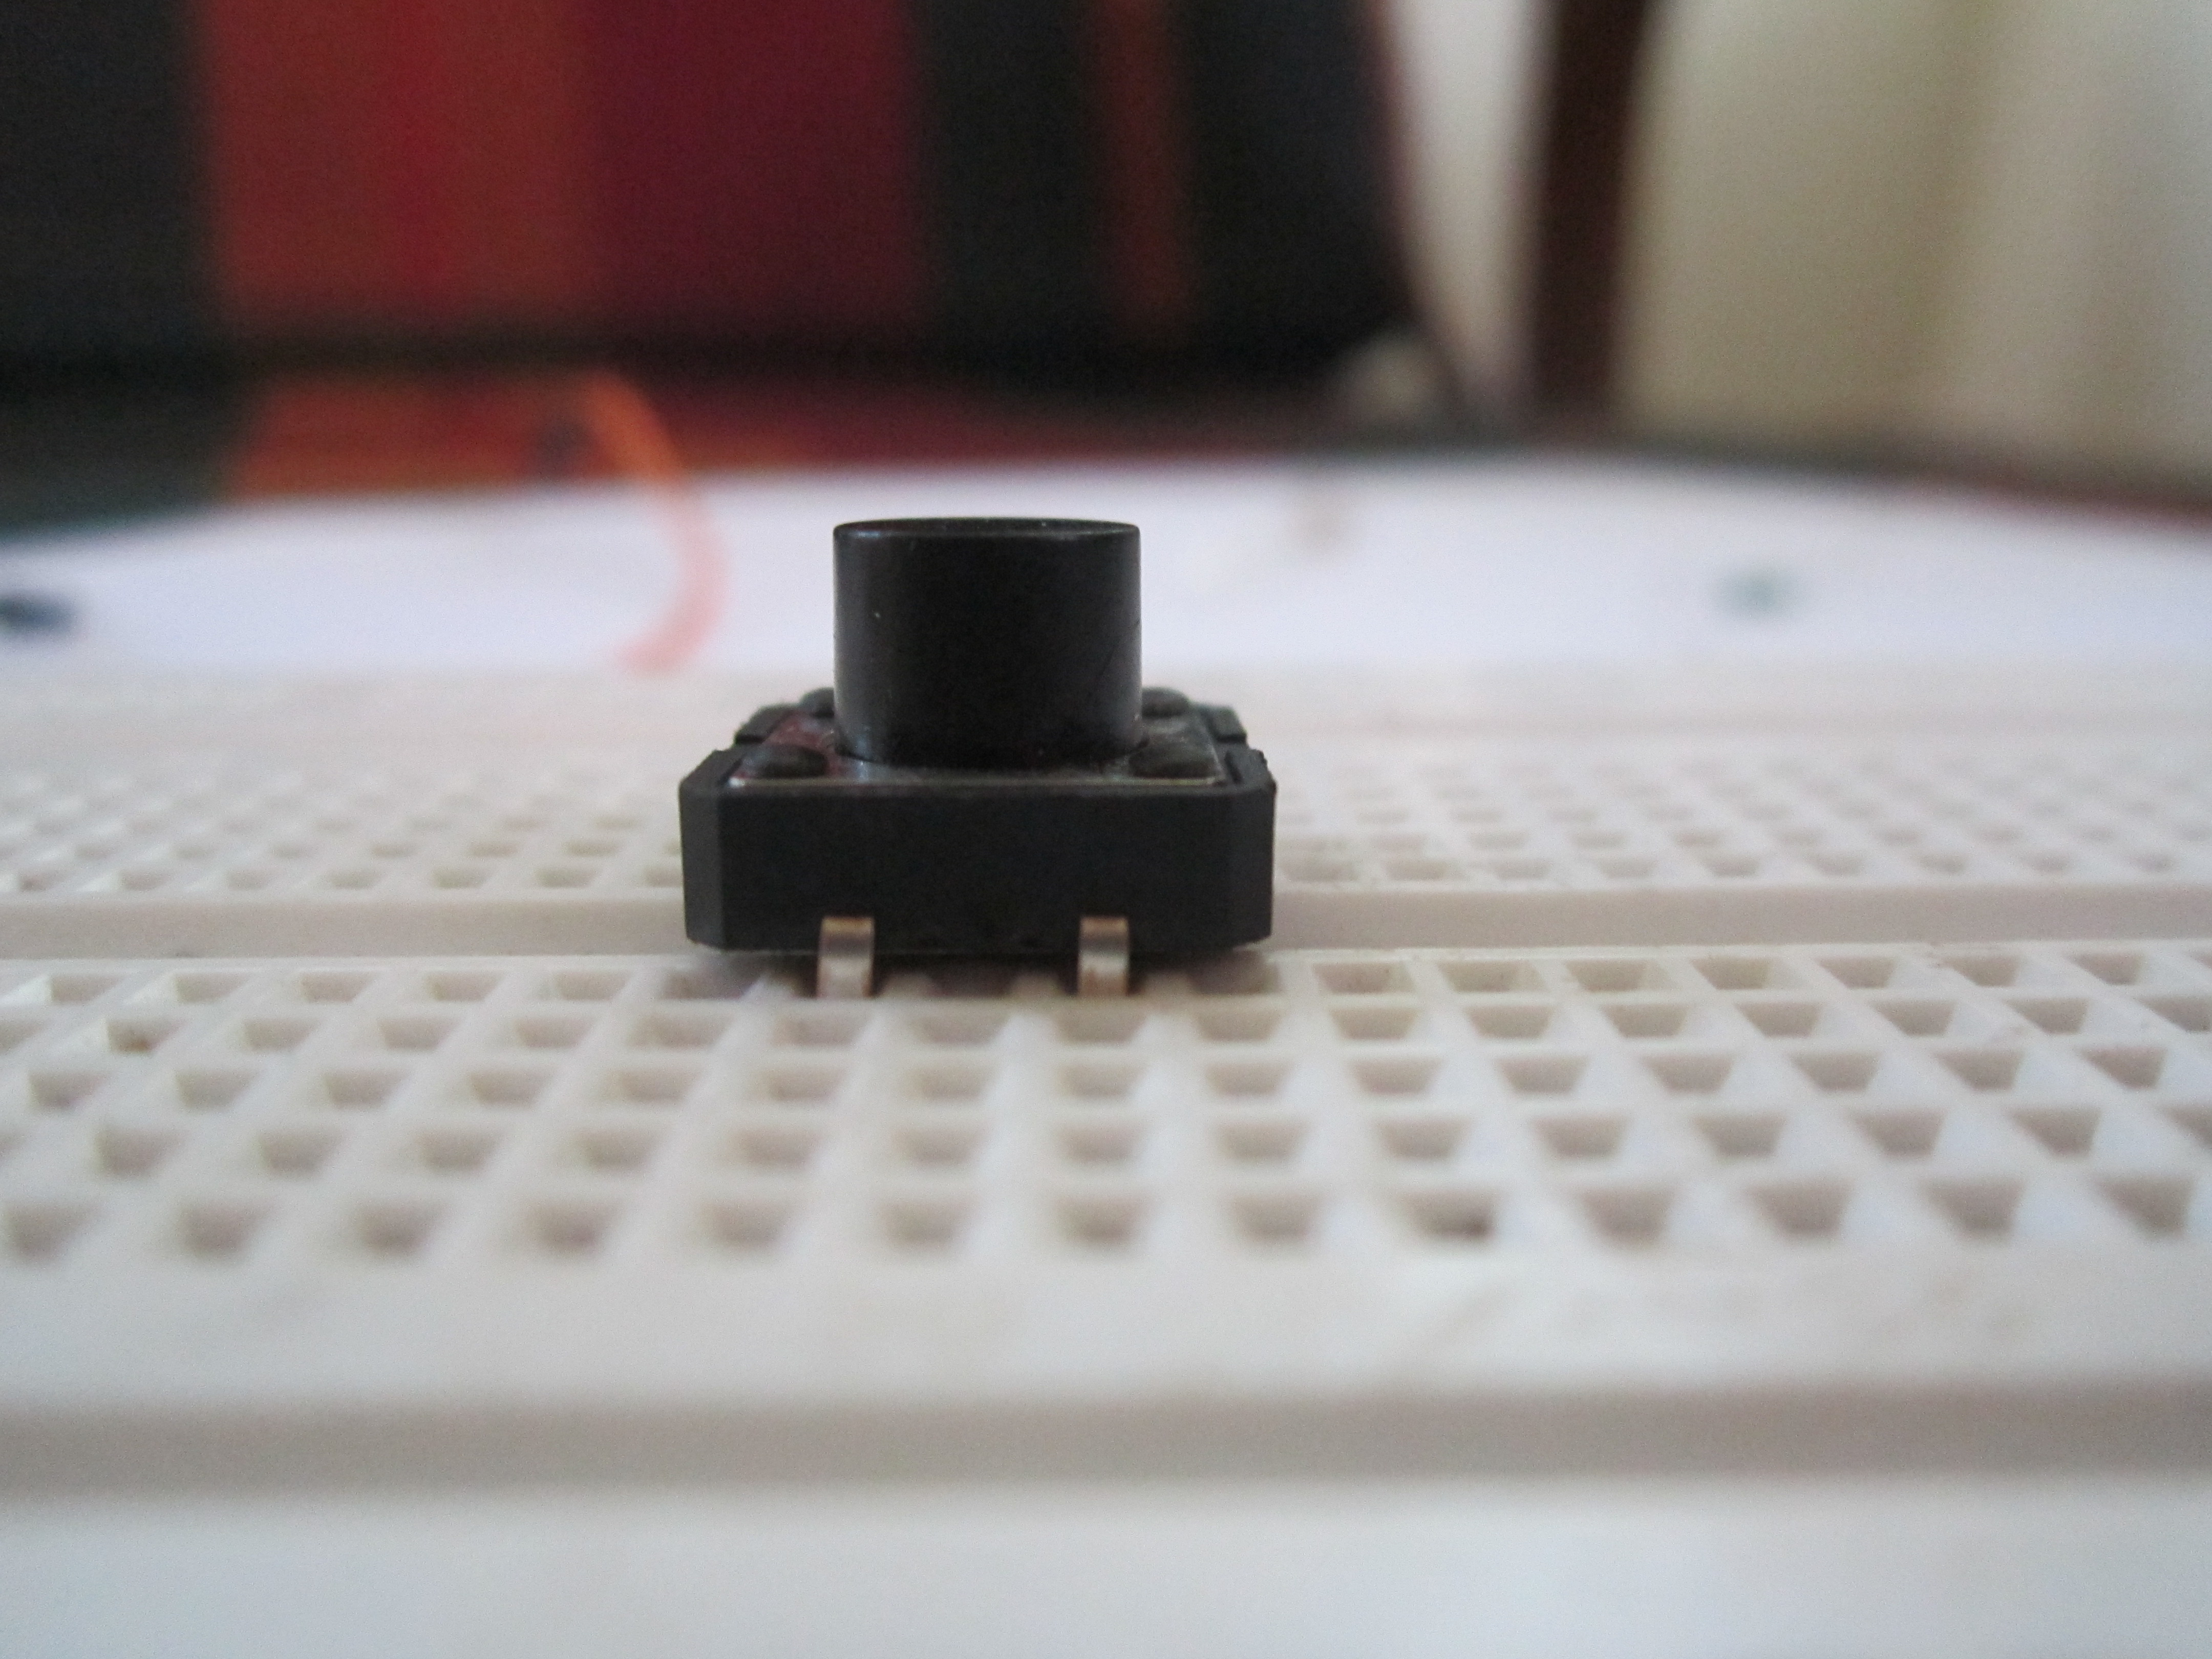
- A push button switch
- Arduino
- 1 Resistor (any value), I used a 220 ohm one.
- 2 Jumper cables(breadboard jumpers)
- 1 Breadboard (to make it easy)
- LED
Step 2:
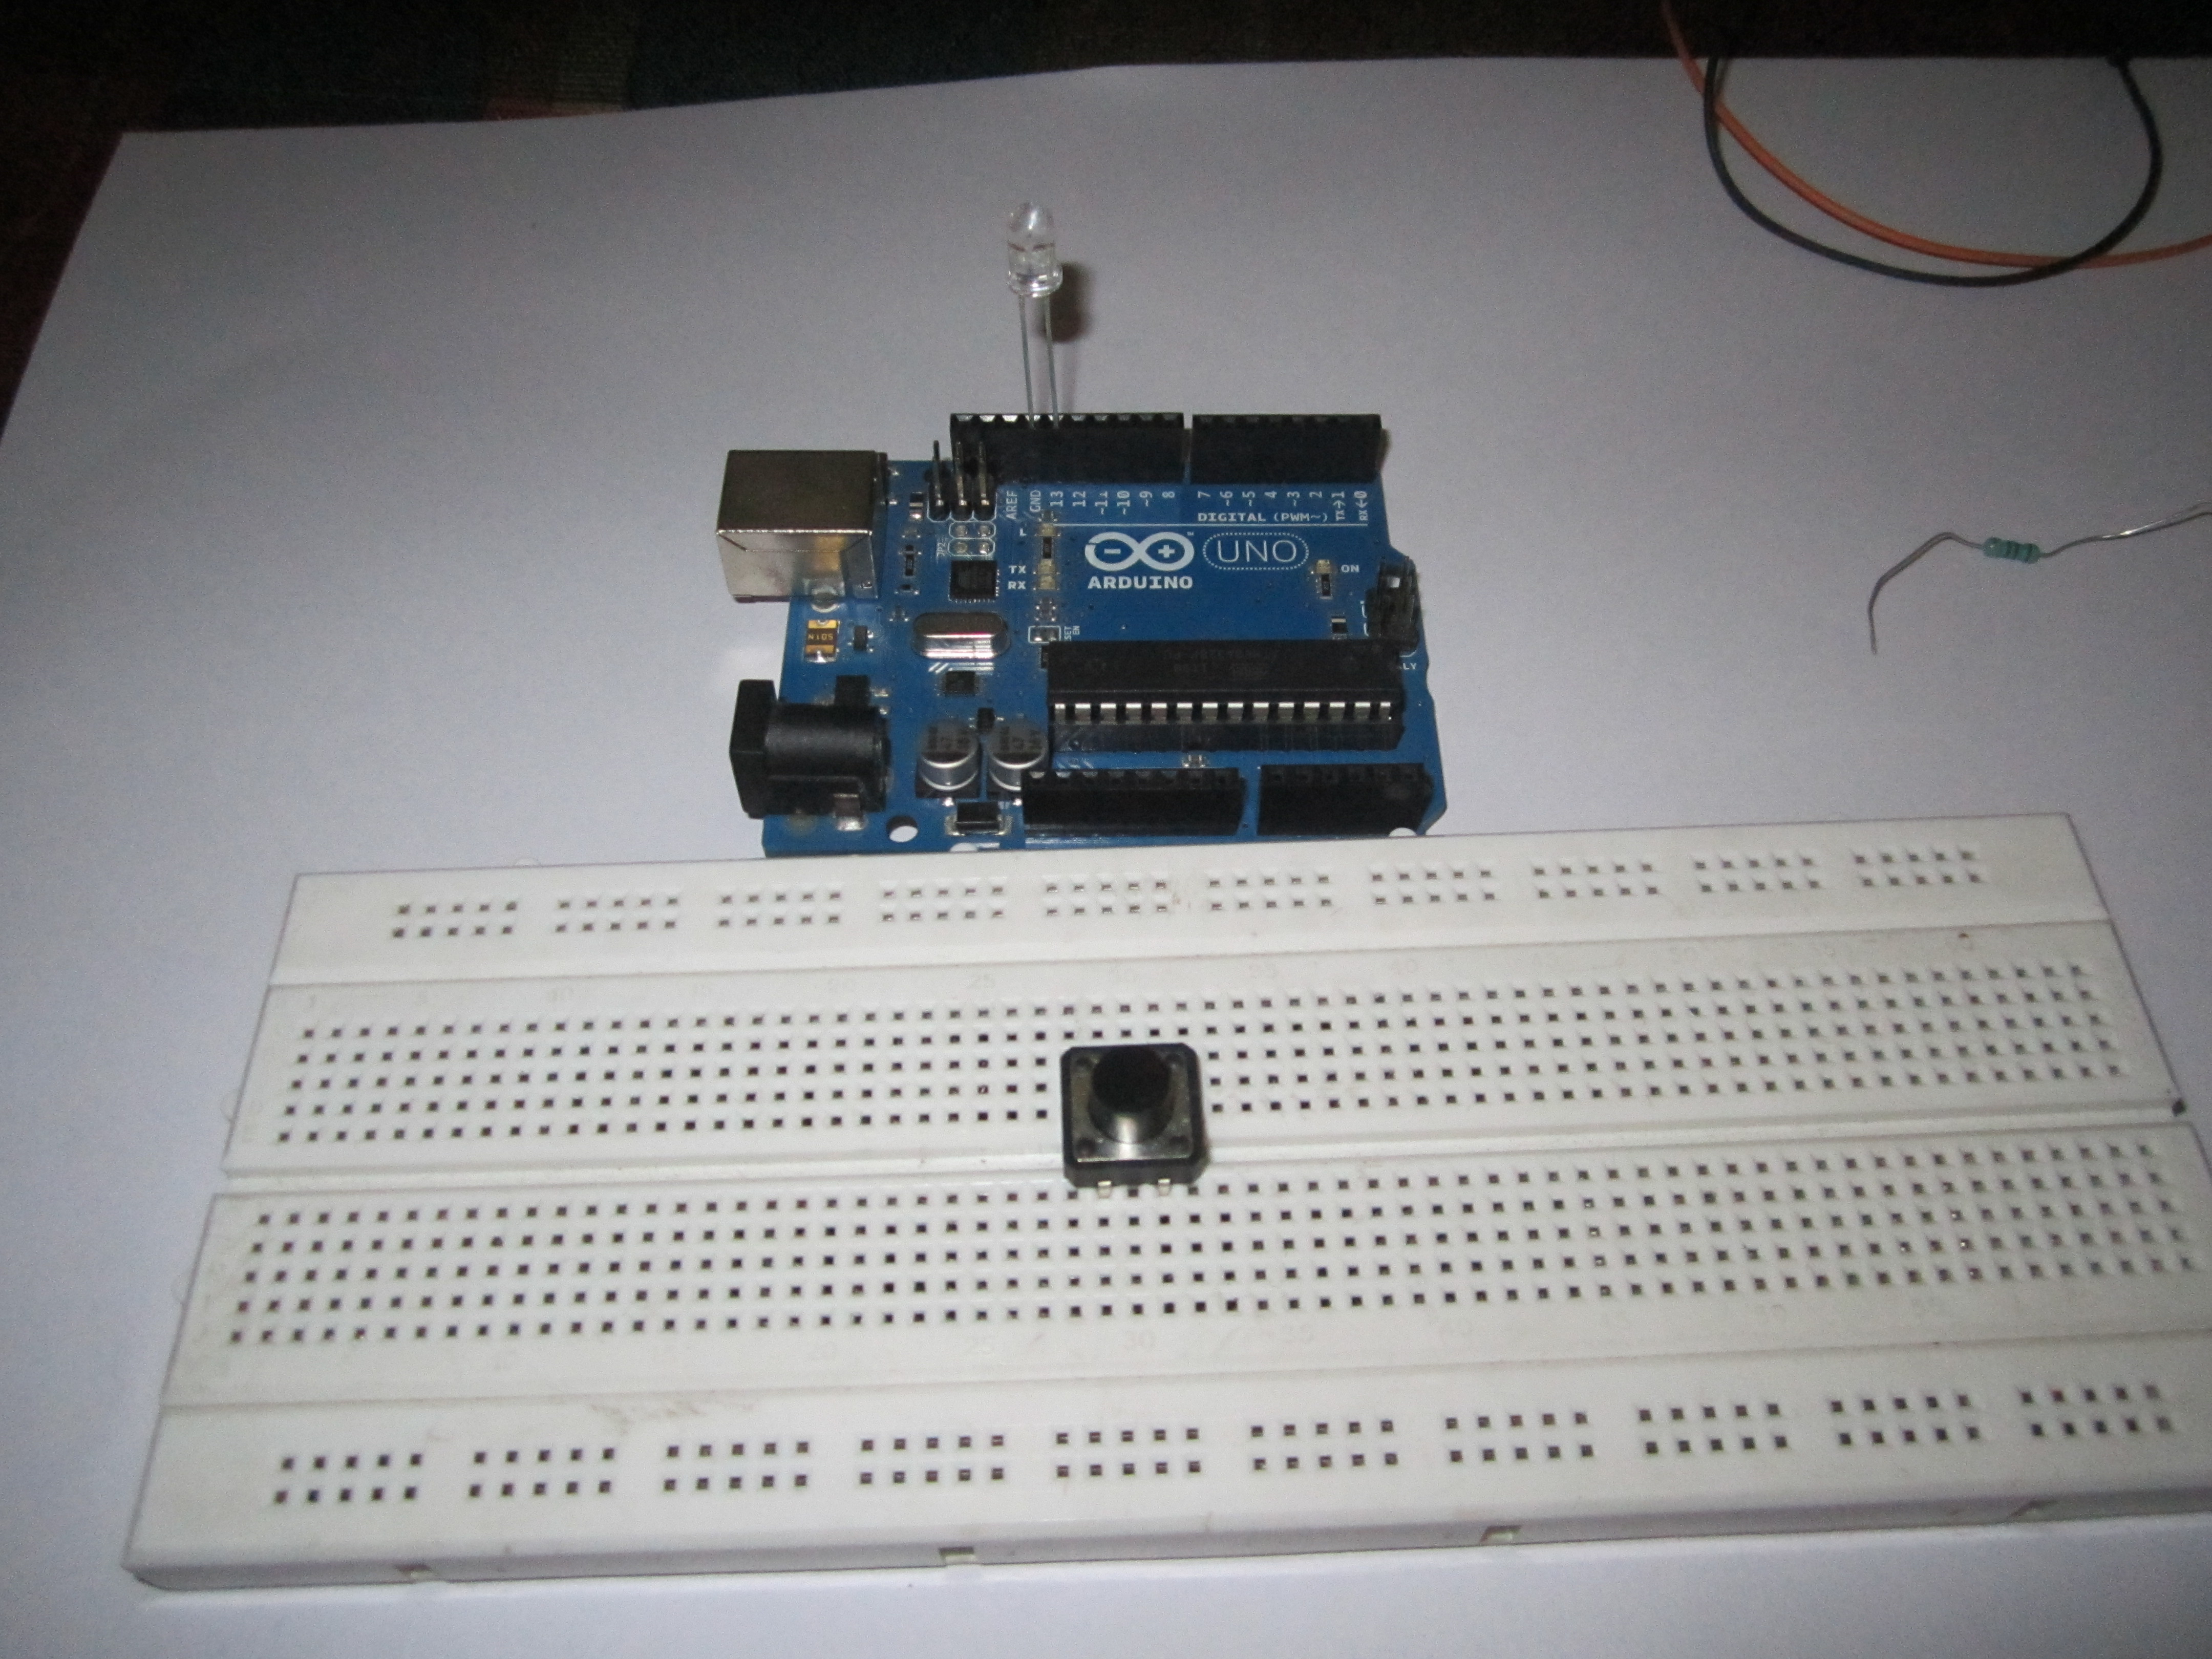
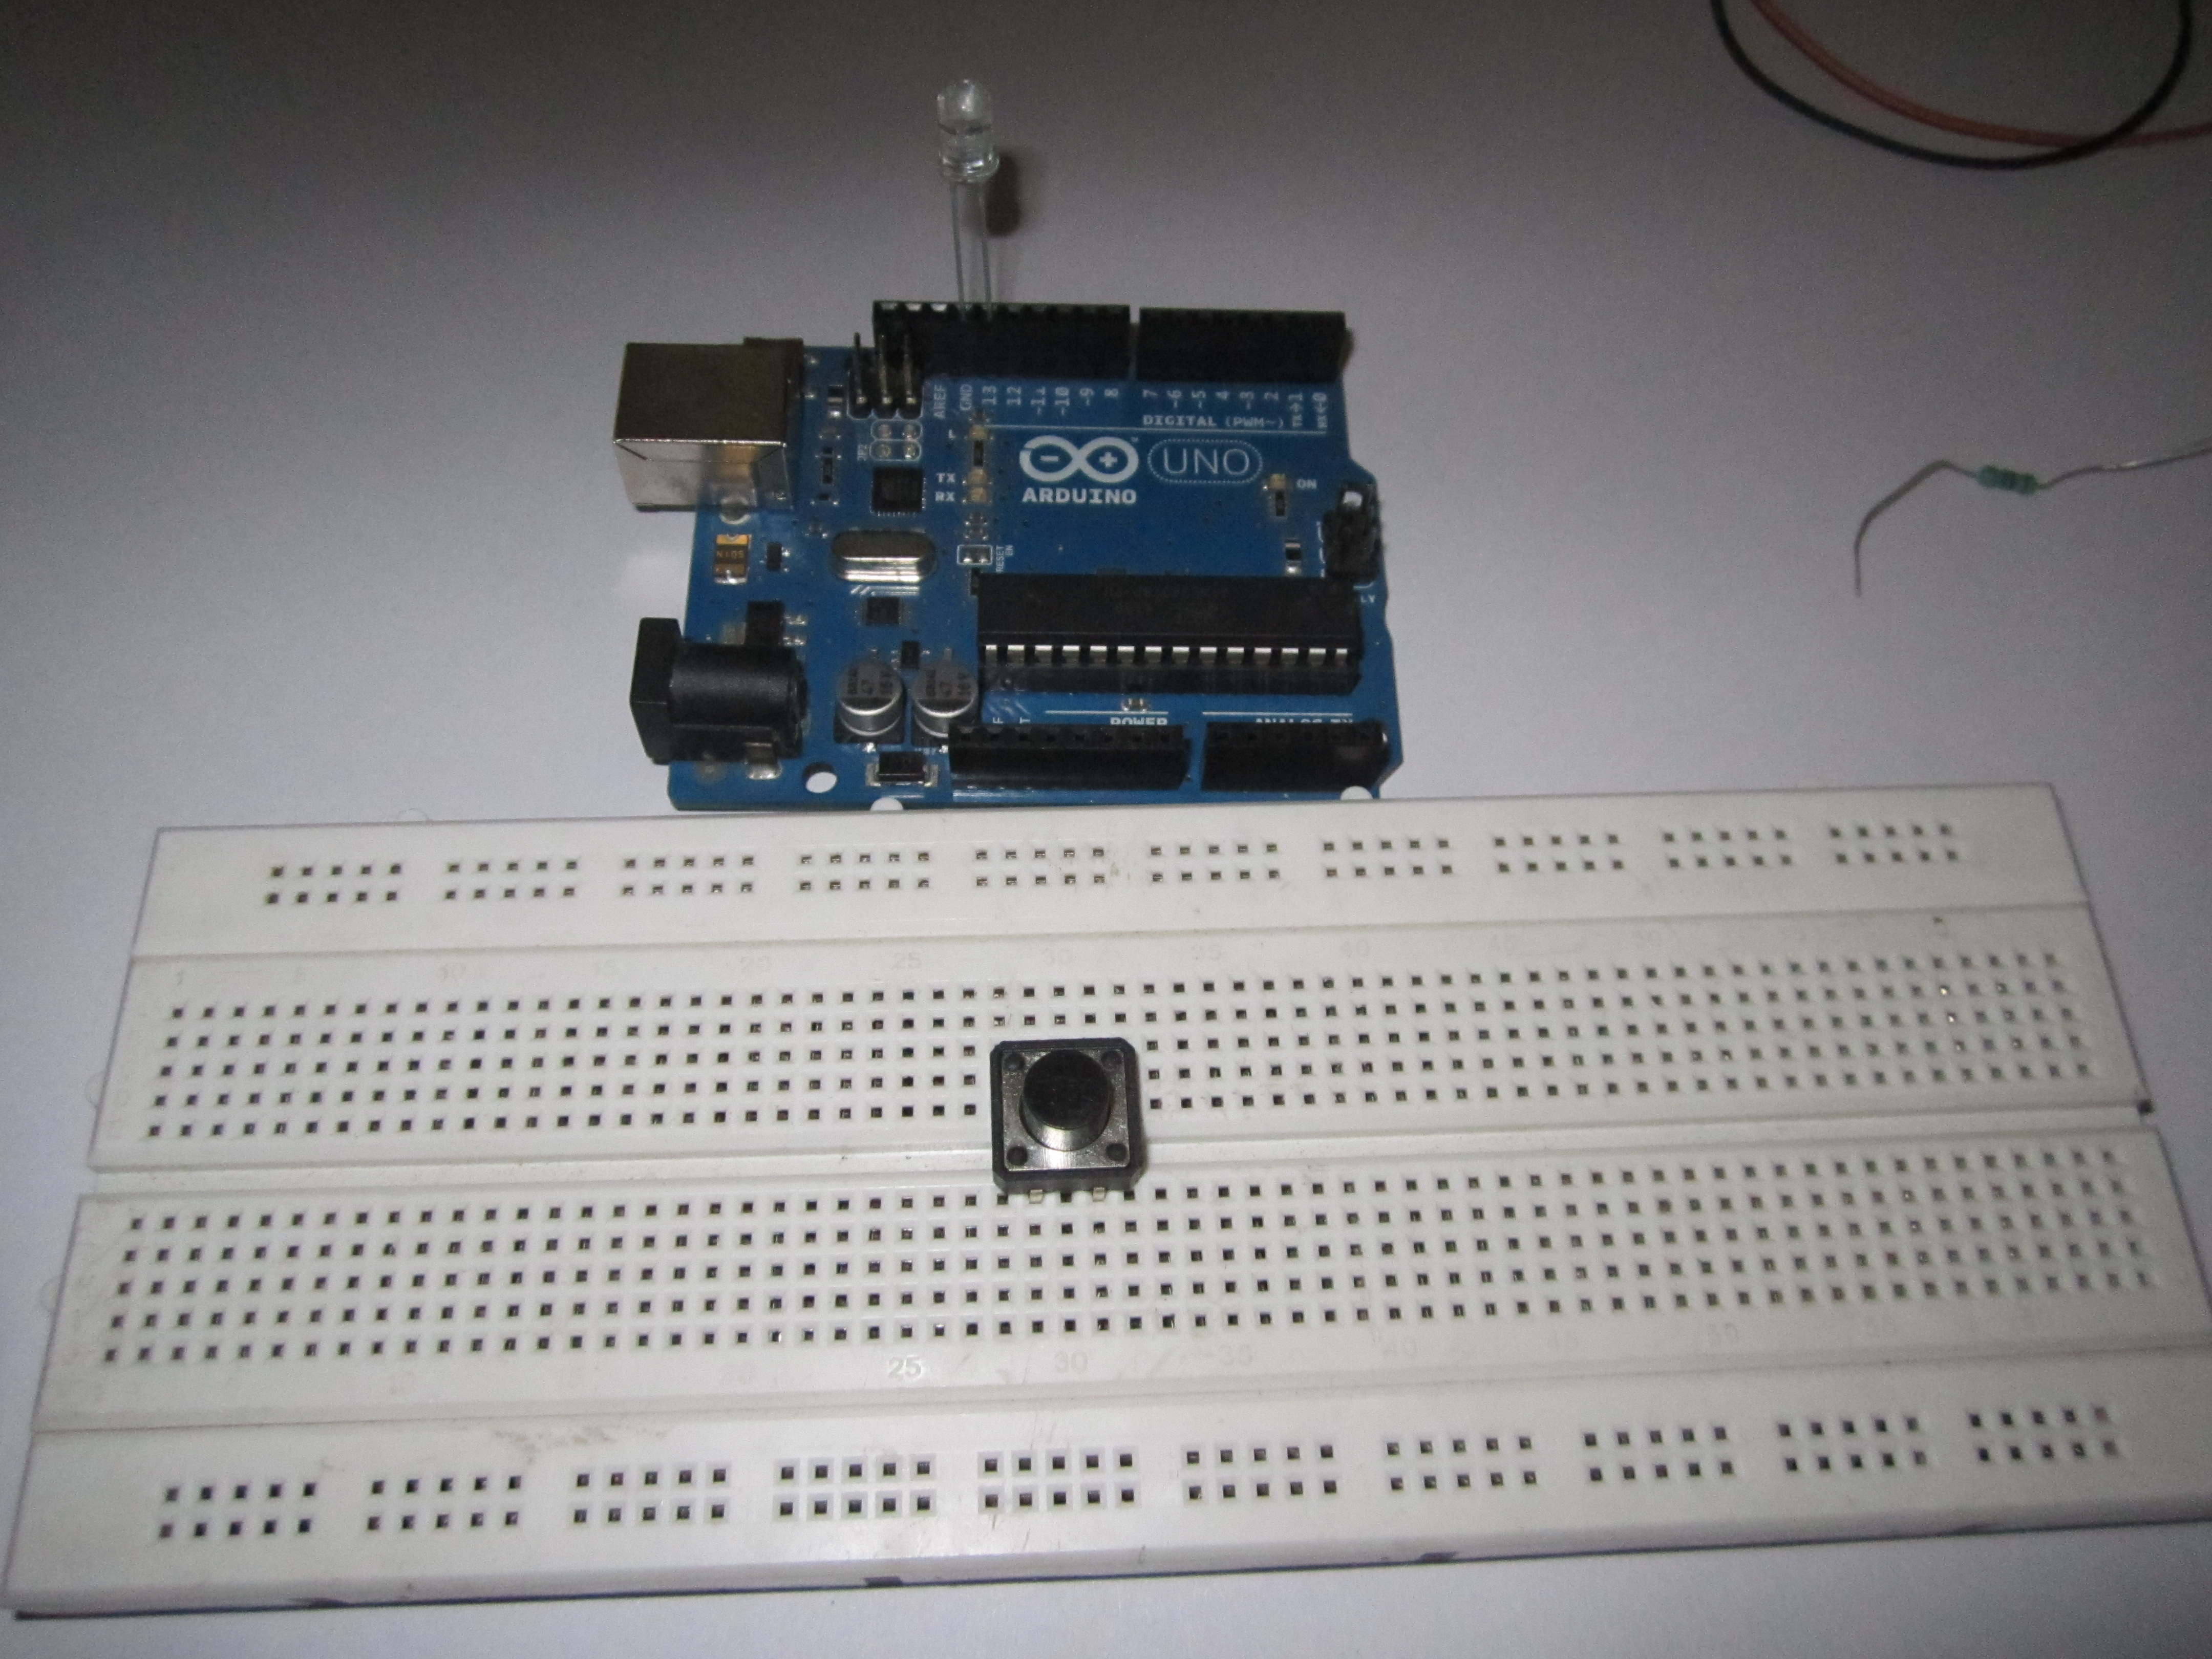
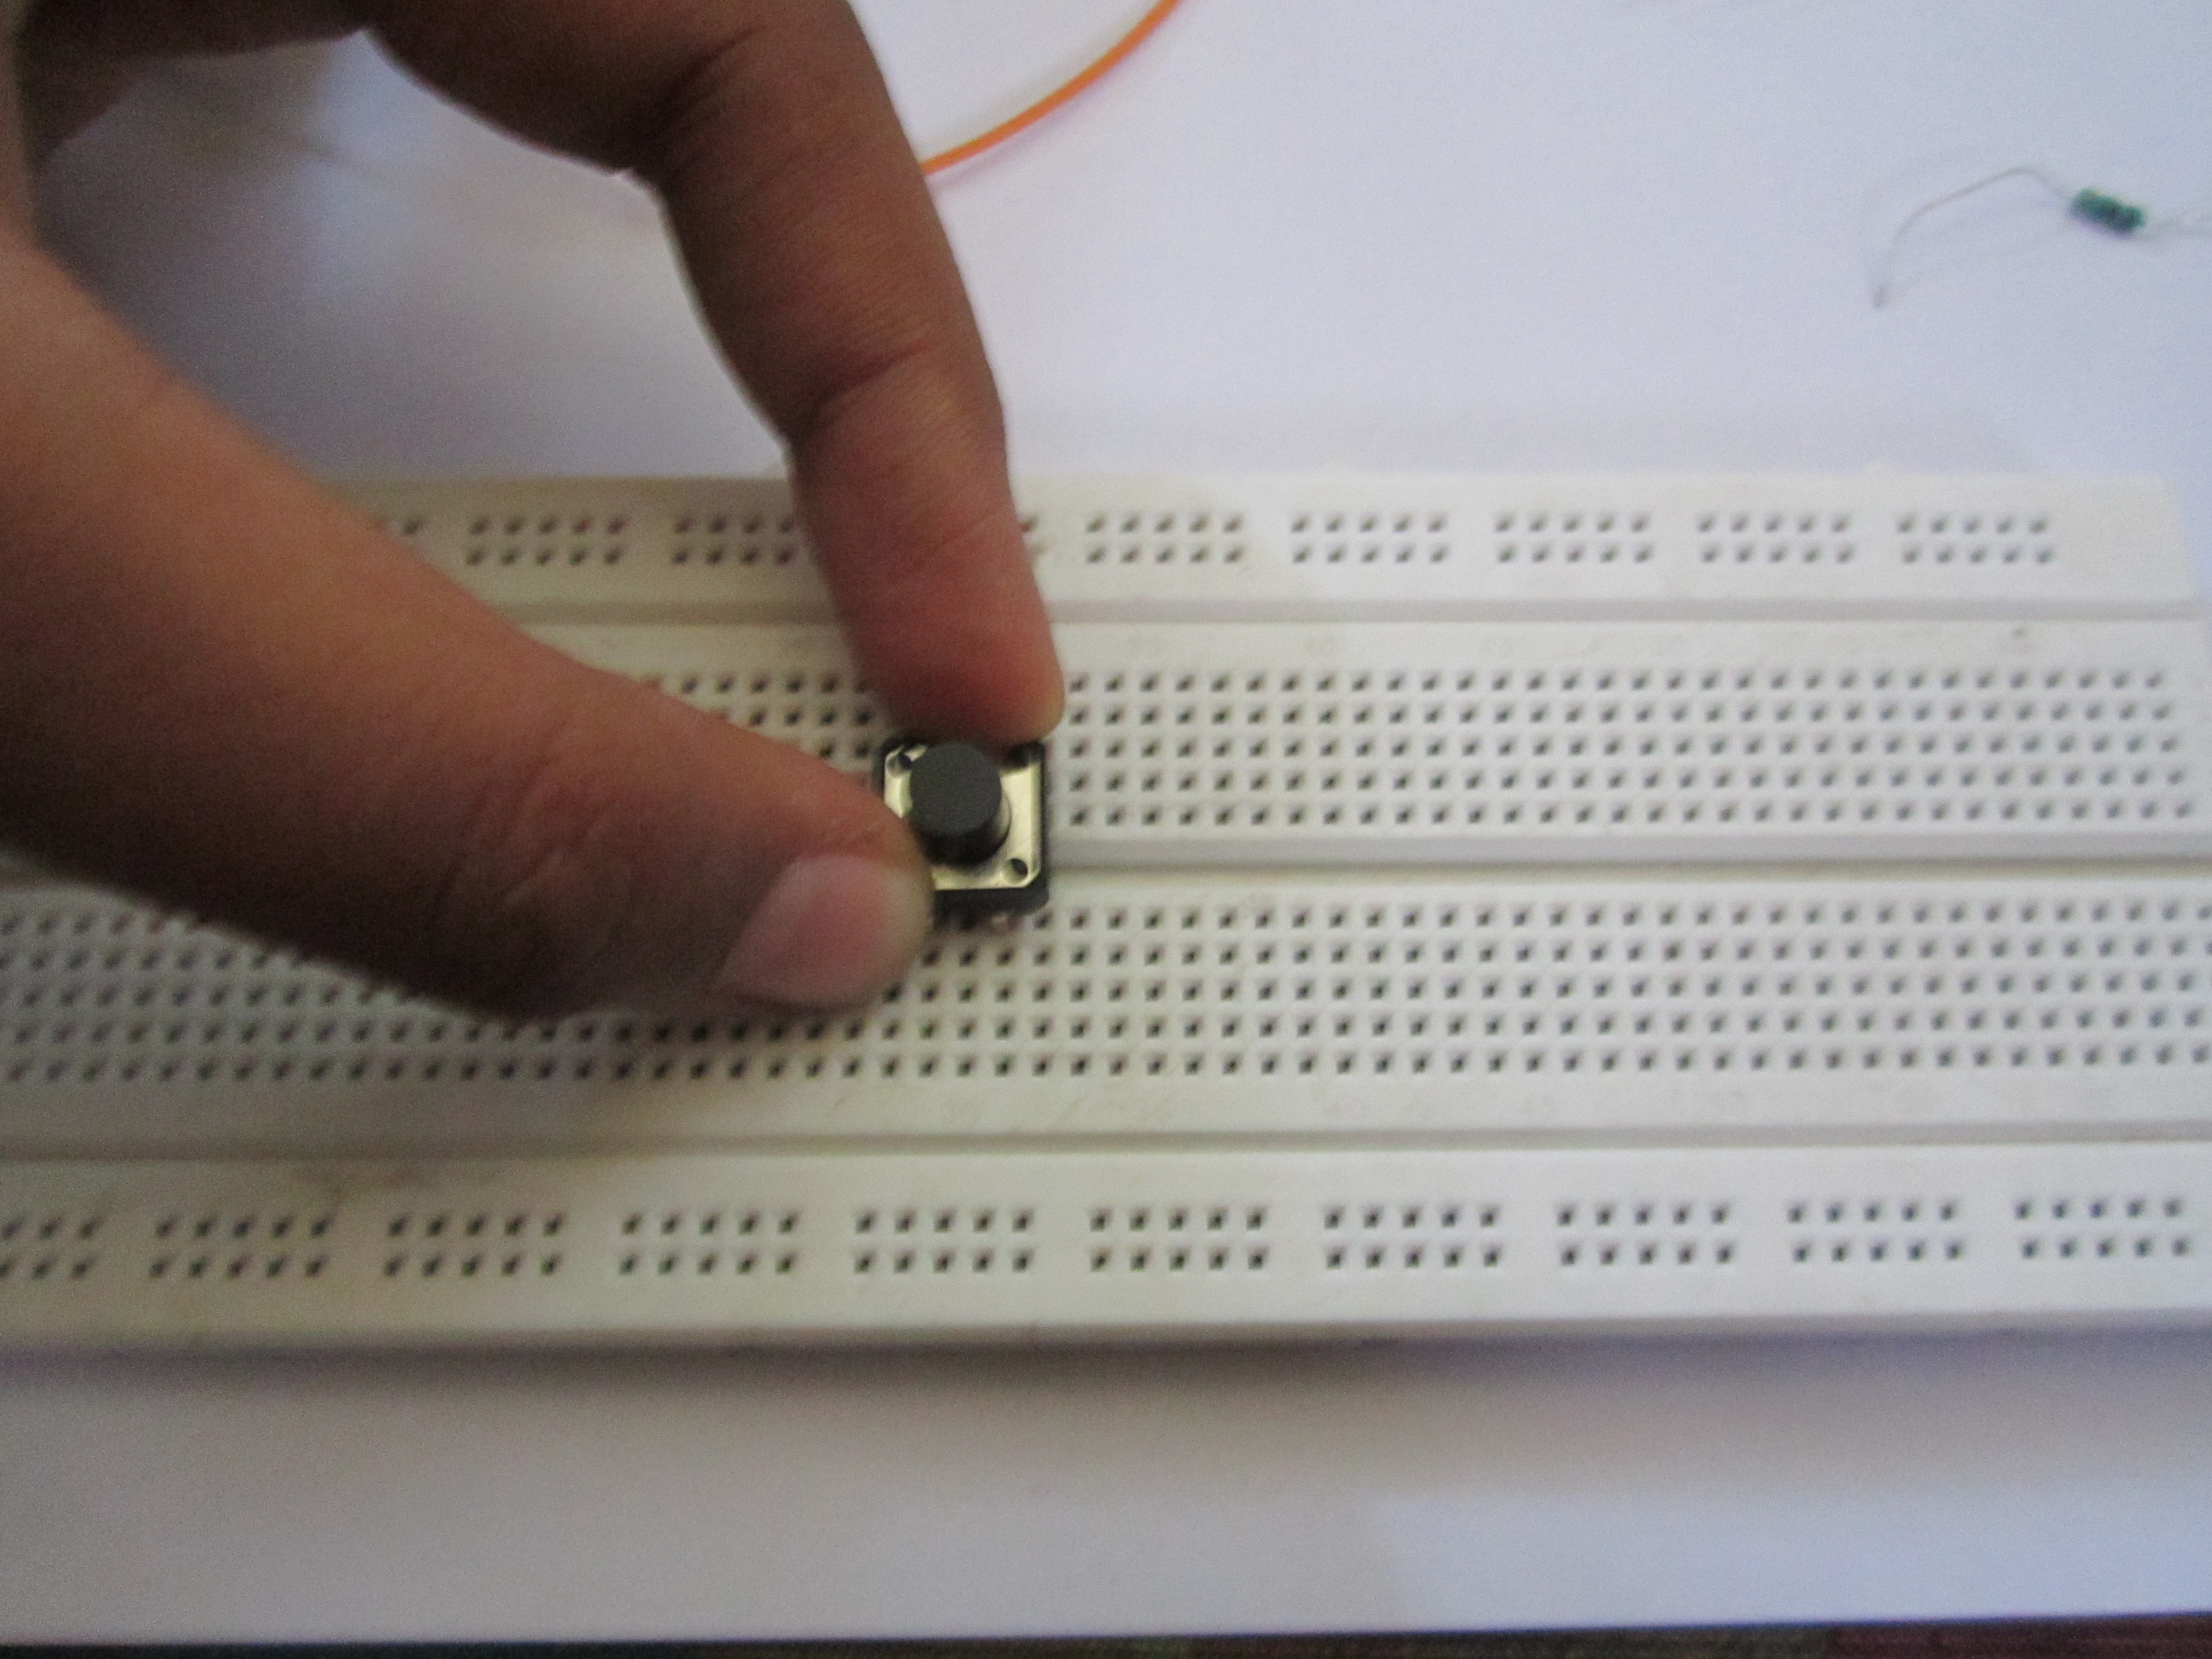
Put the switch in the breadboard and put an LED with the longer end into pin 13 and shorter end to the GND of the Arduino.
Step 3:
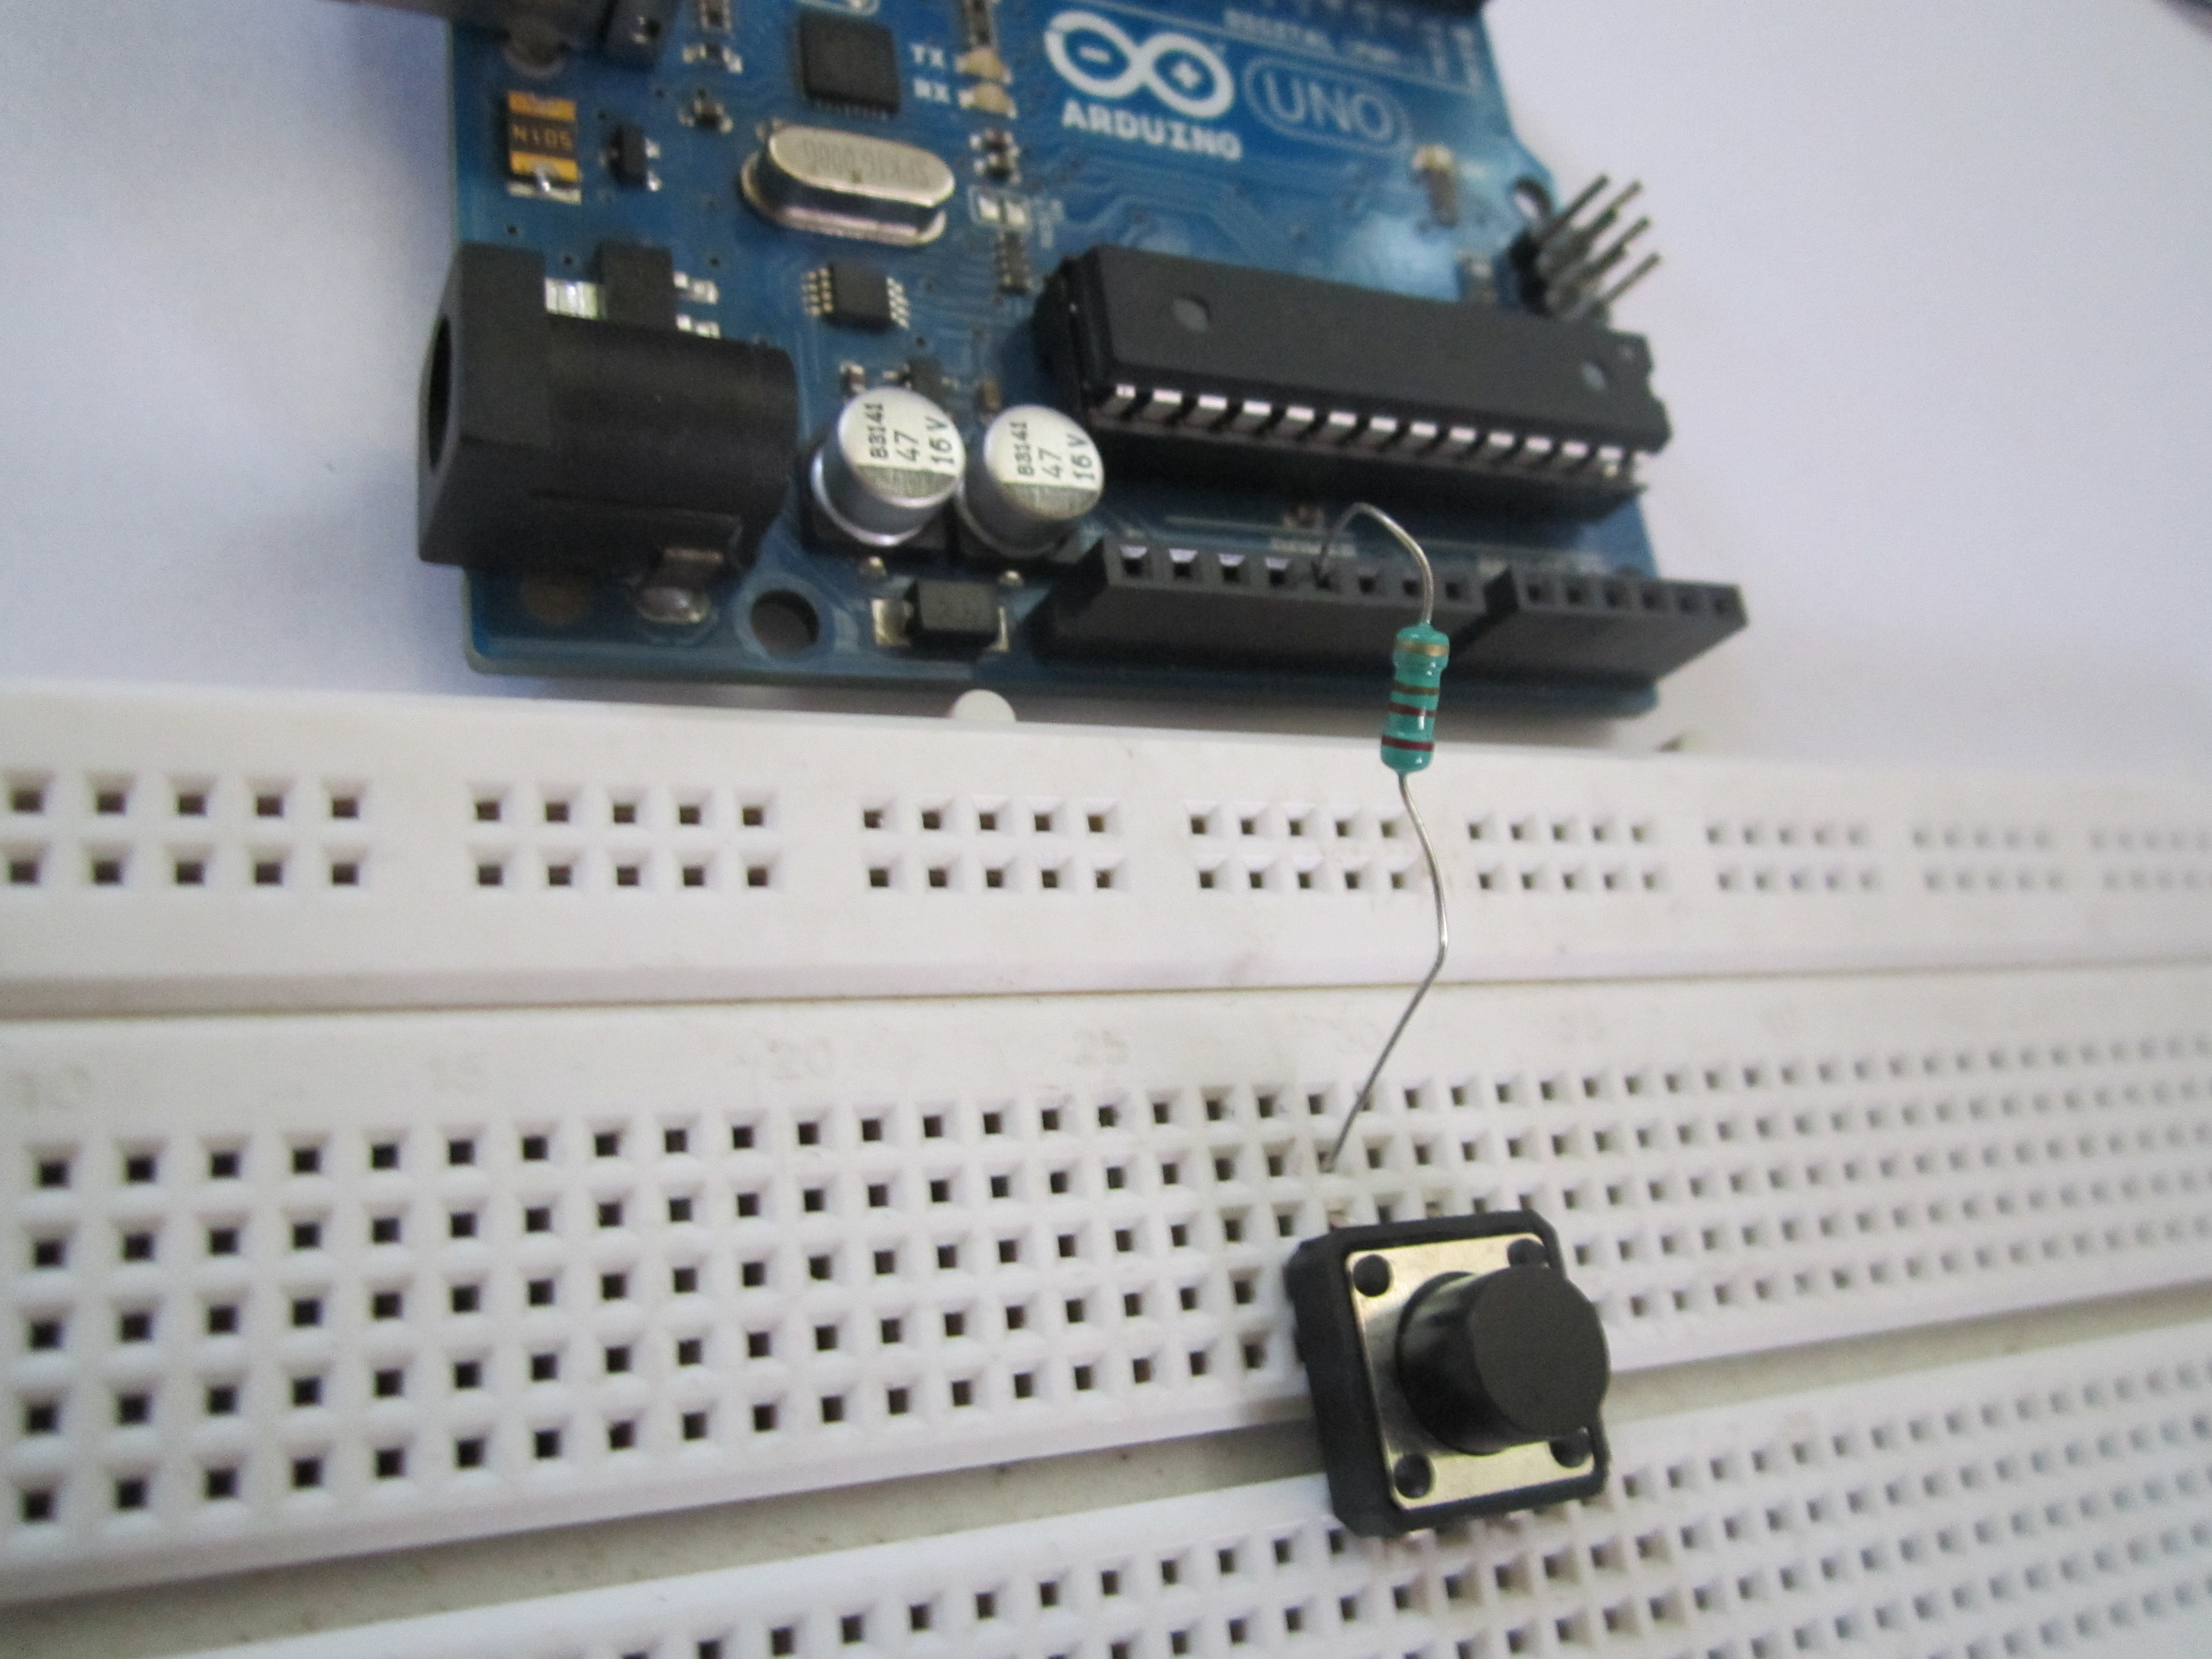
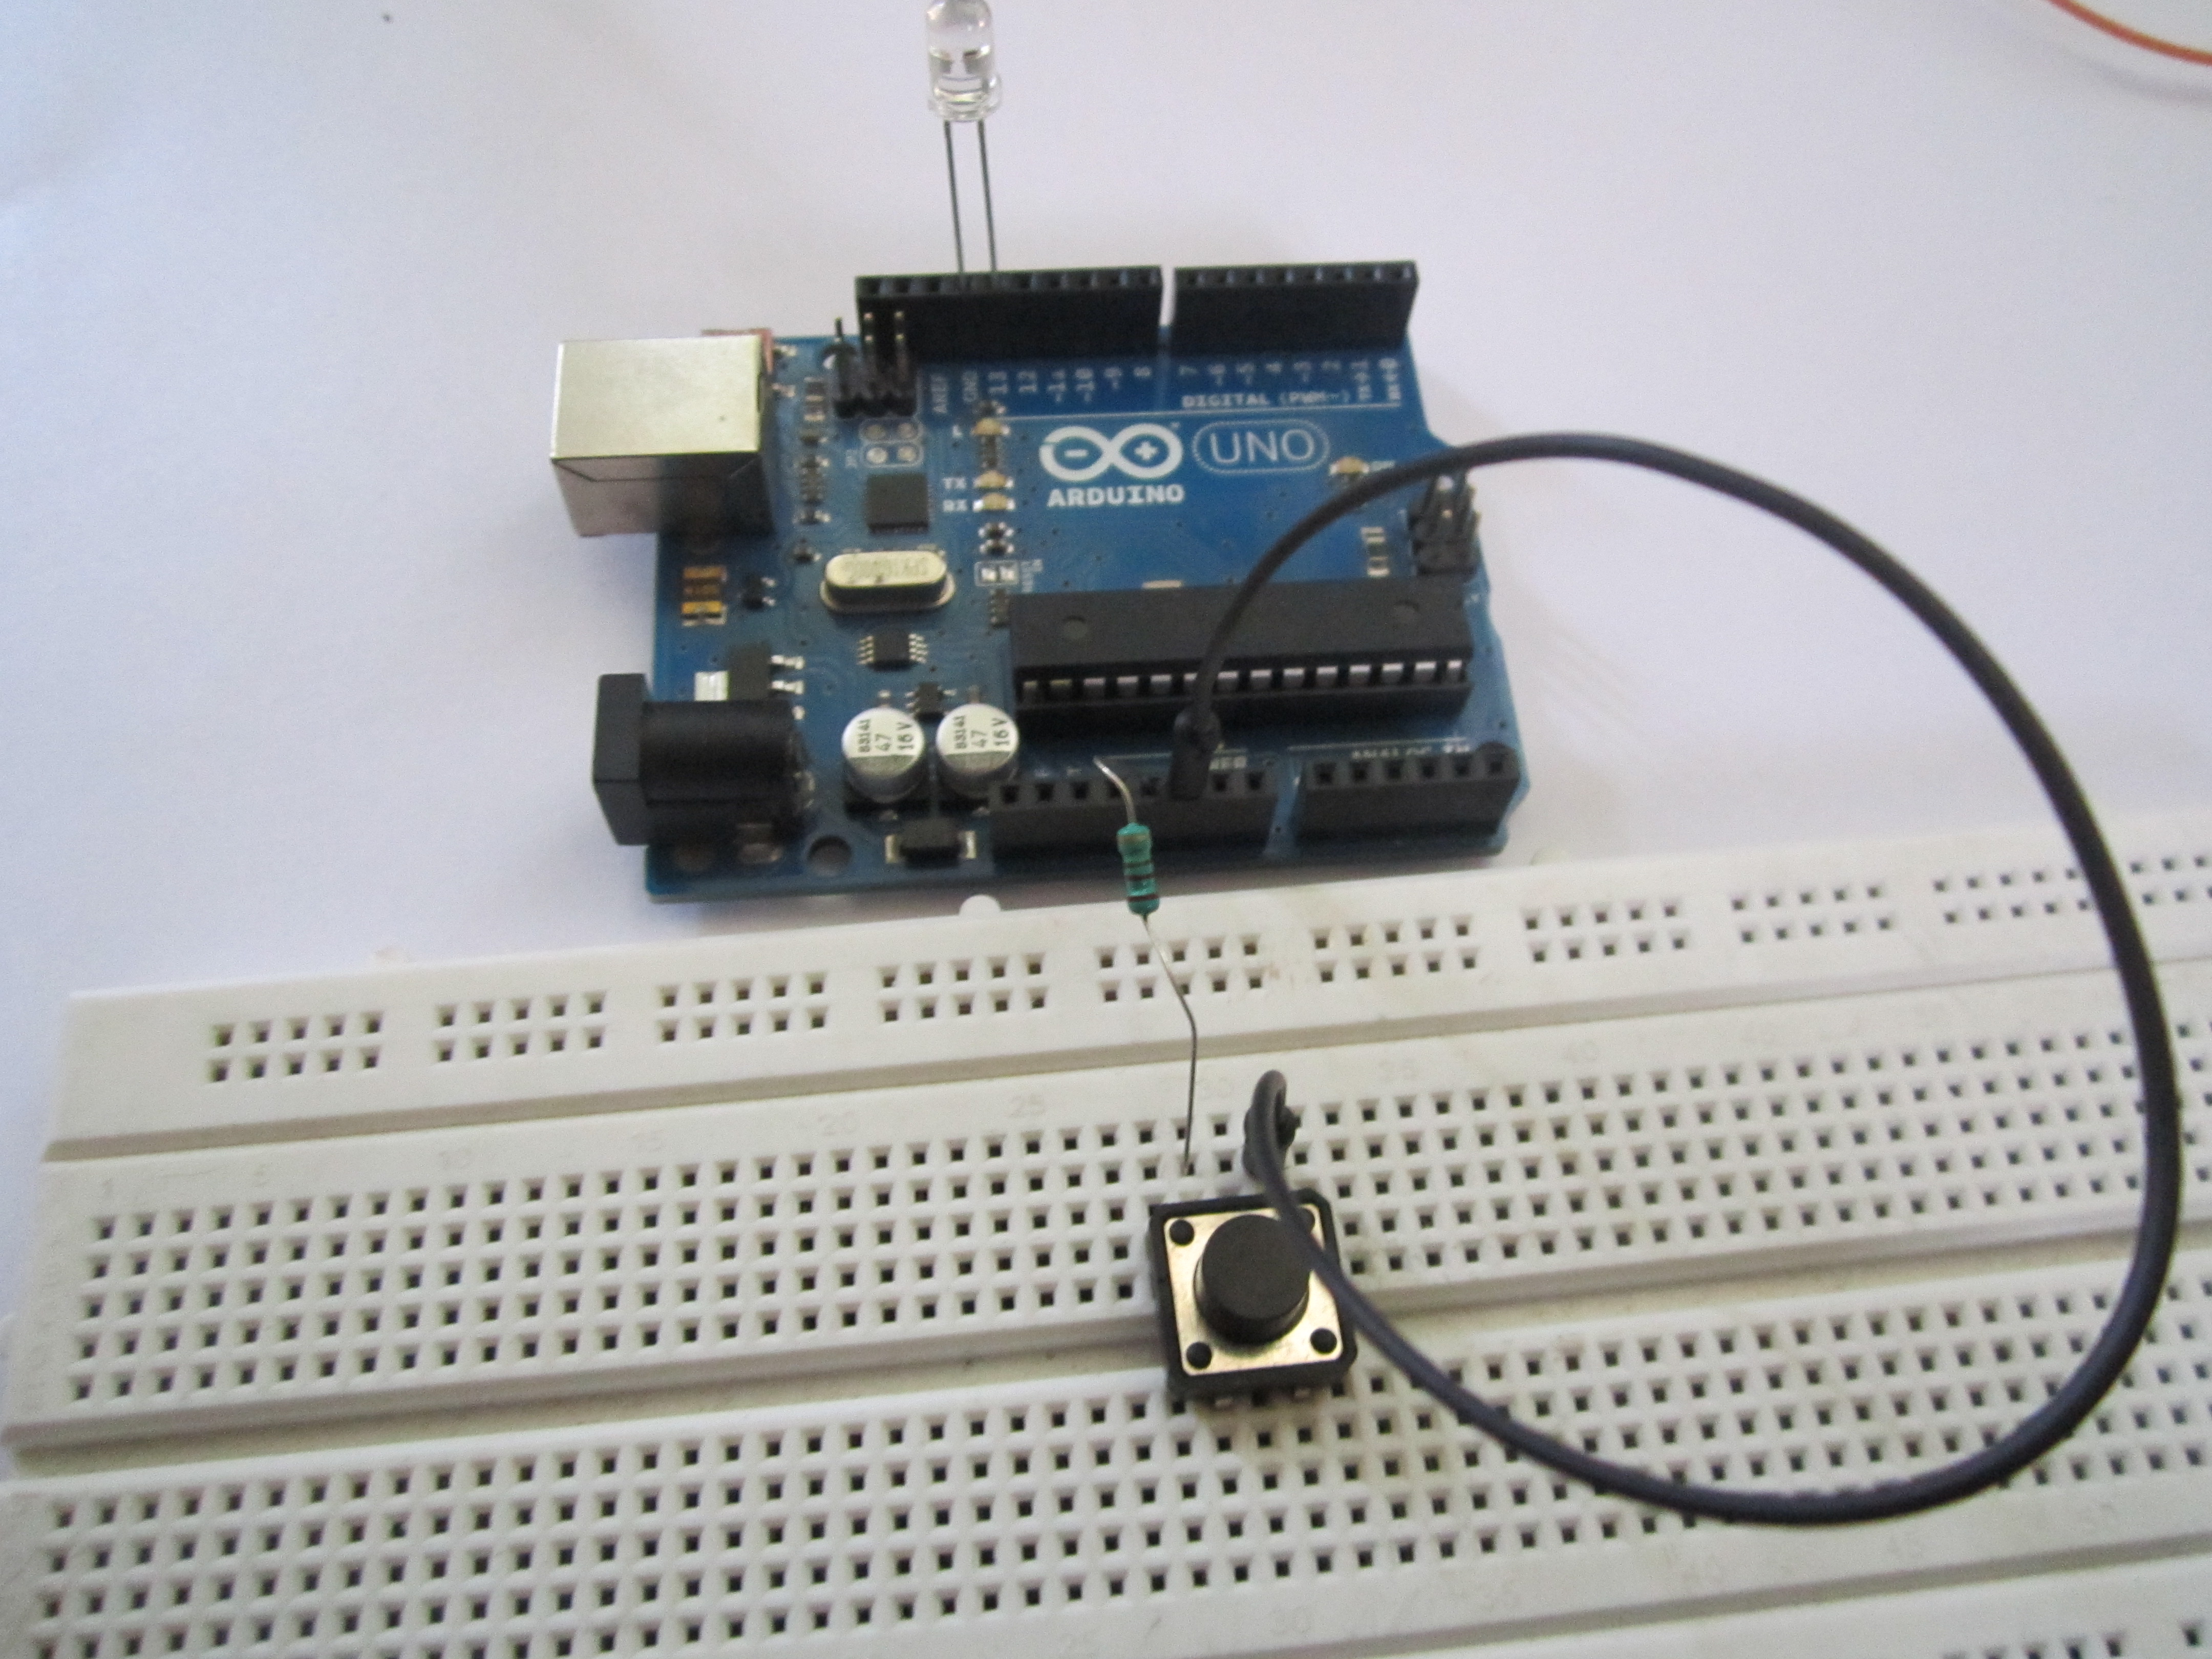
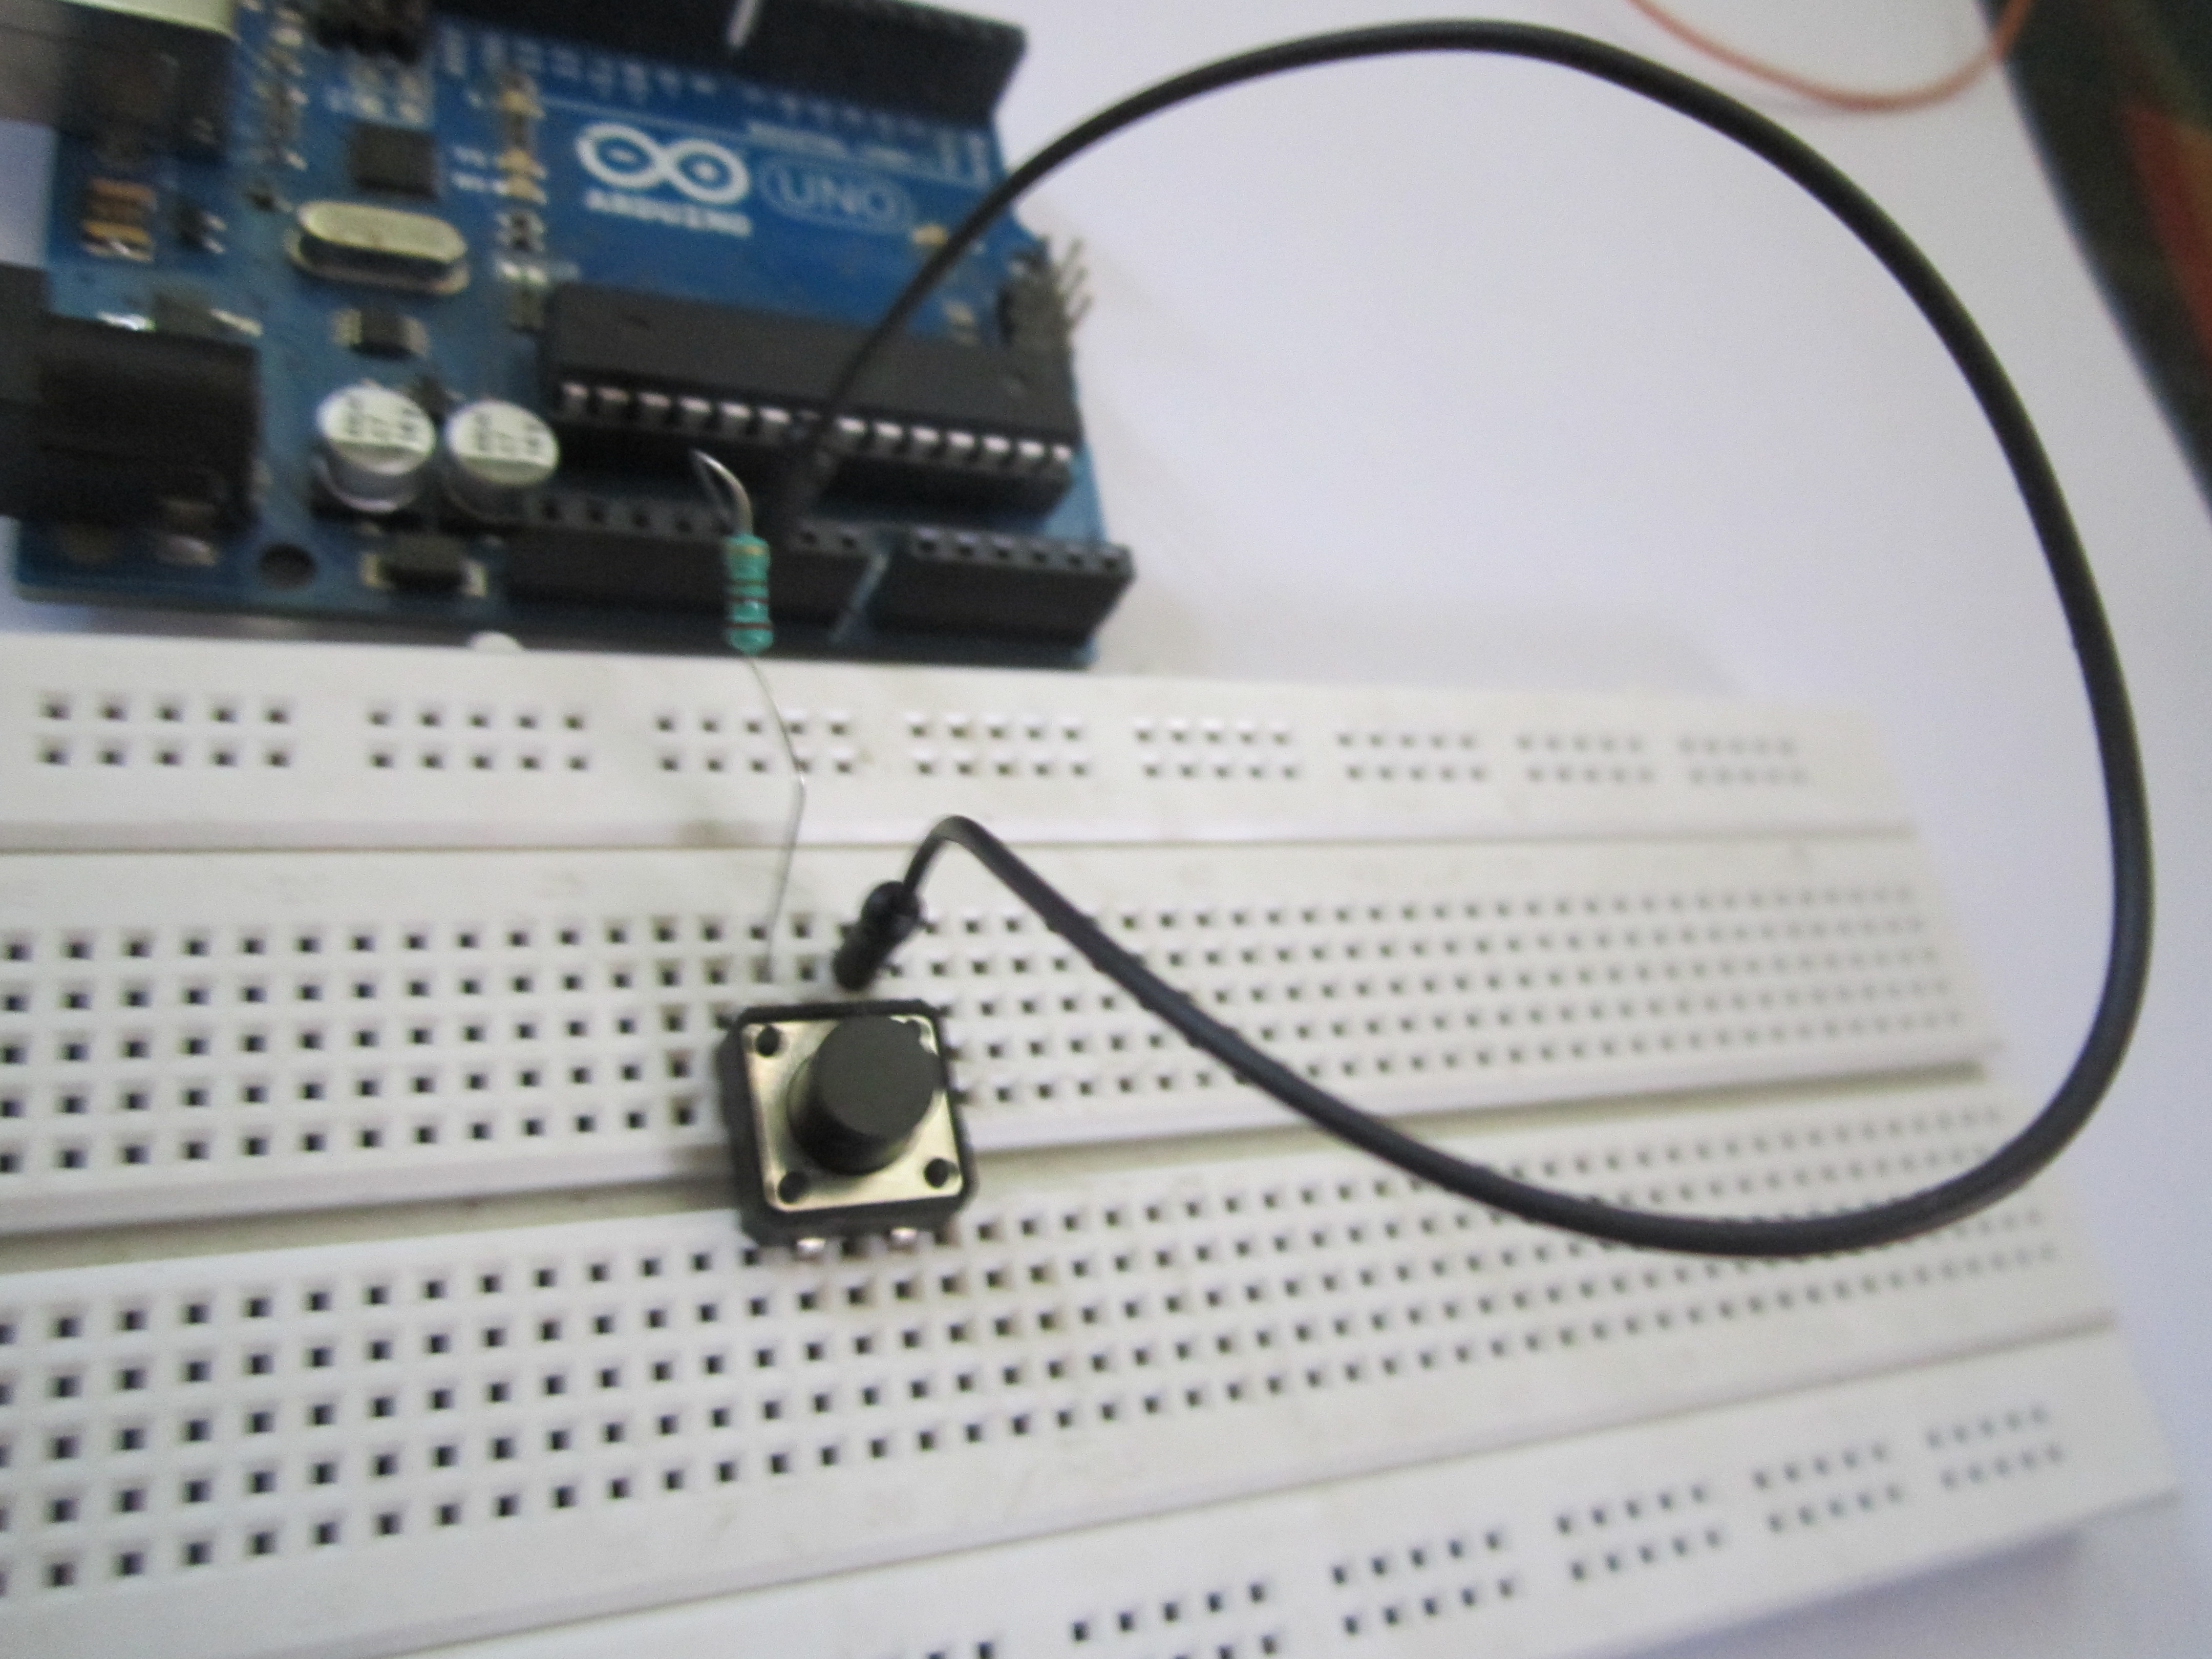
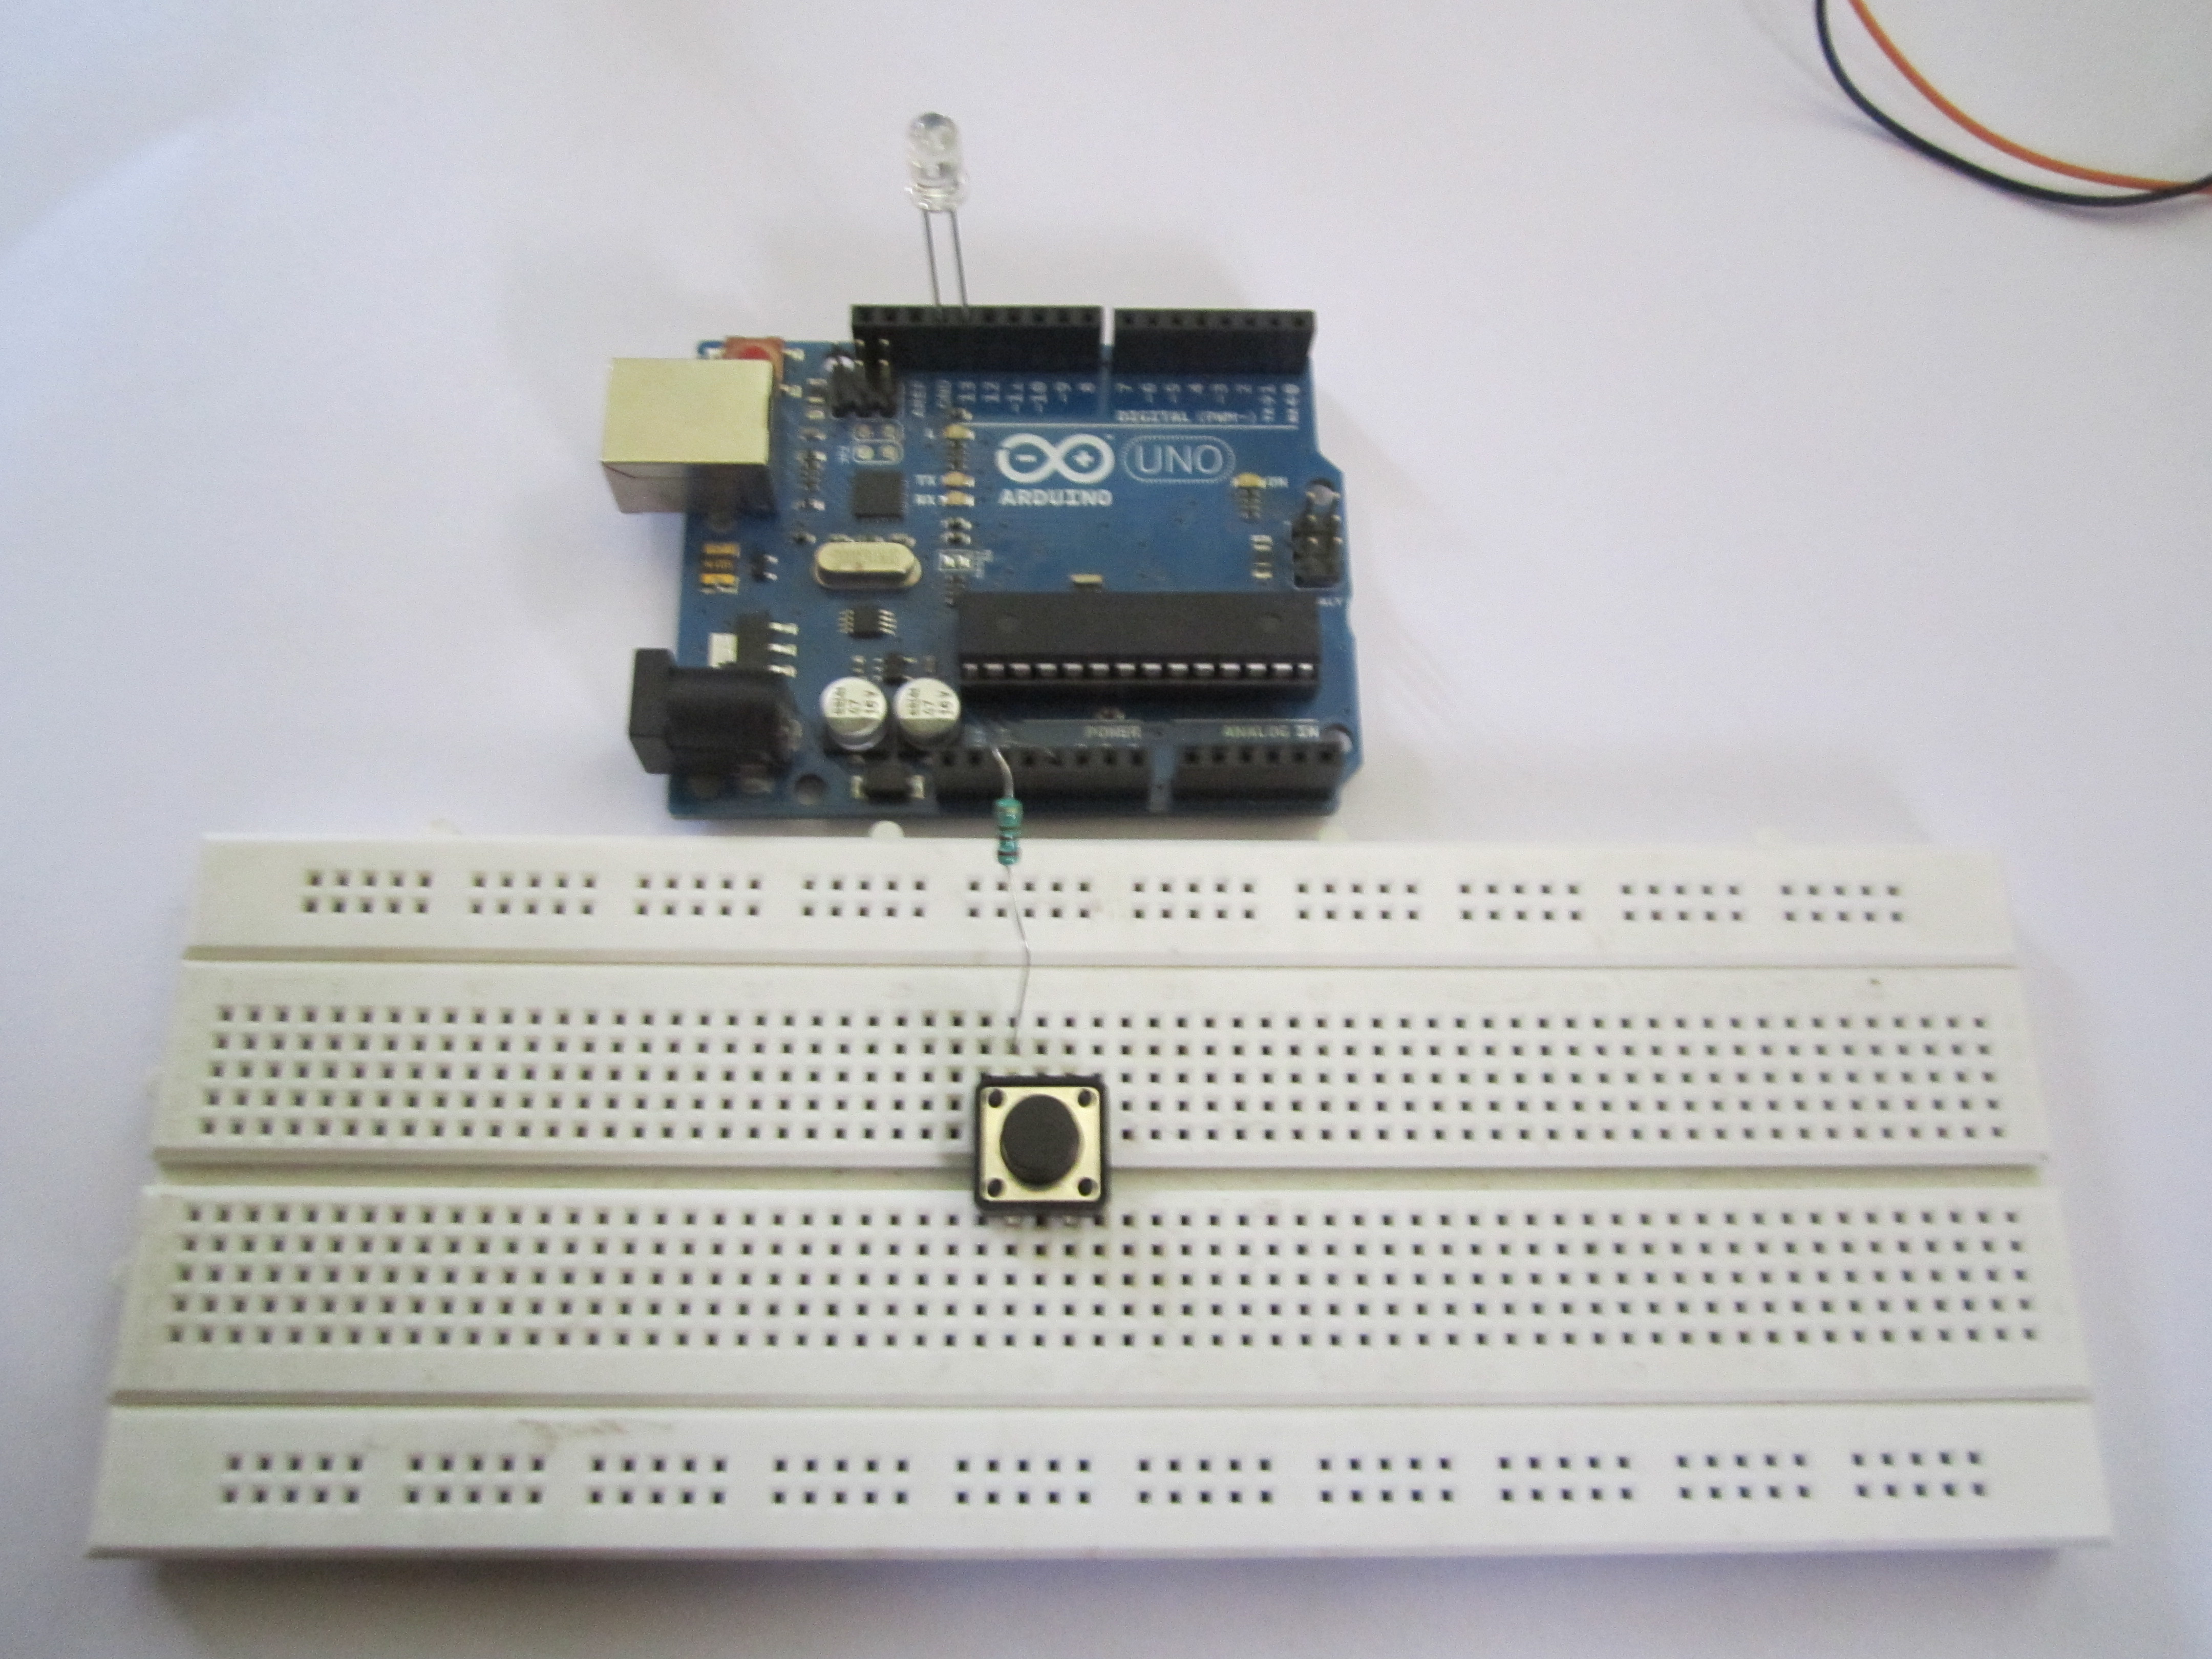
Put the resistor with one end in +5 V and the other end connected with one of the terminals of the switch. Connect the other corresponding terminal to Gnd. The corresponding terminal is usually on the same side as the first one.
Step 4:

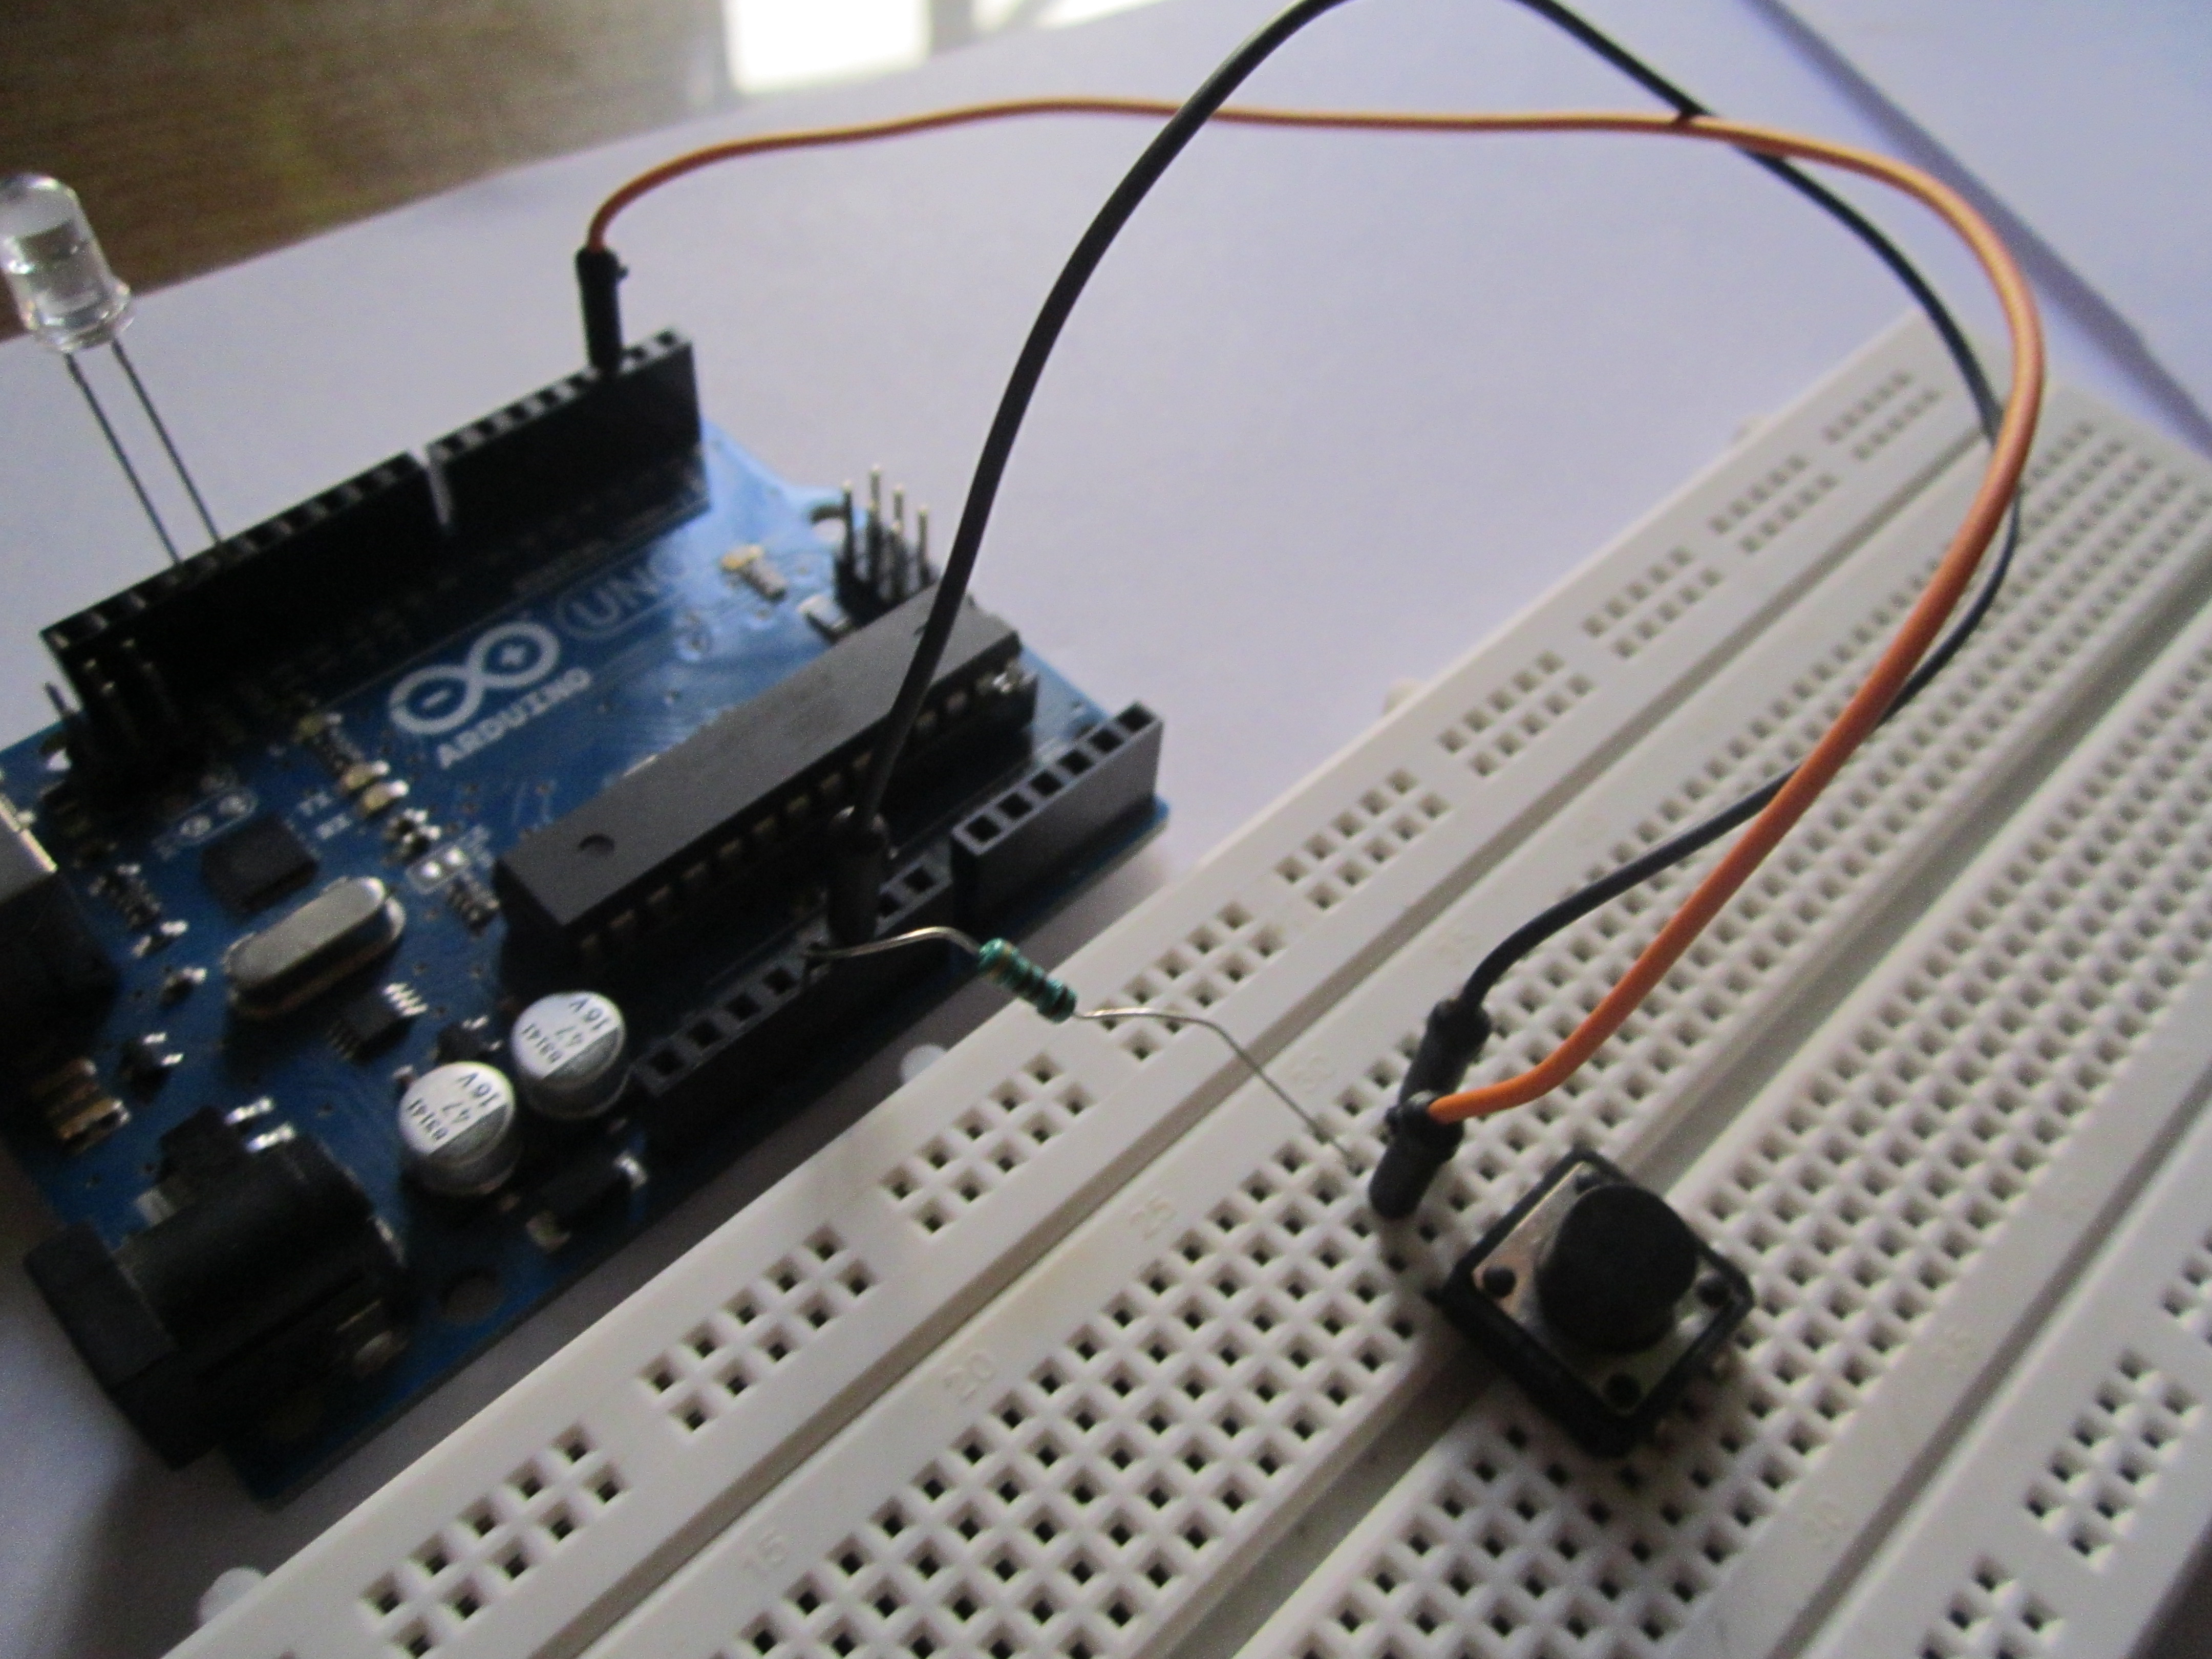
Connect the first terminal (the one with the resistor) to pin 2 on the Arduino and load the program.
Now just press the switch and the LED will light up!
🛠️ เจาะลึกเบื้องหลังการทำงาน (Deep Dive / Technical Analysis)
Connecting a switch to a battery turns on a light; it is a purely direct circuit. Connecting a switch to a $25 Microcomputer (Arduino) to turn on an LED requires mastering logical "States." The Push Button Switch Module project is the bedrock of digital engineering. It forces the programmer to eradicate catastrophic electrical "Floating" logic—where an input pin wildly, randomly clicks ON and OFF just from the invisible static electricity in the air around the desk!
The "Floating" Hardware Disaster
If you just run a wire from 5V -> Button -> Digital Pin 2.
- When you push the button:
Pin 2senses5V(HIGH). PERFECT. - When you release the button: The wire is completely disconnected!
Pin 2expects0V(LOW). But because it's not actually connected to Ground, the tiny silicon gate acts like a massive radio antenna, picking up the 60Hz hum of the desk lamp, violently fluctuating the LED on and off hundreds of times a second!Floating State Error! - The Solution: A 10k Ohm Pull-Down Resistor must physically bridge
Pin 2toGND. When the button is released, the static noise drains straight to Ground, forcing a flawlessLOWreading immediately!
The Software-Level Solution (INPUT_PULLUP)
The Uno physically has built-in 20k Ohm internal resistors. You can save massive amounts of breadboard wiring!
- You remove the 5V wire.
Pin 2->Button->GND.- The Execution Trap: You enable the hardware in the
setup()block:pinMode(buttonPin, INPUT_PULLUP); - The Logical Inversion: Because the internal chip is "Pulling" Pin 2 aggressively up to 5V internally, pressing the button to GND drops the voltage.
// The logic is structurally flipped eternally!
if (digitalRead(buttonPin) == LOW) {
   digitalWrite(LED, HIGH); // Button is PRESSED!
} else {
   digitalWrite(LED, LOW);  // Button is RELEASED (Sitting HIGH)
}
Input Component Architecture
- Arduino Uno/Nano (Standard execution speeds are perfectly sufficient).
- Tactile Push Buttons (Microswitches) (Make absolutely sure to connect across opposite diagonal legs of the 4-pin switch, or the circuit will permanently be closed).
- Physical 10K Ohm Resistors (Required only if analyzing Pull-Down topologies explicitly).
- (Note: Ensure you include "Debounce" algorithms
delay(50);to physically prevent the Uno from registering the metal spring bouncing 4 times organically!)