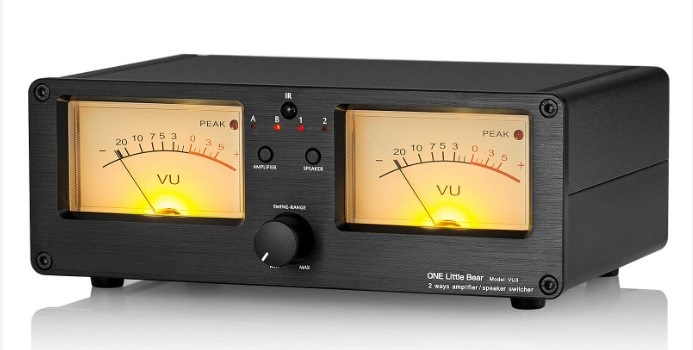
A VU meter, also known as a Volume Unit meter, is a device used to display the audio signal level in decibels (dB) in real-time. It is commonly found on audio equipment to help users monitor and control audio levels. The analog VU meter typically consists needle-based indicators that move in response to the audio signal's intensity
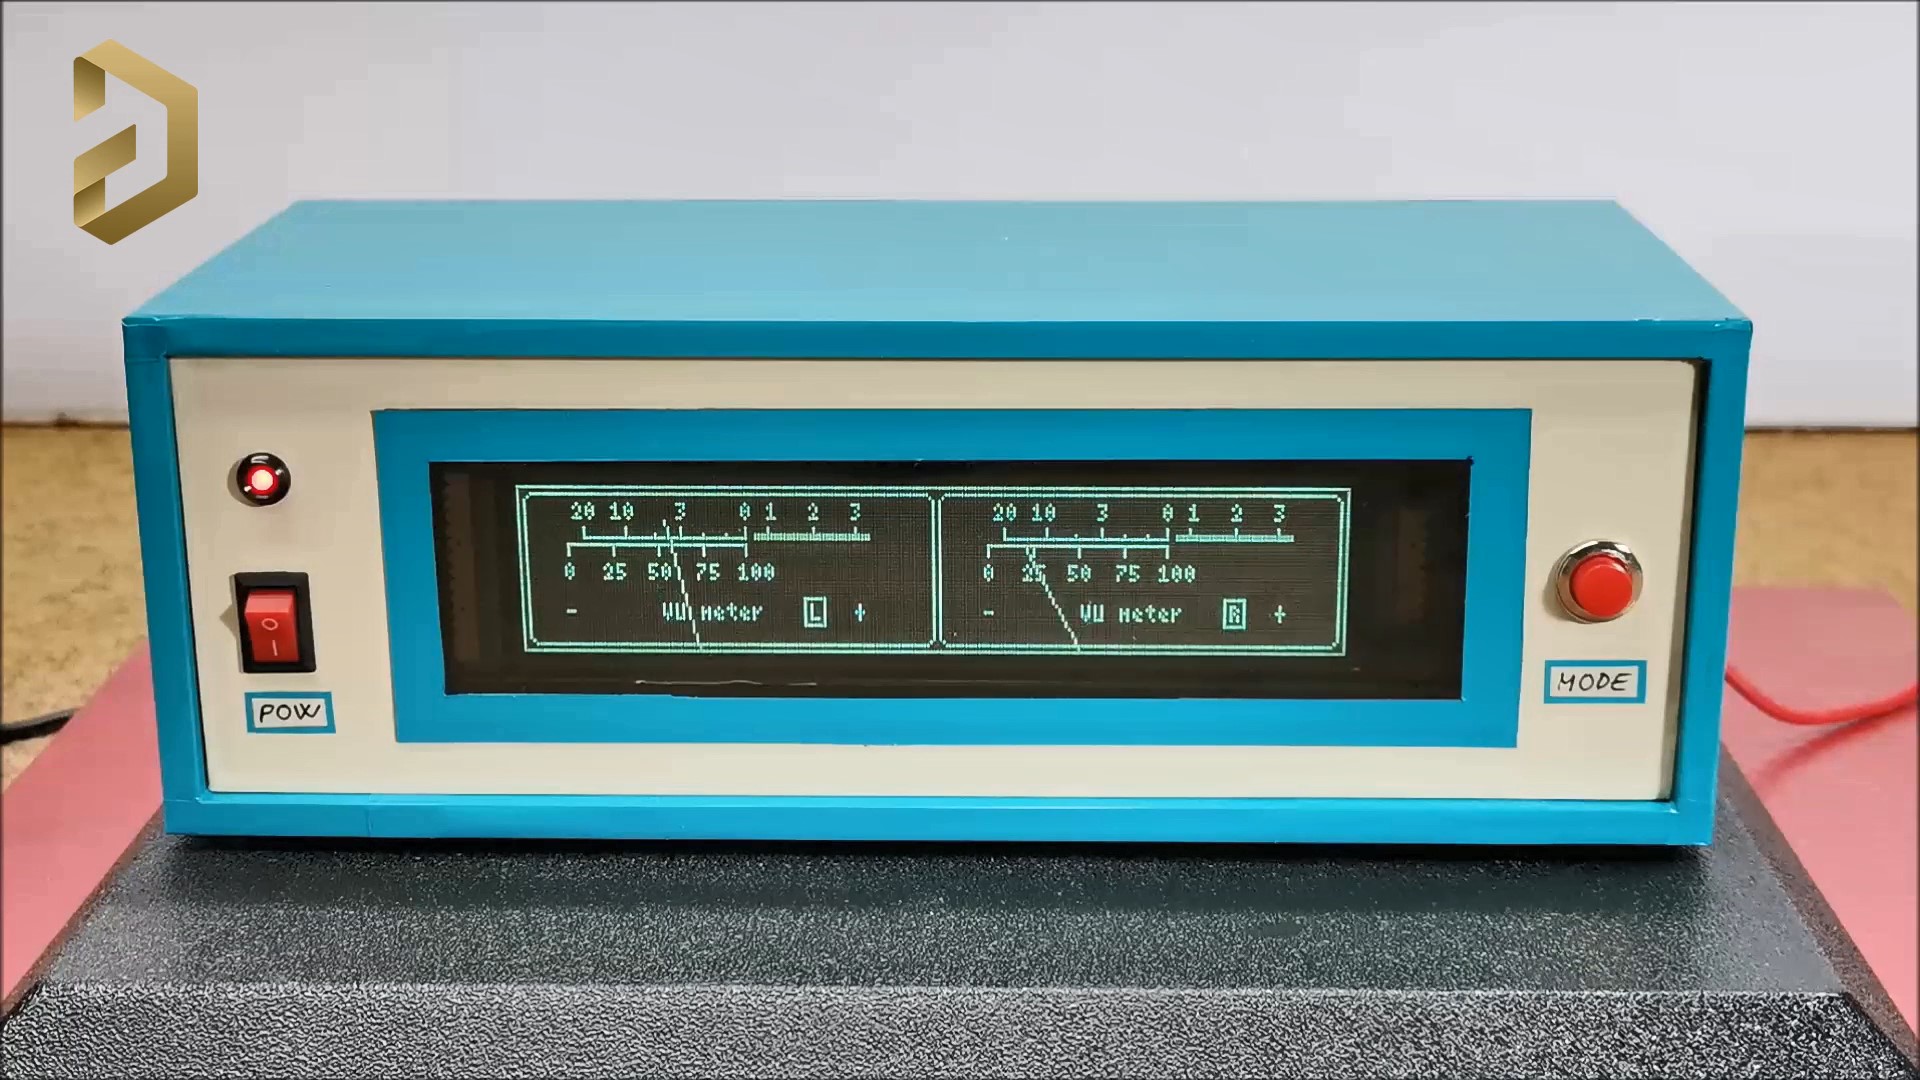
This time I will describe how to make such a device that uses a VFD (vacuum fluorescent display) instead of analog instruments.
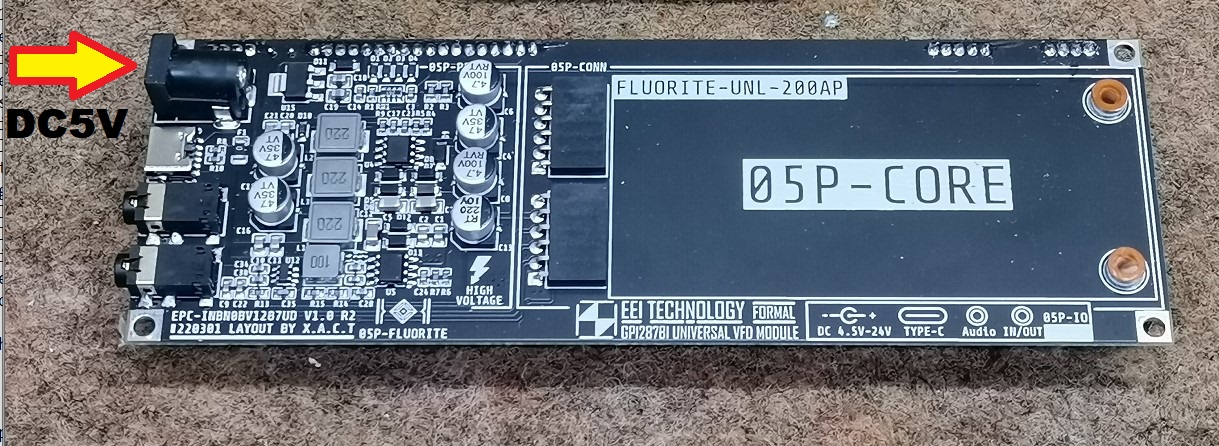
In this particular case, the display is a GP1287 with a resolution of 256 by 50 points, and it can be obtained at a relatively cheap price. In one of my previous videos (https://www.youtube.com/watch?v=nvs09OfKzgc&t=18s) I described how to connect such a display to an ESP32 microcontroller, and this time the display is controlled by Arduino.
The device is extremely simple to build and contains only a few components
- Arduino Nano Microcontroller
- GP1287 VFD Display
- 10K potentiometer,
- and two capacitors and resistors
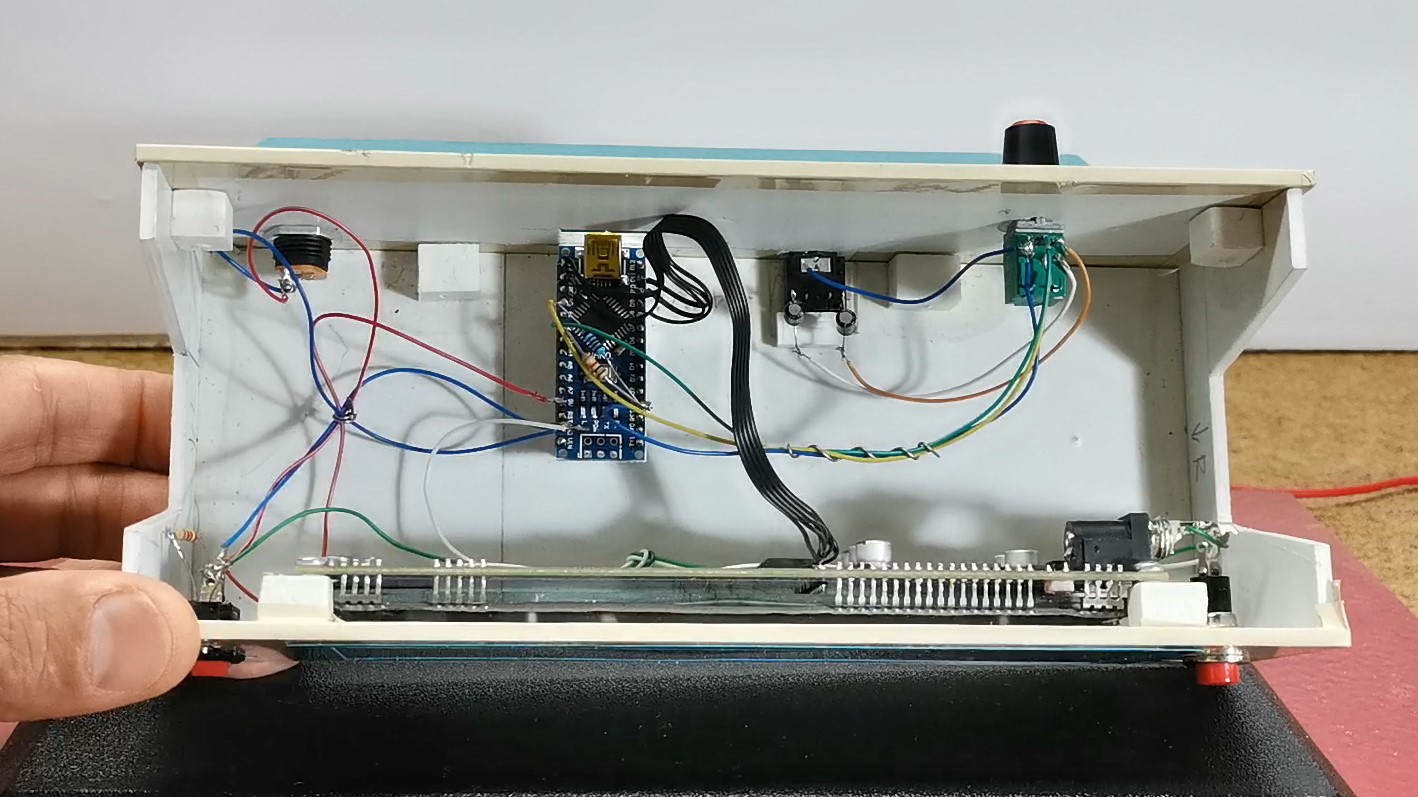
The signal from both audio channels (left and right) is brought to the analog inputs of the Arduino through coupling capacitors.
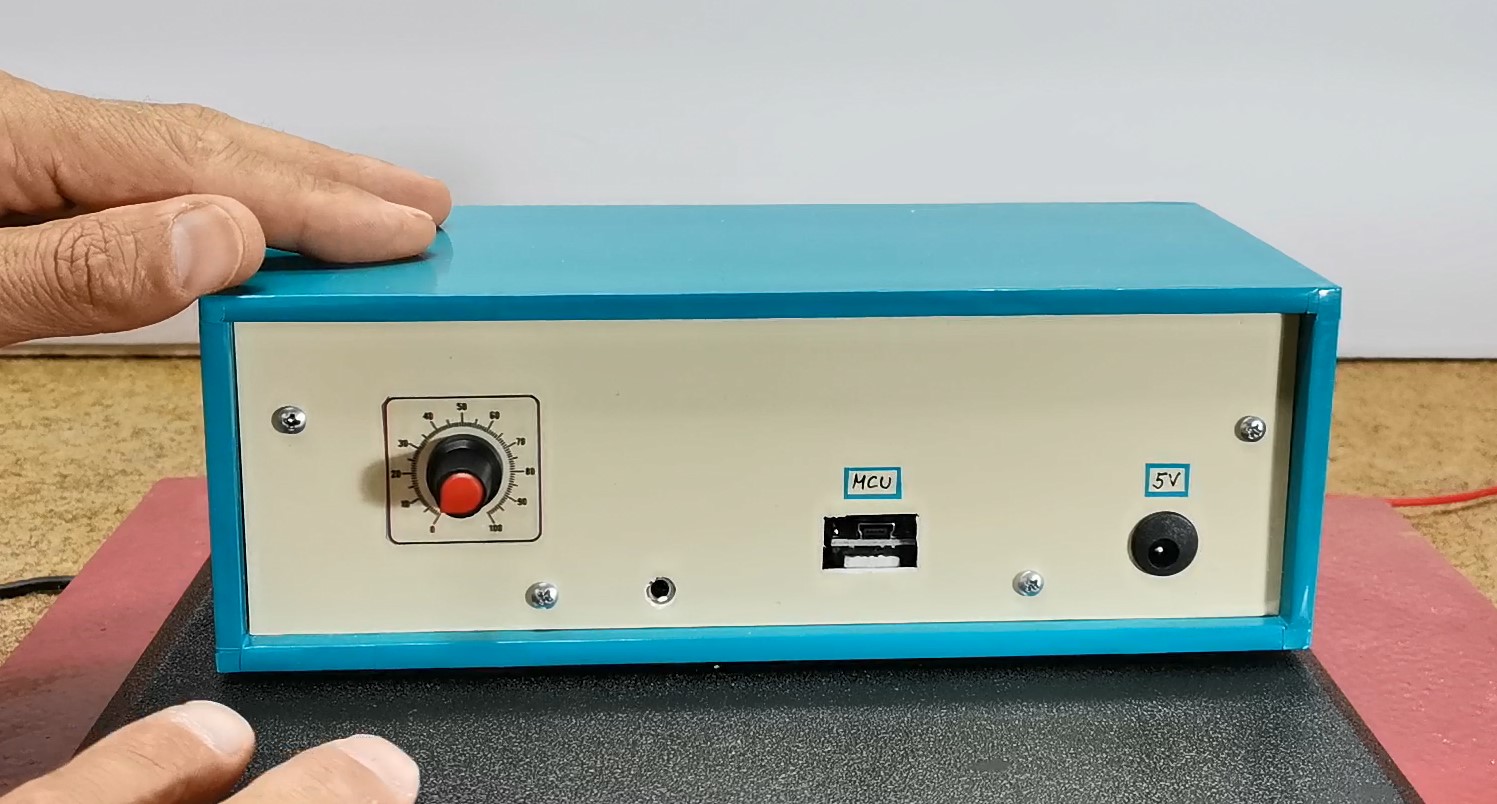
As for the code, I don't have much experience, so feel free to modify and improve it. It is basically based on the U8G2 library, because only this library has support for this kind of VFD display. Also note that when compiling the code you should use the U8G2 library given below. In the first few lines of code we can define the values of Gain, low sound, High Sound, as well as the speed at which the arrow returns to its original position. The sensitivity of the VU meter can be controlled with the potentiometer mounted on the back of the device.
Finally, a short conclusion. I made the device with the intention of explaining to you how you can connect this type of display to an Arduino microcontroller. In actual operation of the VU meter, the slow response of the hands in relation to the input audio signal can be observed, which is a consequence of the display itself, not the microcontroller or the code. Namely, when testing the code I used a 128х64 LCD display instead of a VFD, and the reaction was almost momentary. Due to the relatively high consumption of the display, it is preferable to power it through the power connector of the display itself, which is shown in the picture.
The device is installed in a suitable box made of PVC material with a thickness of 5 mm and covered with colored self-adhesive wallpaper.
🛠️ เจาะลึกเบื้องหลังการทำงาน (Deep Dive / Technical Analysis)
Why draw a tiny bar graph on an OLED when you can manipulate incredibly dangerous vintage high-voltage Russian vacuum tubes? The Retro Analog Style VU Meter on VFD Display combines absolutely terrifying 1980s electrical hardware with cutting edge C++ Fourier/Band-Pass digital signal matrices! The project uses the famous MSGEQ7 Audio Spectrum IC to slice music into physical frequencies, and sends them to violently ignite the gorgeous bright blue-green phosphorus anodes contained within an explicit Vacuum Fluorescent Display (VFD)!
Igniting the VFD (Boost Converters & Filaments)
You cannot plug a VFD (e.g., ILD-1, IV-11) straight into an Arduino 5V port. VFDs are literally vacuum tubes.
- VFDs require a Heater Filament Voltage (Usually 1.5V to 3.3V AC or choppy DC!).
- VFDs also simultaneously demand an immense Grid/Anode Voltage (Usually a terrifying
25V to 40V DC). - If you do not construct a huge, massive external
MC34063/XL6009 Step-Up Boost Converter, the phosphorus will remain dark. - The Arduino uses a massive MAX6921 (VFD Driver IC) or explicit High-Voltage Shift Registers to actuate the 30V lines safely using only its 5V logic!
shiftOut(VFD_data...)!
The MSGEQ7 Seven-Band Acoustic Slicer Array
An Arduino Uno is fundamentally too slow to perform a massive FFT (Fast Fourier Transform) math algorithm over 40KHz audio while simultaneously multiplexing 30V out to 50 individual grid anodes on the VFD.
- You must physically utilize the MSGEQ7 Graphic Equalizer Display Filter.
- The MSGEQ7 uses pure analog silicon physics to slice incoming music directly into 7 pristine frequency bands:
(63Hz, 160Hz, 400Hz... ~16kHz). - The Execution Trap: The Arduino violently pulses the MSGEQ7's
Strobepin. The IC spits out ONE specific frequency band's absolute volume!
for (int i = 0; i < 7; i++) {
  digitalWrite(strobePin, LOW); // Order the MSGEQ7 to spit out the next band!
  delayMicroseconds(30);

  // Instantly map the 1Khz volume spike natively into the VFD Grid Height (0 to 10 bars)!
  volumeBands[i] = map(analogRead(analogPin), 0, 1023, 0, 10);

  digitalWrite(strobePin, HIGH);
}
// Blast all 7 integers directly into the complex MAX6921 VFD drawing engine!
drawVFDBarArray();
Extreme High-Voltage Audio Requisites
- Arduino Nano (The extremely small form factor hides perfectly under the massive vacuum tube PCB architecture!).
- MSGEQ7 Audio Analyzer Component chip.
- Generic Vintage Russian VFD Display Grid (Often salvaged from broken 1980s VCRs or Cassette Decks).
- MAX6921 VFD Driver Chip (Or extremely dangerous discrete High-Voltage NPN transistors arrayed identically).
- High Voltage XL6009 Boost Converter Board (Must convert standard 5V USB securely into the massive 30V Grid Anode demand without exploding!).