INTRODUCTION:
Today here I am going to make a pretty Arduino project using RGB LEDs. Here I am using Common cathode type RGB LEDs and controlling these LEDs with 74HC595(Serial input Parallel output) ShiftRegister and Arduino nano microcontroller development board. So let's get started
LIST OF COMPONENTS AND MODULES:
- Arduino nano (1)
- 74HC595 ShiftRegister (4)
- RGB LEDs (Common Cathode type) (10)
- Bread Board (3)
- Jumper wires
- 100 Ohm Resistors (30)
- Mini B USB Cable (1)
RGB LED
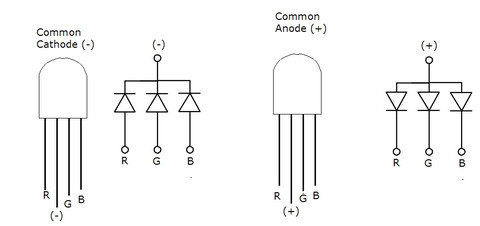
RGB LED is a special type of LED that can emits basically any color of visible light. By mixing three primary colors (Red, Green and Blue). RGB LED Basically a combination of these three color LEDs connected either in common anode or common cathode configuration as shown in the given Fig-1.
Actual view of RGB LED
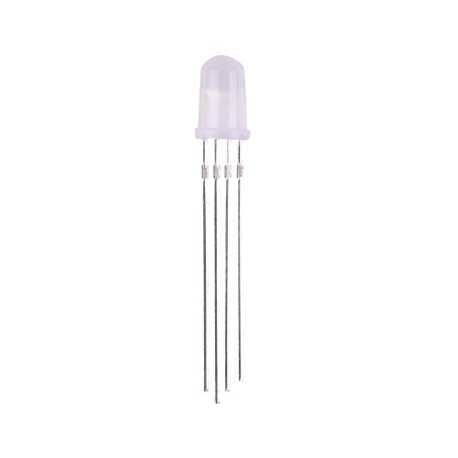
here I am using Common cathode type RGB LEDs and I am also using 100 ohm resistor to limit the value of flowing current.
74HC595 ShiftRegister:
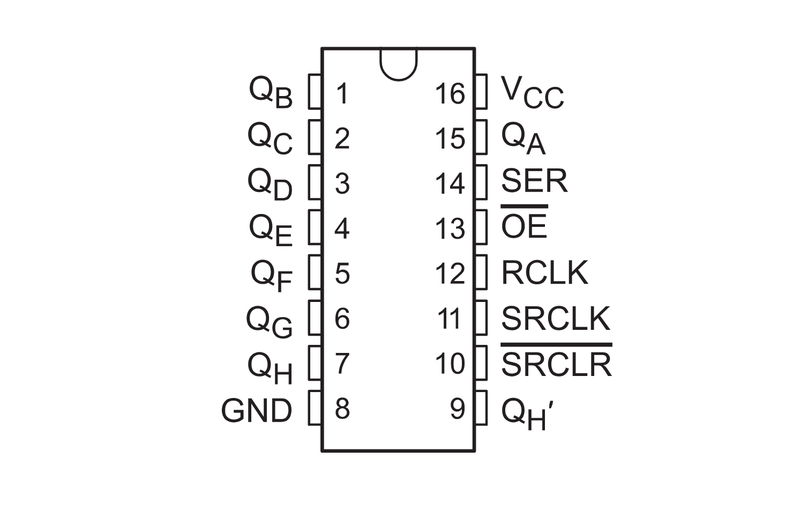
74HC595 is a 8 bit Serial input Parallel output (SIPO) shift register with three output states. 74HC595 shift register also contains a 8 bit latch to hold the binary data. The pin diagram of 74HC595 Shift register has given below.
PIN DIAGRAM OF 74HC595
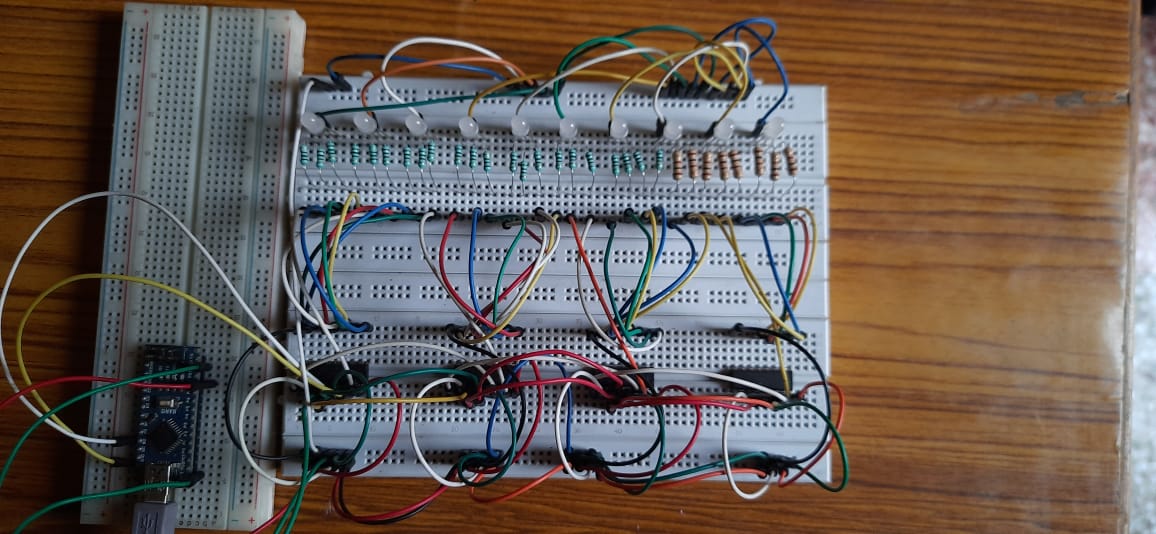
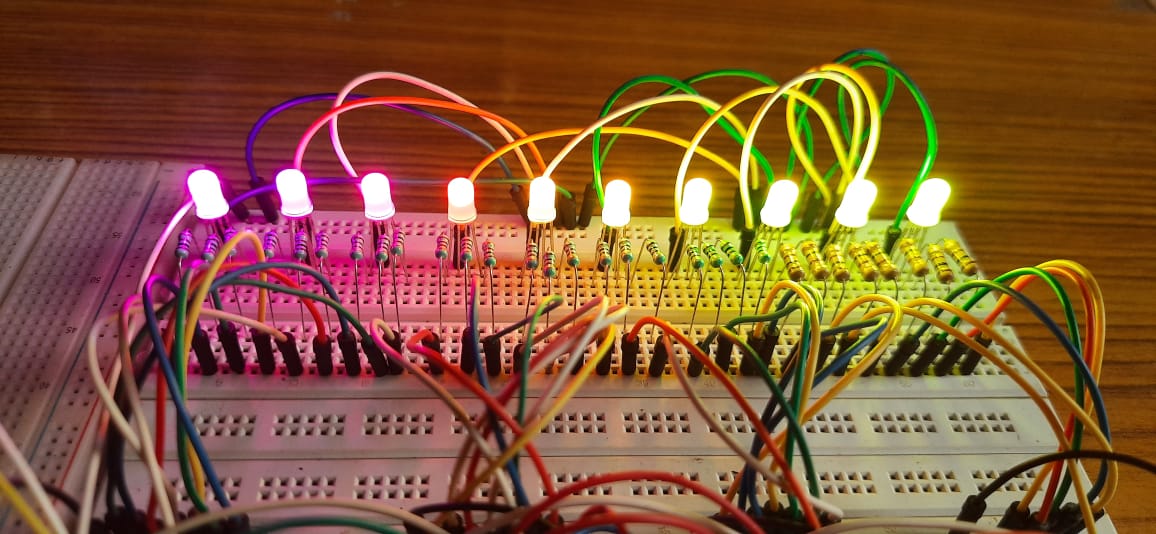
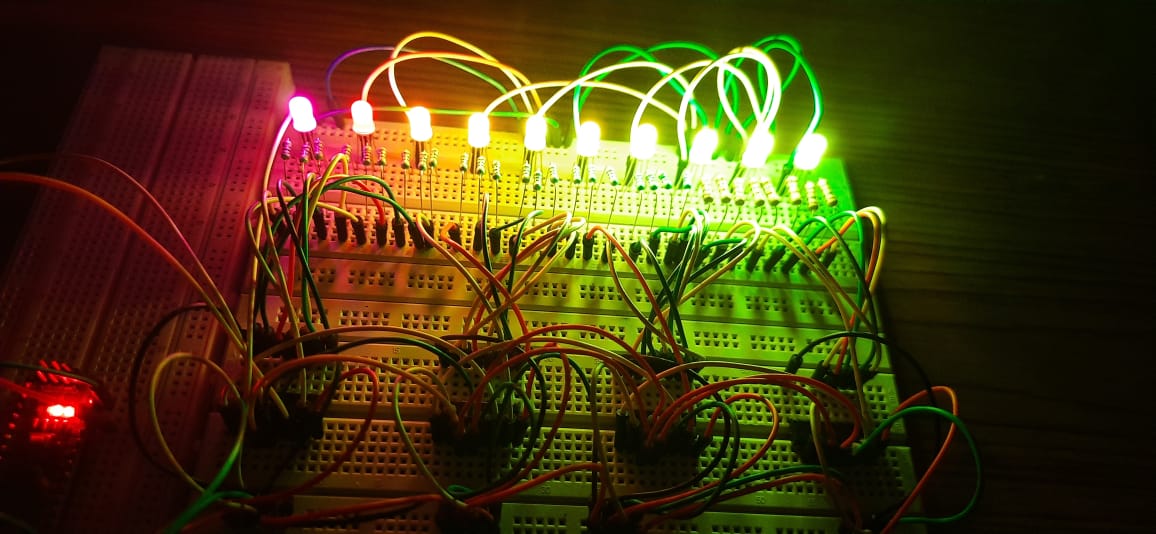
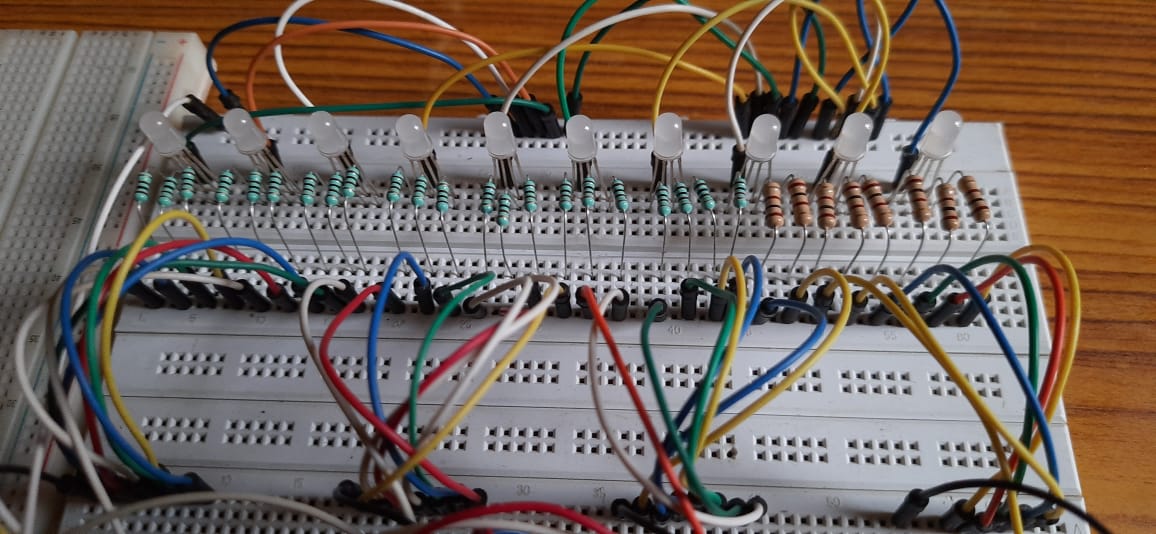
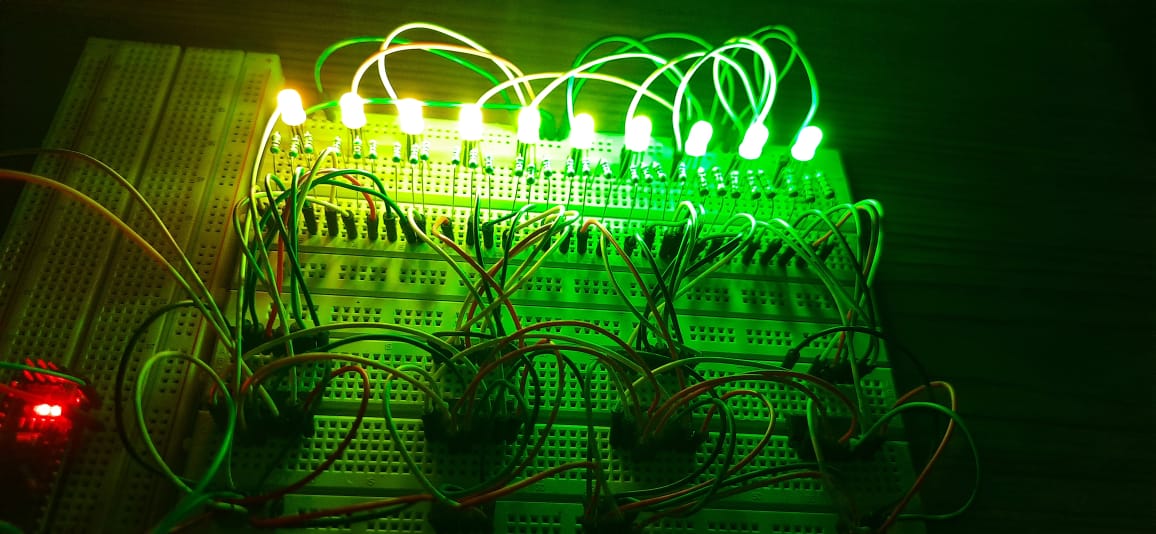
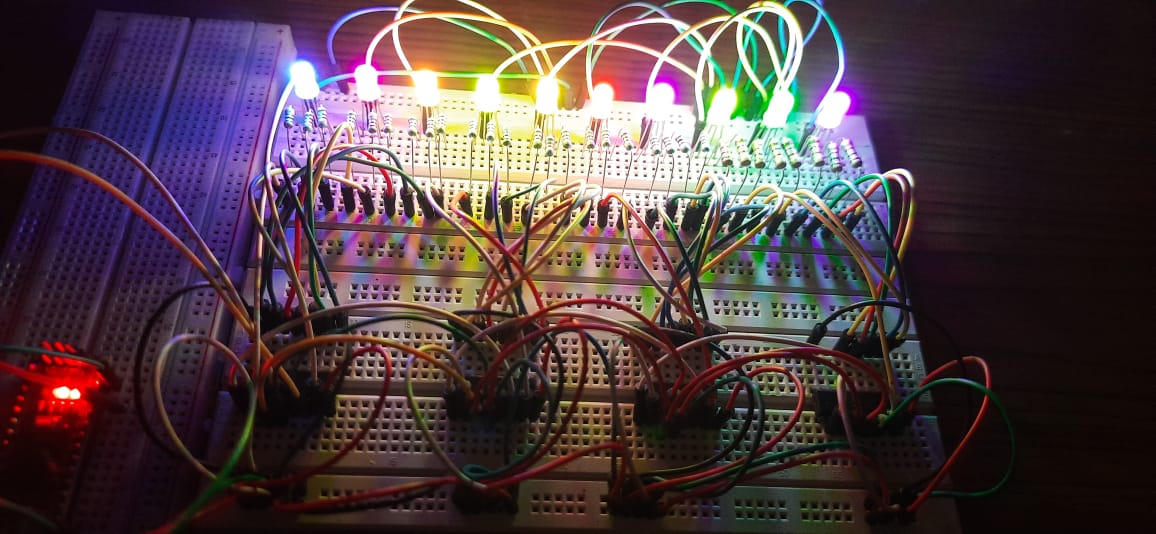
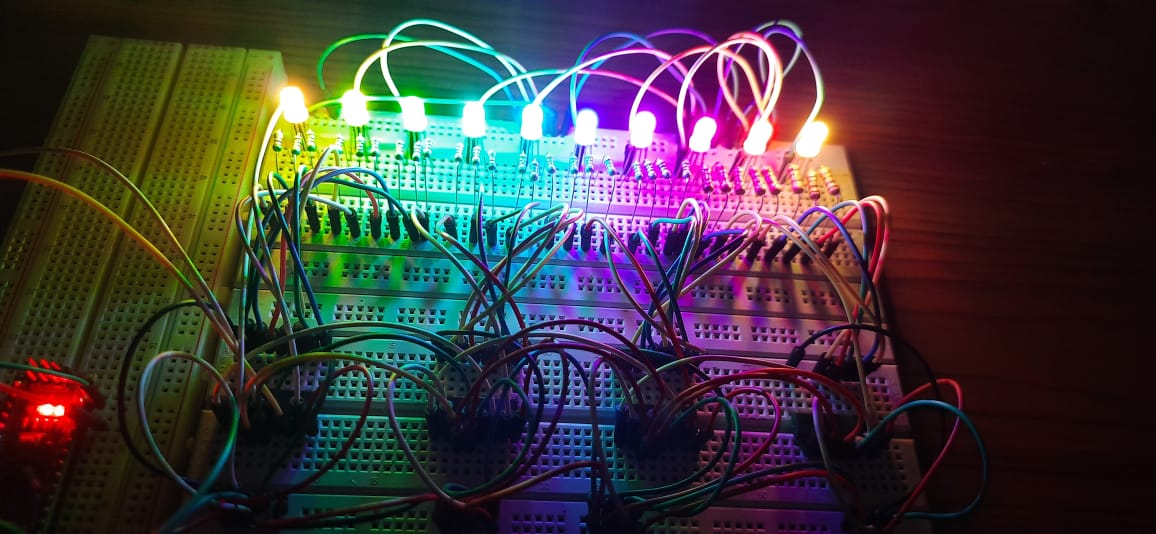
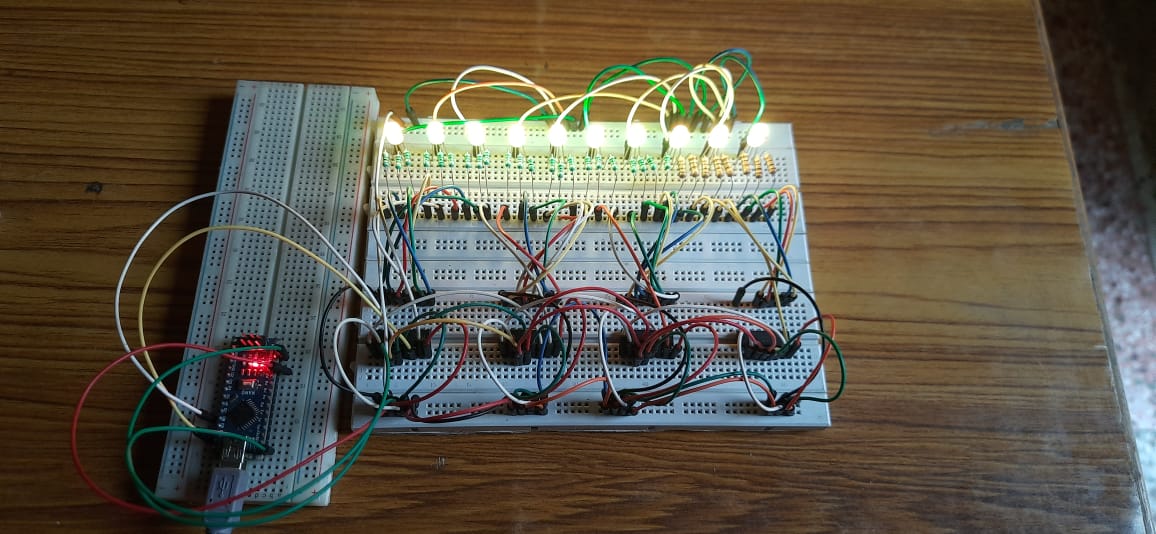
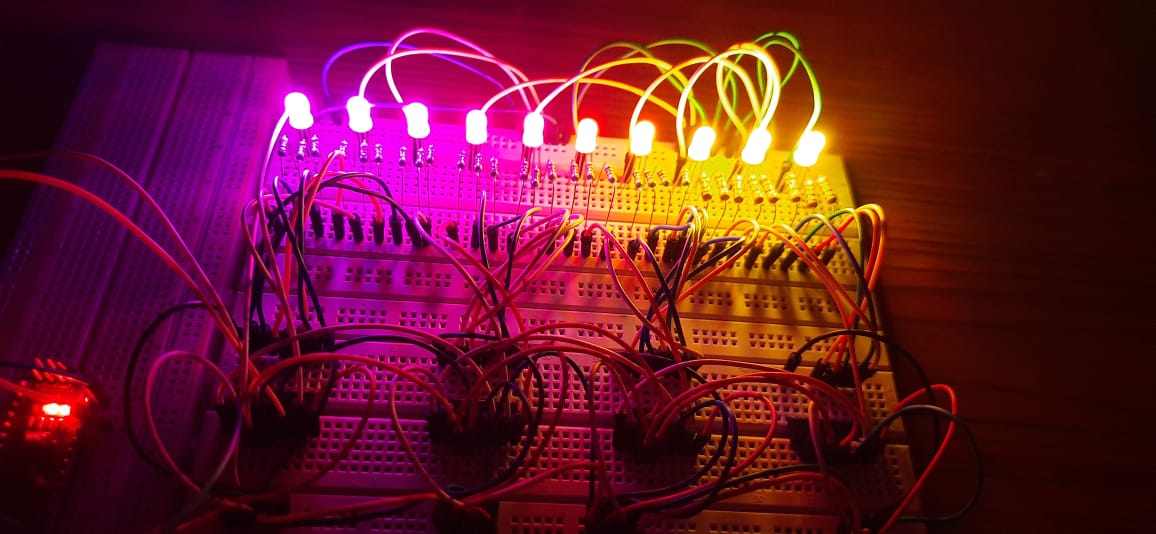
PICTURES OF MY WORK:


🛠️ เจาะลึกเบื้องหลังการทำงาน (Deep Dive / Technical Analysis)
The RGB LED Color Cycle project is a beautiful introduction to PWM (Pulse Width Modulation) and color theory. By blending Red, Green, and Blue light at different intensities, you can create any color in the rainbow.
How It Works: Color Mixing
An RGB LED is actually three LEDs in one single housing. By changing the brightness of each internal LED using the analogWrite() function (values from 0 to 255), the Arduino MIXES them:
- Red + Green = Yellow
- Red + Blue = Magenta
- Blue + Green = Cyan
- Full Red + Green + Blue = White
Hardware List
- Arduino Uno/Nano: To provide PWM signals.
- Common Cathode RGB LED: The light source.
- 220-ohm Resistors (x3): Crucial for protecting each color channel.
- Breadboard and Jumper Wires.
Coding the "Fading" Effect
The most impressive part of this project is the Smooth Rainbow Cycle. Instead of jumping from red to green, the code use for loops to slowly increase one color while decreasing another. This creates a professional ambient lighting effect similar to high-end gaming setups or smart mood lamps.