Easy and Quick
A simple tool to verify the shutter speed of cameras.
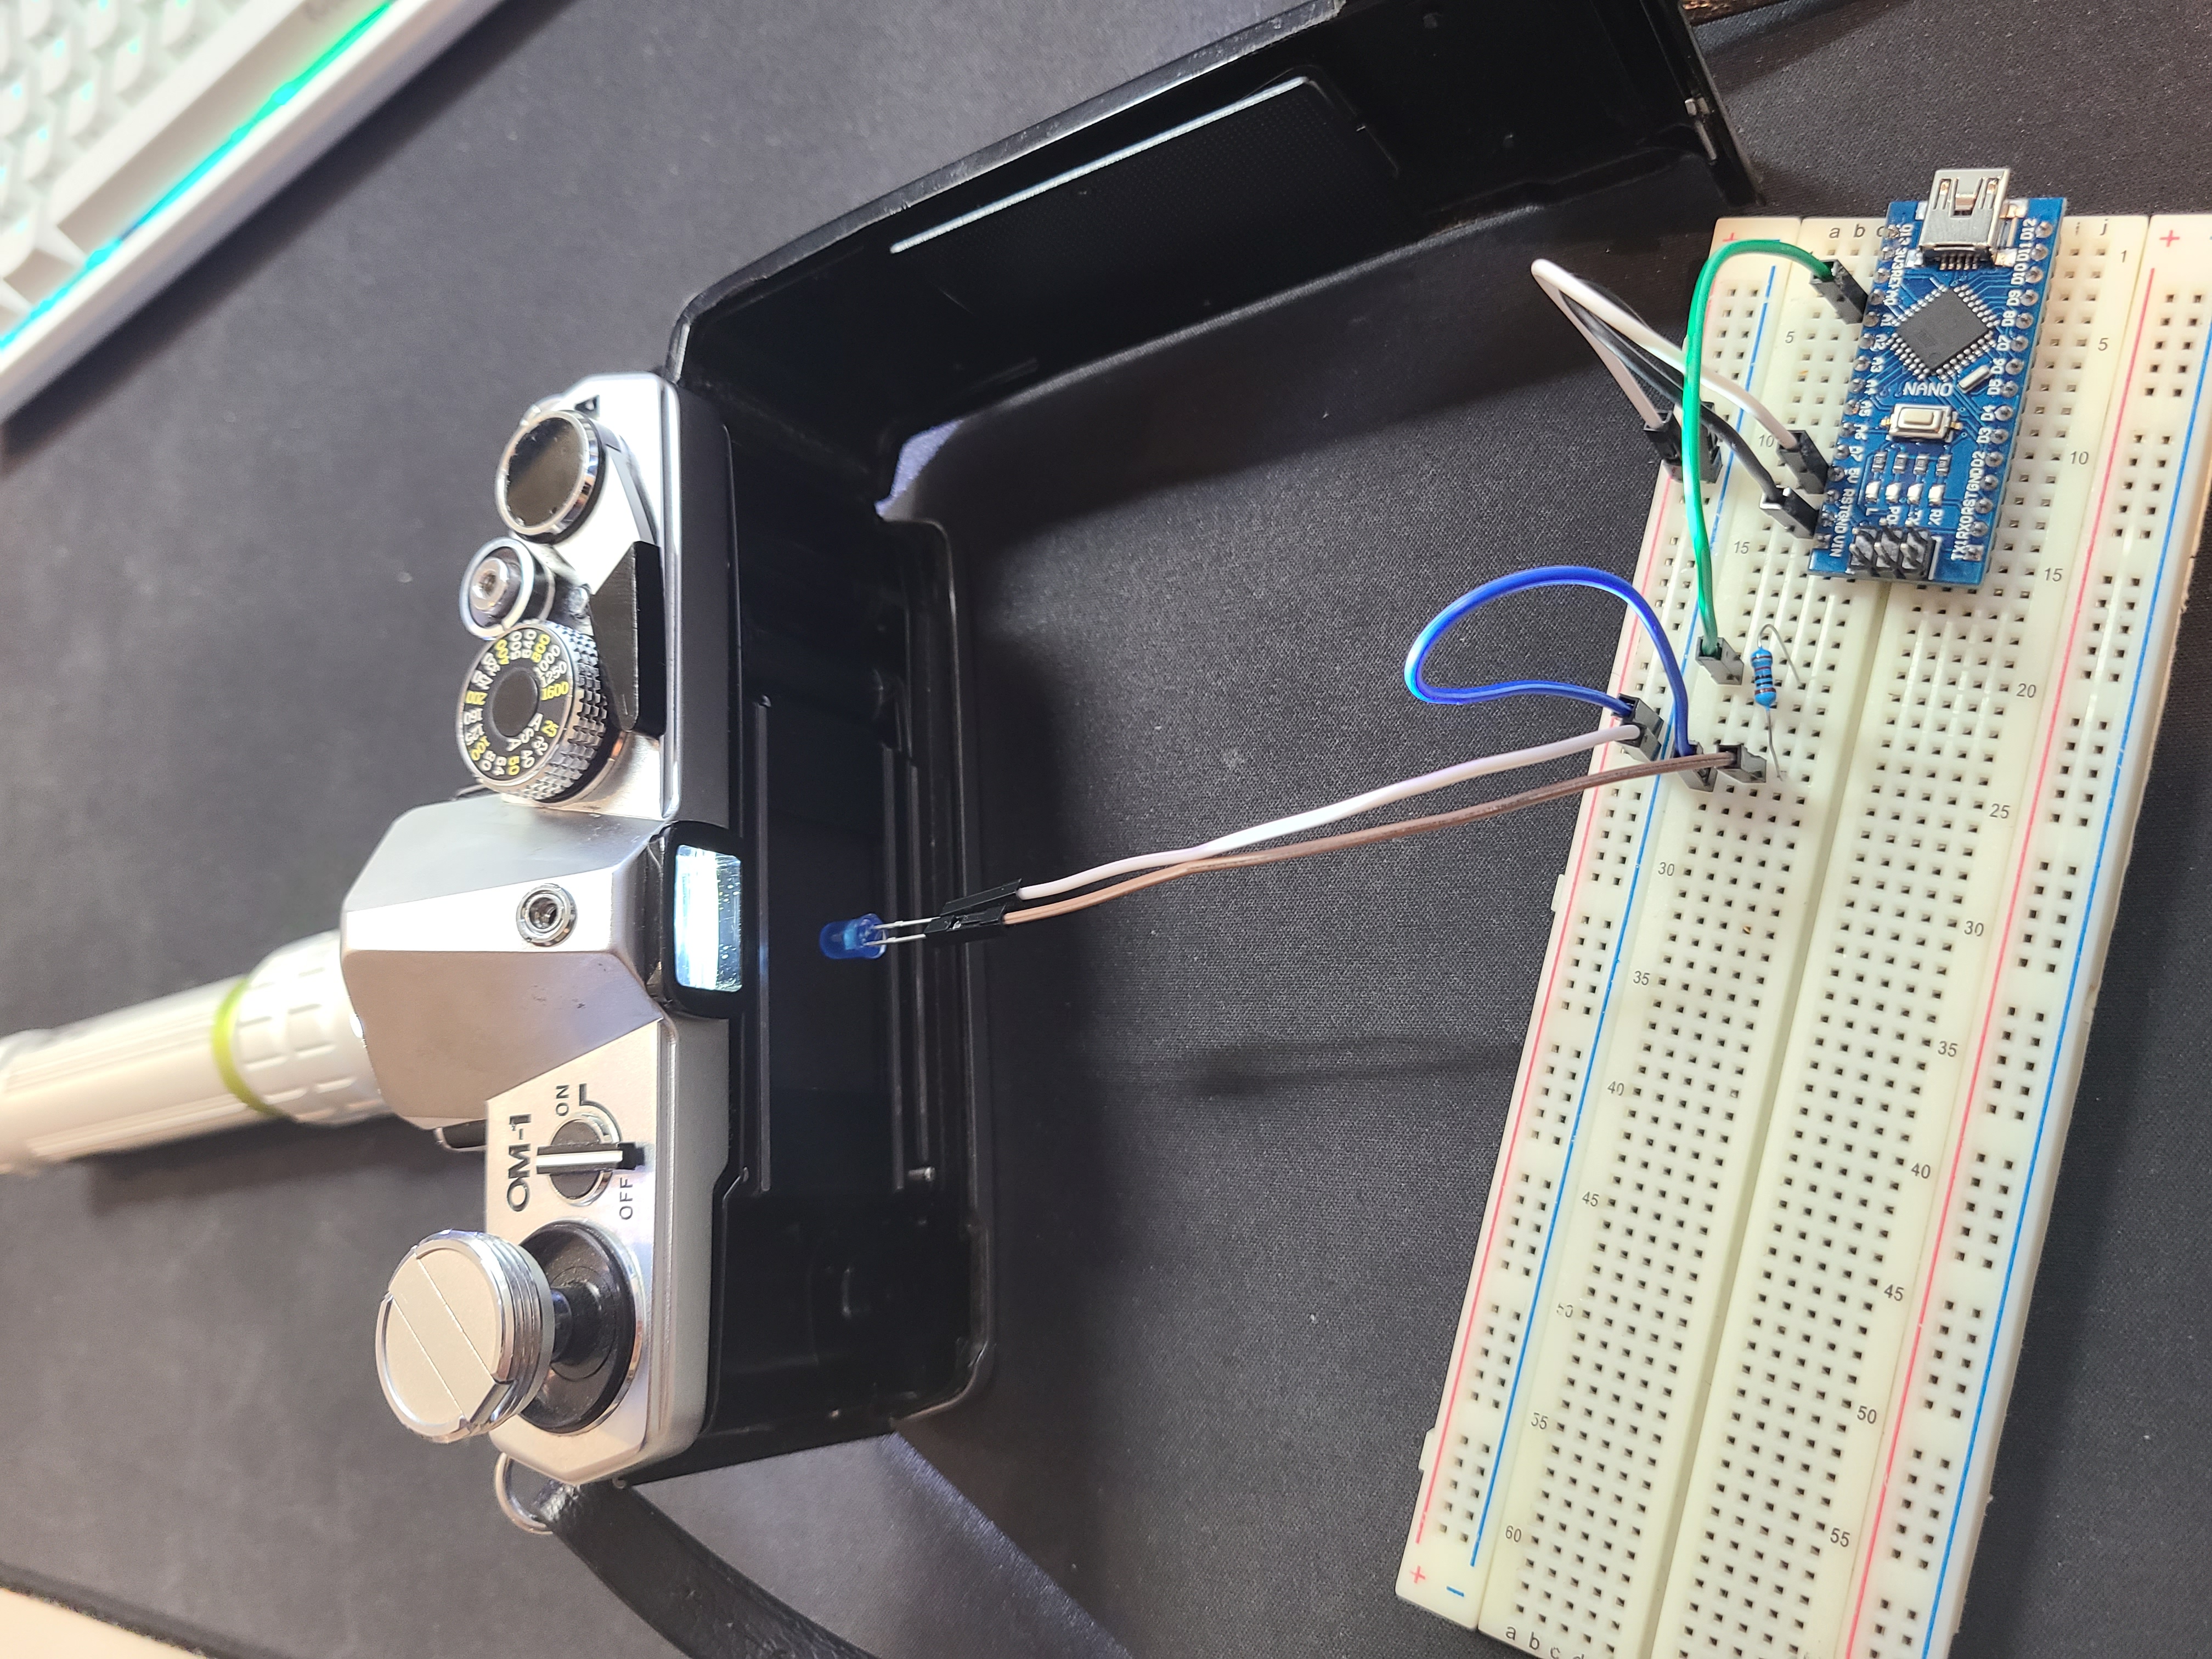
It makes use of ANY LED that comes with an Arduino / electronics kit- I used a blue one.
I liked the idea from hiroshootsfilm but did not see any need for a screen and the complexity it brought.
This will work if you can use the Arduino while connected to your PC.
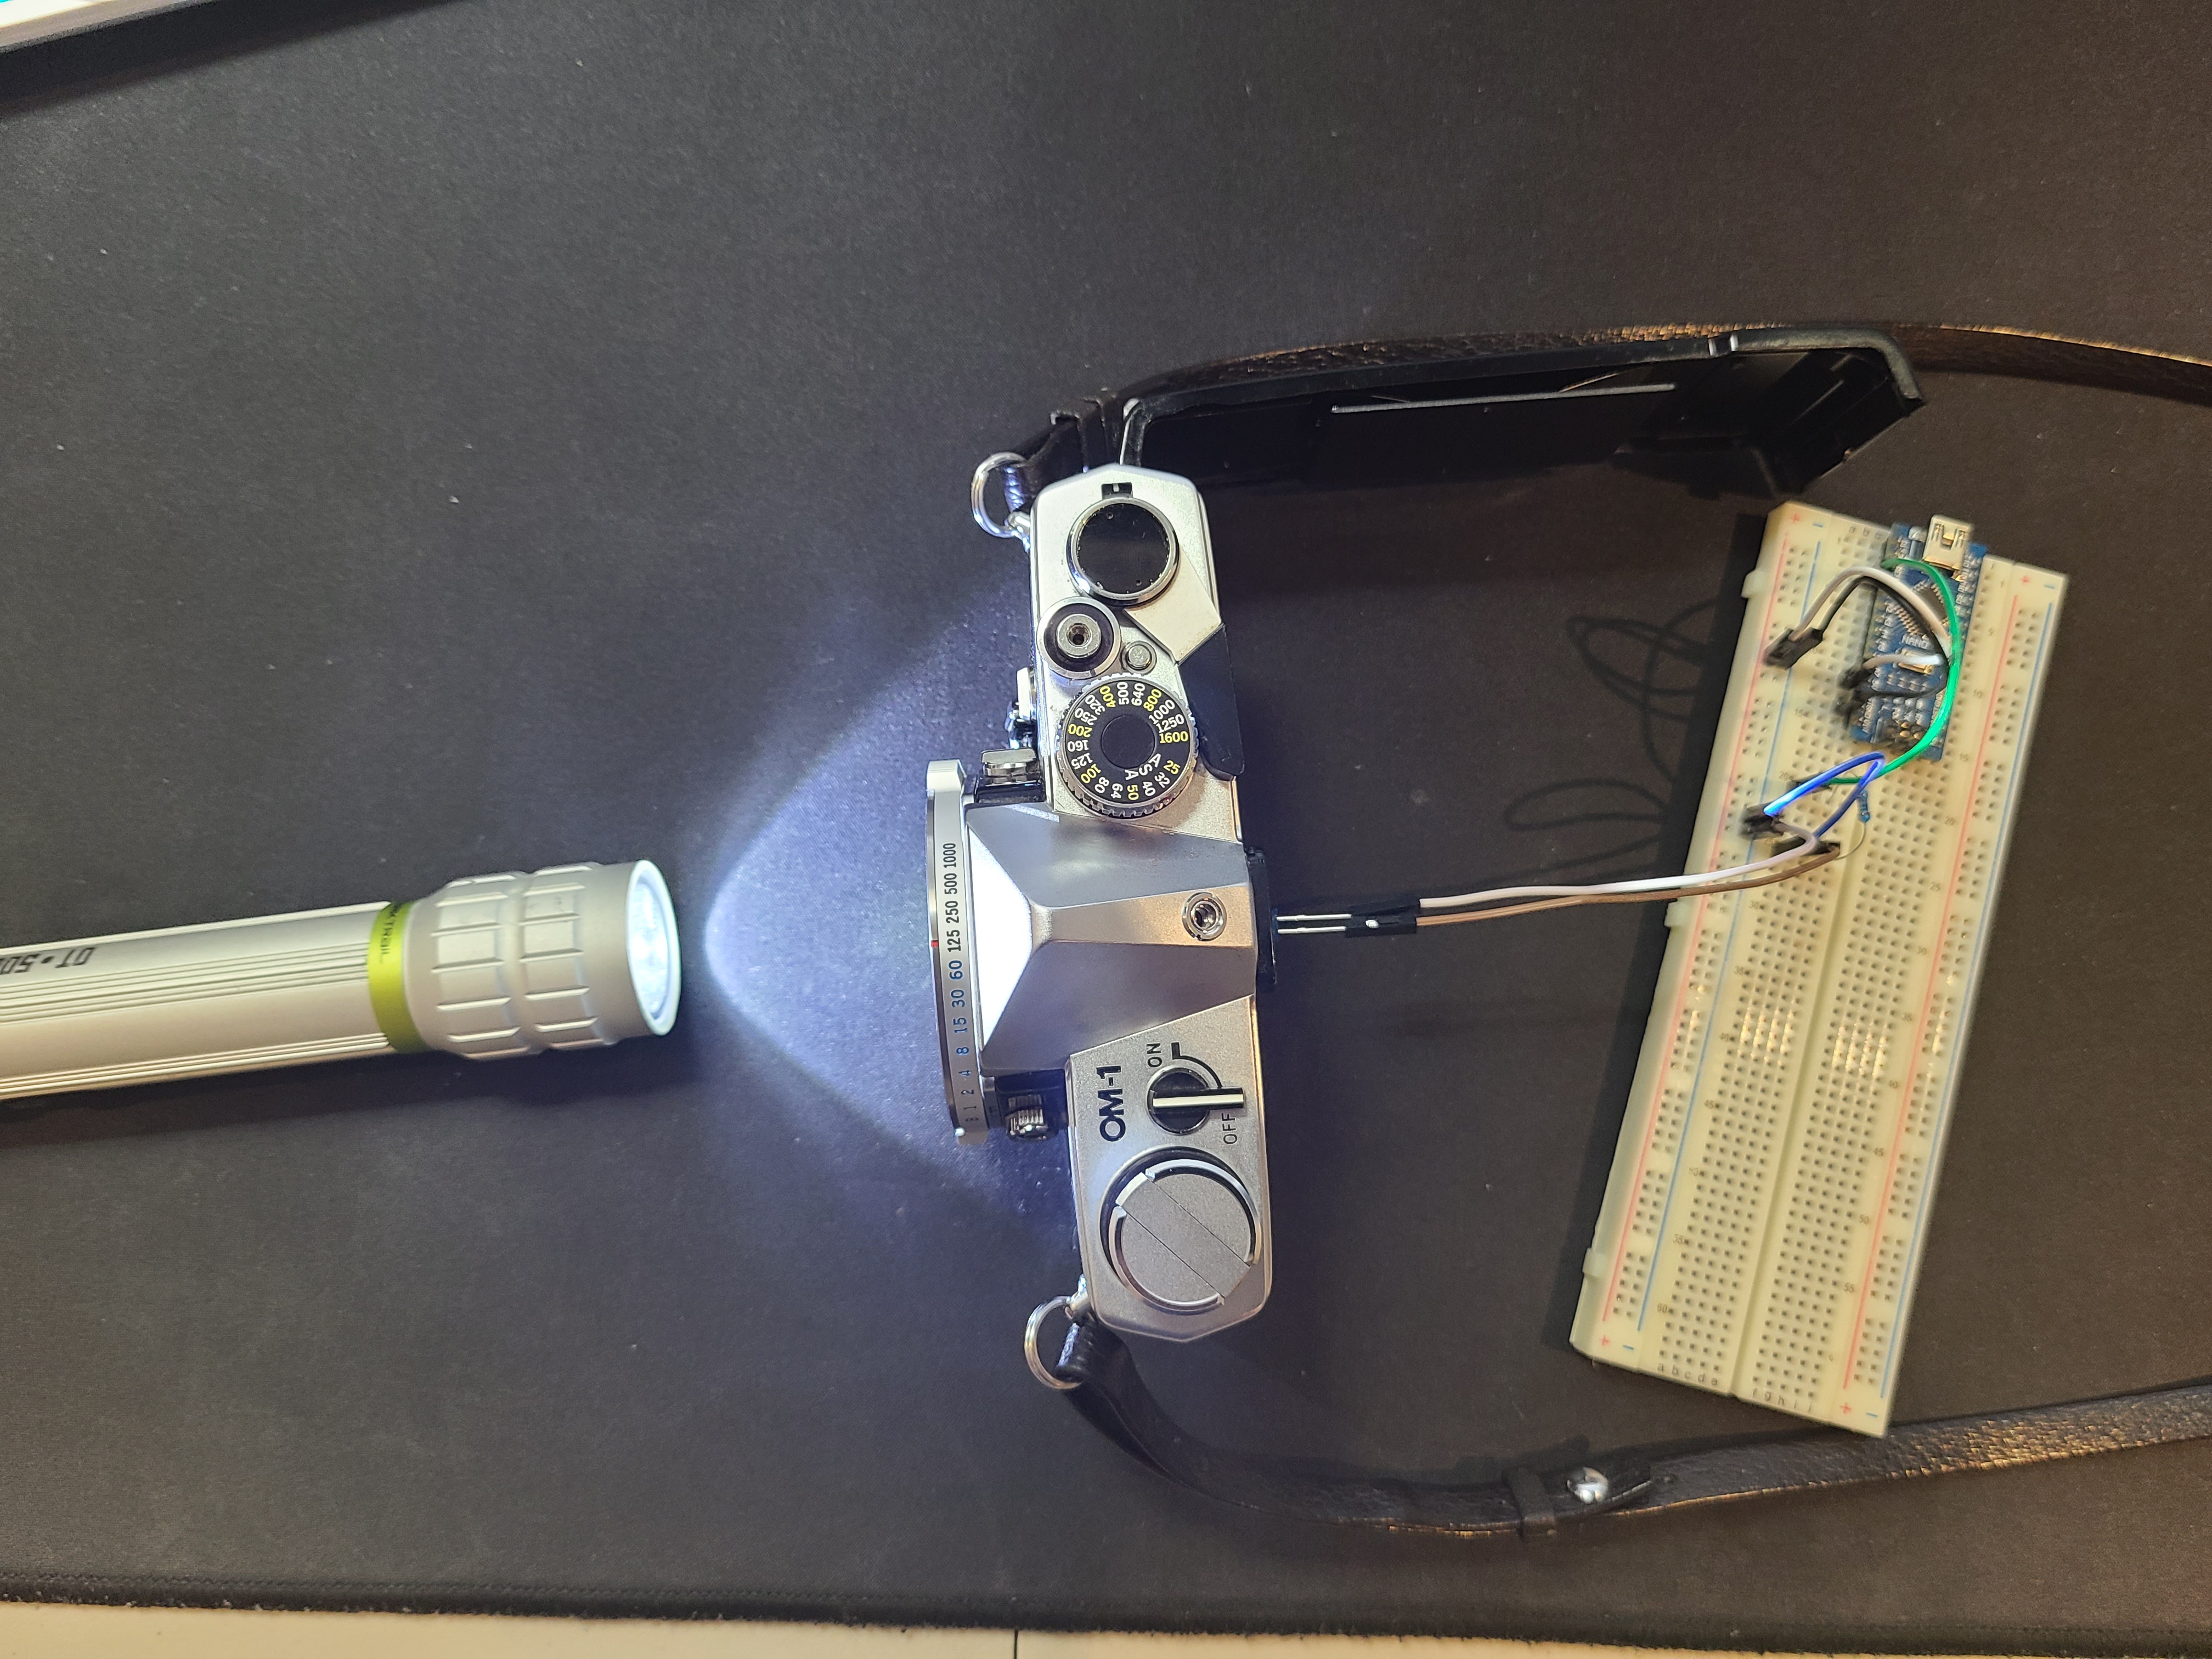
Done in a MacGyver style, jumper wires and a breadboard make this tool work a treat. Just take it apart when you don't need it anymore!
Setup
- Once the circuit is built and the code has been downloaded
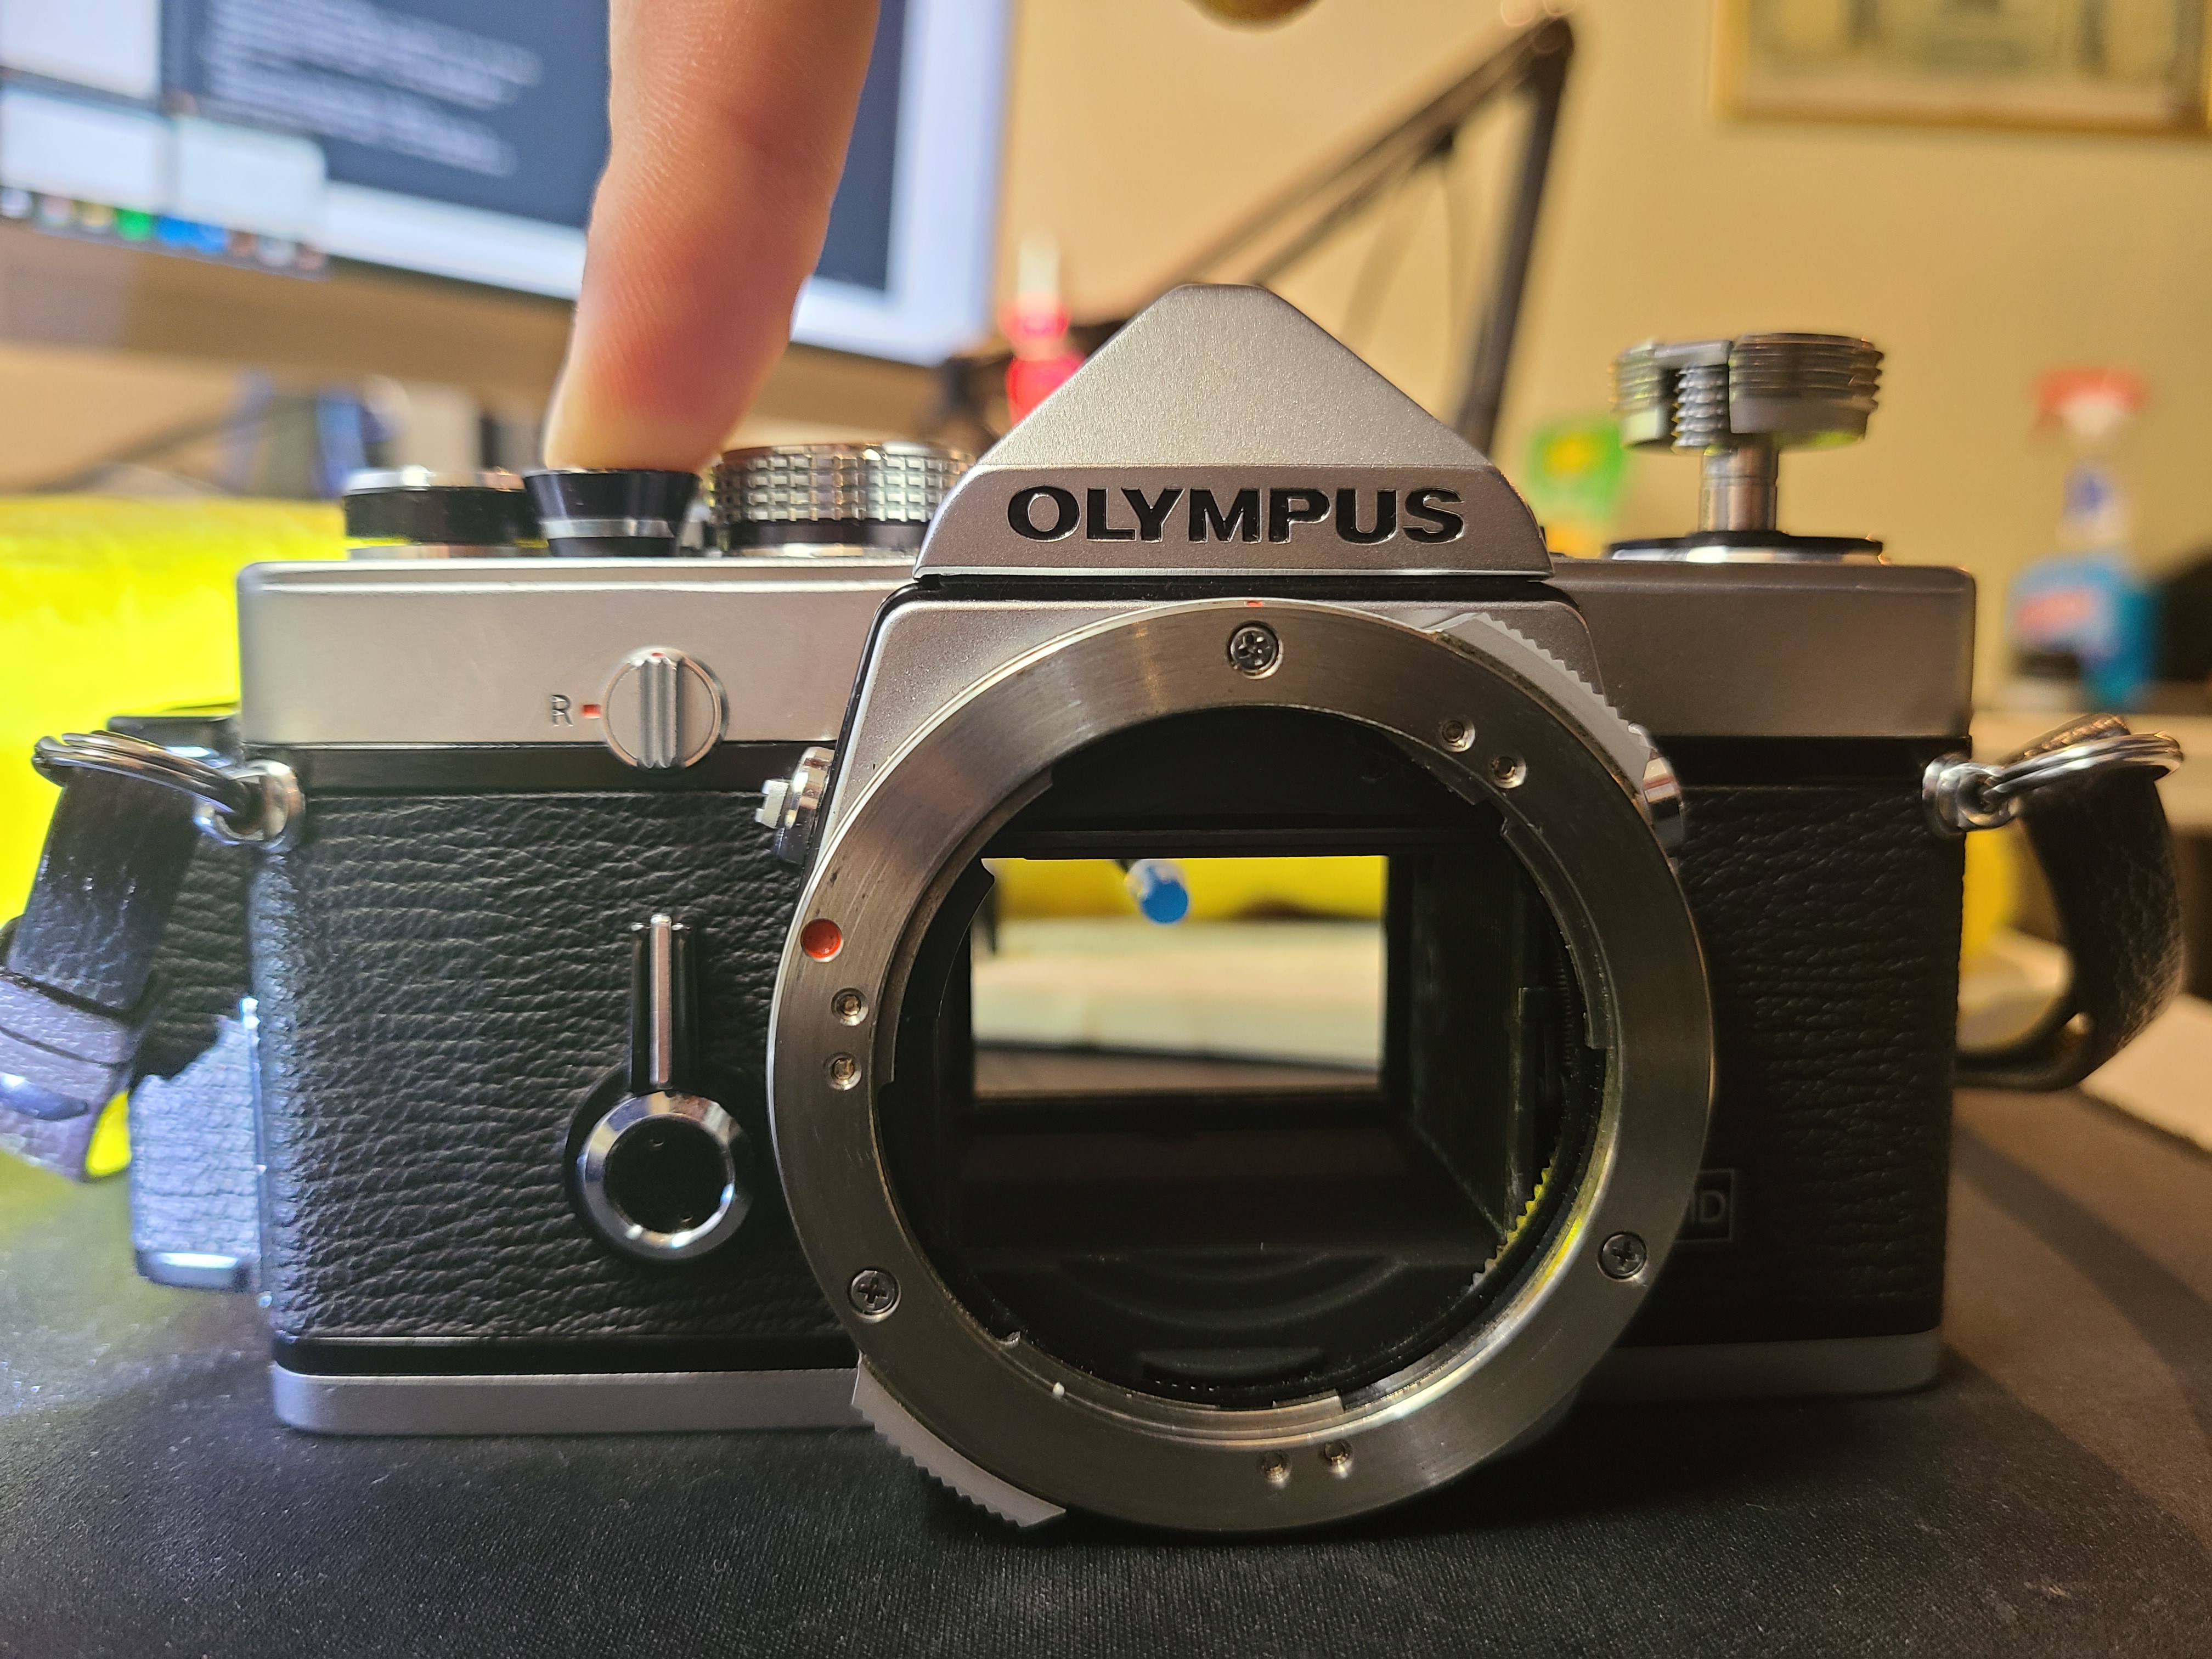
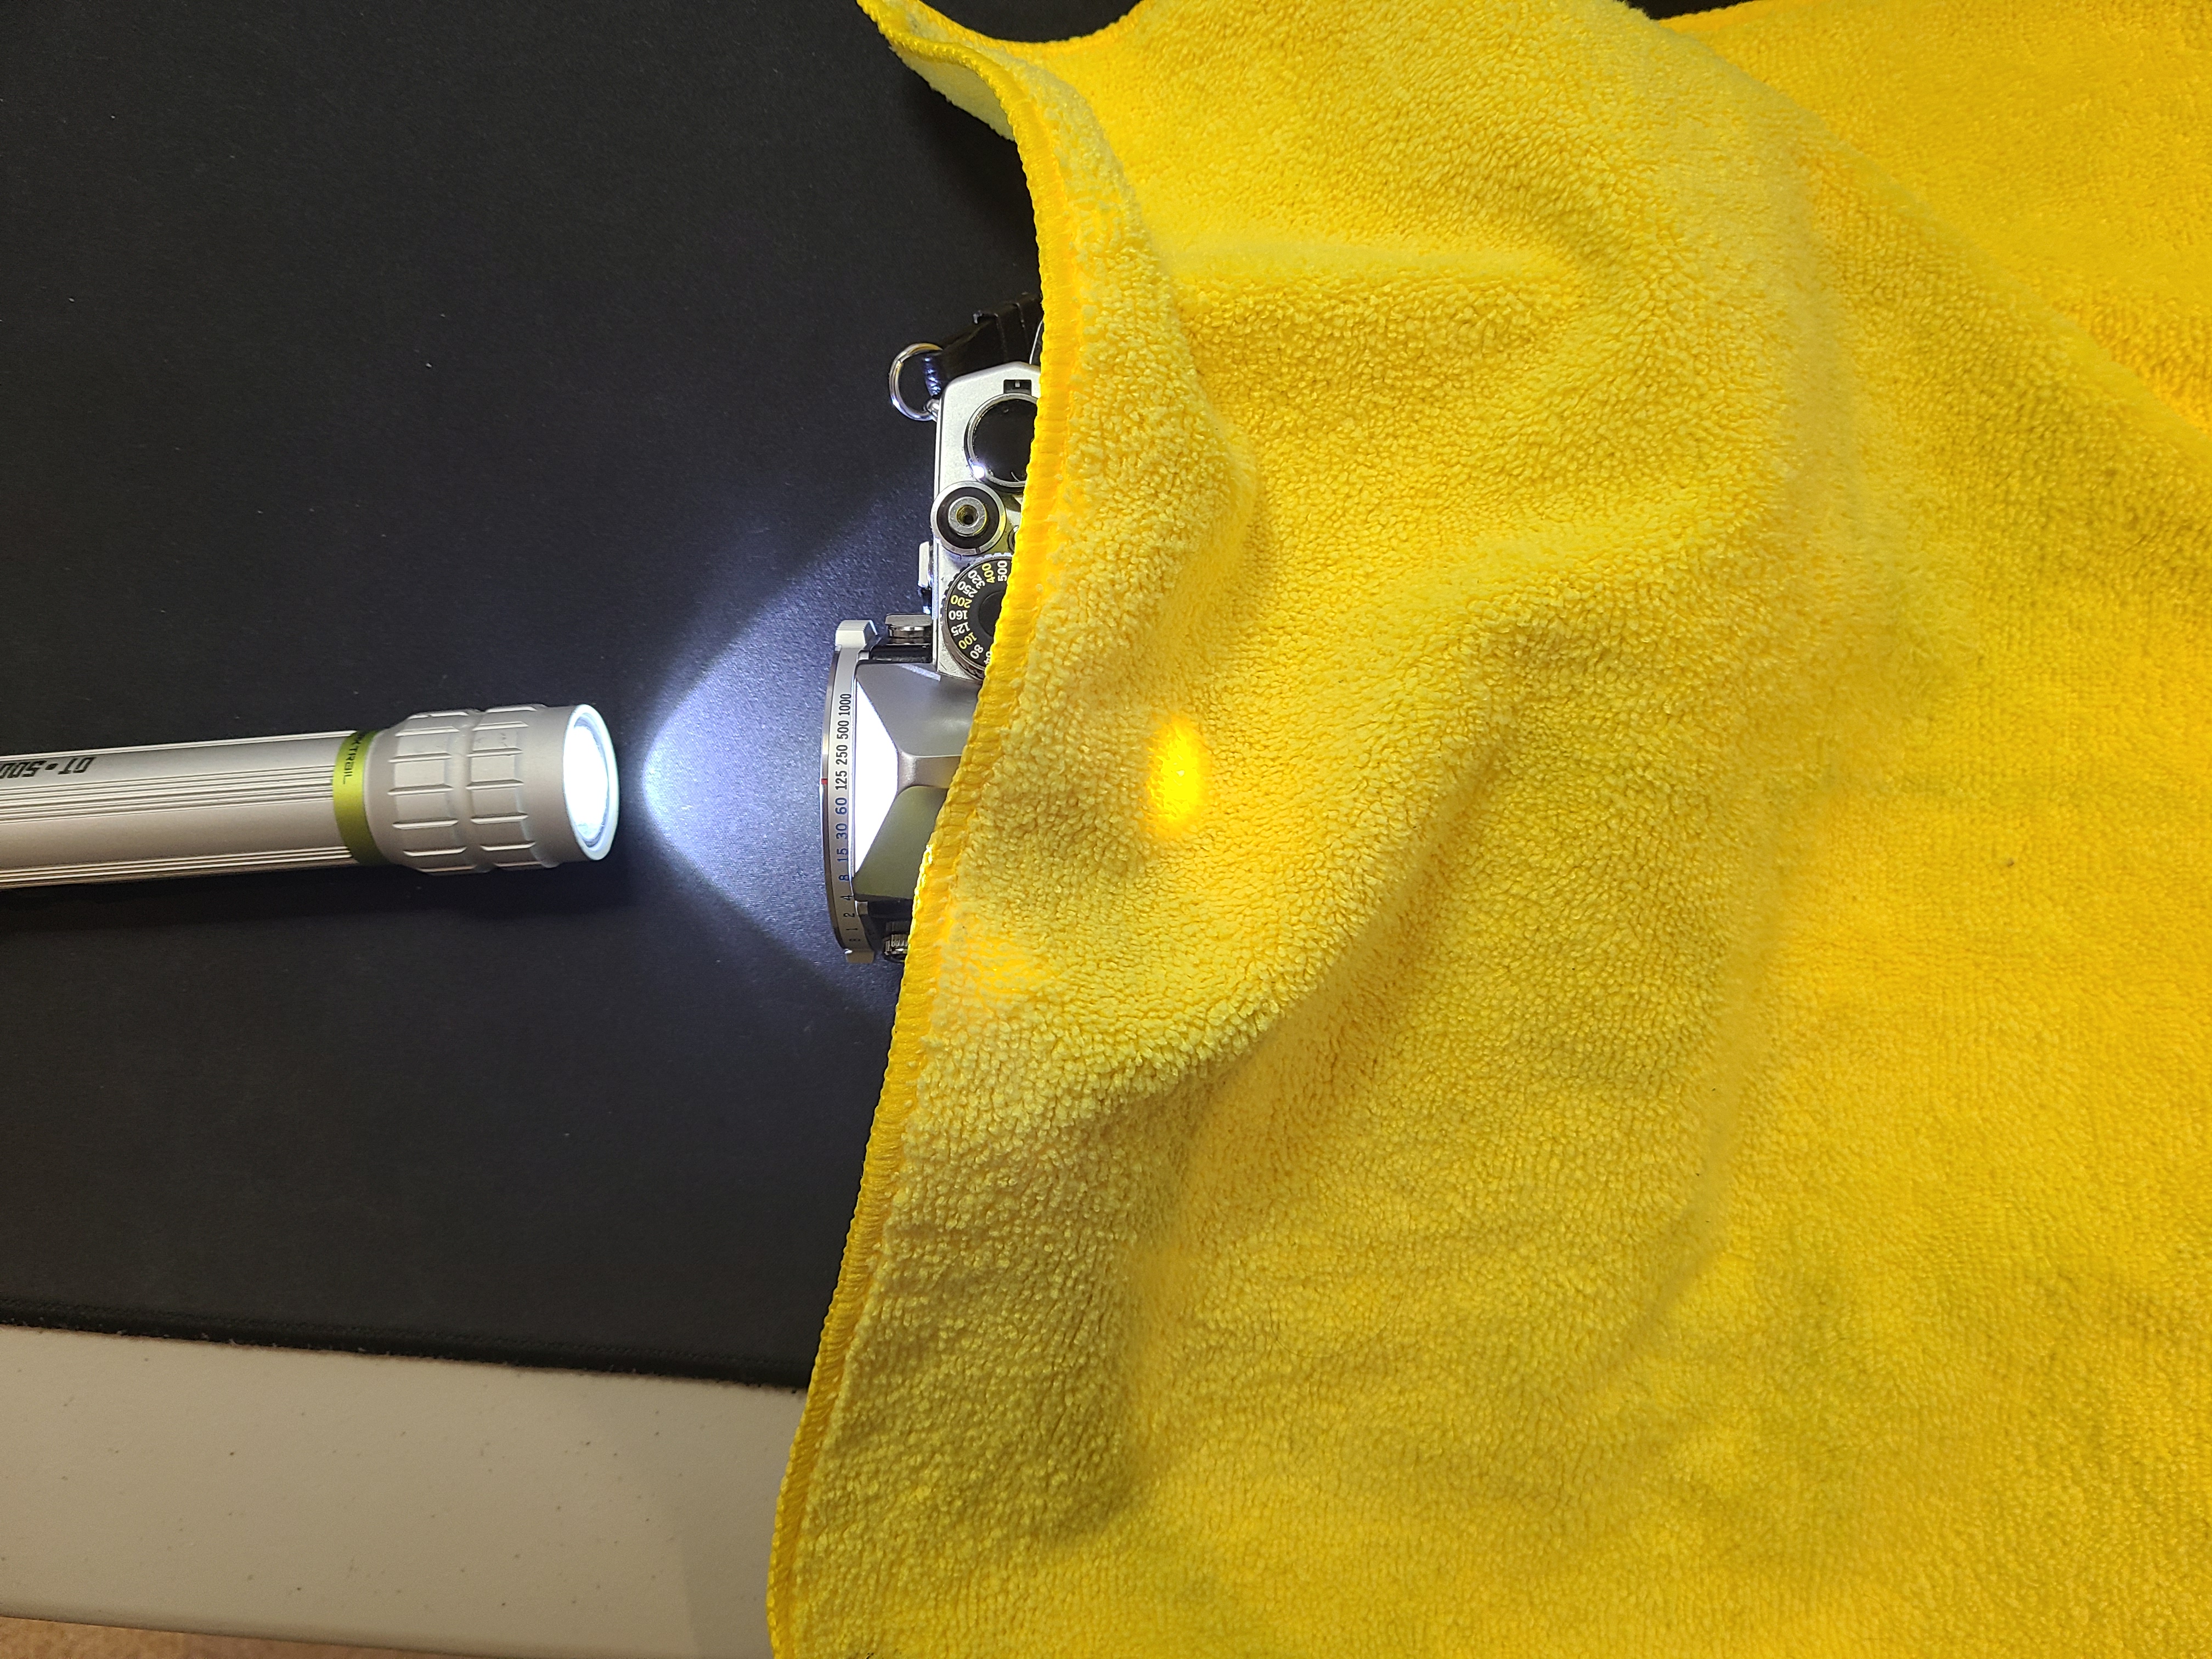
- Setup the system like in the pictures below. The flashlight should shine through the front of the camera to the back where the LED is waiting to sense it.
- Once it is all set up, use a towel to cover the back, this gives you more stable readings from the LED.
🛠️ เจาะลึกเบื้องหลังการทำงาน (Deep Dive / Technical Analysis)
A vintage 1970s film camera shutter is purely mechanical—a complex mess of physical springs and sliding titanium plates. Over decades, those springs fail. The Shutter Speed Measurement Tester forces the Arduino to operate entirely at the microsecond temporal scale, utilizing intersecting dual-laser physics to mathematically prove if "1/1000th of a second" on the camera dial is actually mechanically accurate!
The Dual-Laser Gate Physics
You cannot use a simple Light Dependent Resistor (LDR) for this. An LDR takes nearly 2 milliseconds to wake up, which is infinitely too slow to measure a fast shutter!
- You must utilize extreme-speed Phototransistors (like the BPW34 or PT334), which have a nanosecond-level response time.
- We place a laser diode on one side of the camera, and the phototransistor directly behind the camera lens on the other side.
- You trigger the camera shutter! The physical titanium curtain slides open. The laser violently strikes the phototransistor!
Catching the Pulse (The micros() clock)
The Uno's millis() function is too coarse. We must dig deeper into the ATmega registers using micros().
- The Execution Variables:
unsigned long startTime = 0;
unsigned long elapsedTime = 0;

void loop() {
  if (digitalRead(LaserSensor) == HIGH && startTime == 0) {
     startTime = micros(); // The exact nanosecond the blade opened!
  } else if (digitalRead(LaserSensor) == LOW && startTime > 0) {
     elapsedTime = micros() - startTime; // The blade closed! Calculate the gap!
     calculateShutterTarget(elapsedTime);
     startTime = 0; // Reset for next shot
  }
}
- If the
elapsedTimereturns1000 microseconds, the Arduino mathematically divides by a million, outputting an absolutely flawless1/1000 seconto the LCD screen!
Optical Sensor Configuration
- Arduino Uno/Nano (Sufficient, but requires clean code with zero
delay()functions blocking the loop). - Extremely fast NPN Phototransistor Diodes. (Do NOT use cheap generic LDRs or Photoresistors, they will drastically skew the high-speed math).
- Basic 5mW Laser Diodes (To generate a fiercely bright, ultra-focused beam capable of passing straight through complex camera lens glass elements).
- A 16x2 I2C LCD Character Display for clean workbench readout.