I recently posted a tutorial on YouTube explaining everything you can read in this article. If you are interesting at watching it, here is the video.
THEORY
A soil moisture sensor is a tiny device that measures the water level in soil. They can work alone or in automated systems for real-time monitoring, making them crucial for several applications in agriculture, gardening, environmental monitoring, and more.
There are different types of sensors, but we can divide them in two groups: resistance-based and capacitance-based.
The resistance-based devices have two electrodes. When inserted into the soil, these sensors measure the electrical resistance between the electrodes. As the soil moisture increases, its conductivity also increases, so the resistance between the electrodes go down. Then, this change in resistance is converted into a moisture reading.
On the other hand, the capacitance-based sensors measure the dielectric permittivity of the soil. The presence of water in the soil changes its dielectric permittivity, which in turn affects the capacitance of the sensor. Later, this change is measured to determine the soil moisture.
Now that you understood the principles behind these sensors, it's time to see them working on real projects.
PROJECTS
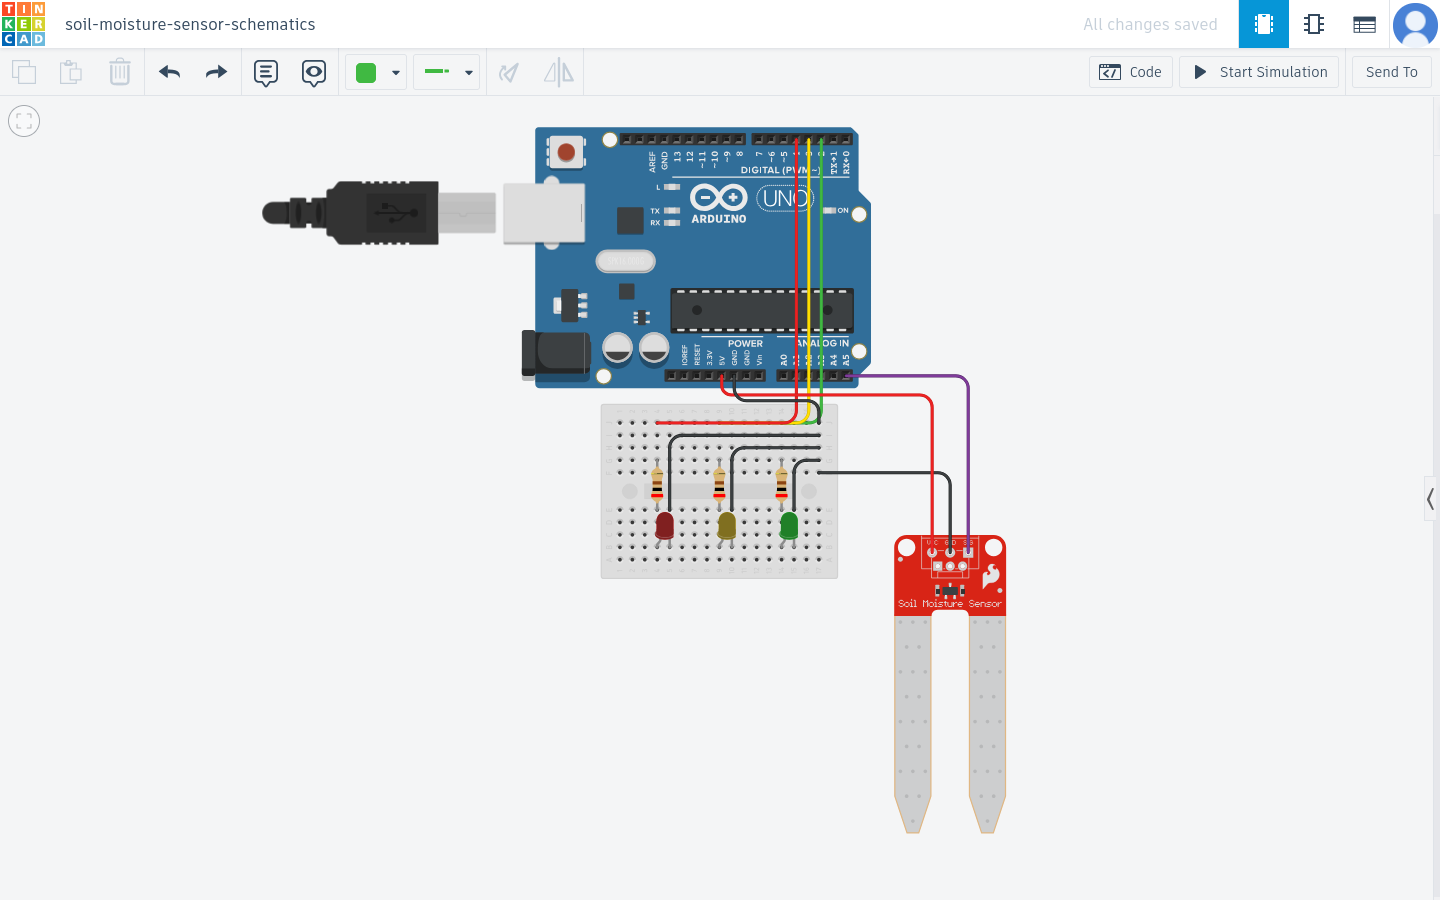
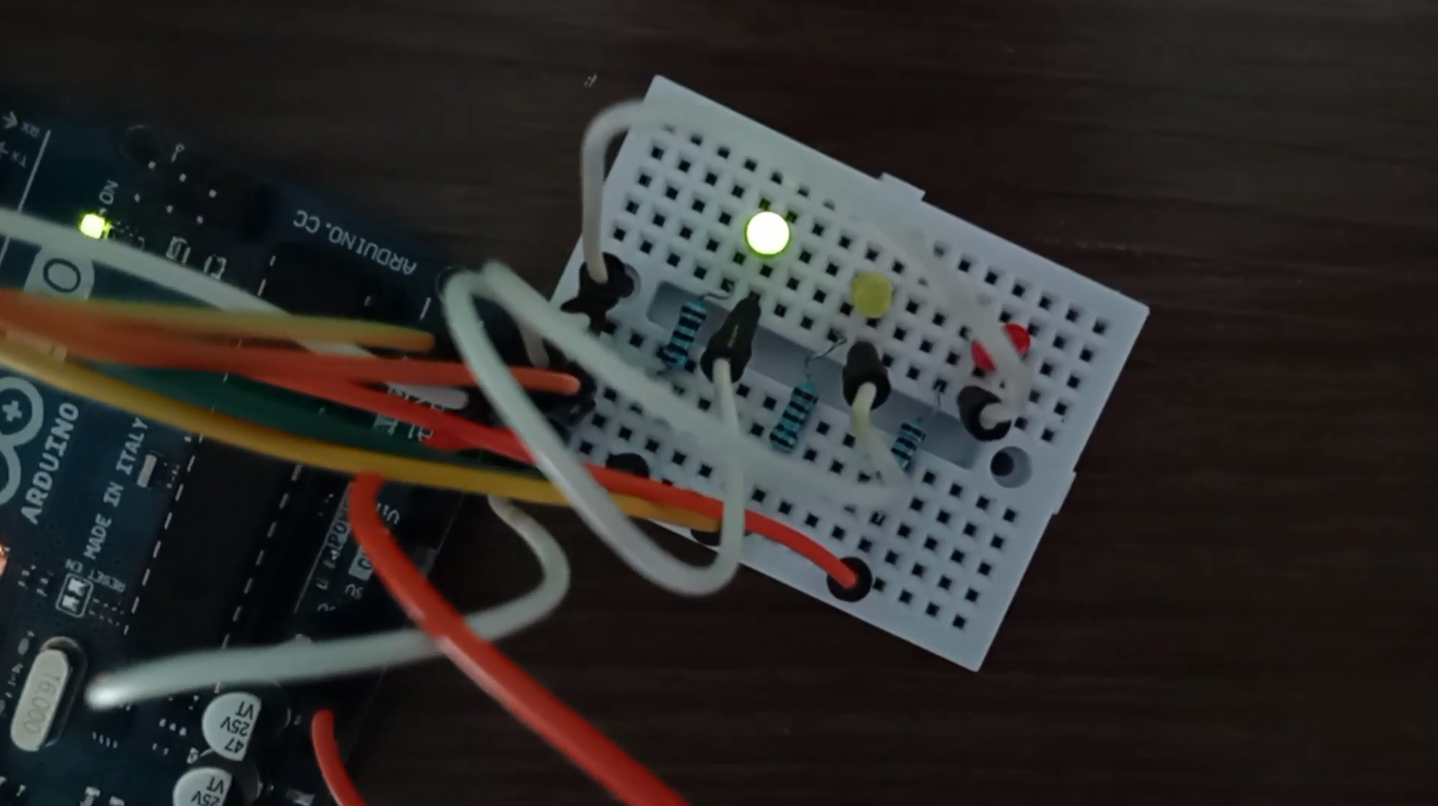
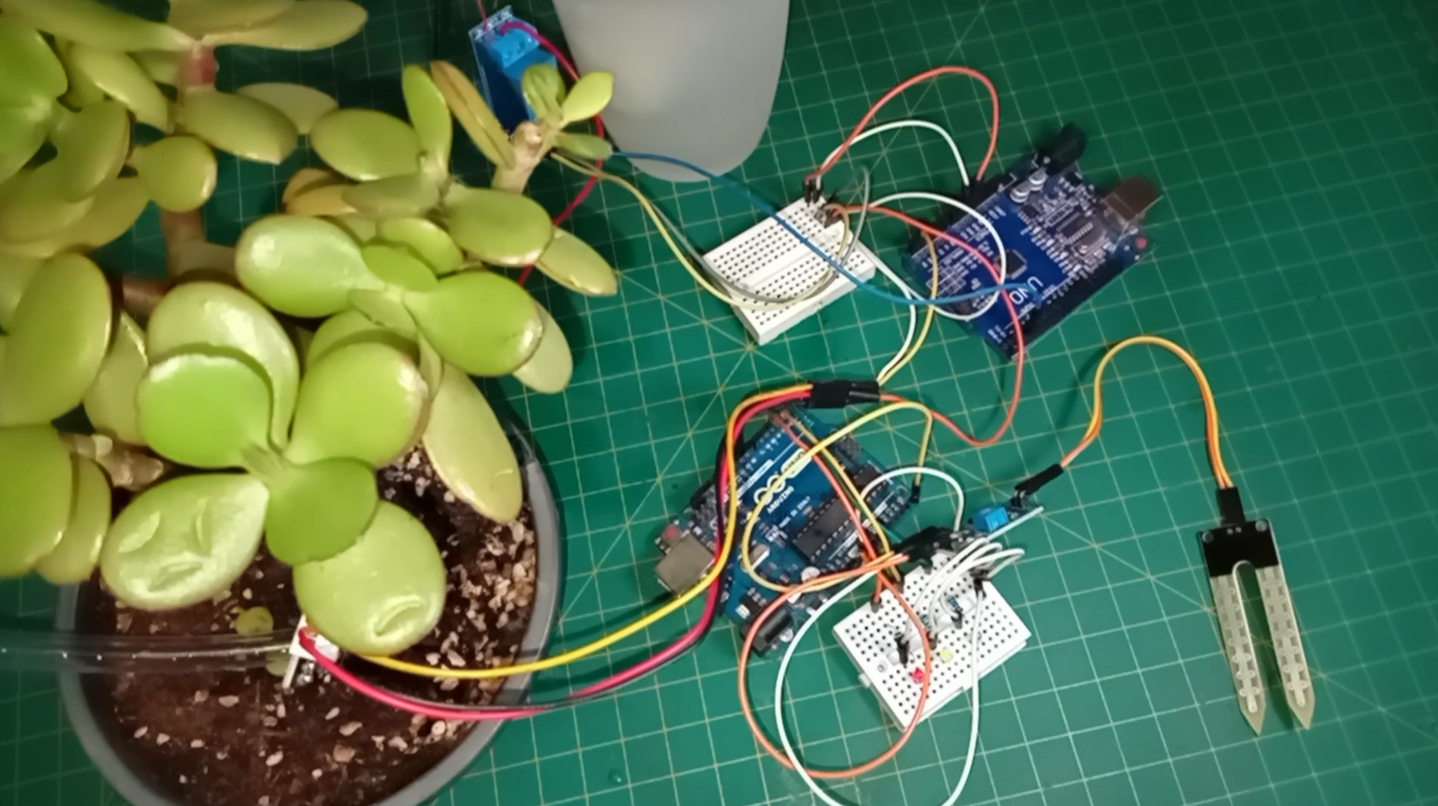
First, we’ll build a simple soil moisture monitor with Arduino, according to this schematics .
Here’s what you need:
- Arduino board
- Breadboard
- Jumper wires
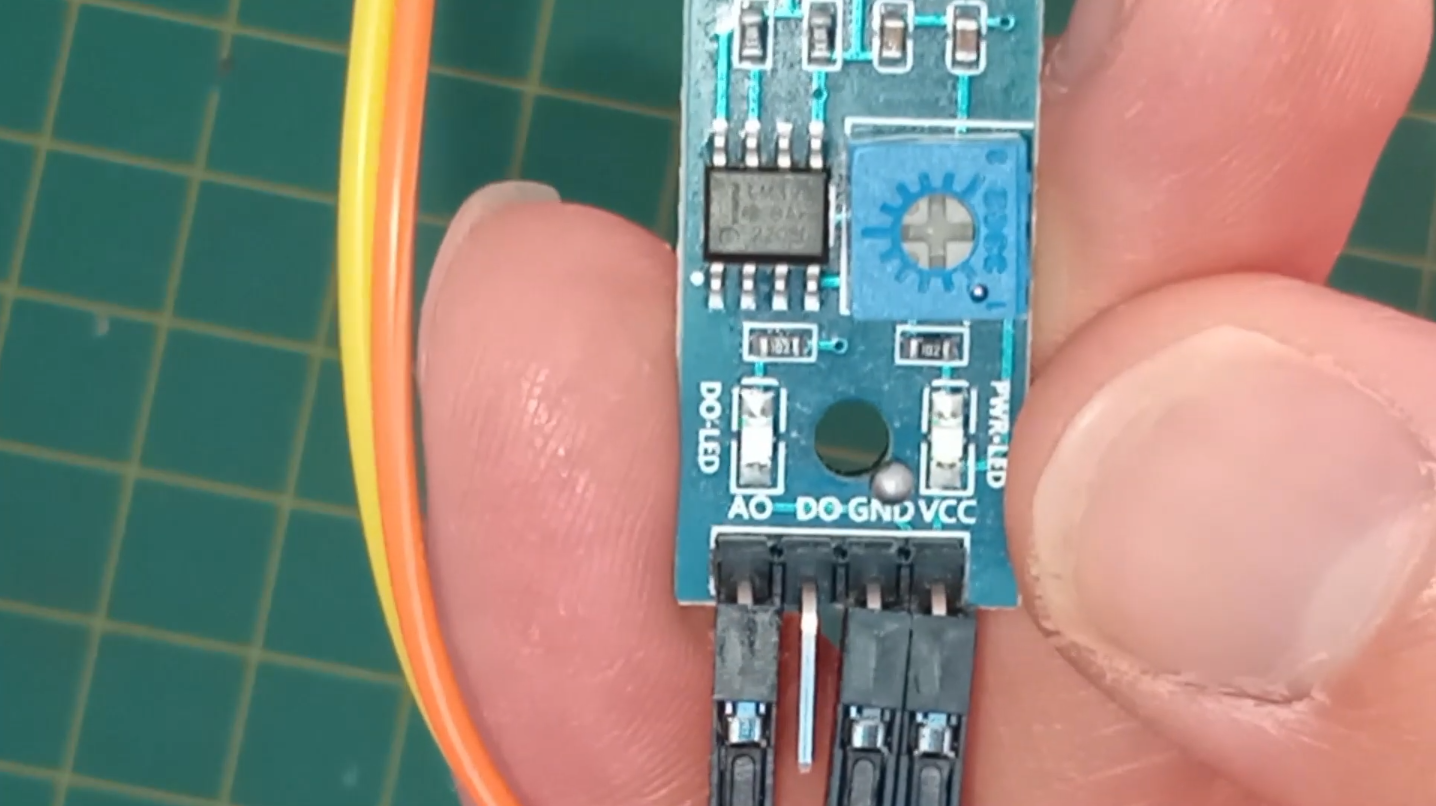
- Resistance-based soil moisture sensor
- Three LEDs (red, yellow, green)
- Three 220 ohm resistors
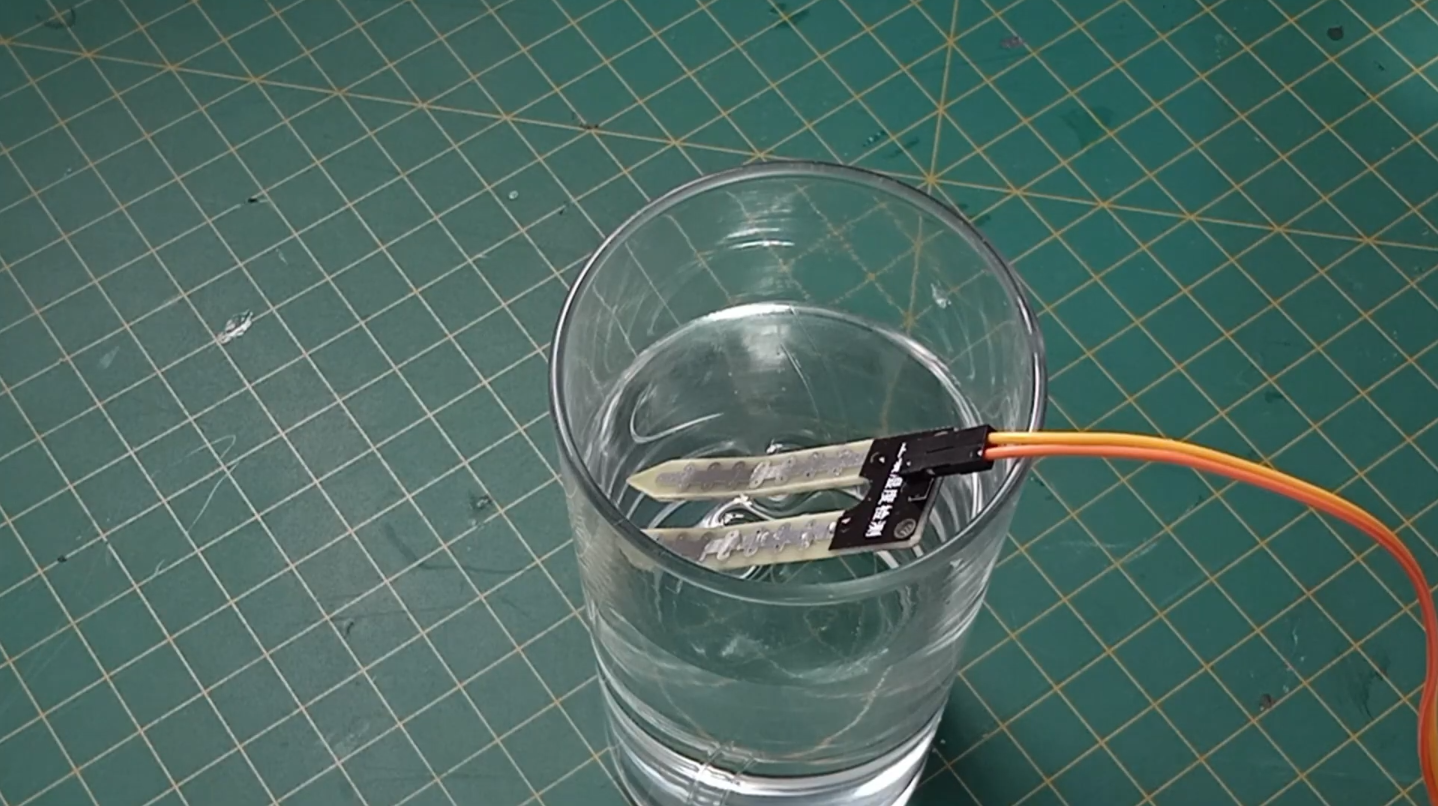
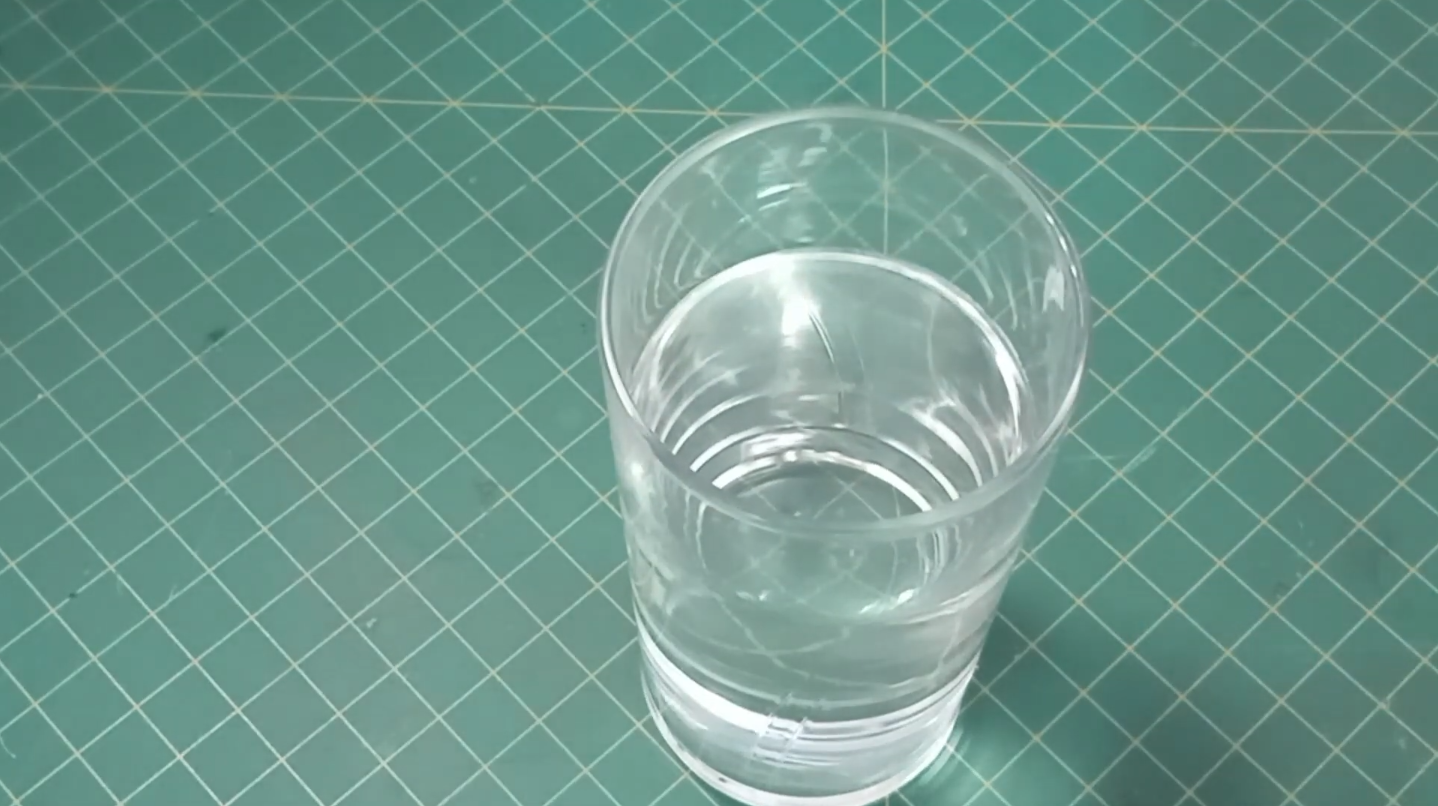
- Glass of water
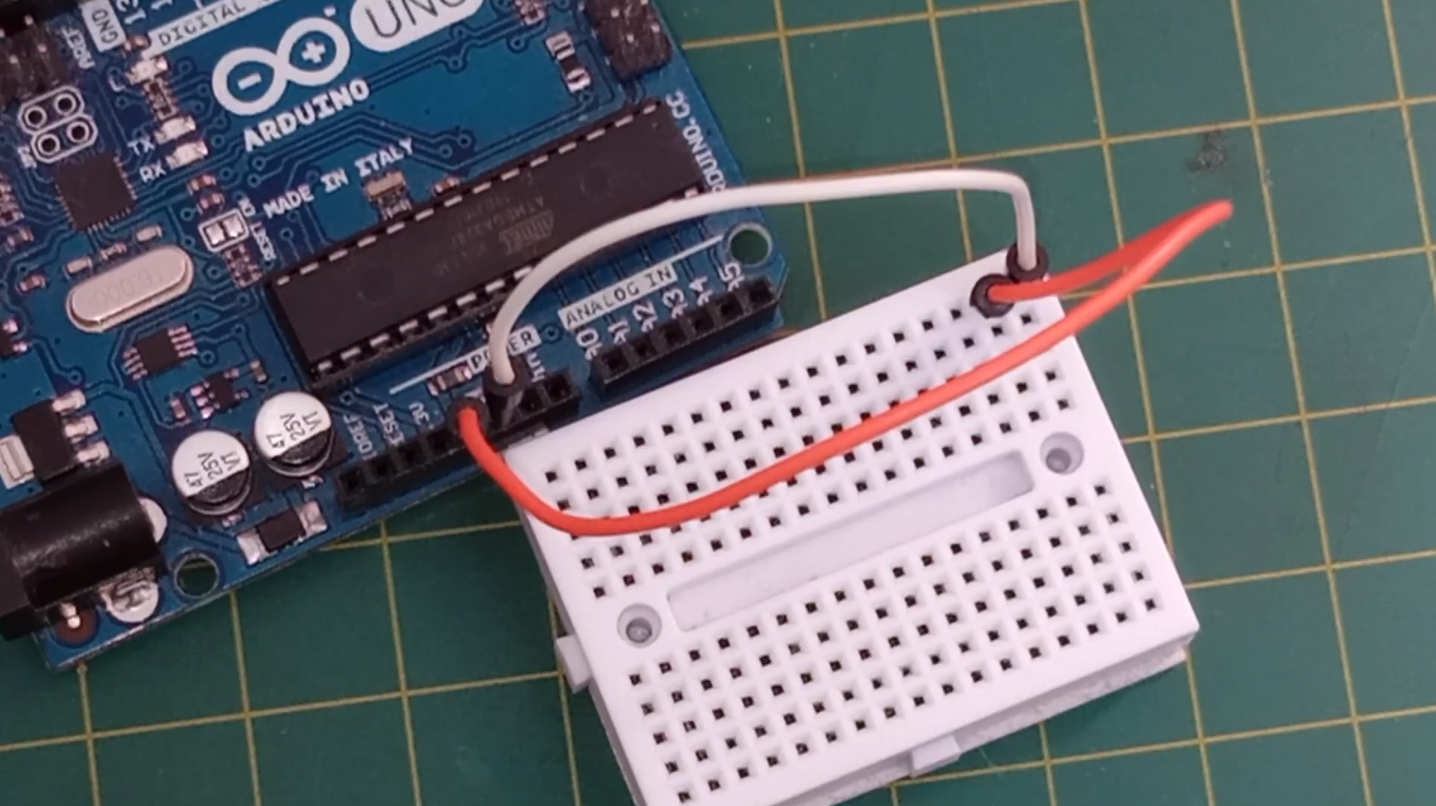
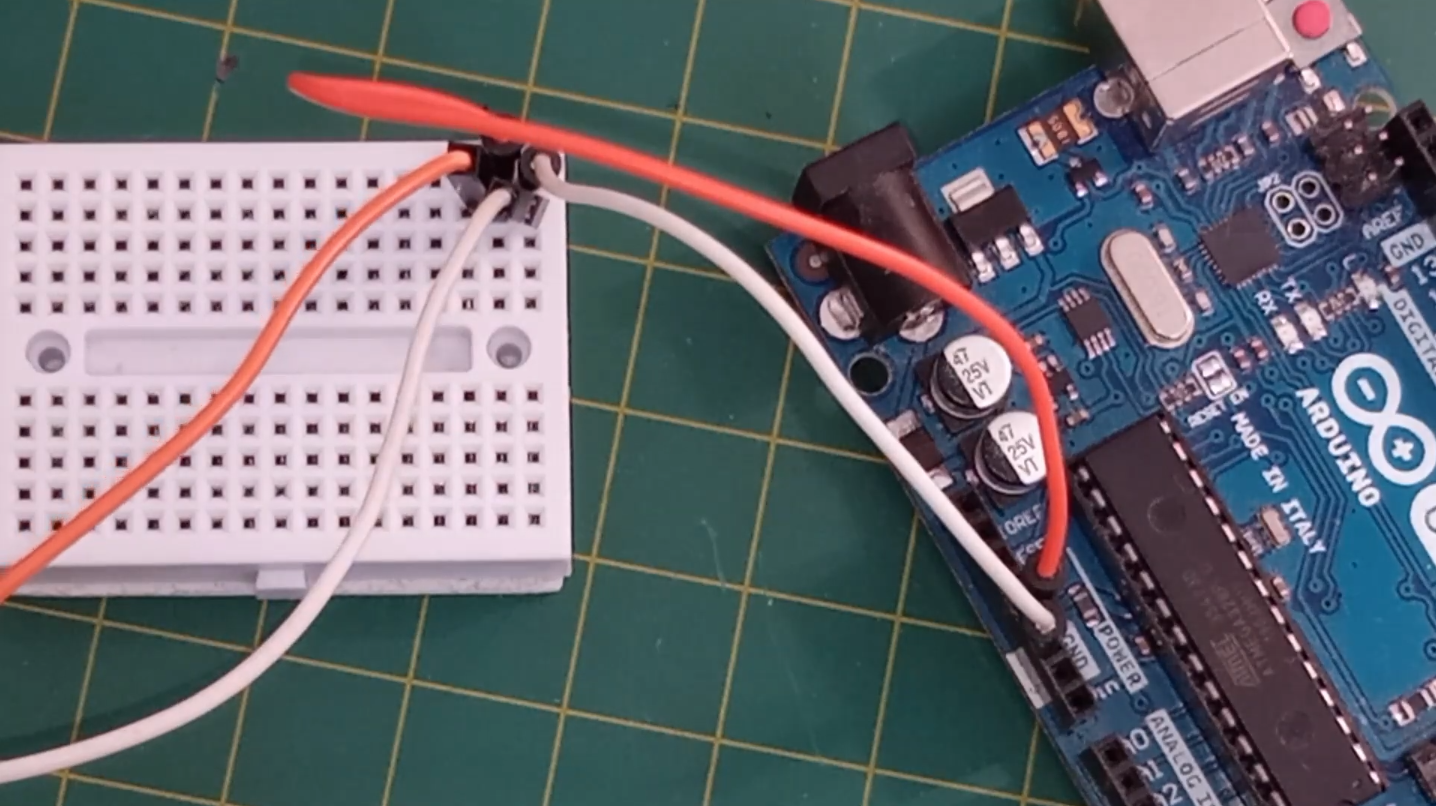
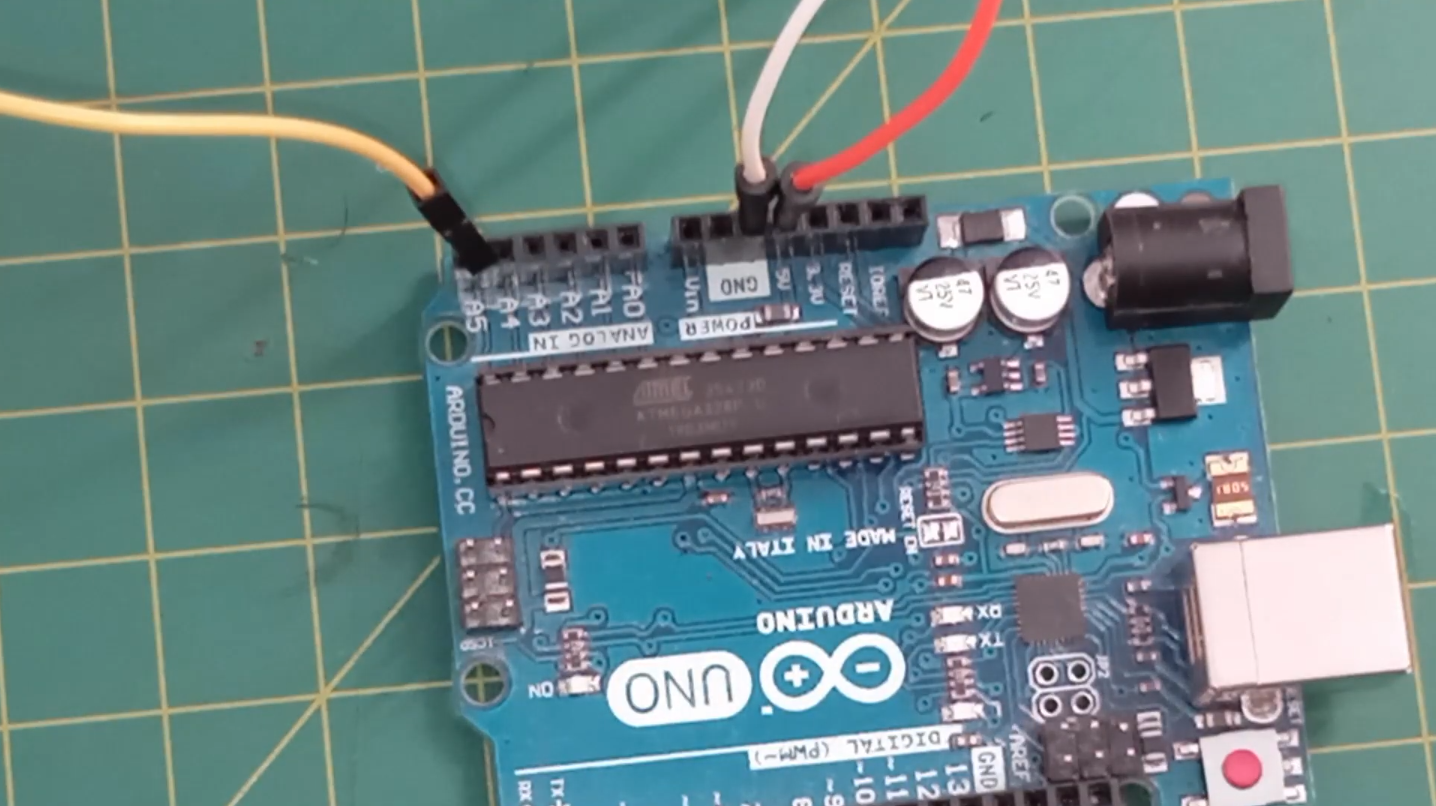
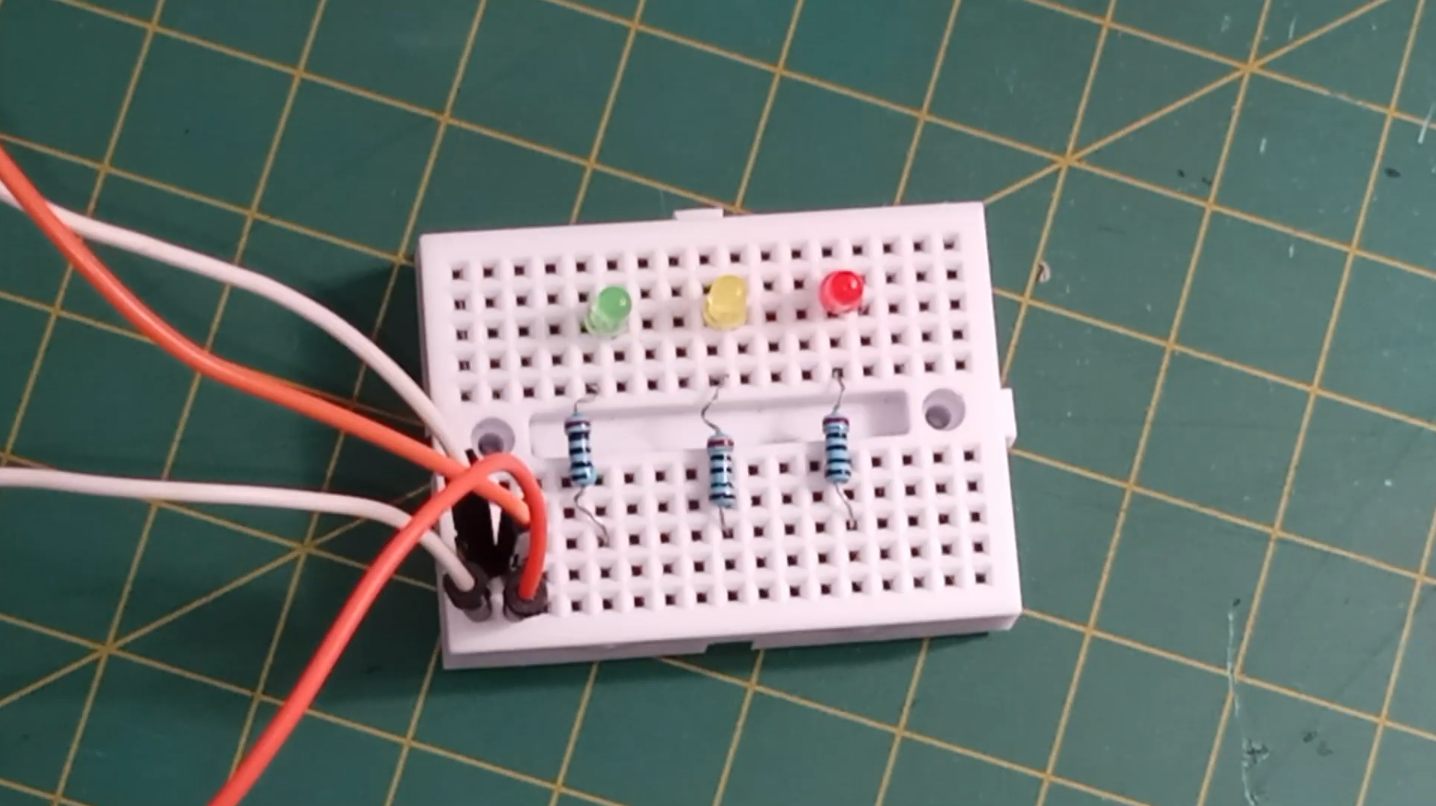
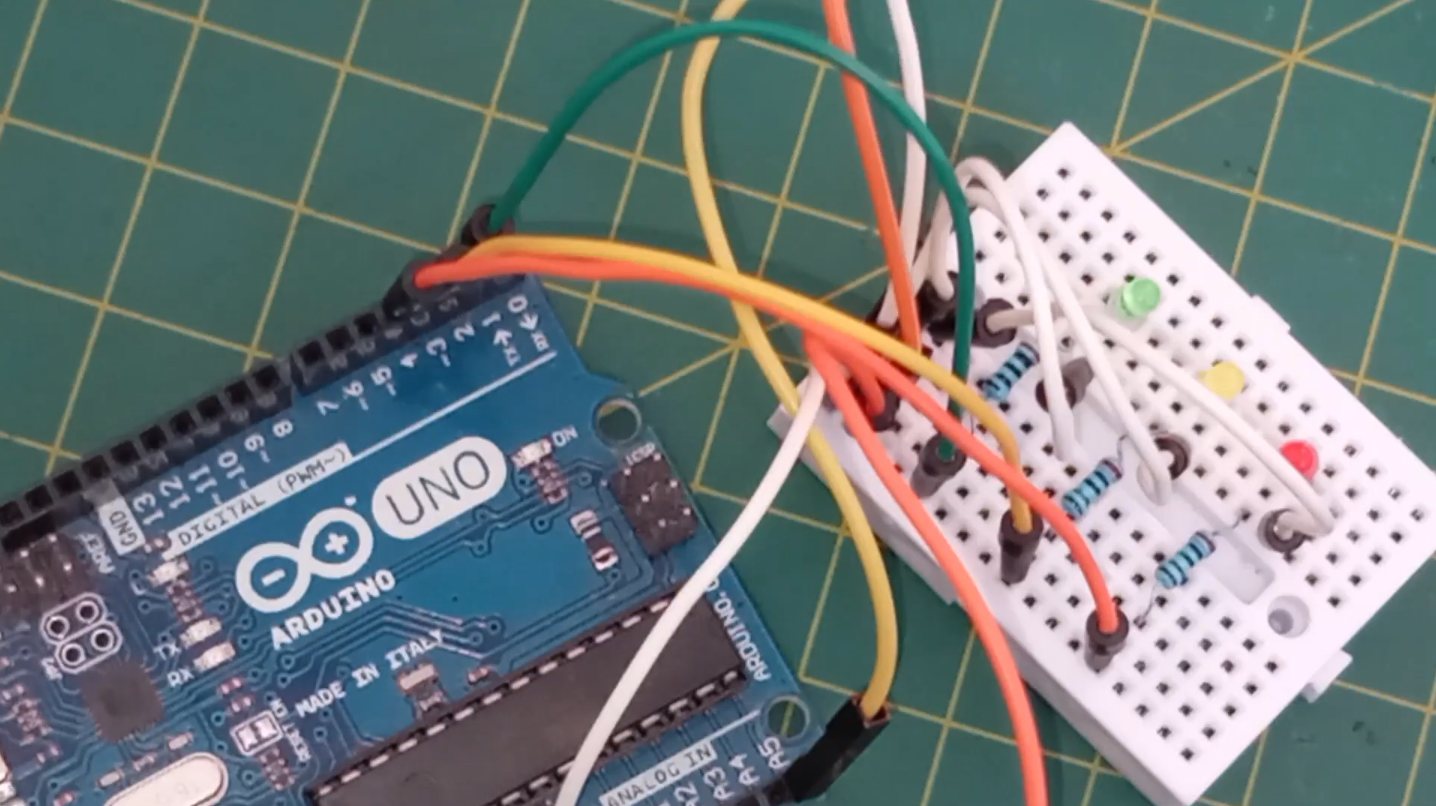
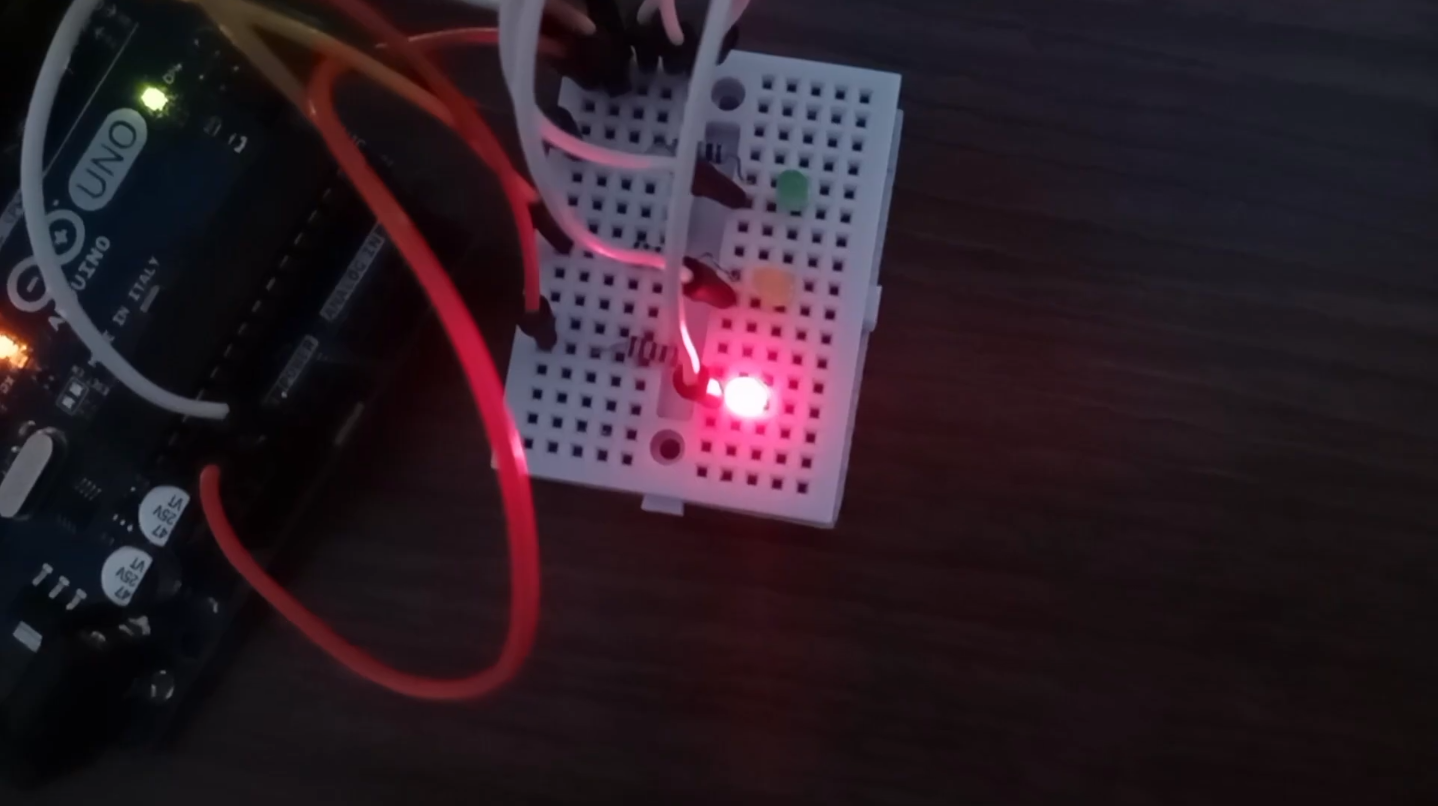
Connect the 5V and GND ports of the Arduino to the breadboard. Attach the sensor power supply pins to the 5V and GND rows and the signal pin to A5. Set up the LEDs with resistors on the breadboard, connecting them to GND and ports 2, 3, and 4.
Then, access the GitHub repository of this project or go to the end of this article and download the soil-moisture-monitoring.ino file and upload it to Arduino.
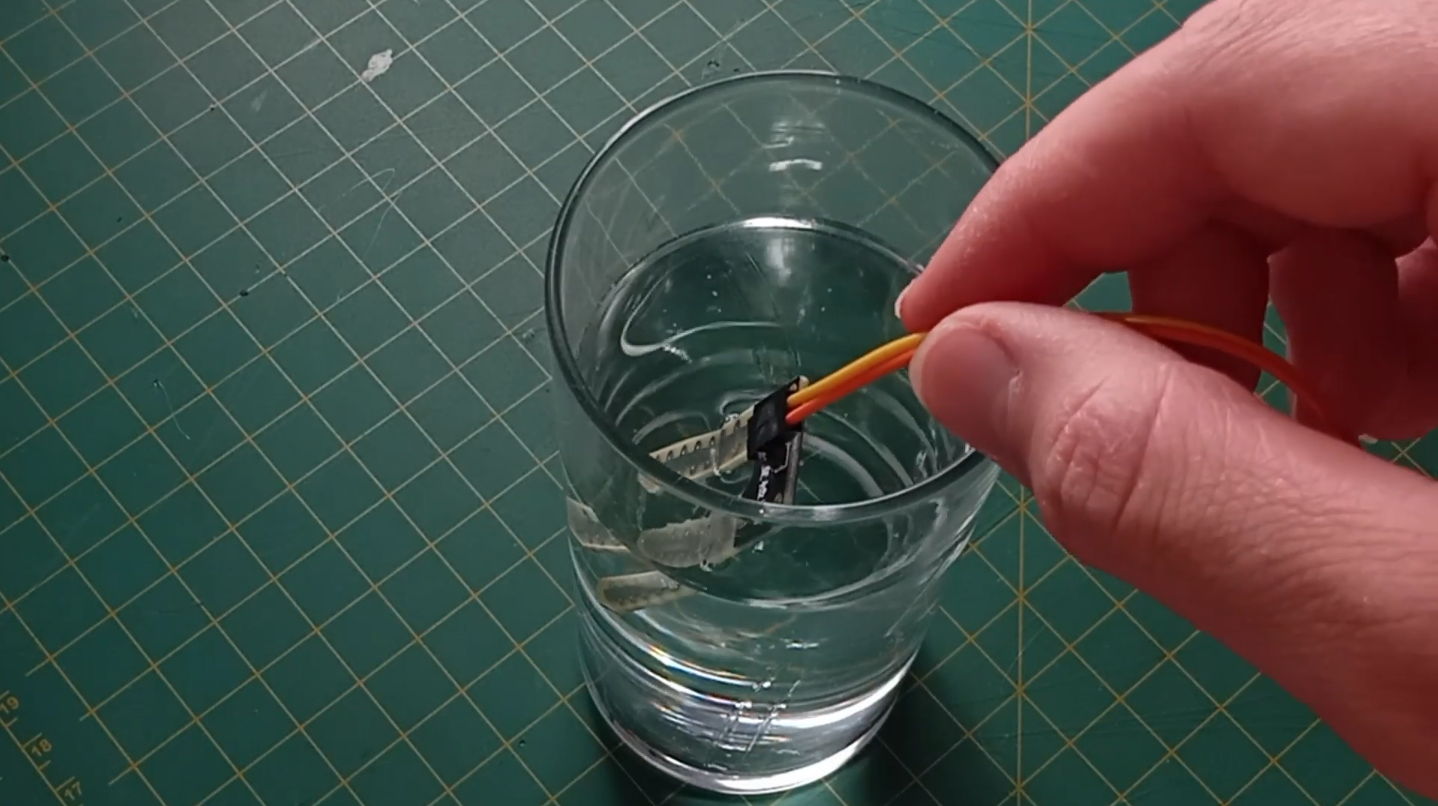
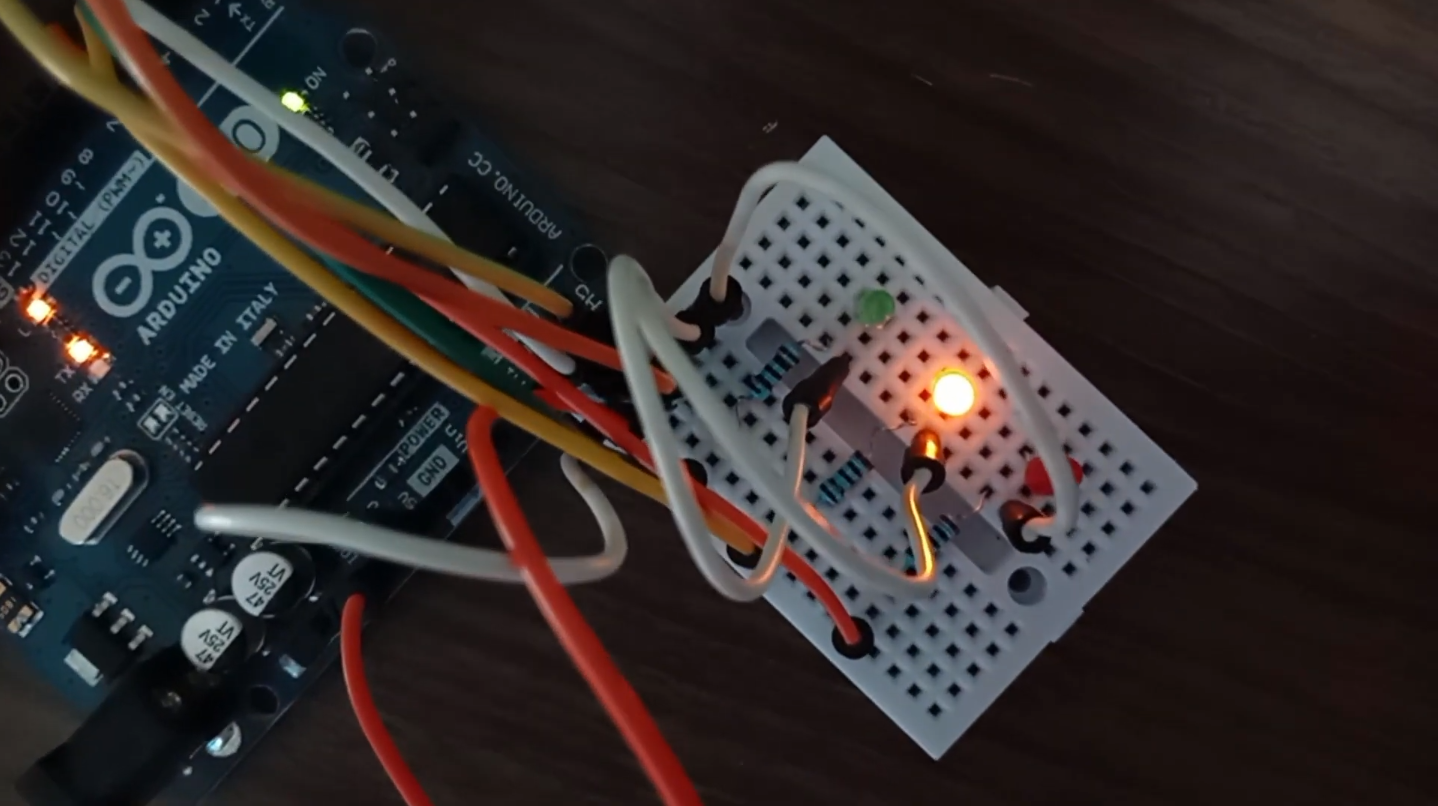
Let's see our project working. After diving the sensor legs completely into the glass of water, we have an extremely wet situation. Diving only a small part of the sensor, gives us the wet scenario and the system responds accordingly. Now if we remove the sensor from the water, the reading value is so low that the red LED is turned on, indicating a extremely dry scenario.
While resistance-based sensors are cheaper, they suffer from corrosion and, therefore, have a short lifespan. That’s why you should not use them in real-life applications. On the other hand, the capacitance-based sensors are usually more expensive, but they are more durable because of the way they work and are manufactured.
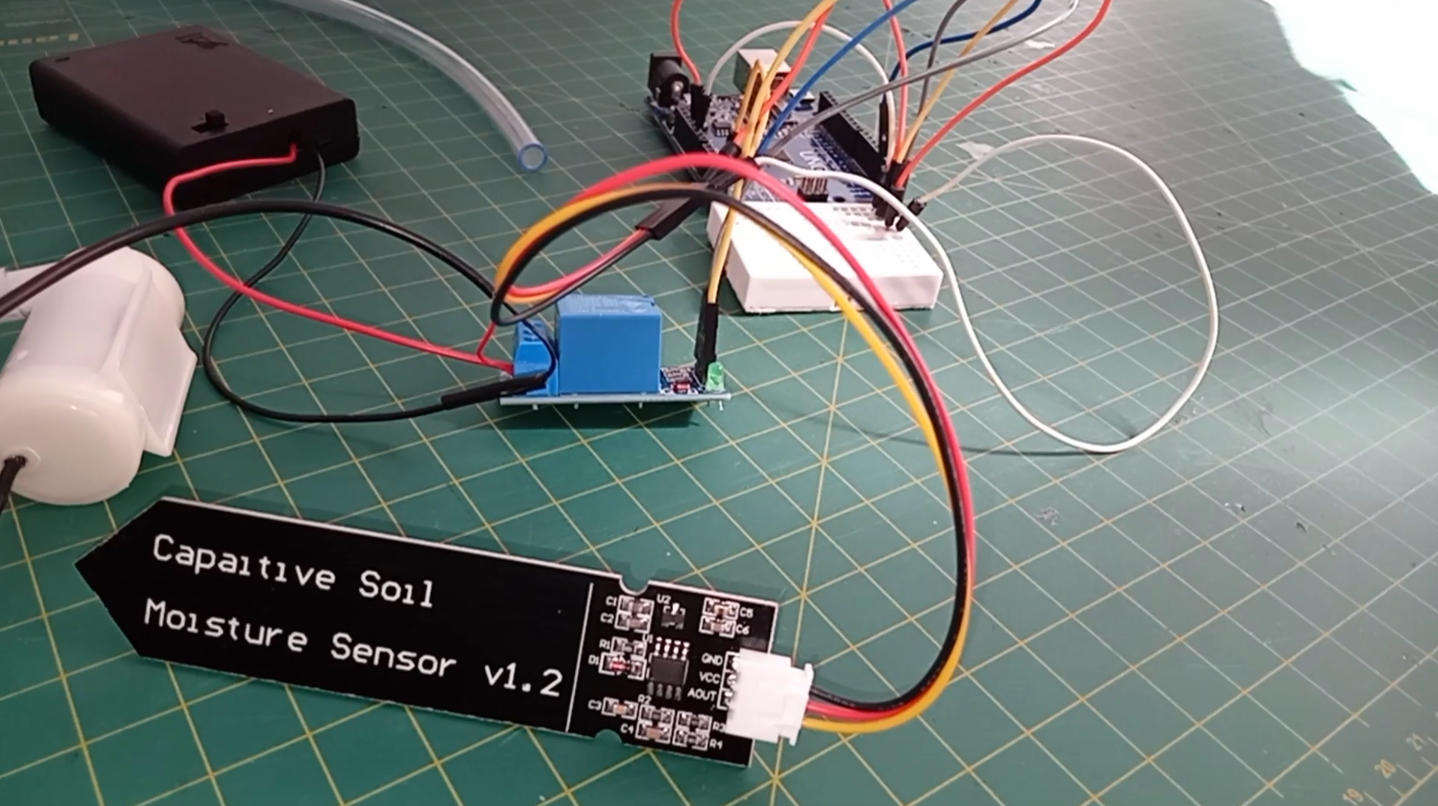
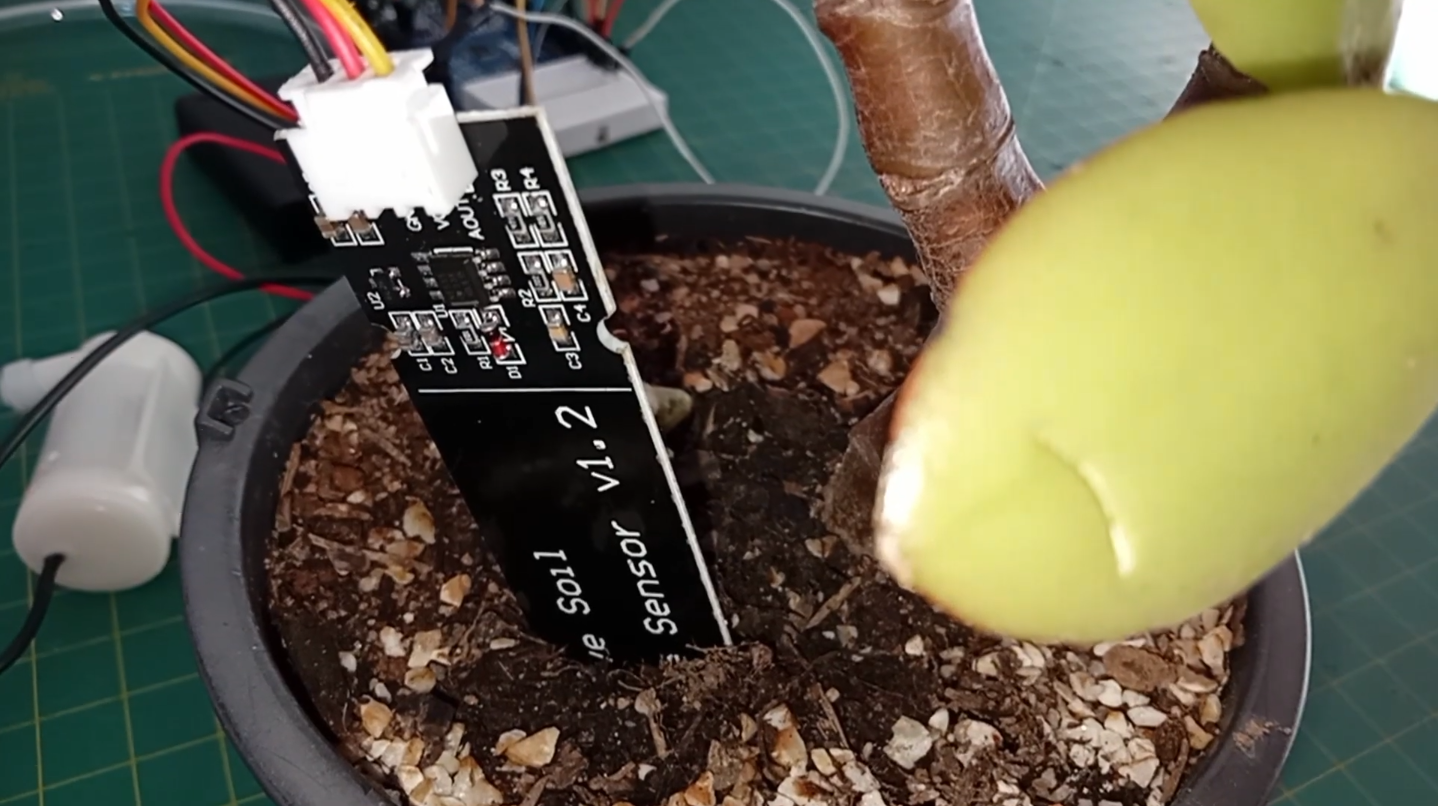
Now that you understood the main differences between these types of sensors, let's get our hands dirty again. We are going to create an irrigation system using a capacitance-based sensor, as you can see in this schematics .
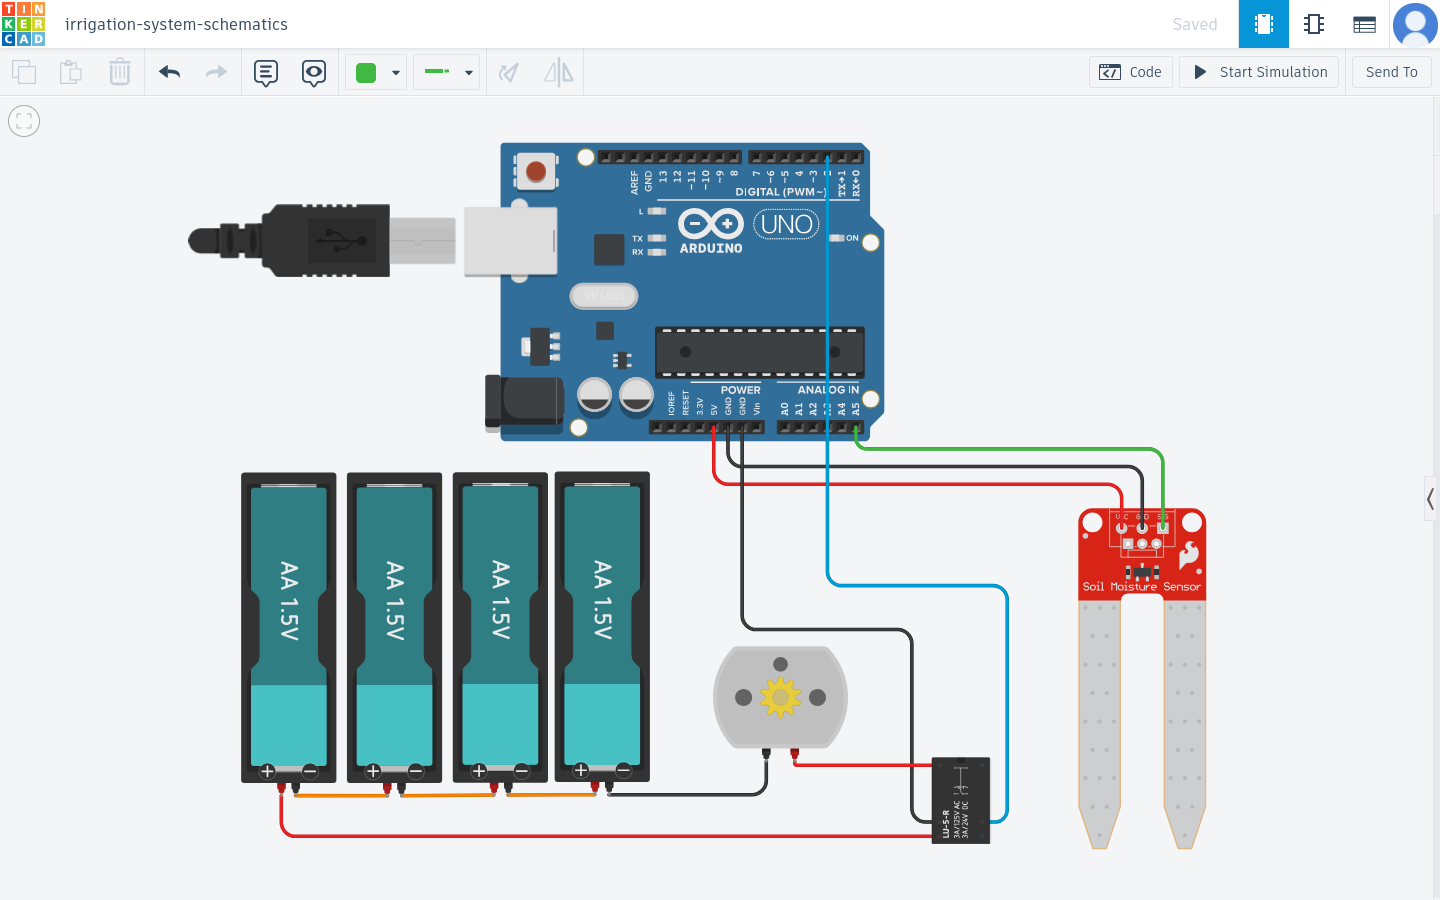
For this project, you’ll need:
- Arduino board
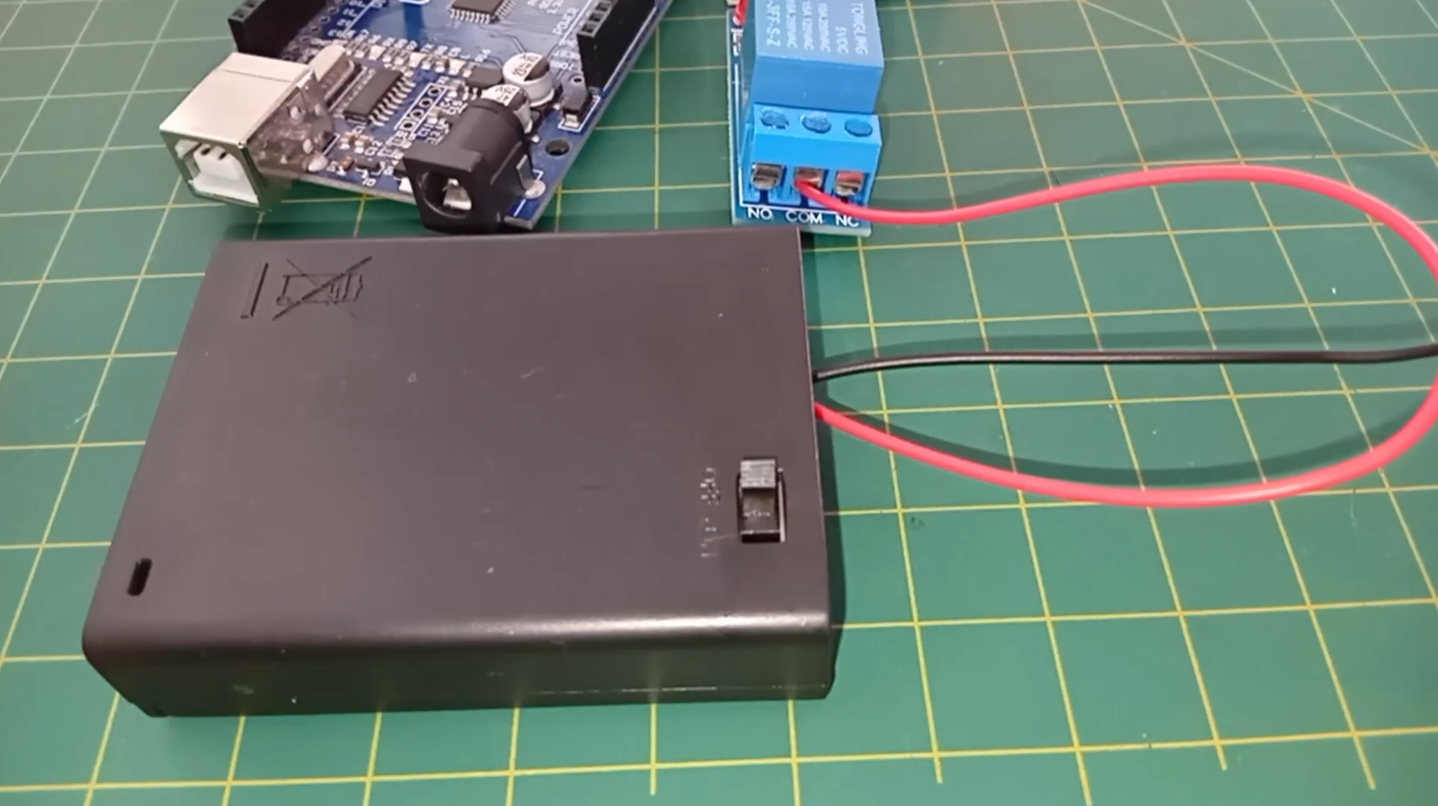
- Battery support
- Batteries
- Breadboard
- Capacitance-based soil moisture sensor
- 5V relay module
- Small pump
- Glass of water
- Plant
- Wires
Connect the relay module to the Arduino and power it with batteries. Attach the water pump to the relay. Connect the soil moisture sensor to the Arduino, and place the sensor in the soil and the pump in water. Upload the irrigation-system.ino file and watch your automated irrigation system in action.
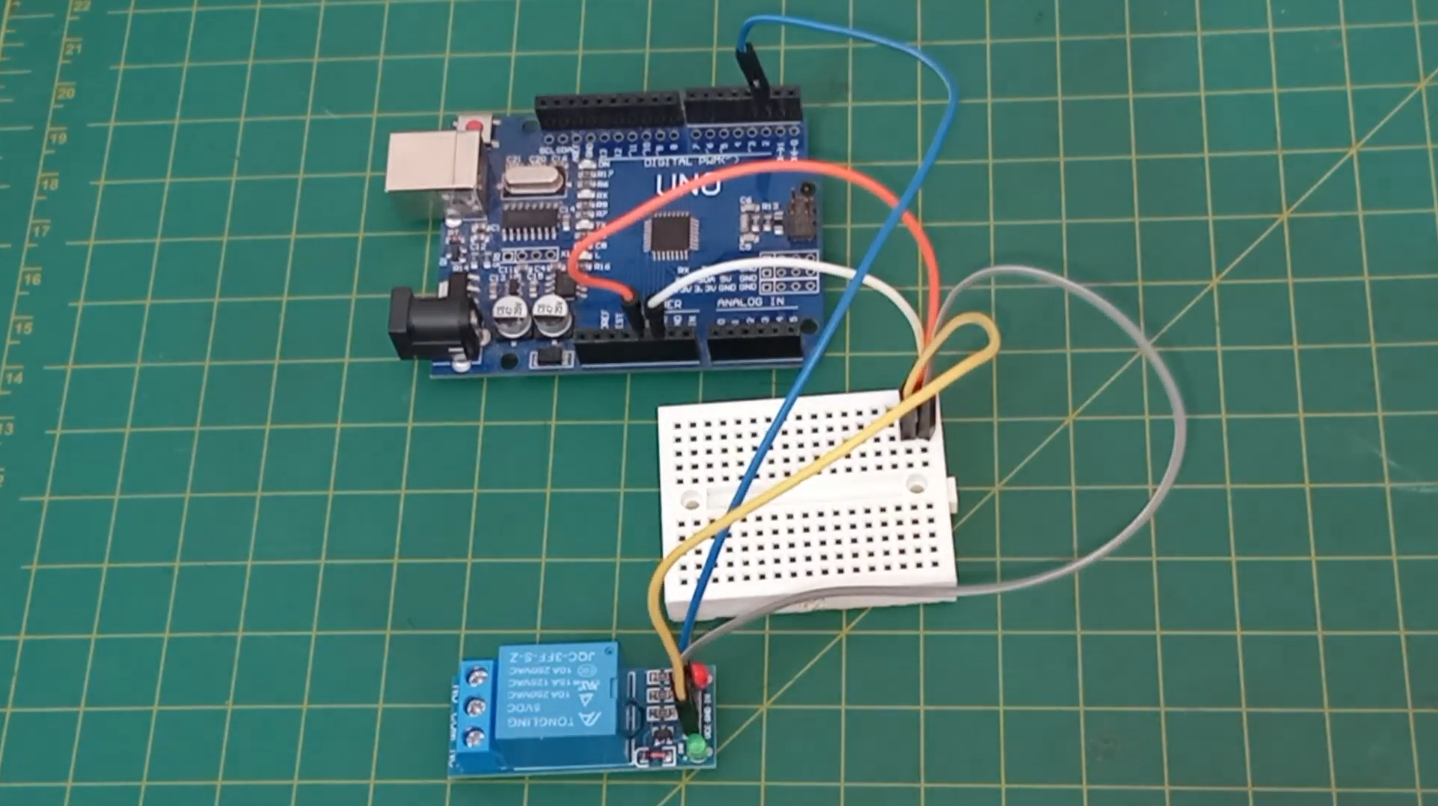
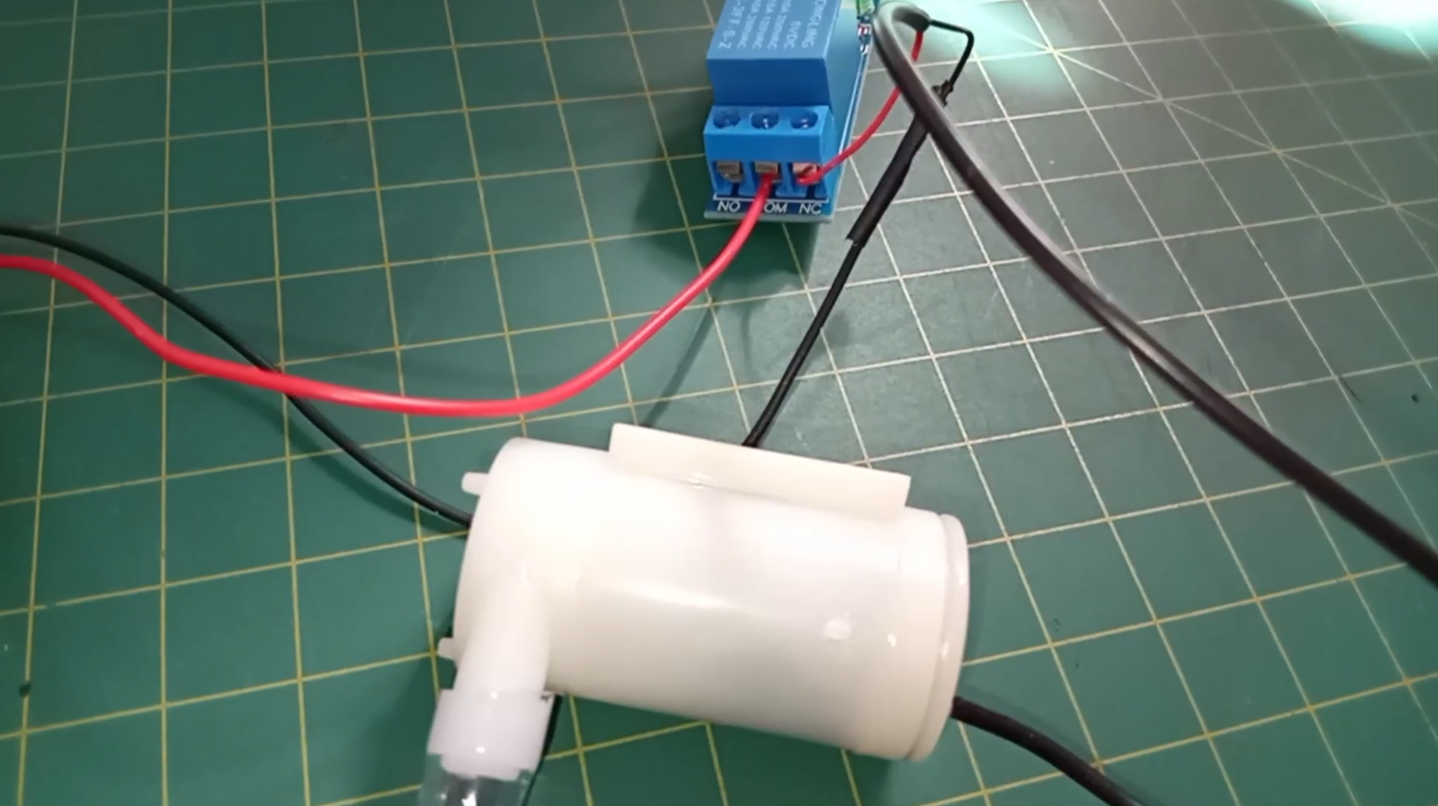

As you may noticed, every time we send a signal from Arduino port 2, the relay will close the water pump circuit and, then, water will flow to irrigate the plant. When we stop this signal, the water pump will turn off. The sensor readings will inform Arduino when is the right time to start or stop the signal from port 2.
If you power the Arduino board continuously and add water to the reservoir from time to time, your irrigation system will work non-stop. That's the principle at building fully automated irrigation systems.
CONCLUSION
Thank you for reading all this tutorial. If you liked it, you will probably enjoy the article I wrote about ultrasonic sensors and how to build an alarm system with them.
🛠️ เจาะลึกเบื้องหลังการทำงาน (Deep Dive / Technical Analysis)
The Soil Moisture Sensor (Resistive type) is a simple but effective way to start with plant automation. It allows you to monitor the health of your indoor garden by measuring how easily electricity flows through the soil.
Interaction Logic
The project uses a simple probe that you insert into the soil:
- The Signal: Dry soil has high resistance, while wet soil conducts electricity better.
- The Goal: The Arduino converts this into an analog reading (0 to 1023).
- Thresholds: You can set an "Alert" value—for example, if the reading drops below 300, a red LED flashes to tell you the plant is thirsty.
Components List
- Arduino Uno/Nano: The logic brain.
- Resistive Soil Moisture Sensor Module: The primary hardware.
- LEDs (Red/Green): To show "Thirsty" vs "Saturated" states.
- Piezo Buzzer (Optional): For an audio reminder to water your plants.
Maintenance Tip
Note that because this sensor is "resistive," electricity flowing through the probes causes electrolysis, which leads to corrosion over time. To make your sensor last longer, only power it up when you are actually taking a measurement (once an hour) rather than leaving it on constantly.