In this tutorial, you will learn how to use the Reyax RYLR896 LoRa modules to wirelessly and reliably control lights. We will take advantage of these modules' ability to send and receive data over long distances, as well as their acknowledgement functionality, to ensure that light on and off signals are received correctly.
Tutorial Contents:
Introduction to RYLR896 LoRa Modules :
Features and technical specifications.
Initial setup and connection.
Introduction to RYLR896 LoRa Modules :Features and technical specifications.Initial setup and connection.
Necessary materials :
LoRa Reyax RYLR896 modules (two units).
Luces LED.
Microcontrollers (Arduino uno and nano).
Additional components (resistors, cables, power supply).
Necessary materials :LoRa Reyax RYLR896 modules (two units).Luces LED.Microcontrollers (Arduino uno and nano).Additional components (resistors, cables, power supply).
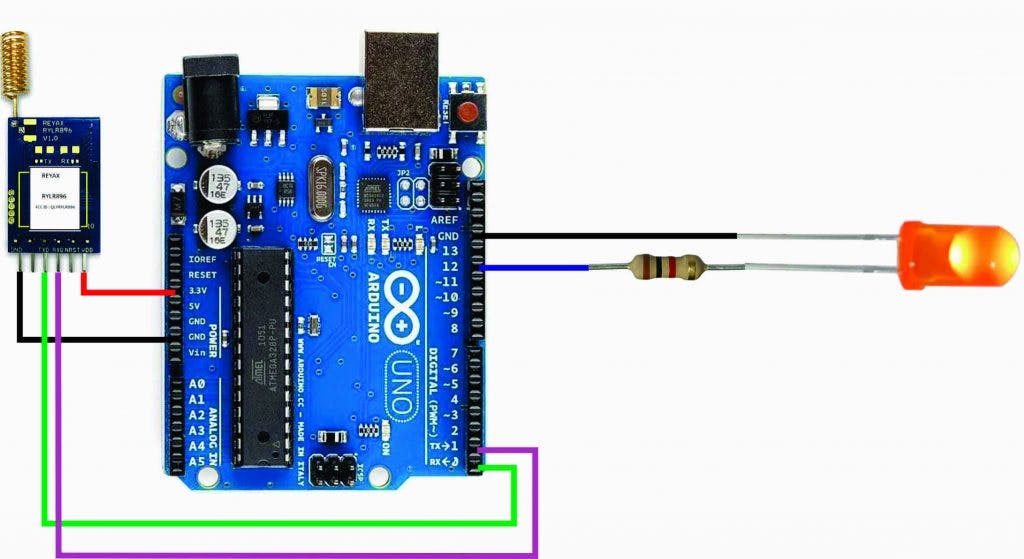
Hardware Configuration :
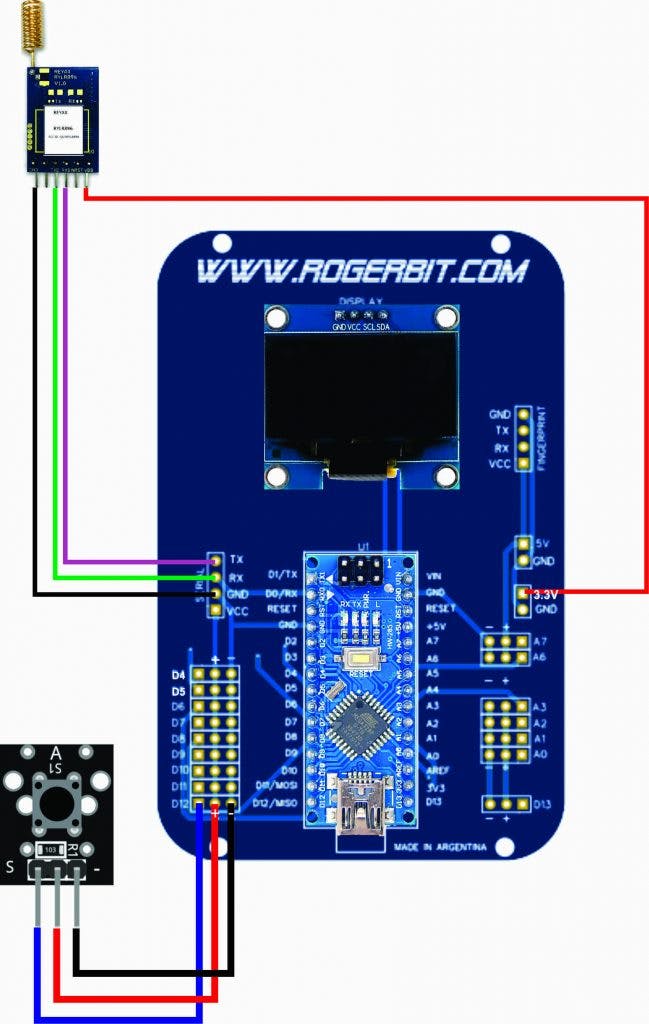
Connecting LoRa modules to the microcontroller.
Mounting the light control circuit.
Hardware Configuration :Connecting LoRa modules to the microcontroller.Mounting the light control circuit.
Microcontroller Programming :
Configuring the LoRa module for transmission and reception.
Code to send the on/off signal.
Implementation of acknowledgement to ensure signal reception.
Microcontroller Programming :Configuring the LoRa module for transmission and reception.Code to send the on/off signal.Implementation of acknowledgement to ensure signal reception.
Testing and Troubleshooting :
Verifying communication between modules.
Troubleshooting common issues and configuration settings.
Testing and Troubleshooting :Verifying communication between modules.Troubleshooting common issues and configuration settings.
Practical applications :
Examples of home use and automation projects.
Project expansion to control multiple lights or devices.
Practical applications :Examples of home use and automation projects.Project expansion to control multiple lights or devices.
Tutorial Objectives:
Understand the basic operation of Reyax RYLR896 LoRa modules.
Learn how to configure and use modules for wireless communication.
Implement a lighting control system with confirmation of signal reception.
Develop skills to integrate LoRa into IoT and automation projects.
This tutorial is ideal for electronics and automation enthusiasts who want to explore the potential of LoRa communication for practical, long-range applications. Upon completion, you will have a functional system that will allow you to control lights wirelessly and reliably.
868/915MHz LoRa® Antenna Transceiver Module
◆ Certification: NCC, FCC
◆ Frequency range: 868/915 MHz
◆ Motor Semtech SX1276
◆ High efficiency power amplifier
◆ Excellent immunity to blocking.
◆ Low receiving current
◆ High sensitivity
◆ Easy control via AT commands
◆ Rango dinámico RSSI de 127 dB
◆ Designed with integrated antenna
◆ AES128 data encryption
◆ Working temperature: -40℃ to +85℃
◆ Dimensions: 42.5 x 18.36 x 5.5 mm
◆ Weight: 7 g
Description
The RYLR896 transceiver module features the LoRa® long-range modem that provides ultra-long-range spread spectrum communication and high immunity to interference while minimizing current consumption. The module is NCC and FCC certified.
Electronic components of the project
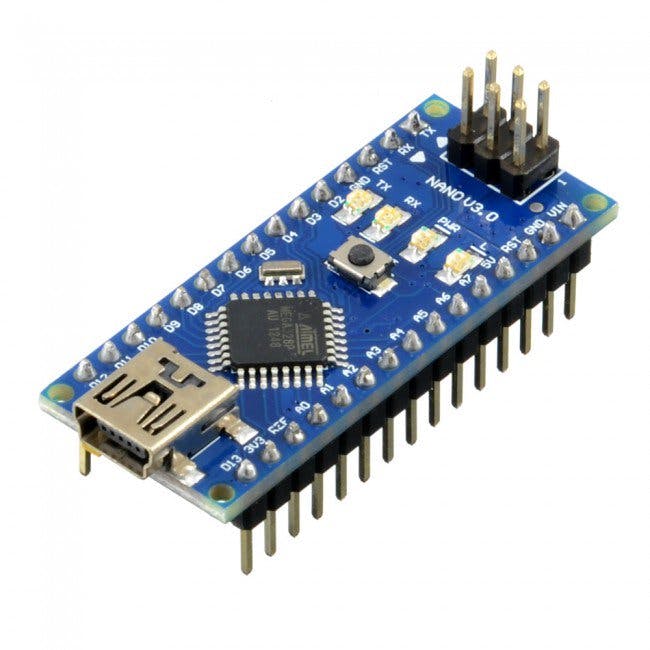
Arduino Nano
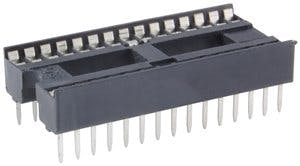
A socket for arduino
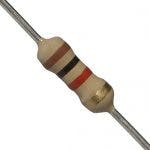
Un resistor de 1 KOhm
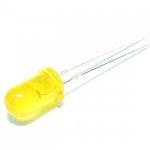
A 5mm LED diode
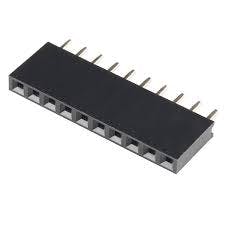
Female pins
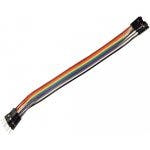
Dupont cables female male
Display oled sh1106
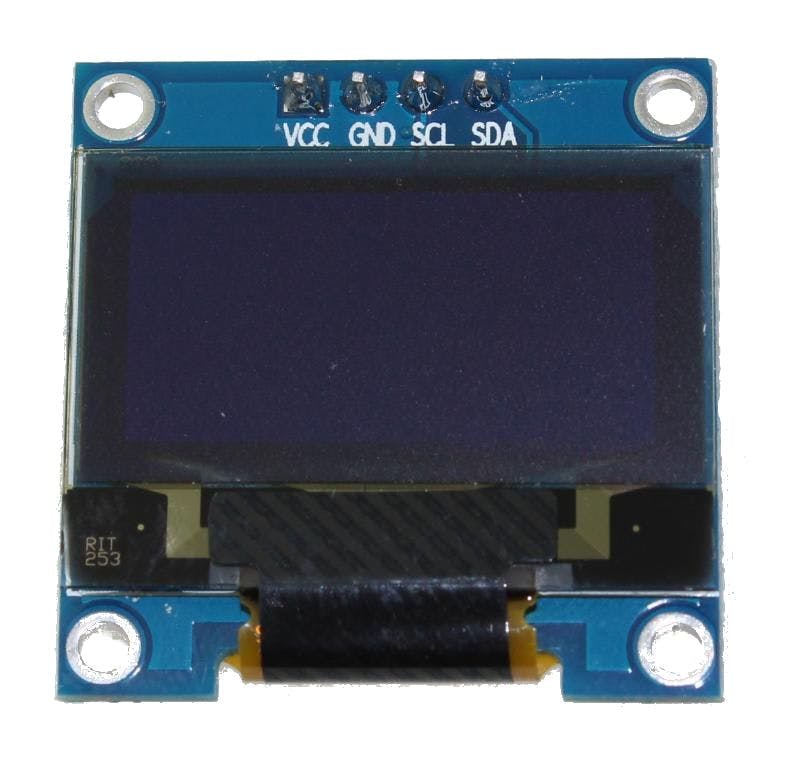
This is a 128x64 dot monochrome OLED display module with I2C interface. It has several advantages over LCD displays, such as high brightness, very good contrast, a wider viewing angle, and low power consumption. It is compatible with Arduino Rasberry Pi and PIC microcontrollers among others. It works with logic levels from 3.3V to 5V and has a viewing angle greater than 160 degrees. The screen size is 1.3 inches. It is powered by a voltage of 3.3V to 5V. It can be used in applications such as smart watches, MP3, thermometers, instruments, and various projects, etc.
Characteristics
Interface: I2C(3.3V / 5V logic level)
Resolution: 128 x 64
Angle of view: >160 degree
Display color: Blue
Display size: 1.3 inch
Driver IC: SH1106
Power supply: DC 3.3V~5V
Operating temperature: -20~70’C
Application: smart watch, MP3, thermometer, instruments, DIY projects, etc.
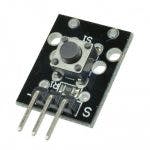
A KY-004 push button module
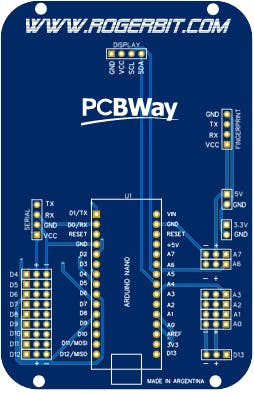
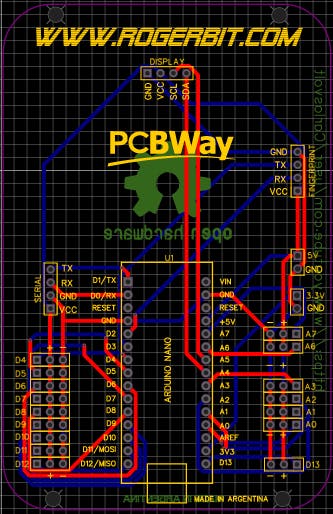
PCB
https://rogerbit.com/wprb/wp-content/uploads/2023/05/PCB_ky-032_contador.zip
Electronic pcb diagram
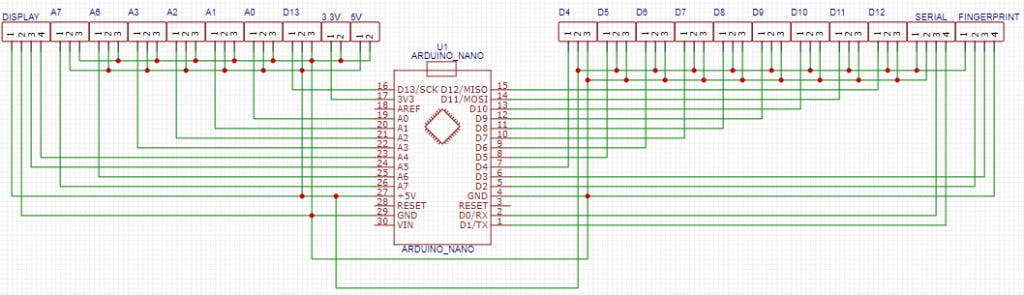
Circuit with arduino nano
Circuit with Arduino Uno
🛠️ เจาะลึกเบื้องหลังการทำงาน (Deep Dive / Technical Analysis)
Trying to turn on a light across a 500-acre farm is fundamentally impossible for Bluetooth or standard 2.4GHz Wi-Fi. The Reyax LoRa Hub abandons those high-frequency systems entirely for the aggressive penetrating power of LoRa (Long Range) at 915MHz or 868MHz! The Reyax RYLR896 module is incredibly unique: it features a massive built-in microprocessor that handles the horrifyingly complex LoRa chirp-spread-spectrum math autonomously, allowing the Arduino to interface cleanly via standard Serial AT-Commands over distances exceeding 5 Kilometers!
Point-to-Point AT-Command Execution
The RYLR896 is configured via high-level string commands natively! You don't need heavy SPI libraries.
- Assign an
ADDRESSto the relay receiver (e.g.,AT+ADDRESS=2). - Have the transmitter send a direct string payload specifically targeting Node 2!
// Explicitly blast the command "LIGHT_ON" to Network Node 2!
LoRaSerial.println("AT+SEND=2,8,LIGHT_ON");
The Crucial Acknowledgment Loop (ACK)
When sending a signal across 3 kilometers, you must confirm the light actually turned on!
- After Node 2's Arduino detects "LIGHT_ON", it physically triggers the massive 240V Relay.
- The absolute instant the relay closes, Node 2 violently fires a response packet back through the RF stratosphere!
Node 1listens for the ACK:
if (LoRaSerial.available()) {
  String response = LoRaSerial.readStringUntil('\n');
  if (response.indexOf("ACK_ON") != -1) {
    lcd.print("SUCCESS: 3KM LINK!"); // Visual confirmation for the user!
  }
}
Level Shifting and Hardware Elements
- 2x Arduino Nanos (To act as identical opposing intelligence nodes).
- 2x Reyax RYLR896 LoRa Modules (Extremely powerful. Ensure massive antenna clearance).
- Logic Level Conversion / Voltage Dividers! (The RYLR896 Serial RX pin runs at a strict 3.3V Logic. If you blast a raw 5V Arduino Uno TX signal into it, you will violently incinerate the expensive LoRa chip! Use a logic-level converter or a simple 10K/20K resistor divider!).
- Heavy Duty Physical Relay Module to control terrestrial lighting loads upon command reception.