How to Control Servo LX-16A with Arduino: 0-240° and 360° Continuous Rotation
How to Control Servo LX-16A with Arduino: 0-240° and 360° Continuous Rotation
The LX-16A is a Serial Bus Servo with up to 19.5 kg·cm torque. It operates in two modes: position control (0–240°) and continuous rotation (360°). Communication uses just 3 wires with Arduino via serial port — no need for multiple PWM pins.
This guide covers wiring, setting servo IDs, and coding Arduino to control single and multiple LX-16A servos.
Required Components
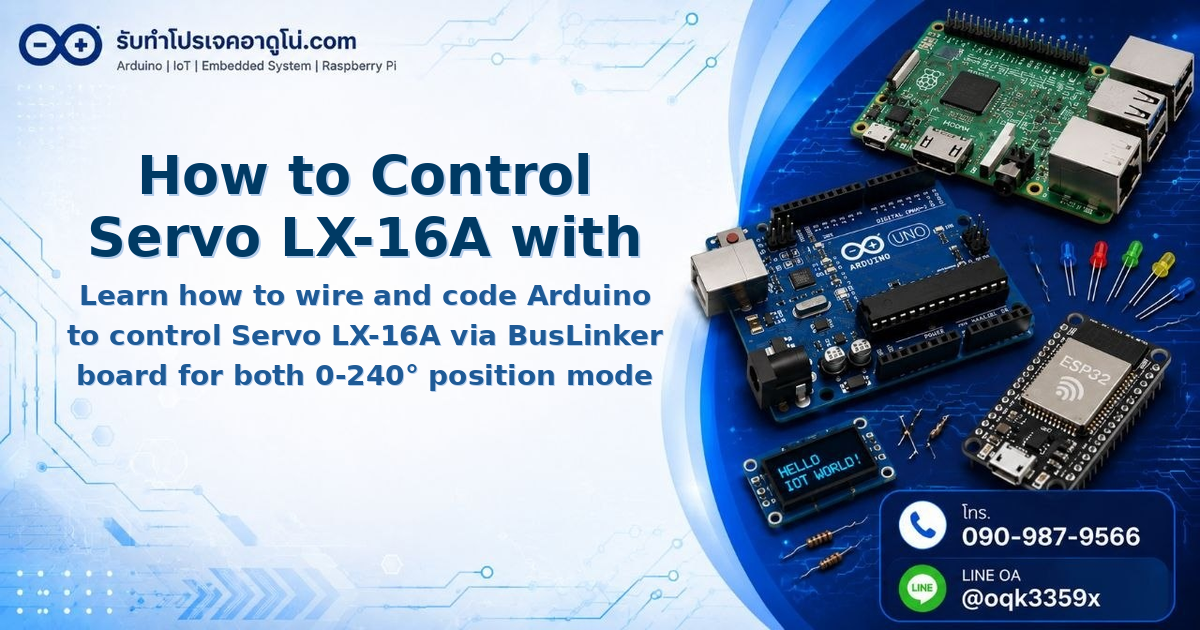
- Arduino UNO R3 with USB cable
- LX-16A Servo × 2 (supports both 0-240° and 360° continuous modes)
- LX-16A BusLinker Serial Bus Servo Controller board
- 5V 4A Power Adapter (5.5×2.5 mm barrel jack)
- DC Jack female adapter 2.1×5.5 mm
- 9V 2A Power Adapter for Arduino (if powering separately)
- Male-to-female jumper wires, 20 cm, about 10 pcs
Wiring Diagram: LX-16A with Arduino
The BusLinker board acts as the bridge between Arduino’s serial interface and the servo.
| BusLinker | Pin/Terminal | Arduino UNO | 5V Power Supply |
|---|---|---|---|
| GND | (-) | GND | (-) |
| TX | Pin 1 (TX) | Pin 1 (TX) | |
| RX | Pin 0 (RX) | Pin 0 (RX) | |
| 5V | (+) | (+) |
Critical step: Remove the wires on pins 0 and 1 before uploading code every time. These are the same pins used for serial programming.
Installing the BusLinker Library for Arduino
The LX-16A uses a proprietary serial protocol, so the standard Arduino Servo library won’t work. You need the BusLinker library provided by the board manufacturer. Download the .zip file from the manufacturer’s website, then install it in Arduino IDE via Sketch → Include Library → Add .ZIP Library.
Check File → Examples → BusLinker for working example code after installation. The example sketches will show the correct command structure and Baud Rate settings for your board.
Code: Assigning Servo IDs Before Use
Before using multiple servos, assign unique IDs to each one. Open Arduino IDE and upload this setup code:
#include <BusLinker.h>

// Create BusLinker object using HardwareSerial
BusLinker servoBus(&Serial);

void setup() {
  Serial.begin(115200);  // Check your library for correct Baud Rate

  // Assign ID 1 to the first servo
  servoBus.ping(1);

  // Assign ID 2 to the second servo
  servoBus.ping(2);
}

void loop() {
  // Nothing here
}
After uploading, press the RESET button on Arduino once. Each connected servo will be assigned its ID as specified in the code.
Note: The actual BusLinker library may use a specific command like
servoBus.setID(oldID, newID)to change an ID. Refer to the library’s example sketches for the correct command syntax and verify the Baud Rate in the library documentation.
Code: Controlling a Single LX-16A Servo
After assigning IDs, remove the wires from pins 0 and 1, upload this control code, reconnect the wires, and press RESET.
#include <BusLinker.h>

BusLinker servoBus(&Serial);

const int SERVO_ID_1 = 1;

void setup() {
  Serial.begin(115200);
  delay(500);  // Wait for servo to be ready
}

void loop() {
  // Move to 0 degrees
  servoBus.writePosition(SERVO_ID_1, 0, 1000);
  delay(1500);

  // Move to 120 degrees
  servoBus.writePosition(SERVO_ID_1, 120, 1000);
  delay(1500);

  // Move to 240 degrees
  servoBus.writePosition(SERVO_ID_1, 240, 1000);
  delay(1500);
}
writePosition(ID, angle, speed) takes the target angle in degrees and speed in microseconds — higher values mean slower movement.
Code: Controlling Multiple LX-16A Servos Simultaneously
To make two servos move at different speeds and angles, use this code. Servo 1 goes to 120° at medium speed, while Servo 2 goes to 240° more slowly.
#include <BusLinker.h>

BusLinker servoBus(&Serial);

const int SERVO_ID_1 = 1;
const int SERVO_ID_2 = 2;

void setup() {
  Serial.begin(115200);
  delay(500);
}

void loop() {
  // Servo ID 1: 120°, speed 800 μs
  servoBus.writePosition(SERVO_ID_1, 120, 800);

  // Servo ID 2: 240°, speed 1500 μs (slower)
  servoBus.writePosition(SERVO_ID_2, 240, 1500);

  delay(2000);

  // Return both to 0 degrees
  servoBus.writePosition(SERVO_ID_1, 0, 800);
  servoBus.writePosition(SERVO_ID_2, 0, 1500);

  delay(2000);
}
Both servos run simultaneously with noticeably different speeds. If you want identical movement in the same direction, assign them the same ID and wire them in parallel — the code stays the same.
[image: Circuit diagram showing two LX-16A servos connected to BusLinker with ID labels 1 and 2 on each servo]
Summary: Upload Checklist
- Disconnect wires from pins 0 and 1 on Arduino
- Upload your code
- Reconnect pins 0 and 1 to BusLinker
- Press the RESET button on Arduino once
Done correctly, the servos will start moving immediately.
Reference Video
อยากทำโปรเจคแบบนี้?
รับทำโปรเจค Arduino / IoT จบงานไว ส่งงานครบ พร้อมสอน
If you need Arduino project service or urgent IoT development, see full service details on the services page
จ้างทำโปรเจคเลย