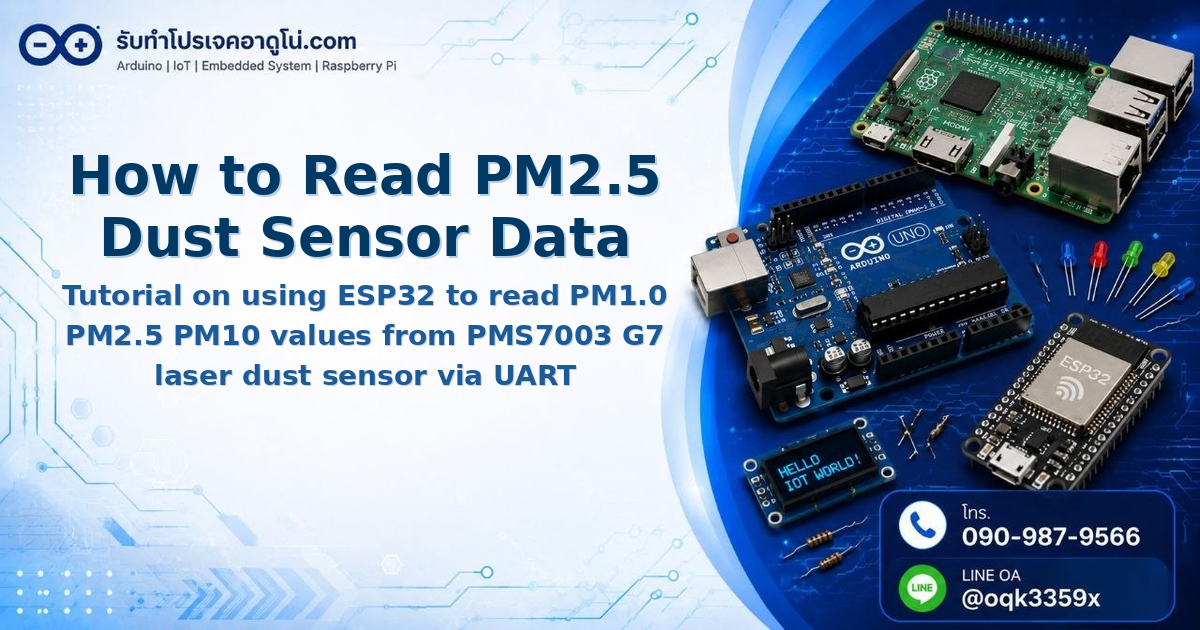
How to Read PM2.5 Dust Sensor Data with ESP32 and PMS7003 via UART
How to Read PM2.5 Dust Sensor Data with ESP32 and PMS7003 via UART
This tutorial shows how to read dust particle values (PM1.0, PM2.5, PM10) using ESP32 board and PMS7003 G7 Laser Dust Sensor via UART communication.
Required Components
- ESP32 NodeMCU ESP-WROOM-32 board
- PMS7003 G7 Laser Dust Sensor
- Breadboard (170 points)
- Jumper wires (Male-Male, Male-Female, Female-Female)
- Micro USB cable for ESP32
- 5V 2A power adapter (optional, for standalone operation)
About PMS7003 G7 Sensor
PMS7003 is a dust sensor that uses laser light to detect particles in the air, providing more accurate readings than other methods. The sensor measures 3 dust levels:
- PM1.0 - Particles smaller than 1 micrometer
- PM2.5 - Particles smaller than 2.5 micrometers
- PM10 - Particles smaller than 10 micrometers
The sensor can detect particles as small as 0.3 micrometers and communicates via UART at 3.3V logic level.
Wiring Diagram
| ESP32 | PMS7003 |
|---|---|
| 5V | VCC |
| GND | GND |
| D21 | TX |
| D22 | RX |
Important: Connect sensor TX to ESP32 RX (D22) and sensor RX to ESP32 TX (D21) - the connections are crossed/switched.
Installing the Library
For ESP32, use SoftwareSerial to create a second Serial port for the sensor, since Hardware Serial (RX0/TX0) is needed for code upload and Serial Monitor.
Download Esp32-SoftwareSerial Library and place it in the Arduino IDE libraries folder.
To install: Go to Sketch > Include Library > Add .ZIP Library and select the downloaded file
Arduino Code for Reading PMS7003
#include <SoftwareSerial.h>

// Define pins connected to PMS7003
#define PMS7003_TX 22  // ESP32 RX -> PMS7003 TX
#define PMS7003_RX 21  // ESP32 TX -> PMS7003 RX

SoftwareSerial pmsSerial(PMS7003_TX, PMS7003_RX);

// Variables to store dust values
unsigned int pm1_0 = 0;
unsigned int pm2_5 = 0;
unsigned int pm10 = 0;

void setup() {
  Serial.begin(115200);       // Serial Monitor
  pmsSerial.begin(9600);      // PMS7003 uses baud rate 9600

  Serial.println("ESP32 PMS7003 PM2.5 Sensor Test");
  Serial.println("================================");
}

void loop() {
  if (pmsSerial.available()) {
    if (readPMSData()) {
      Serial.print("PM1.0: ");
      Serial.print(pm1_0);
      Serial.print(" ug/m3 | PM2.5: ");
      Serial.print(pm2_5);
      Serial.print(" ug/m3 | PM10: ");
      Serial.println(pm10);
    }
  }
}

bool readPMSData() {
  // PMS7003 sends data in frames of 32 bytes
  // Format: Header(2) + Len(2) + Data(28) + Checksum

  if (pmsSerial.read() != 0x42) return false;
  if (pmsSerial.read() != 0x4D) return false;

  // Read data length
  int highByte = pmsSerial.read();
  int lowByte = pmsSerial.read();
  int dataLen = (highByte << 8) + lowByte;

  // Data length should be 28 bytes
  if (dataLen != 28) return false;

  // Read PM values
  pm1_0 = (pmsSerial.read() << 8) + pmsSerial.read();
  pm2_5 = (pmsSerial.read() << 8) + pmsSerial.read();
  pm10  = (pmsSerial.read() << 8) + pmsSerial.read();

  // Skip remaining data bytes
  for (int i = 0; i < 22; i++) {
    pmsSerial.read();
  }

  return true;
}How to Upload and View Results
- Connect ESP32 to computer via USB cable
- Select Port: Tools > Port > (choose connected COM port)
- Select board type ESP32 Dev Module at Tools > Board
- Press Upload button
- During upload, if “Waiting for download” appears, hold the BOOT button on the board
- When upload completes, open Serial Monitor at 115200 baud rate
- You will see PM1.0, PM2.5, and PM10 values displayed every 1-2 seconds
Testing Sensor Response
A simple test method is to light solder with a soldering iron to produce smoke. When smoke drifts near the sensor, all 3 PM values will spike immediately. When smoke dissipates, values will gradually return to normal.
[image: Graph comparing PM2.5 readings before and after exposure to solder smoke]
Summary
Using ESP32 to read dust data from PMS7003 via UART is straightforward. Just connect 4 wires (VCC, GND, TX, RX) and use SoftwareSerial to receive data. This example code reads PM1.0, PM2.5, PM10 continuously and displays them via Serial Monitor.
Reference Video
อยากทำโปรเจคแบบนี้?
รับทำโปรเจค Arduino / IoT จบงานไว ส่งงานครบ พร้อมสอน
If you need Arduino project service or urgent IoT development, see full service details on the services page
จ้างทำโปรเจคเลย